Step-by-step tutorial
Step 1
Gather your tools and start by standing up and opening your large freezer bag. A freezer bag (and not just a regular gallon bag) is imperative for the dying process because of it's thickness--the bag will stand up on its own and will also hold up better to leakage than a standard bag. Use one bag for each color you wish to make.

Step 2
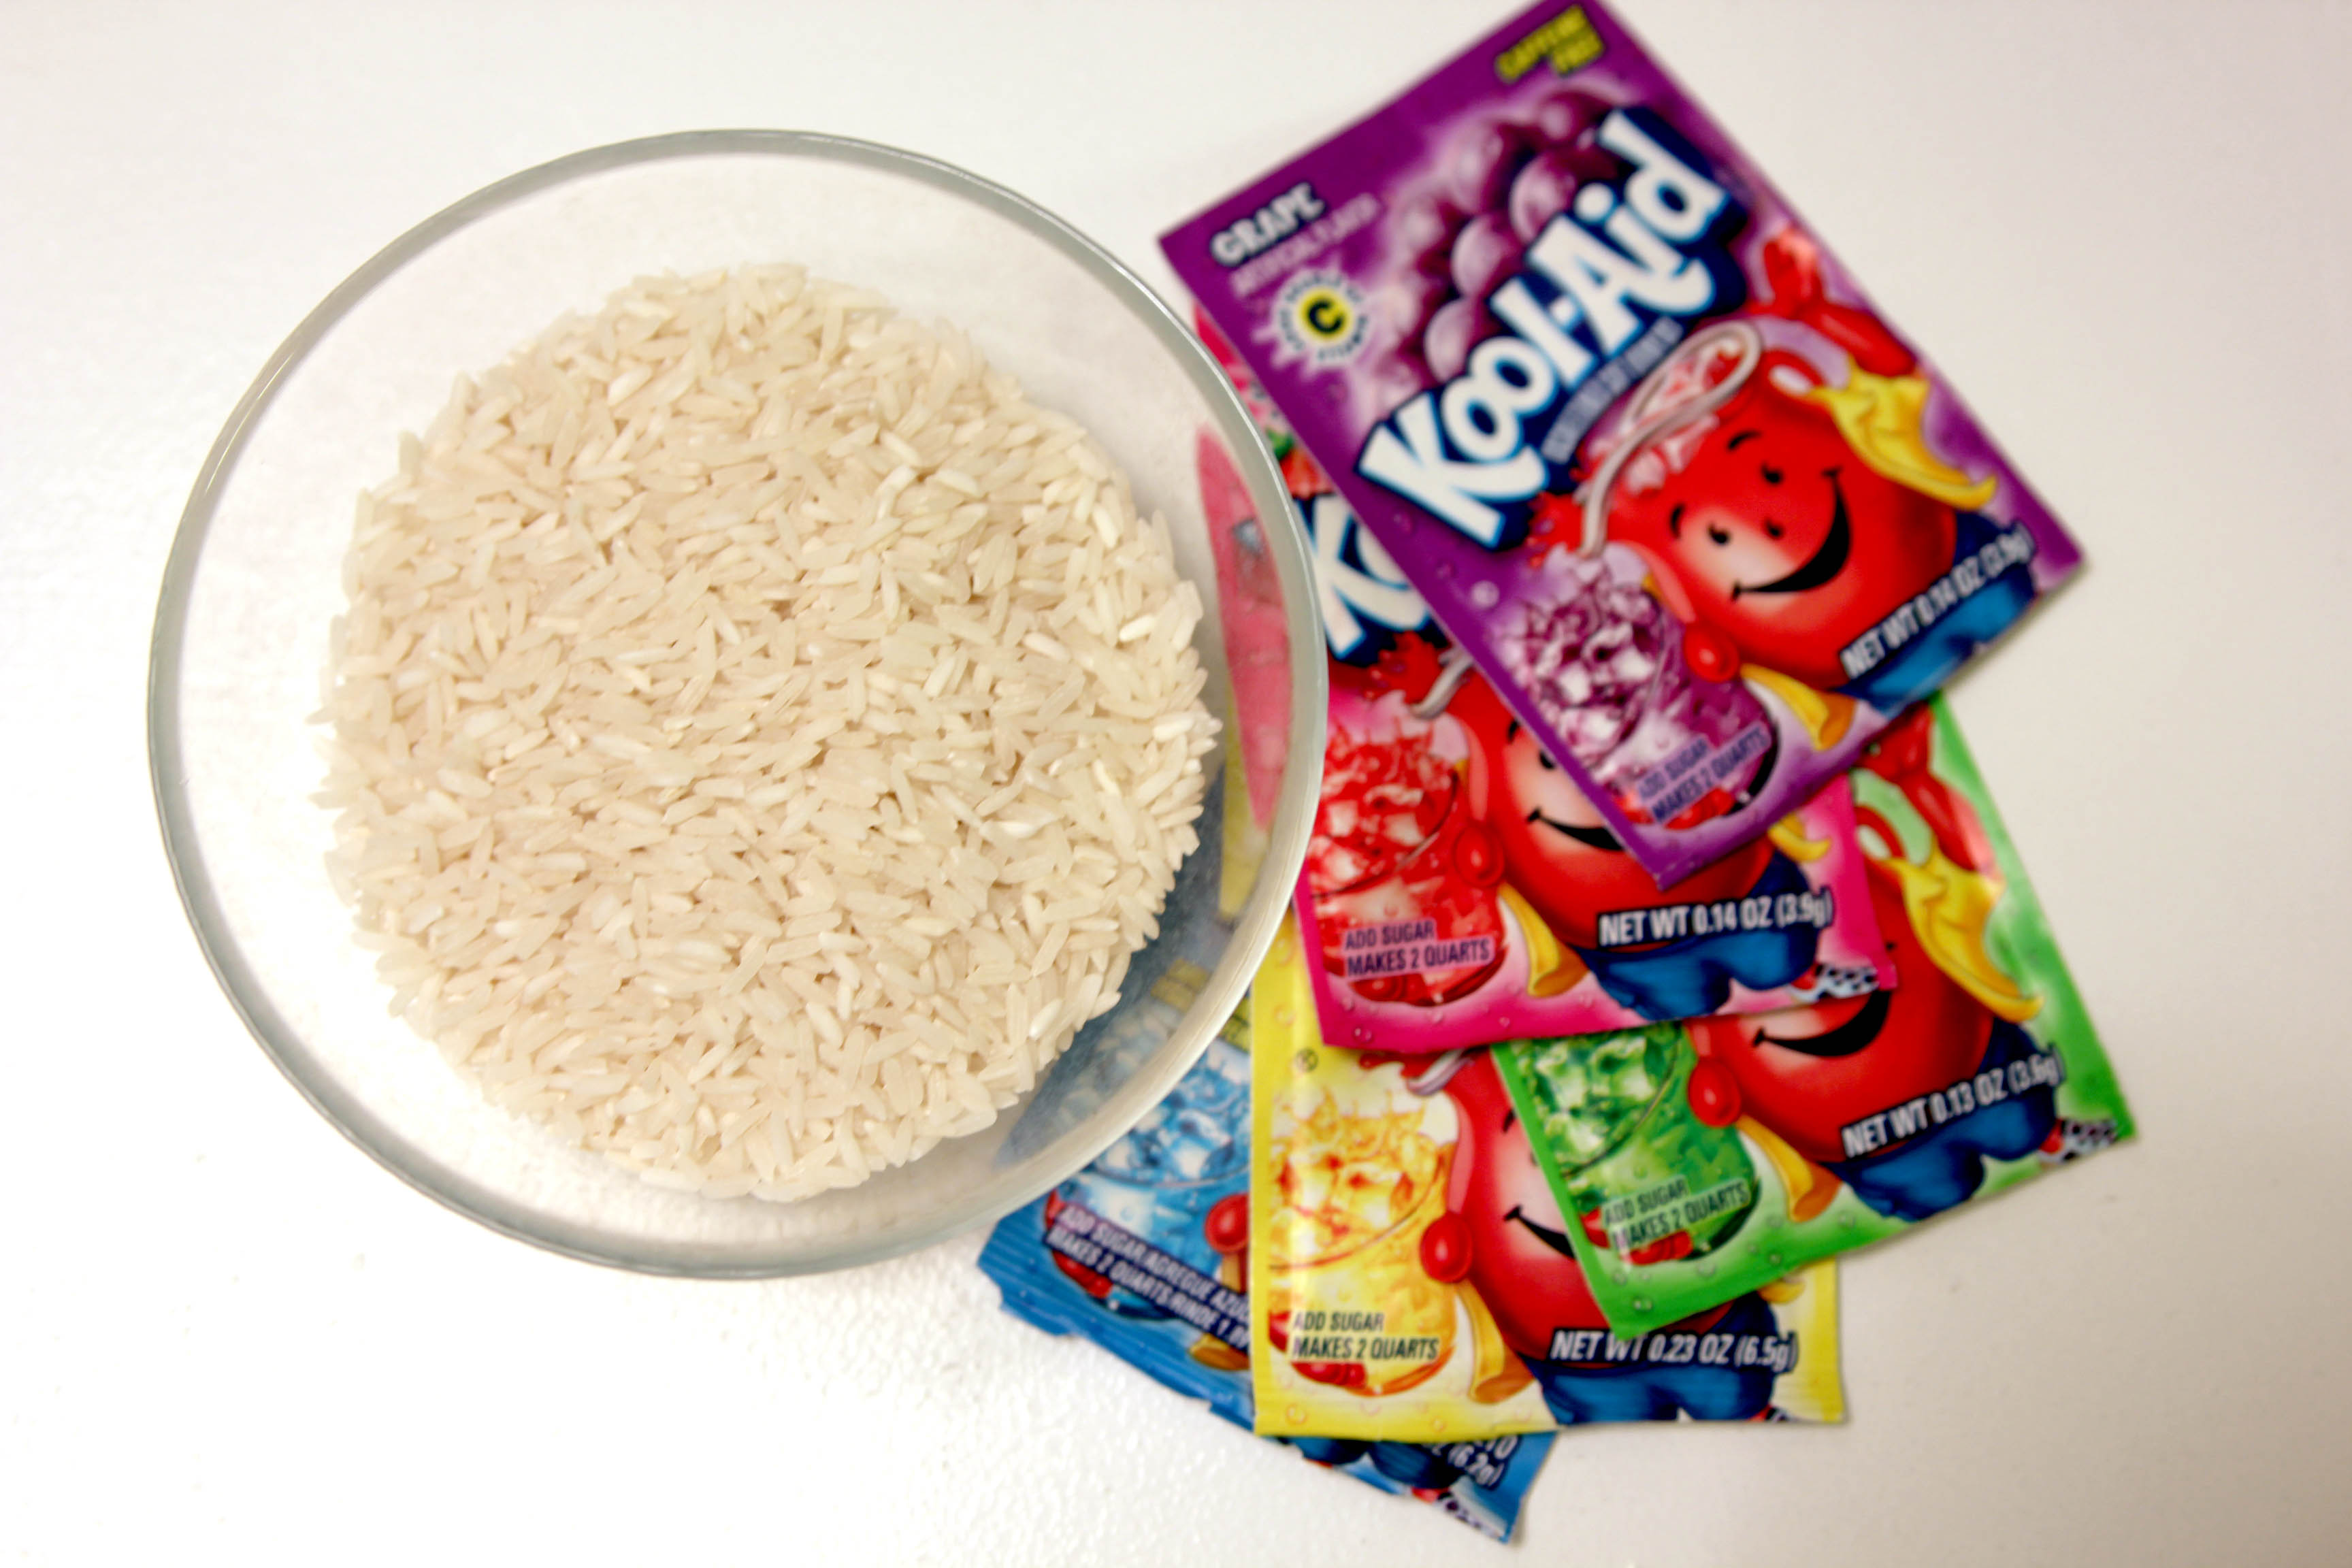
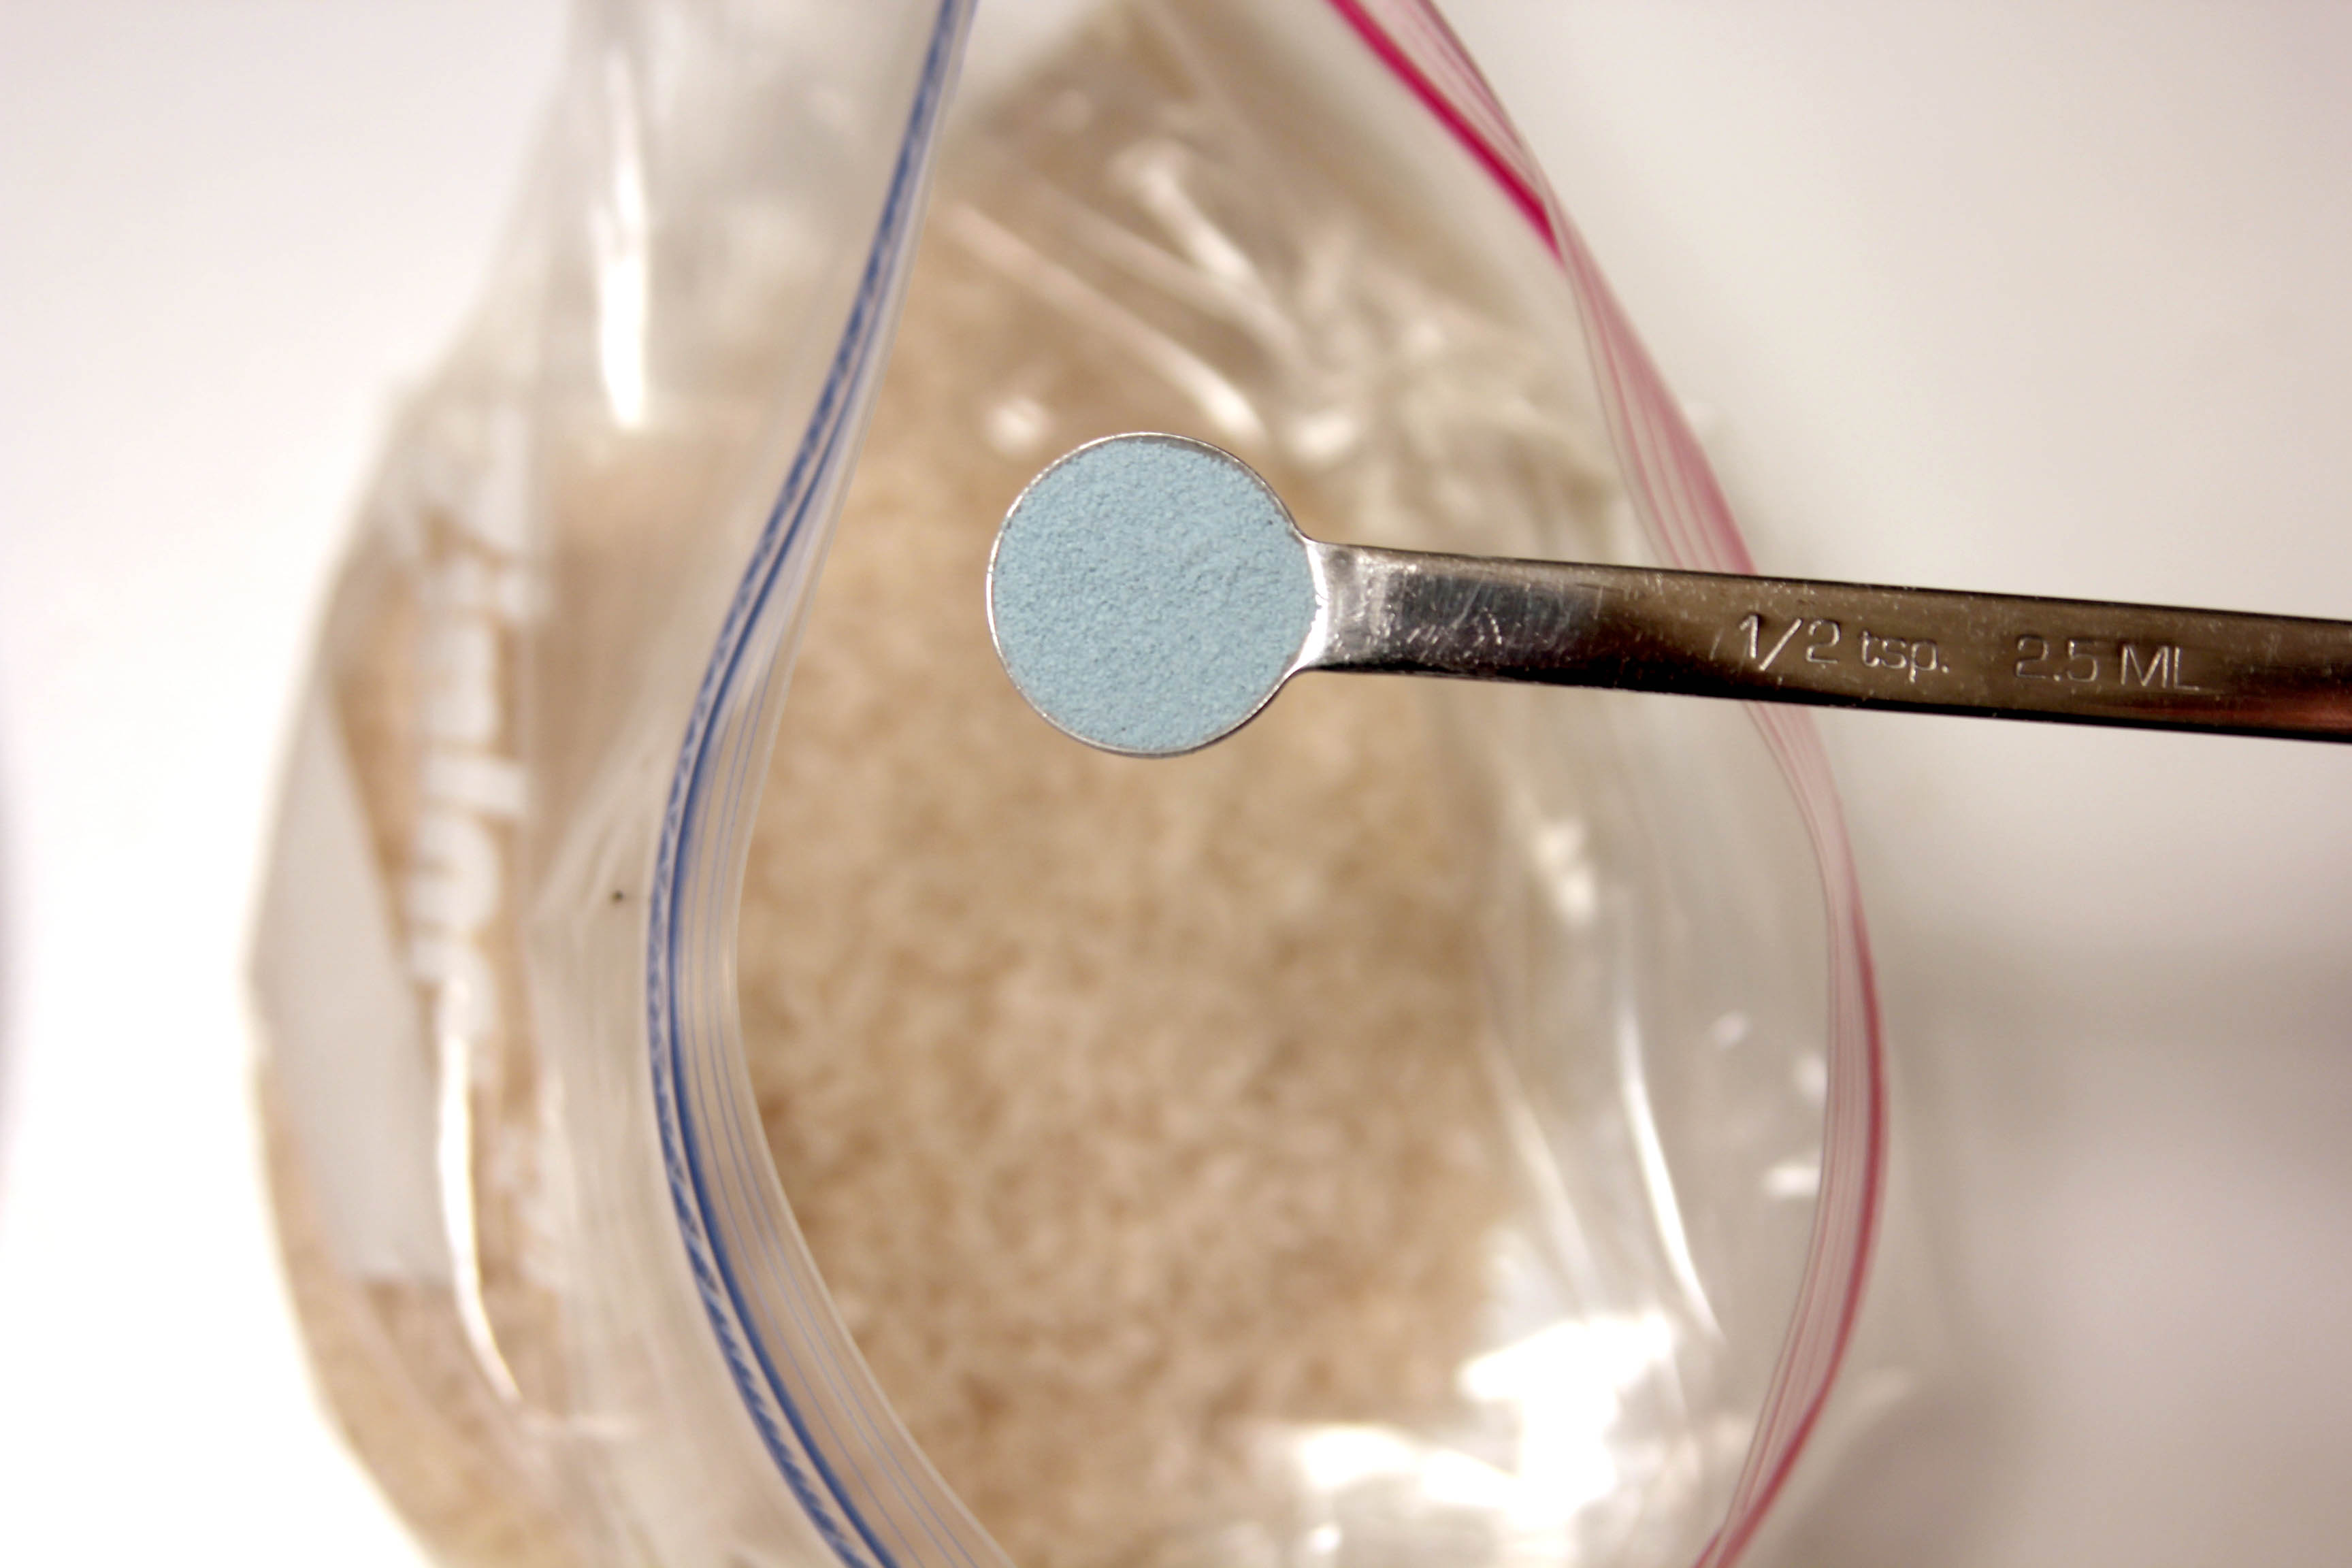
First, have your child add 1 cup of rice to each bag. Then, have him or her scoop out a 1/2 teaspoon of power out of each Kool-Aid packet. (Each Kool-Aid packet typically has 1 teaspoon of powder in it.) Pour the powder on top of the rice. For the last step, which is a mama step, add 1 teaspoon of rubbing alcohol to each bag on top of the previous two ingredients.
Step 3
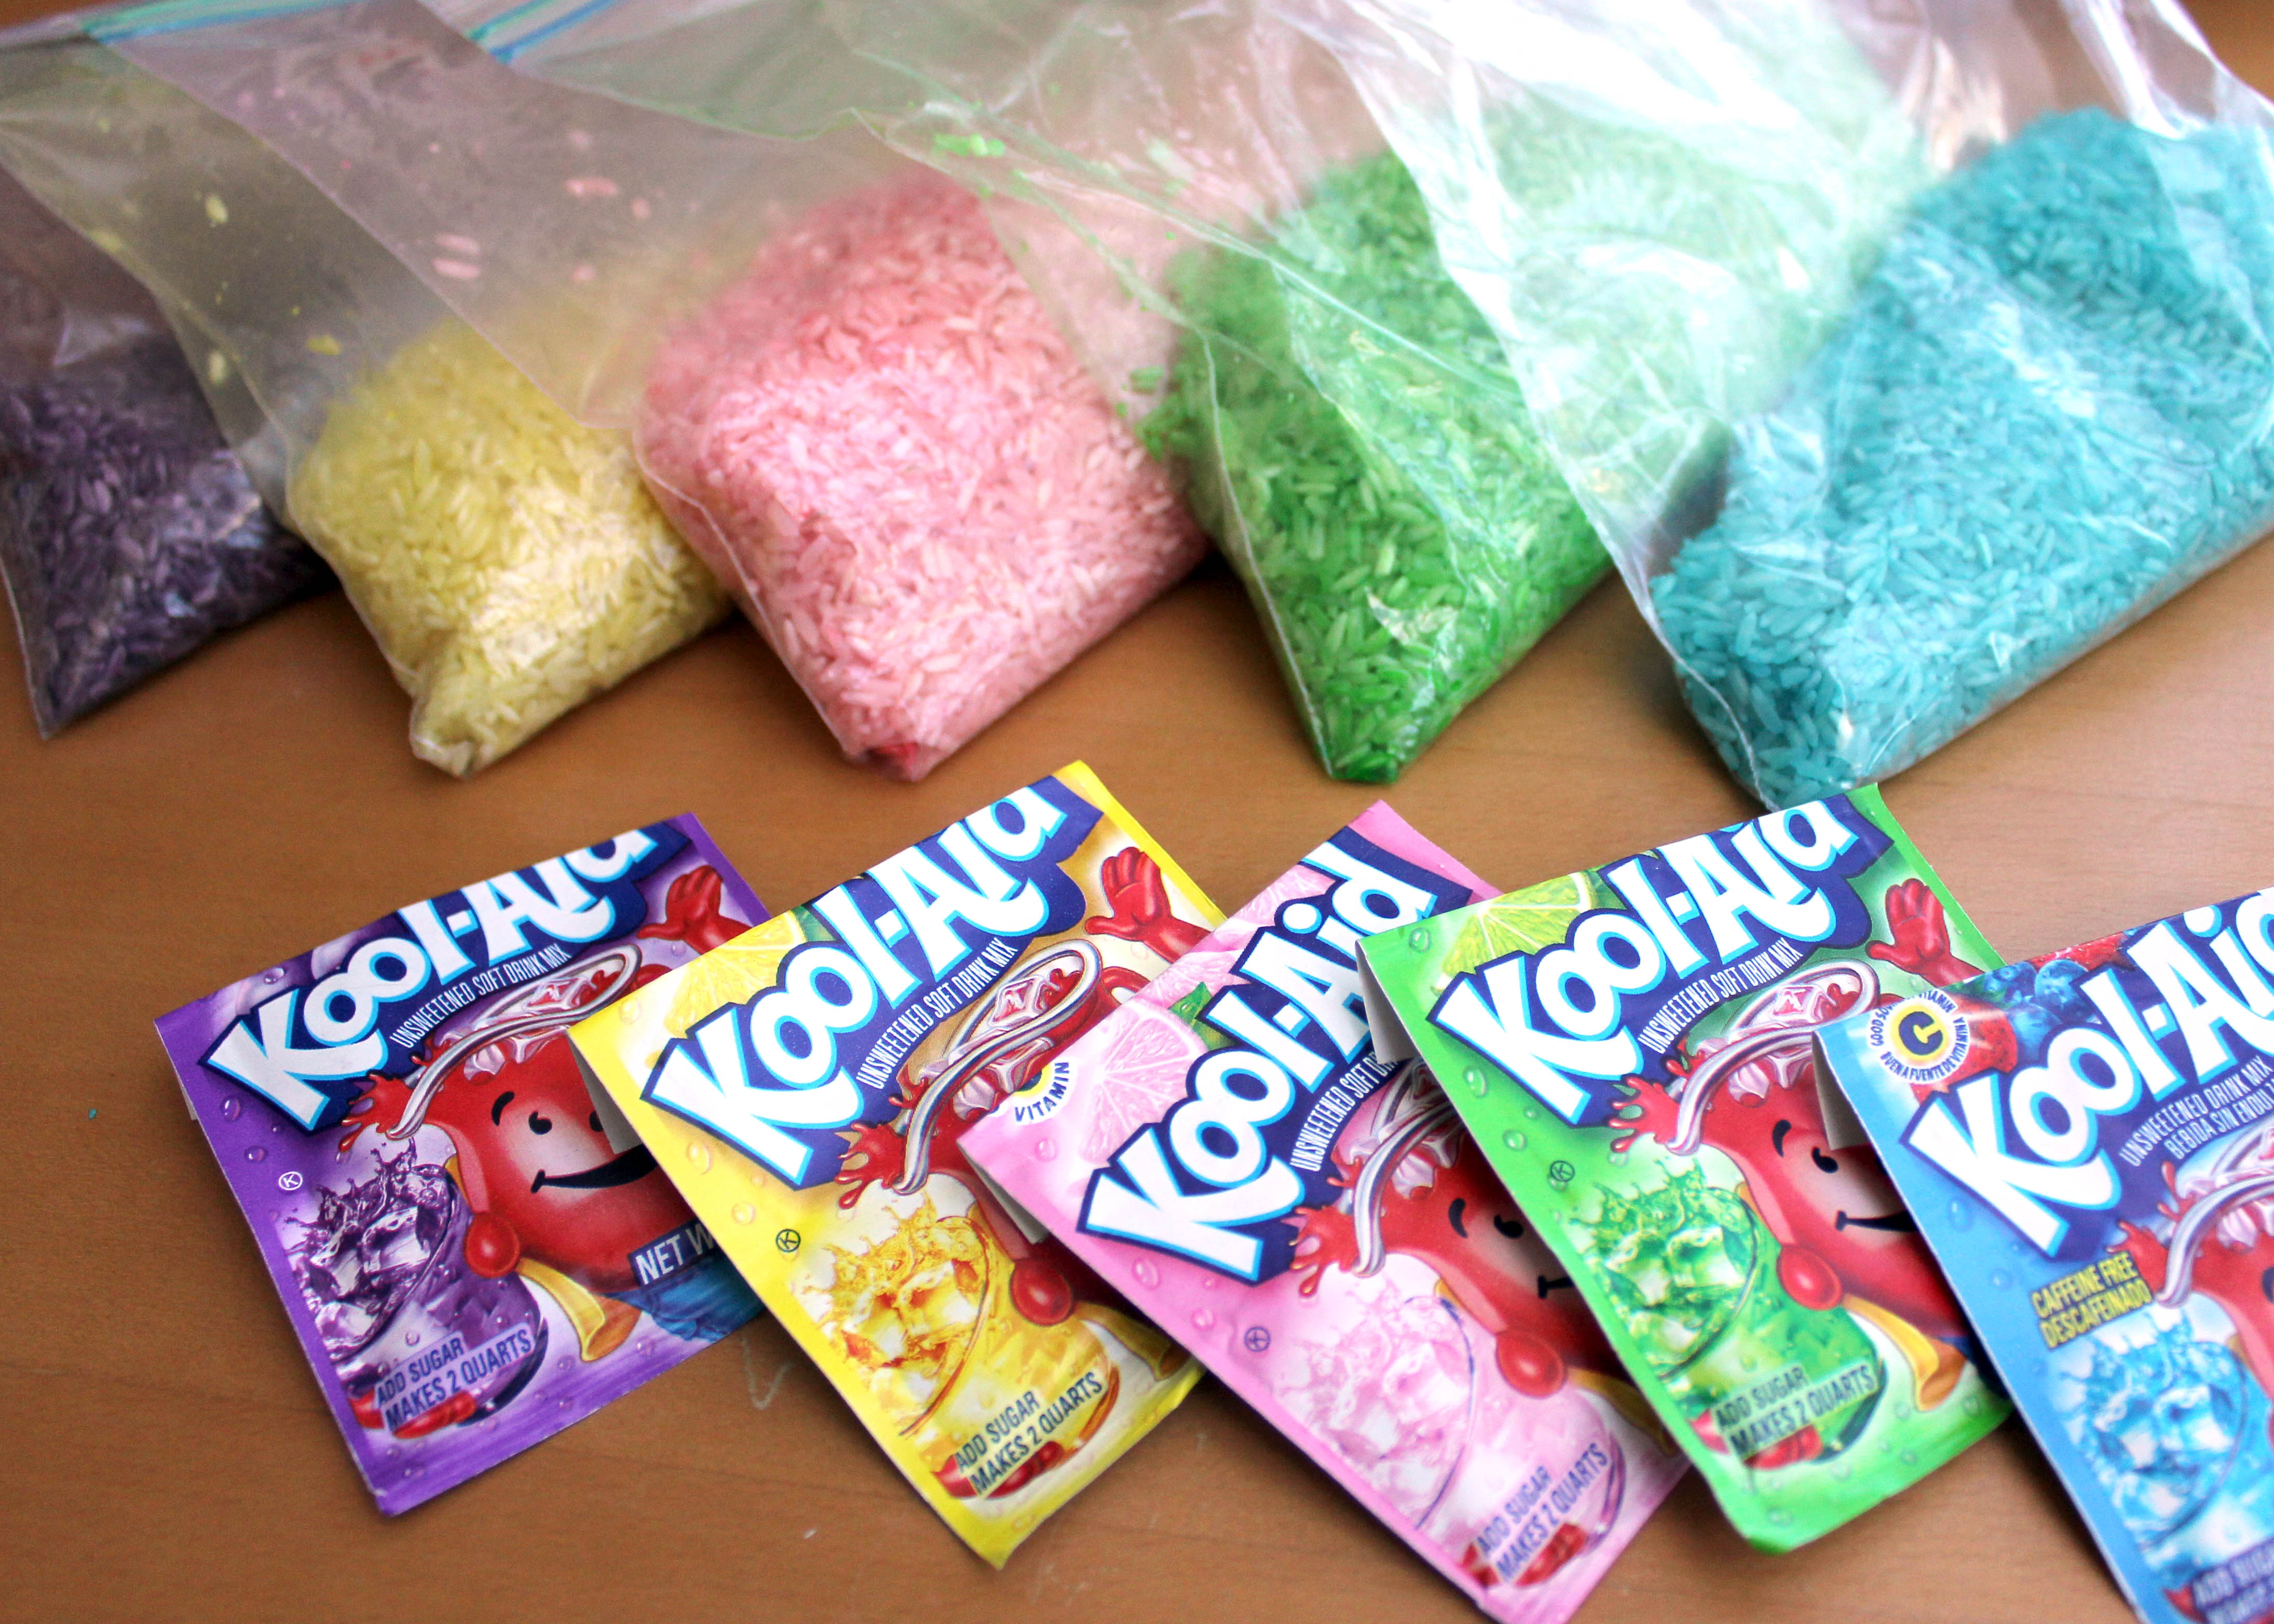
Seal the bag shut (because I can attest that wet Kool-Aid rice is NOT a fun experience to clean up!) and shake it up (this can be a fun part in the process for the kids to do too)! Let it sit for at least 15 minutes to saturate.
Done!
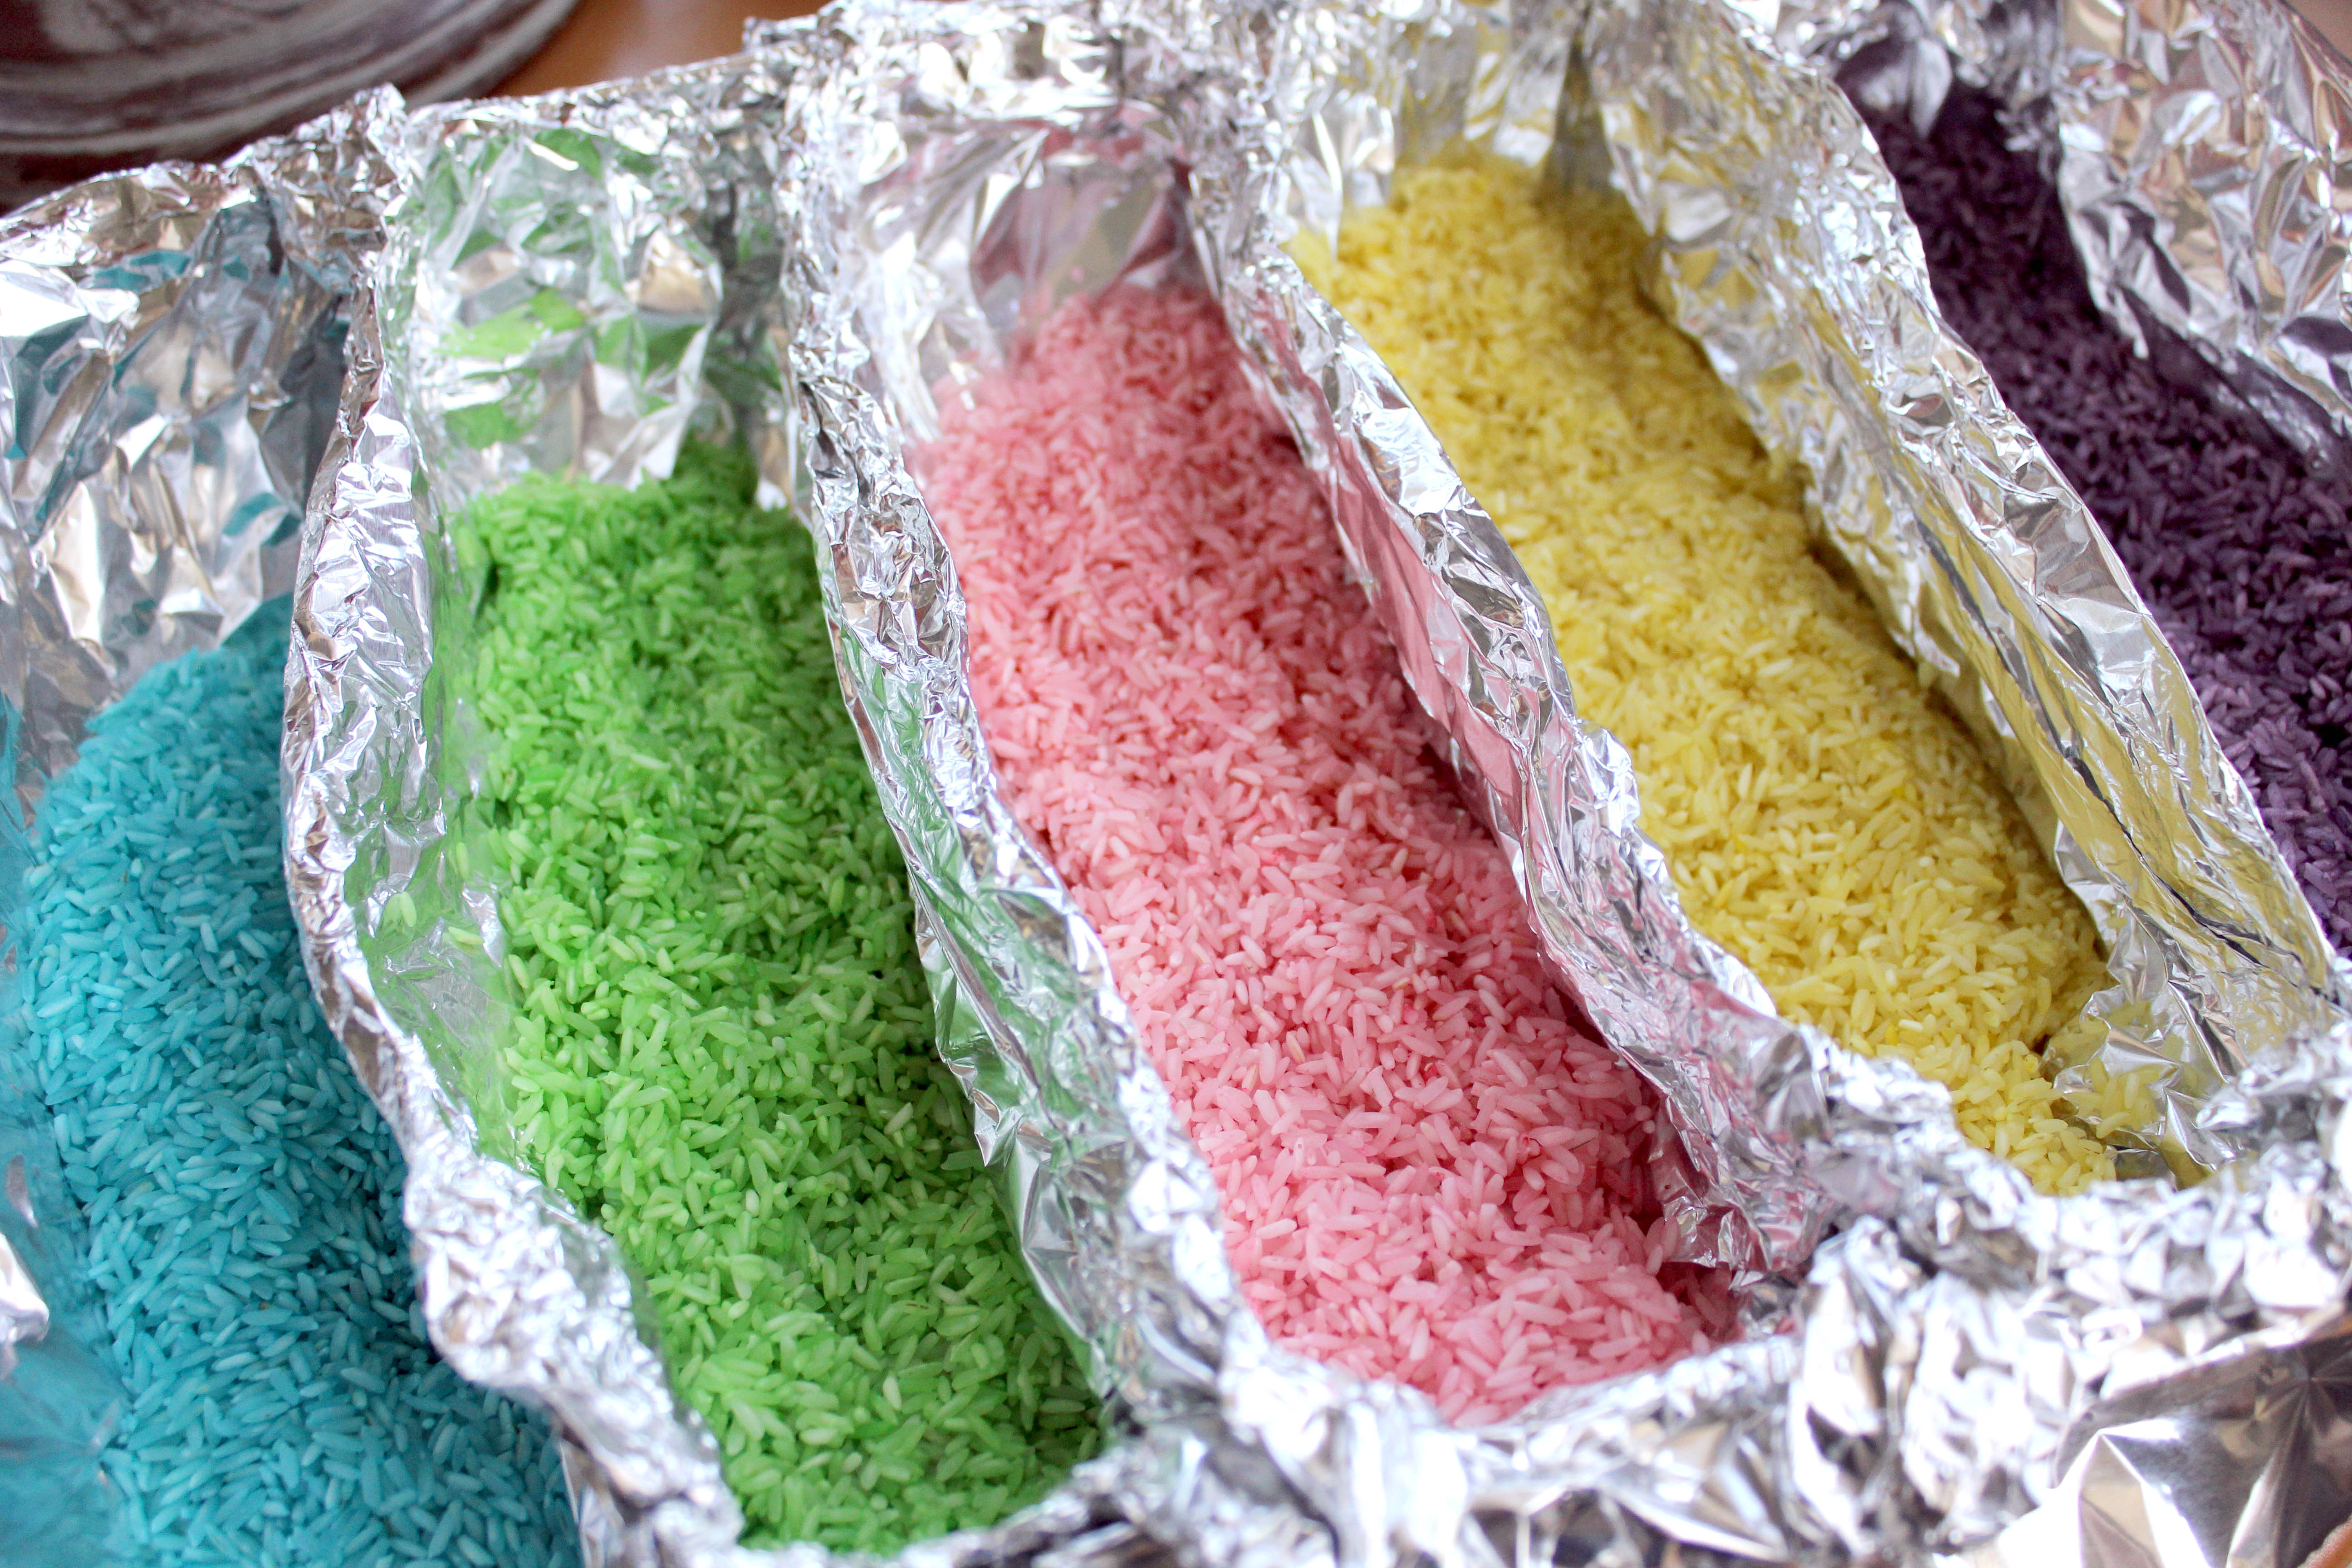
Next, pour the wet rice out onto a tray and get it as flat as it will go so that you can dry it overnight (or for at least 6-8 hours). When I dye rice or pasta, I usually make little tin foil sections in the tray to separate the colors. When it is dry, the rice will be all clumped together; separate the rice grains with your hands. (This is also a fun step for kiddo involvement too!) Finally, add your colored rice to a spring sensory bin and enjoy!