Step-by-step tutorial
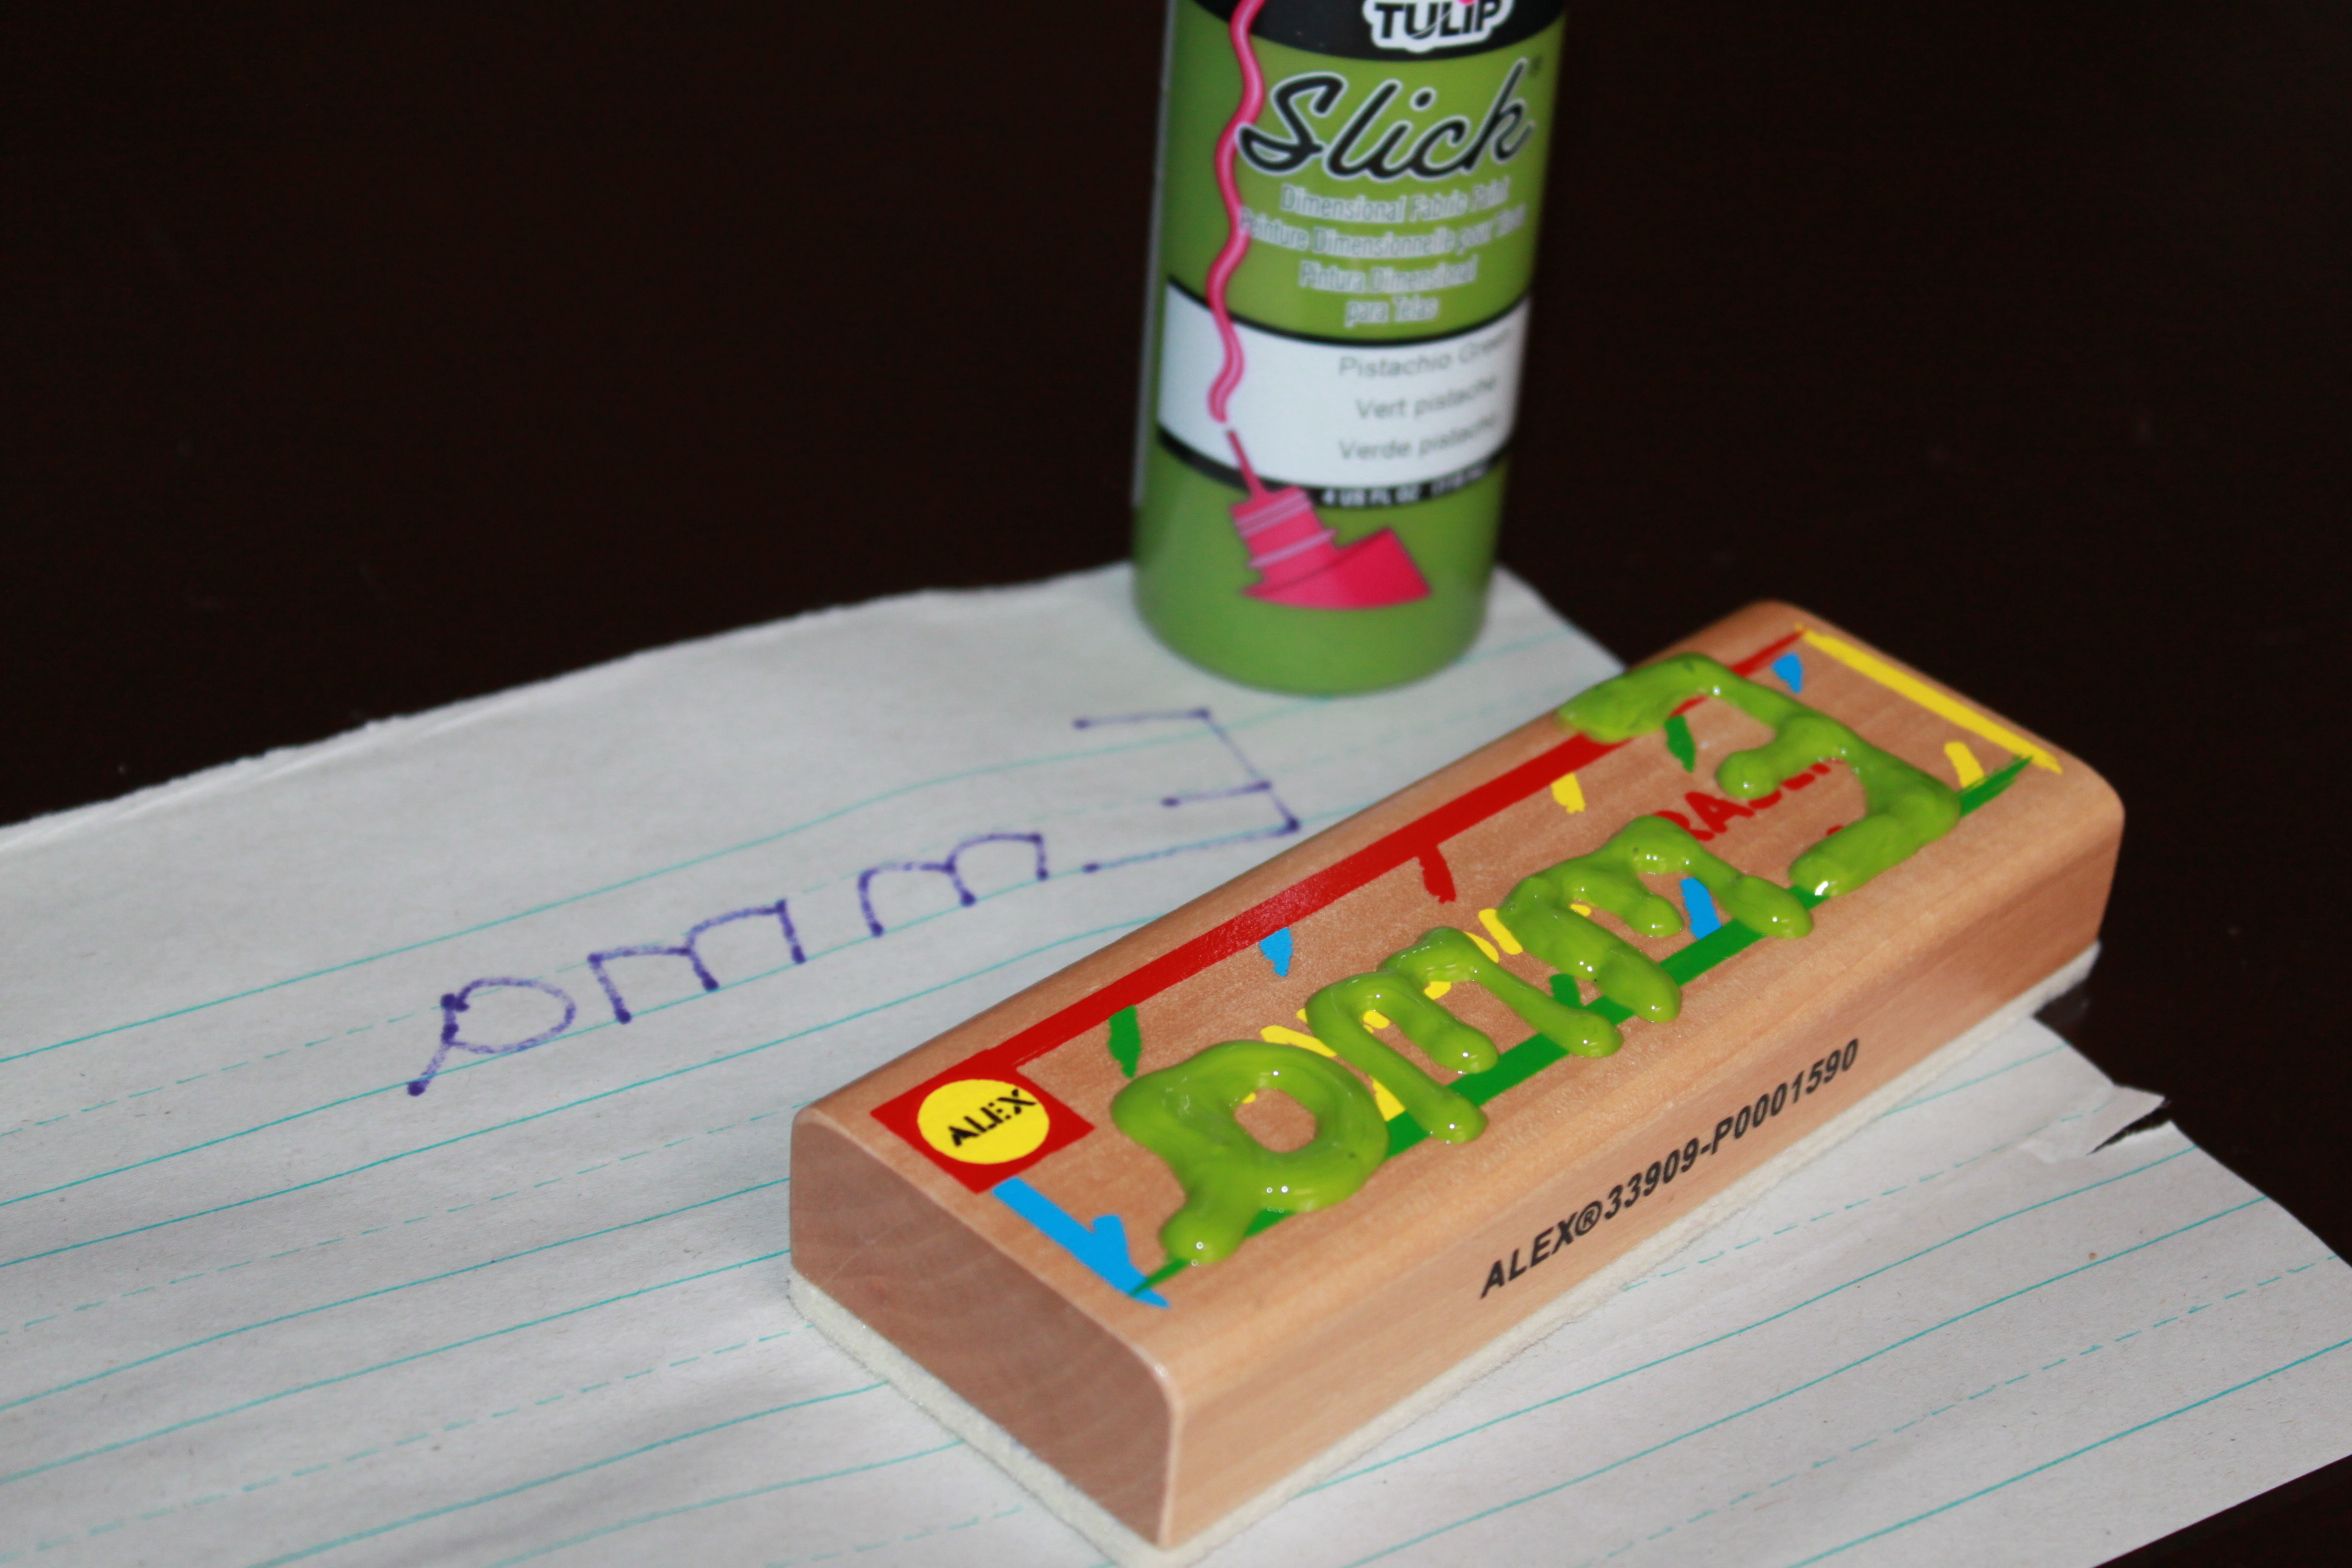
Step 1
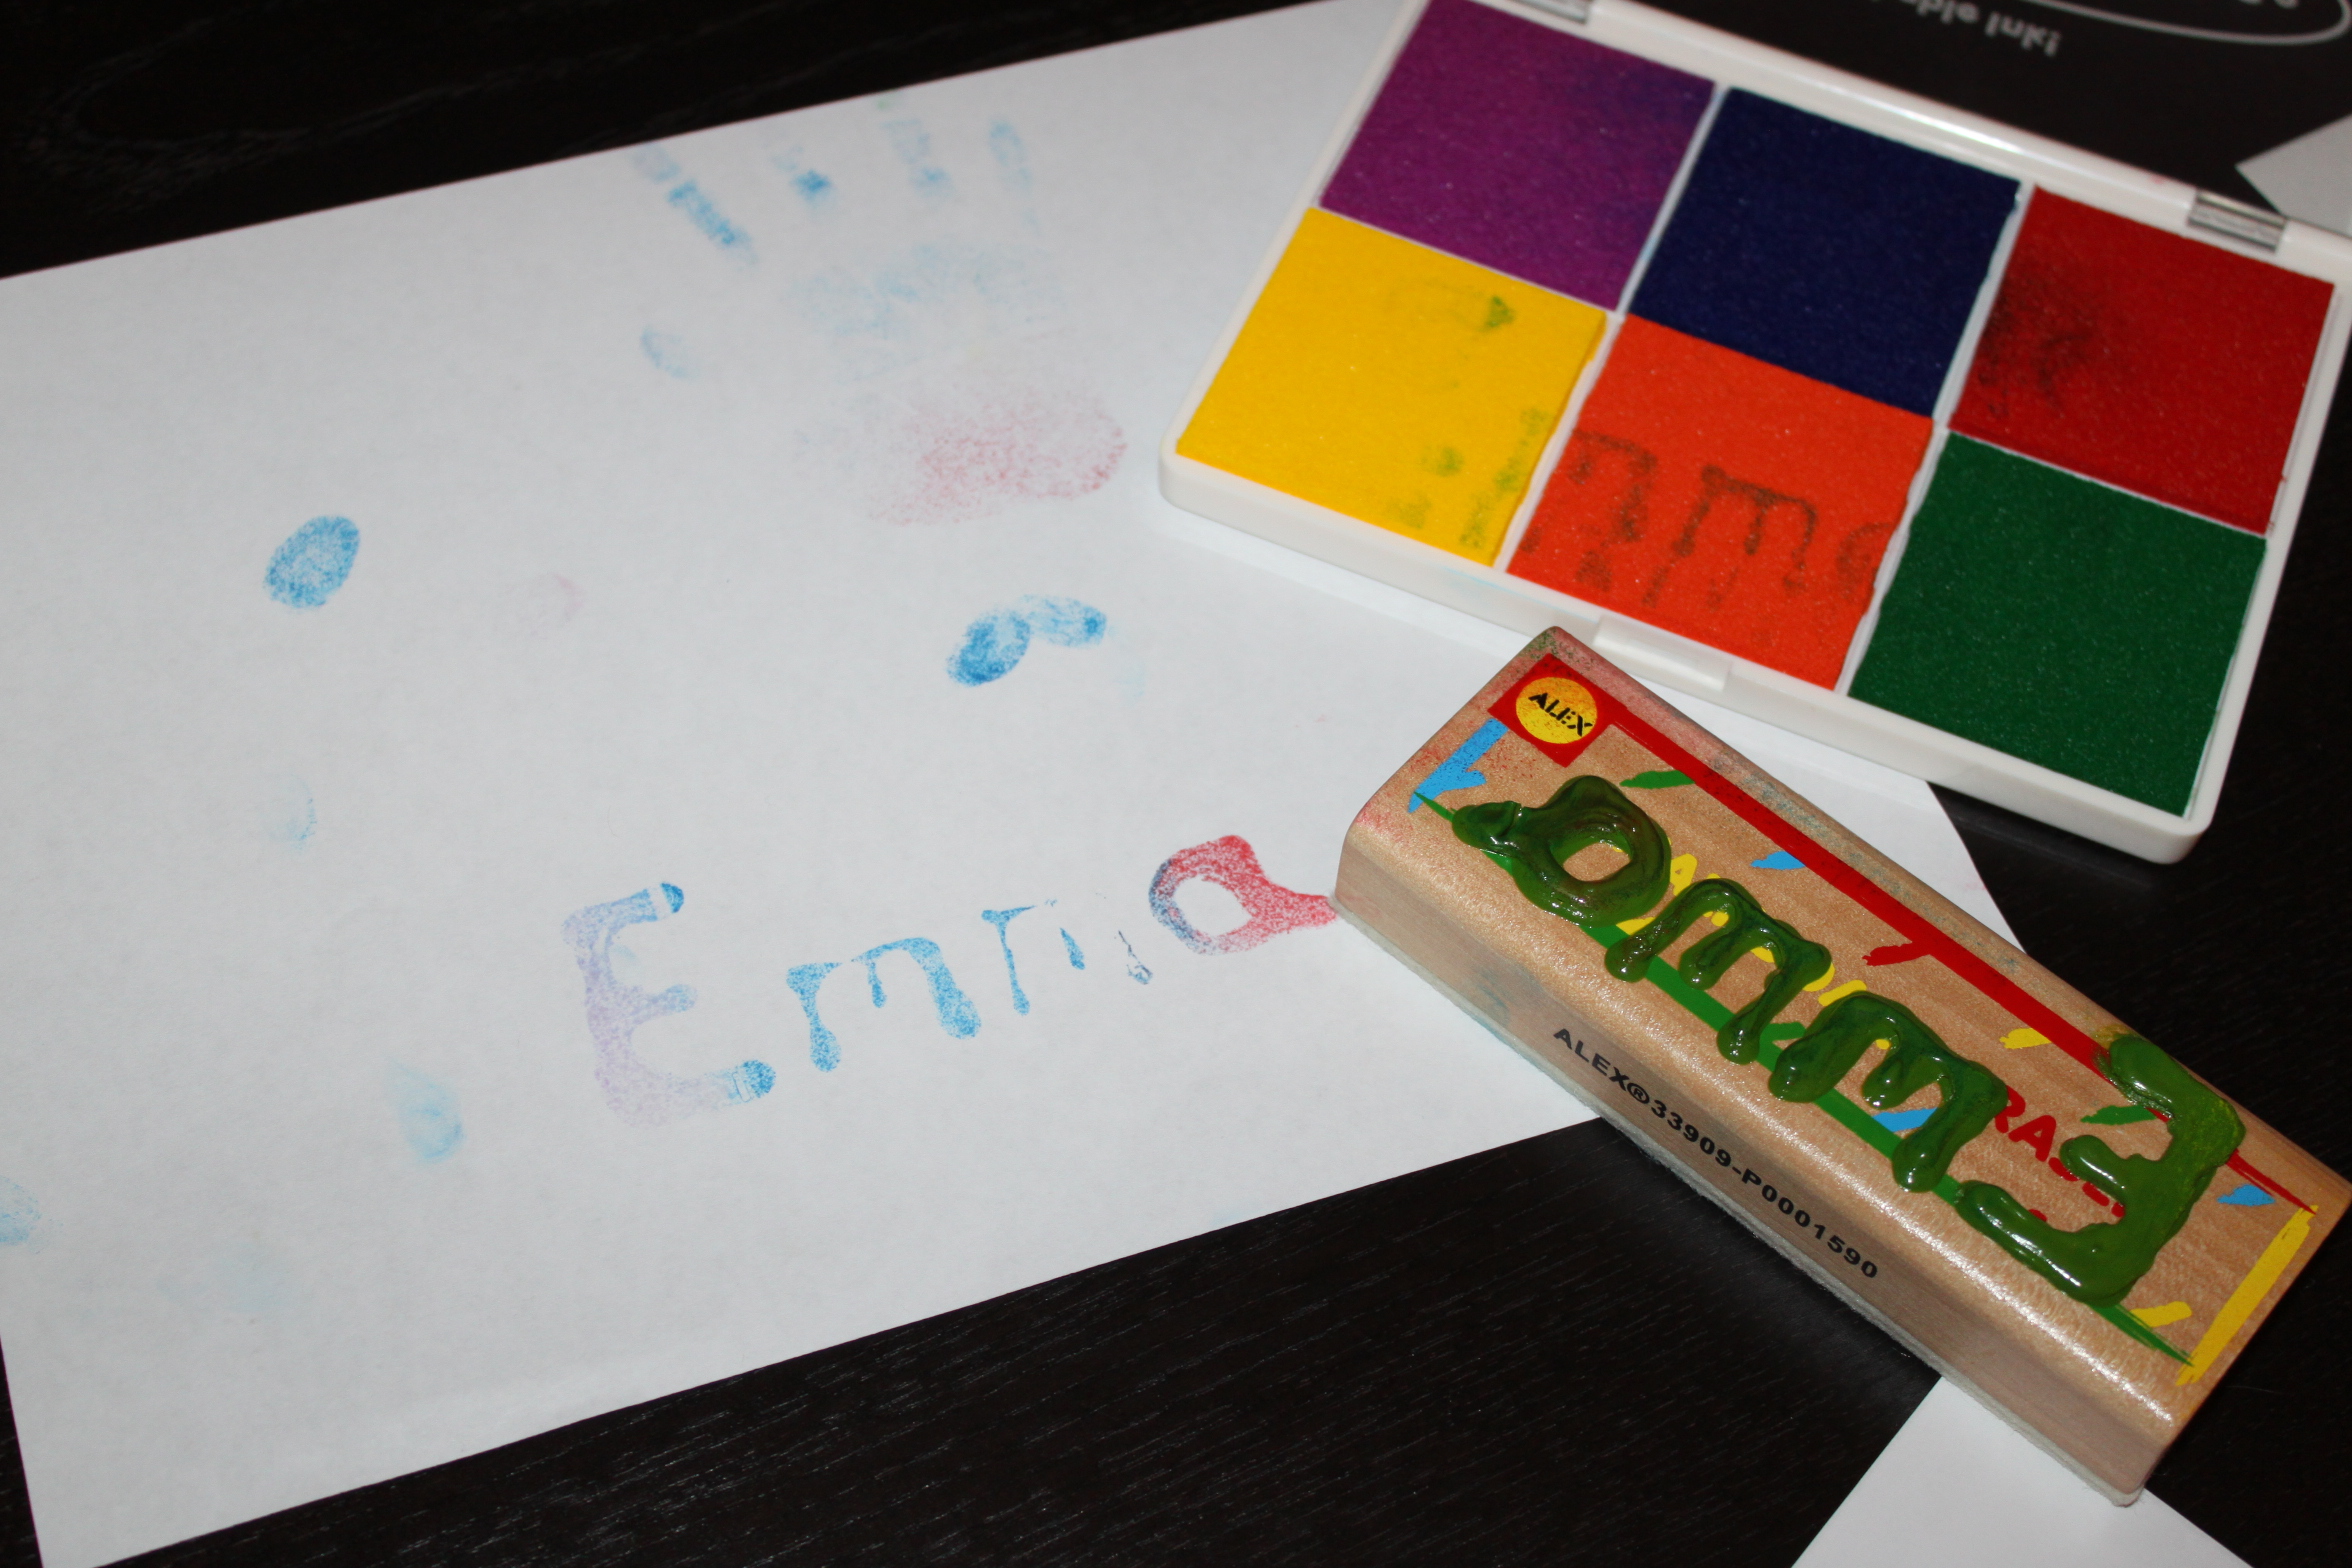
I did this first step in the evening; that way our stamp could dry while the kids slept. With puffy paint, I drew Emma's name right on the back of a whiteboard eraser. (You need to write the name backwards so it will stamp the right way. It helps to write it down with marker and flip over the paper to use as a reference. It was harder to write backwards than I expected which is what led me to this little trick.) If your kiddo's older, let them create their own one-of-a-kind stamps--with letter designs or otherwise! Trust me; they'll love it!

Step 2
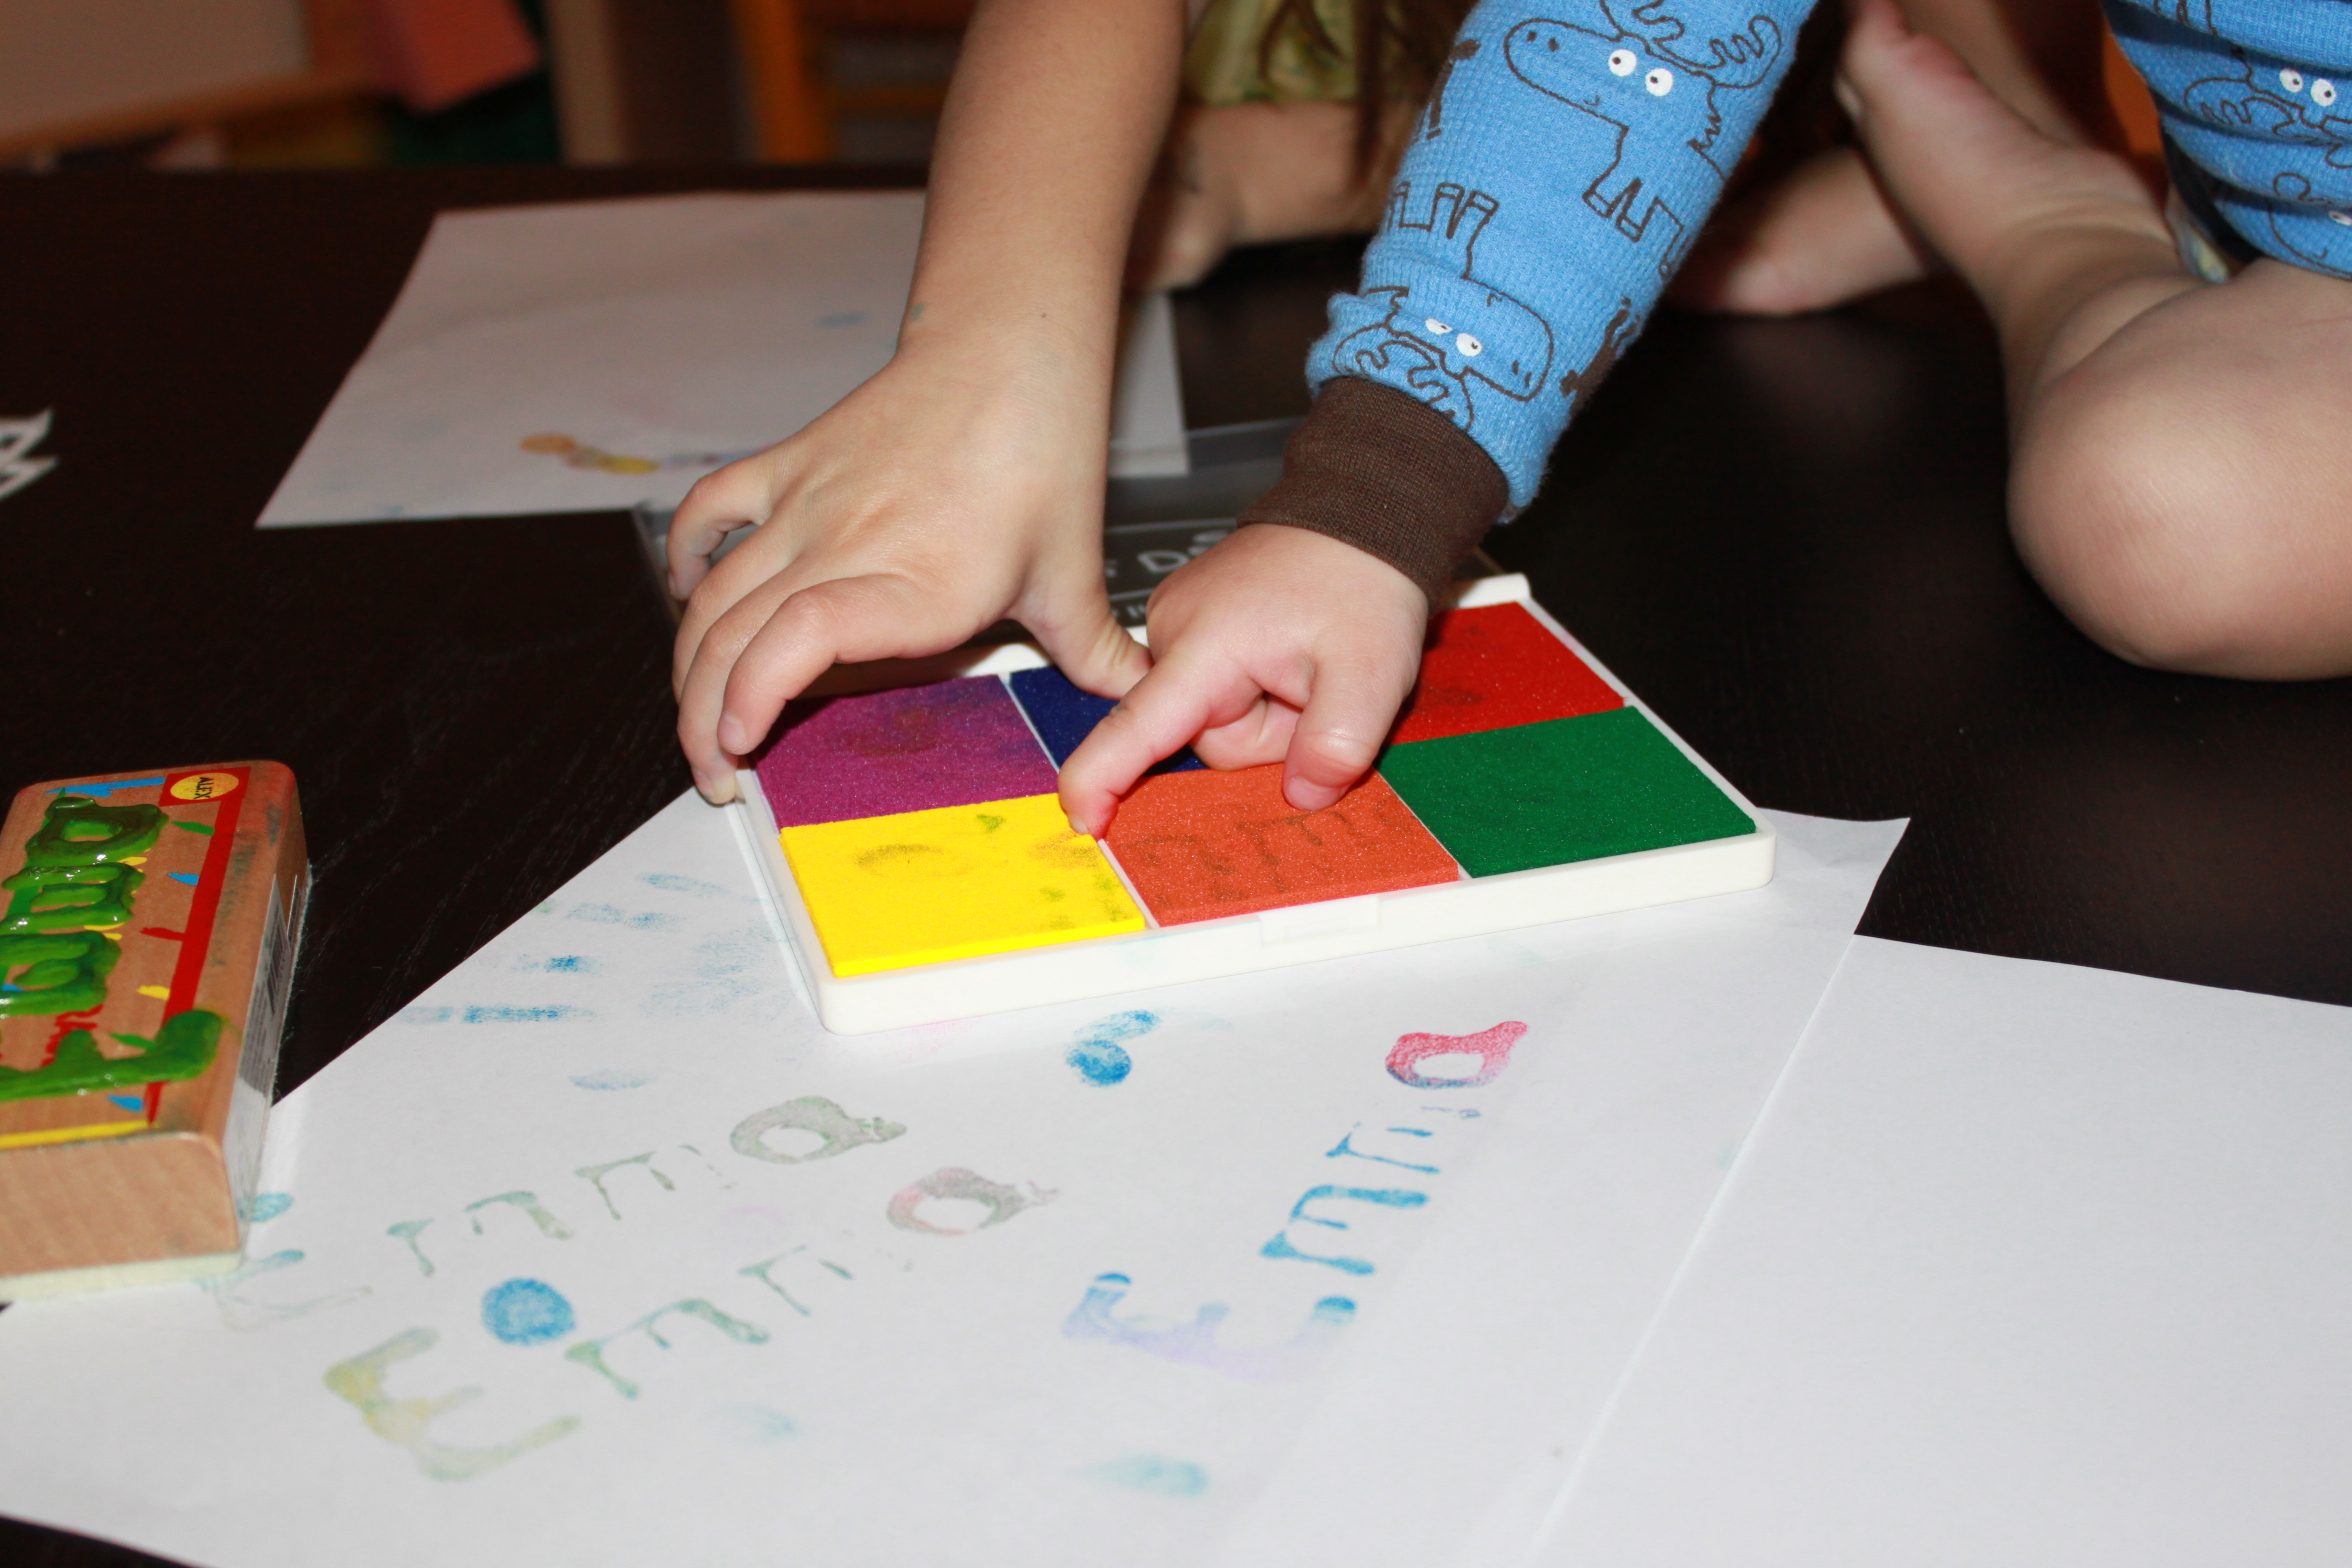
In the morning, Emma was thrilled to see her new personalized stamp. She wanted to stamp everything--including herself!
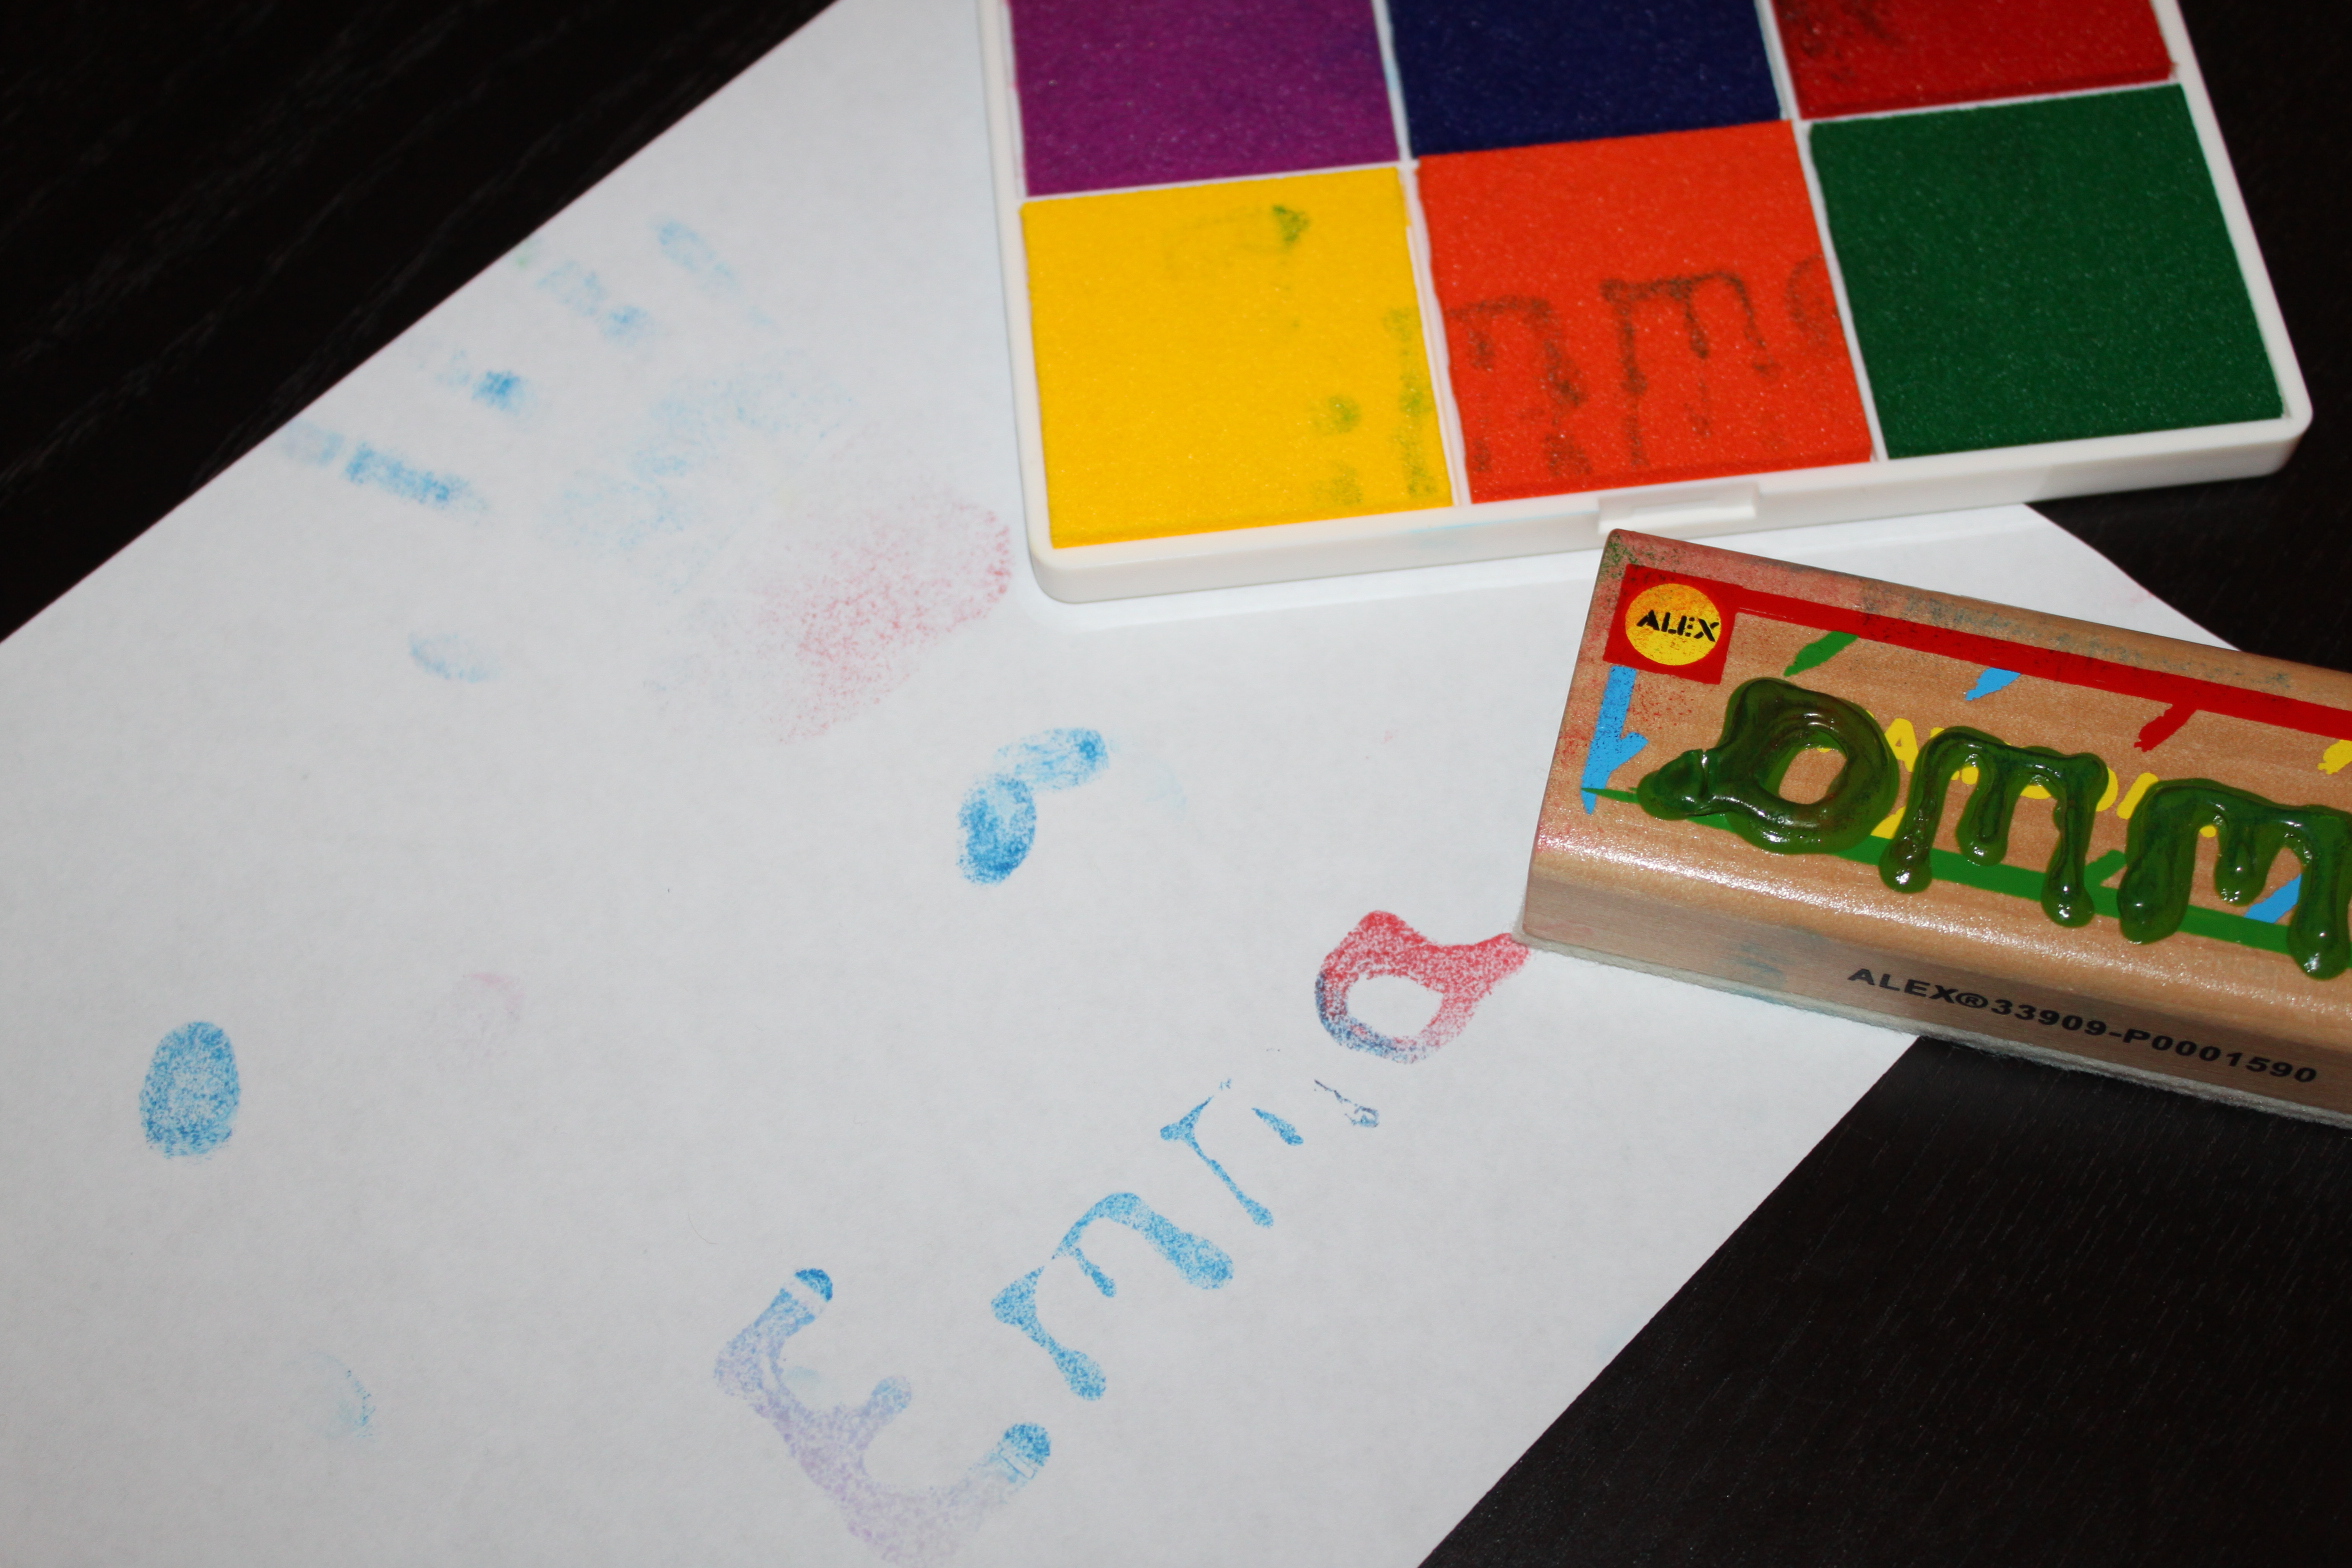
Final result!
When the kids had enough name stamping, they moved onto finger stamps. Good thing I use washable ink pads!