Step-by-step tutorial
Step 1
Start by cutting two notches into your craft sticks on each end. You'll want them close to the end of the stick, and fairly deep. (I ended up going back and cutting them a little deeper than I have in this photo.)


Step 2
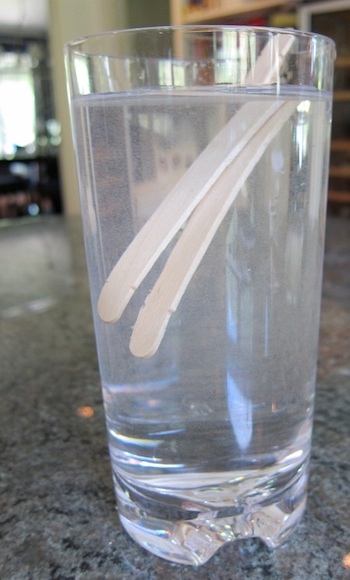
Then pop your sticks in a glass of water to soften the wood. You'll need at least an hour for this step (and a little longer didn't seem to hurt it).
Step 3
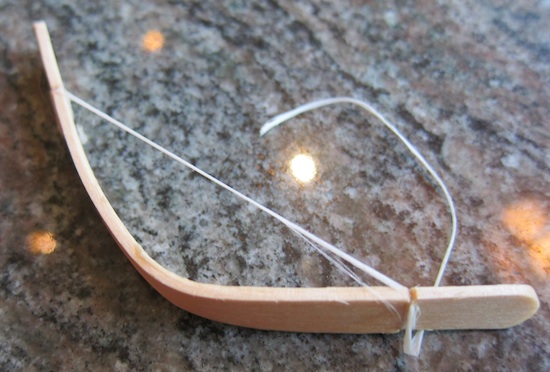
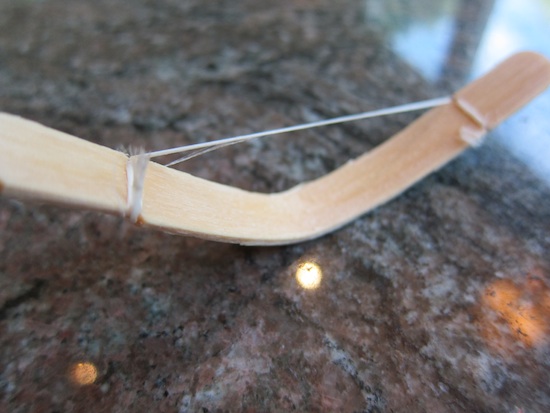
When you're ready to bend your bow, start by wrapping the dental floss around one end. I just wrapped it around 3-4 times, securing it in the notch. Then holding the stick in one hand, stretch the dental floss to the notch on the other end, but take care to keep the floss on the same side. Note: The popsicle stick is not especially bendy, so you will need to bend it to shape with one hand, as you stretch the floss tightly across.
Step 4
Then just wrap the floss around the other end of the stick, again pulling it taut and tightly into the notch. I just wrapped it a few times again, and then cut it off.
Step 5
Your bow is ready to go! Your knights can decorate it with markers if they'd like to personalize them.
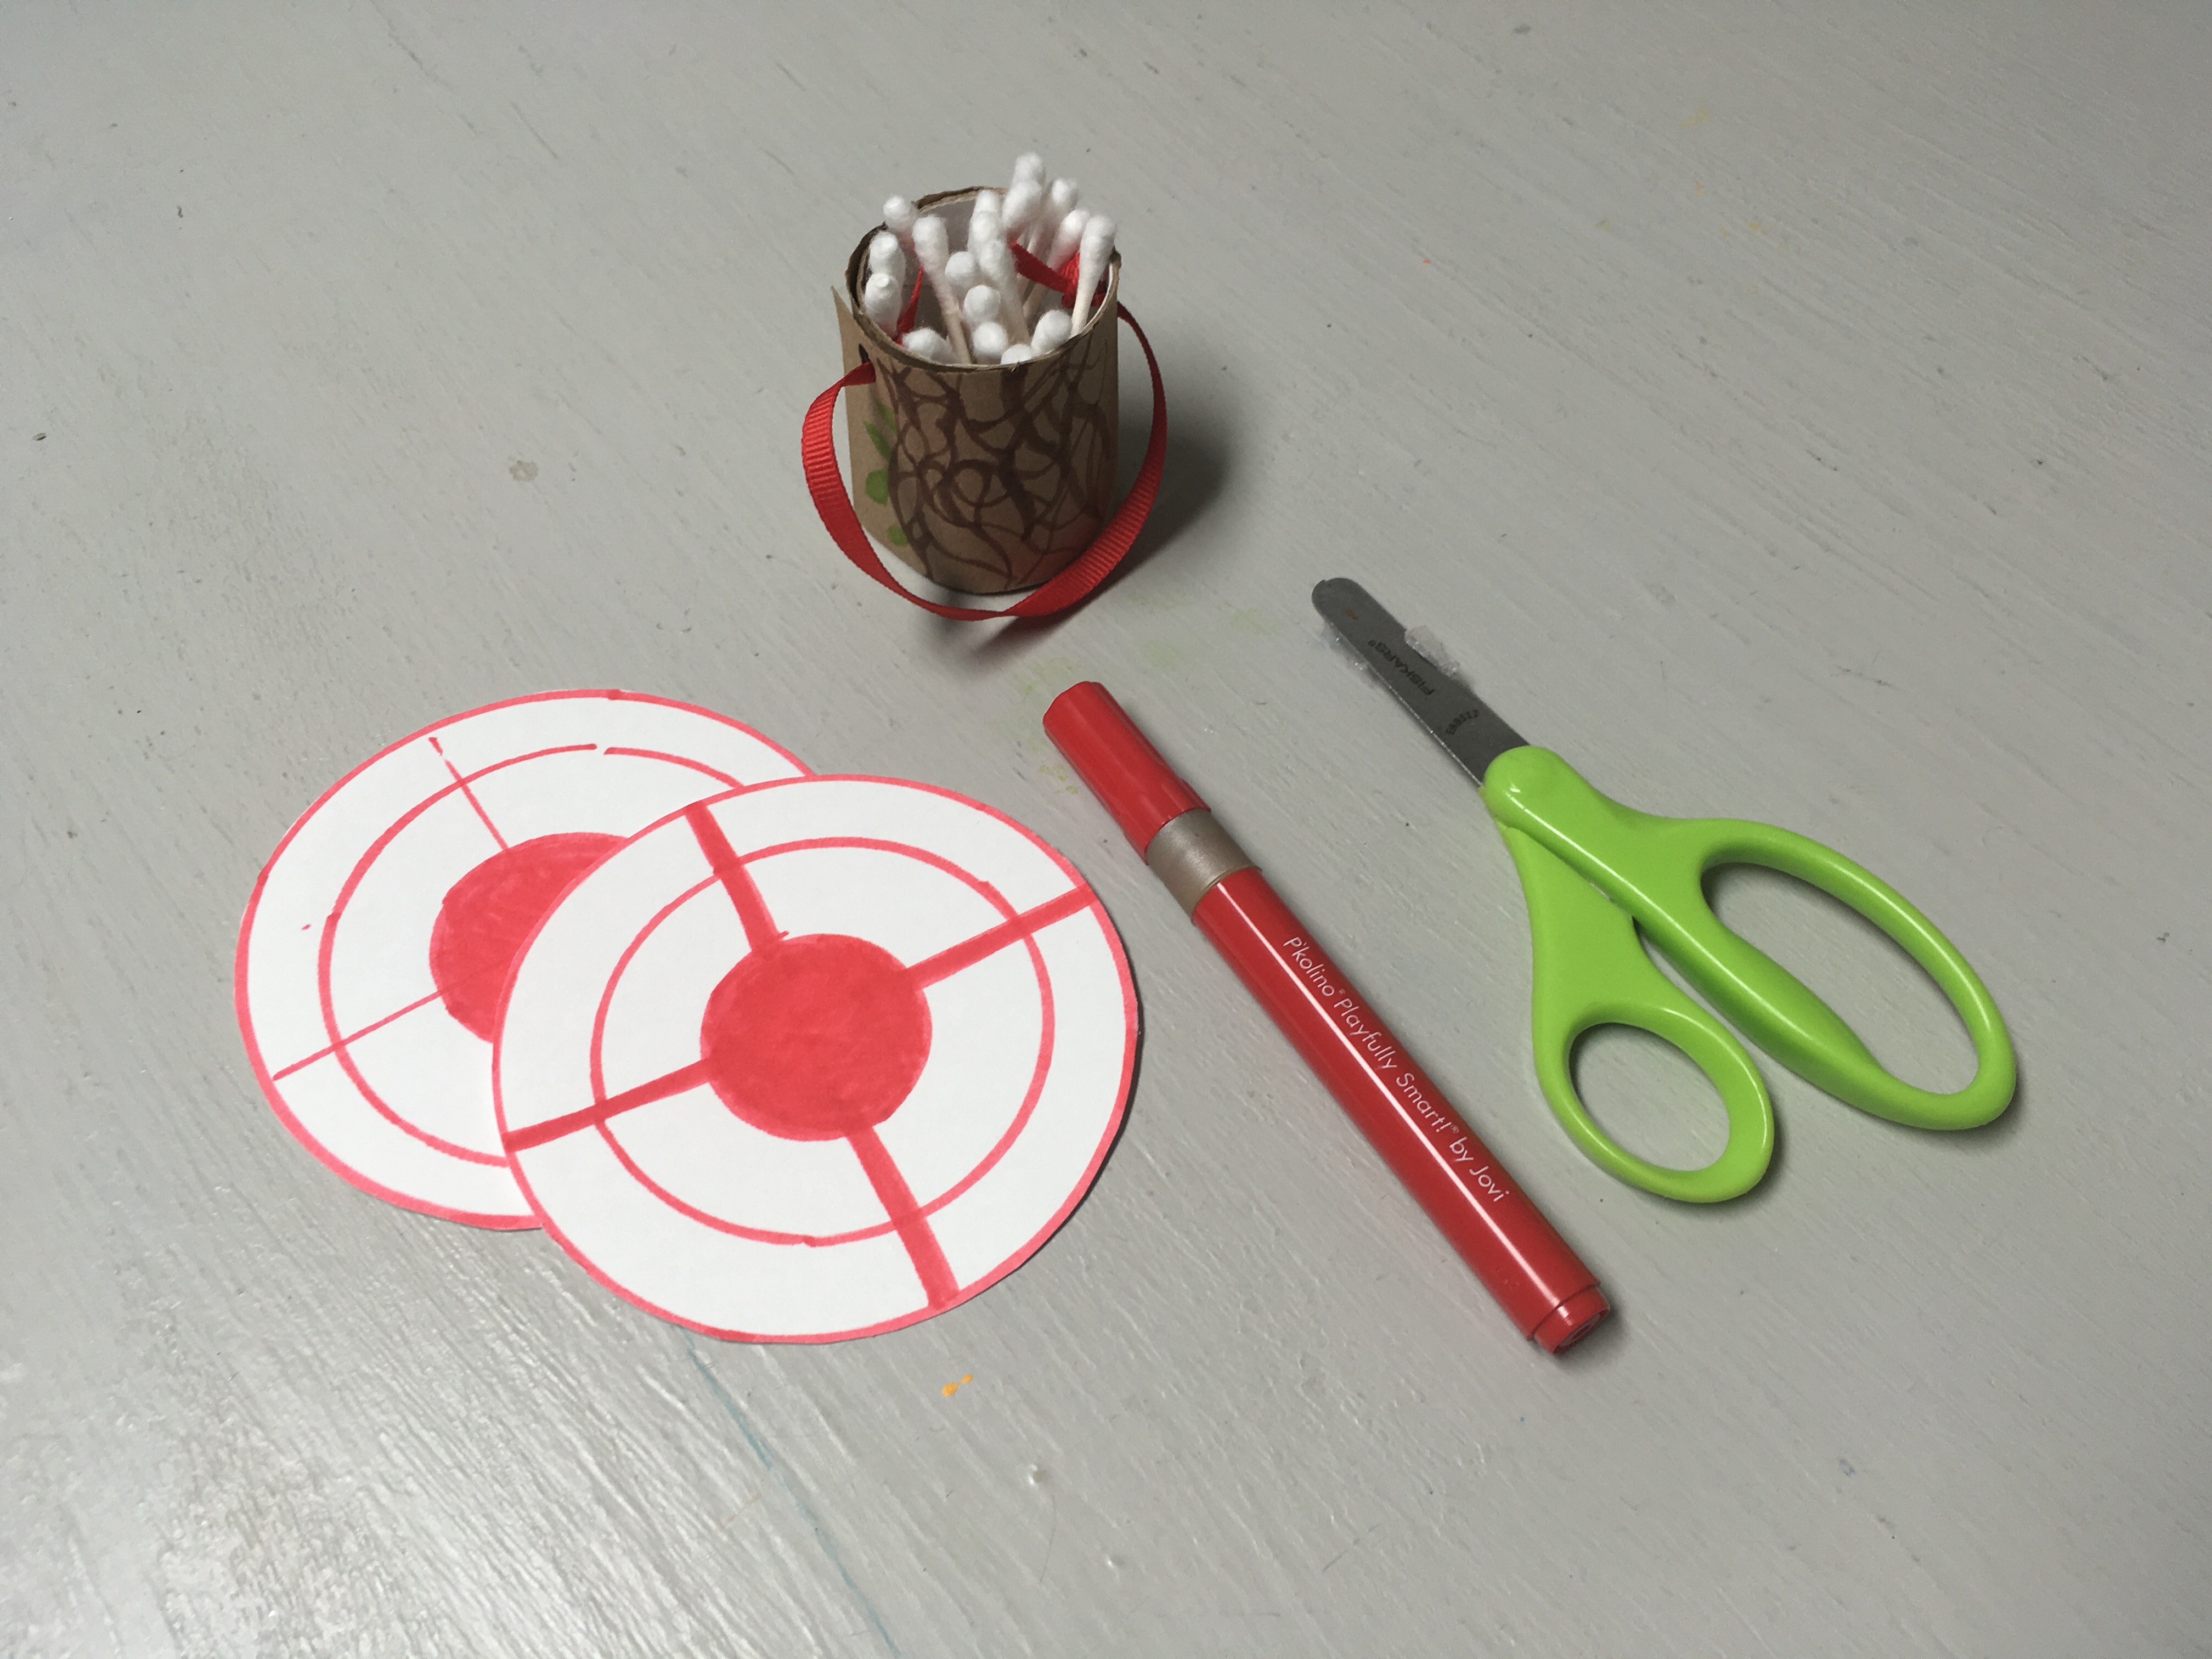
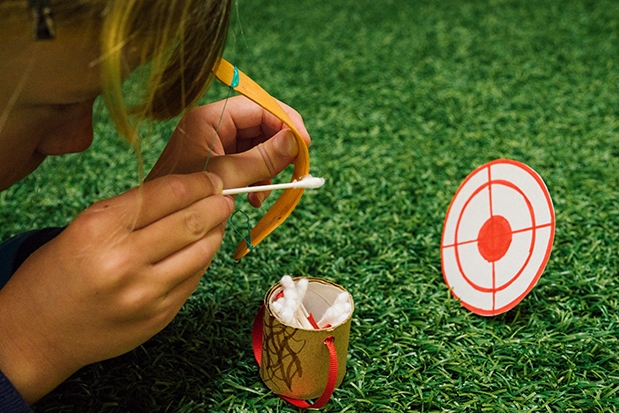
Remember to snip the ends off your cotton swabs. It takes a bit of practice to get the motion down for shooting this teeny bow and arrow, but once you do, it's great fun! We found we could shoot those little arrows 10 feet or more! You could set up targets (using bowls or waste baskets to shoot into, or make bulls-eyes with cardboard & paper) for extra fun. Then it's Ready...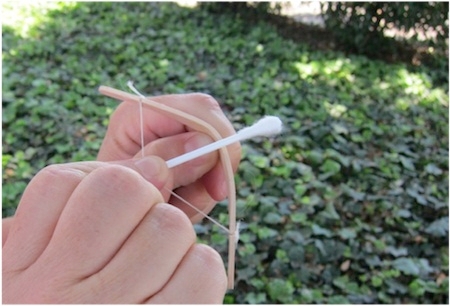
Step 6
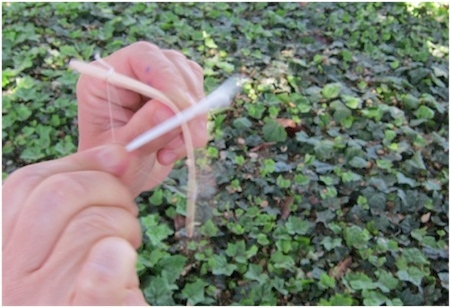
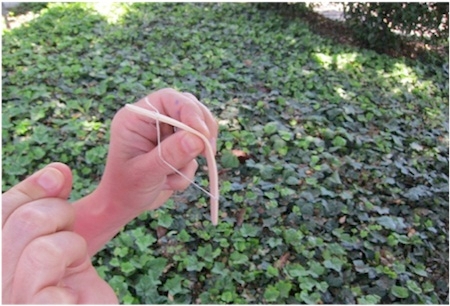
Aim...
Step 7
Fire!
Step 8
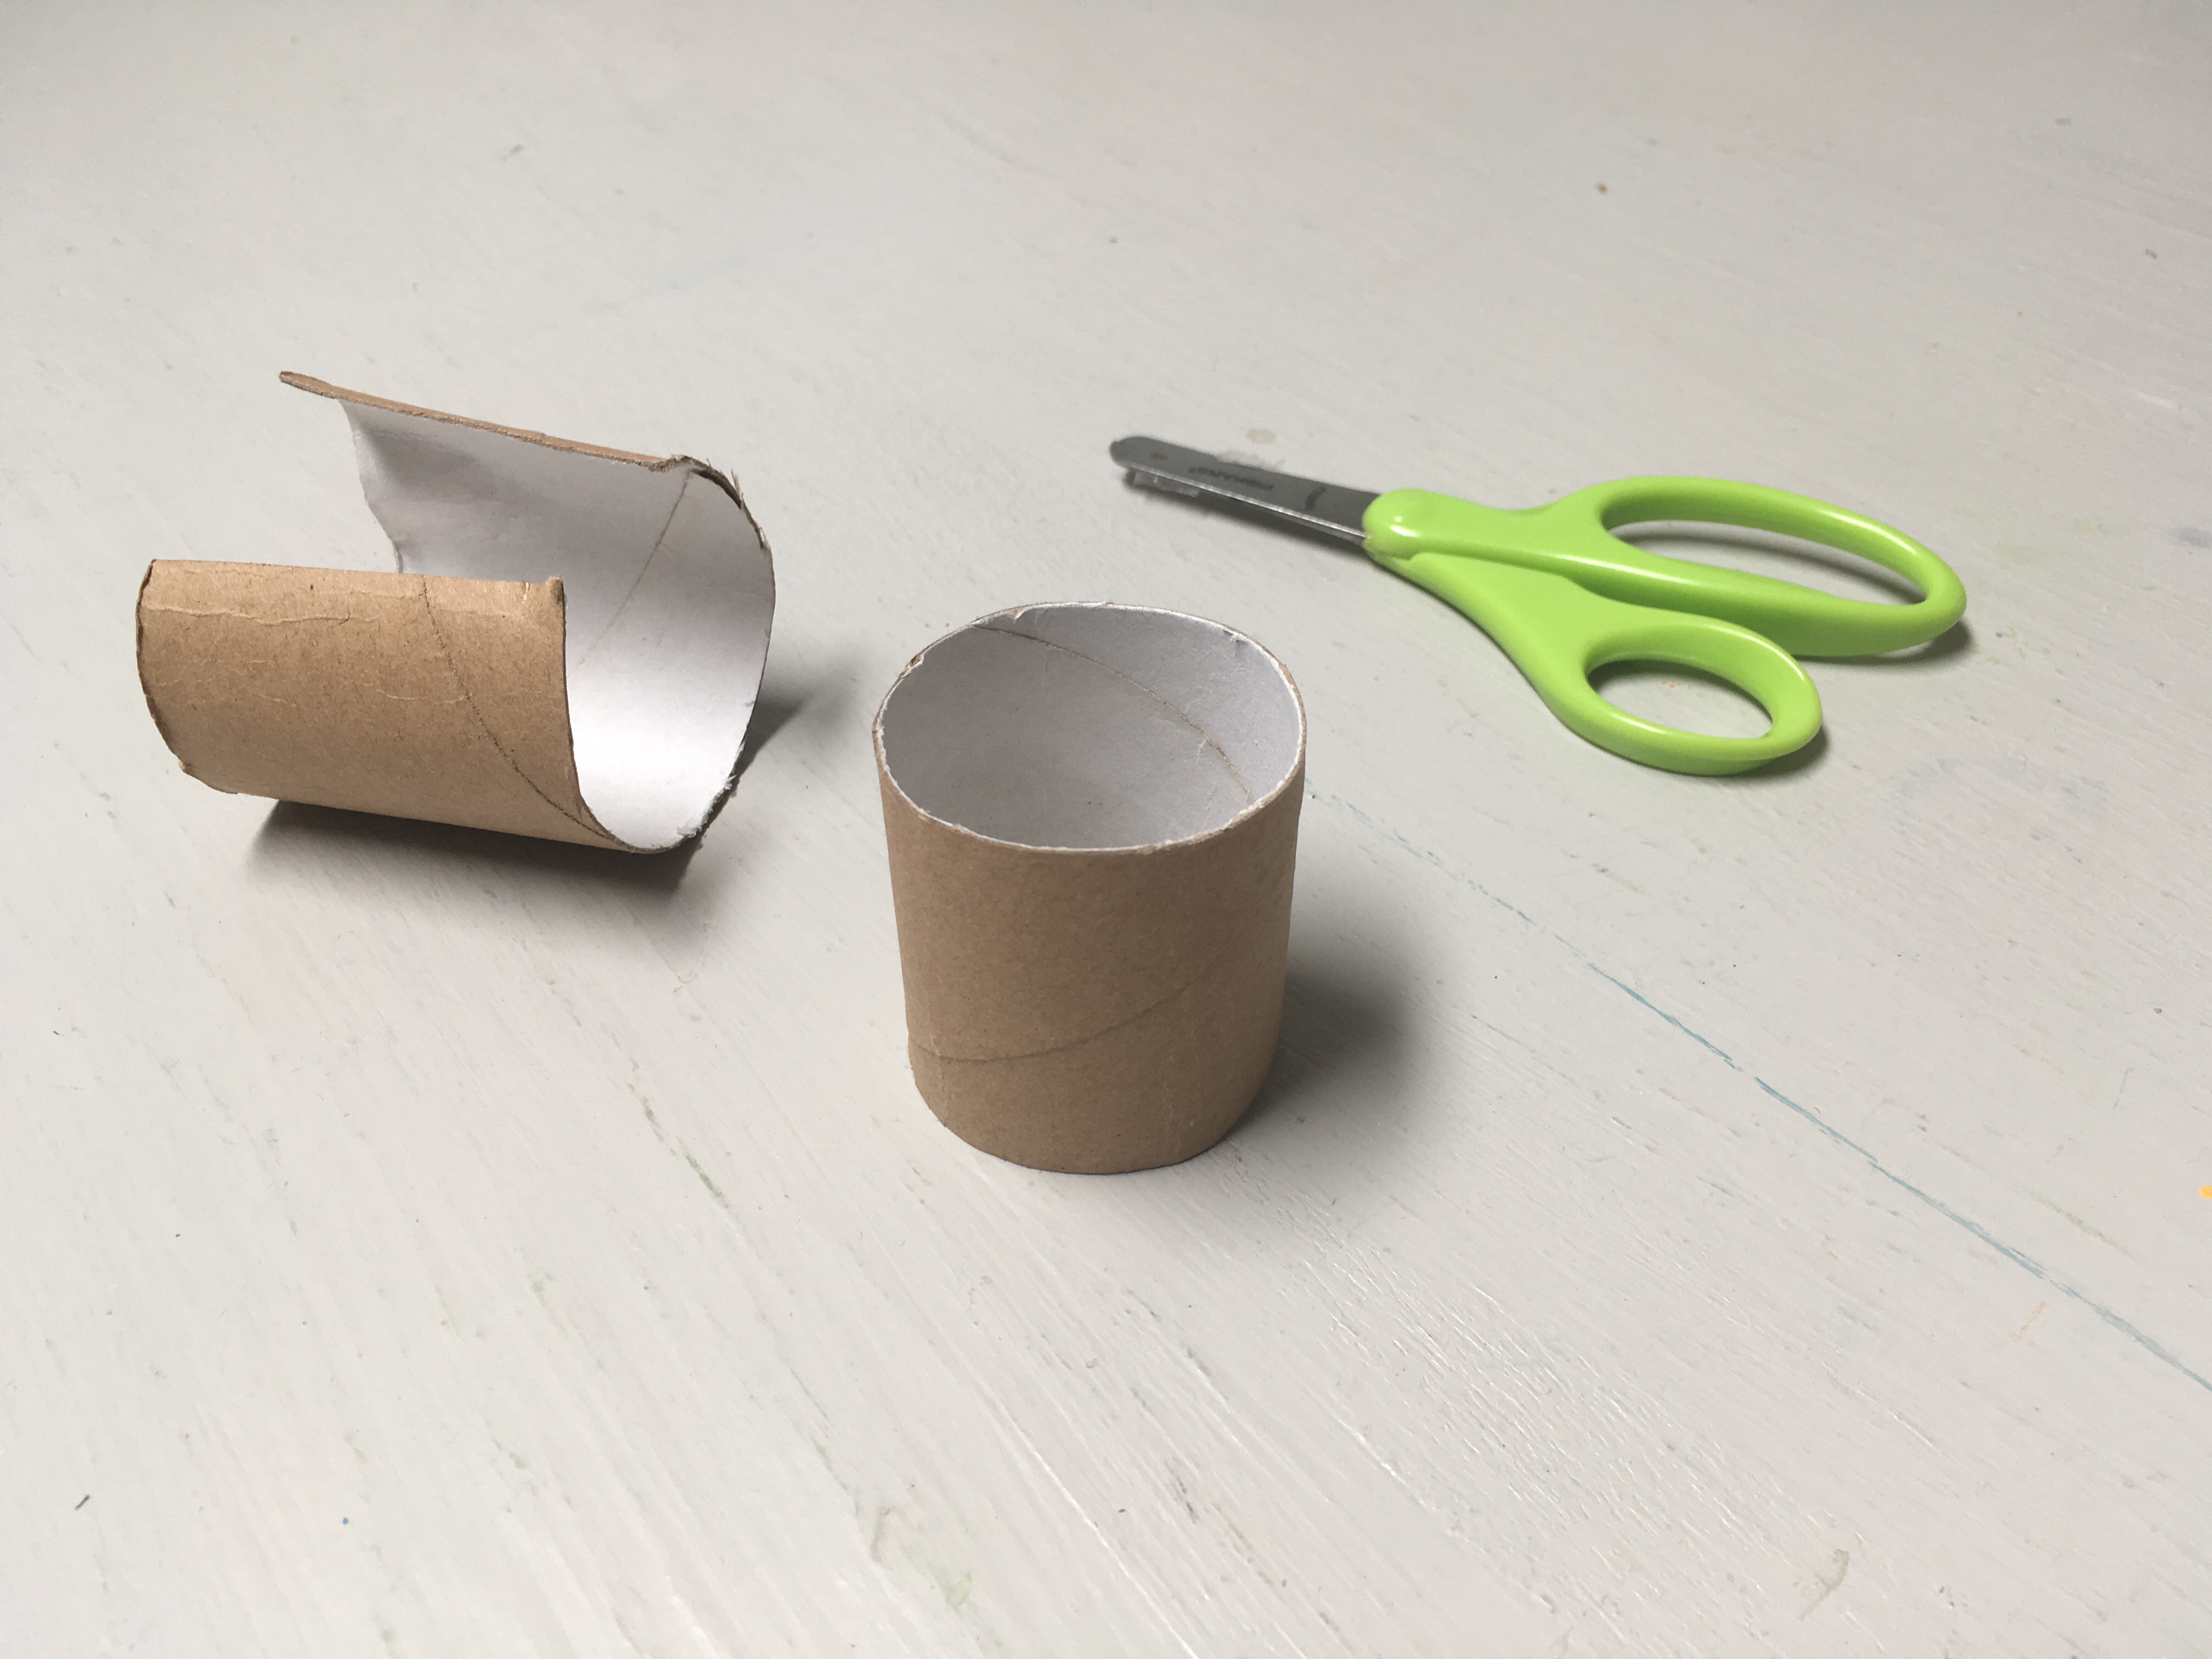
To take the fun a step further, we decided to create a quiver to hold all of our arrows! Get started by cutting a toilet paper tube about the length of the cotton swabs.
Step 9
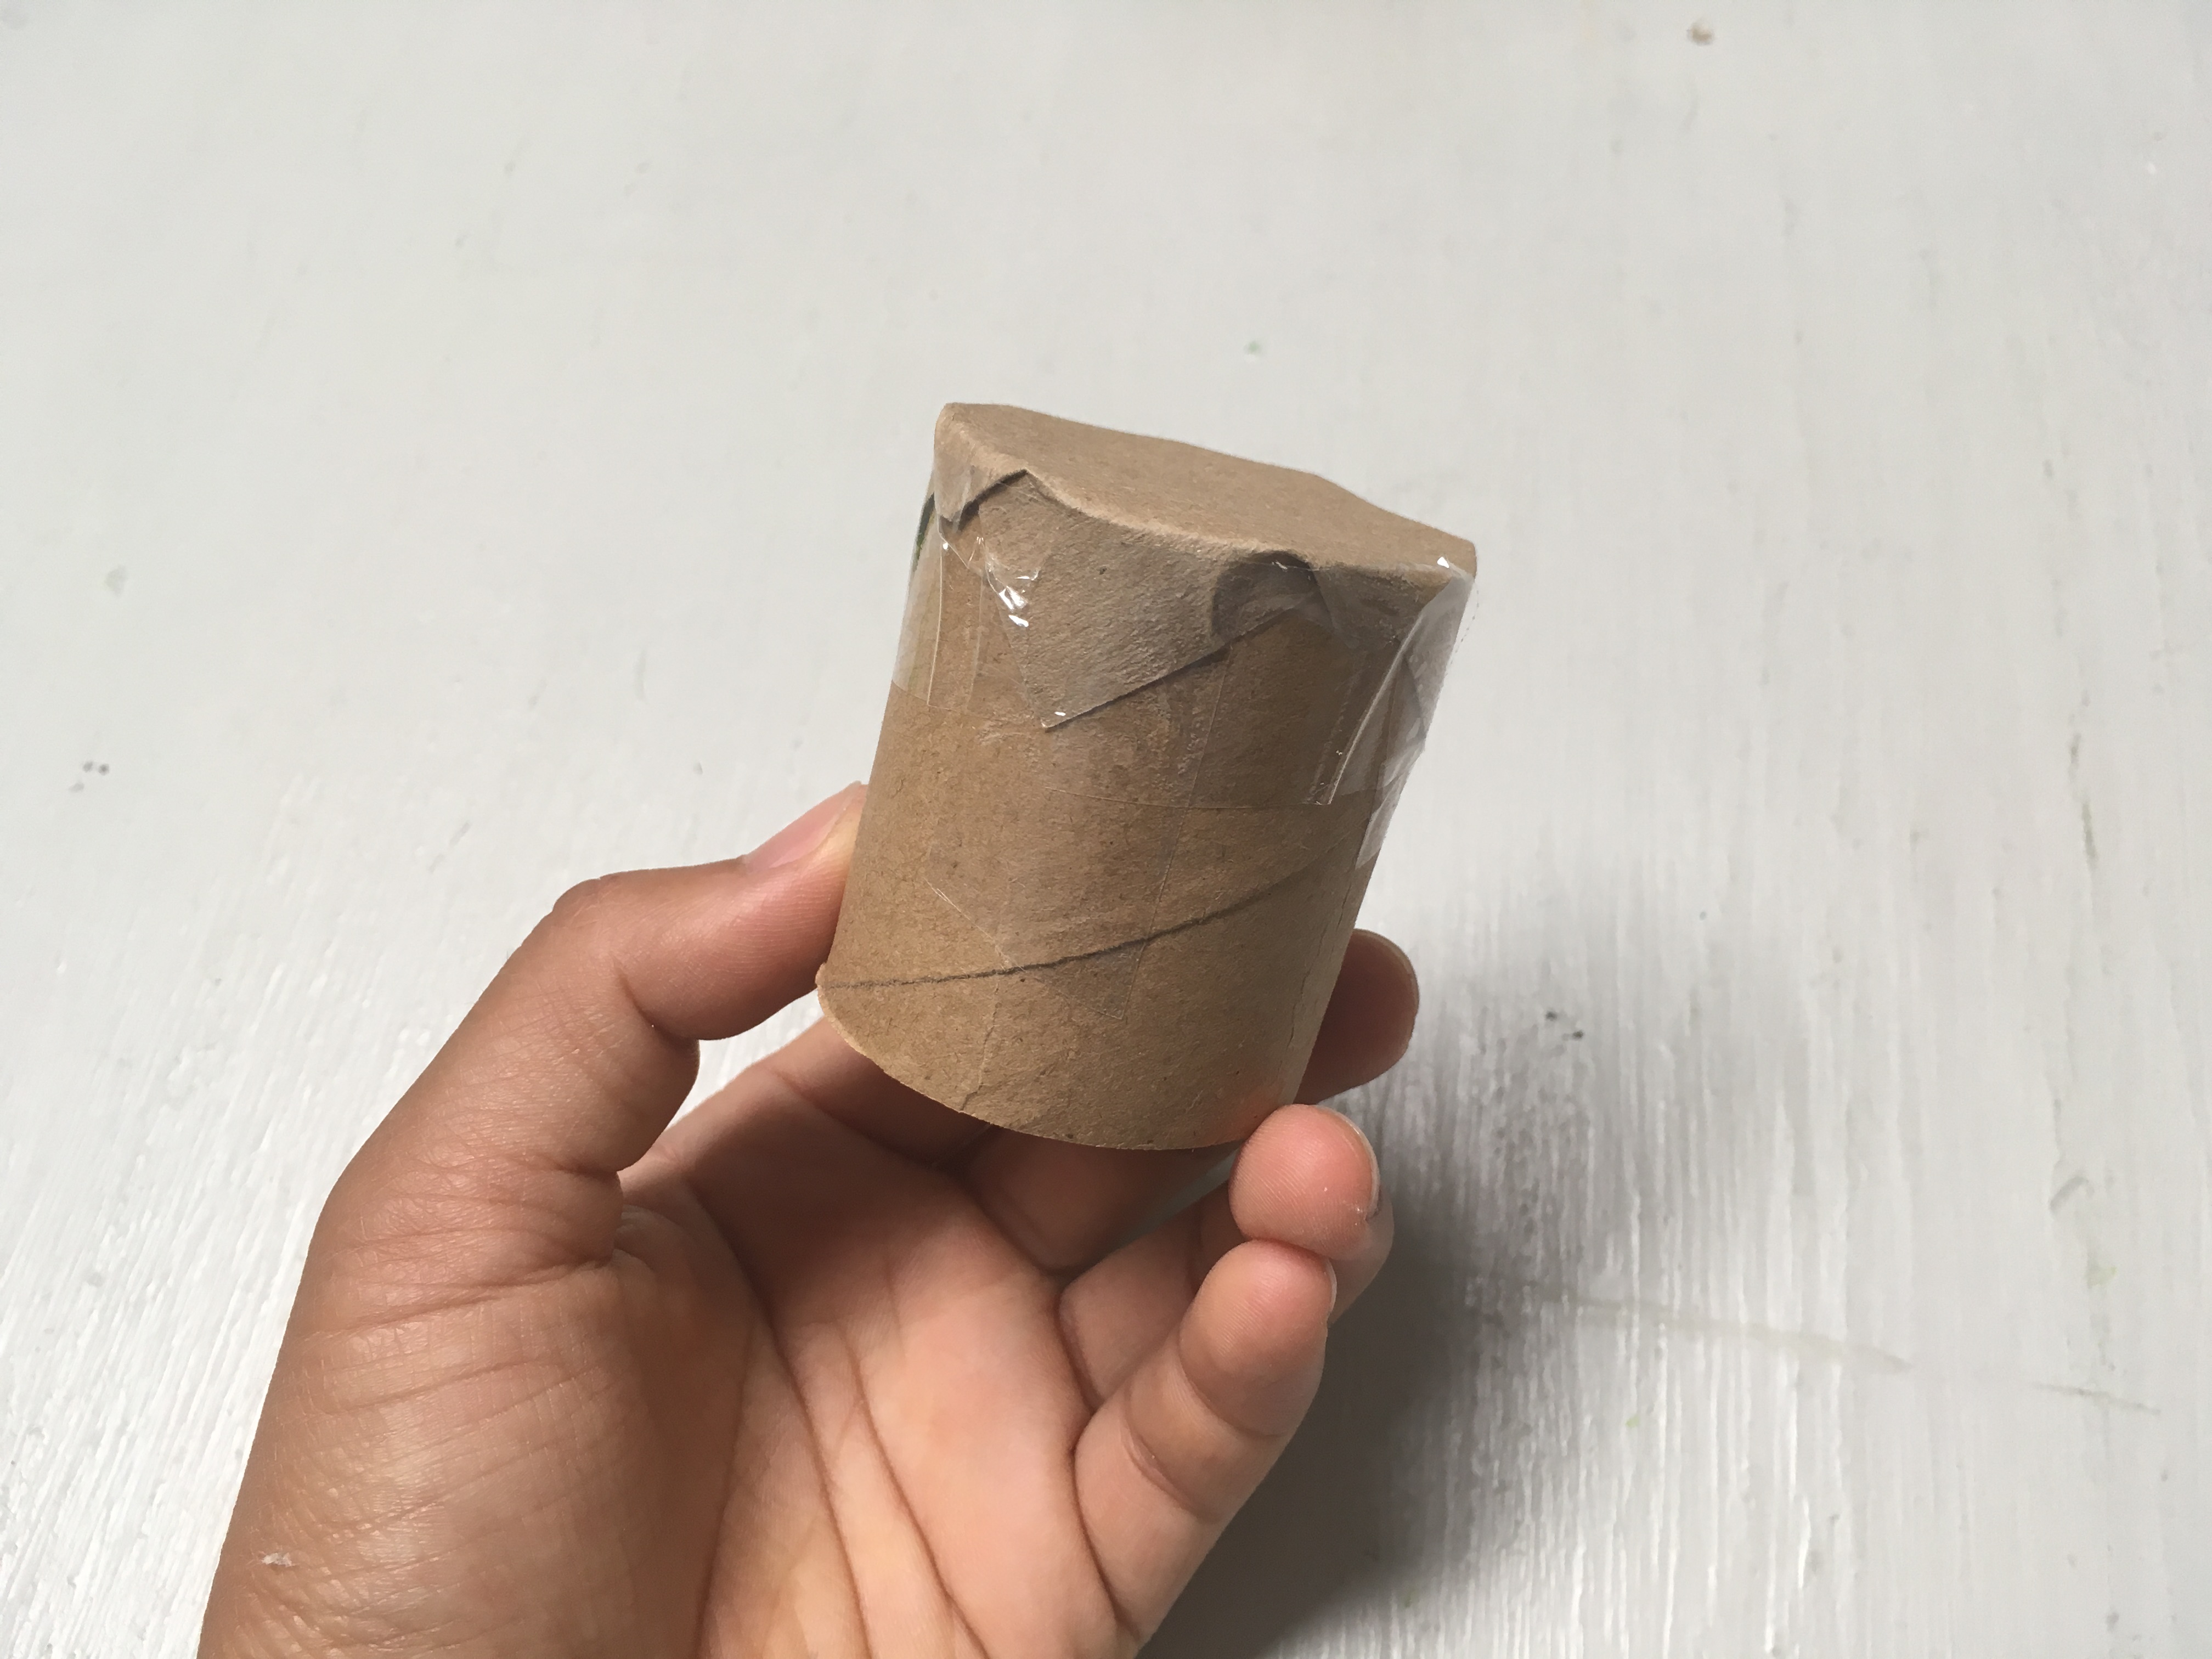
Use a small piece of craft paper to cover the bottom of your toilet paper tube. Tape it down to secure it closed.
Tip
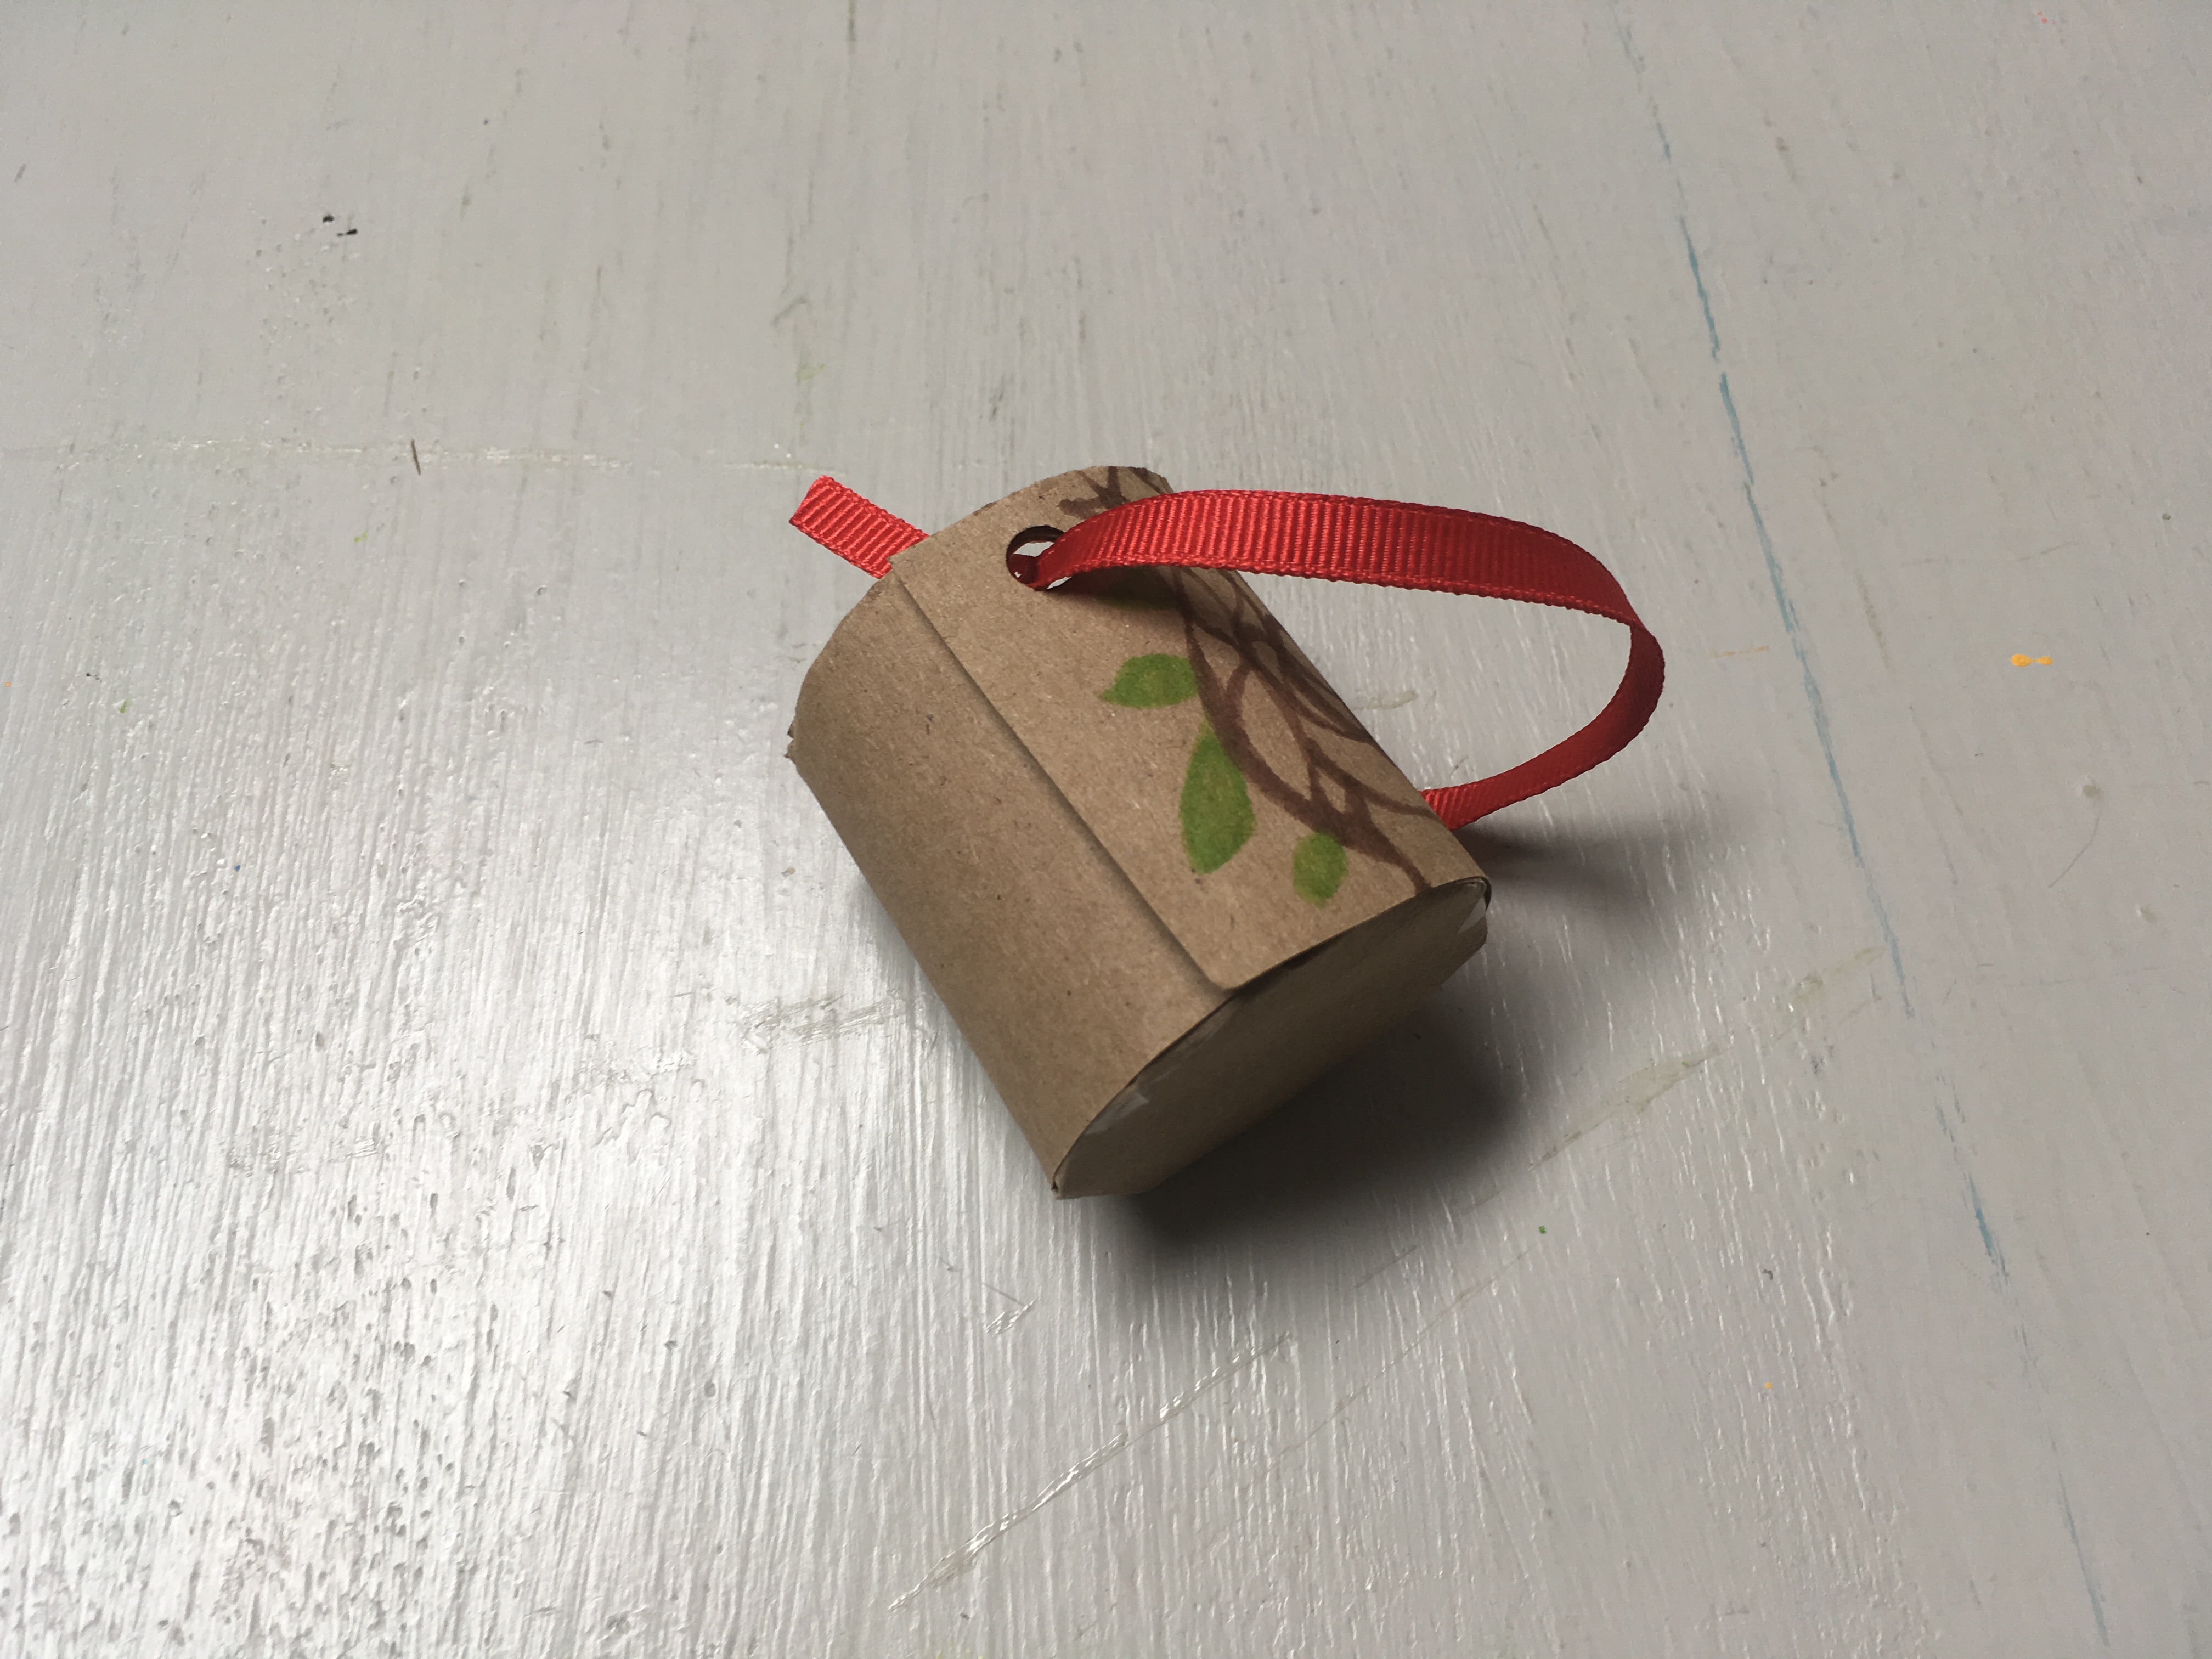
(Optional) Use another piece of craft paper, and cut it down to the same size as your tube. If you like, draw or decorate your tube with drawings and patterns. Tape down craft paper to cover the sides of the tube.
Step 10
Use a hole puncher to make two holes on each side of the tube. Feed the ribbon ends through each hole and tie a knot on the inside to secure the ribbon.
Step 11
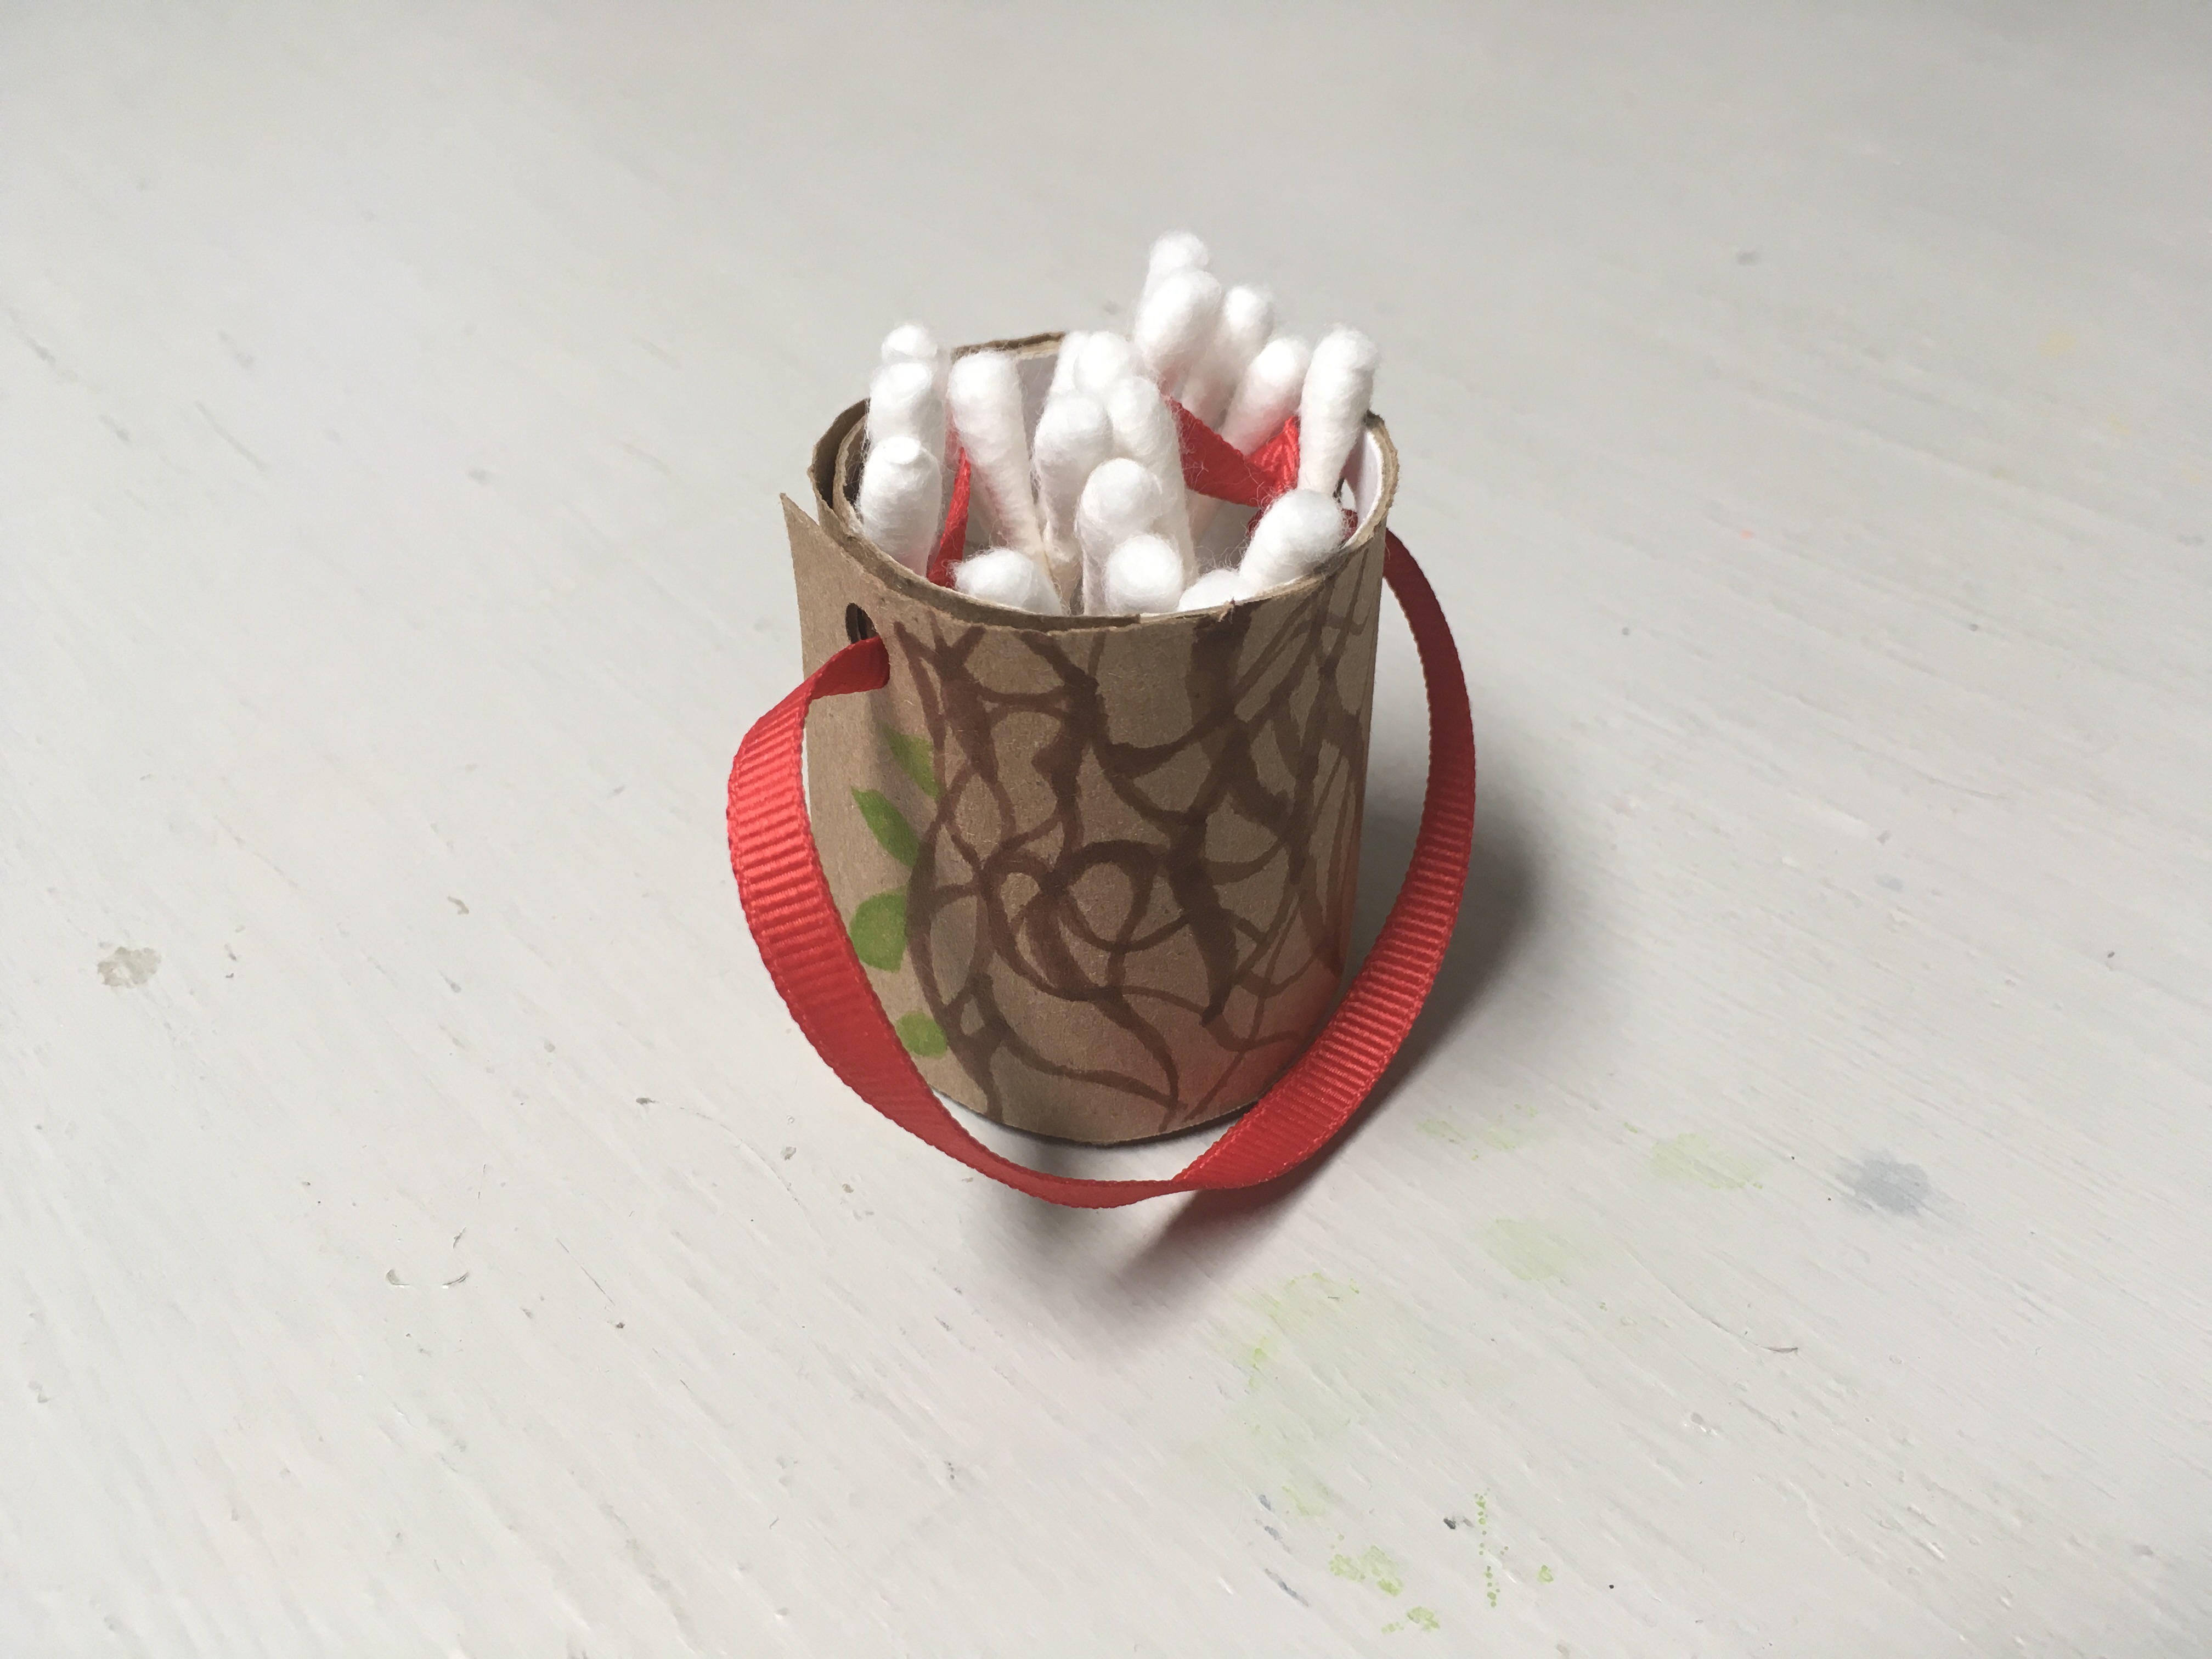
Now your quiver is ready to hold all of your cotton swab arrows!
Done!
To create targets, cut out circles from a paper plate. Decorate them with circles or point values to complete the targets.