Step-by-step tutorial
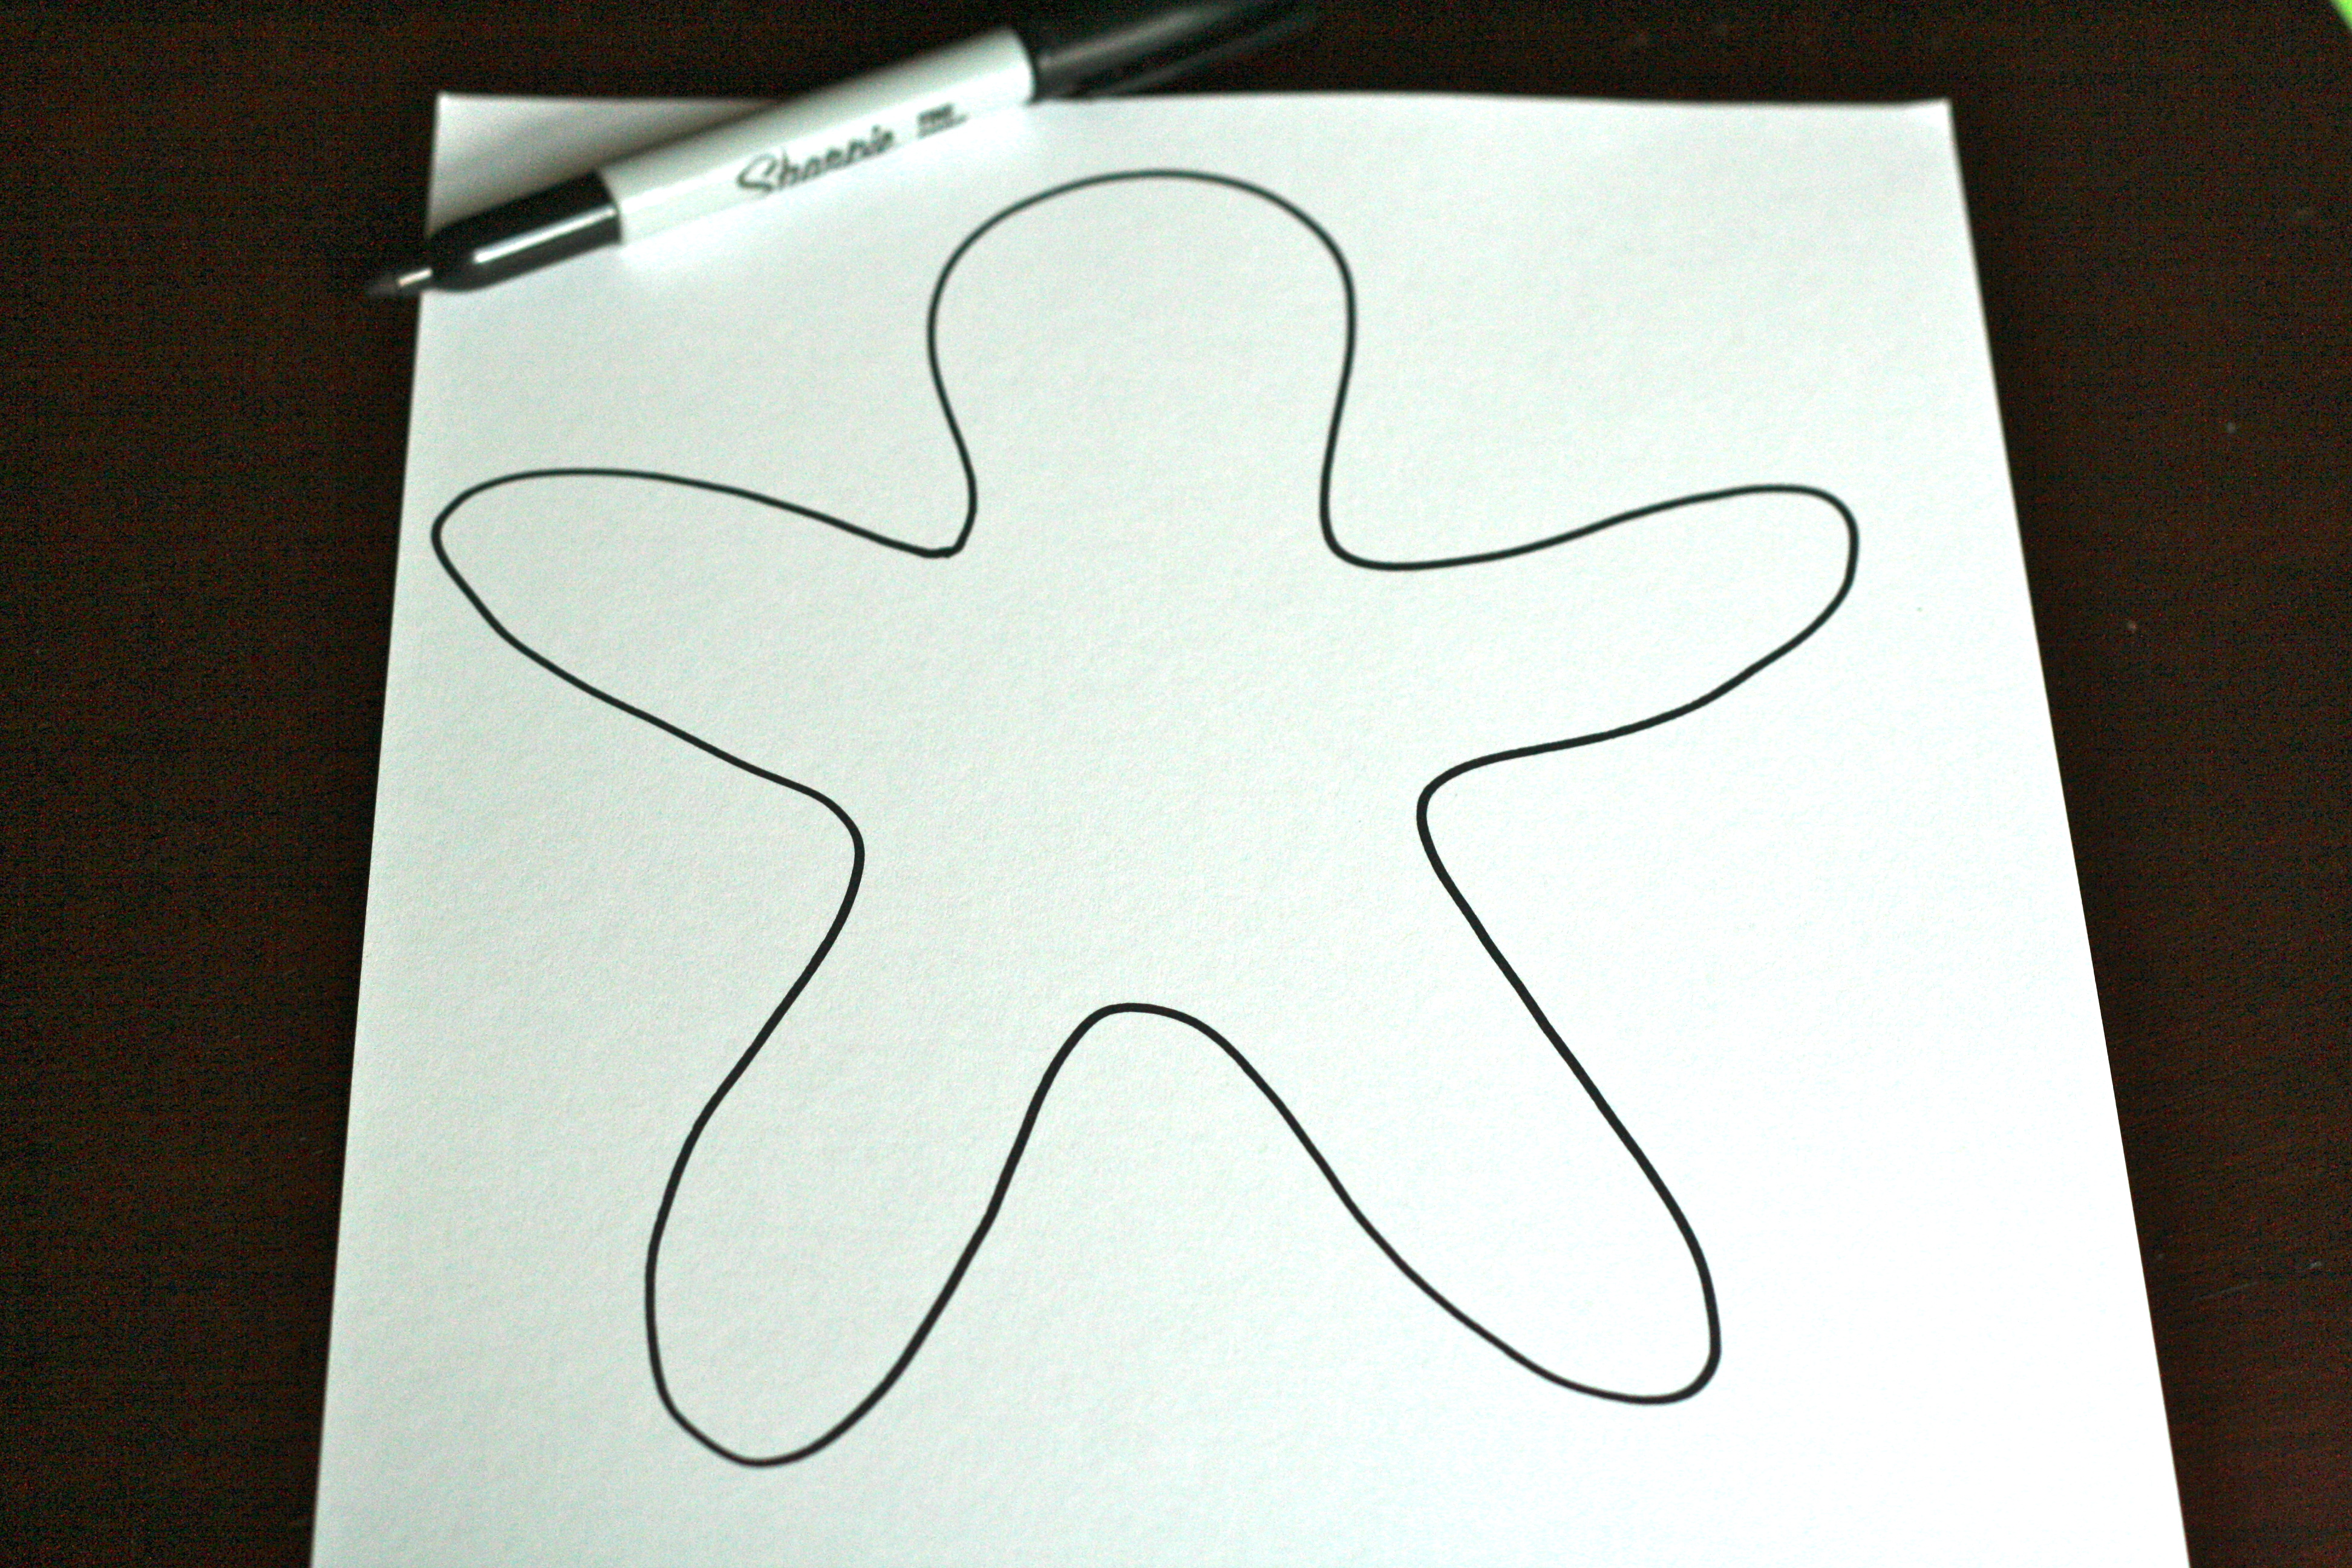
Step 1
The prep for this activity took me a little longer than I expected. But, in the spirit of full disclosure, I confess that is probably because I couldn't stop making clothes. To begin, I drew a gingerbread-like figure onto a sheet of card stock and cut it out.

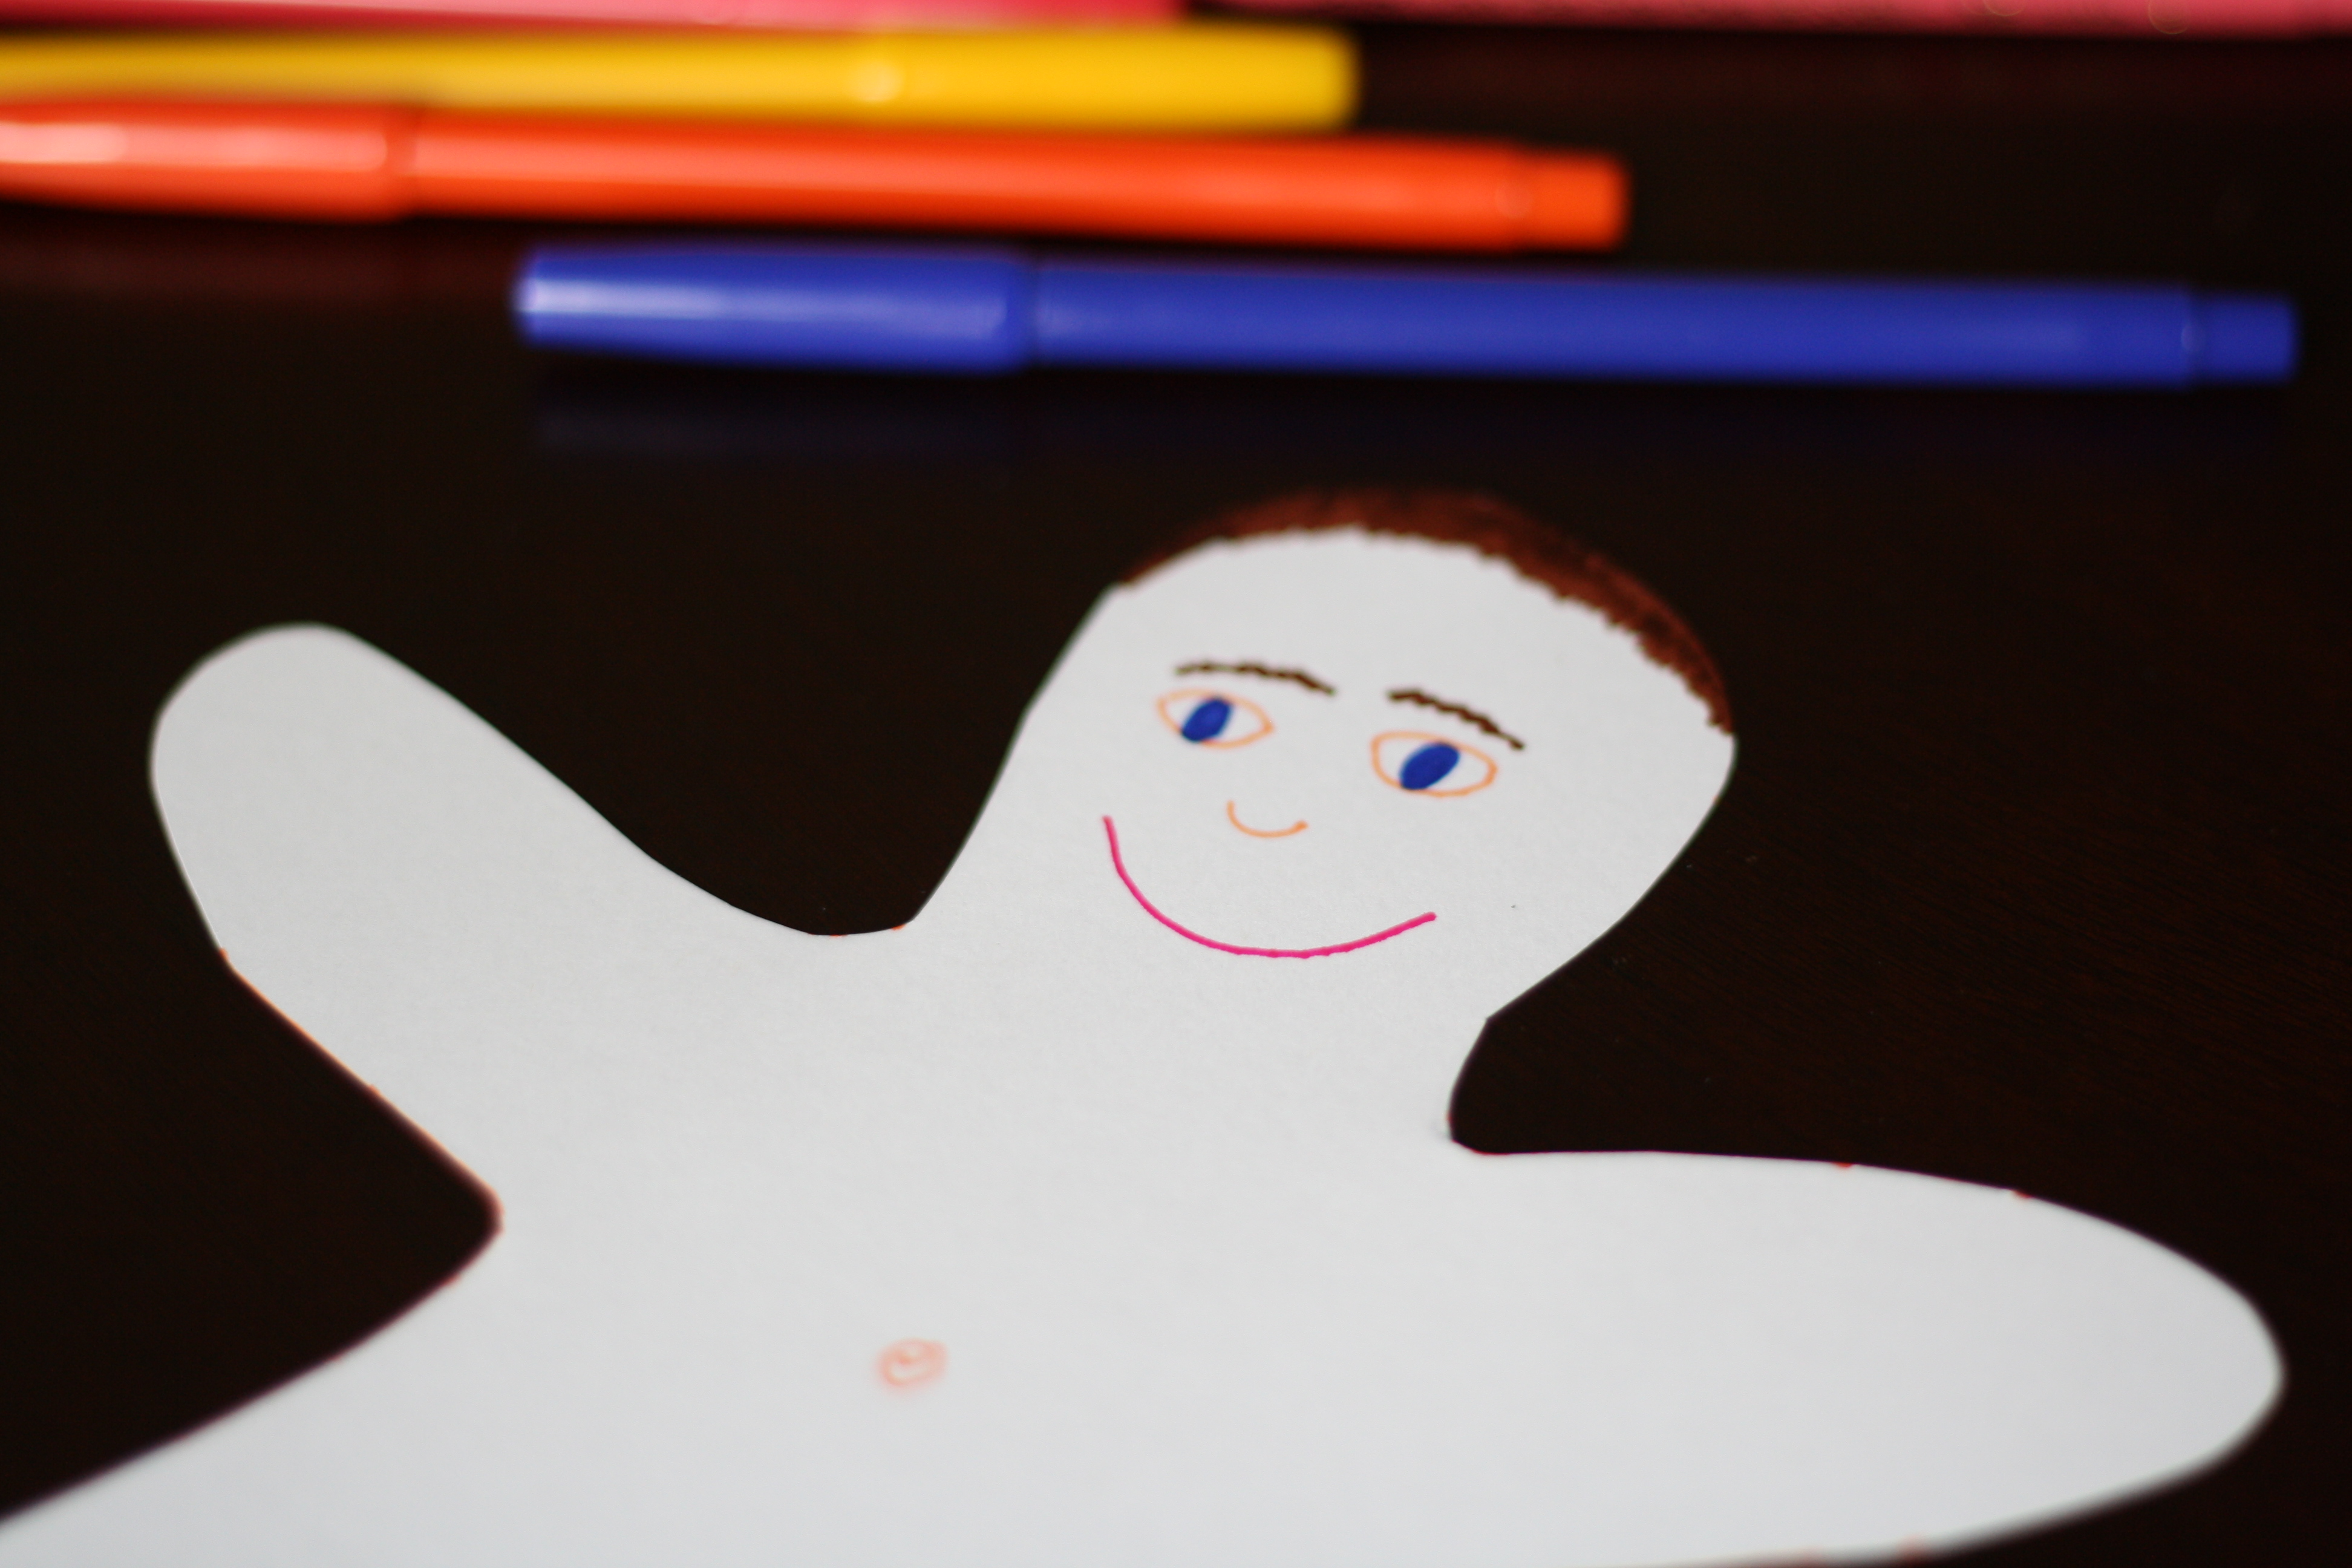
Step 2
I added a little life to the cutout by drawing a simple face. Since I was making it for my son, I made the cut out a boy but you could really make it anything you wanted: a girl, a monster, a snowman.
Step 3
Then I grabbed several sheets of scrapbook paper and flipped them upside down so that I was looking at the white side. I outlined the boy's arms and legs like the picture to the left.

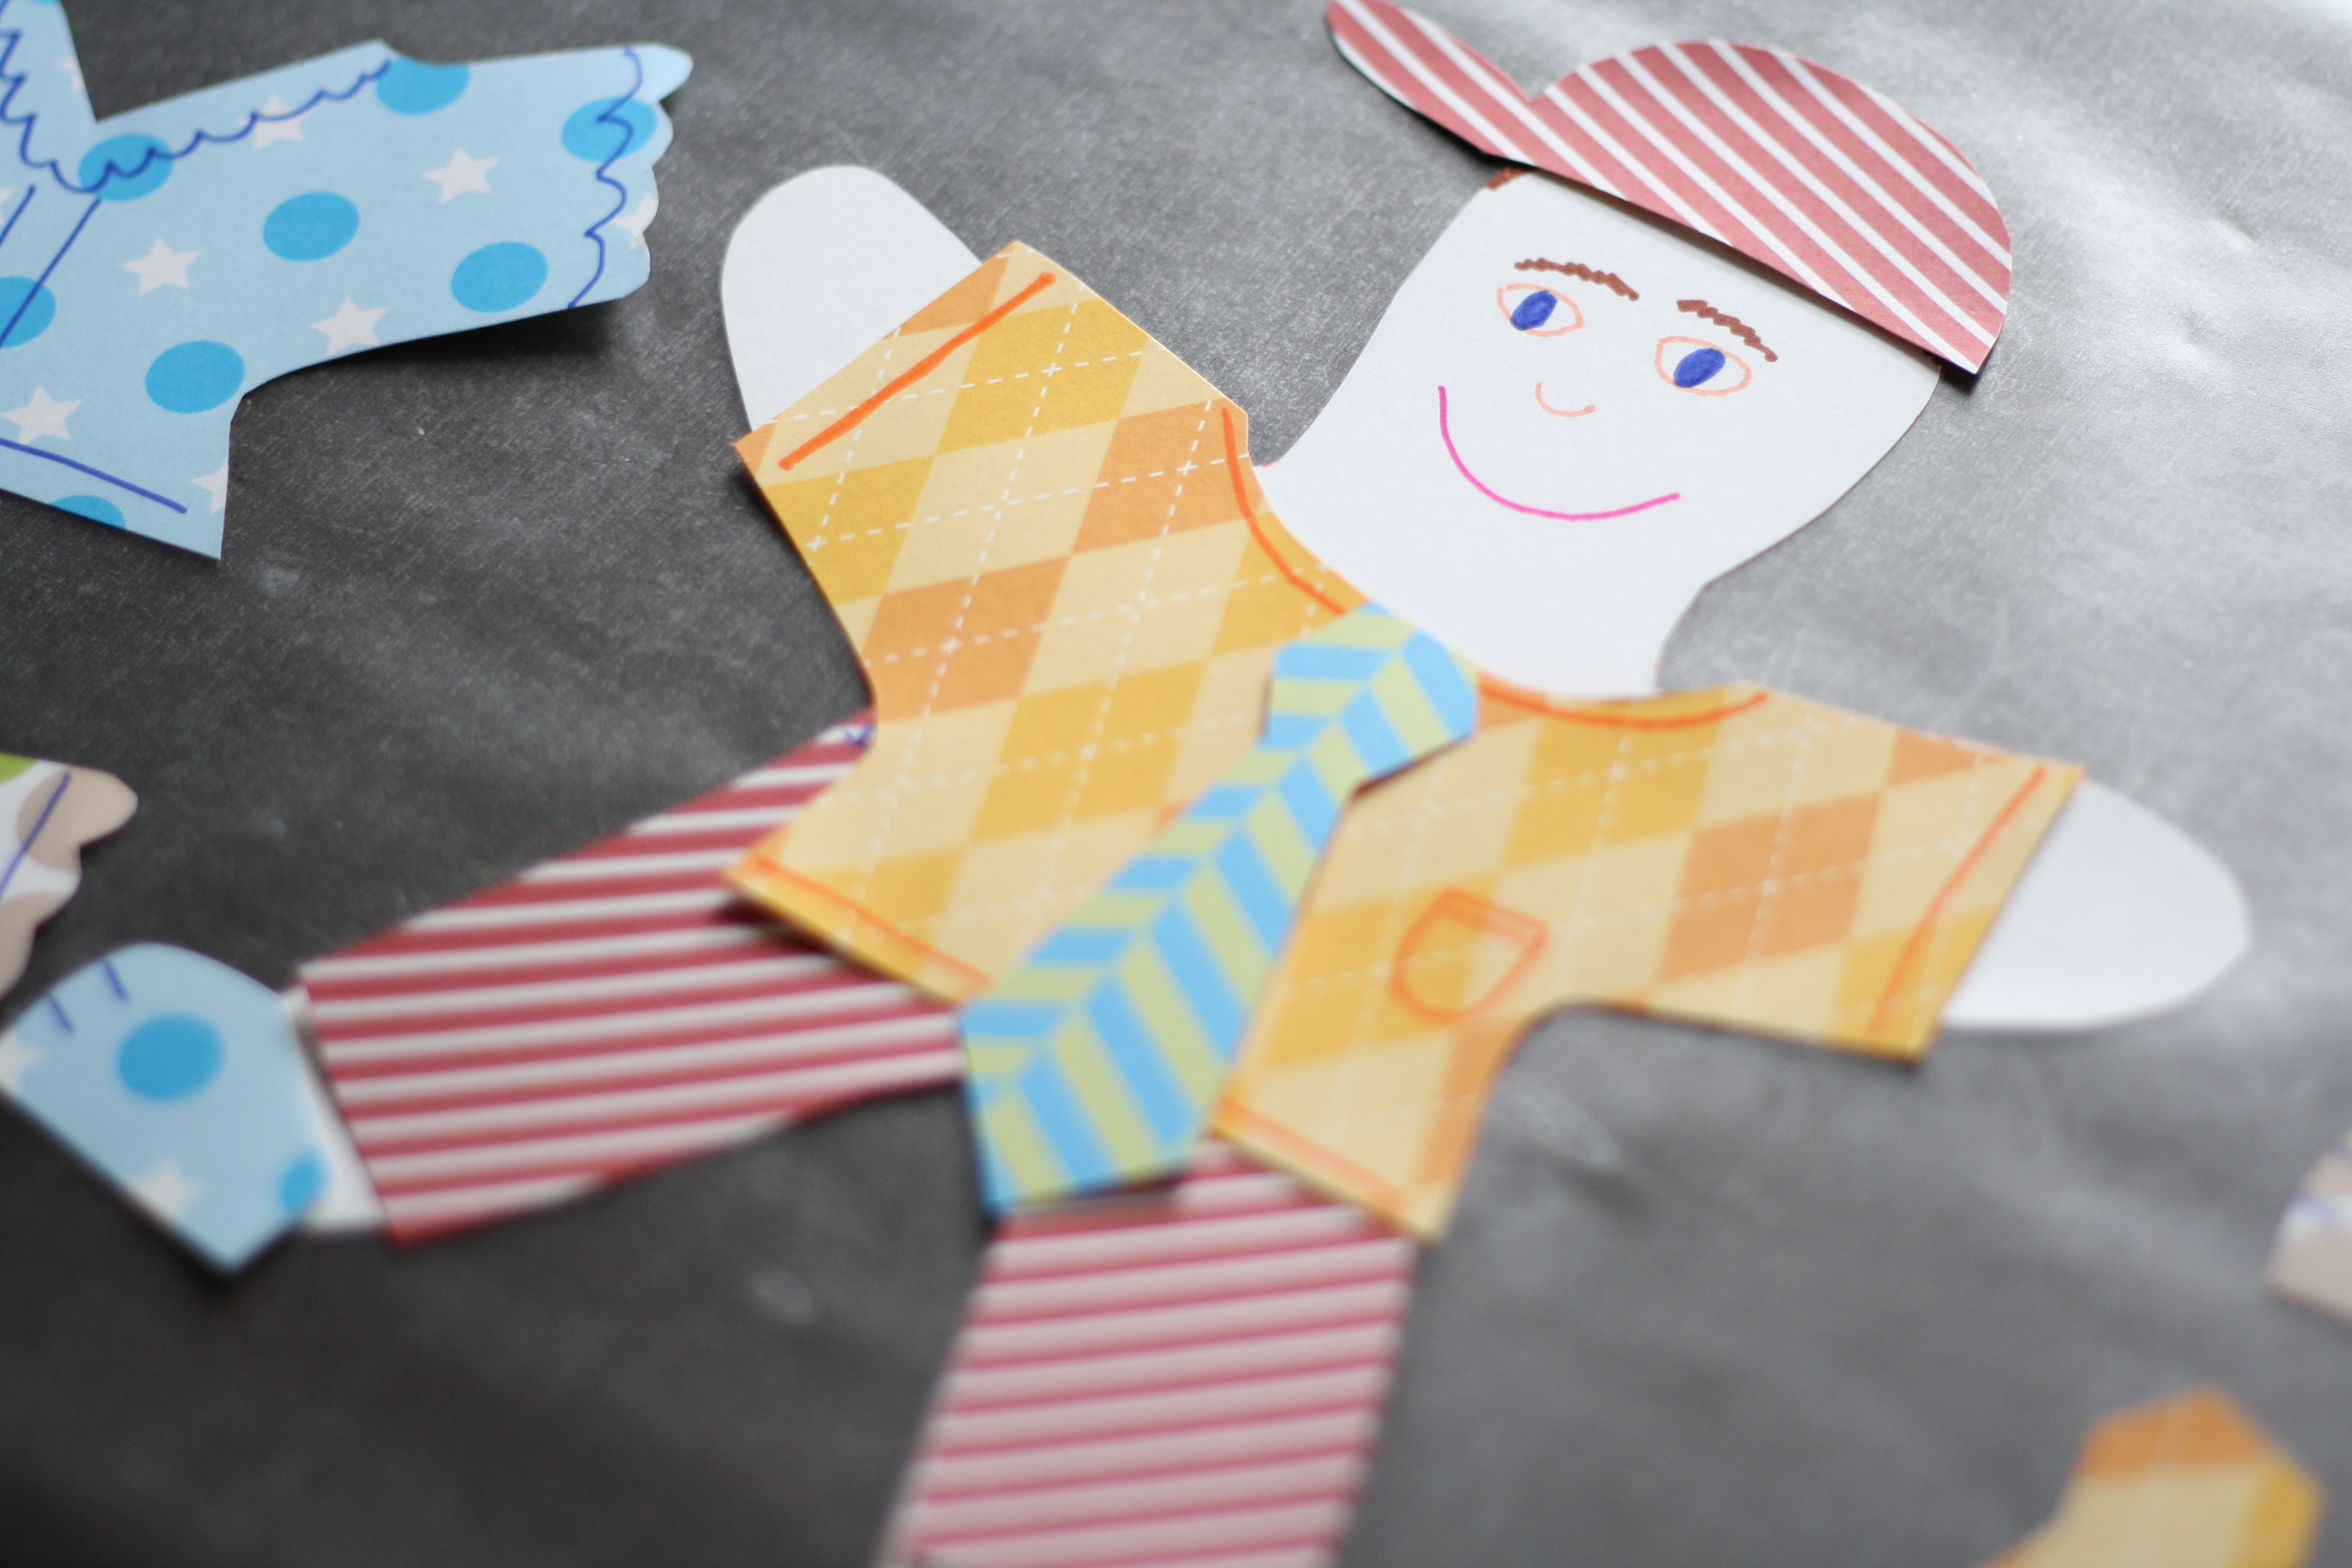
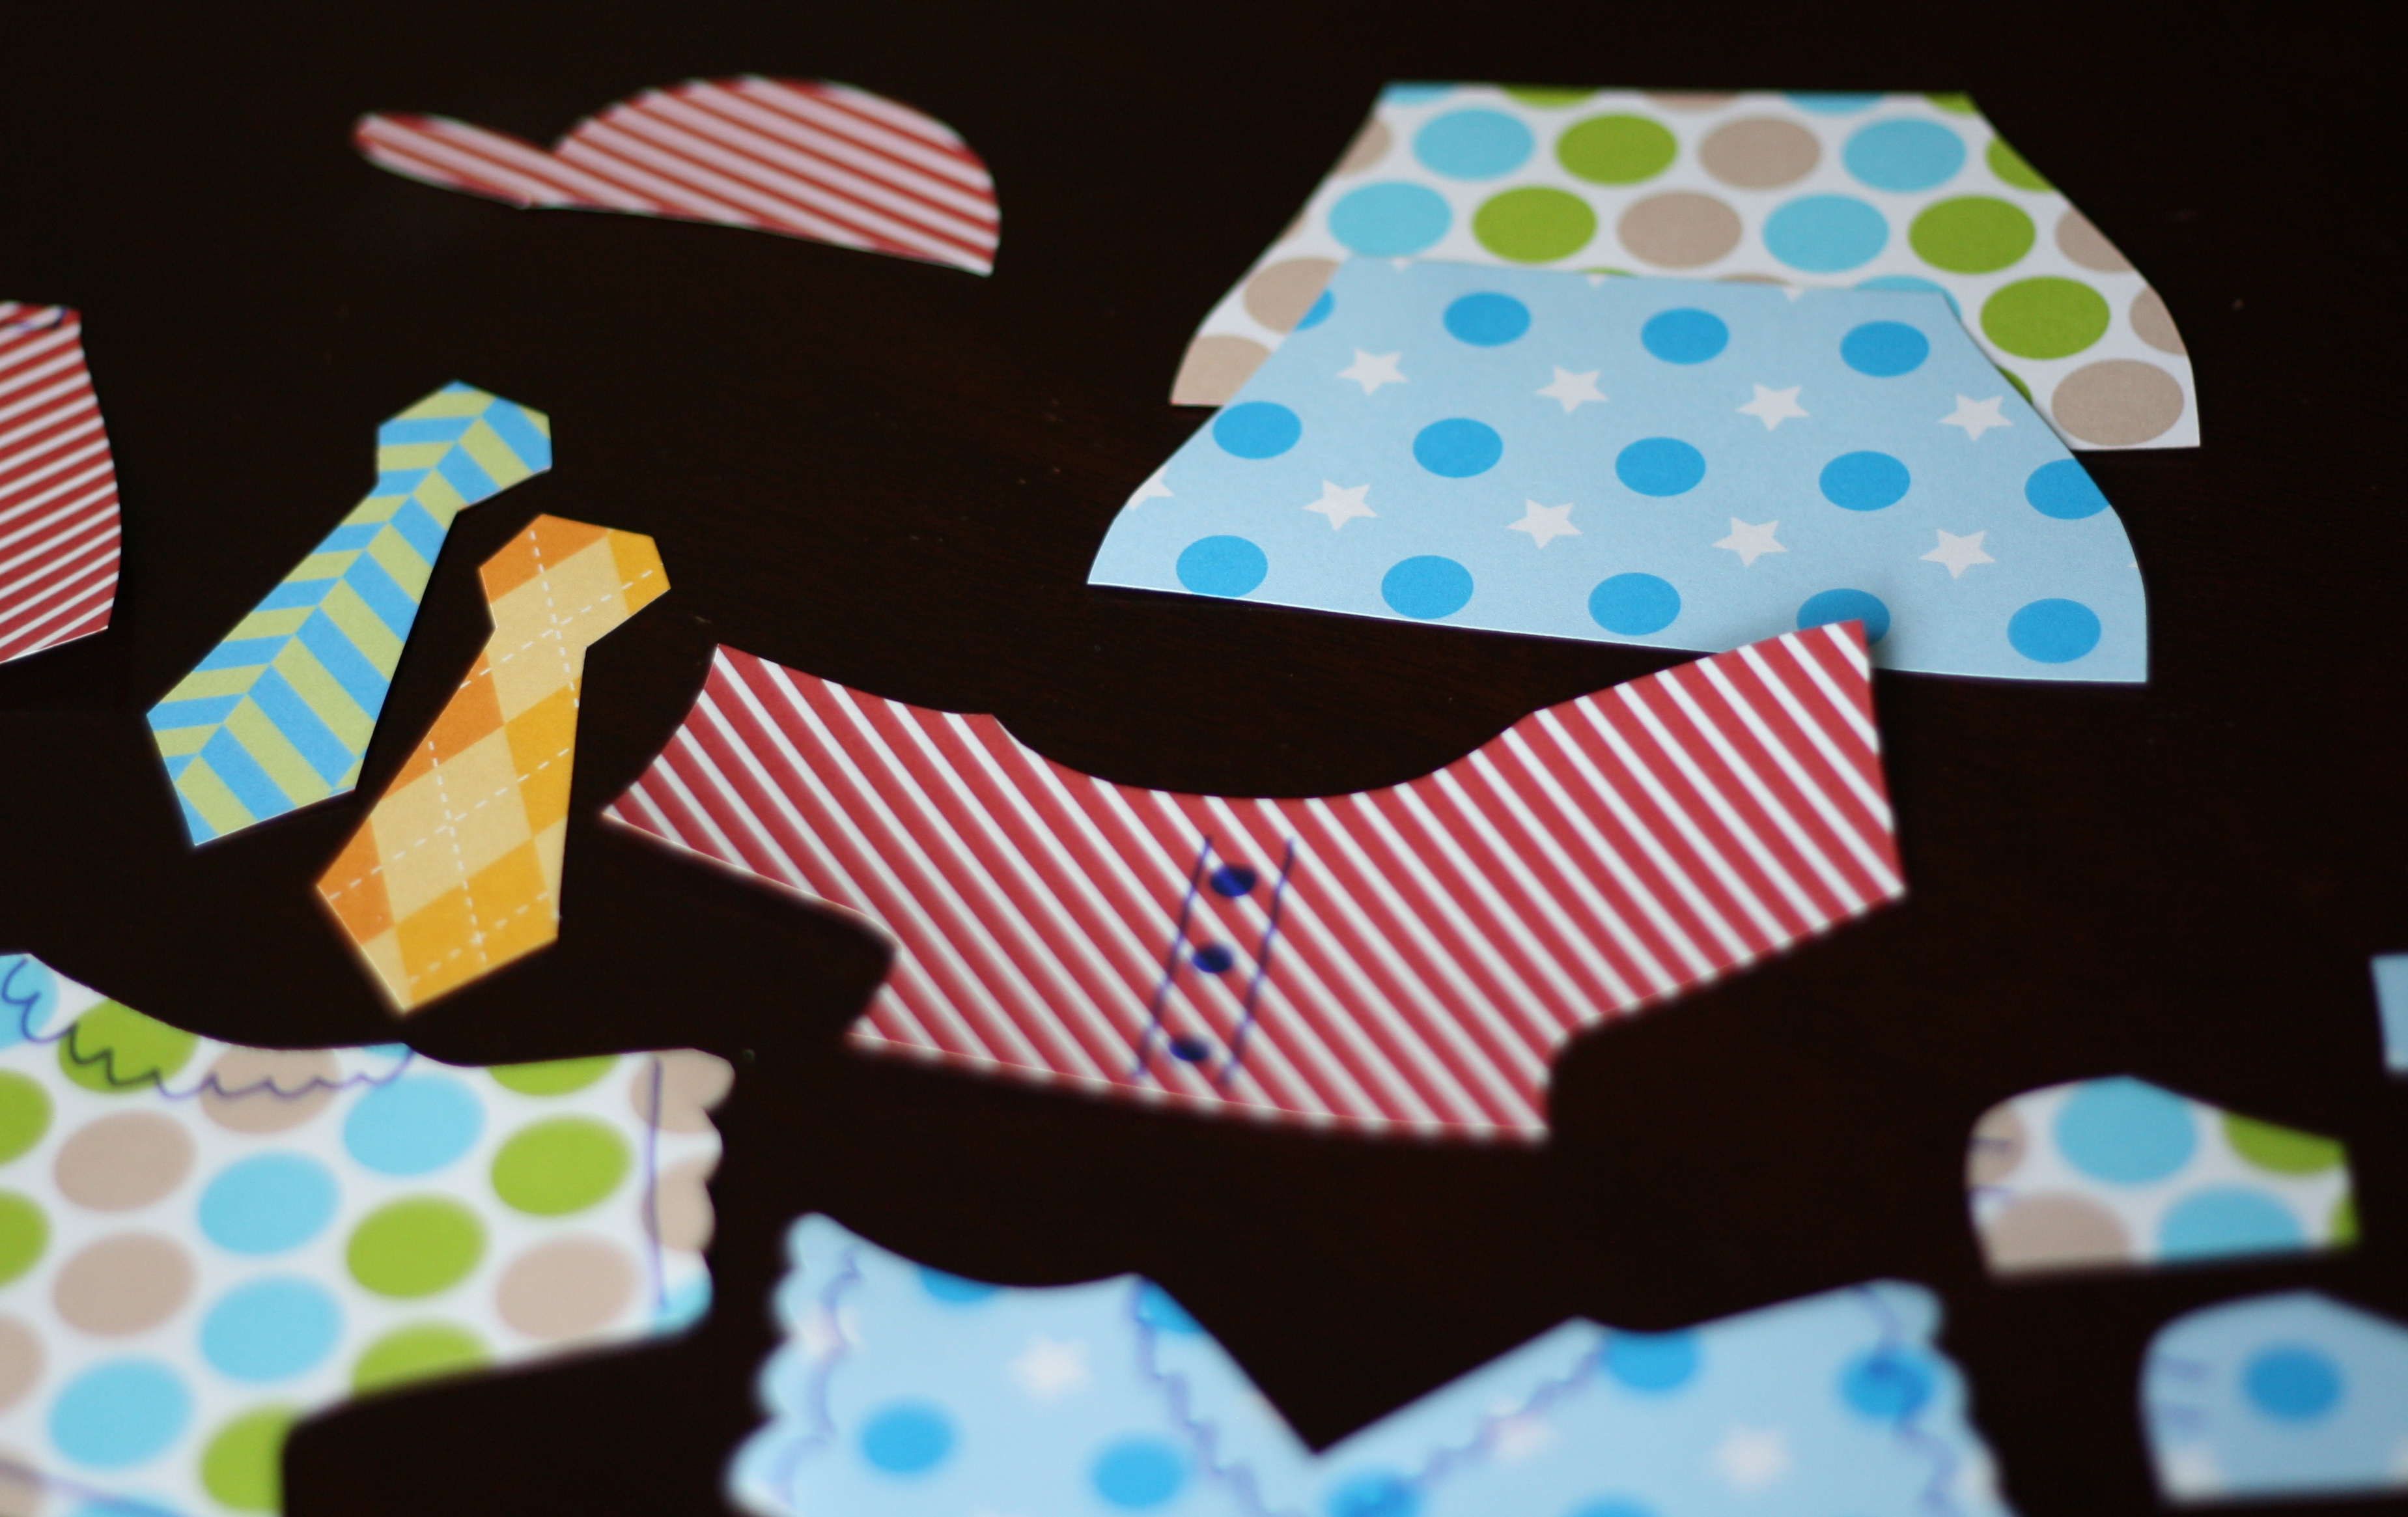
Step 4
I was able to create clothing based on the outlines. For instance, to make a shirt, I cut around the arms I'd traced and then snipped off the legs and hands. I added a little flair by drawing buttons, lace, shirt pockets, and stitching.
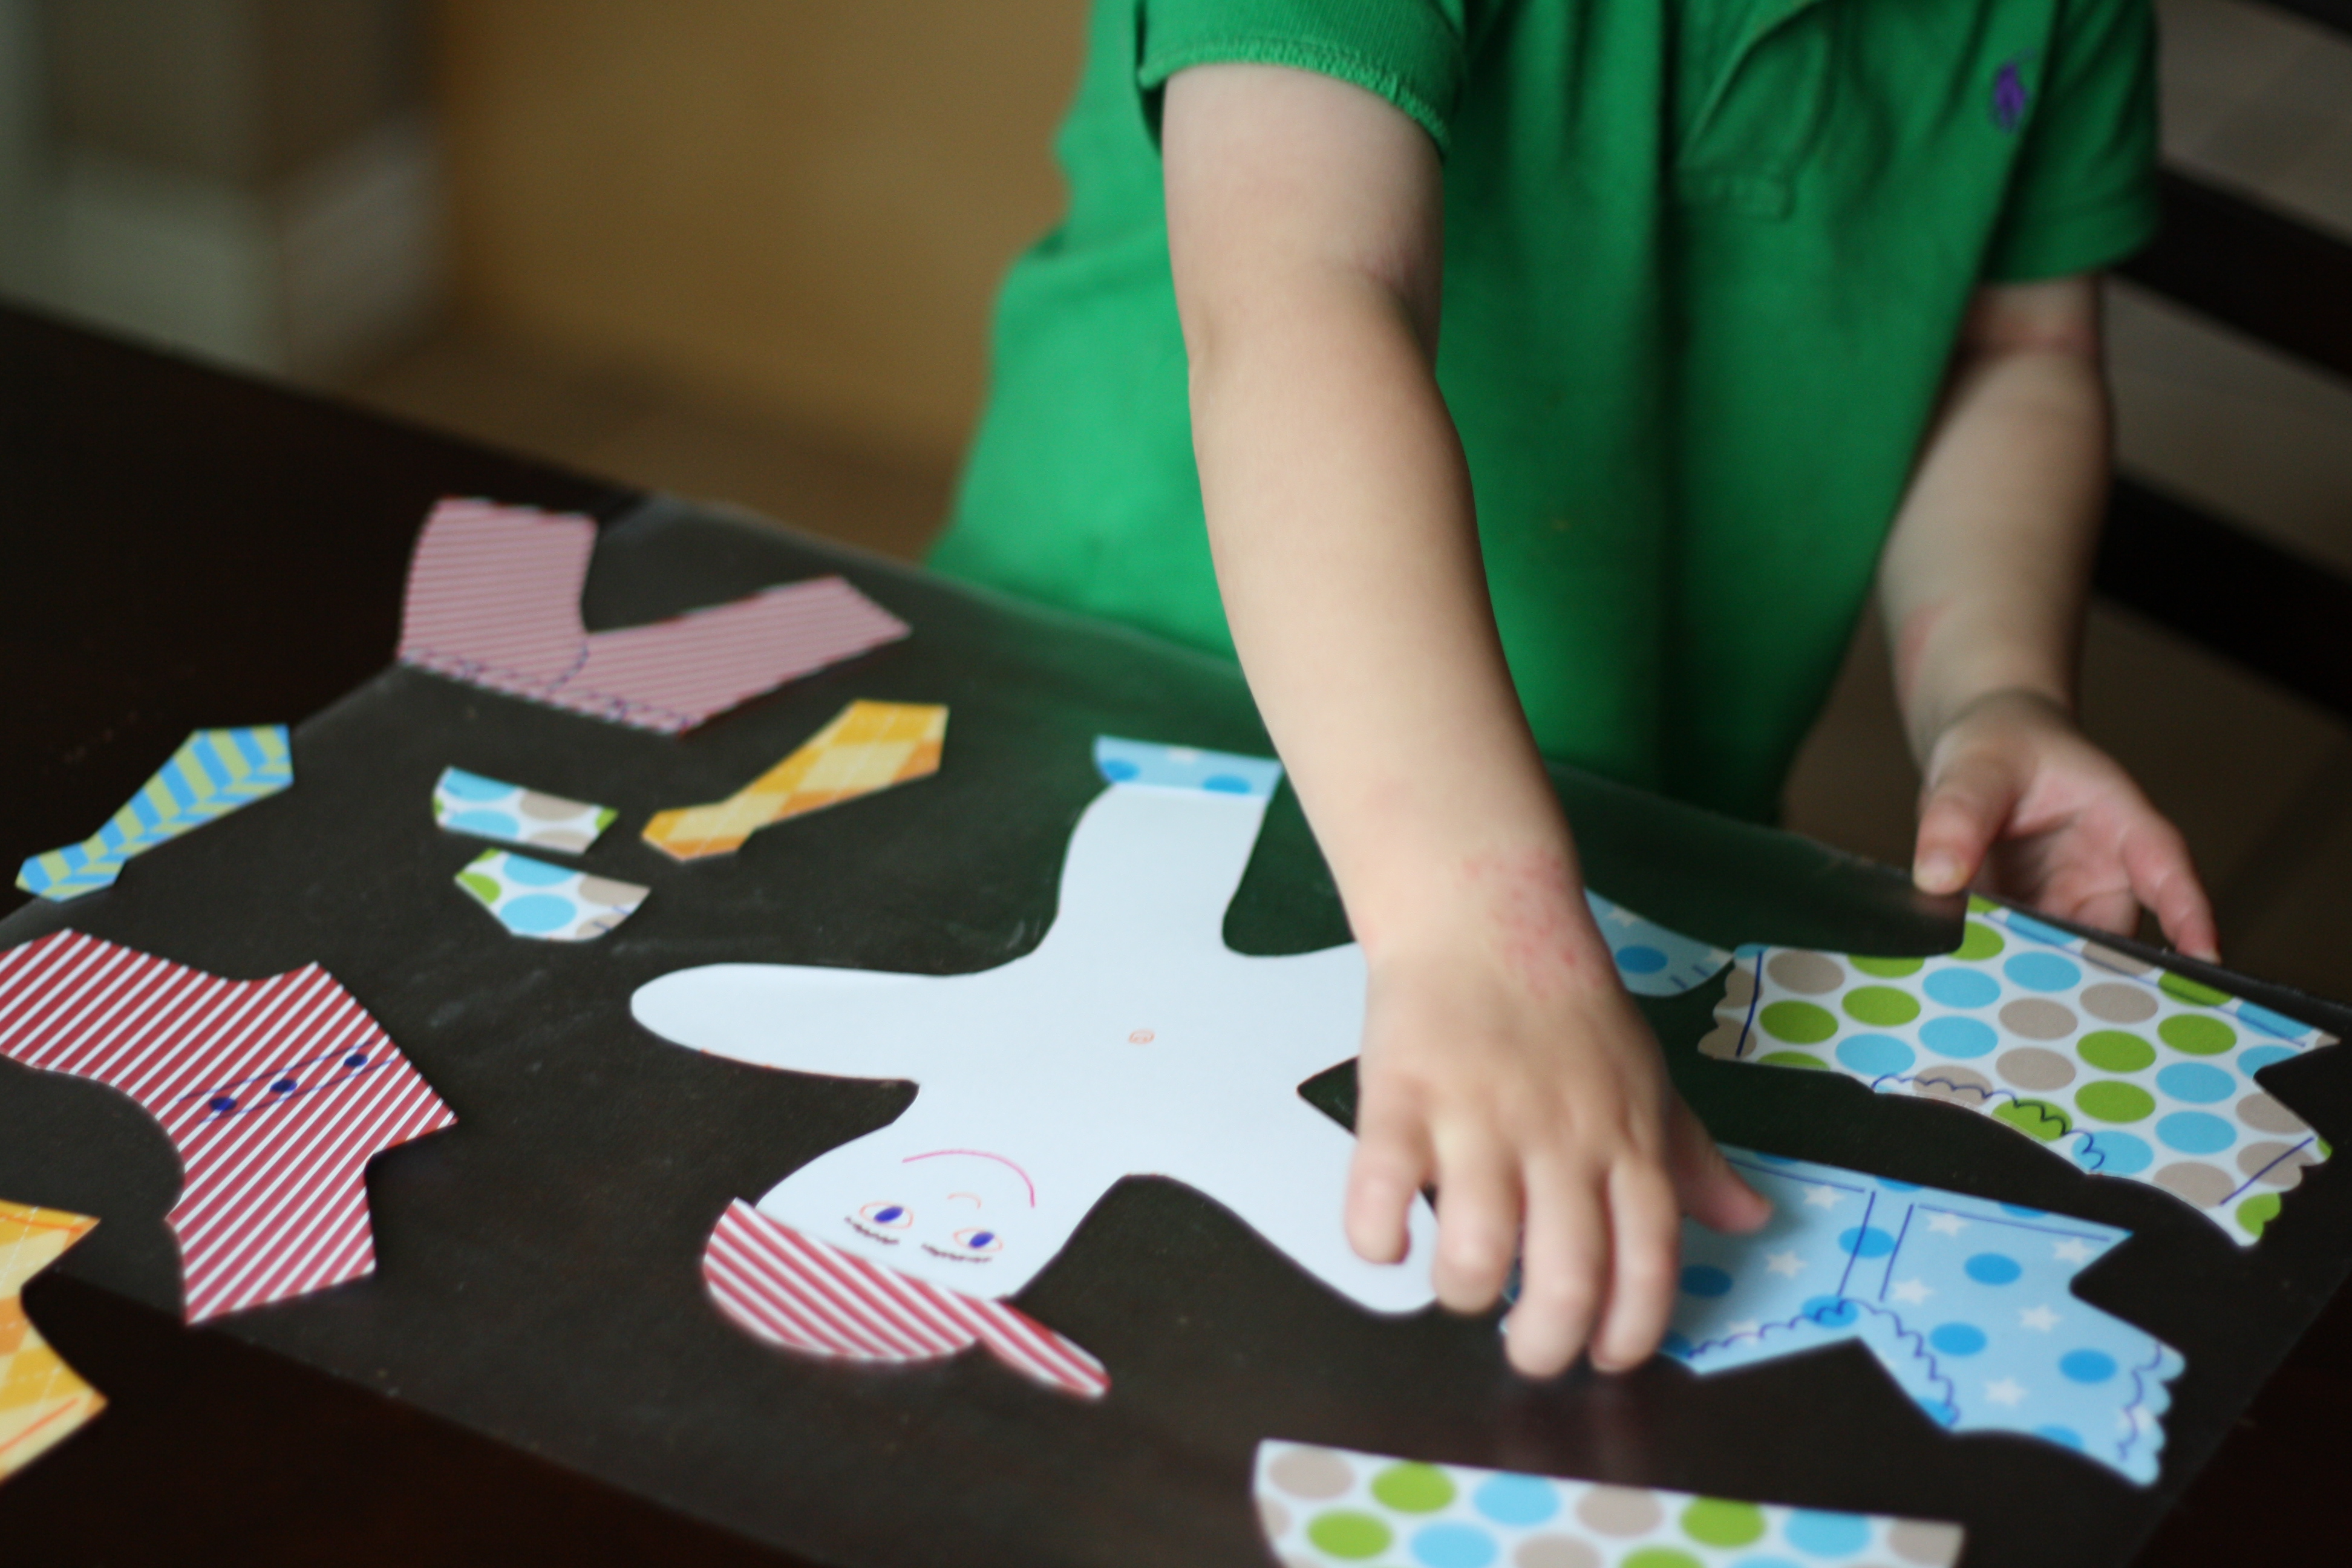
Done!
Once the boy had a sufficient wardrobe, I invited my son to come and play with me. He loved mixing and matching the outfits. Blue shoes with an orange tie? Sure, why not! He may not have discovered a love for paper dolls that is as strong as mine, but he enjoyed himself nevertheless. As for me: I'm definitely still a big fan.