Step-by-step tutorial
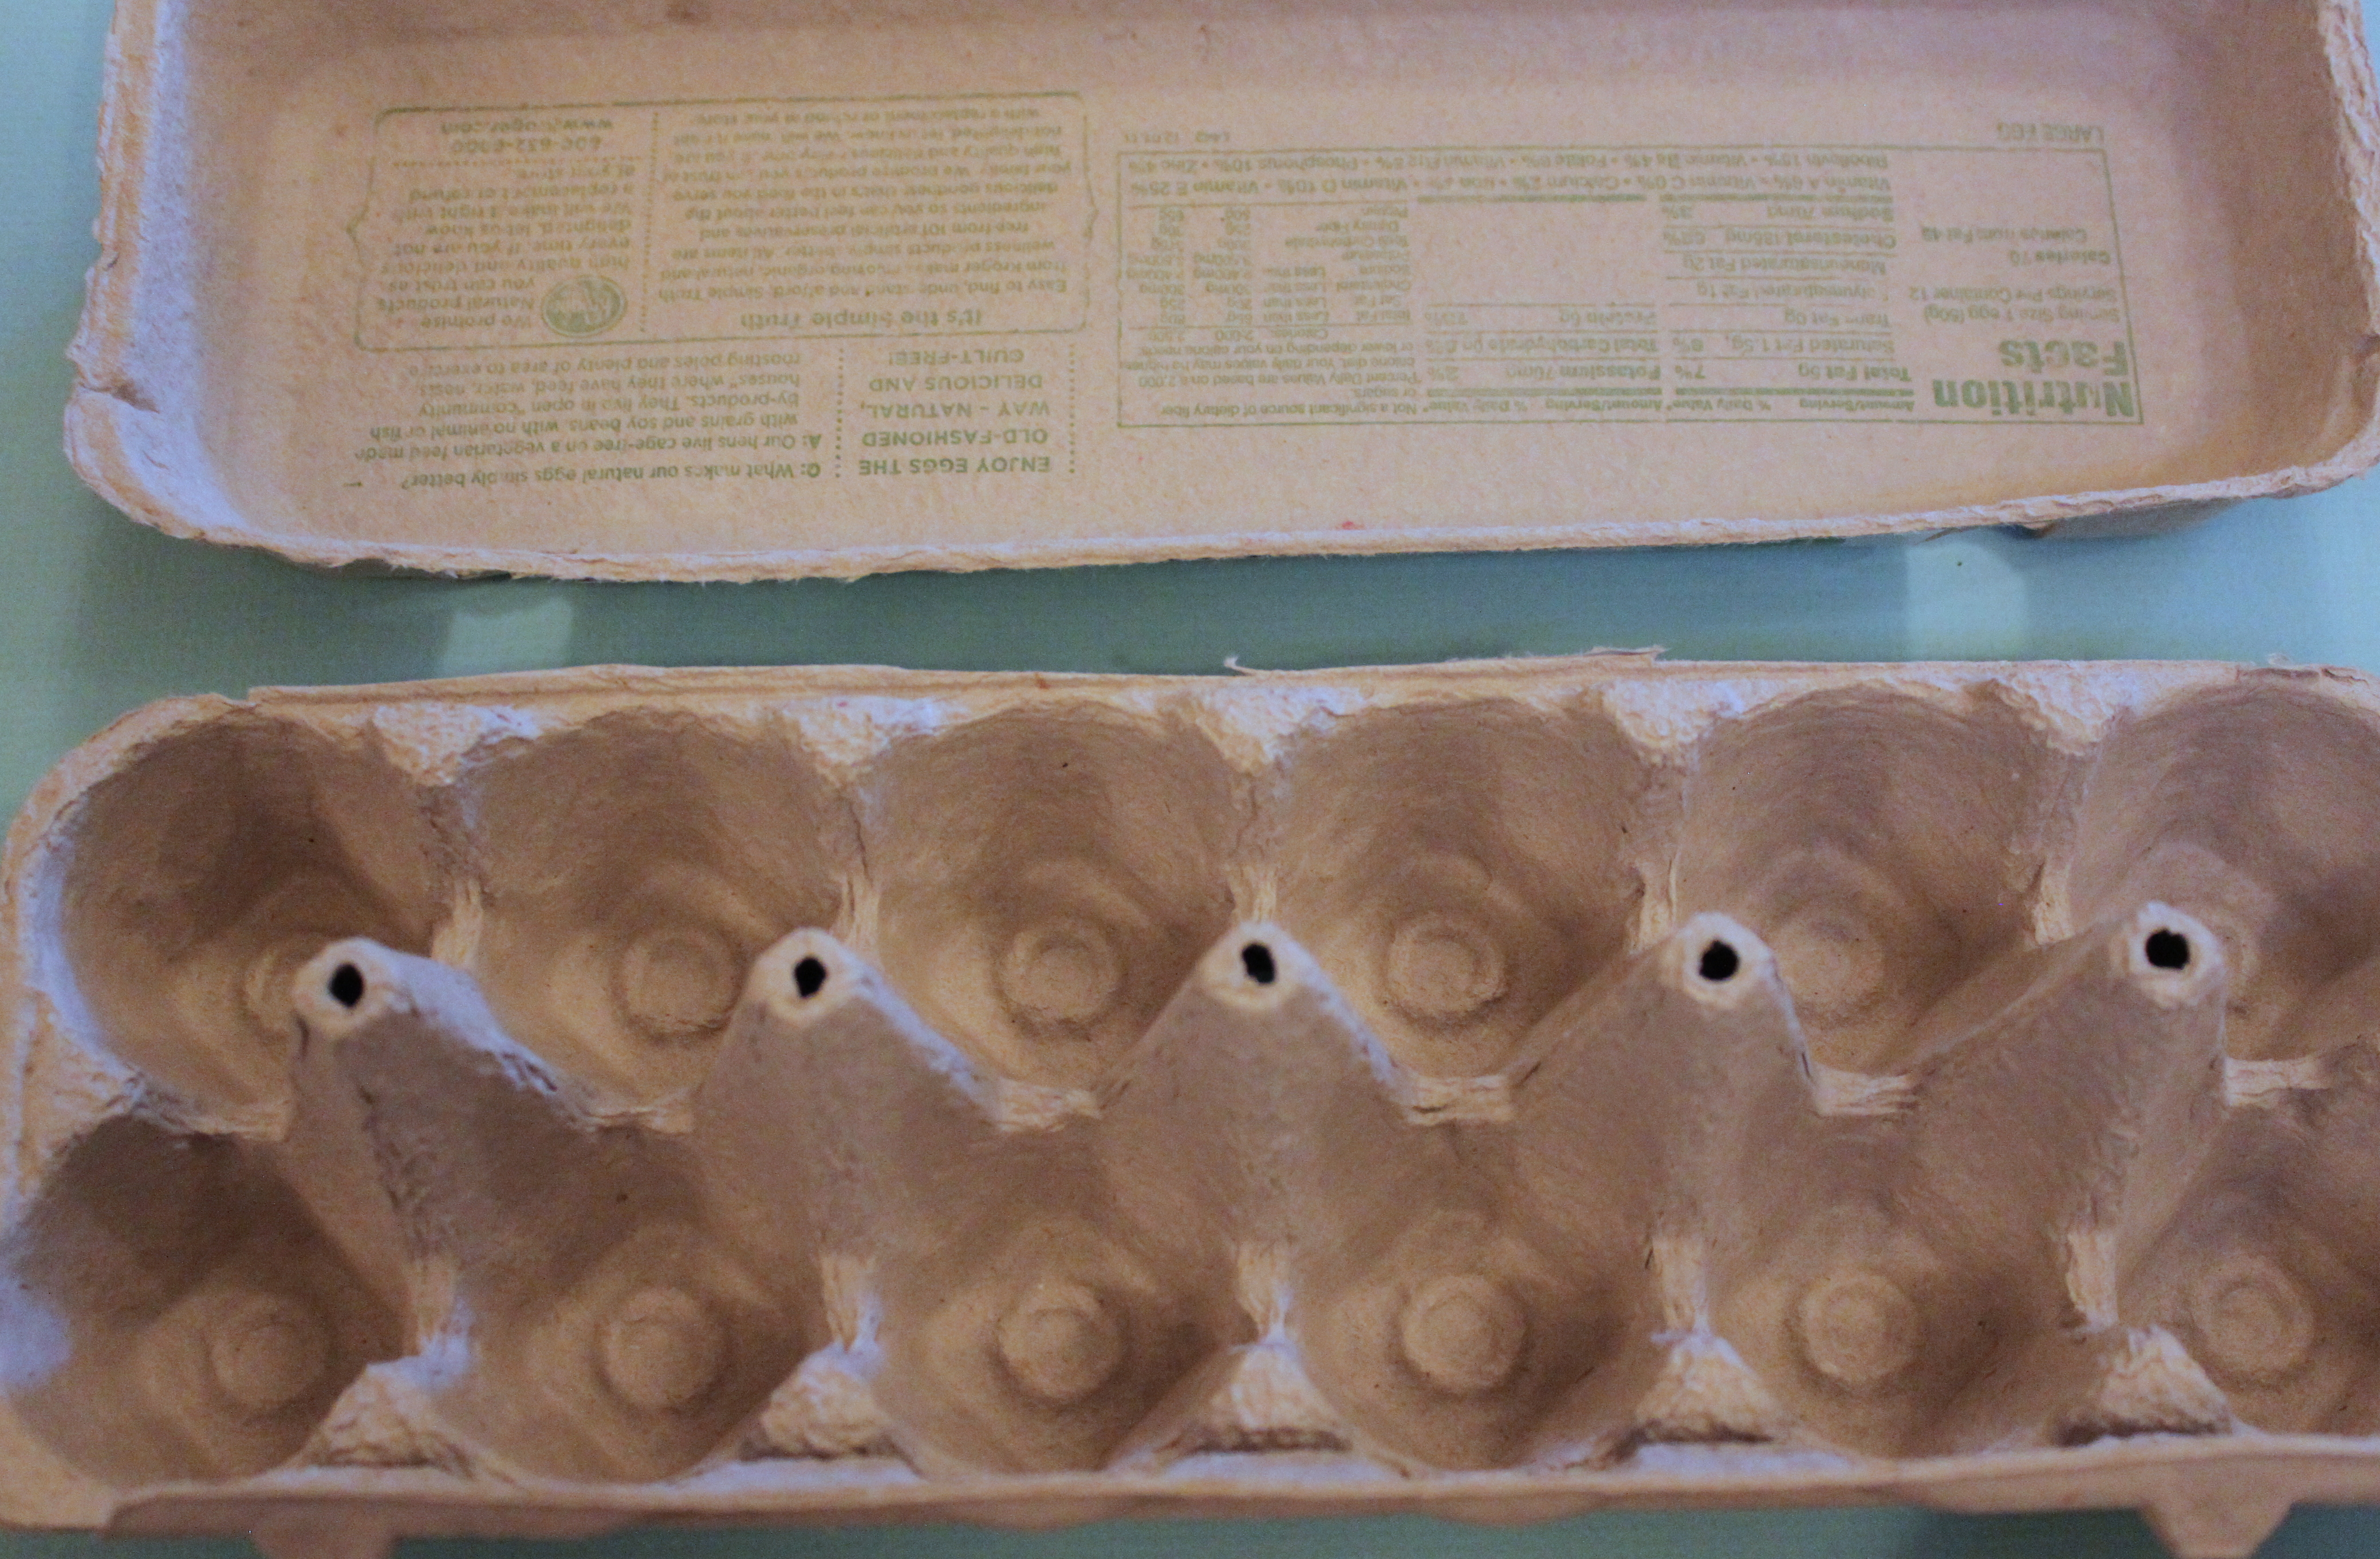
Step 1
We started off by cutting the two halves apart.

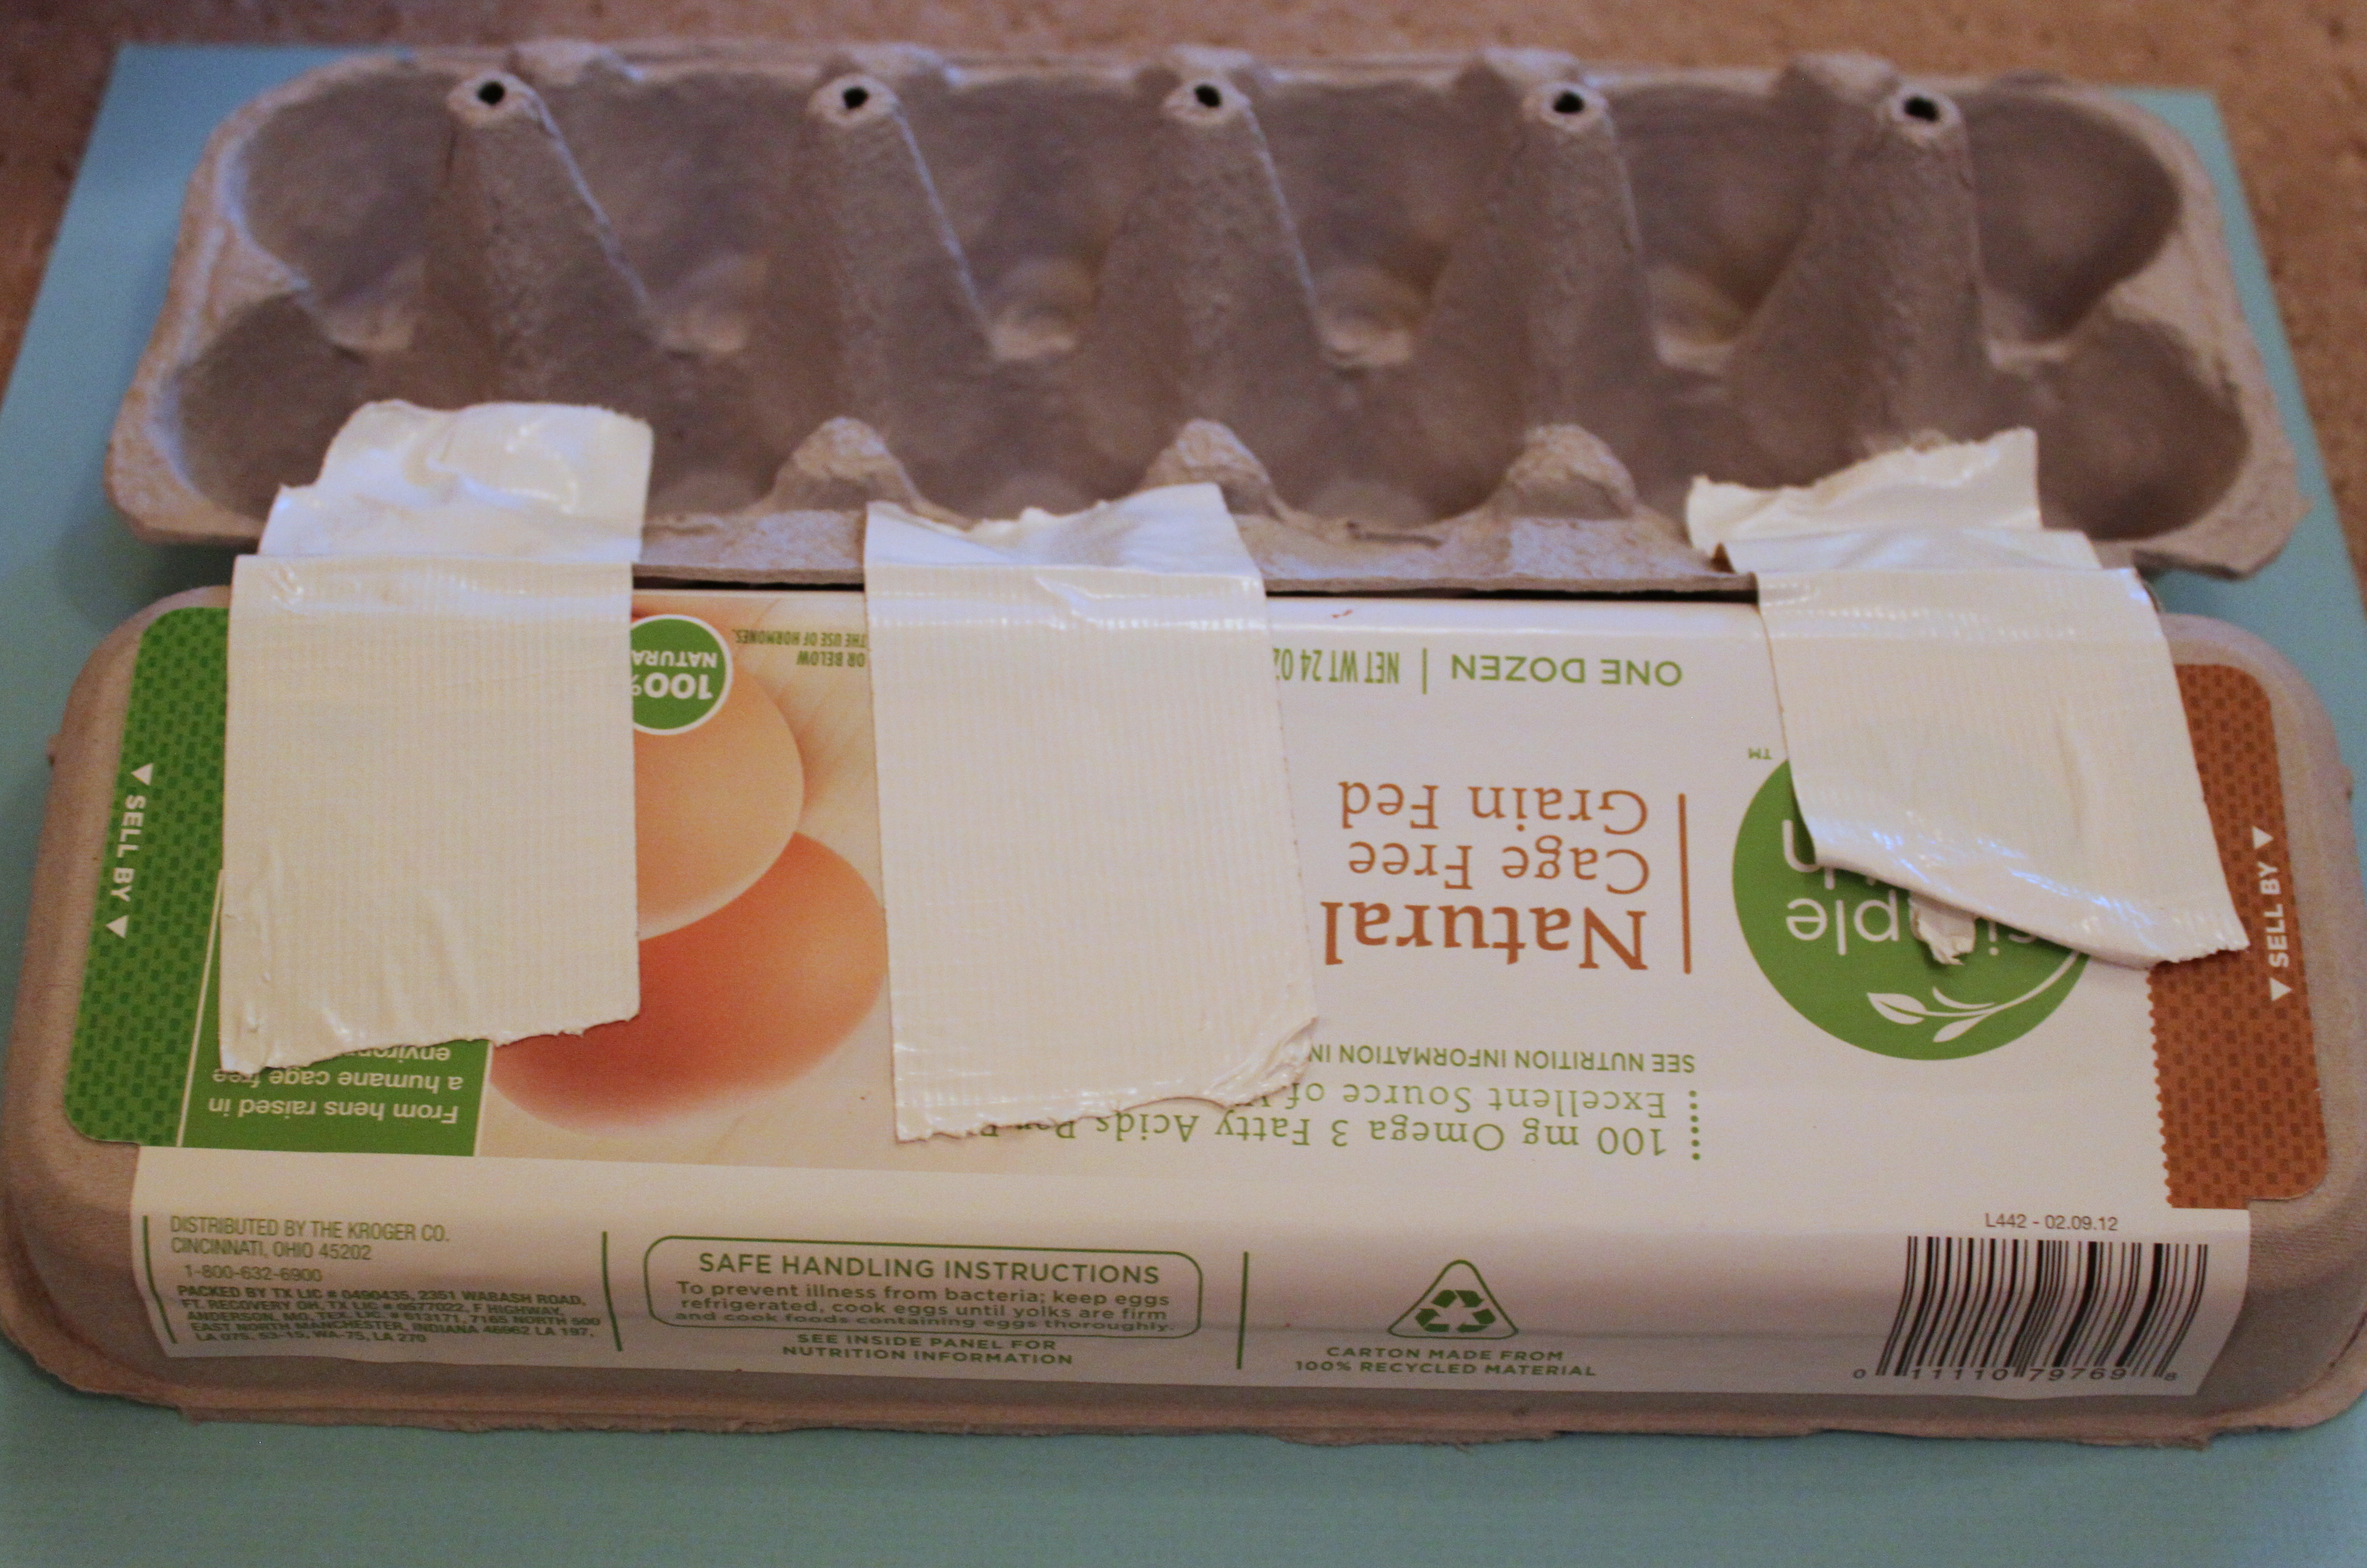
Step 2
We flipped them so the "buttons" were facing out and we duct taped the halves together.
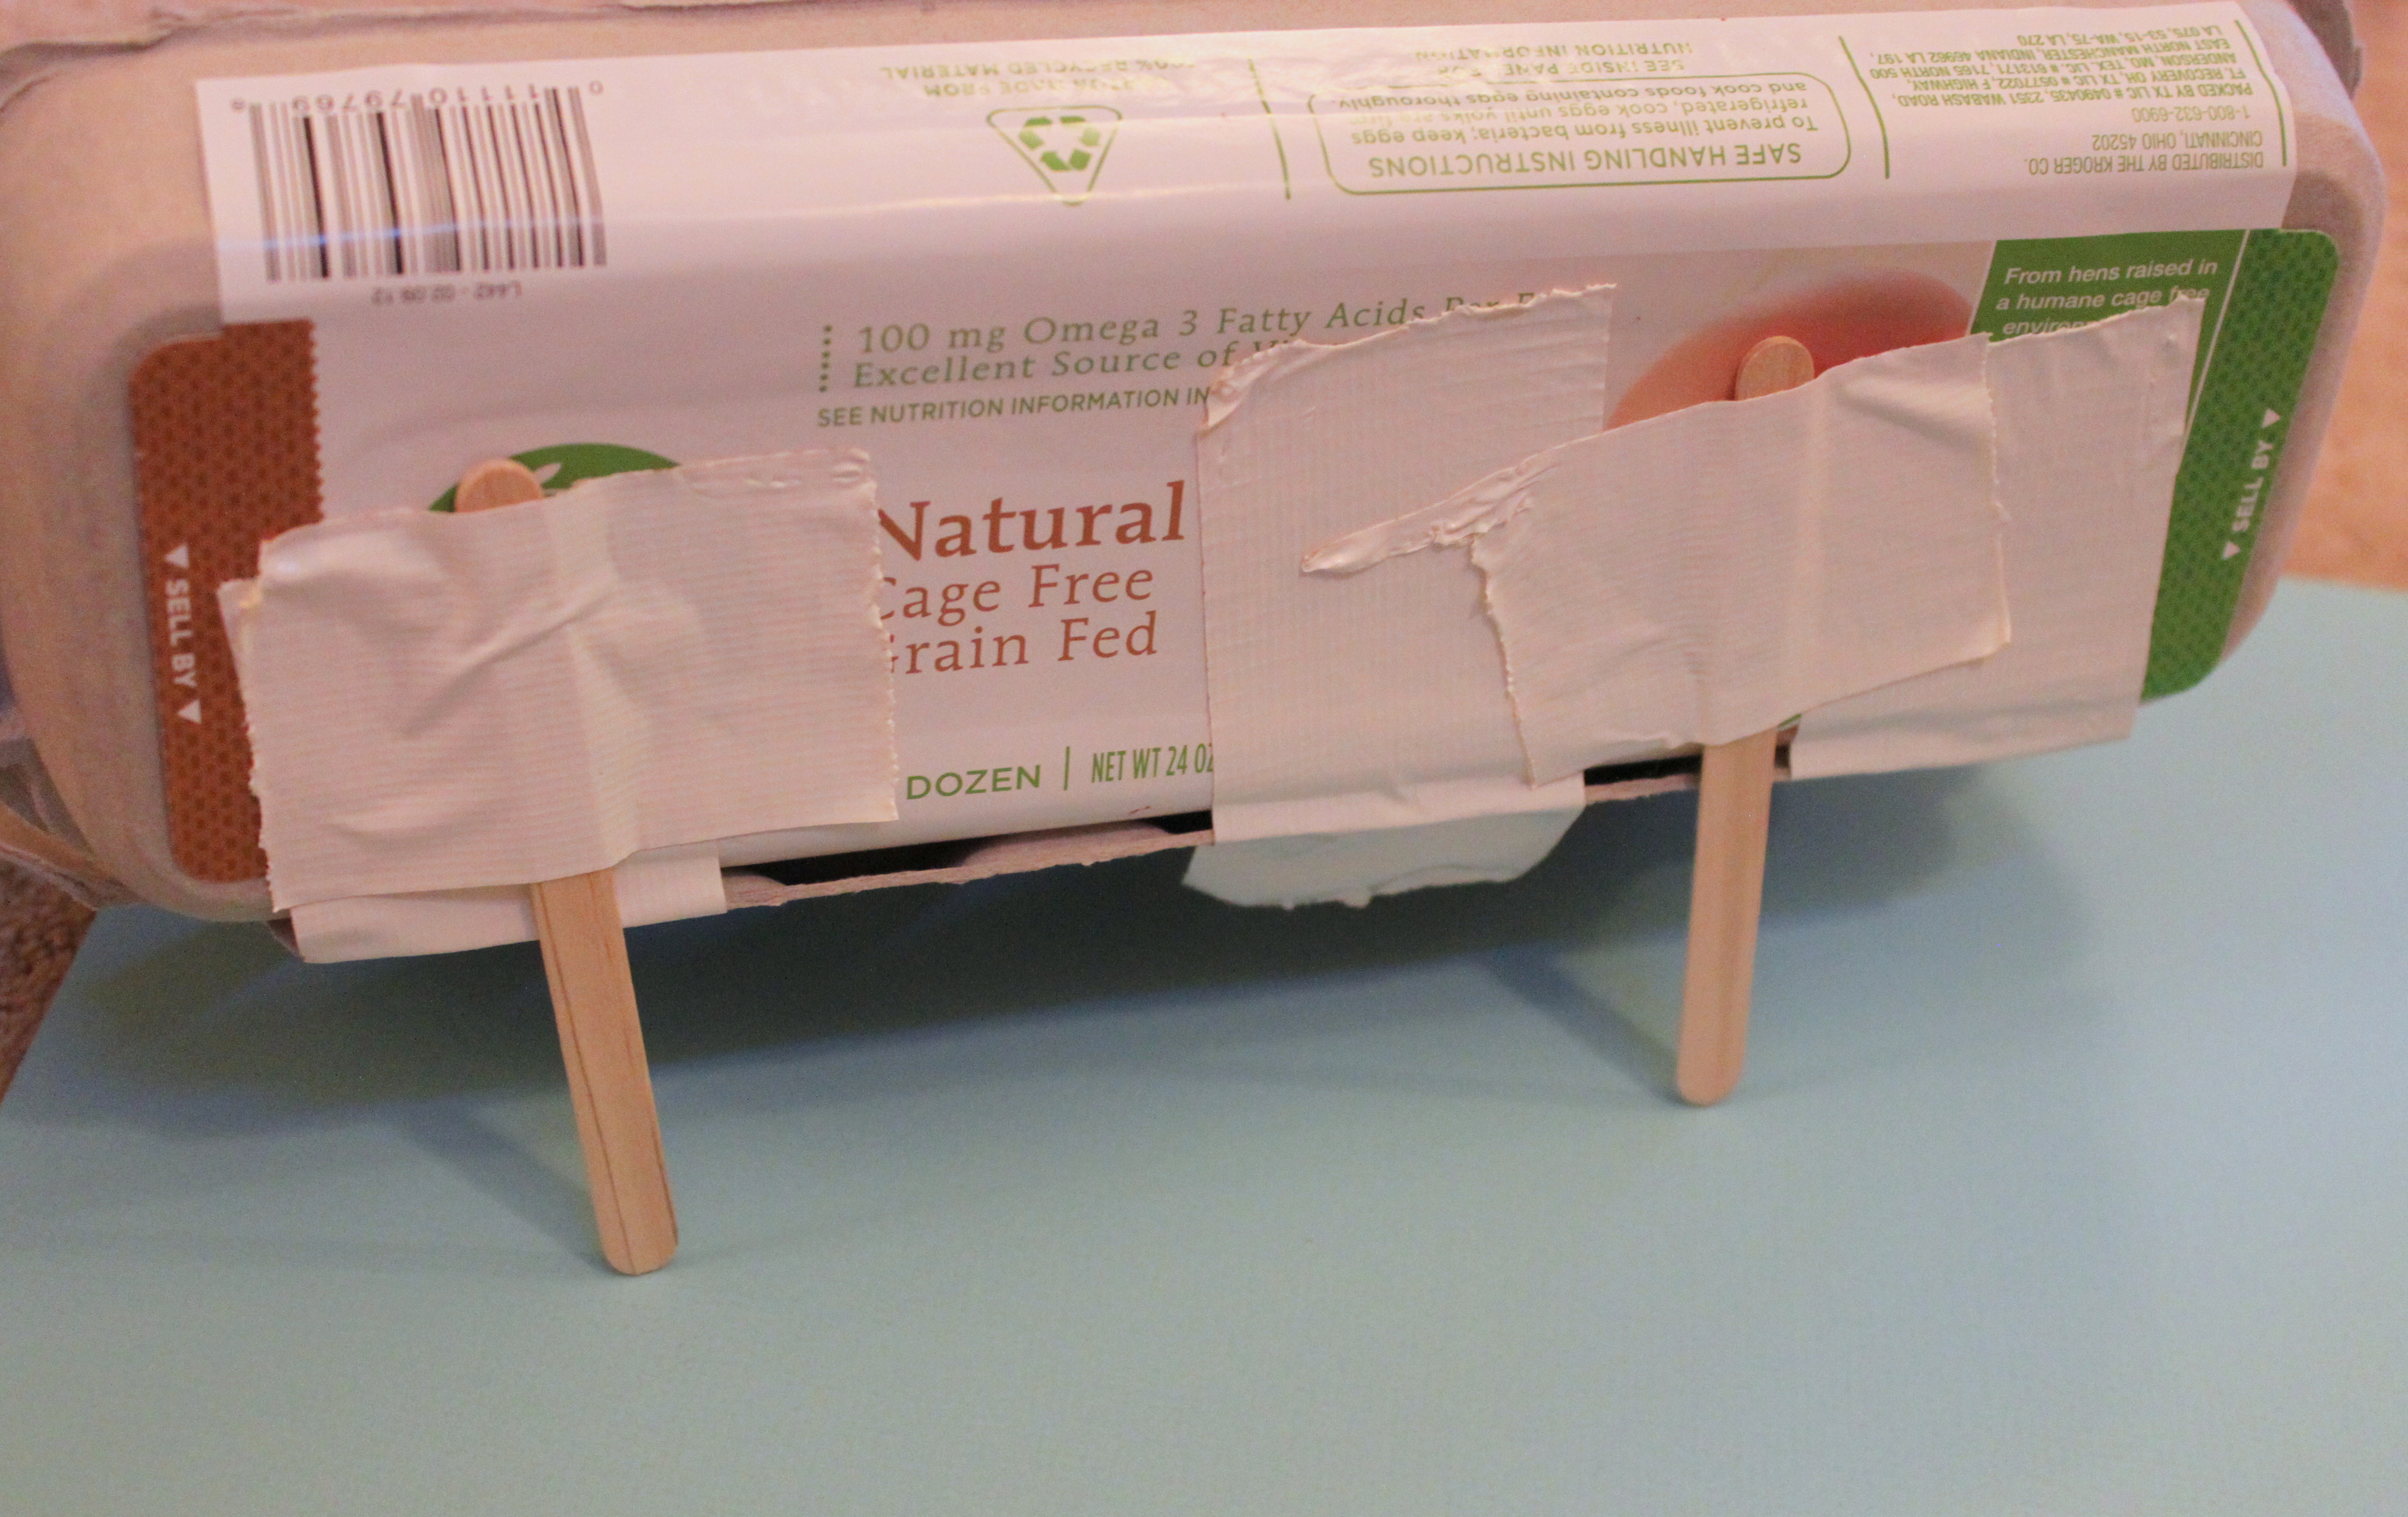
Step 3
Next the back needed some support to stay up while in use. We used two craft sticks and some more tape to attach our new stands to the back.
Step 4
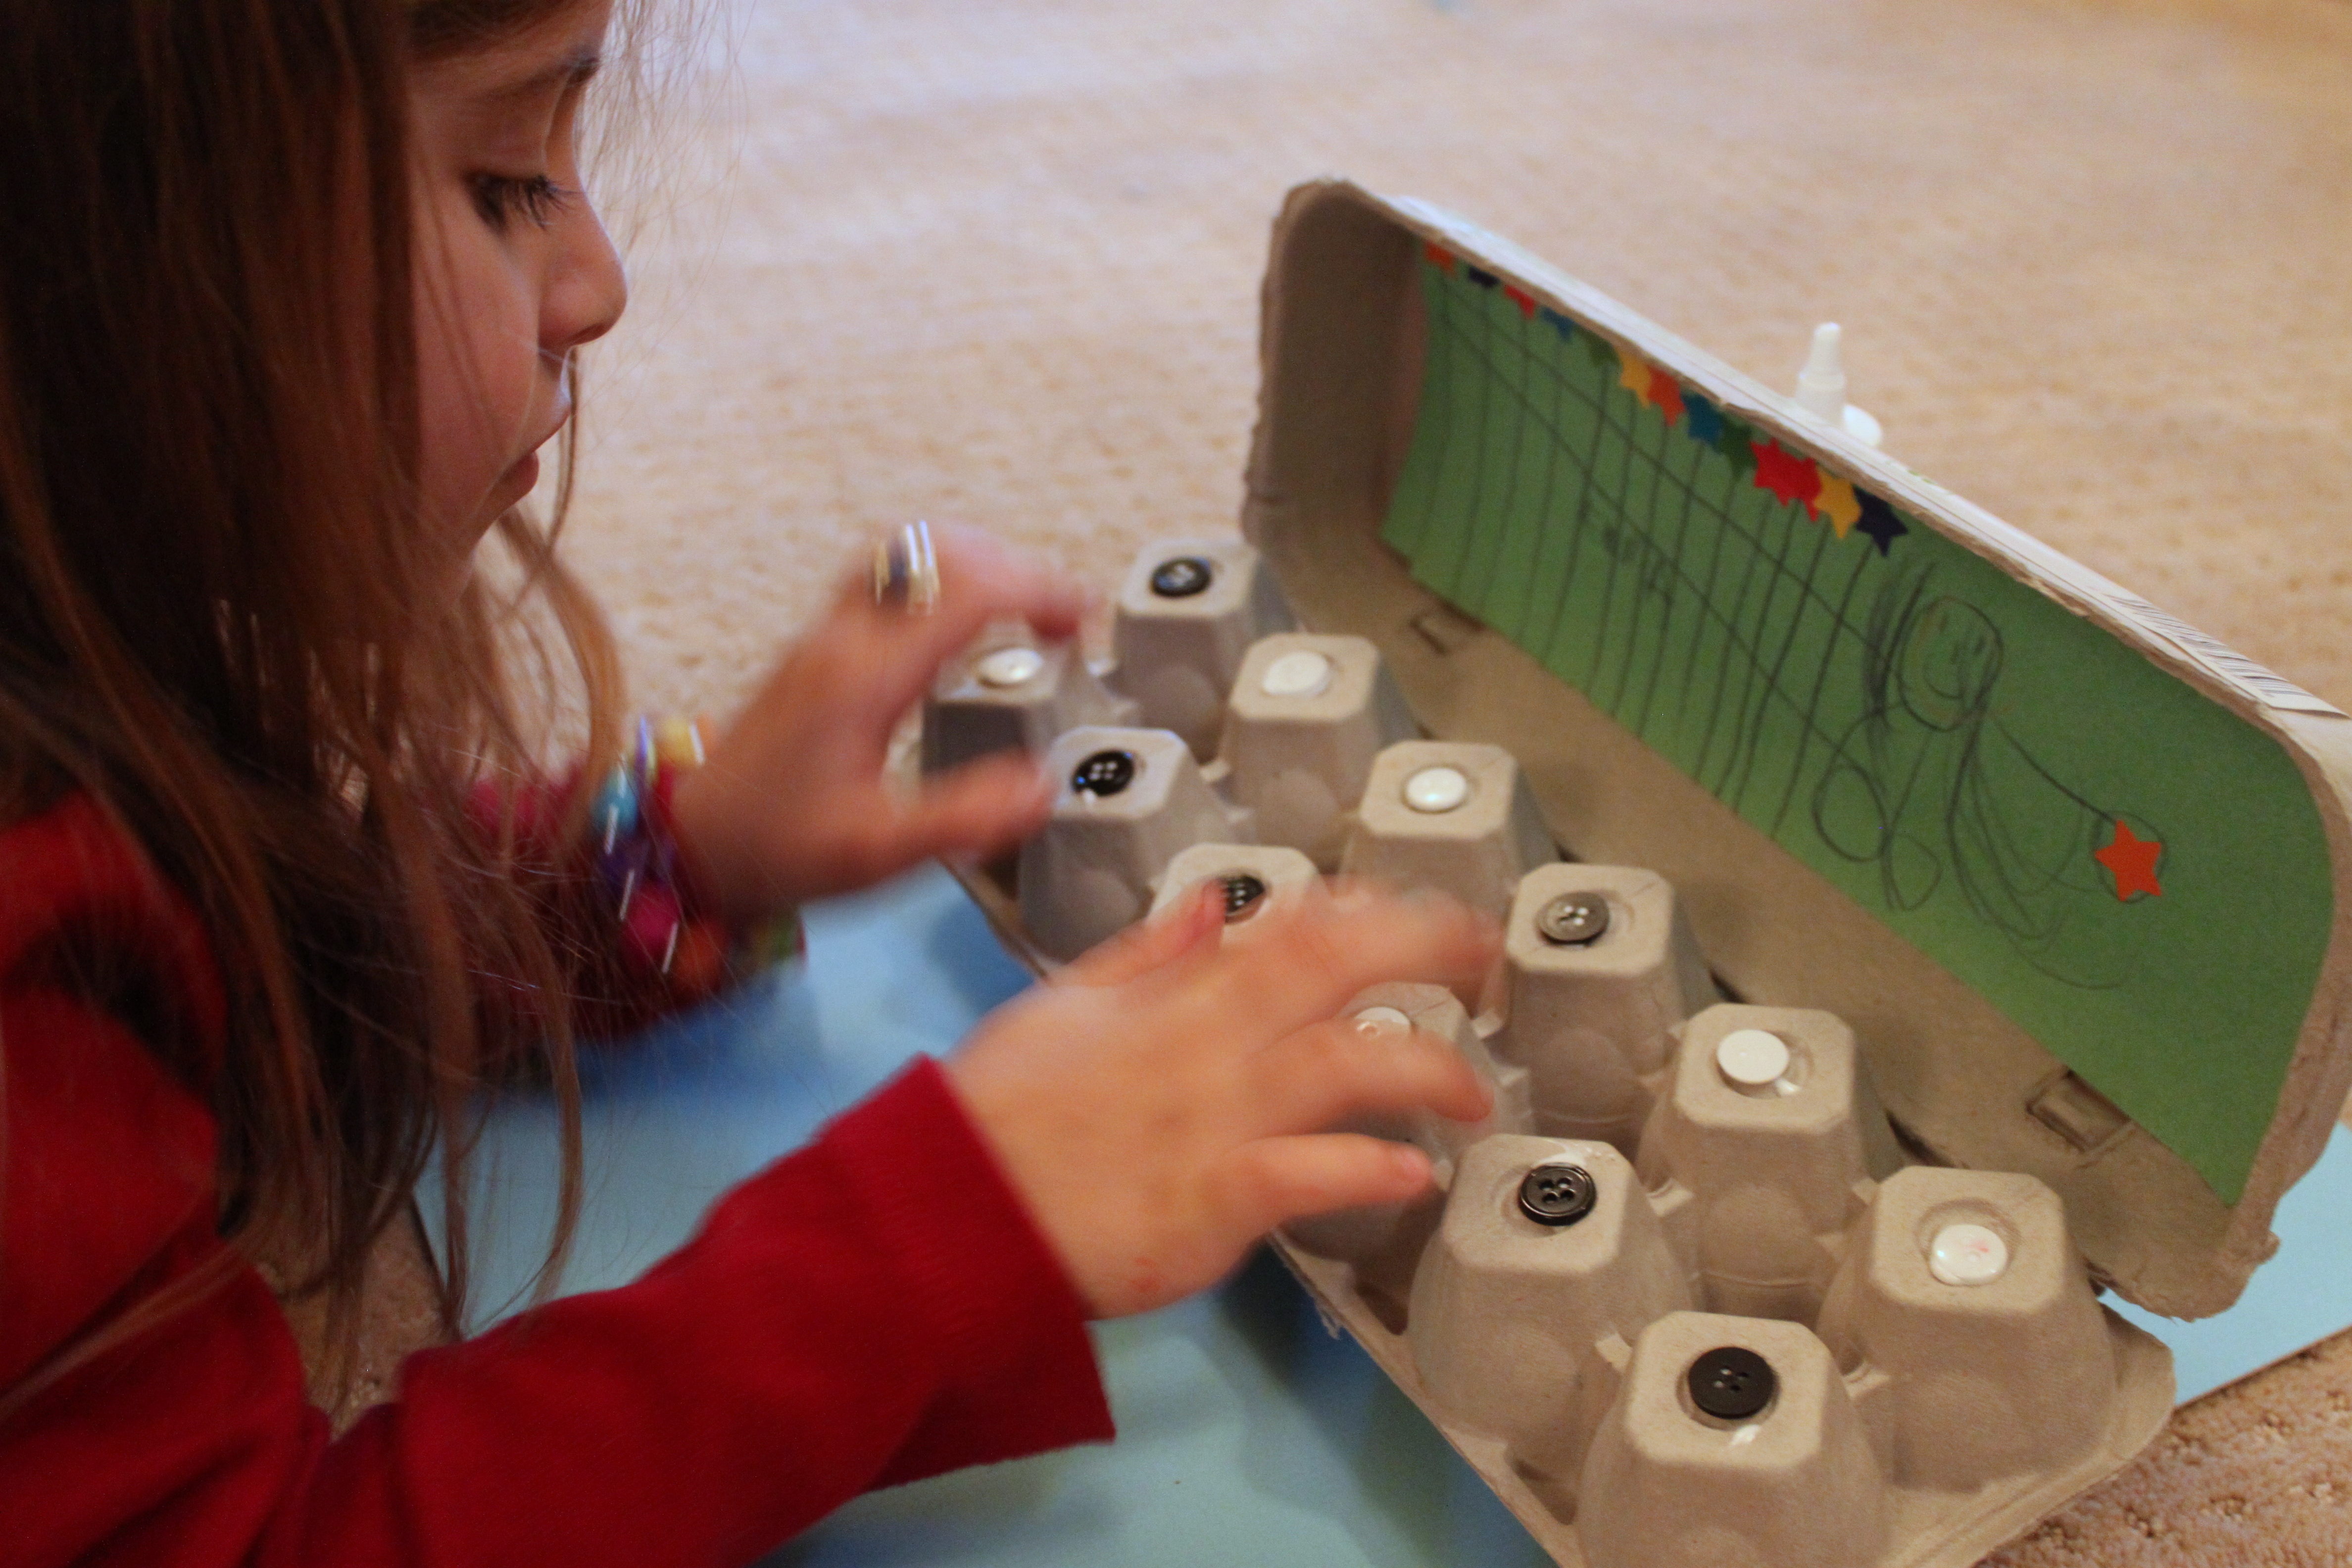
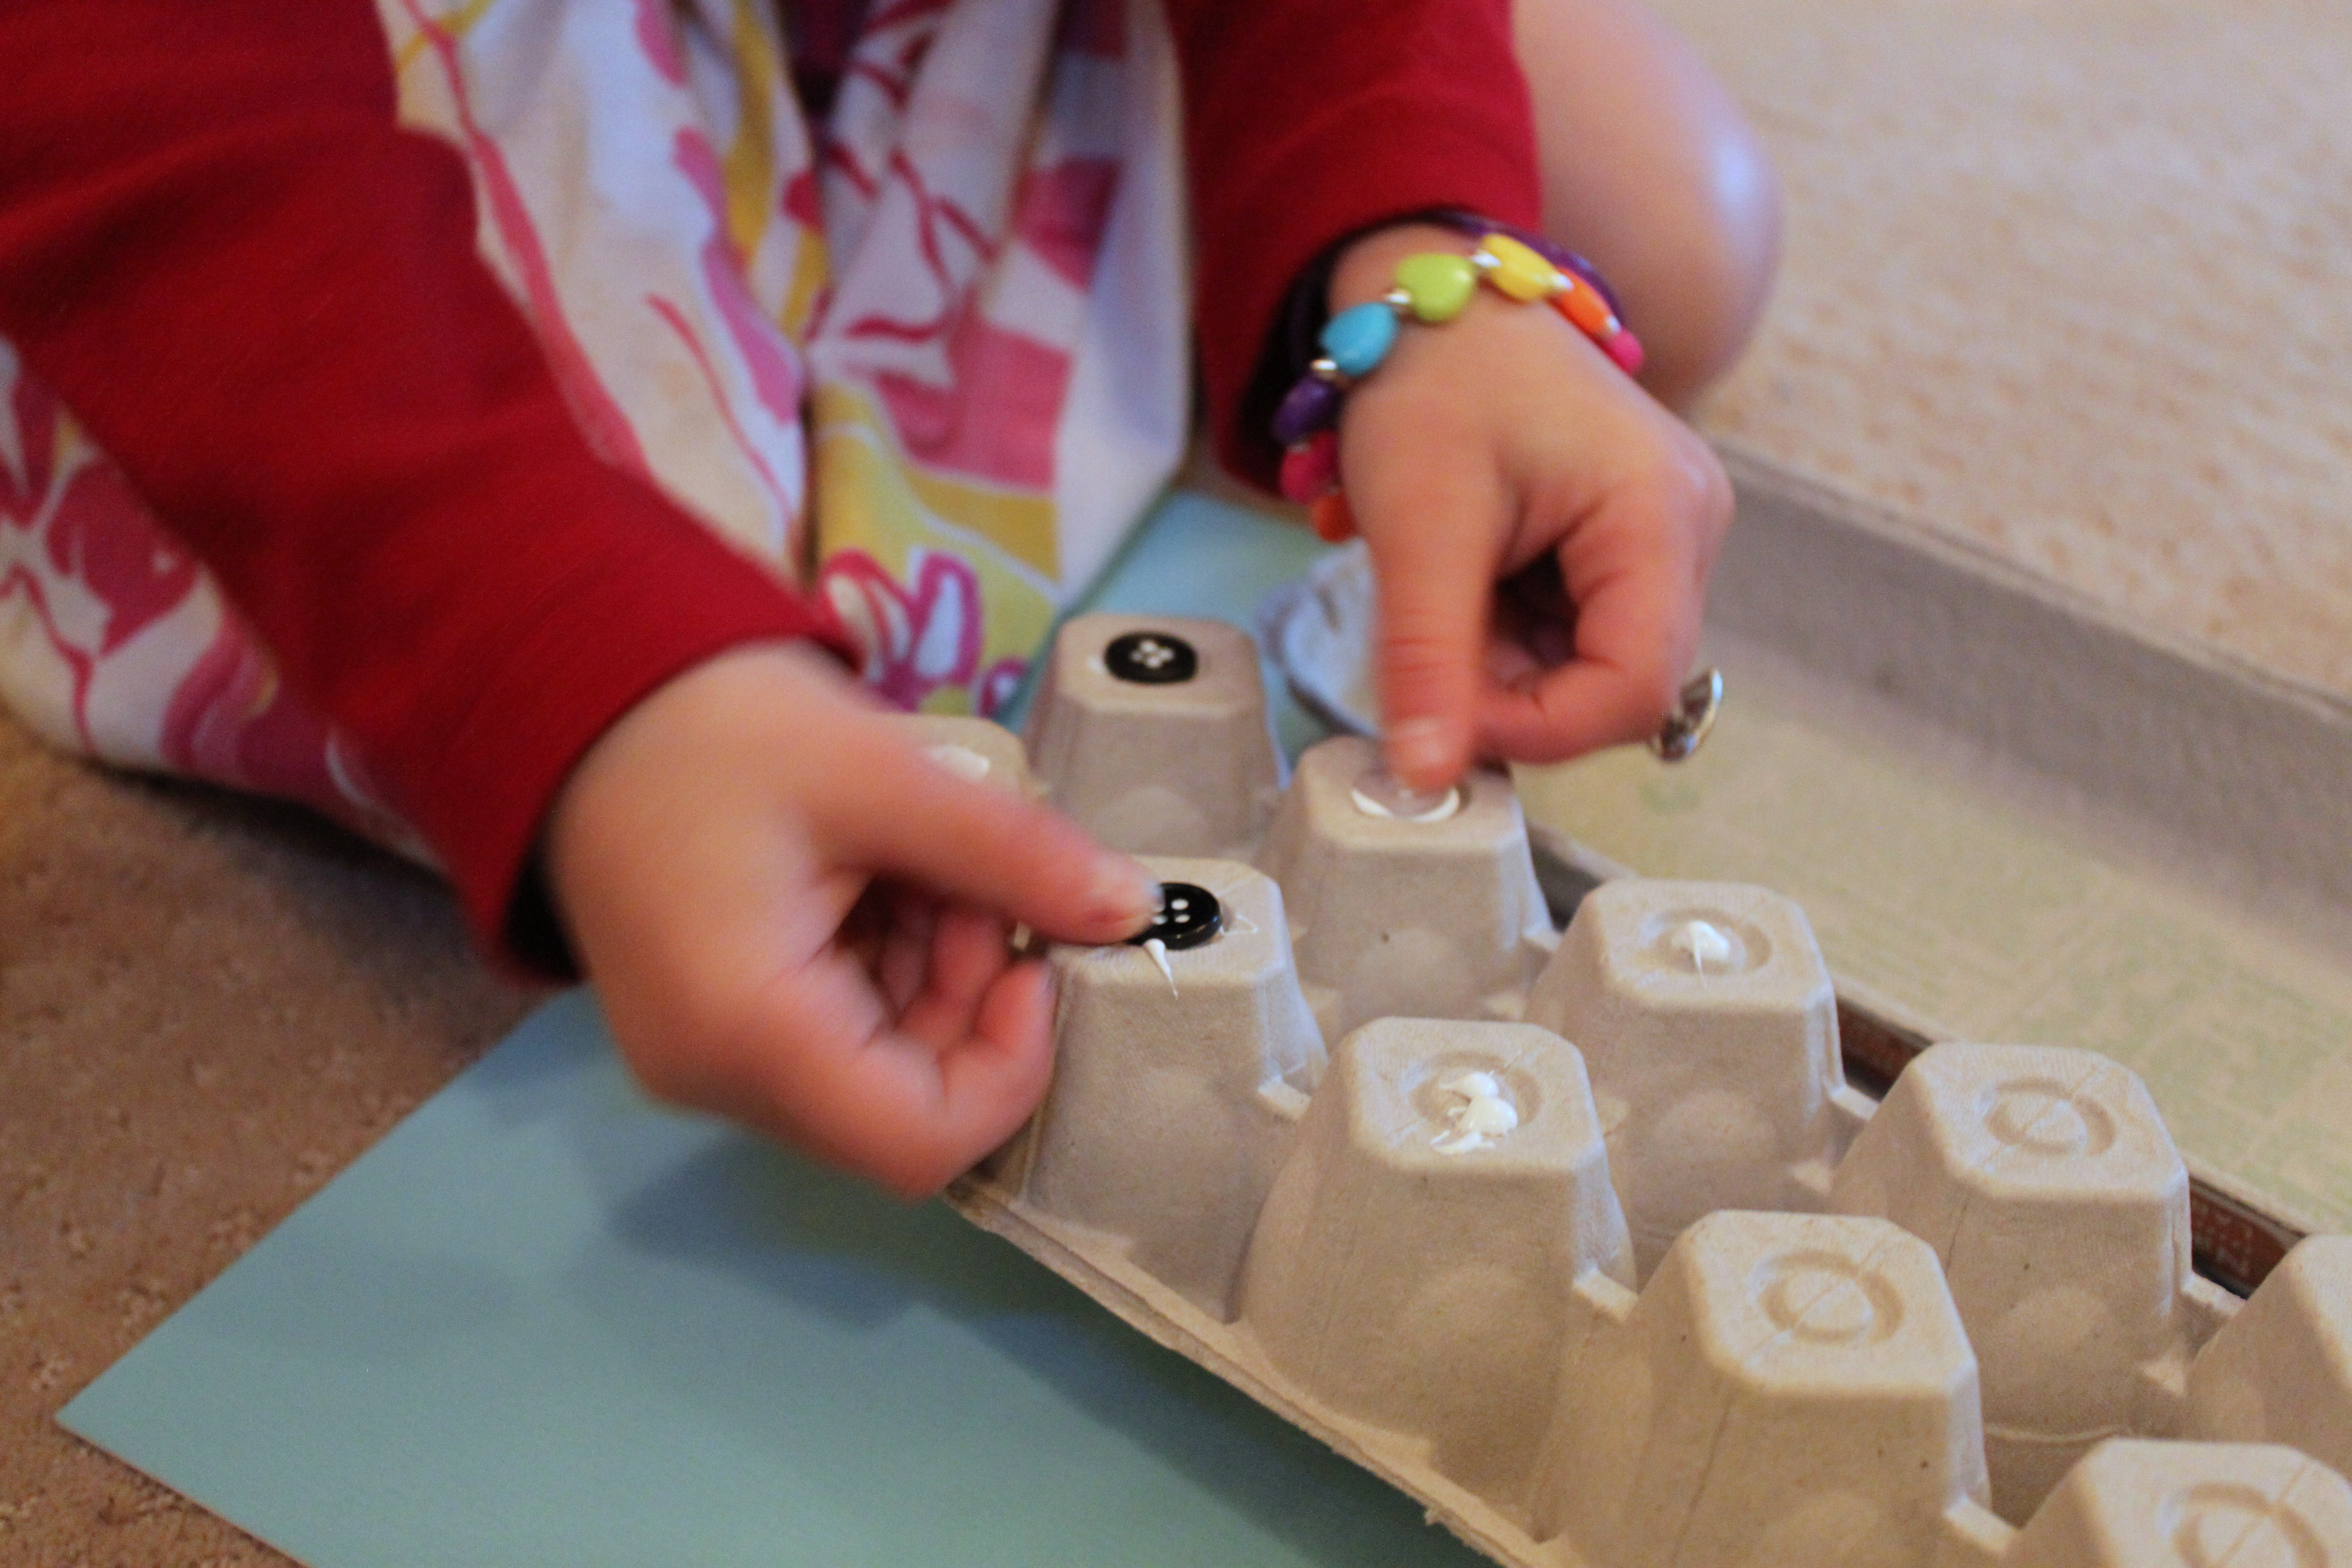
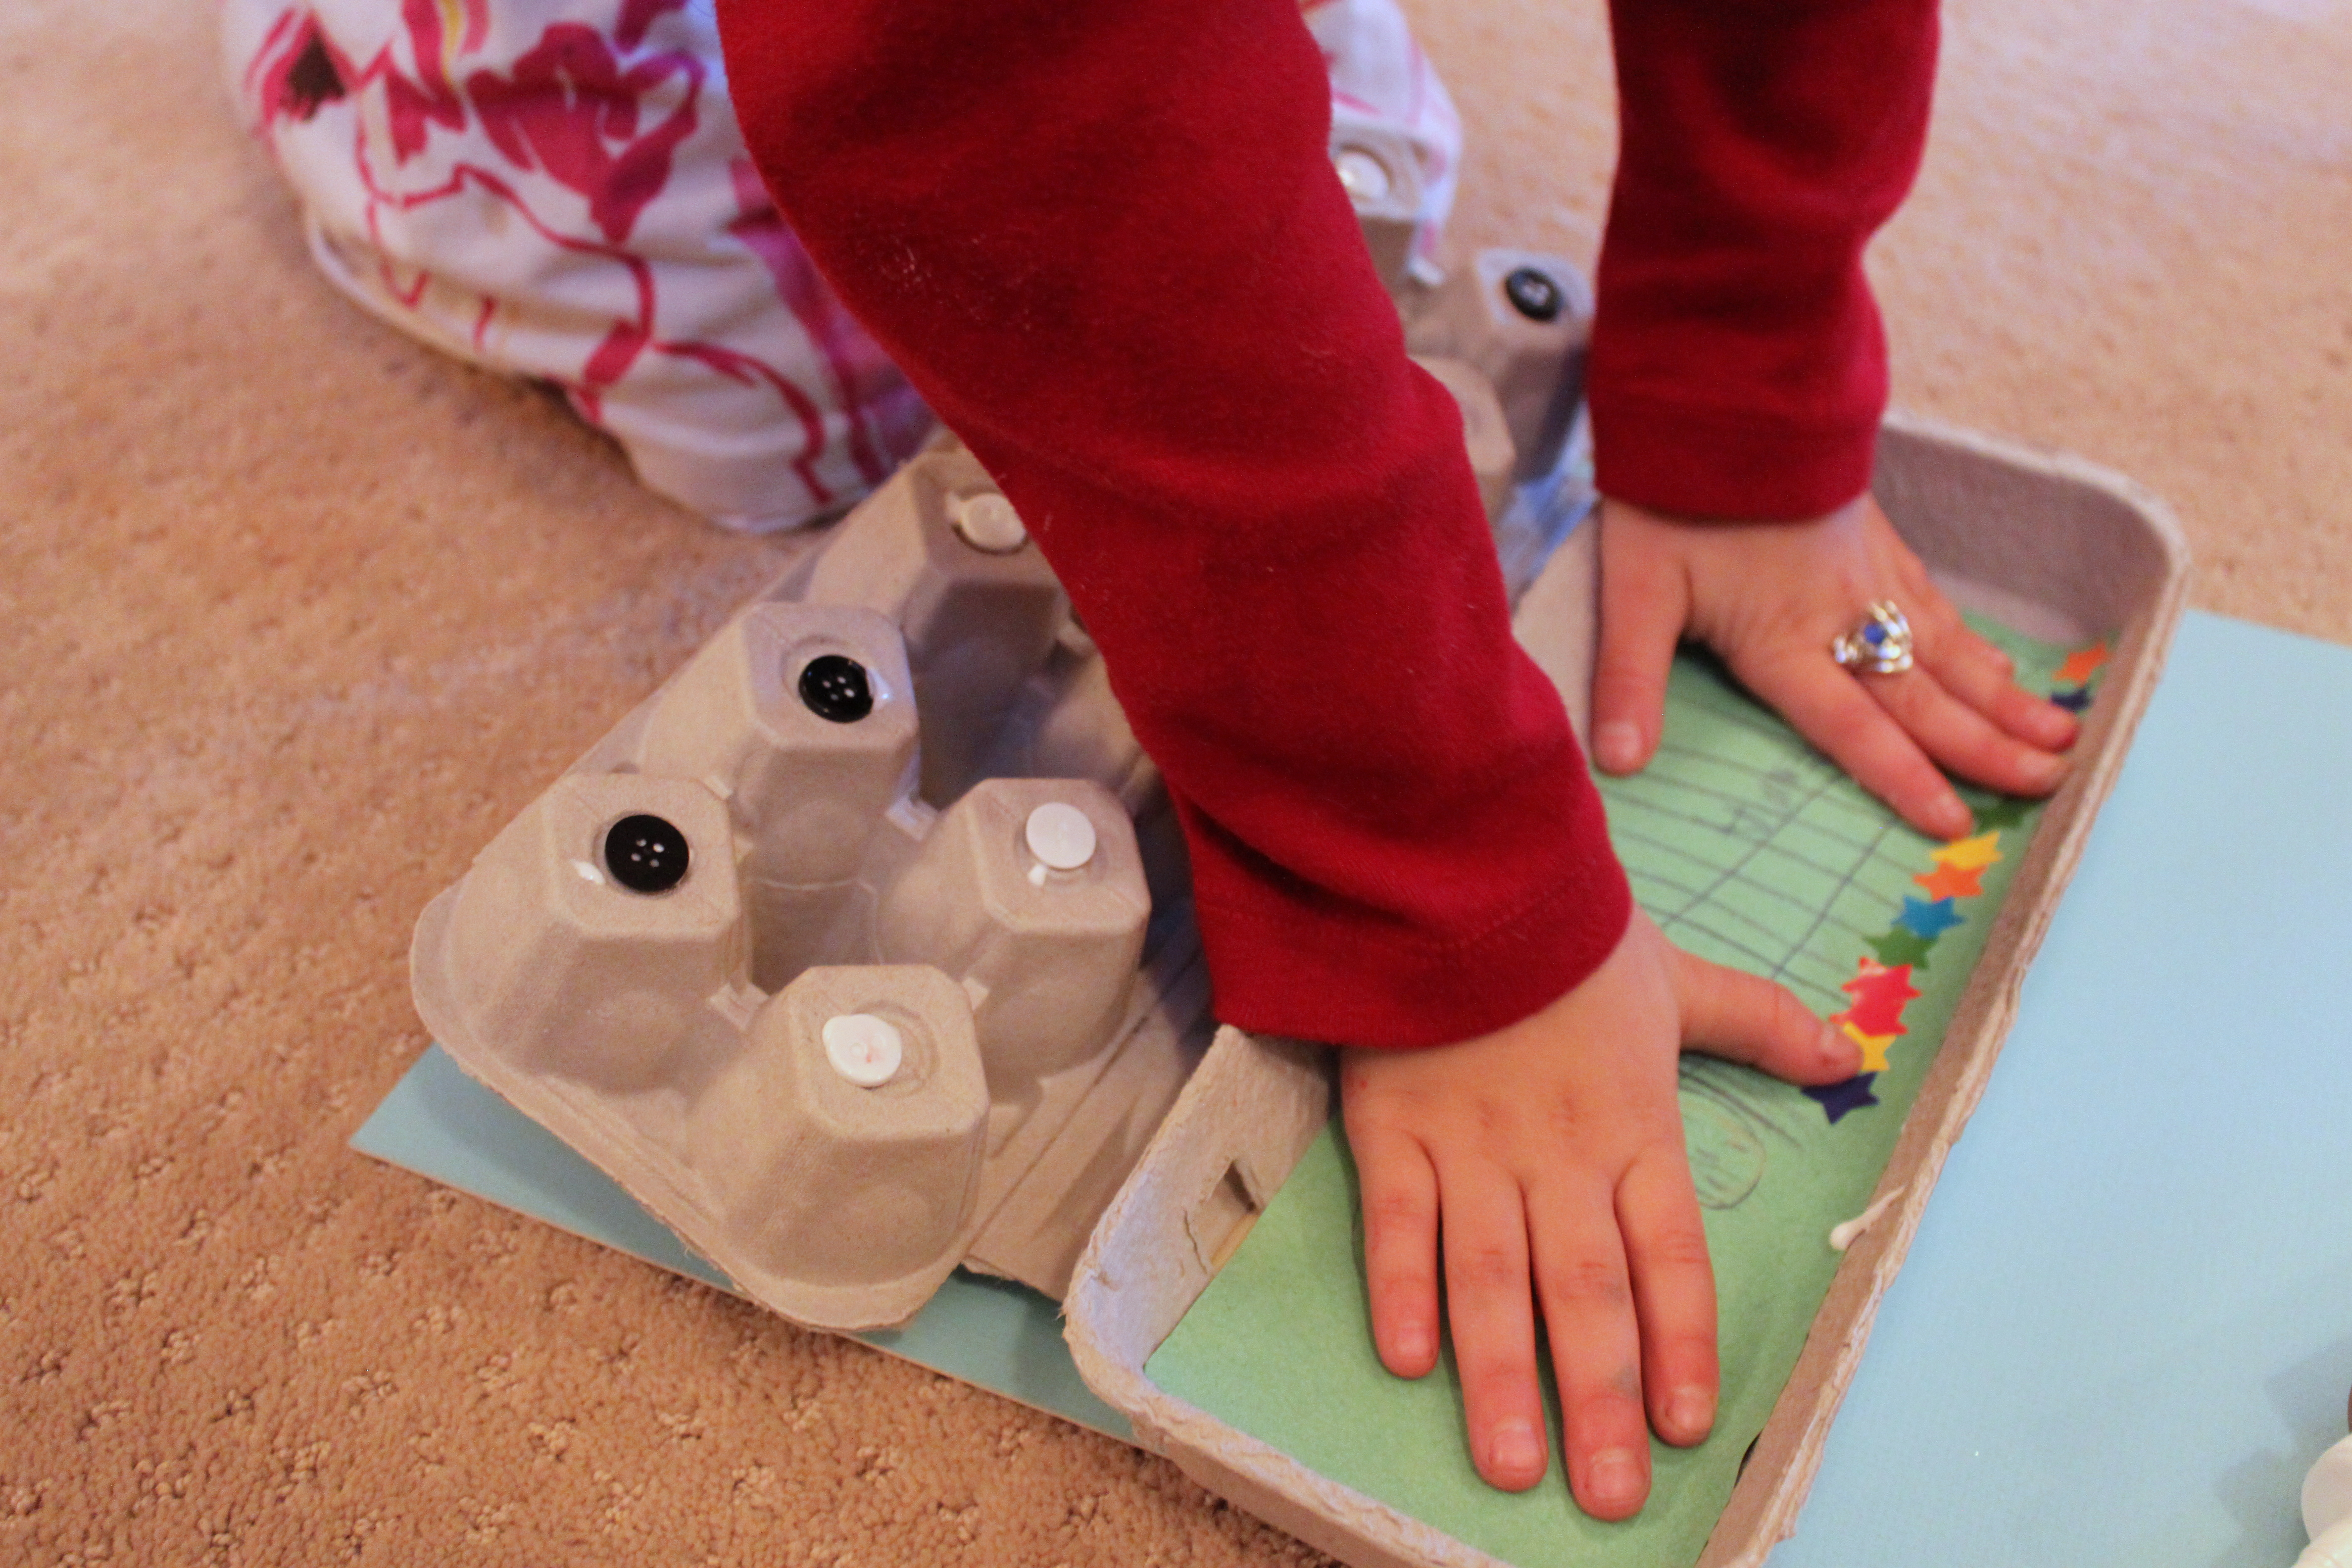
Once our structure was just right, Emma added buttons to the egg crate. They were the perfect size for her little fingers and made the realistic key-hitting sound that she was hoping for.
Step 5
I thought it was just perfect, but Emma remembered an important feature she needed...a screen! She cut a rectangle out of construction paper and added some personal touches. Perhaps this was her screen saver?!
Final result!
With her screen in place, she was ready to get to some serious computer work. This project was such a huge hit and played with every day since. We even had to make another one for Emma's two-year-old brother...to avoid some computer conflicts! I love when my kids get creative!
