Step-by-step tutorial
Step 1
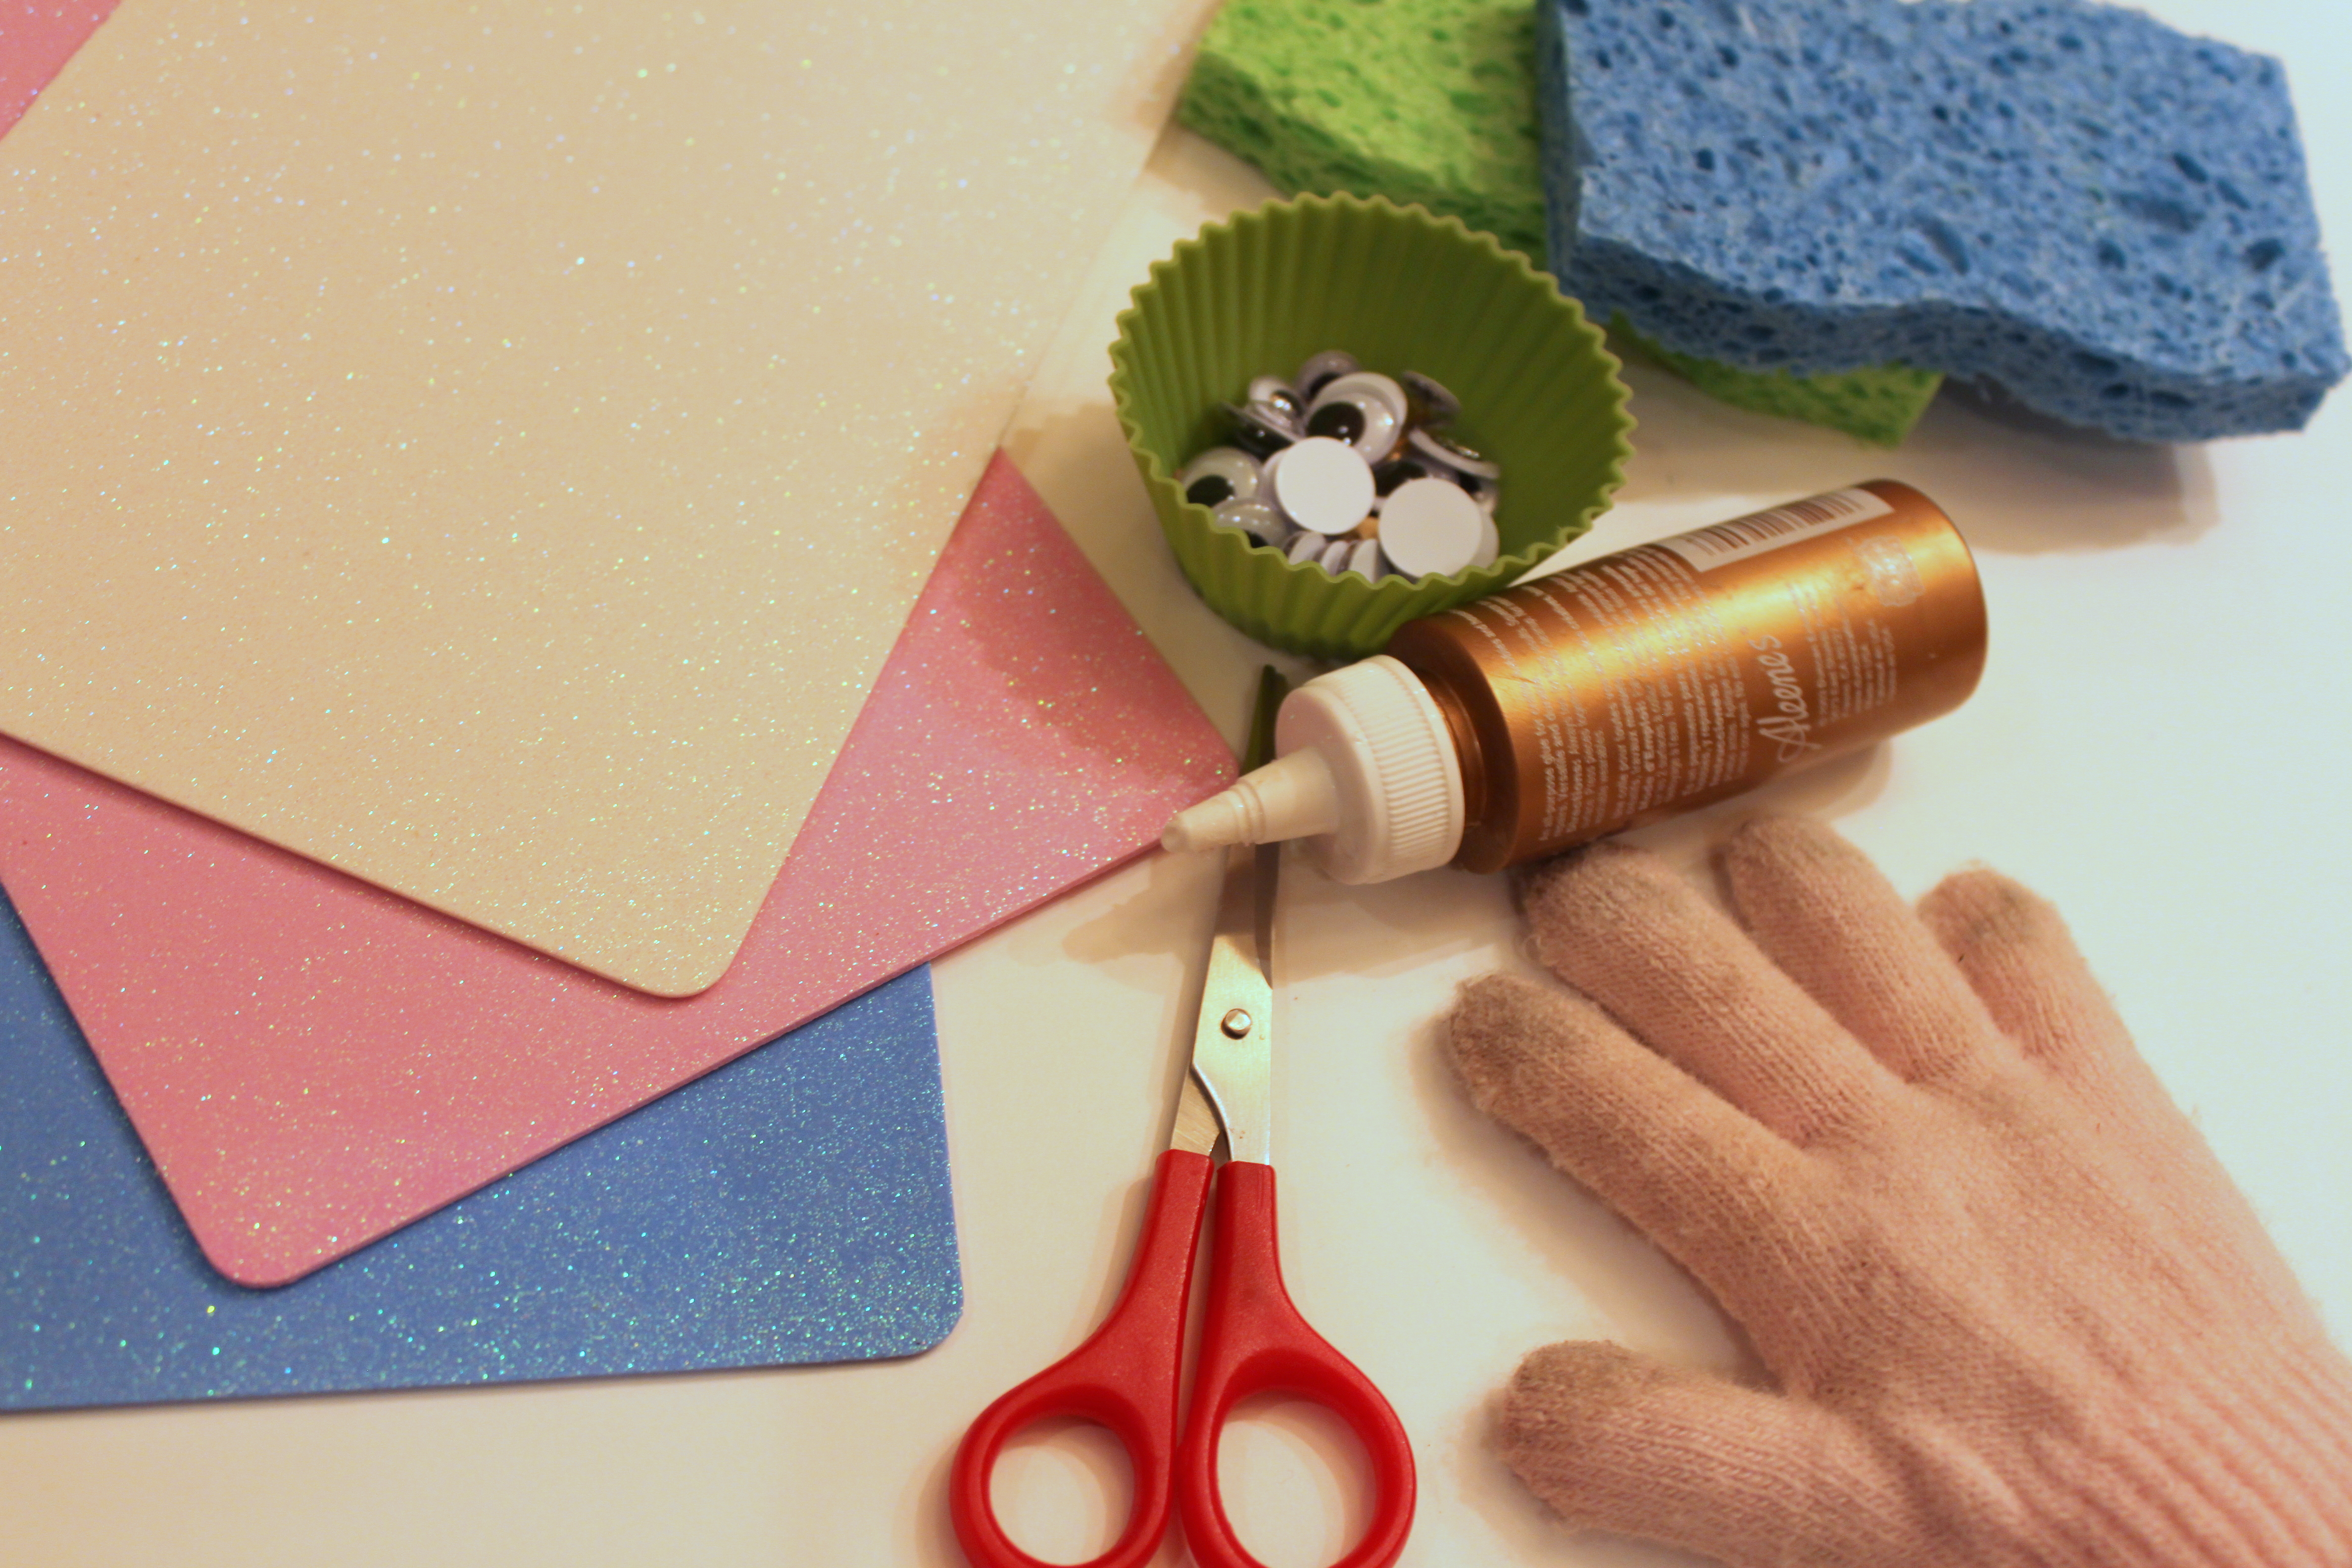
The excitement was in the air with this one! Emma loves story telling and loves puppets even more. The thought of making her own was over-the-top exciting. First find an old glove, and gather the rest of your materials. This project is very flexible. You could replace the sponges with felt or even do the entire face with the foam sheets. Whatever you have around will work.

Step 2
Cut your shapes out of the sponges to begin adding the feature details. You could do so many different characters with this. We have made the Five Little Monkeys and have even created our own characters.
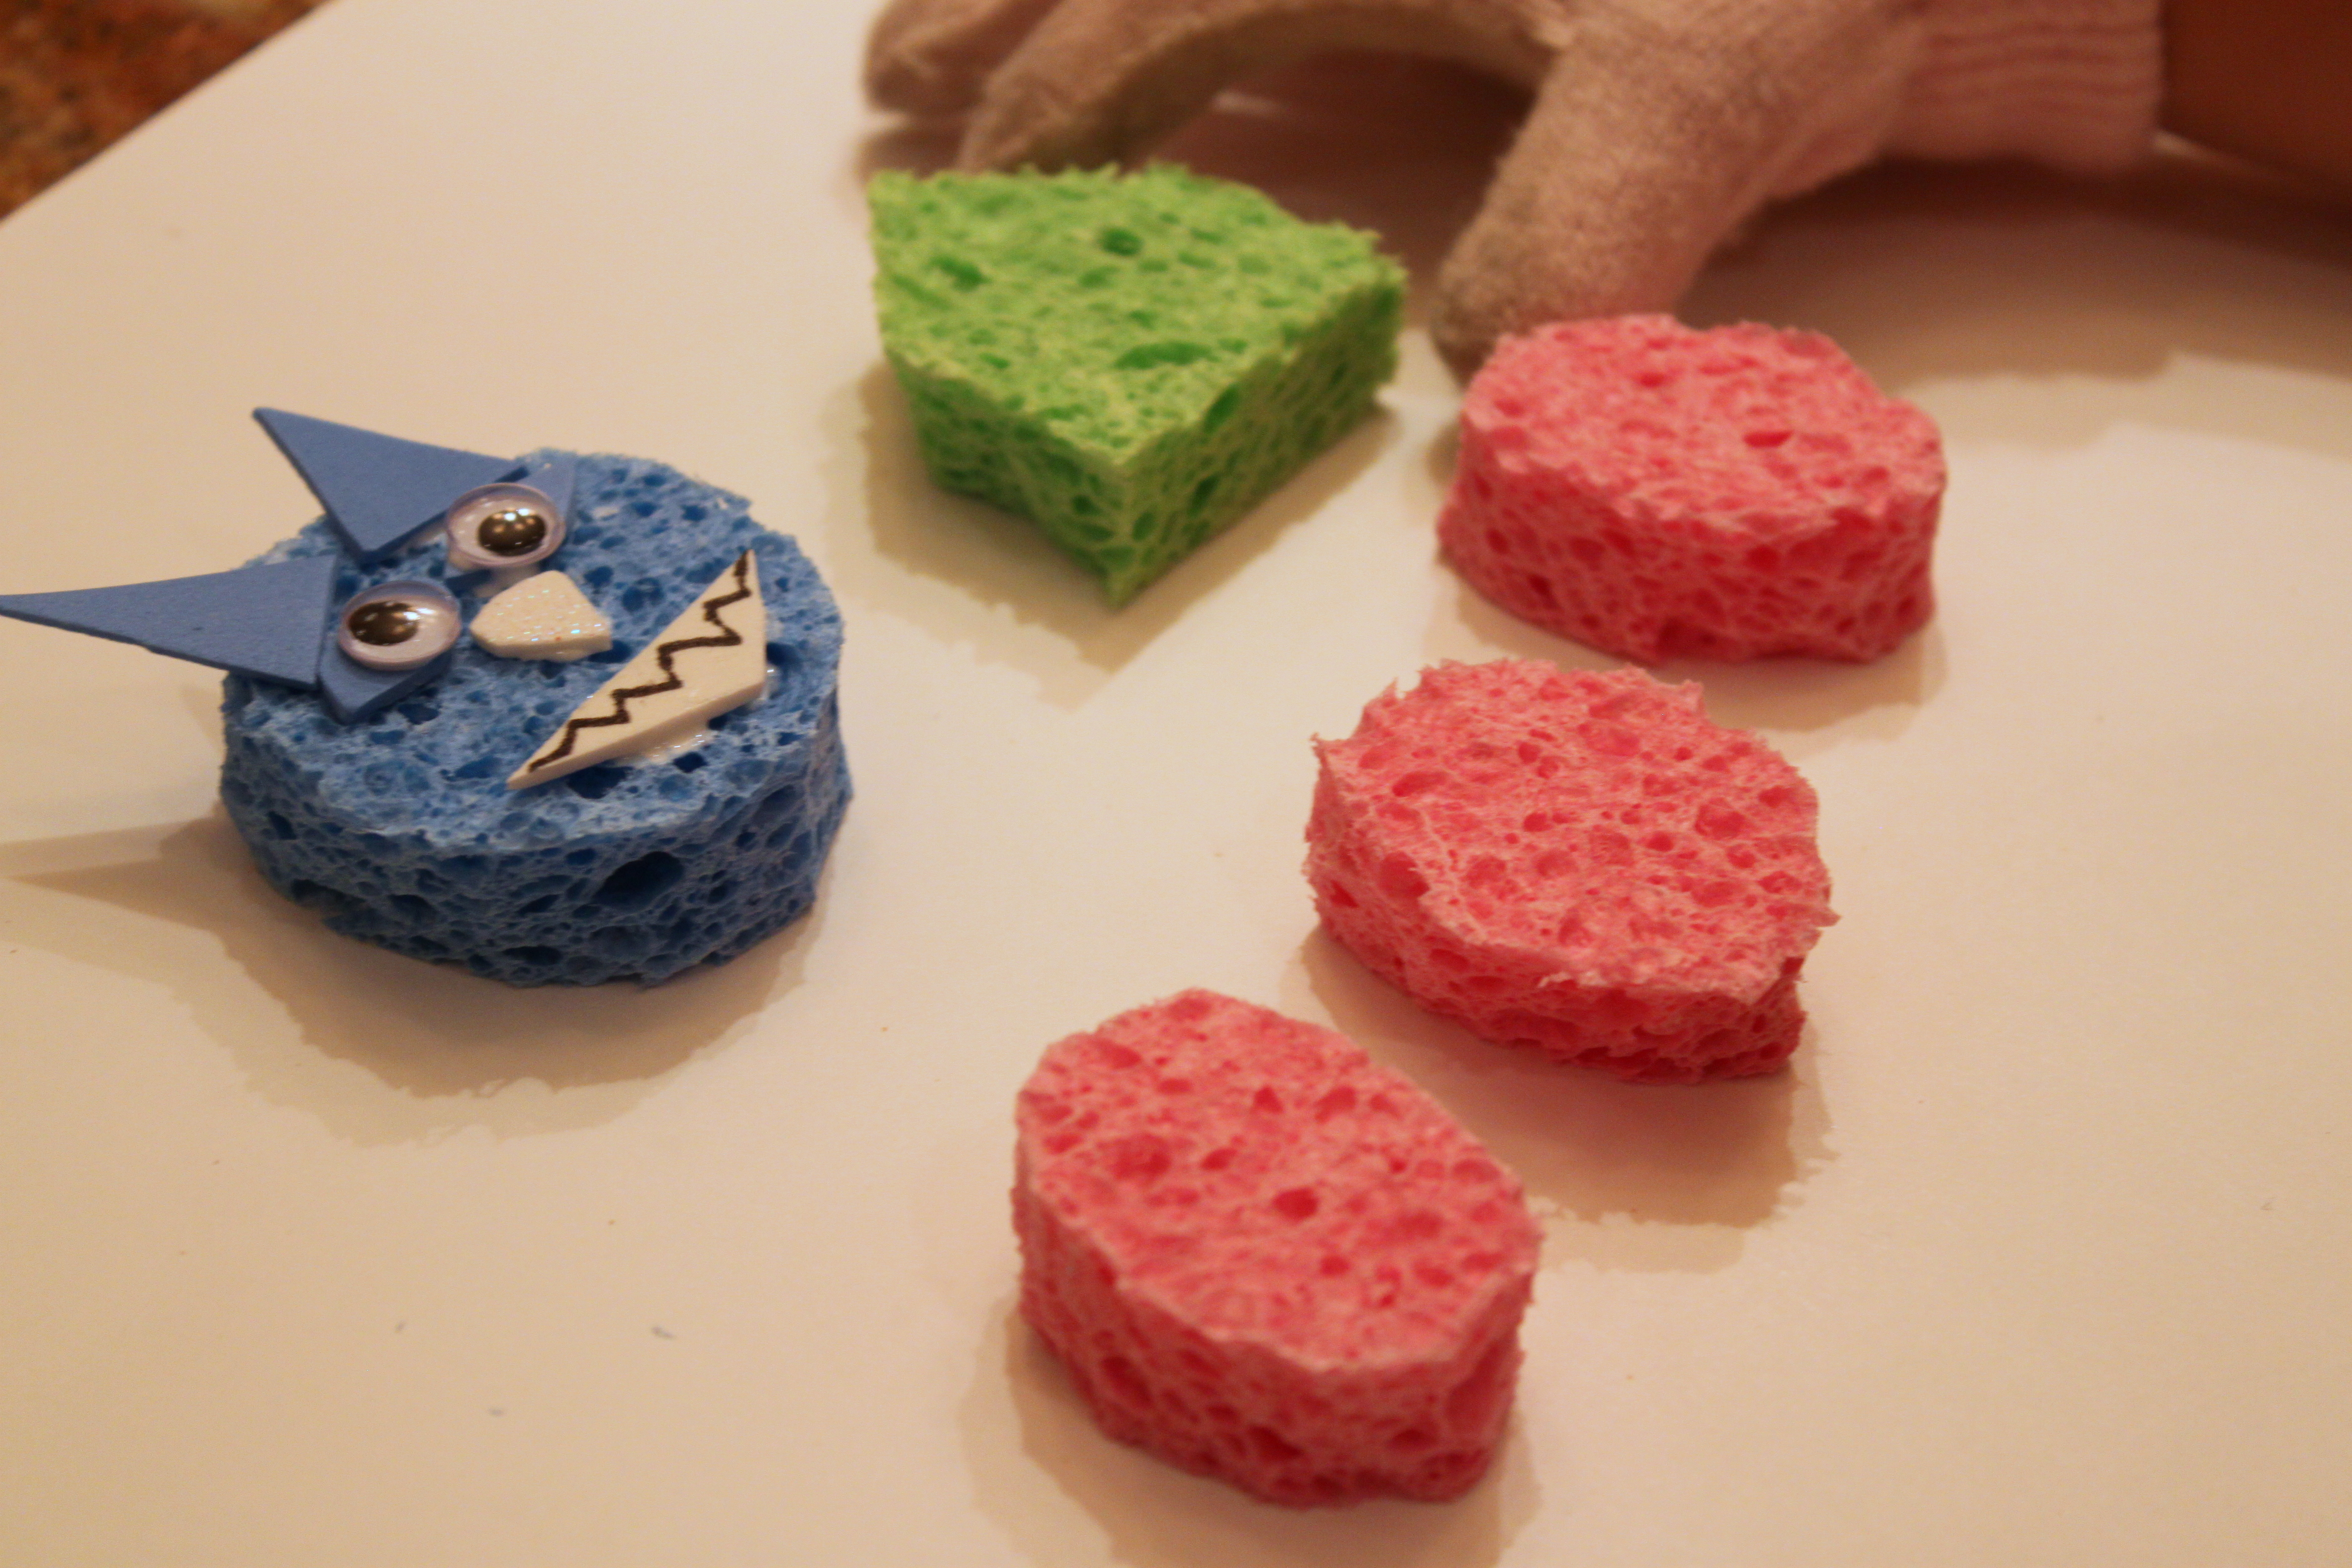
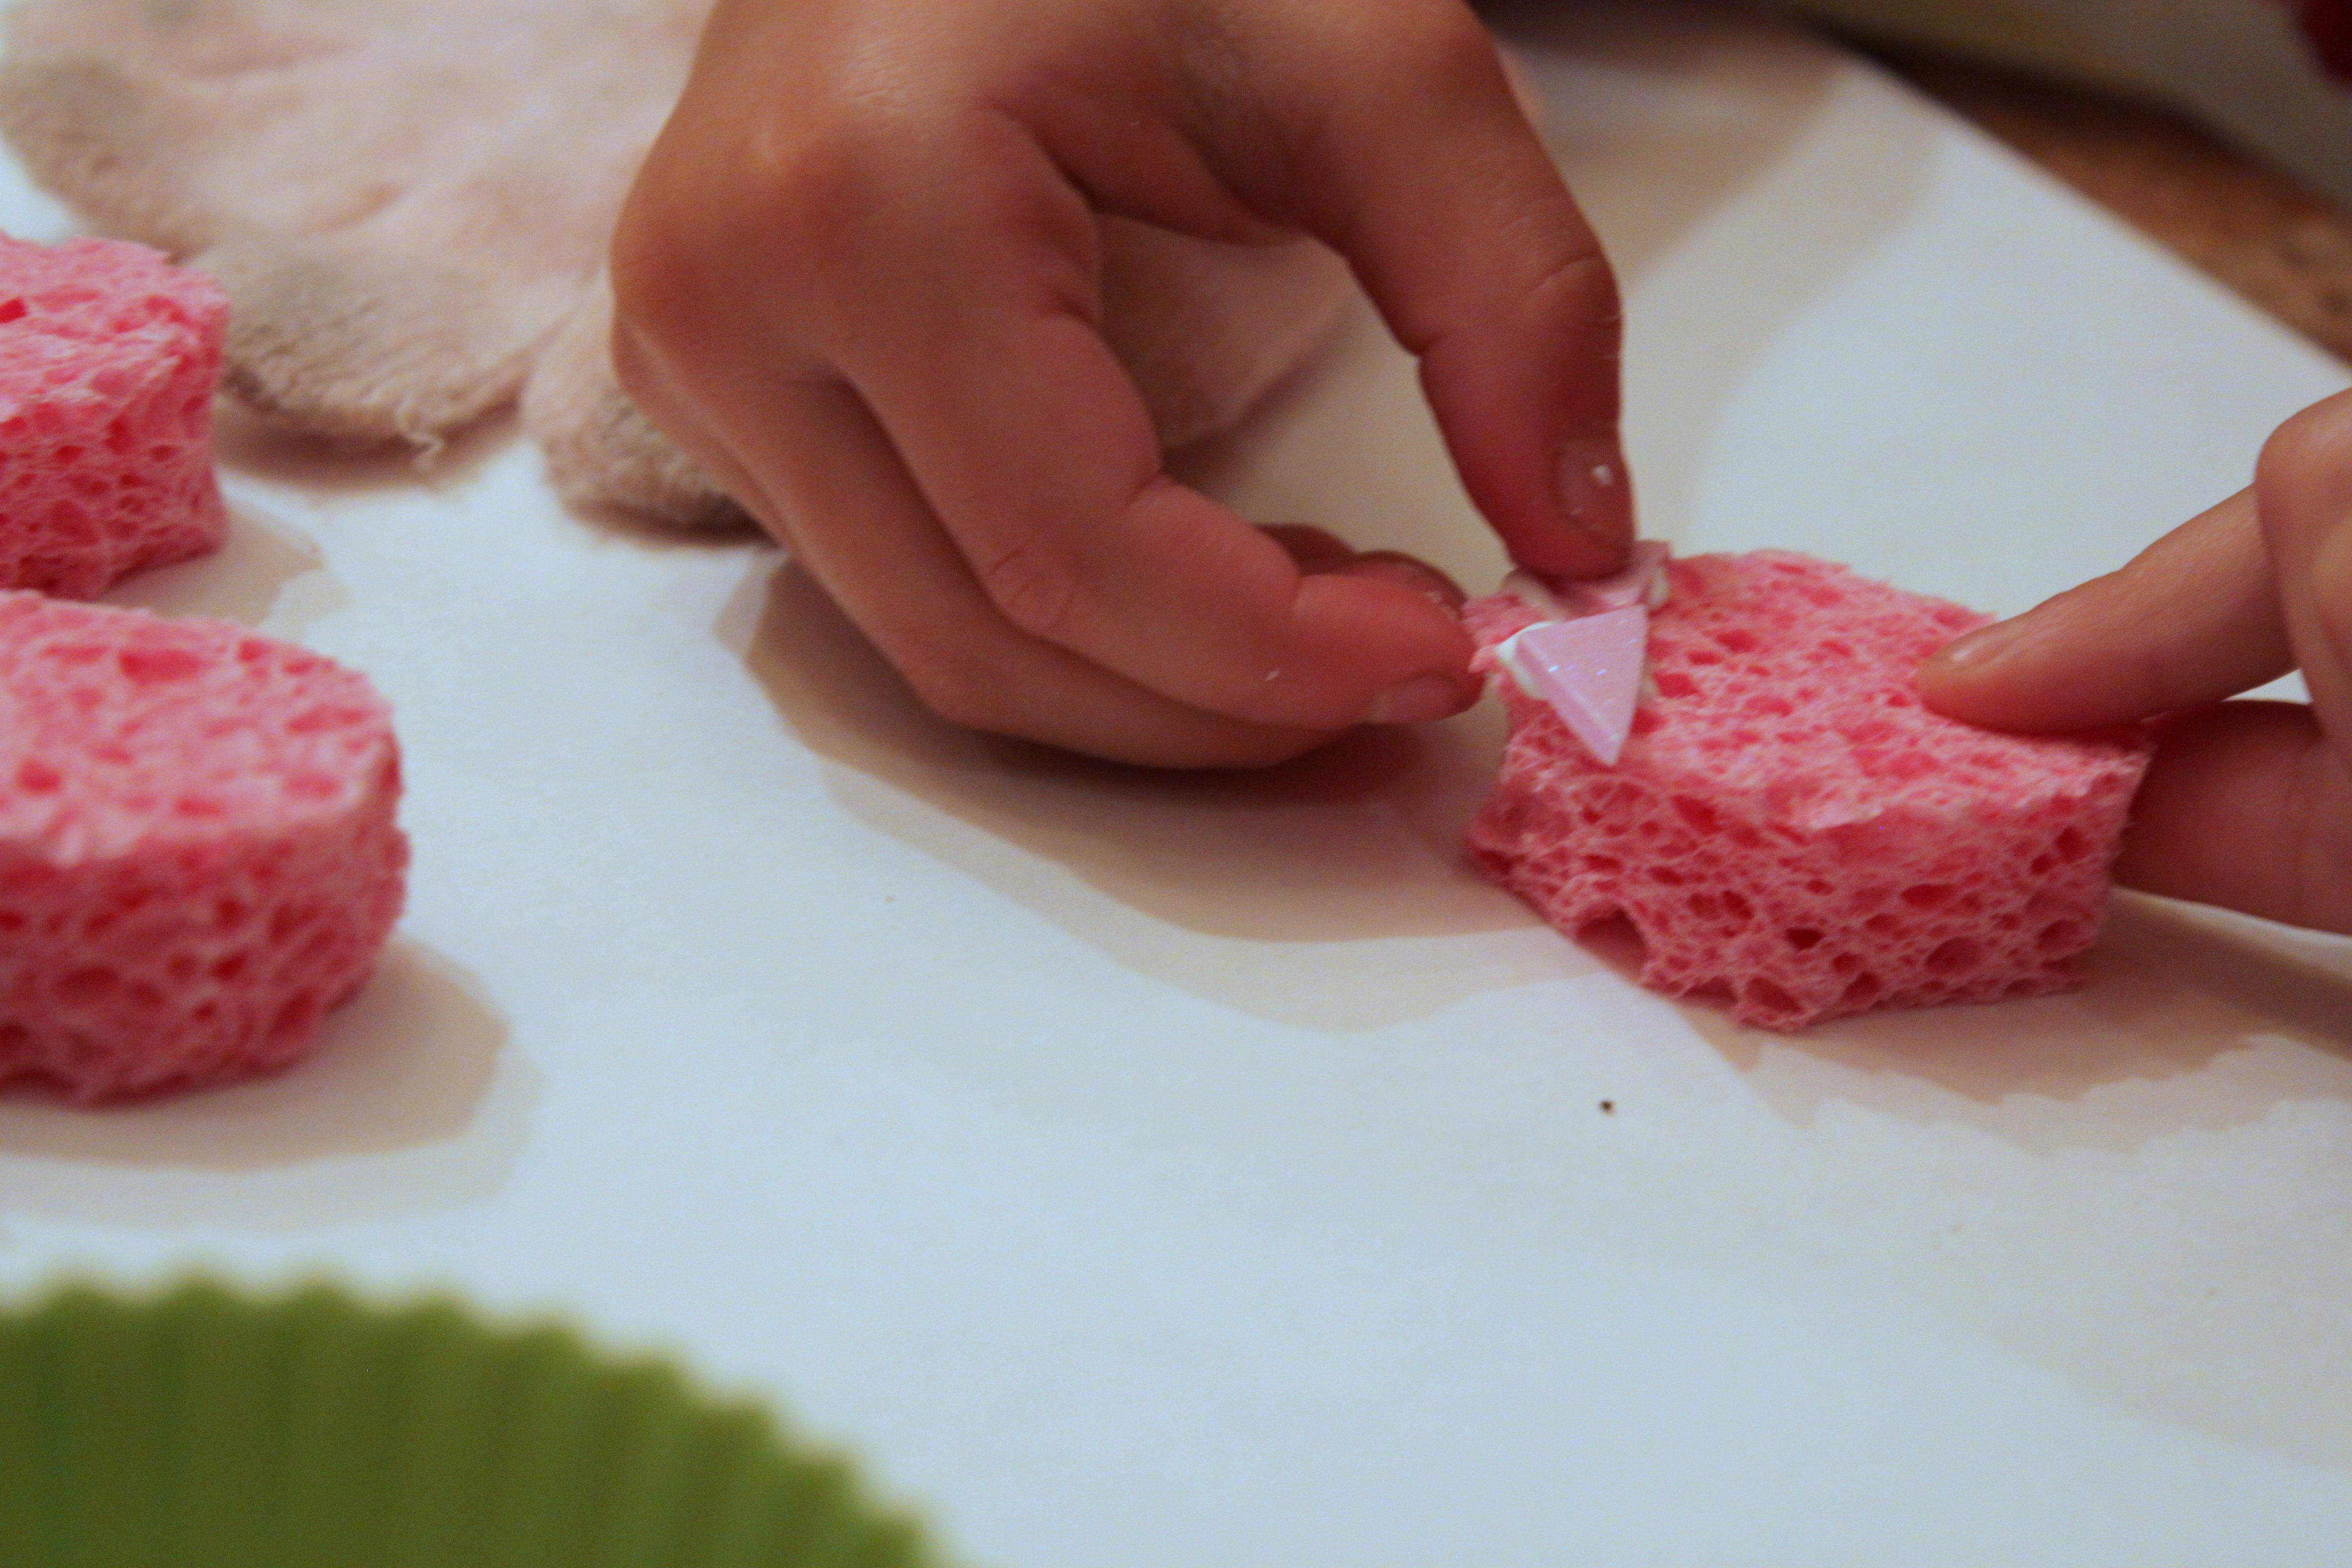
Step 3
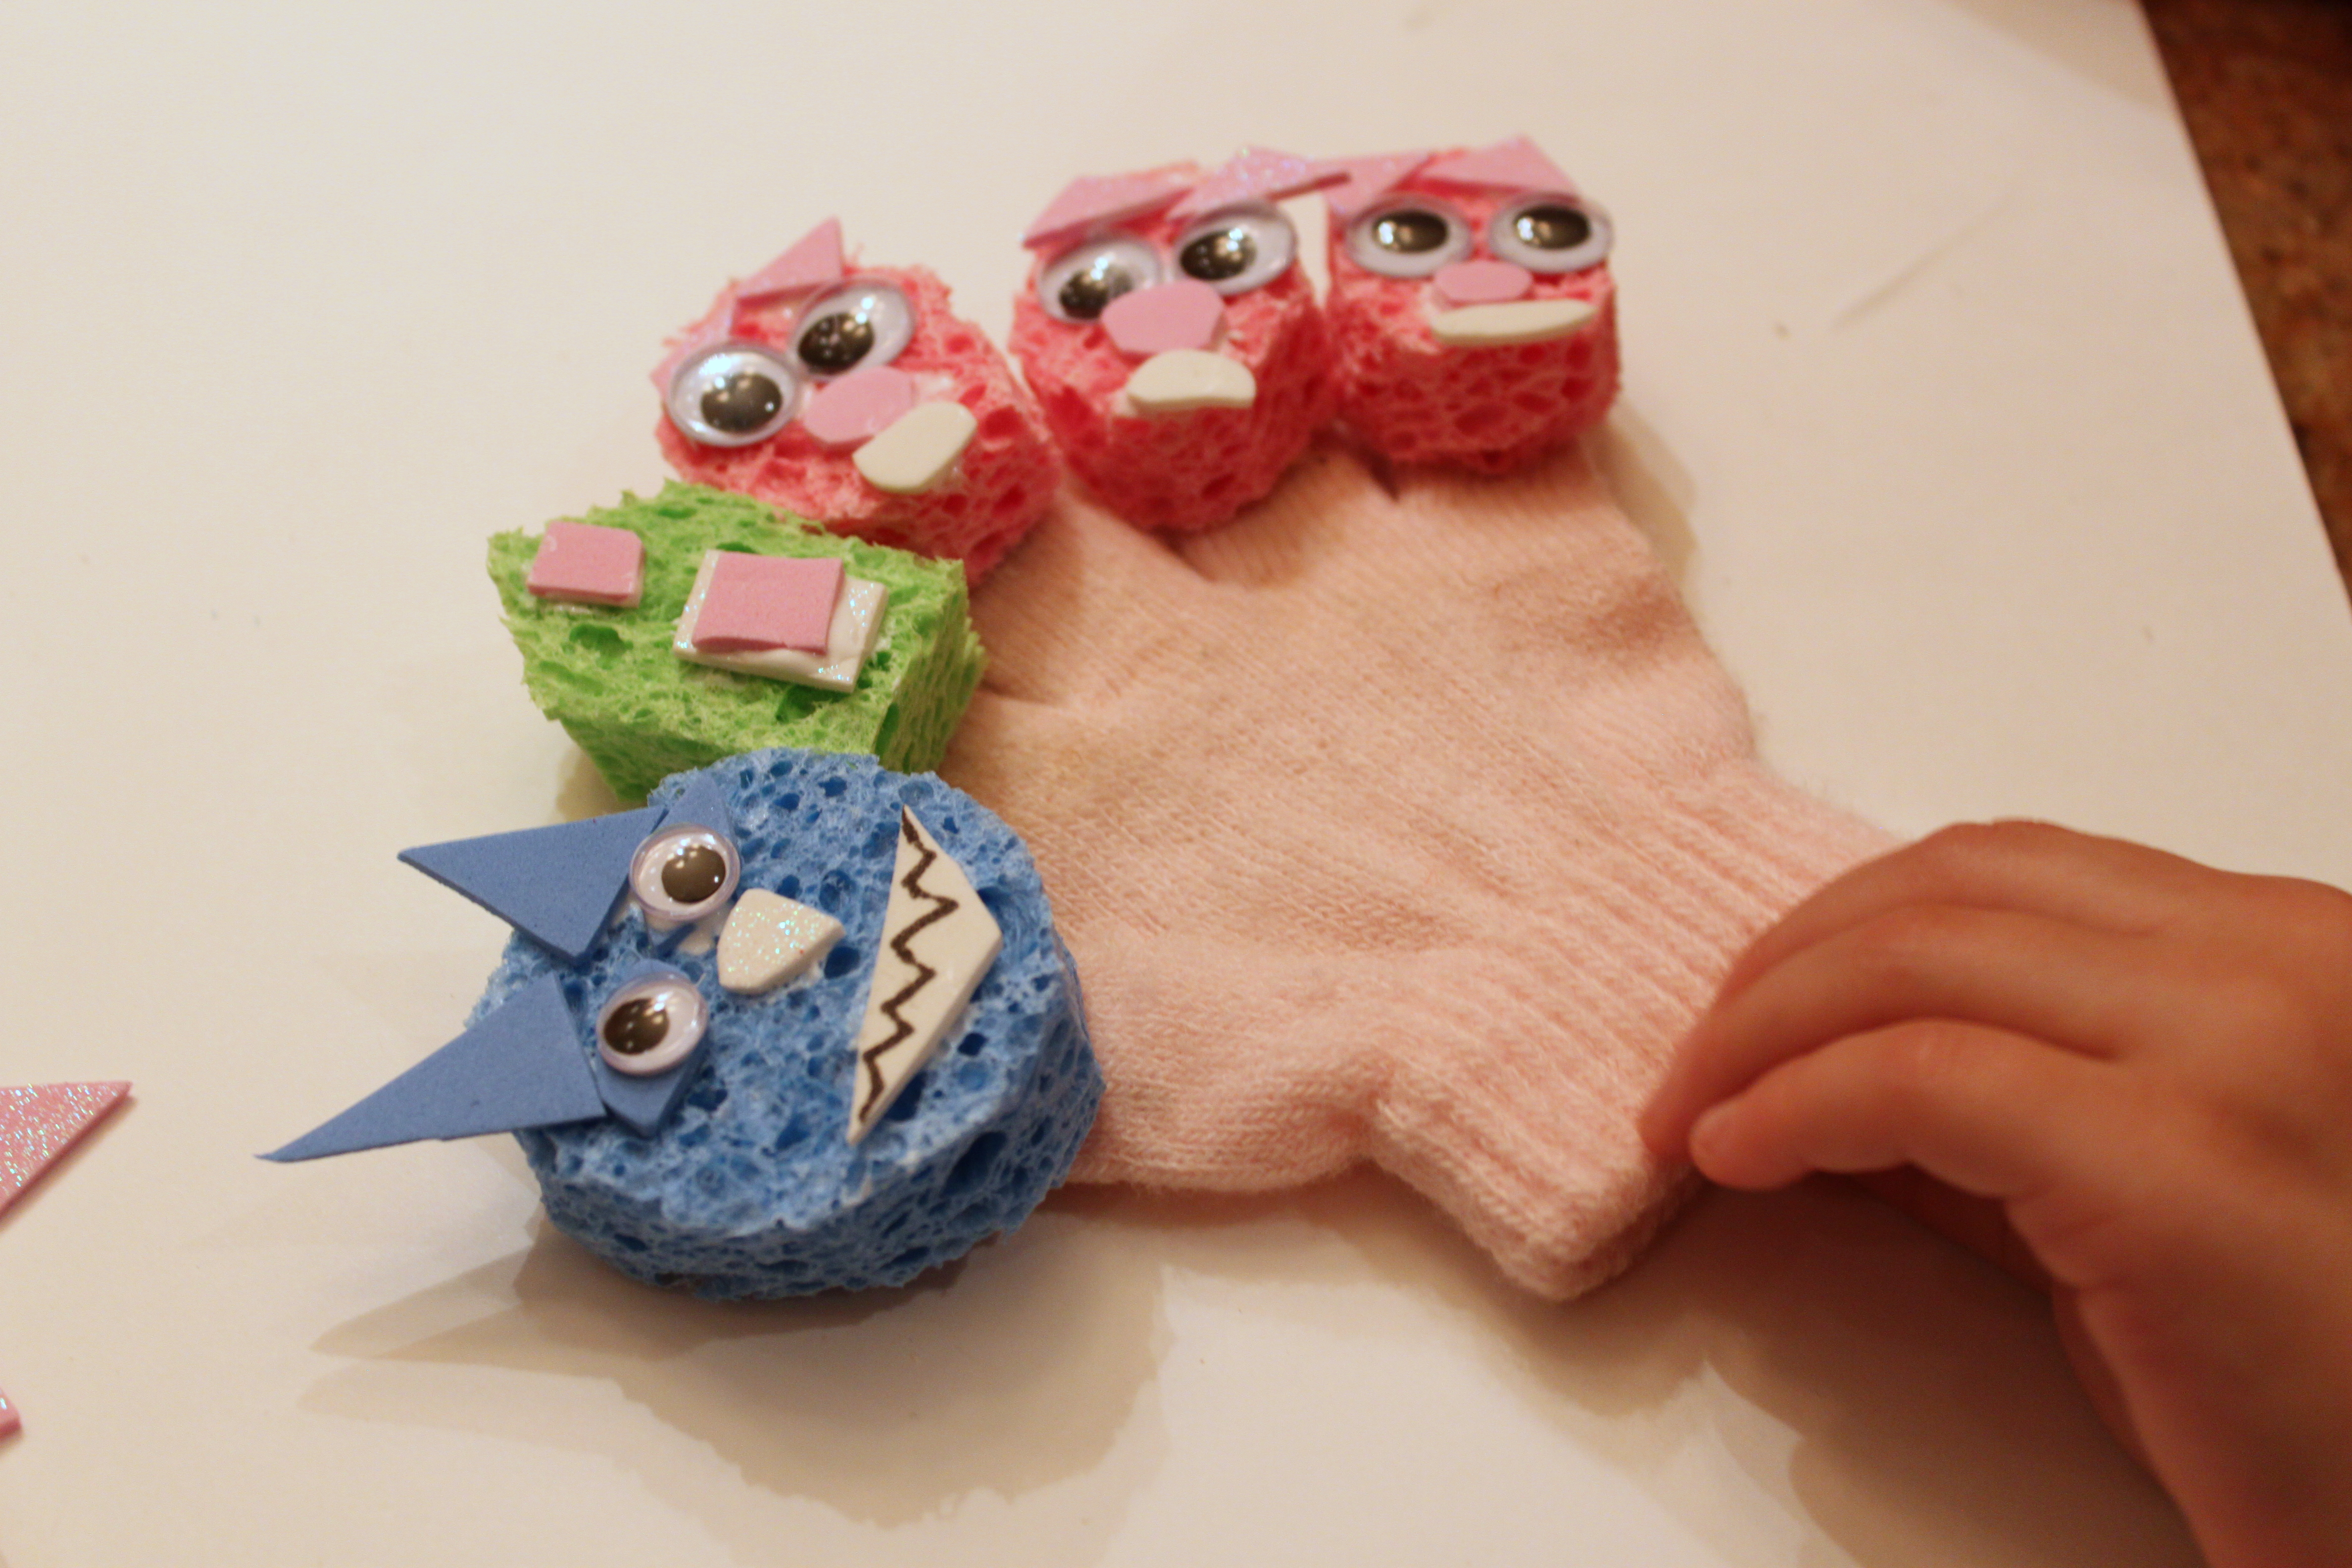
Once you have your faces cut out you can start adding details. Foam is pretty easy for children to cut. Emma was able to cut shapes for the ears, noses, and mouths. I love how imperfectly adorable these came out.
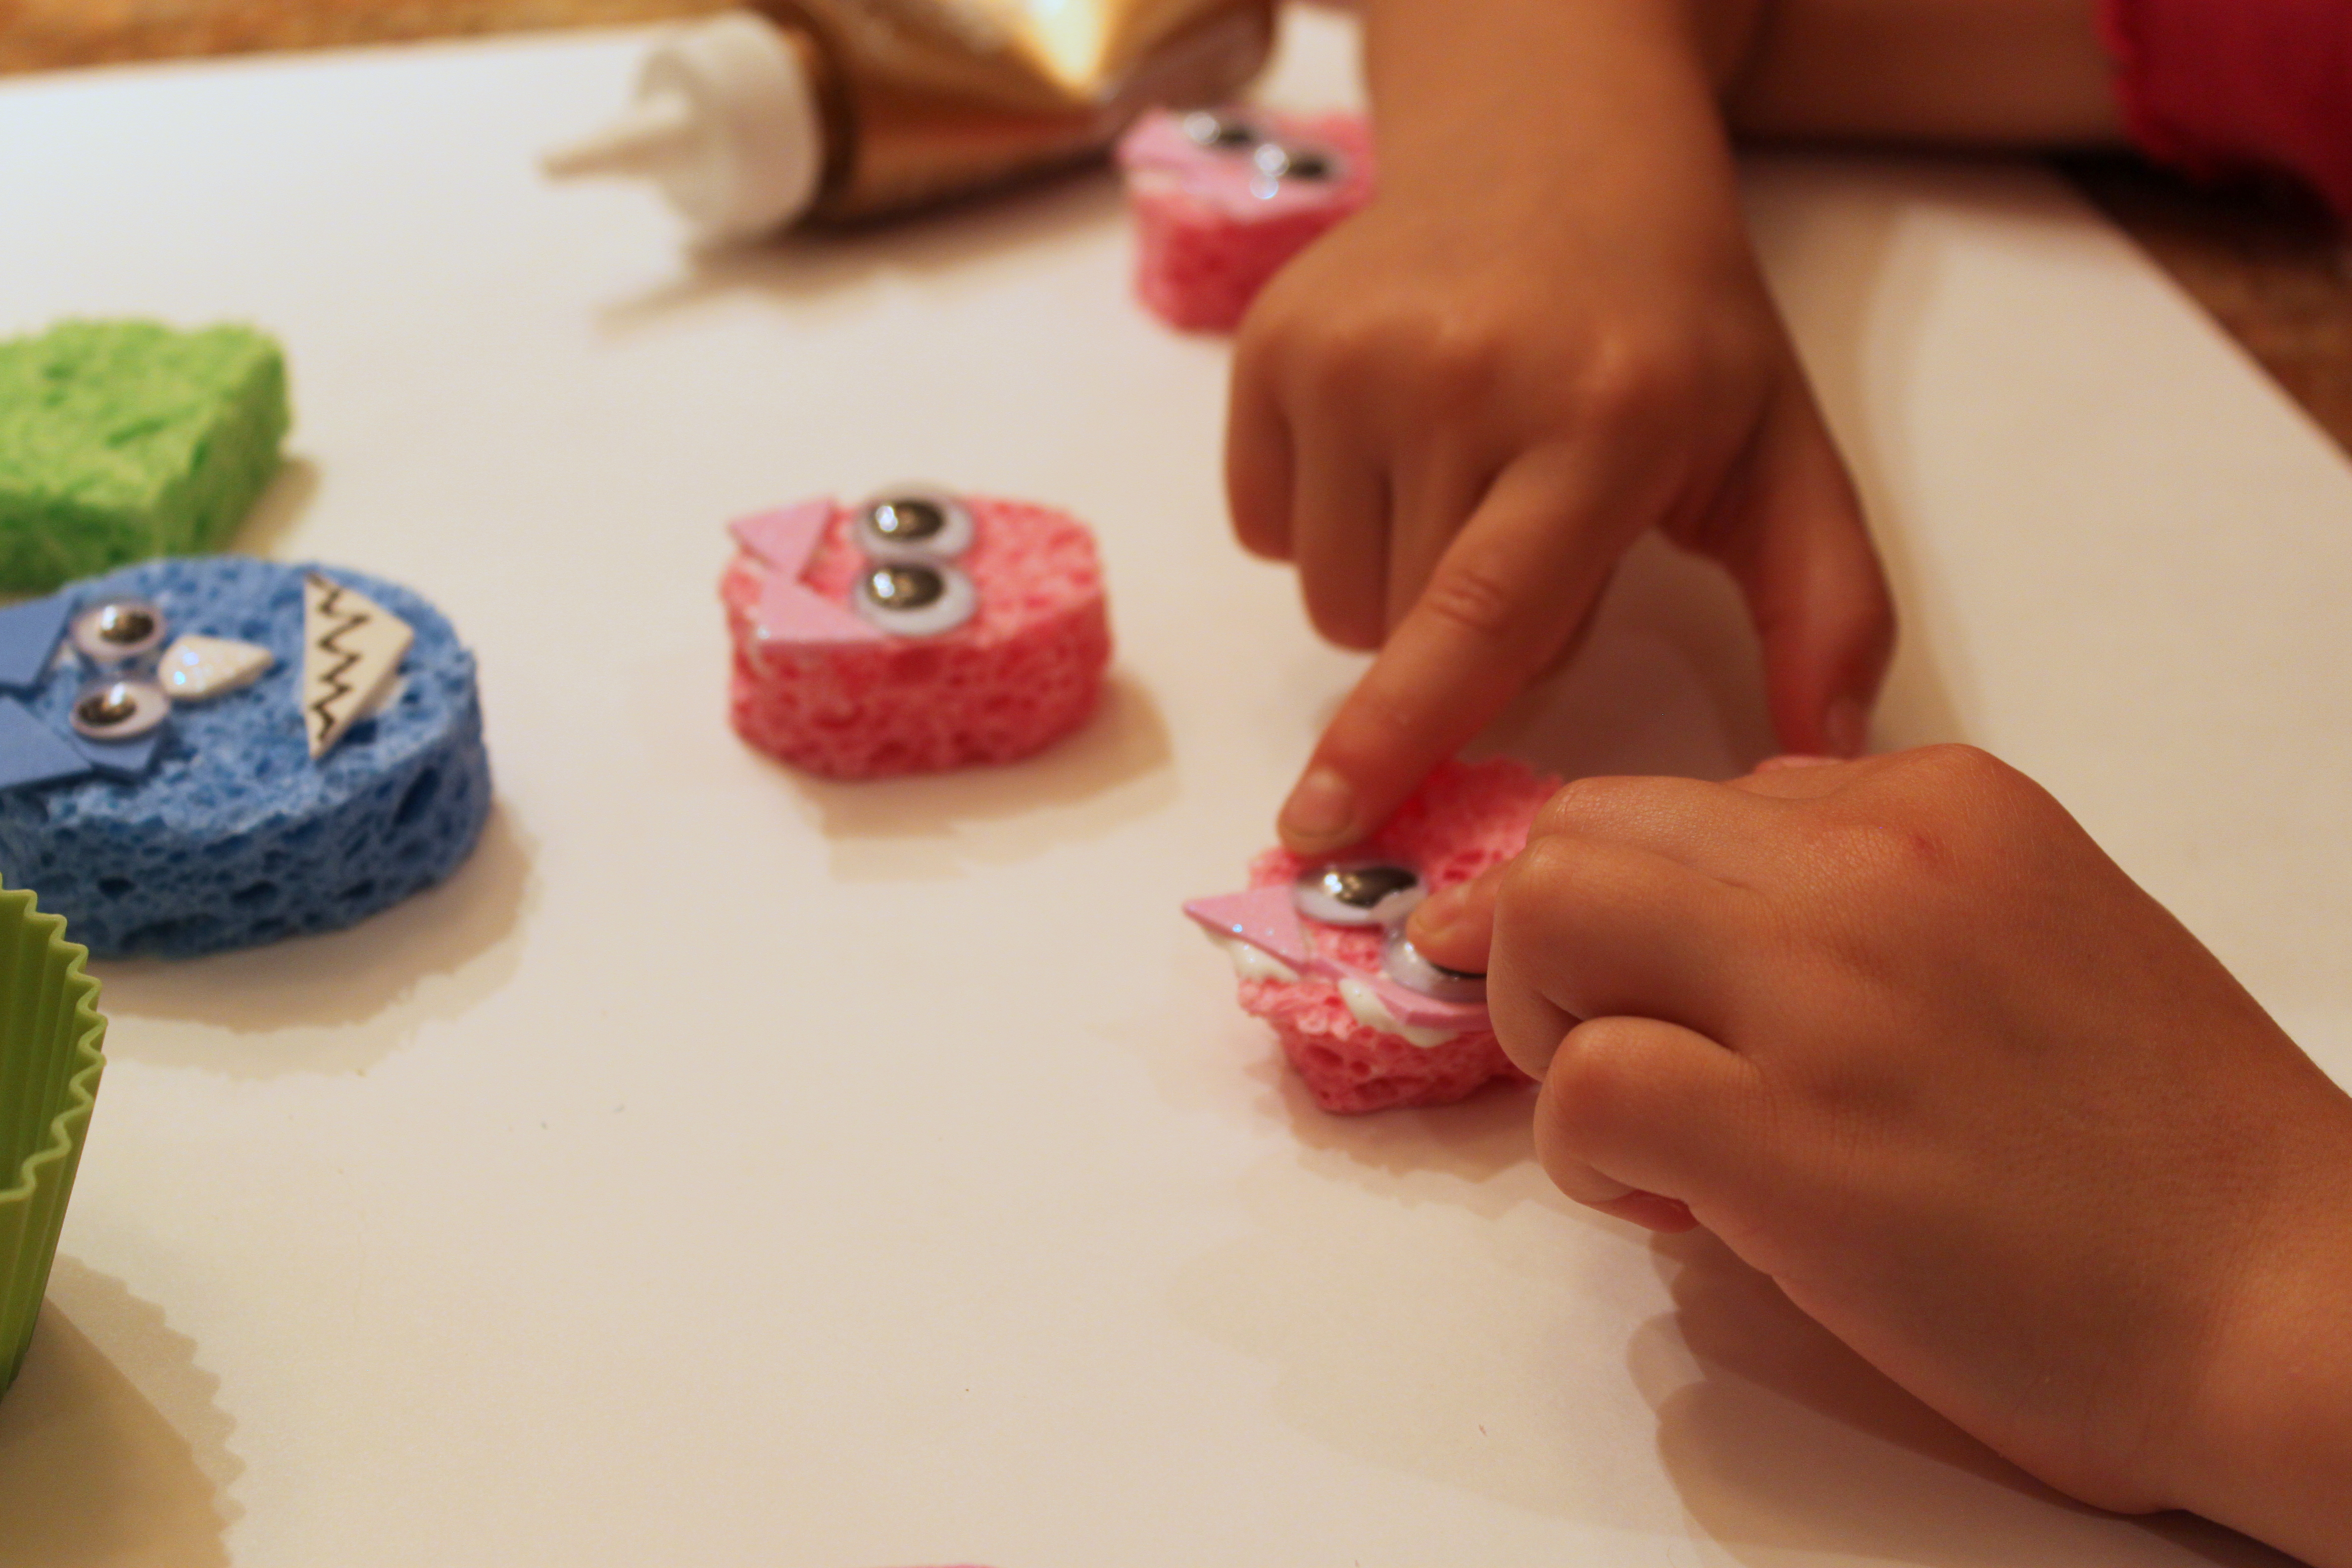
Step 4
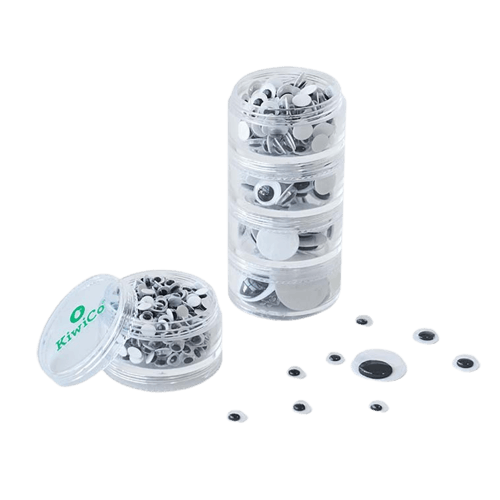
Next add the eyes. This is when these guys really start to come to life! While we made these, we talked about different story lines we could have for the three little pigs. Maybe the wolf could be a friendly wolf that goes on vacation with the pigs or maybe the little pigs are starting a new school with a charming wolf teacher....
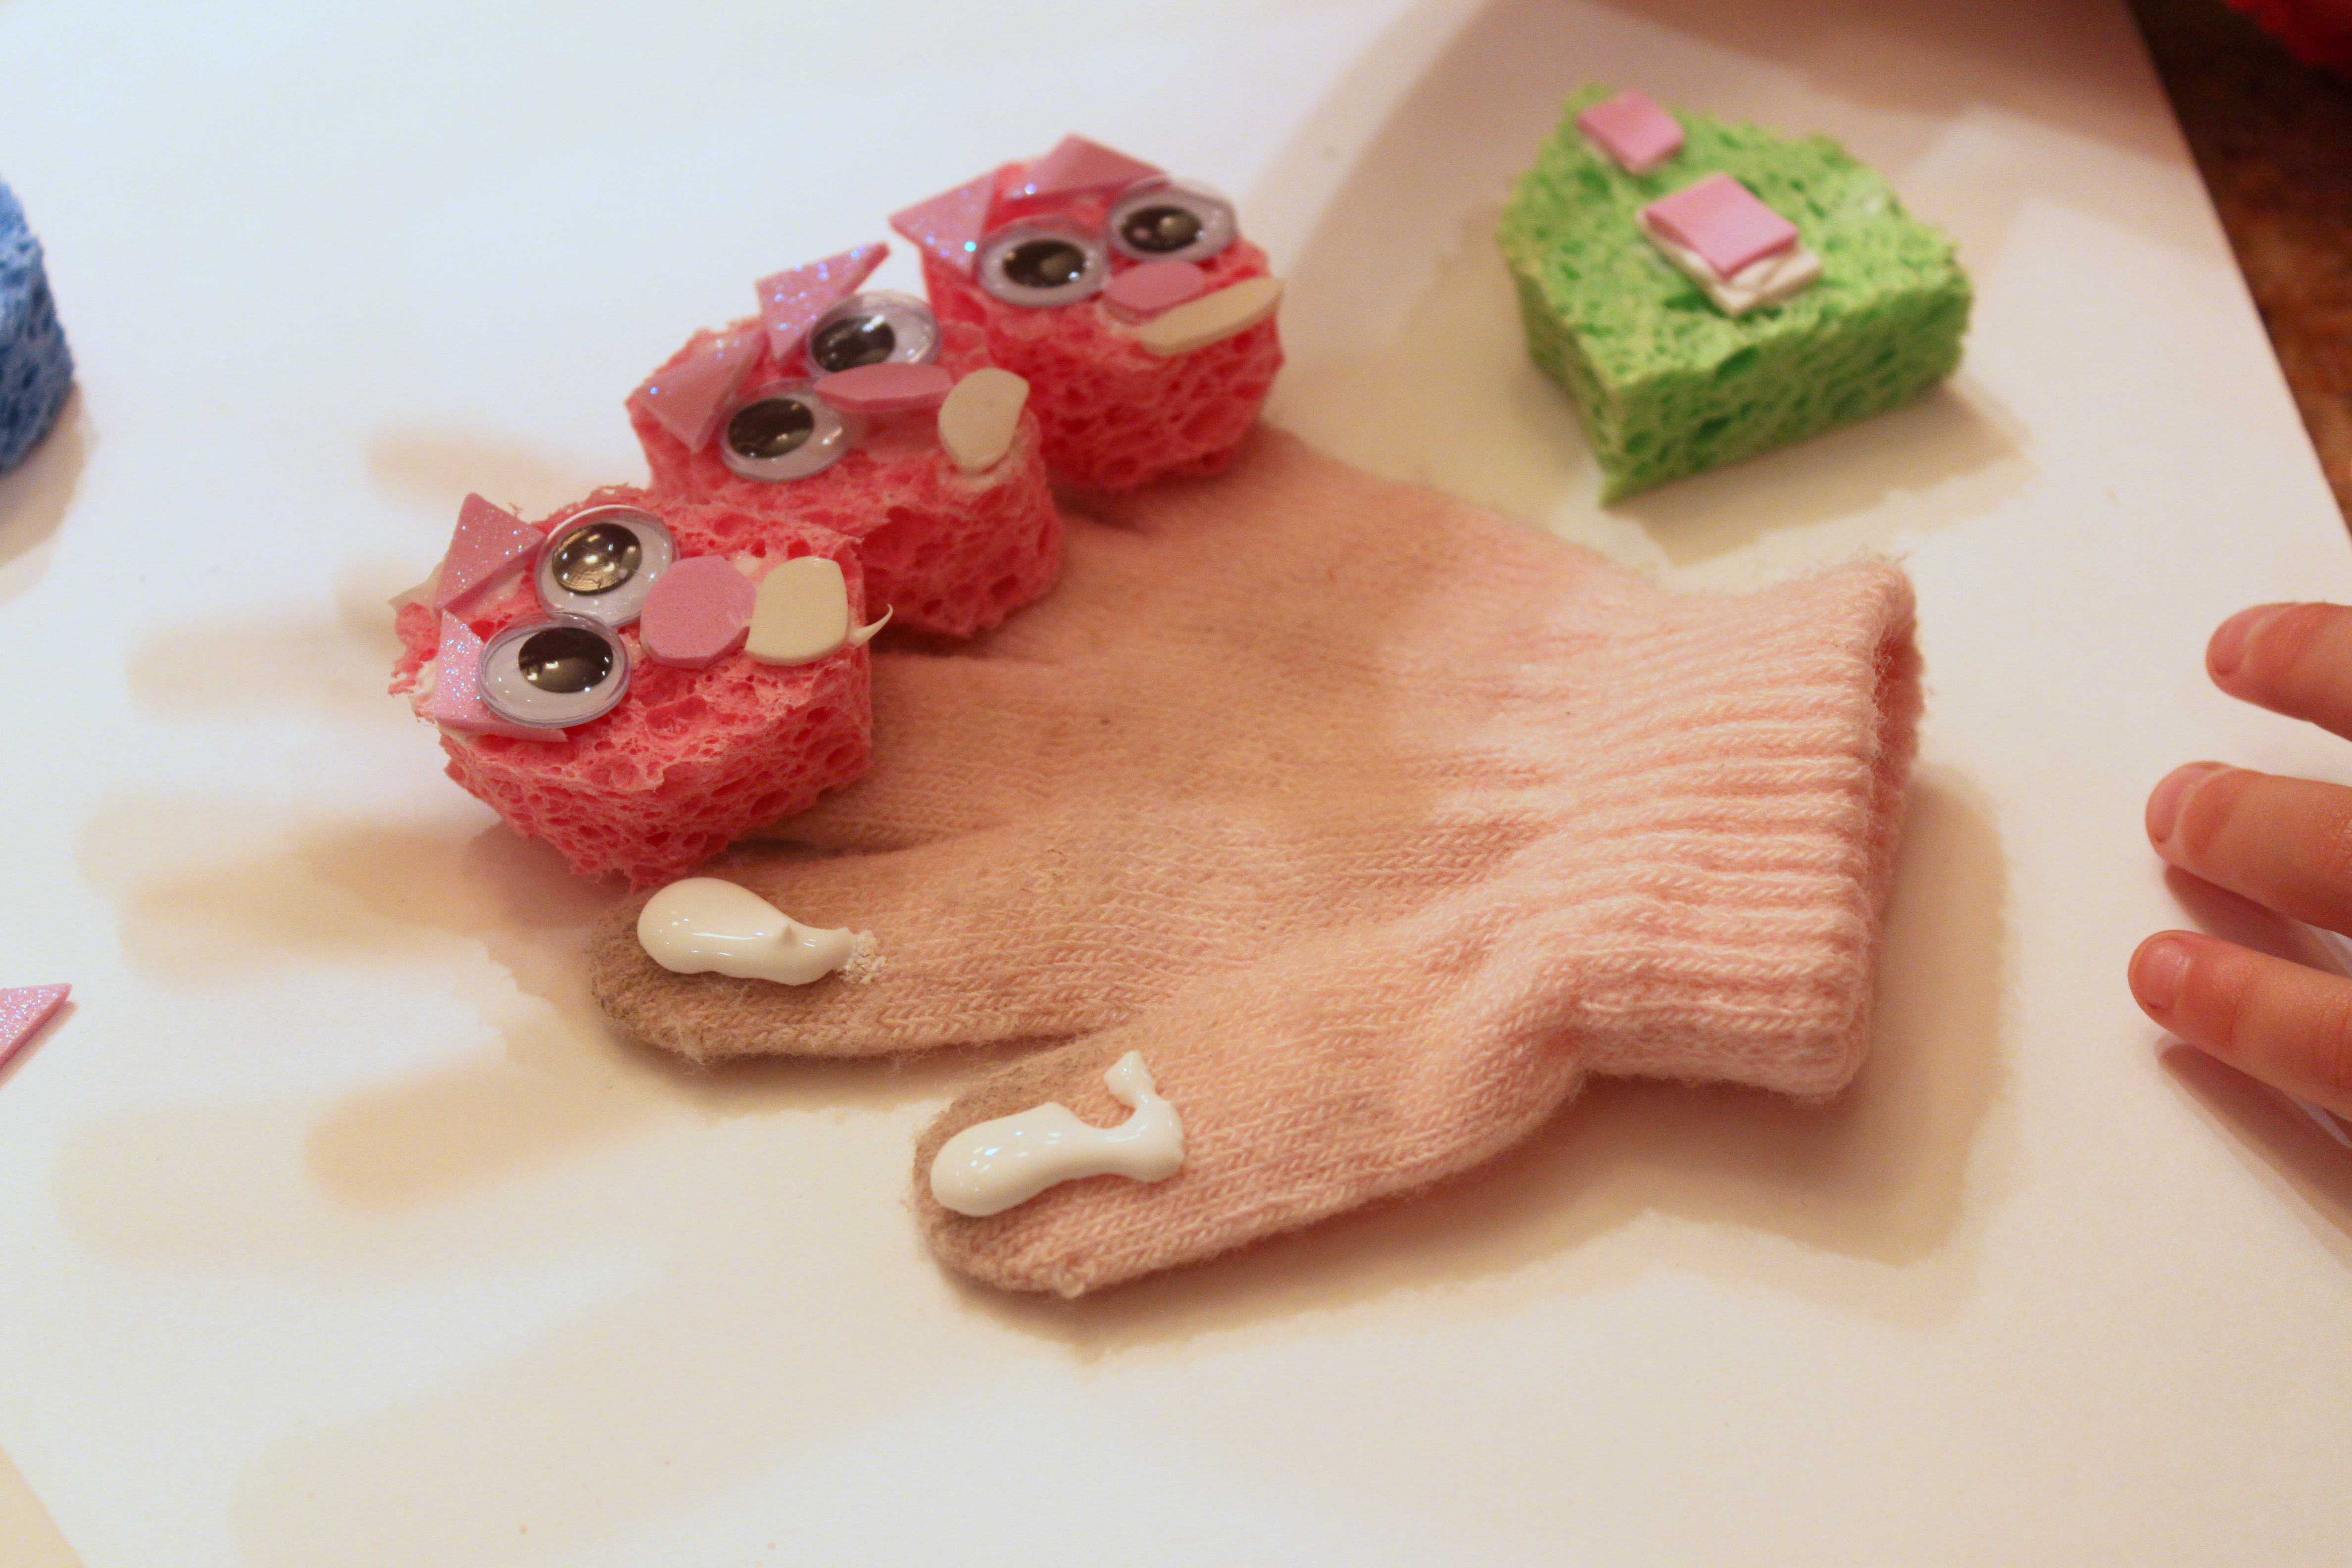
Step 5
Once the faces are all on, go ahead and glue them right onto each finger of the glove. We placed a little piece of foam in the fingers to prevent the glove from sticking closed. Then we just pulled out the foam pieces when the glove was dry.
Done!
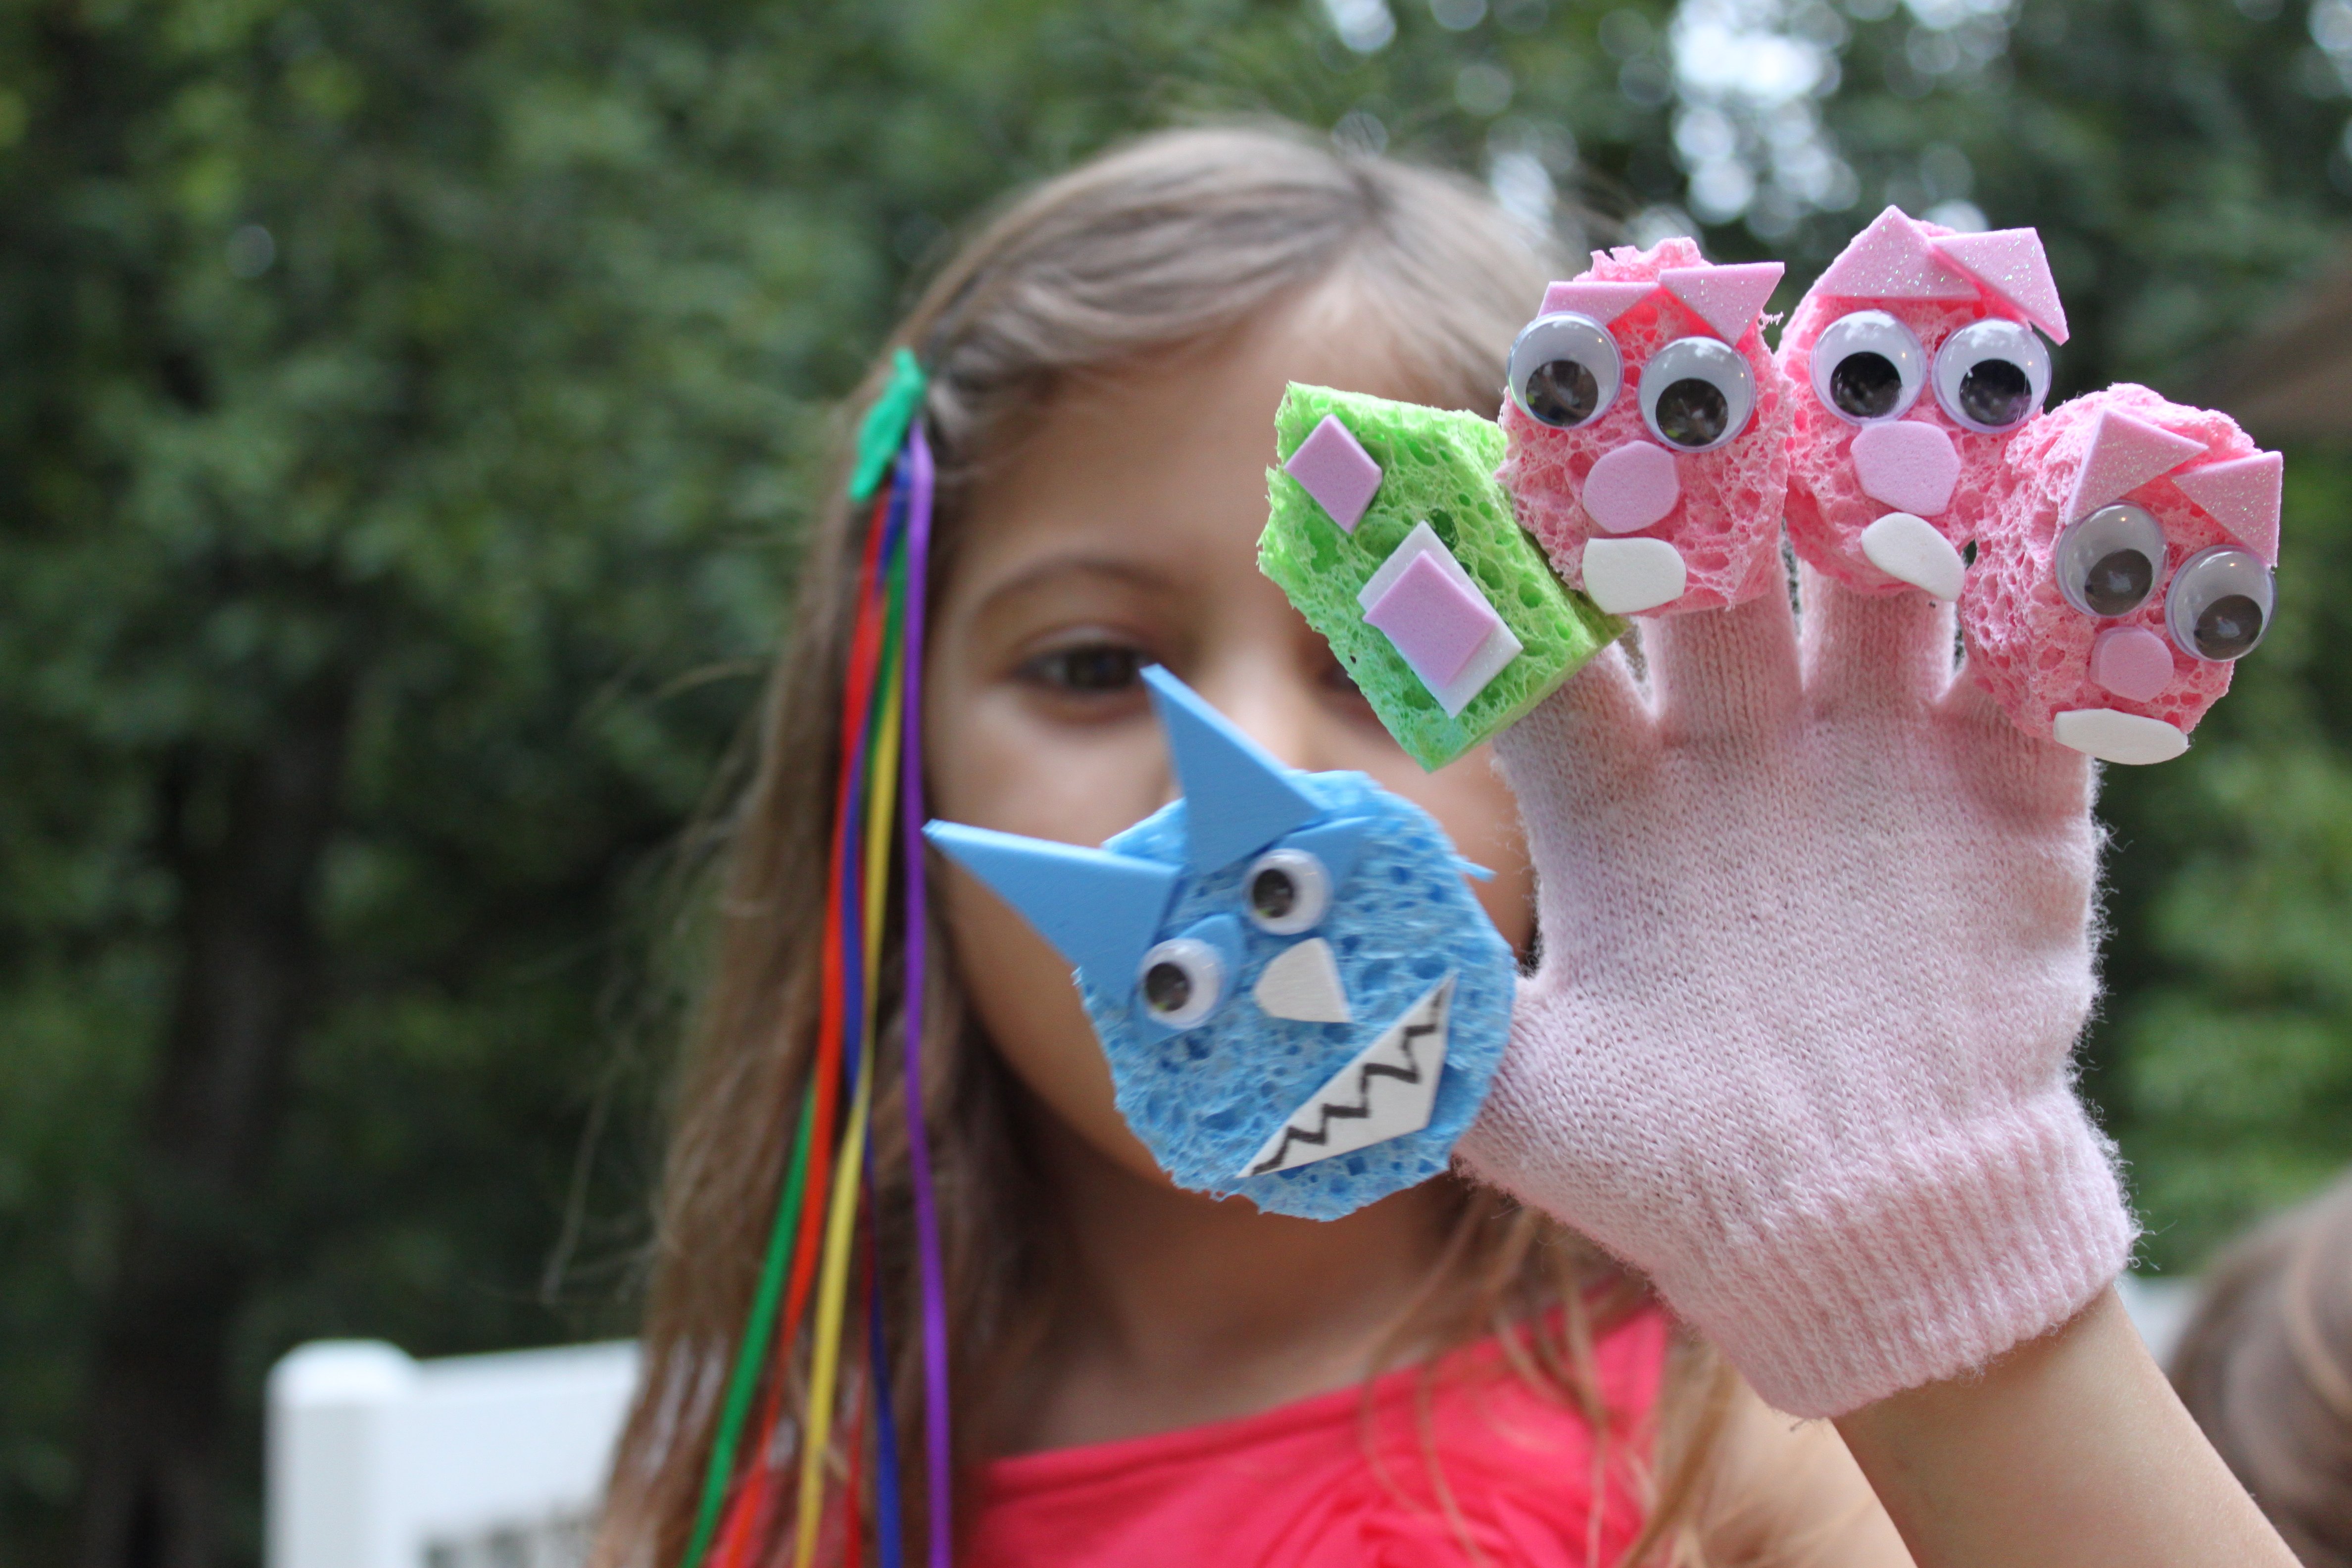
Letting this dry overnight is a good idea. They came out so adorable! Eventually, Emma decided to cut off each finger of the glove so that she could have each of her little pigs make solo appearances. I see a little director in my future!