Step-by-step tutorial
Step 1
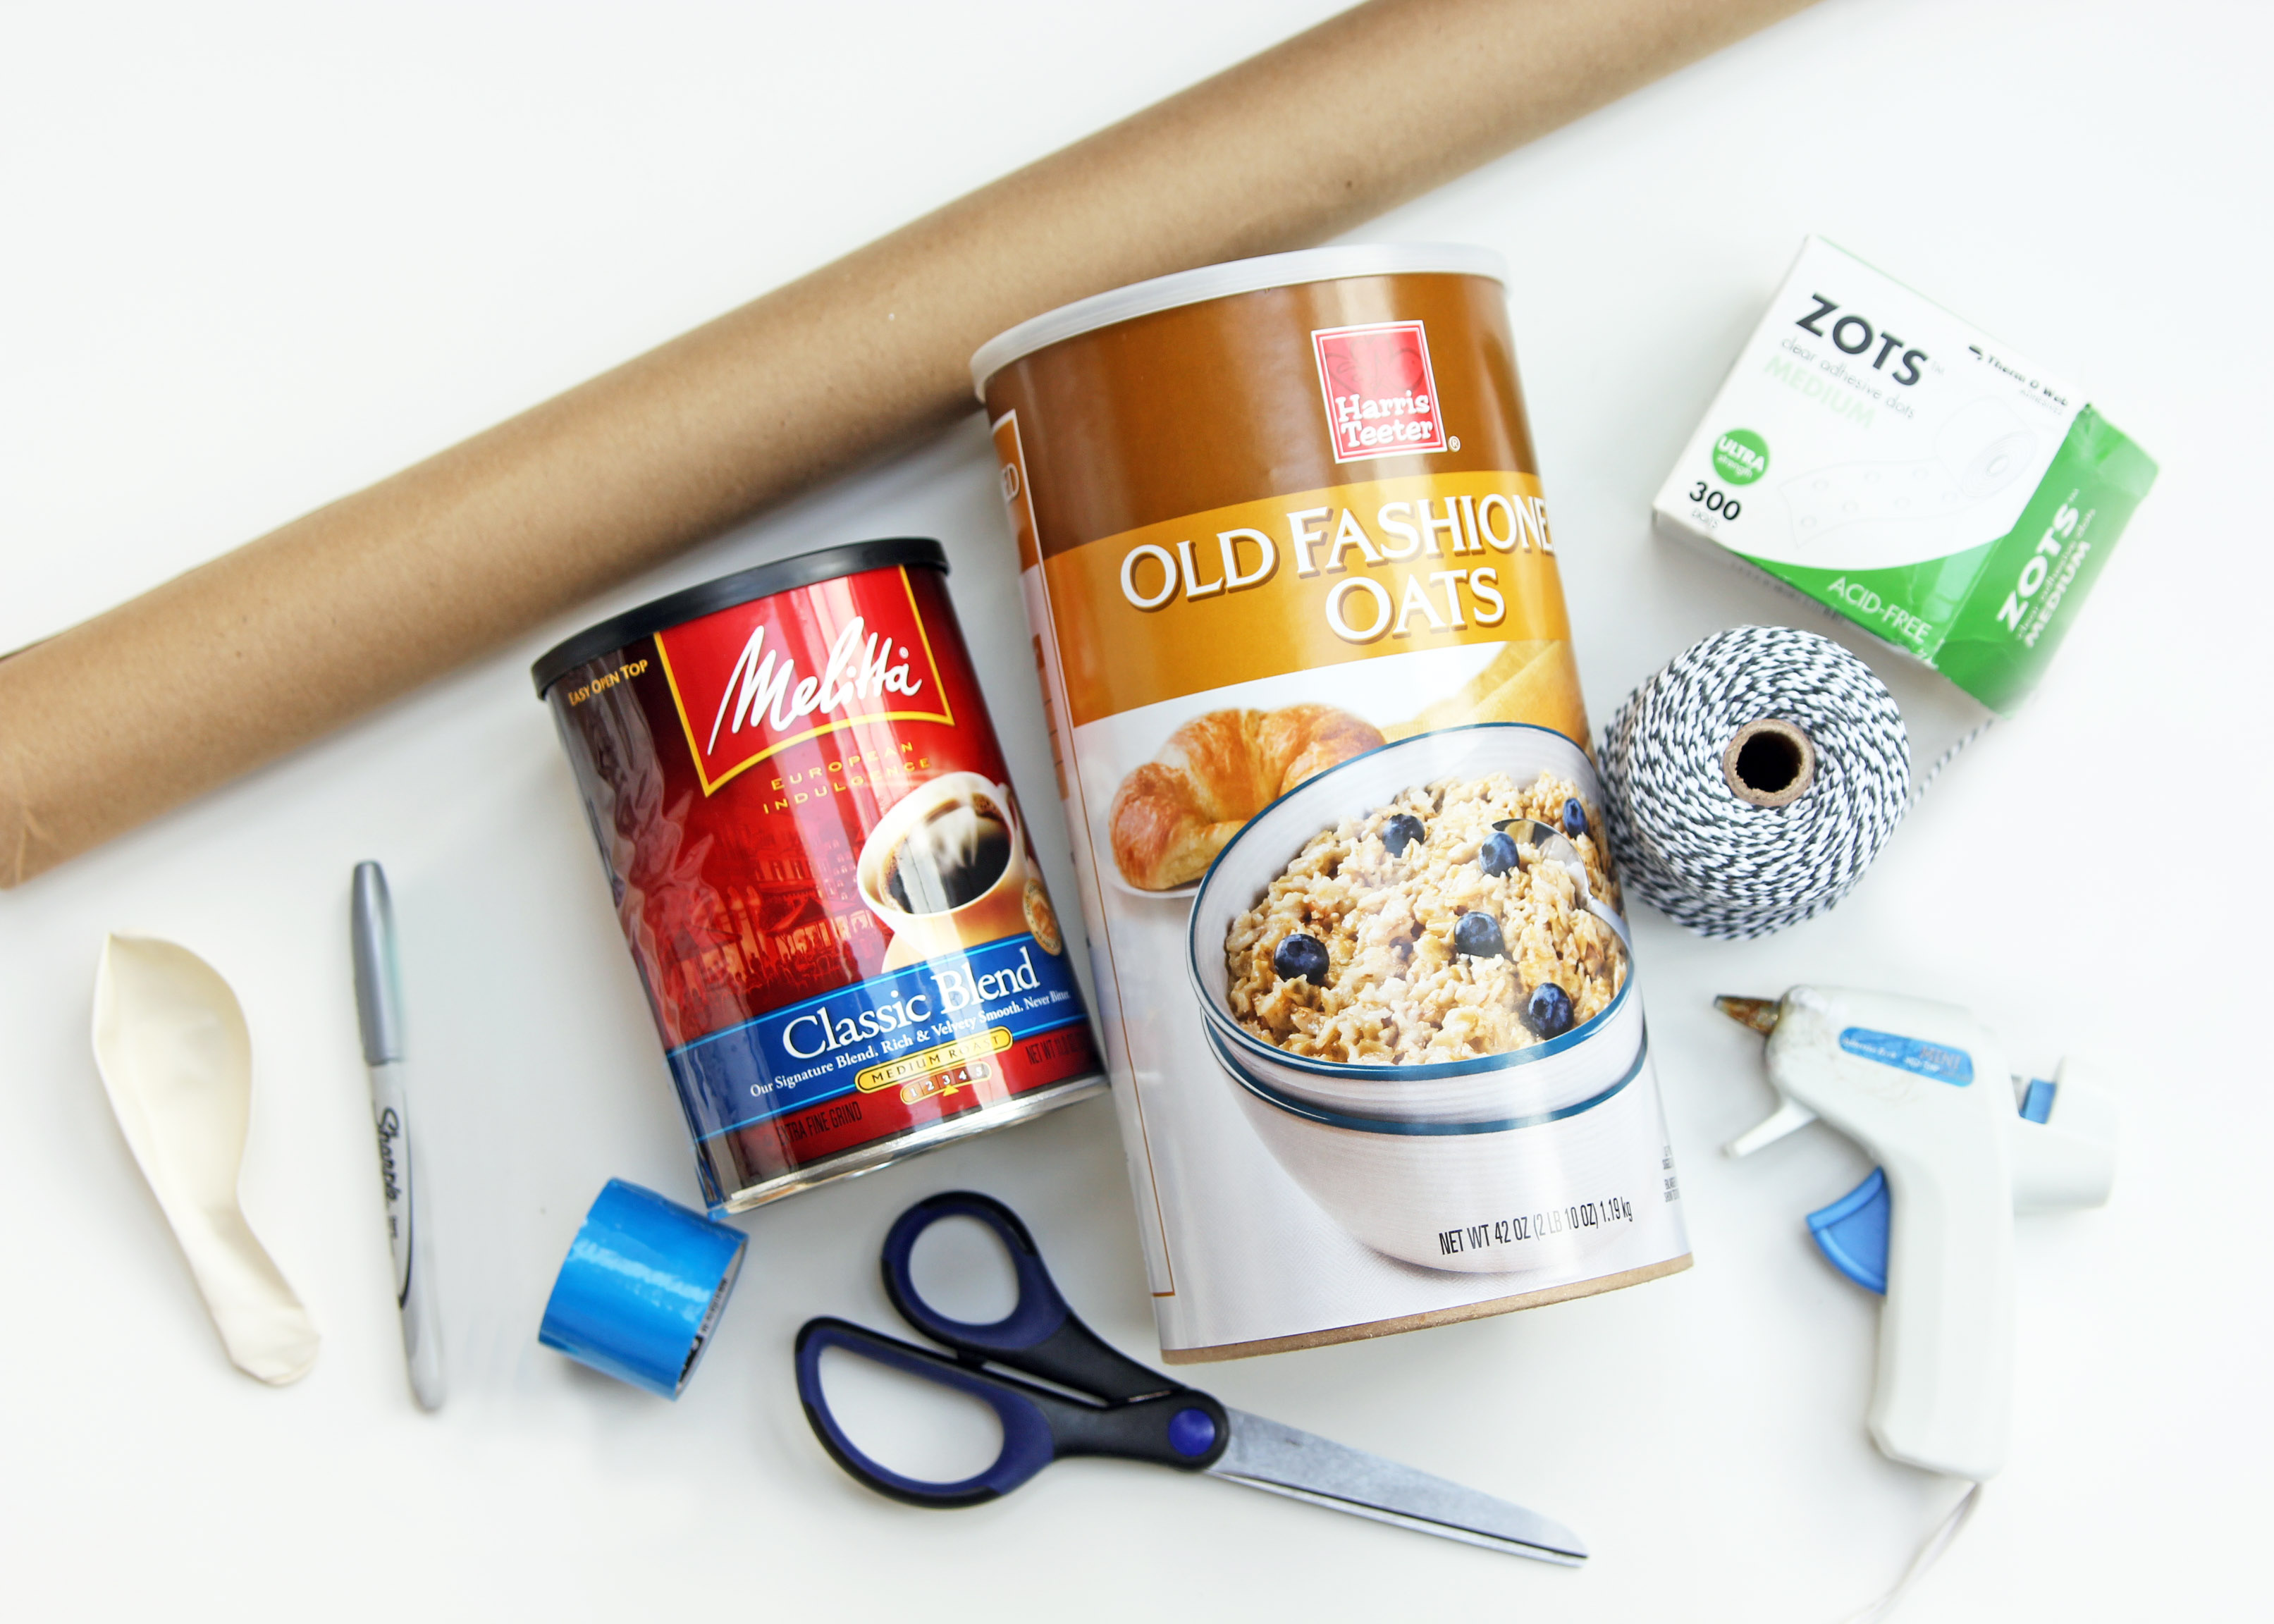
Gather your supplies. Pictured, but not used: the oatmeal container. And not pictured, but used: the 2 pencils, 2 pom-poms, and crayons.

Step 2
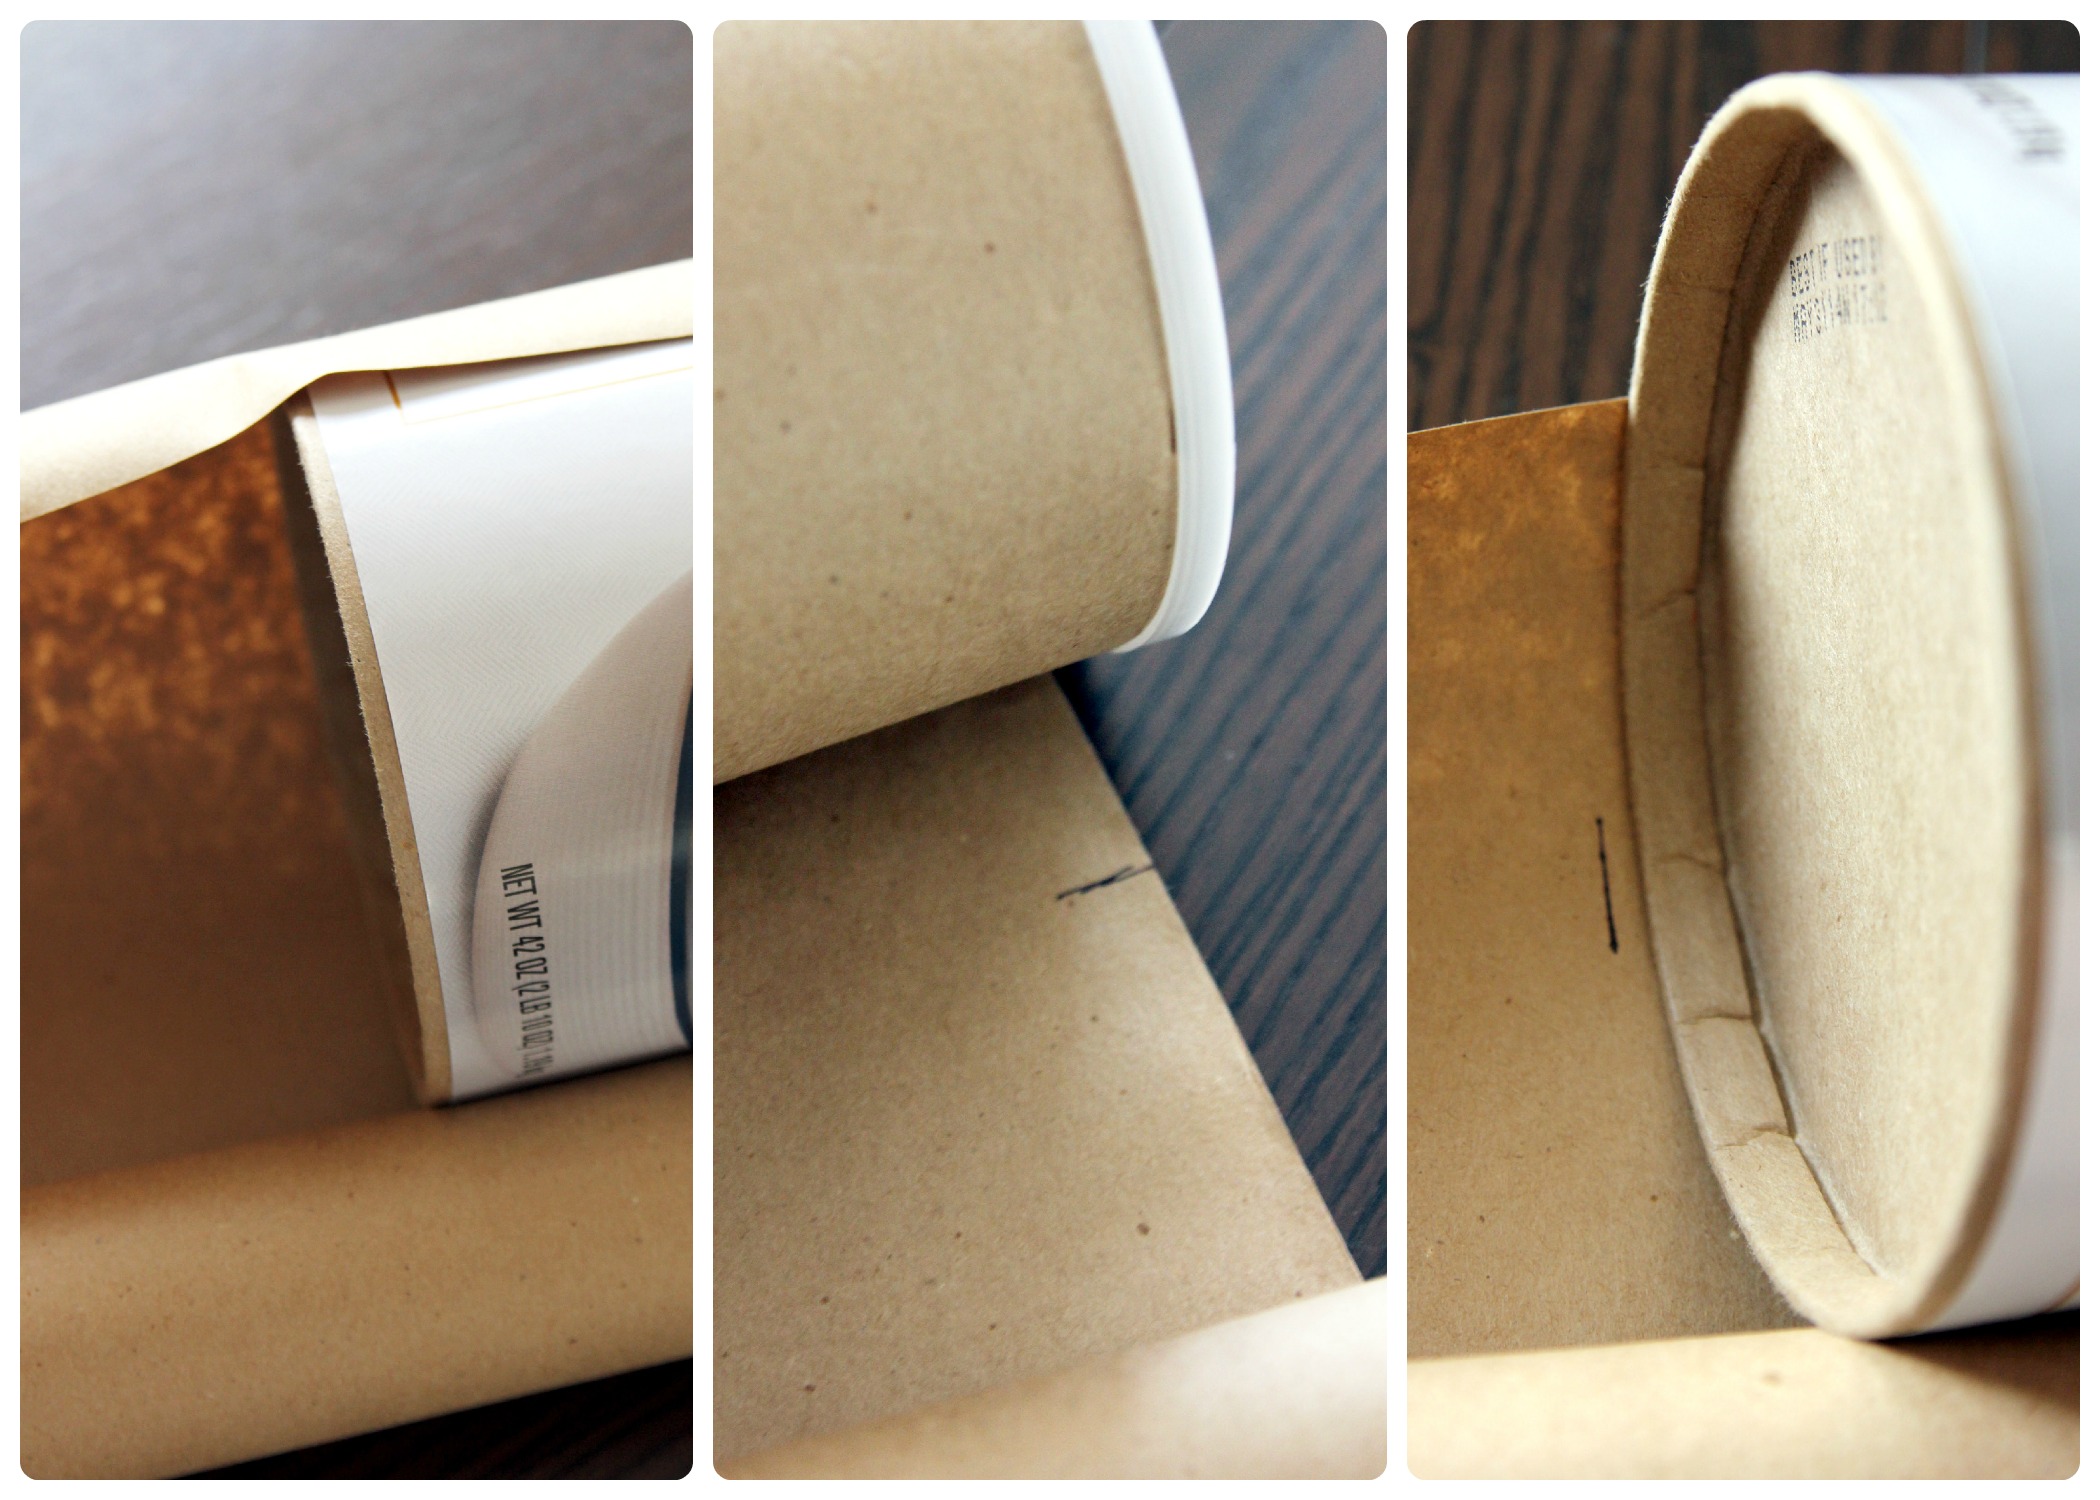
Start by measuring out the kraft paper to fit your can. The easiest way to do this is to tape the paper on the can aligned with the top edge. Roll the can along the paper and mark on the paper where the paper ends meet. Also, mark the bottom where the can aligns, then add an inch or two.
Step 3
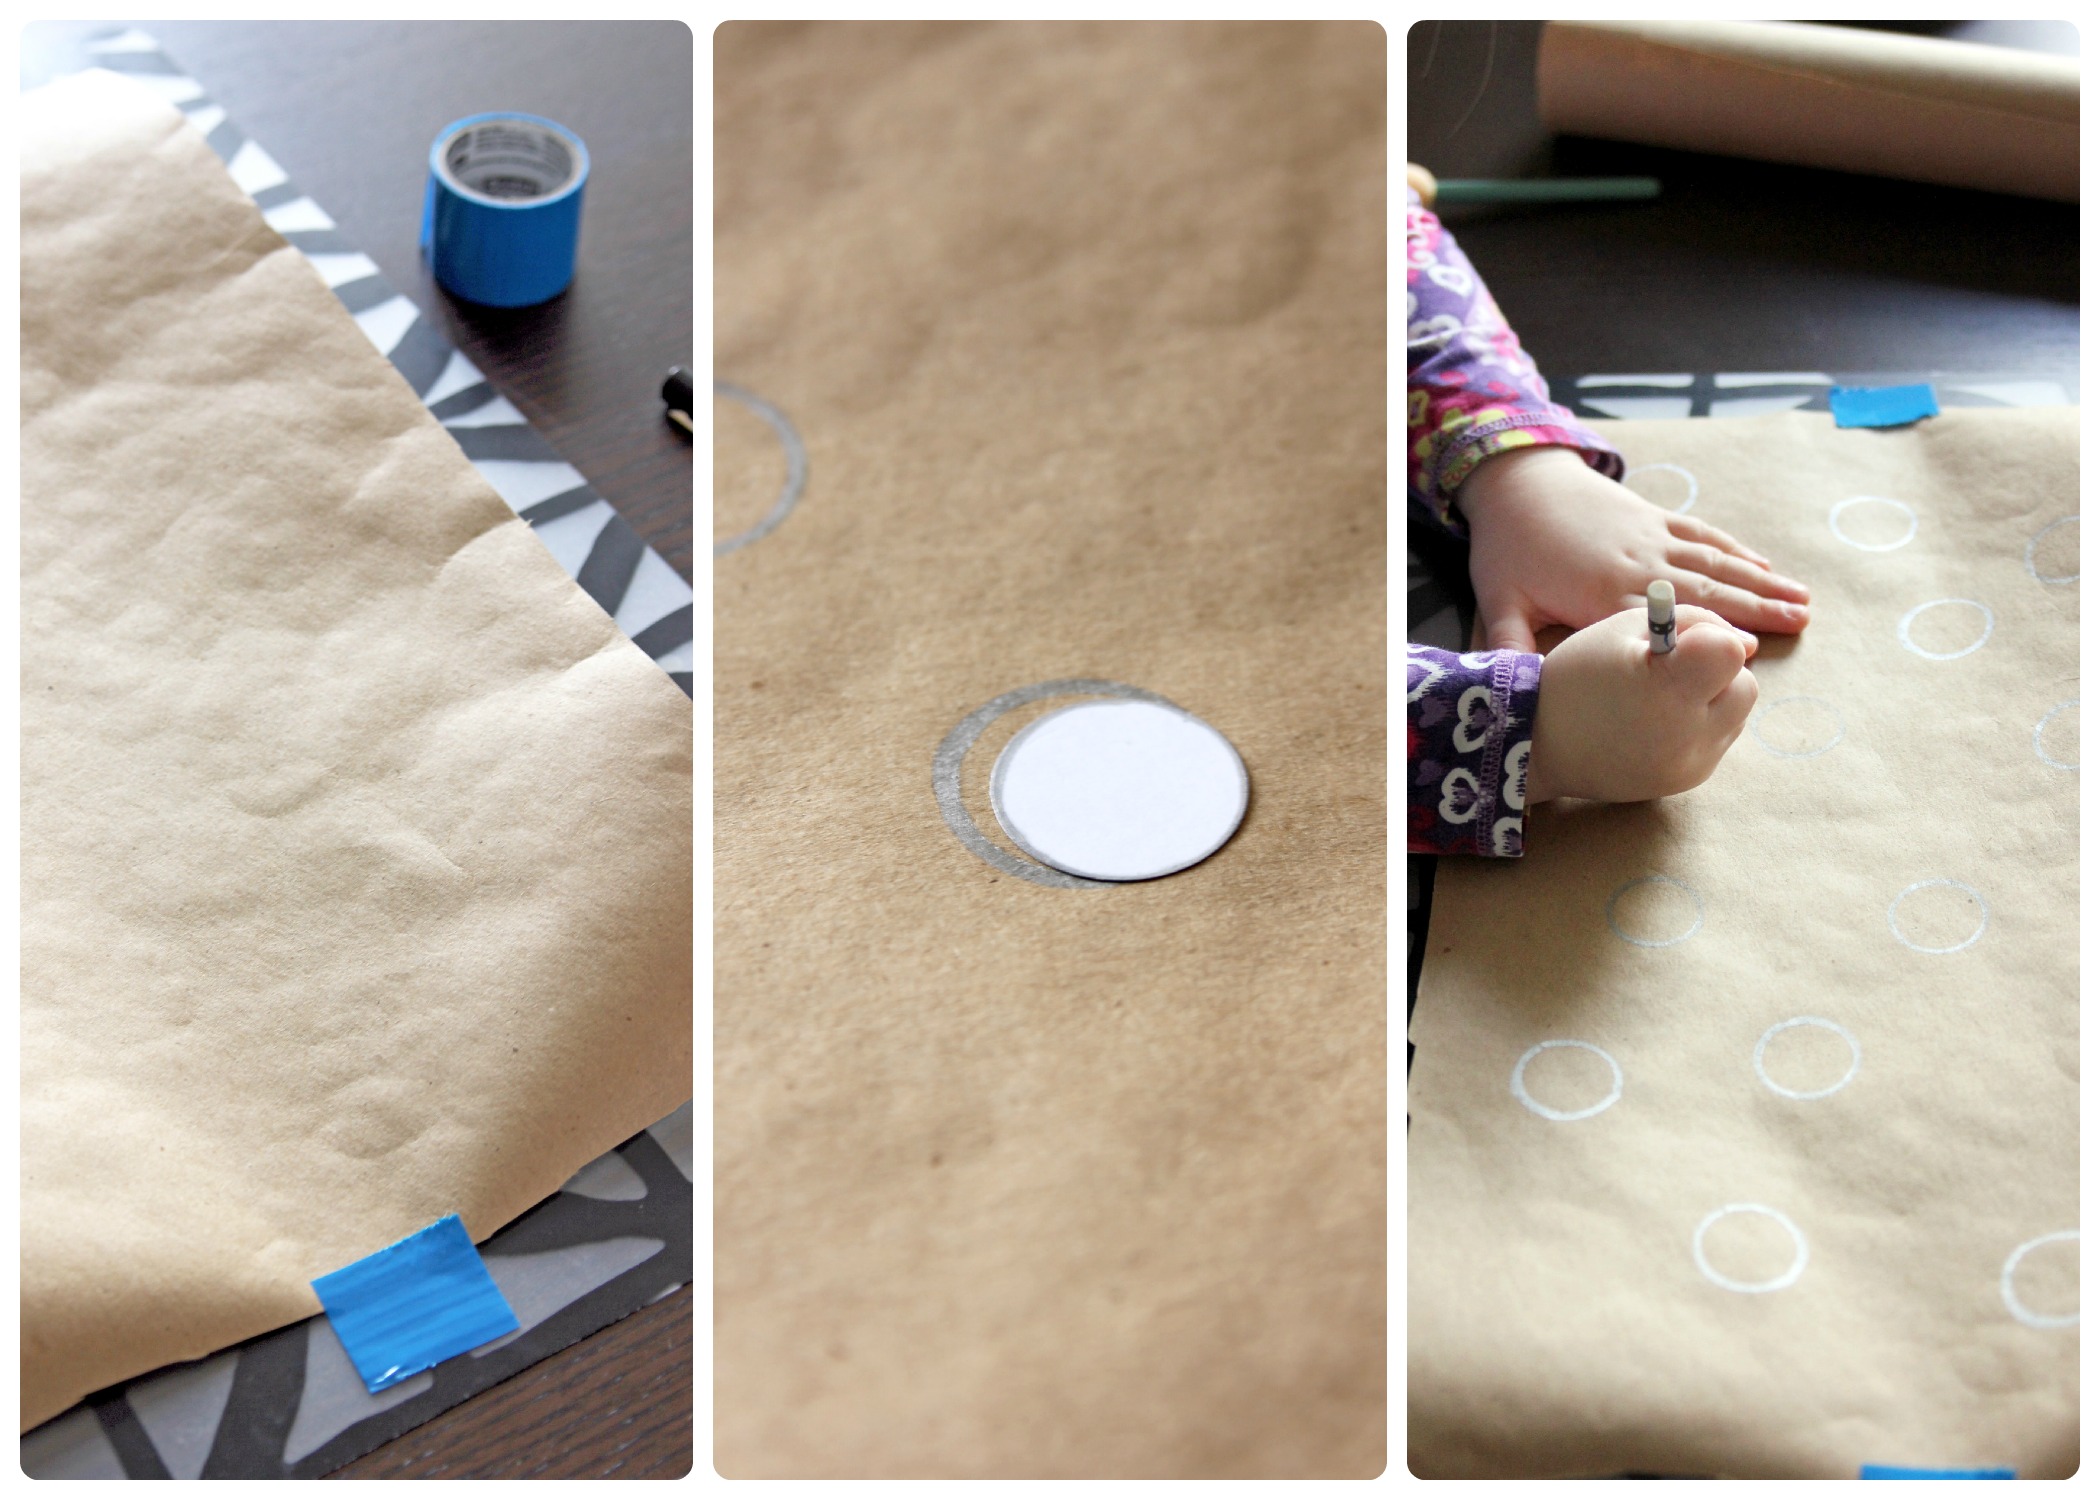
Cut out the measured kraft paper. Next, decorate your paper. I wanted this to be a learning activity as well for V, so I traced a circle shape in several spots on the paper. While I worked on prepping the next steps, V colored in the circles. This gave her practice trying to stay within the circle borders, while working on her fine motor skills.
Step 4
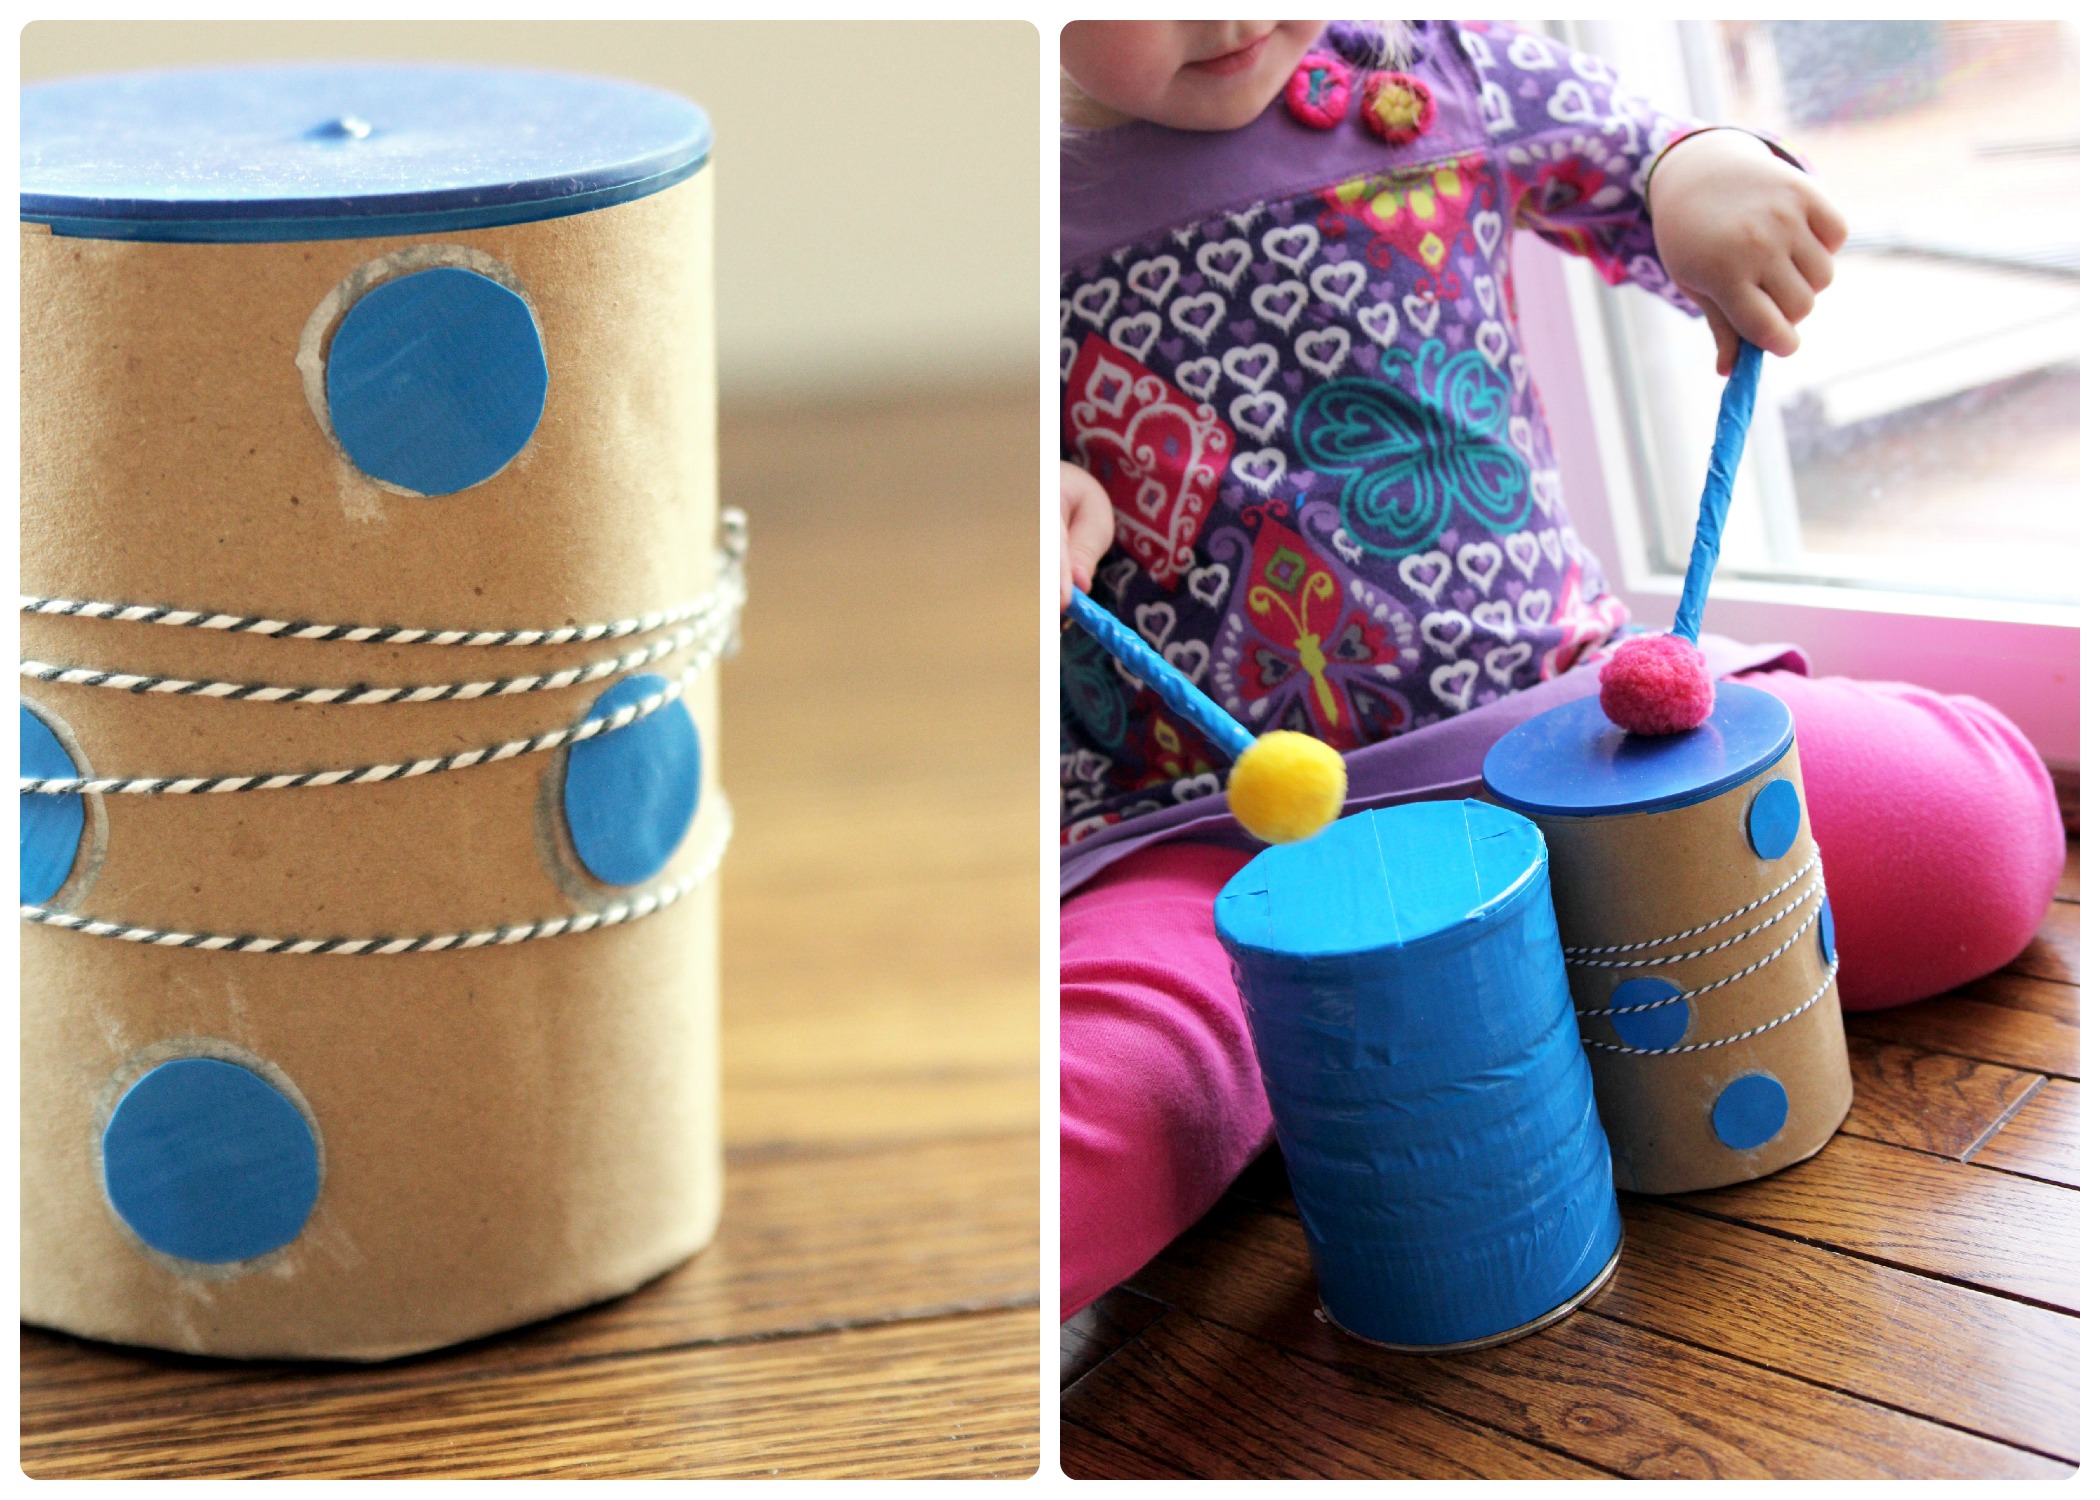
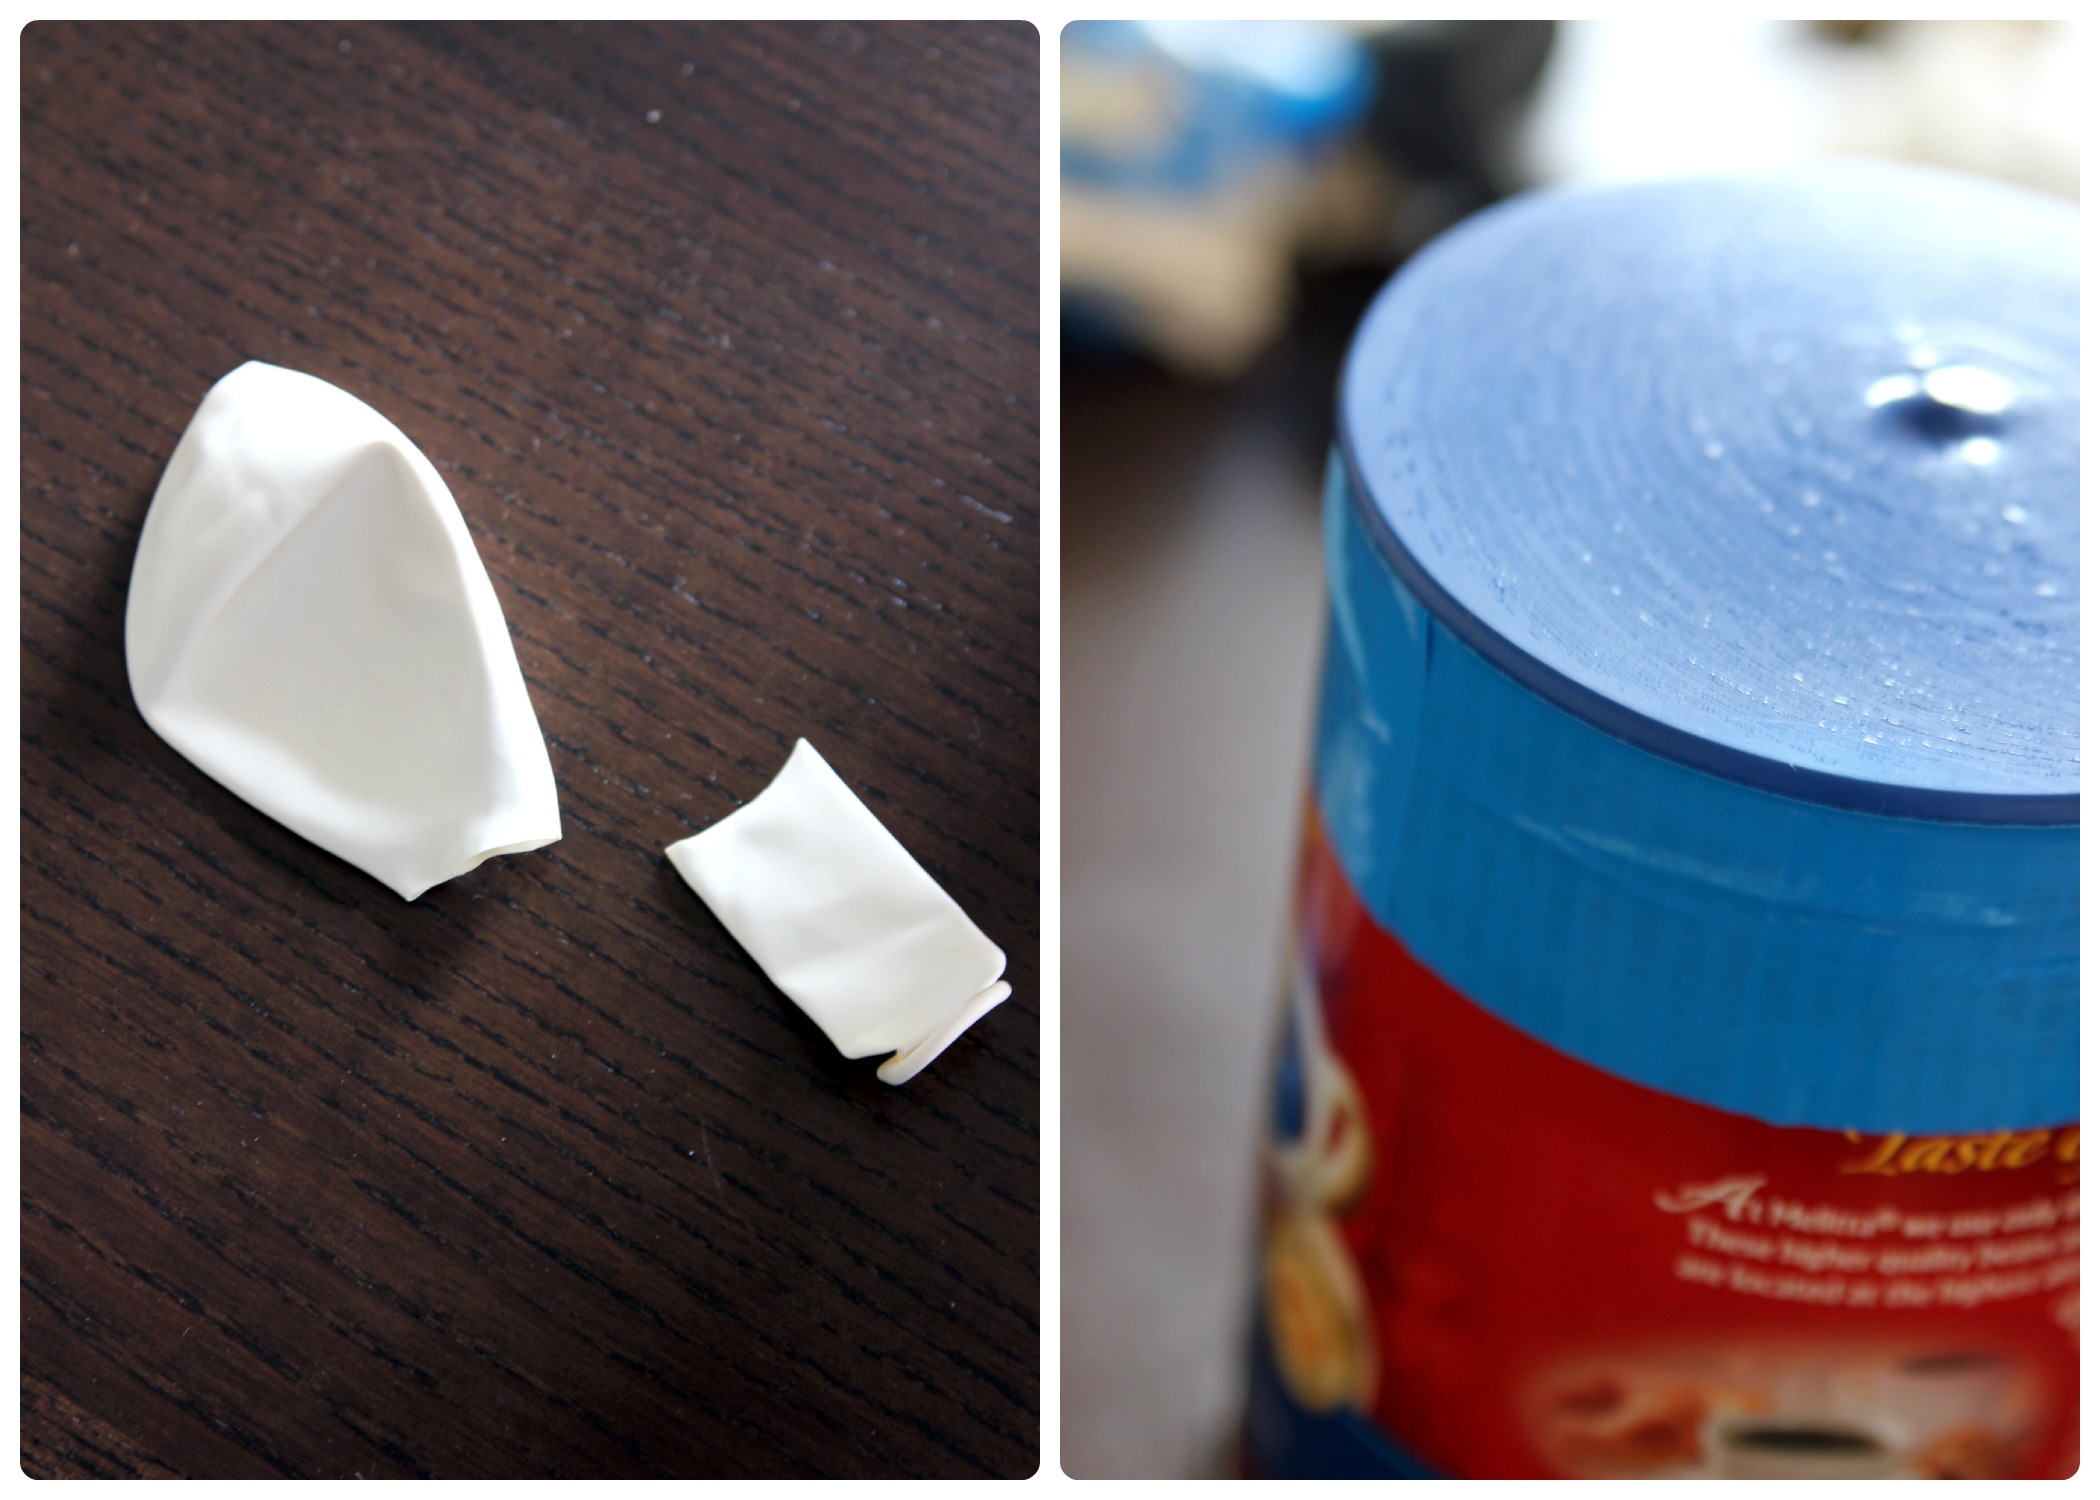
While V was coloring, I cut the balloon in two, splitting it where it widens. Stretch out the balloon to fit over the can opening. We originally tried the balloon on the oatmeal container you saw in the pictures above, but the container was too wide, so we went with the coffee container. While the balloon isn't necessary, it brings a different acoustic sound to the mix, as you'll see below in the second drum we make.
Step 5
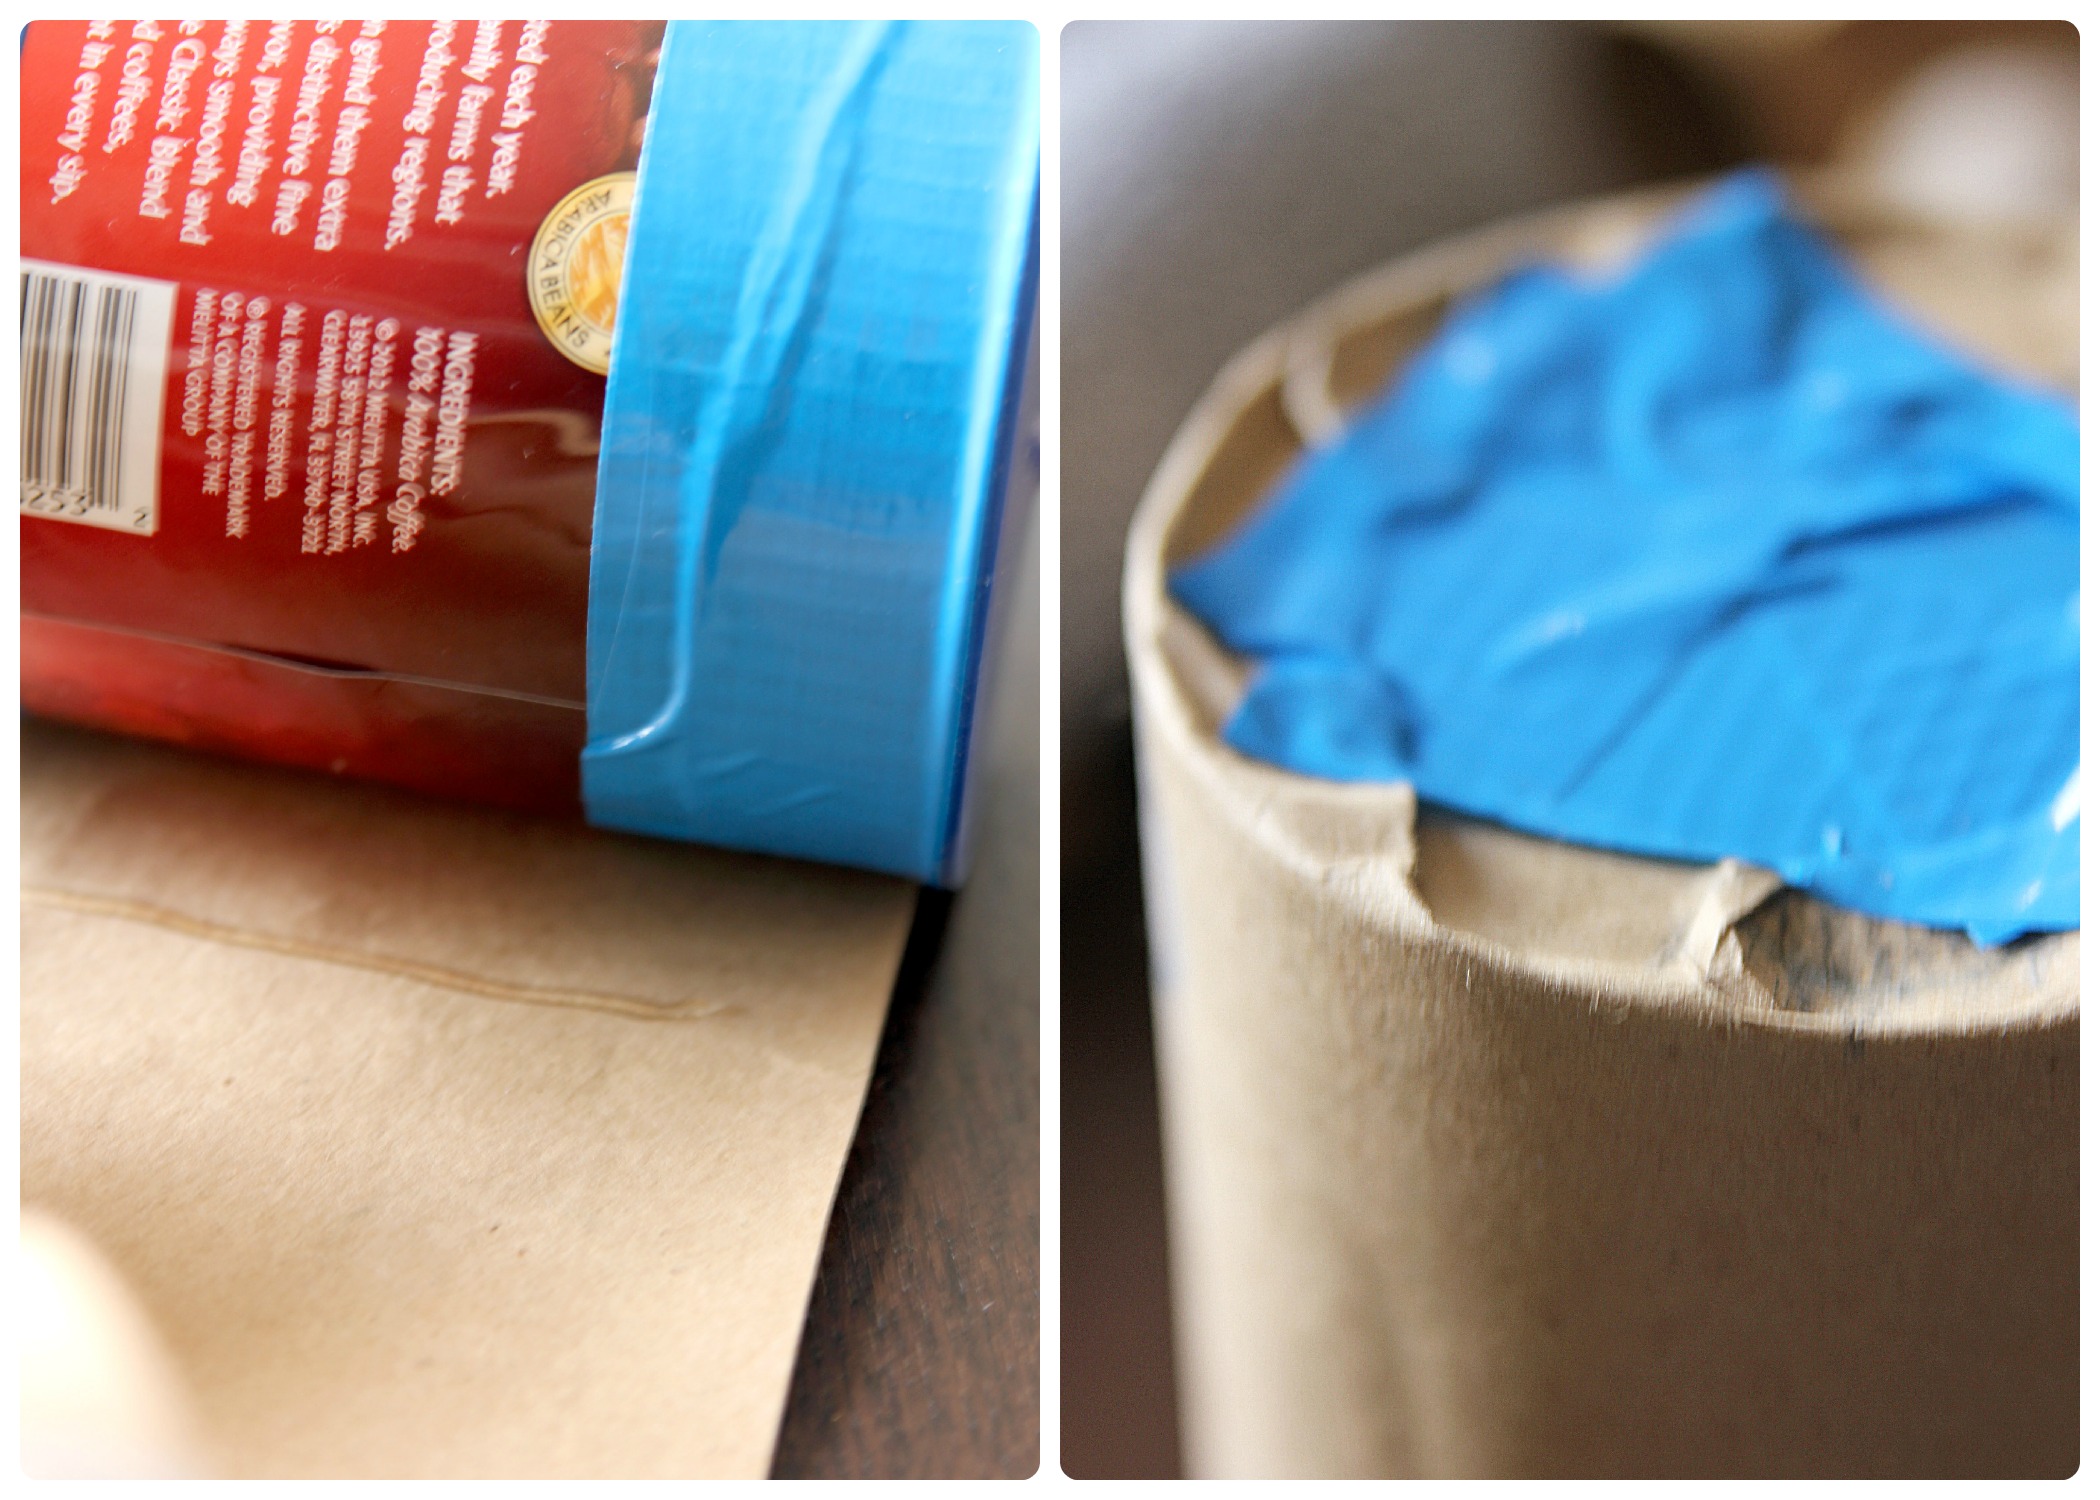
Once the balloon is in place, tape down the edges securely all the way around the can. Now here is a mama step: once V was finished coloring, making sure she was well out of reach, I attached the decorated kraft paper to the coffee can with hot glue, securing it as I went around. Then I folded up the bottom an extra inch and taped it down with duct tape.
Step 6
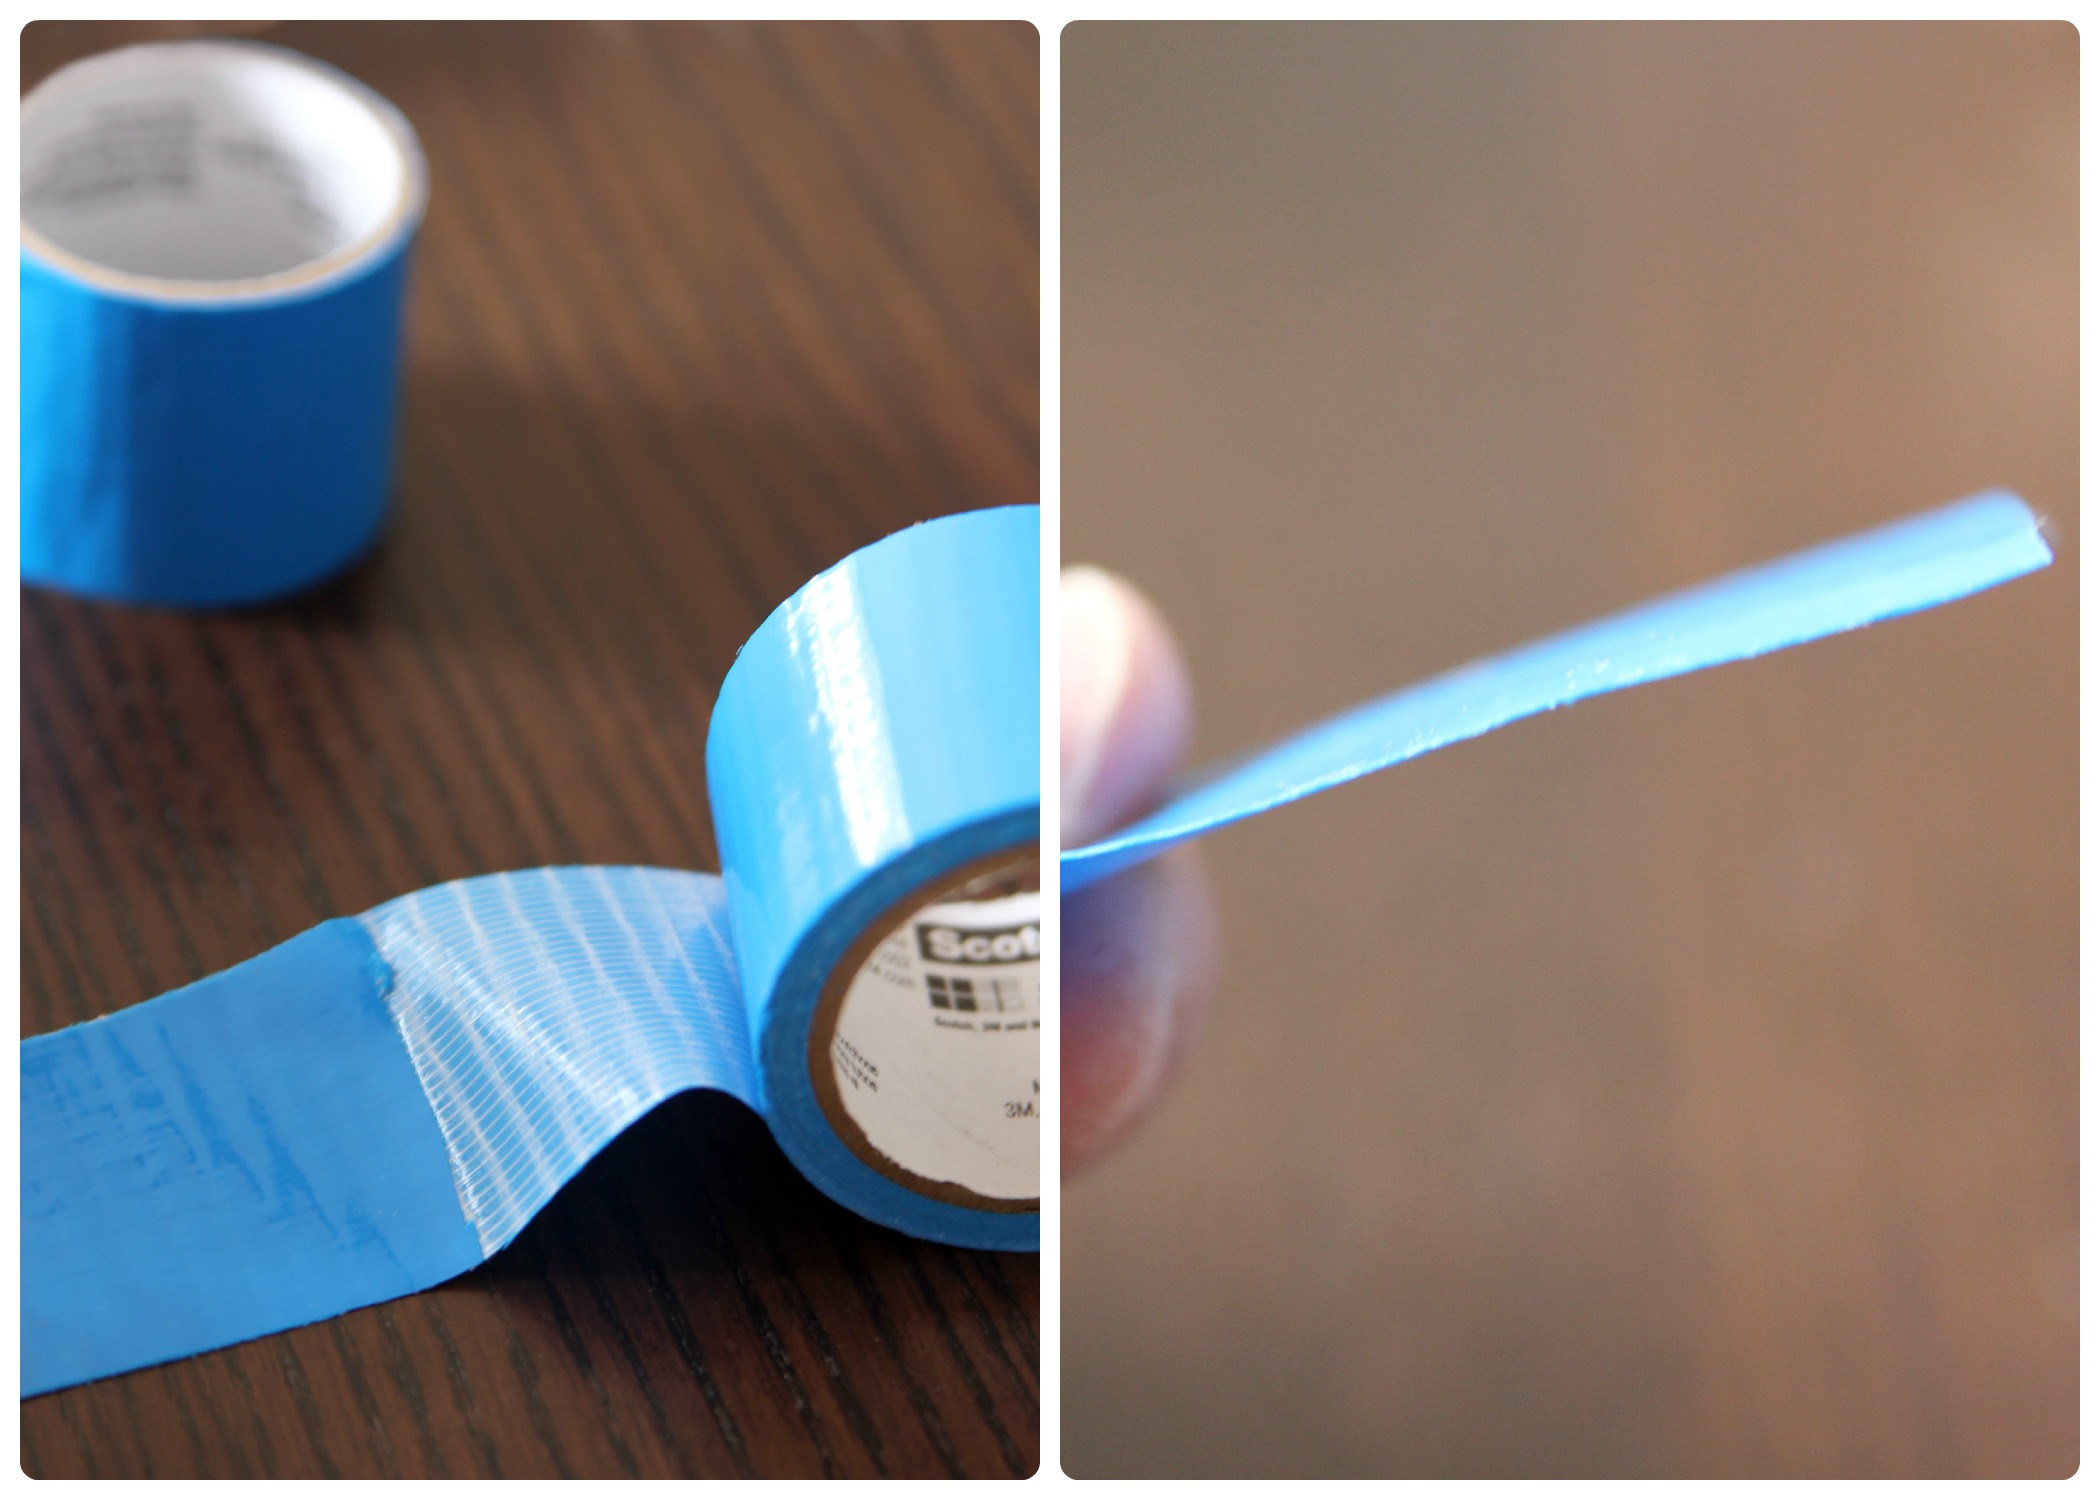
To add another learning aspect, we applied the duct tape in another manner -- in a matching game. First, we folded the duct tape in half creating a long strip.
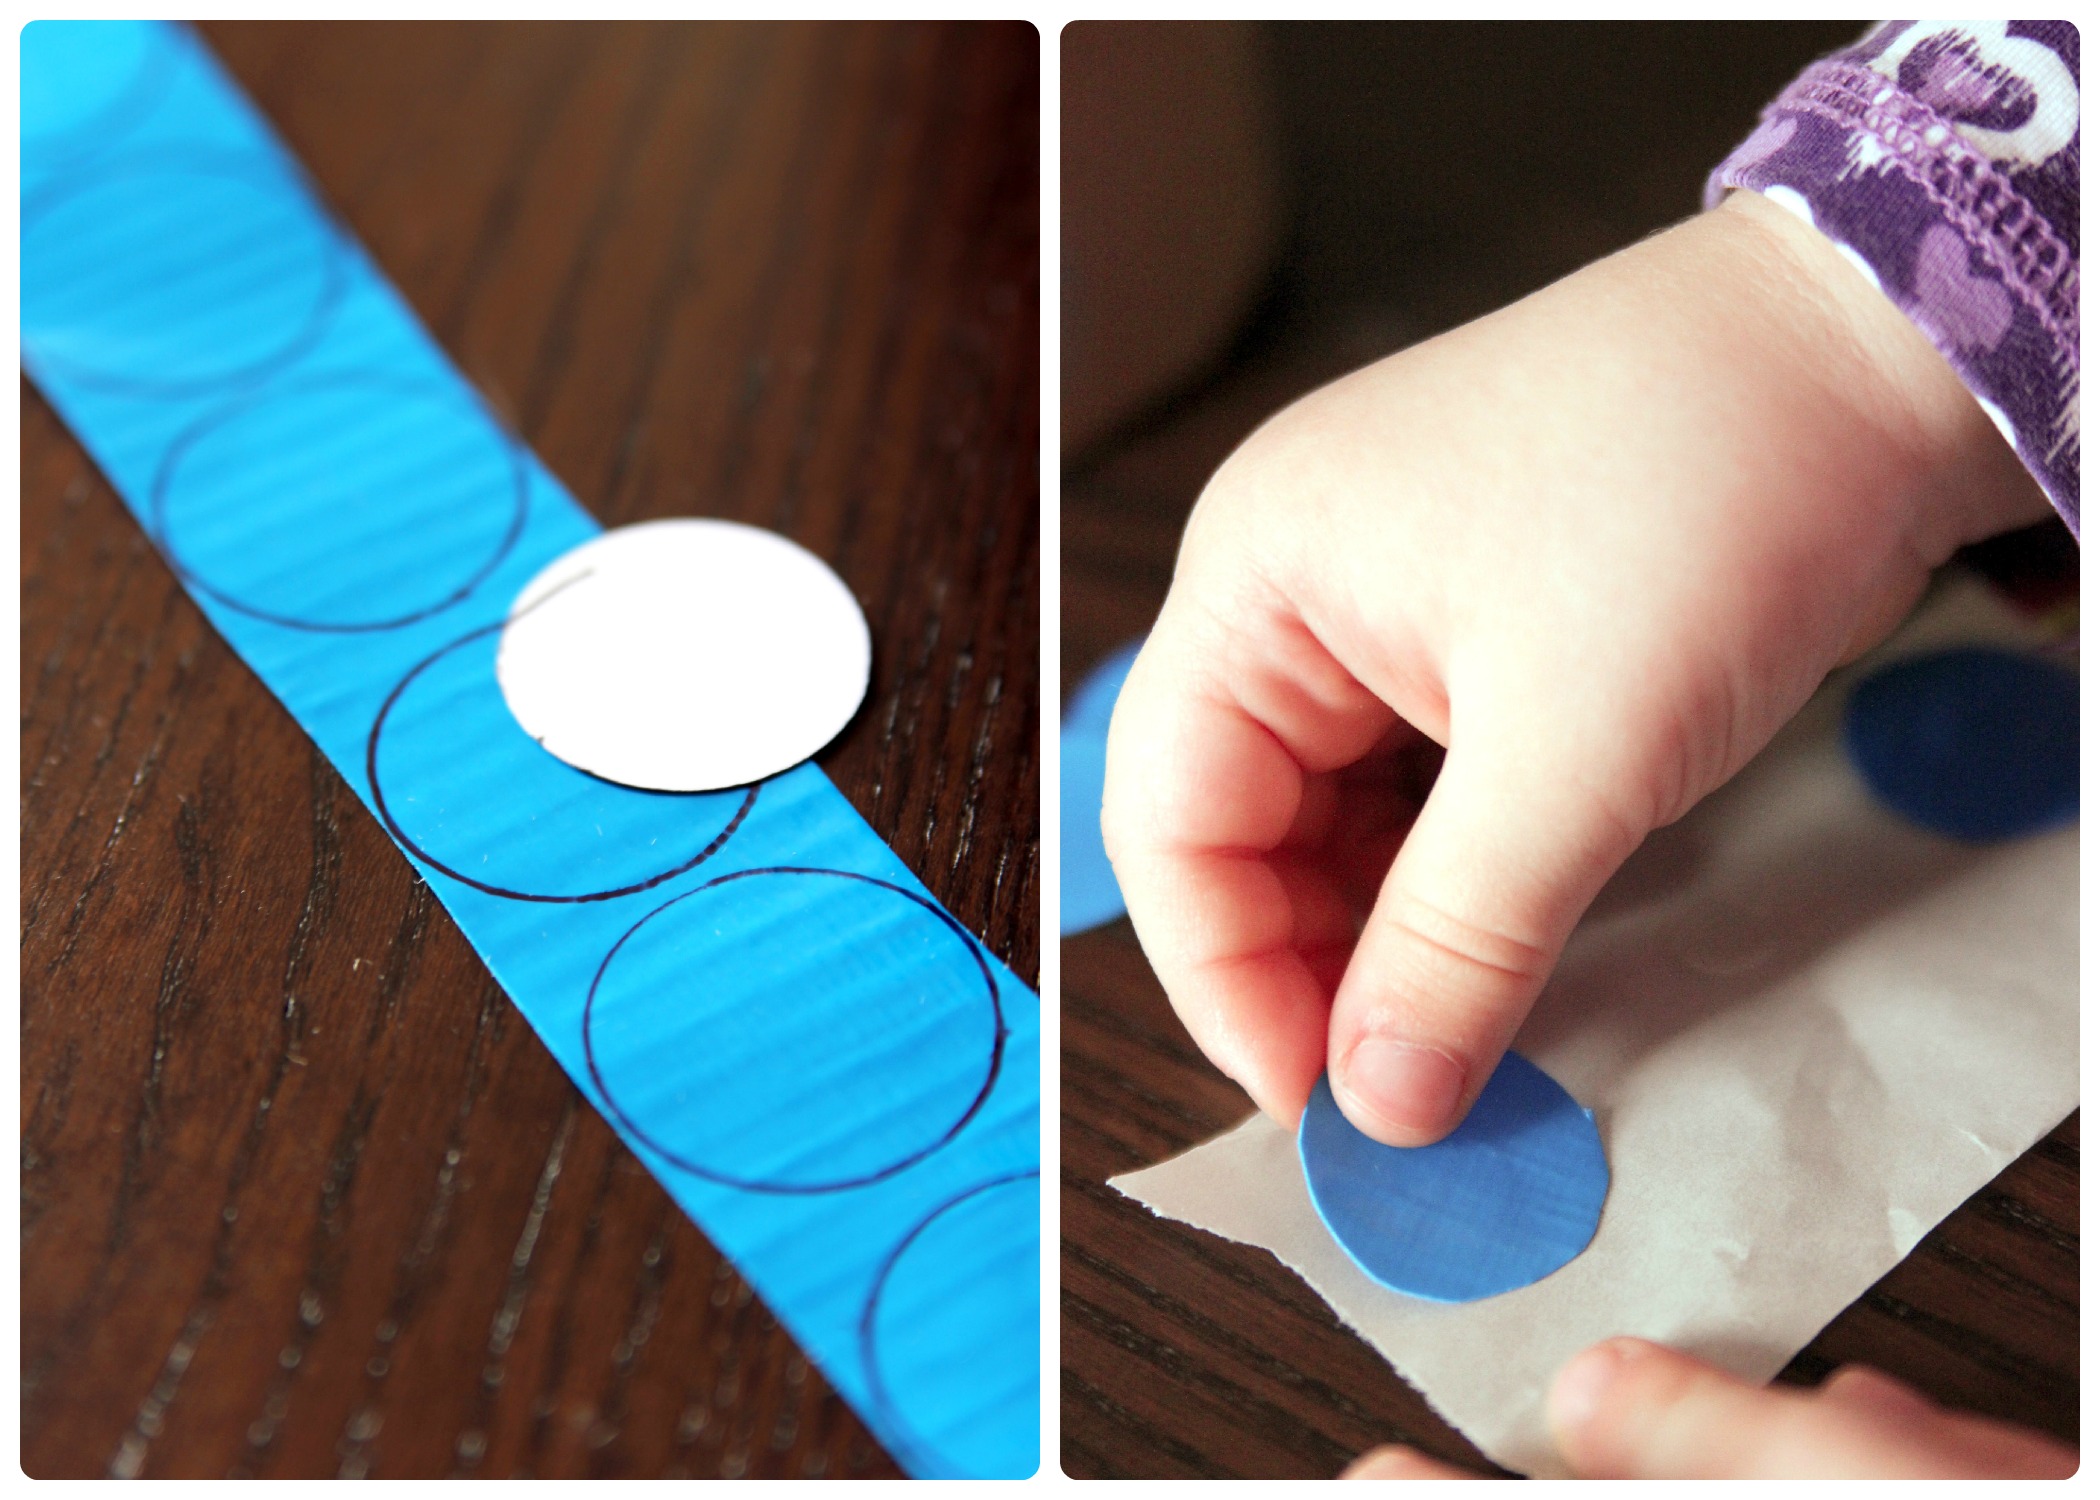
Step 7
I used the circle shape once again to trace the number of circles that appeared on the outside of the container. We cut them out and V placed each one on an adhesive dot.
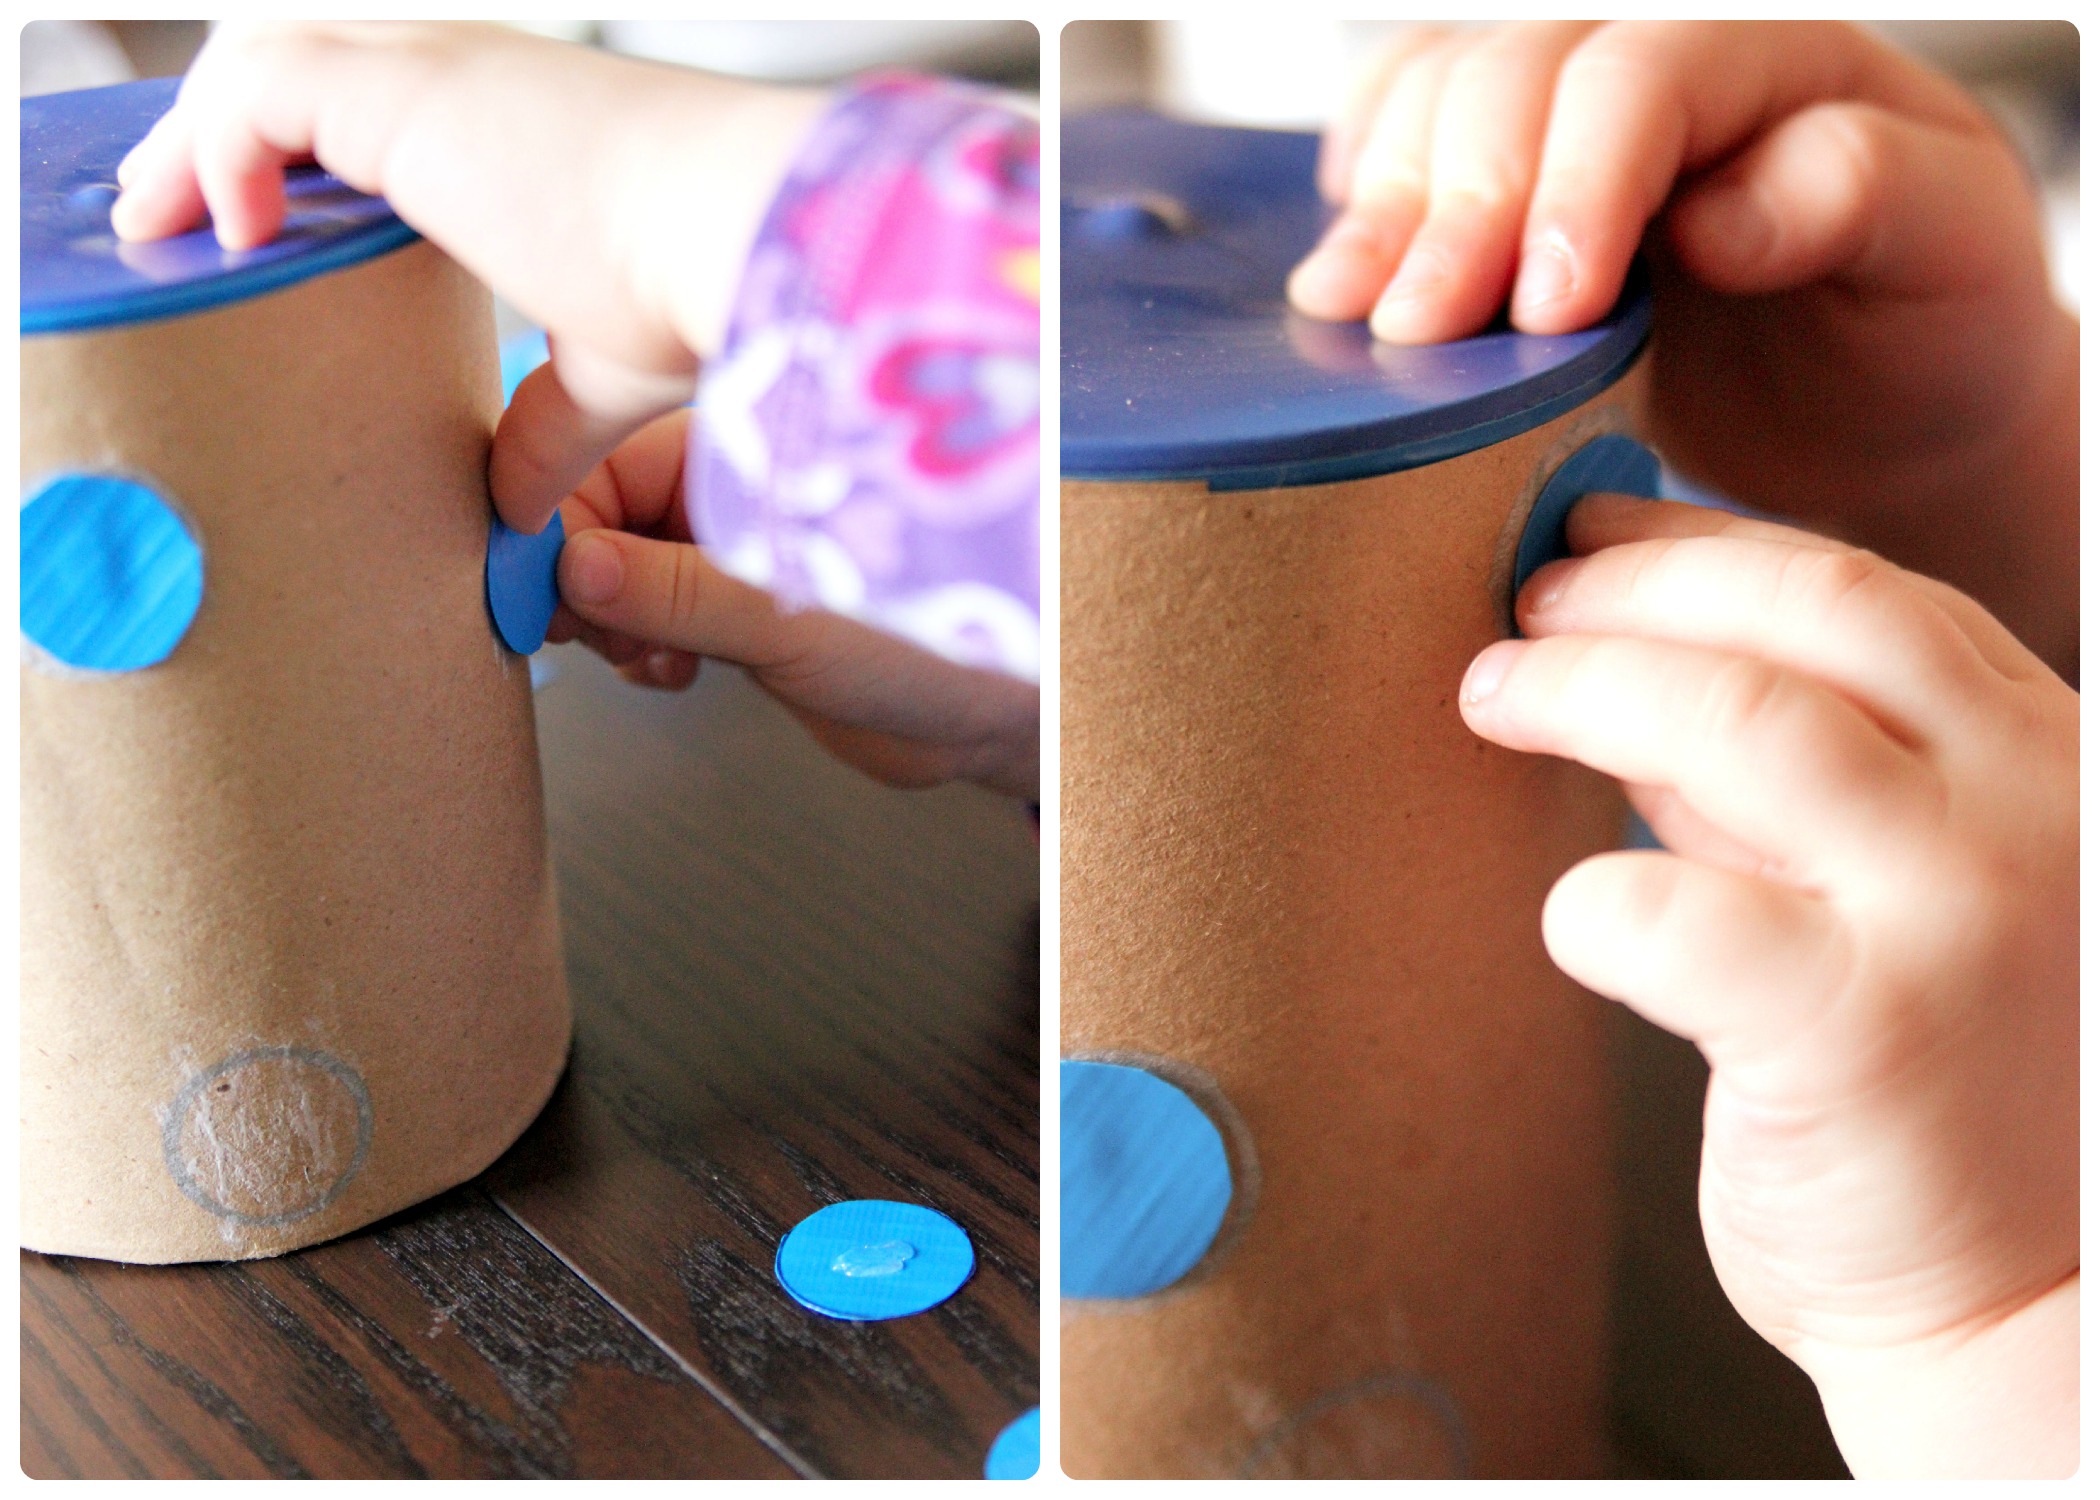
Step 8
Next, she removed the dots from the paper. With the adhesive dots on the back of the duct tape dots, she matched the circles on the decorated coffee can. She LOVED this part -- she is a big fan of sequencing and matching! Once she finished placing her dots, we decided it needed something extra, and decided to wrap the twine around it, too.
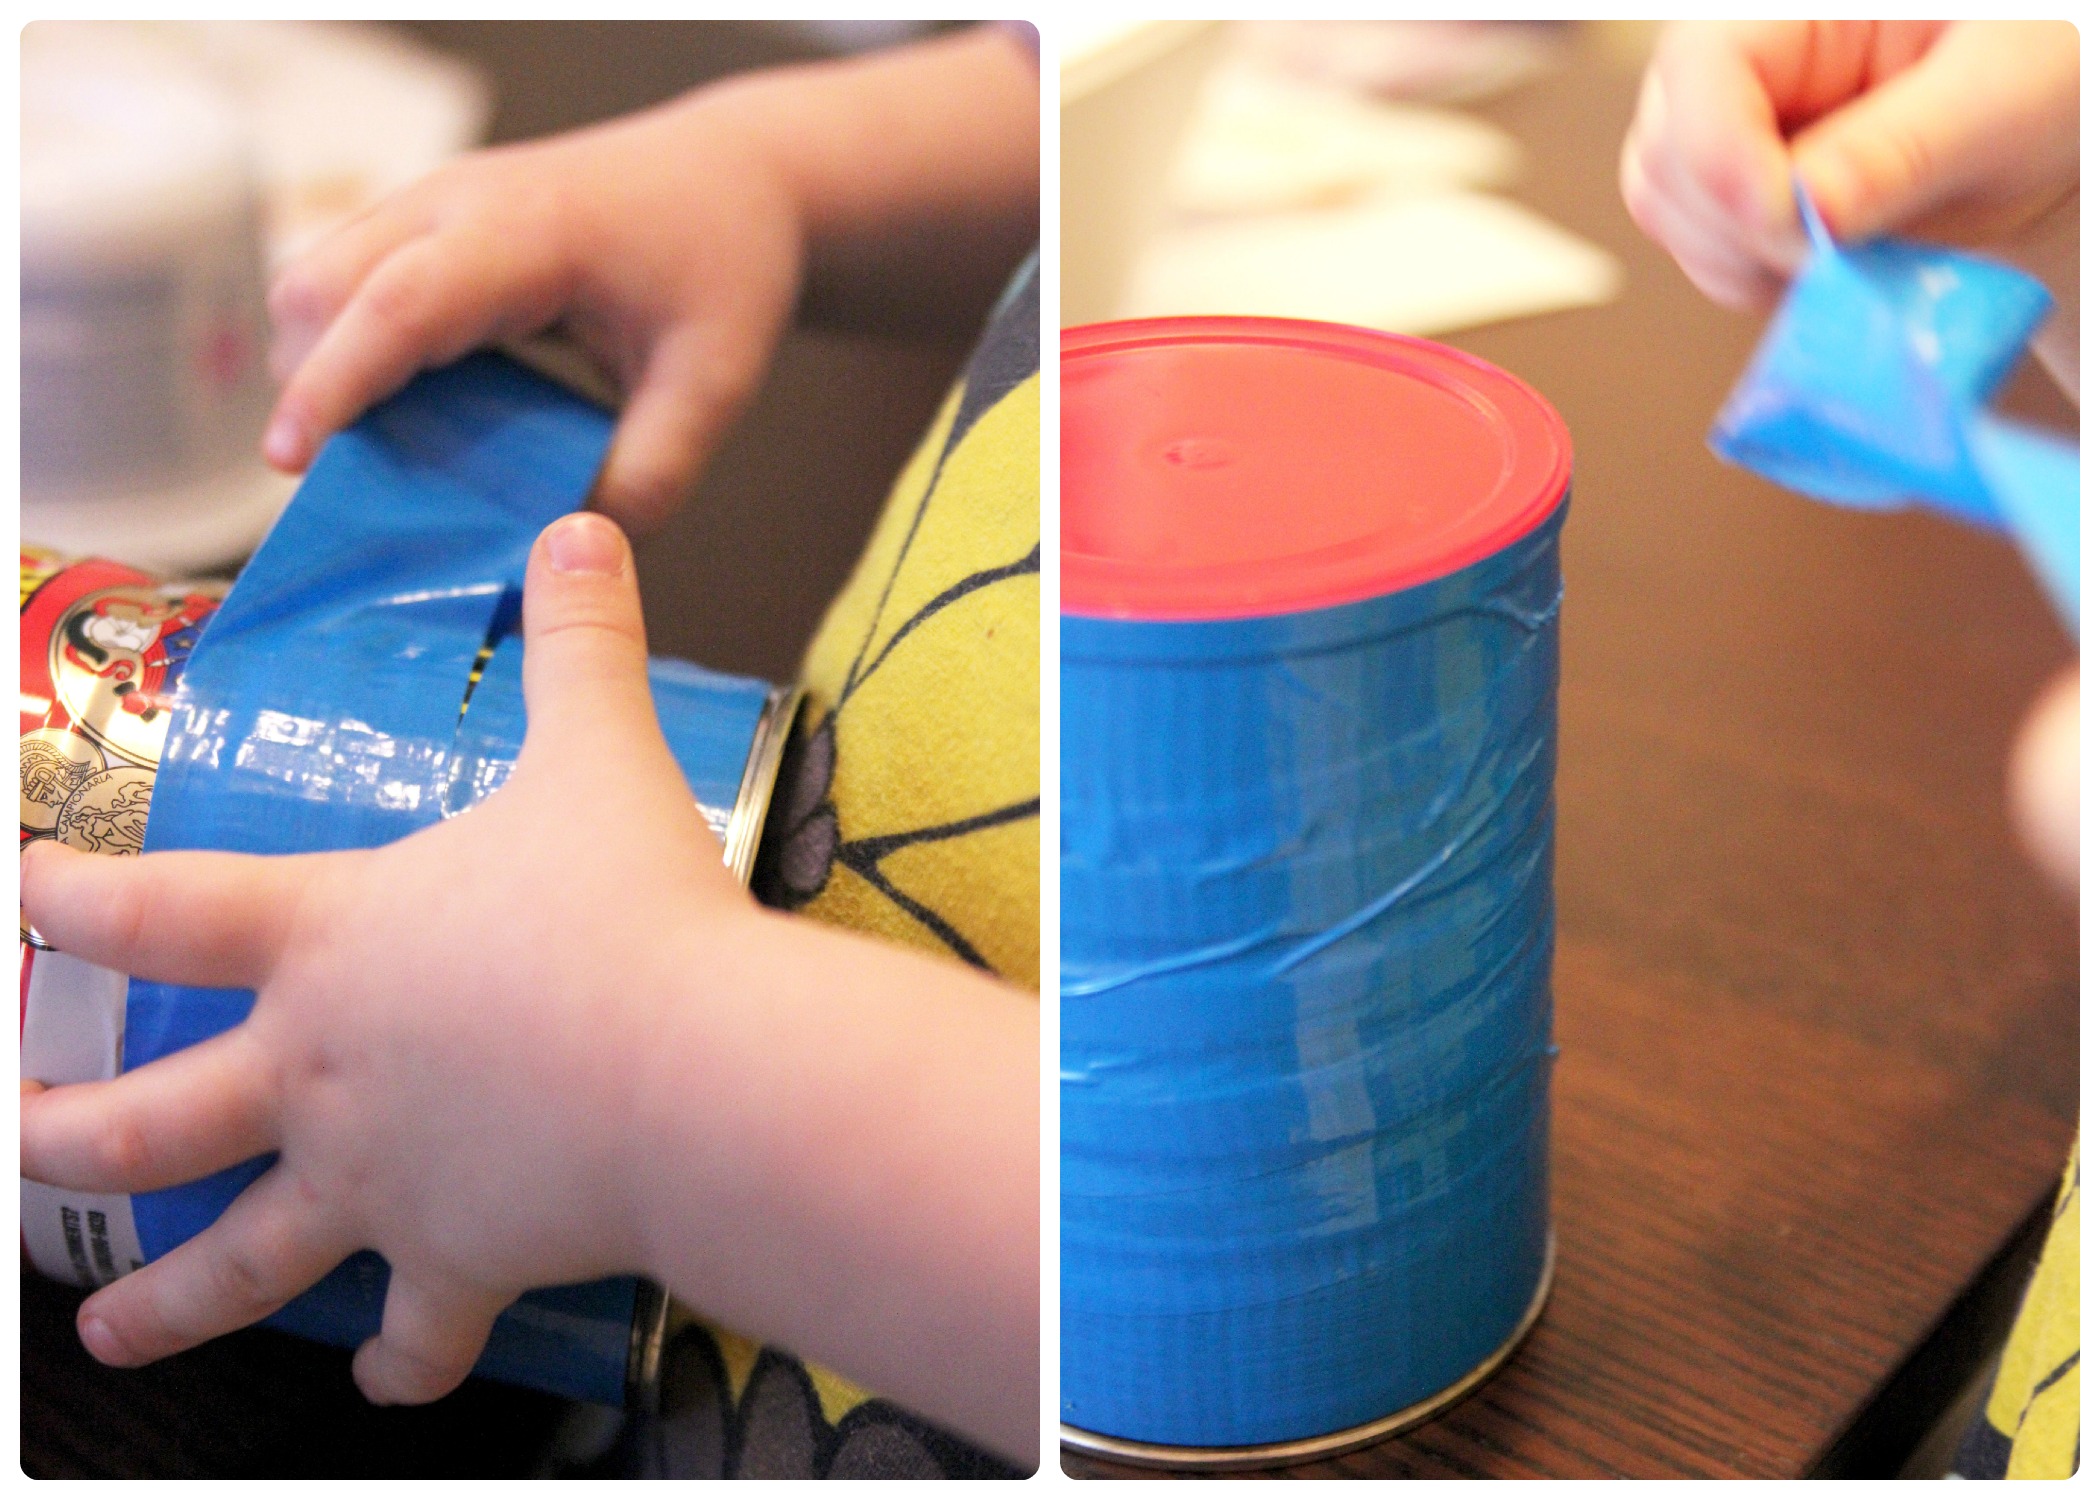
Step 9
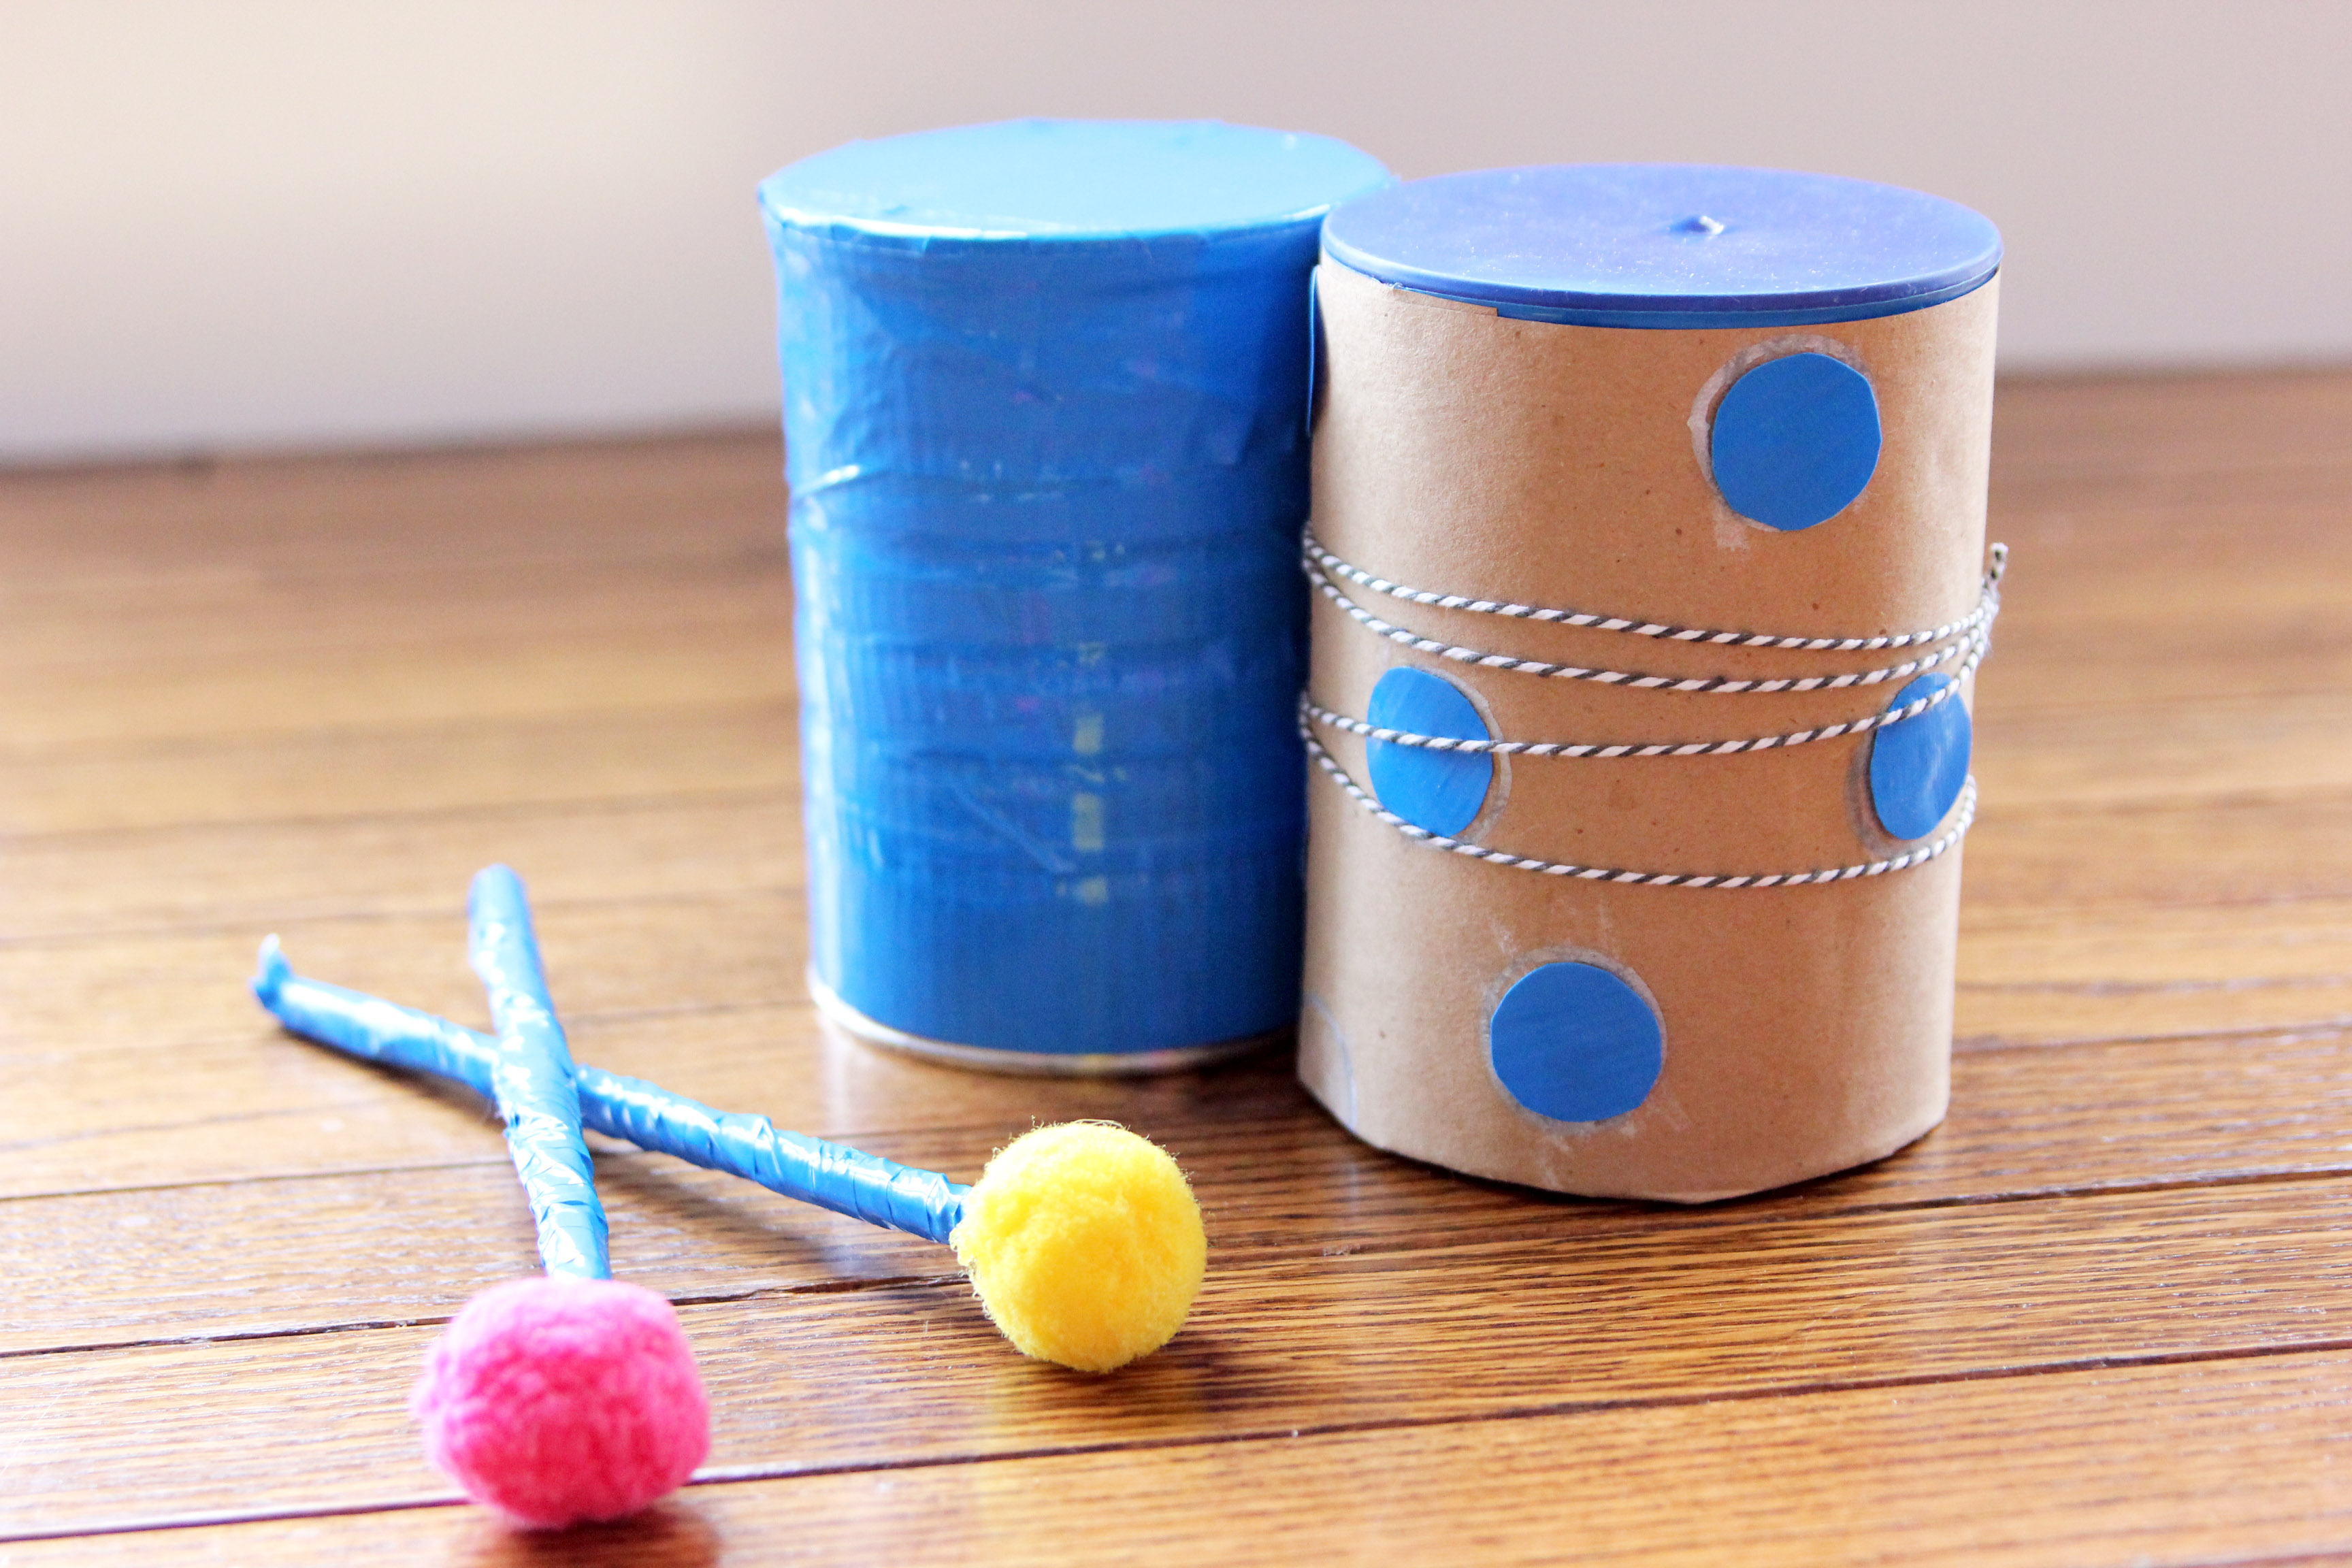
Then we made a second can. (We decided that V needed a can all her own to decorate too.)V wrapped and wrapped the remaining duct tape around the second coffee can. This was another great activity for fine motor skills -- cutting the tape and holding the can while wrapping the tape around.
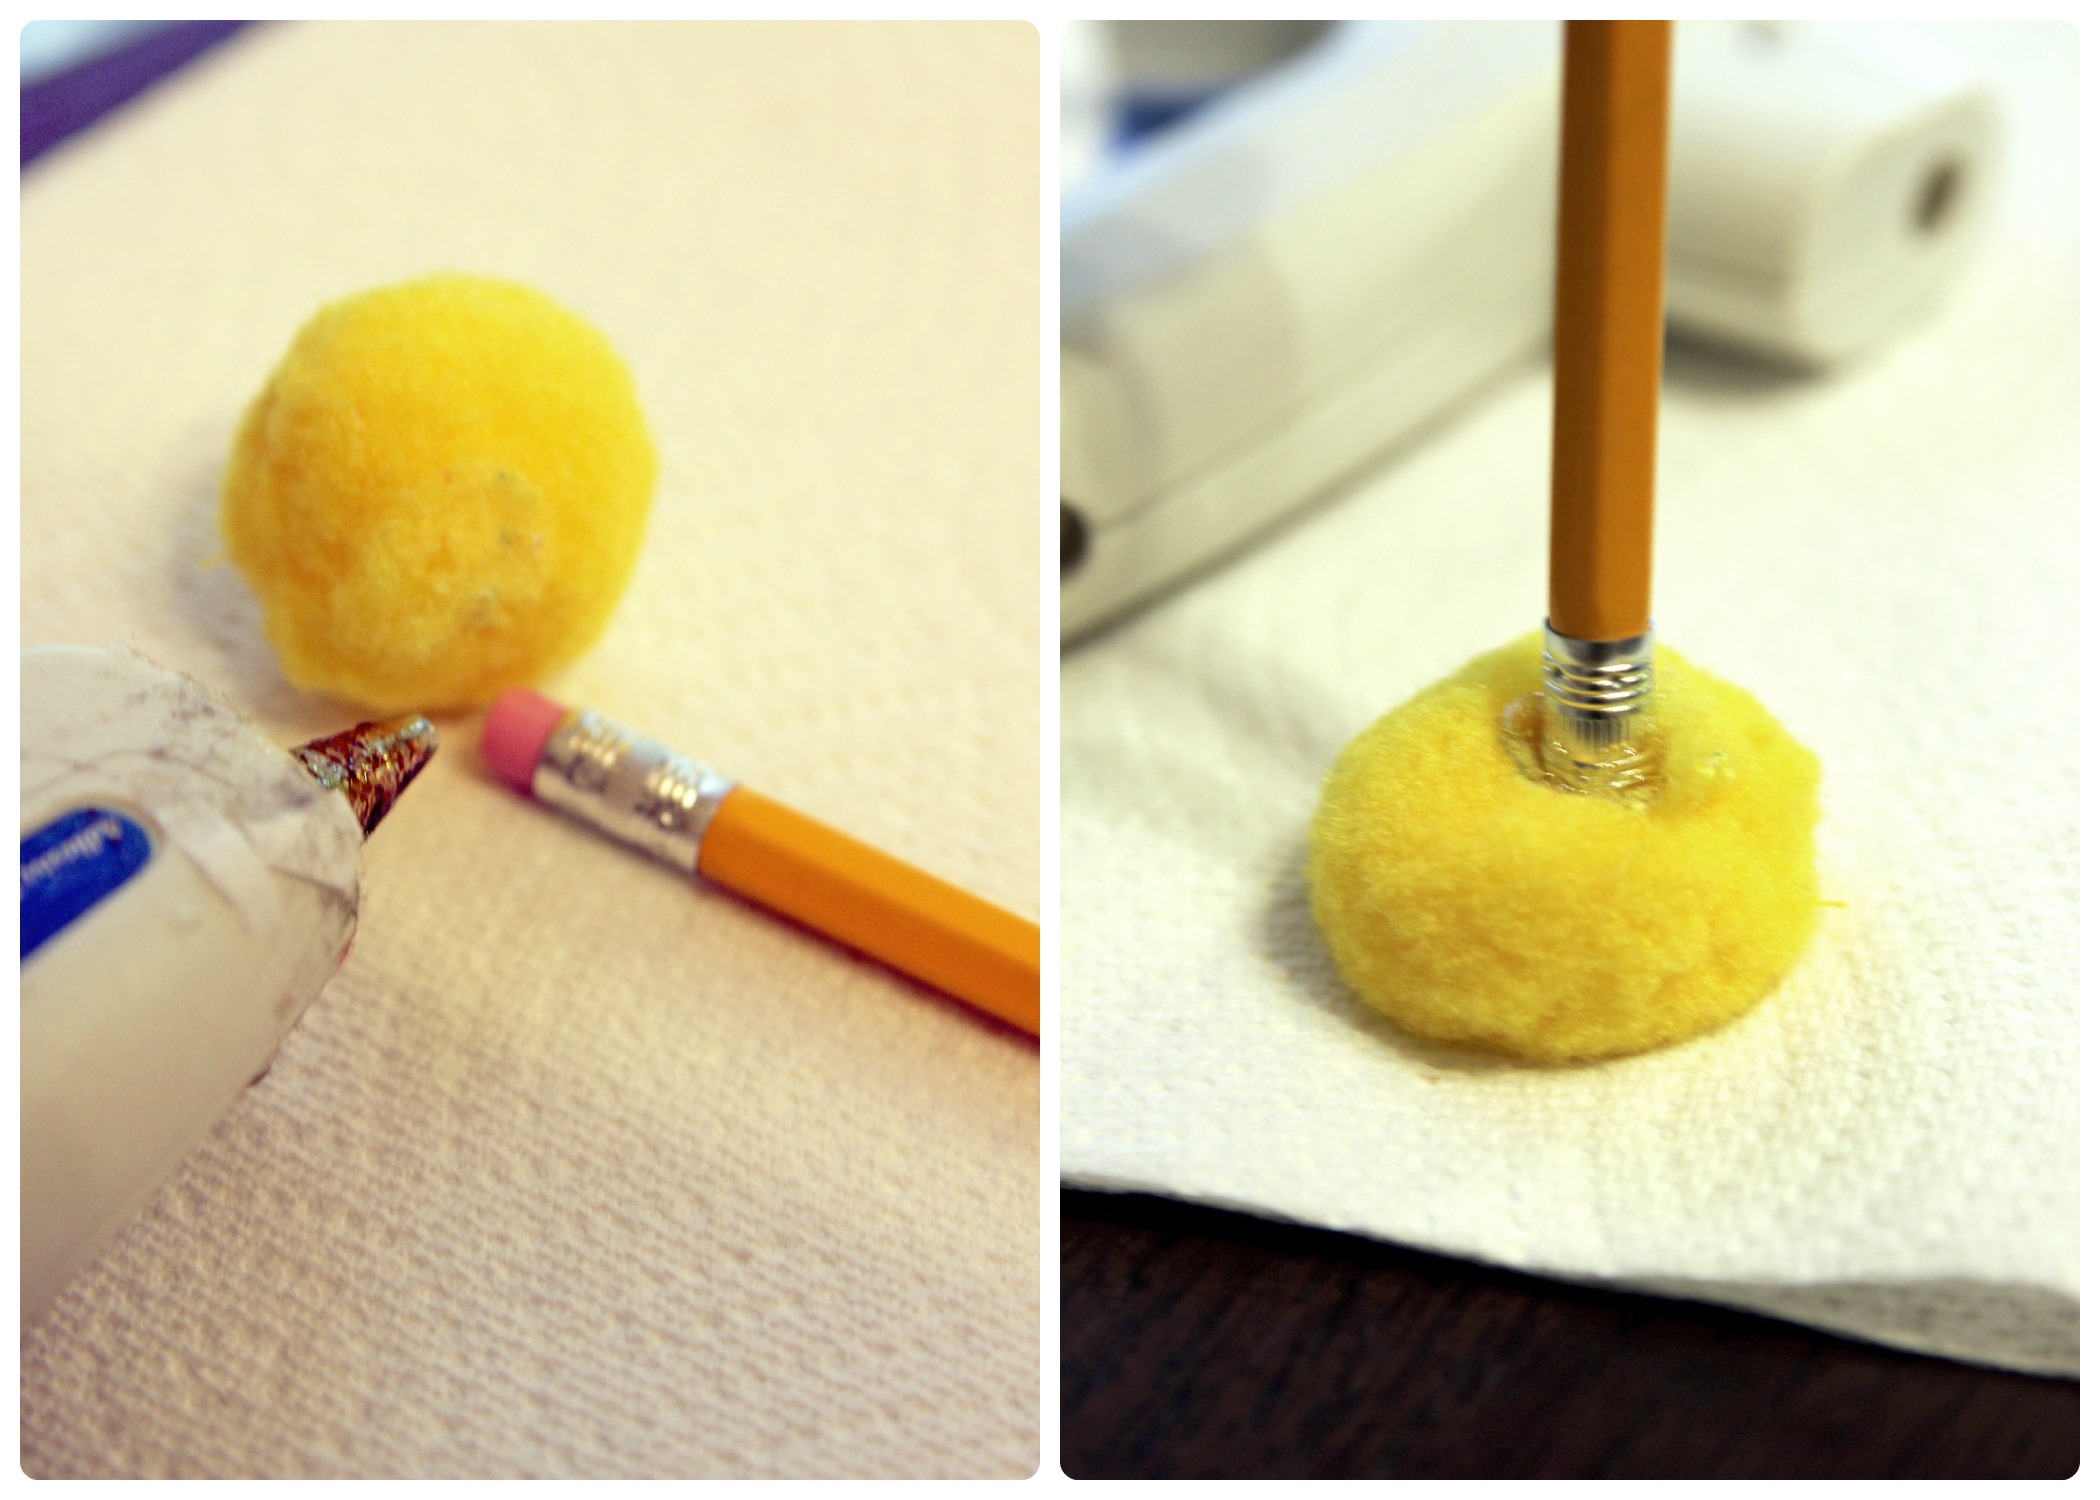
Step 10
While V was wrapping the second coffee can with tape, I decided to surprise her with some drumsticks to go along with her new drums. I took a pencil, and with a dab of hot glue, secured the eraser end to a pom pom. Once V was done with her can and the pencil glue was cooled and secure, V wrapped the duct tape around the pencils, creating her drumsticks.
Done!
And there you have it! With two drums, both with different sounds, and a set of drumsticks, a musician is born!