Step-by-step tutorial
Step 1
Gather your materials (not shown - paper plates, ruler & clothespins).

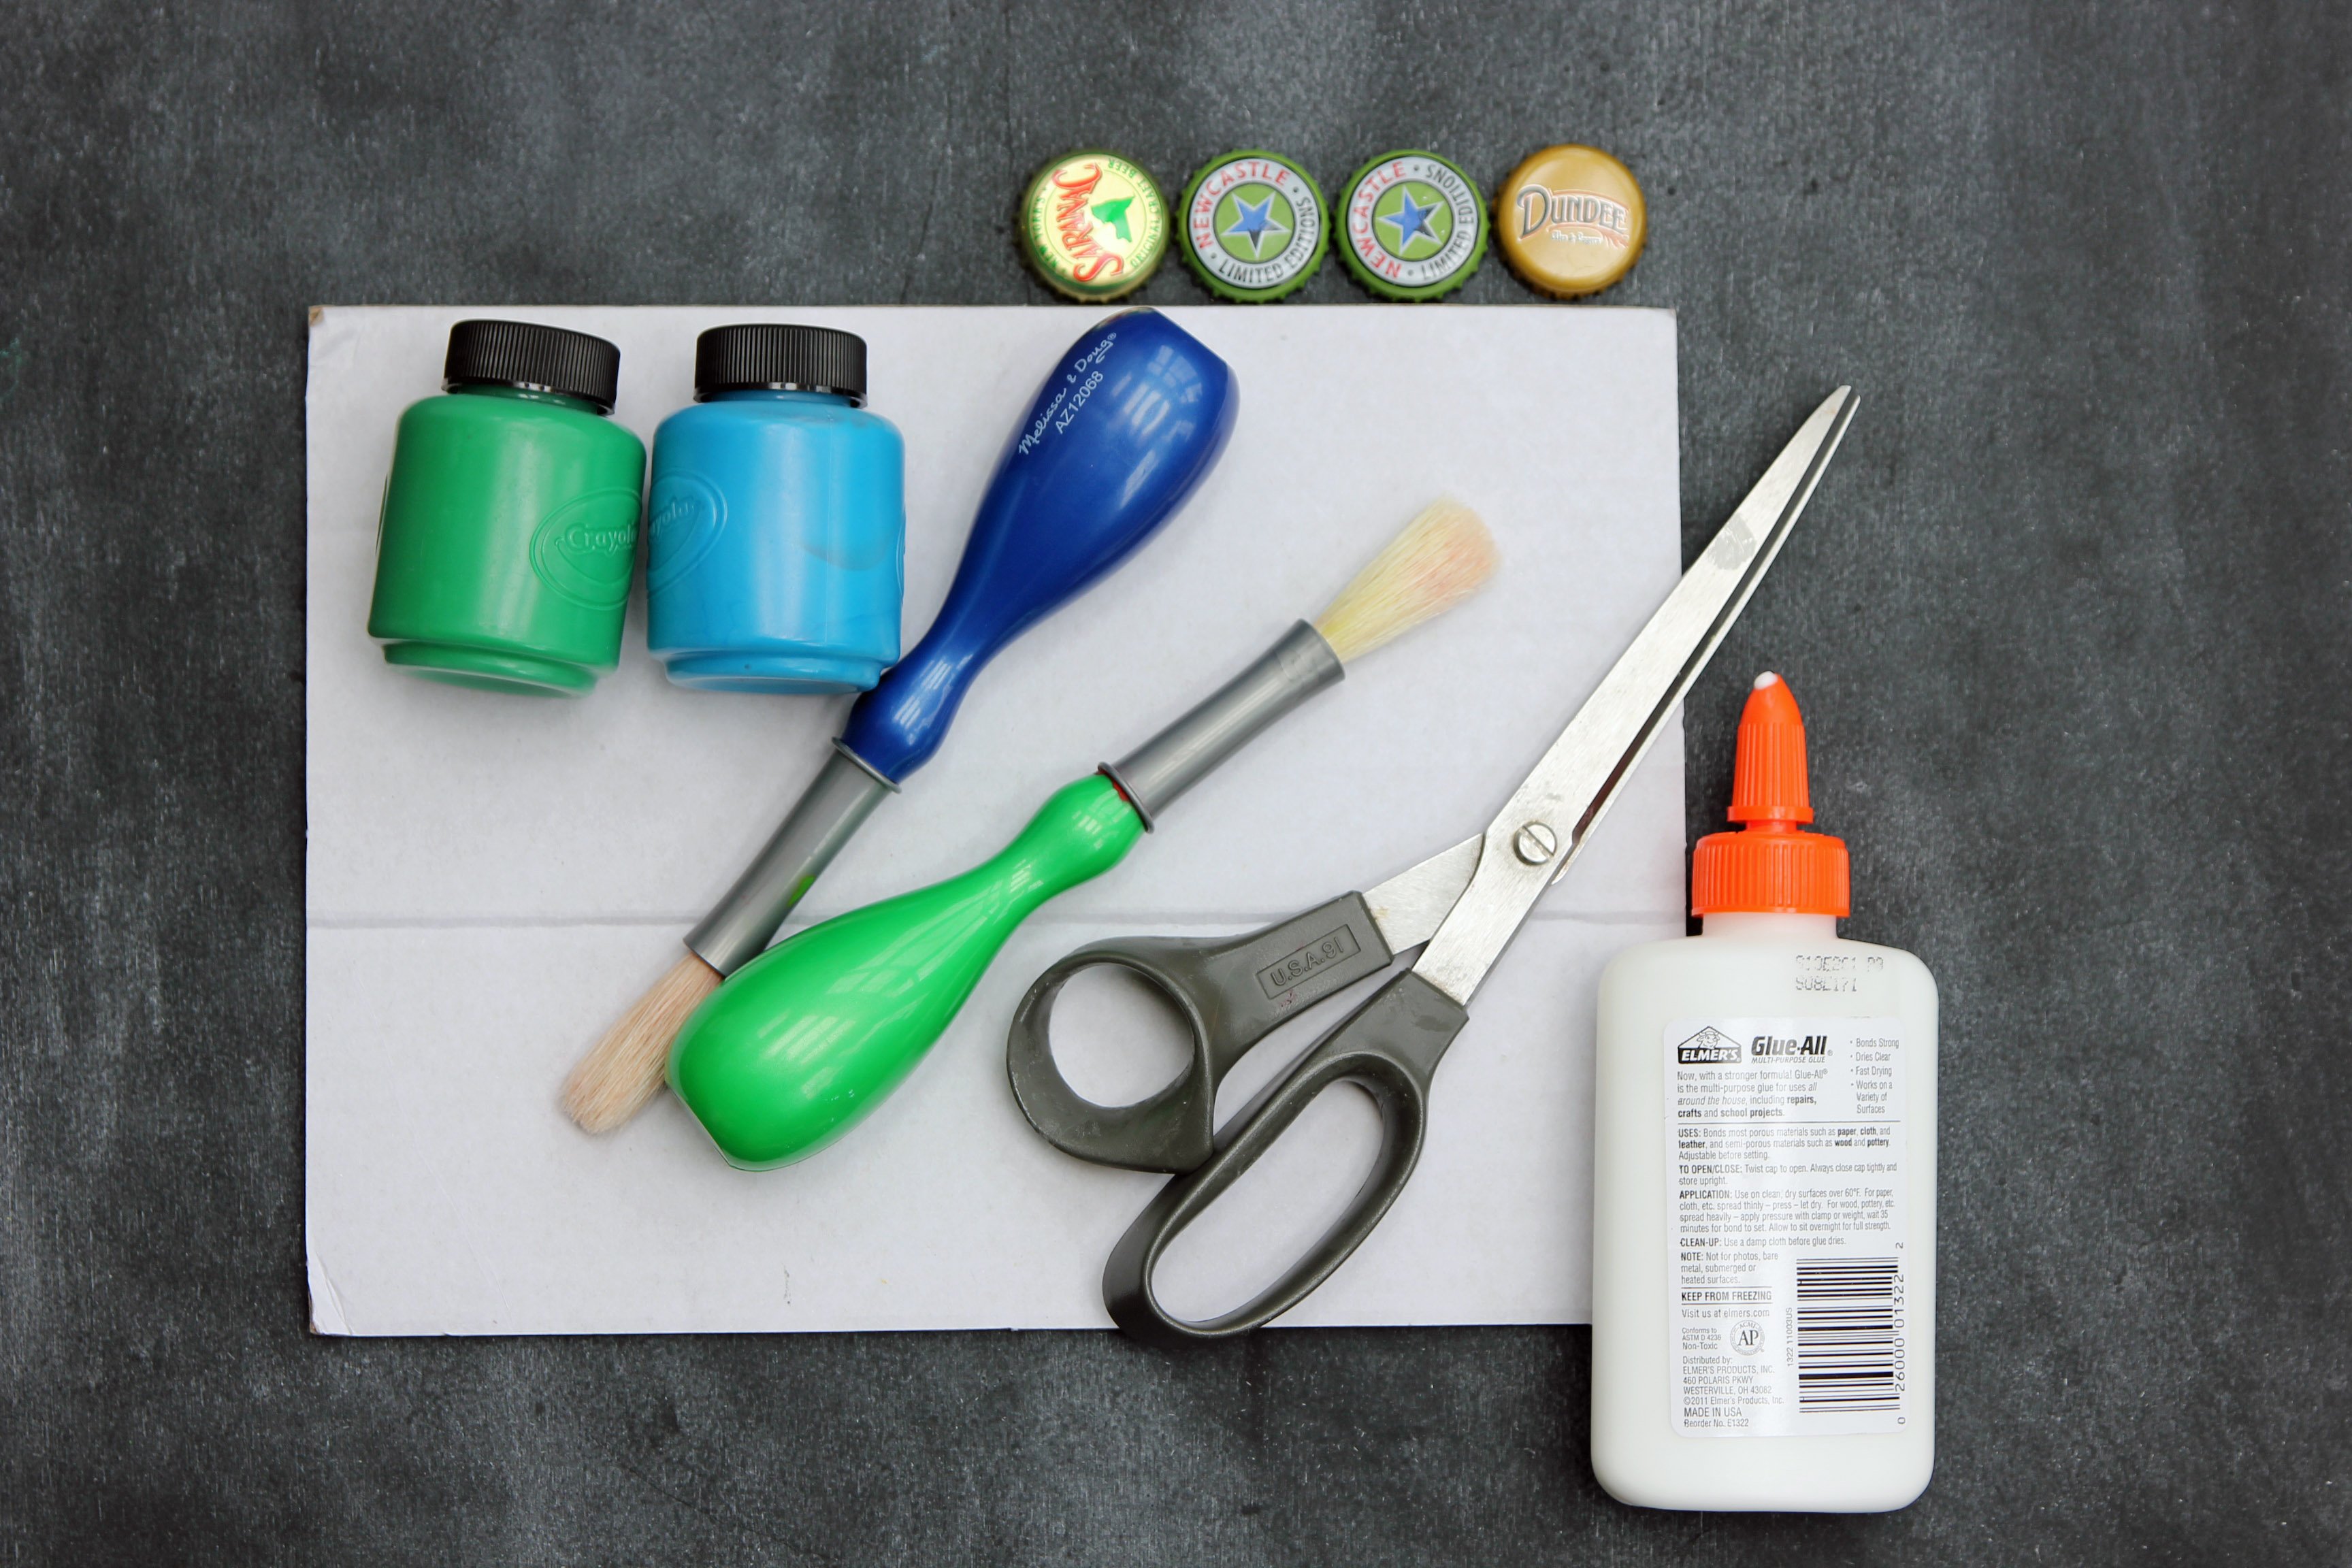
Step 2
Start by squirting out your desired paint colors onto the paper plates. V chose green & blue (blue is her favorite color & she has claimed green to be her little brother's favorite color!)
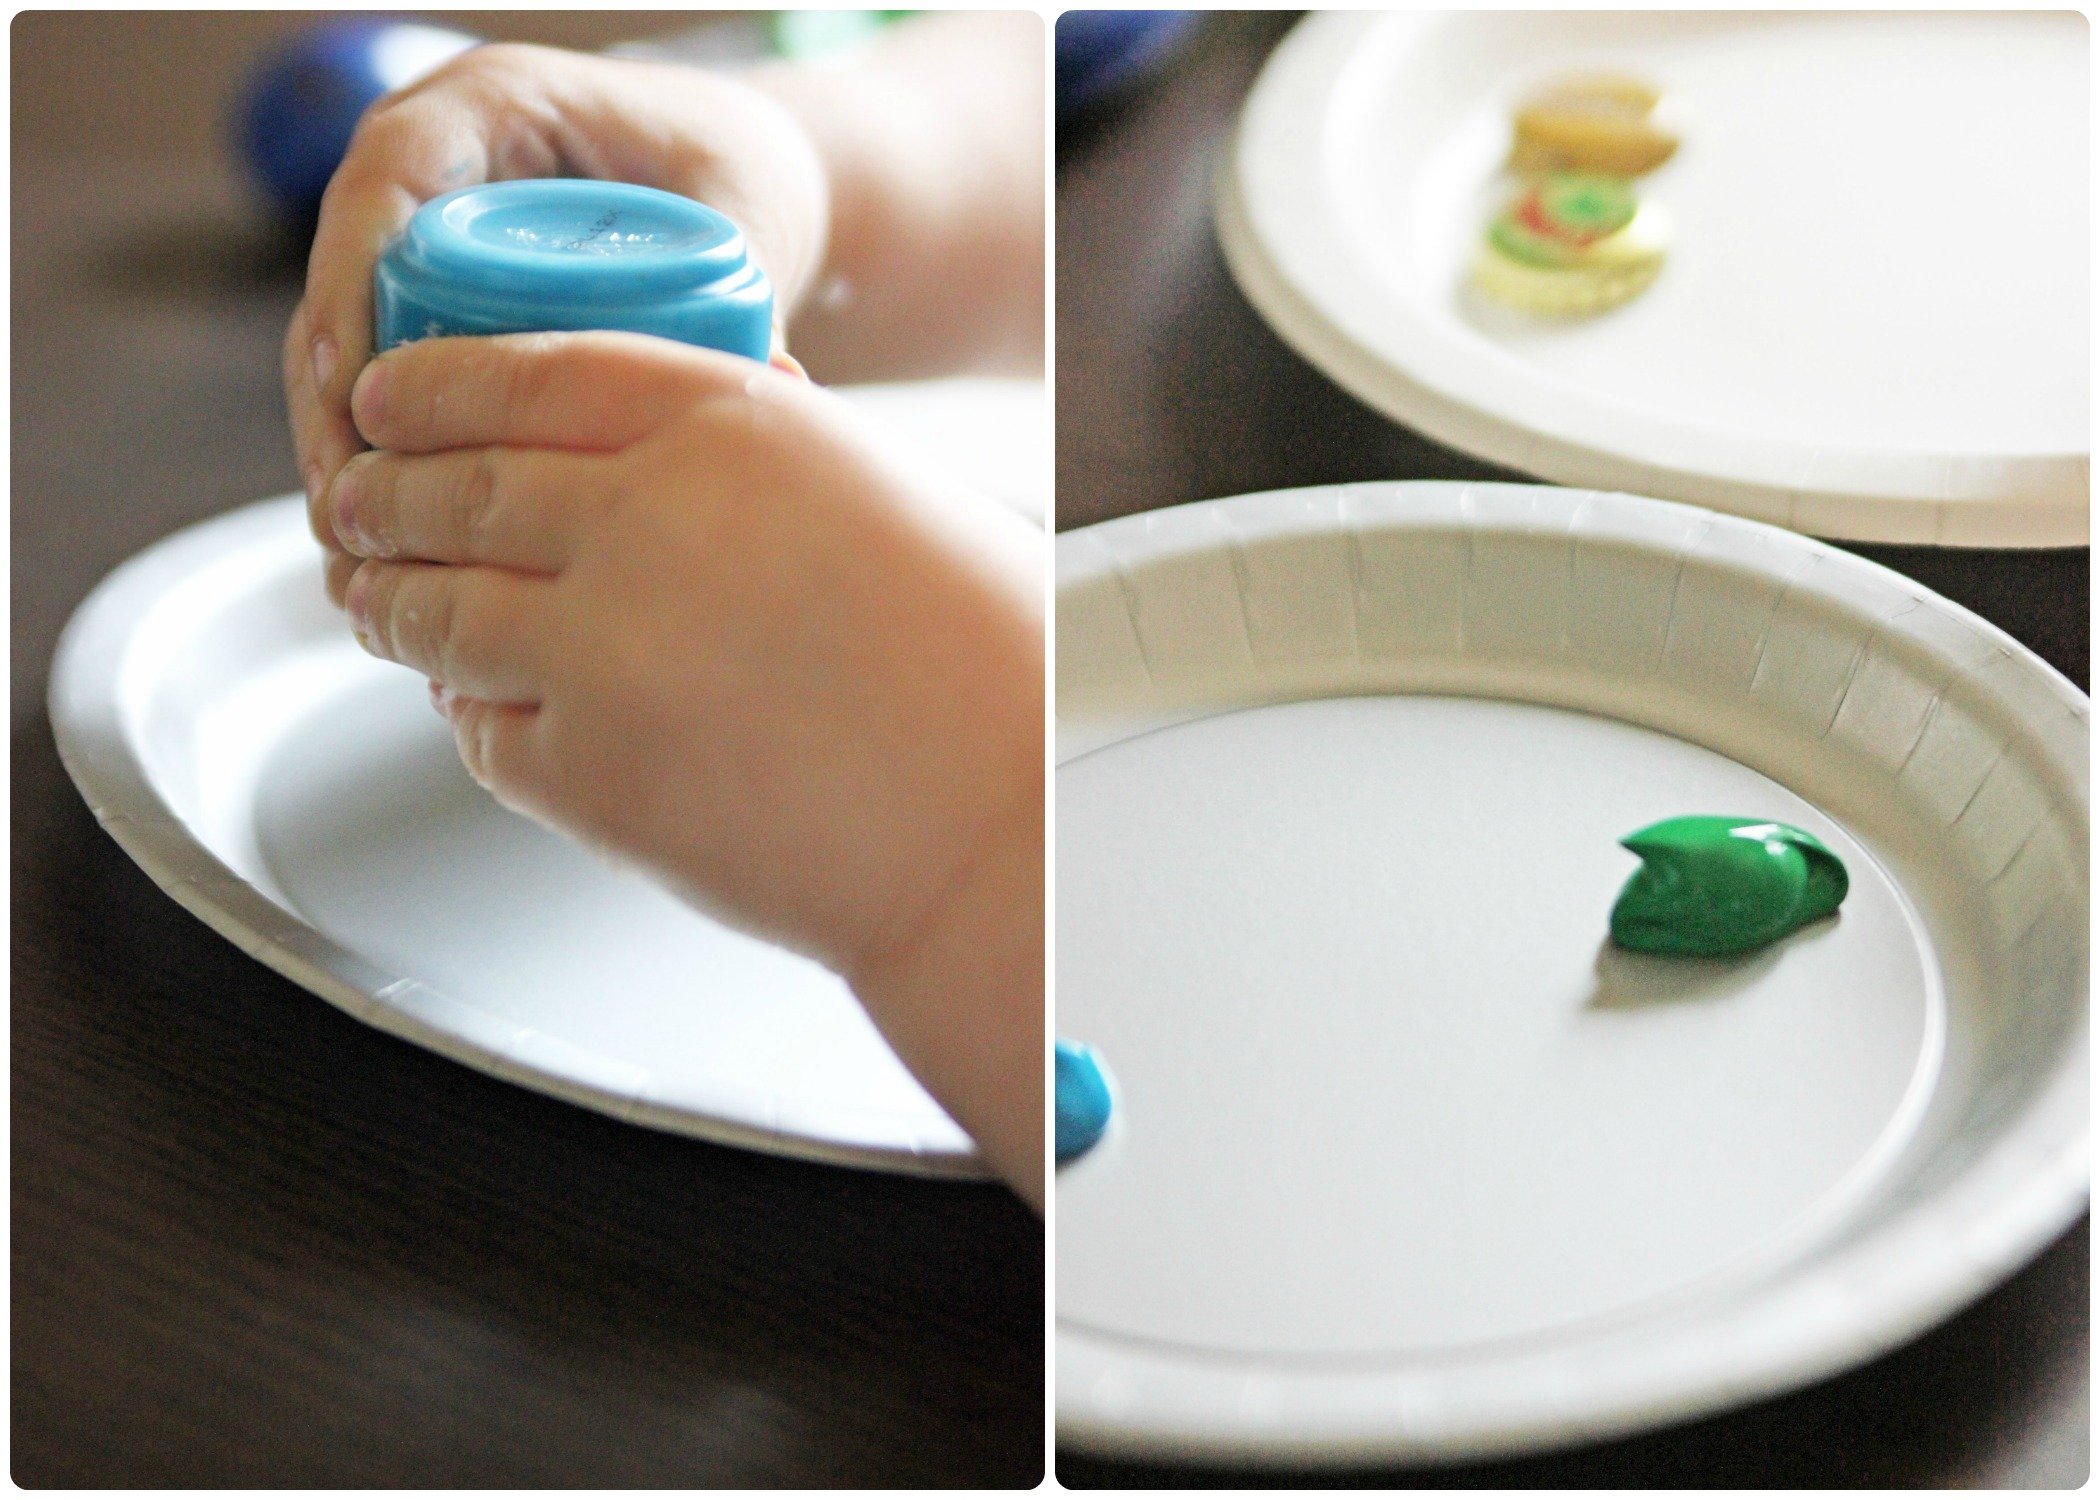
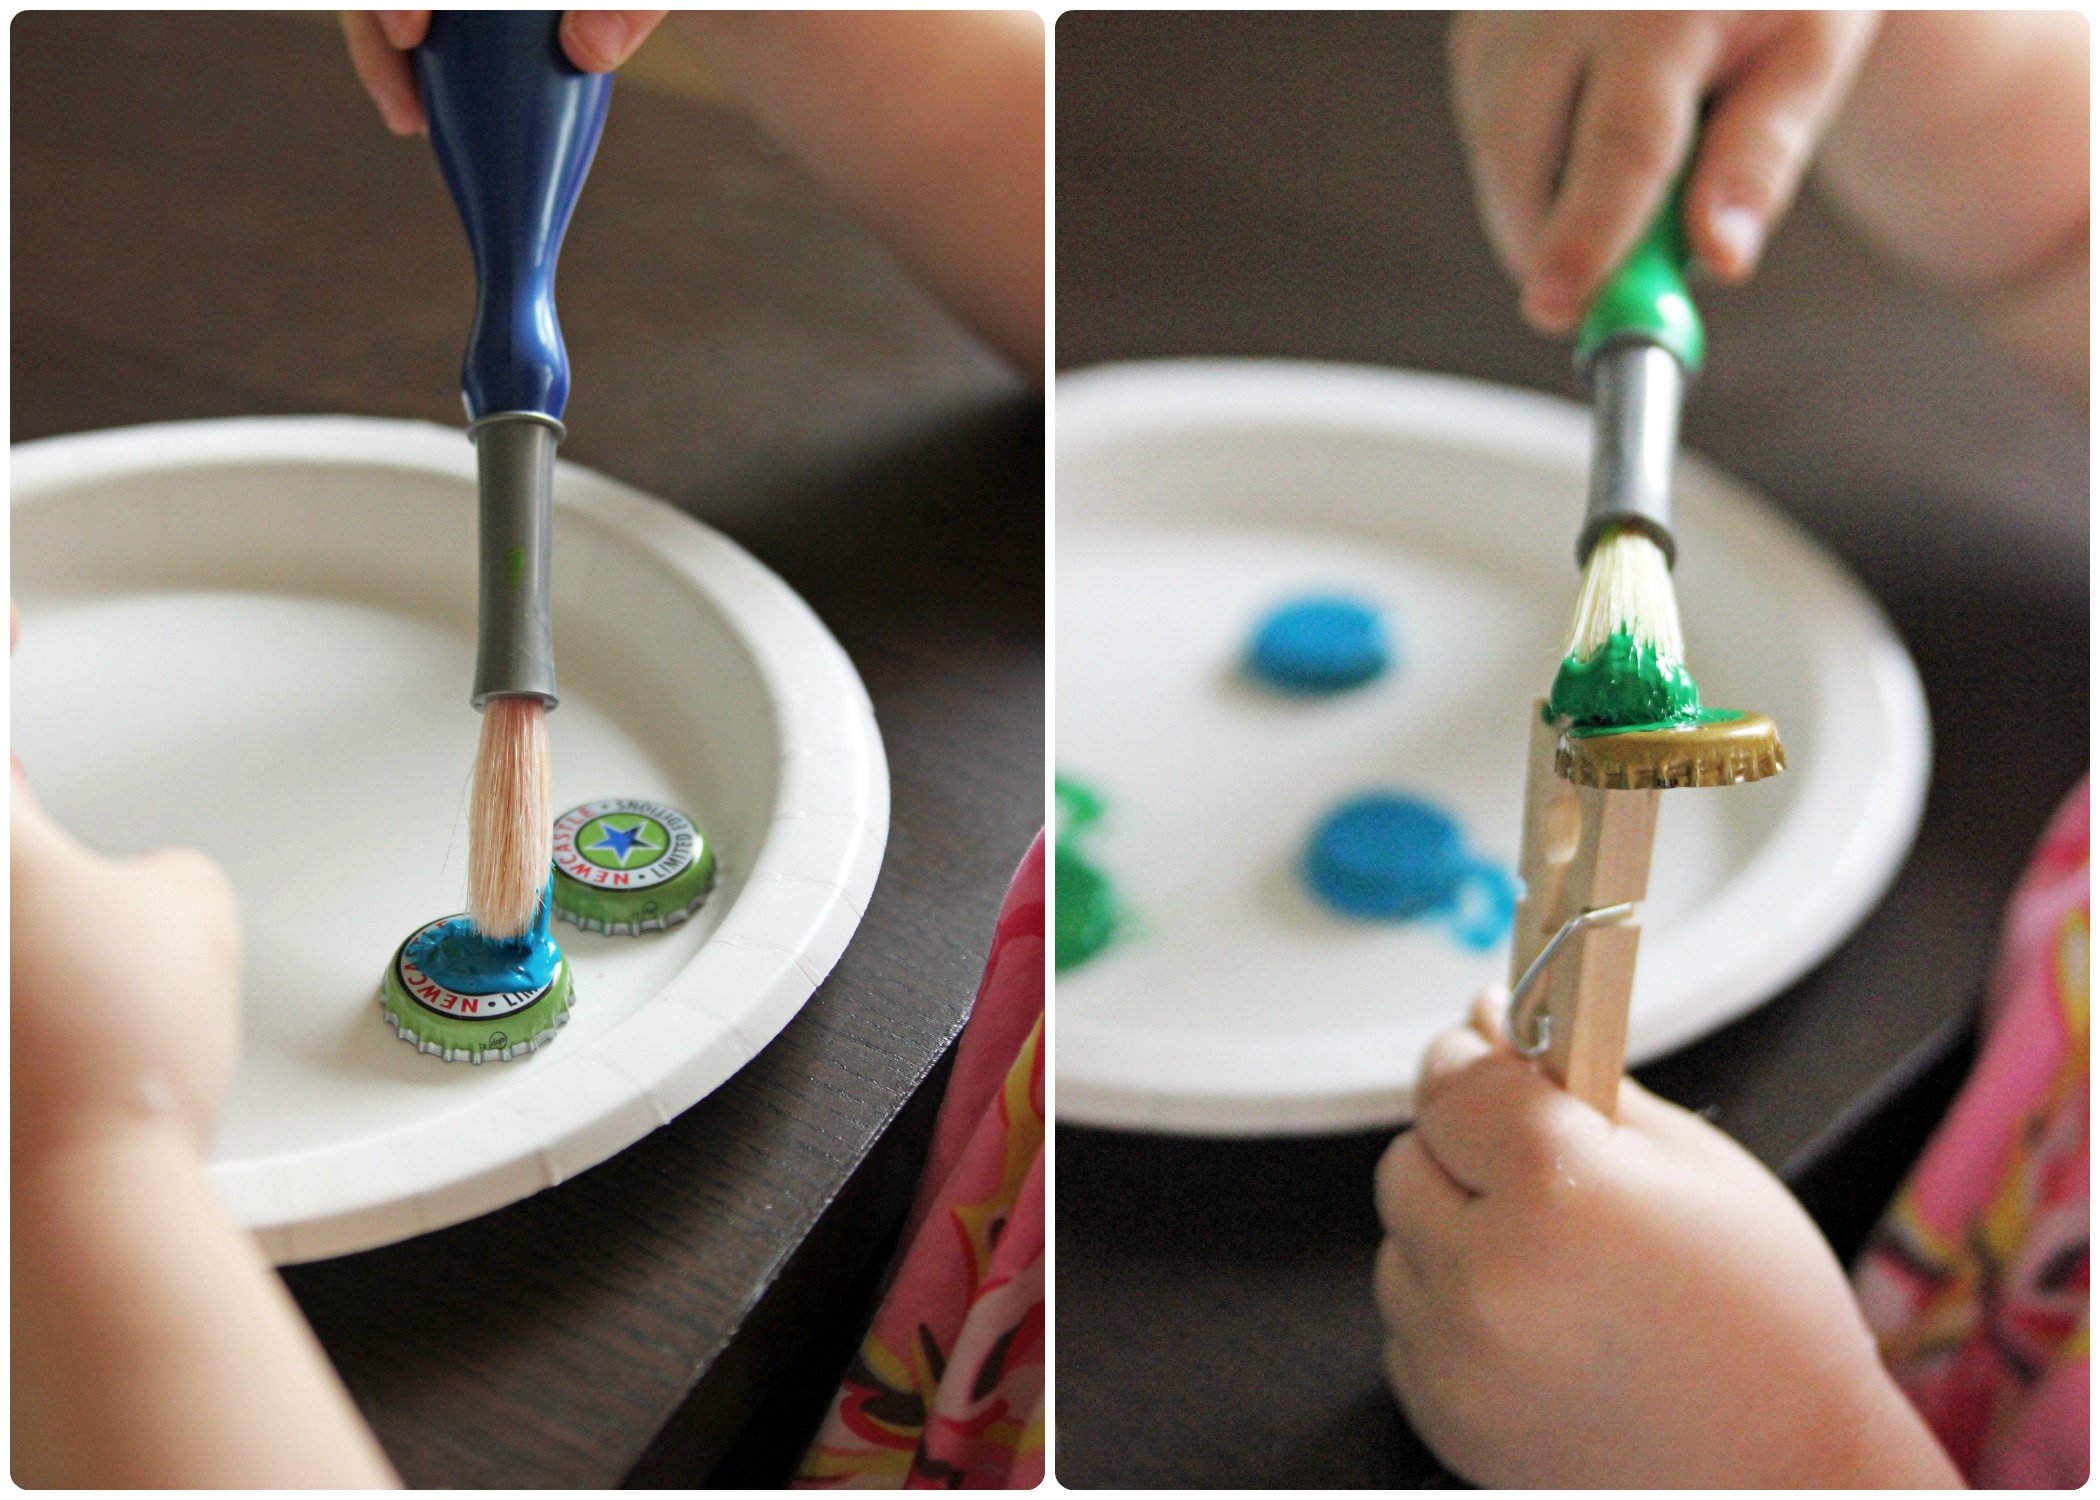
Step 3
Next, paint your bottle caps, two of each color. We started by painting them on the plate but they were moving around too much and V did not want paint on her hands. So, enter in a quick mommy solution - a clothespin! It actually worked amazingly well! We clipped it onto the bottle cap like shown and it made it easier for her to maneuver around to paint the entire bottle cap.
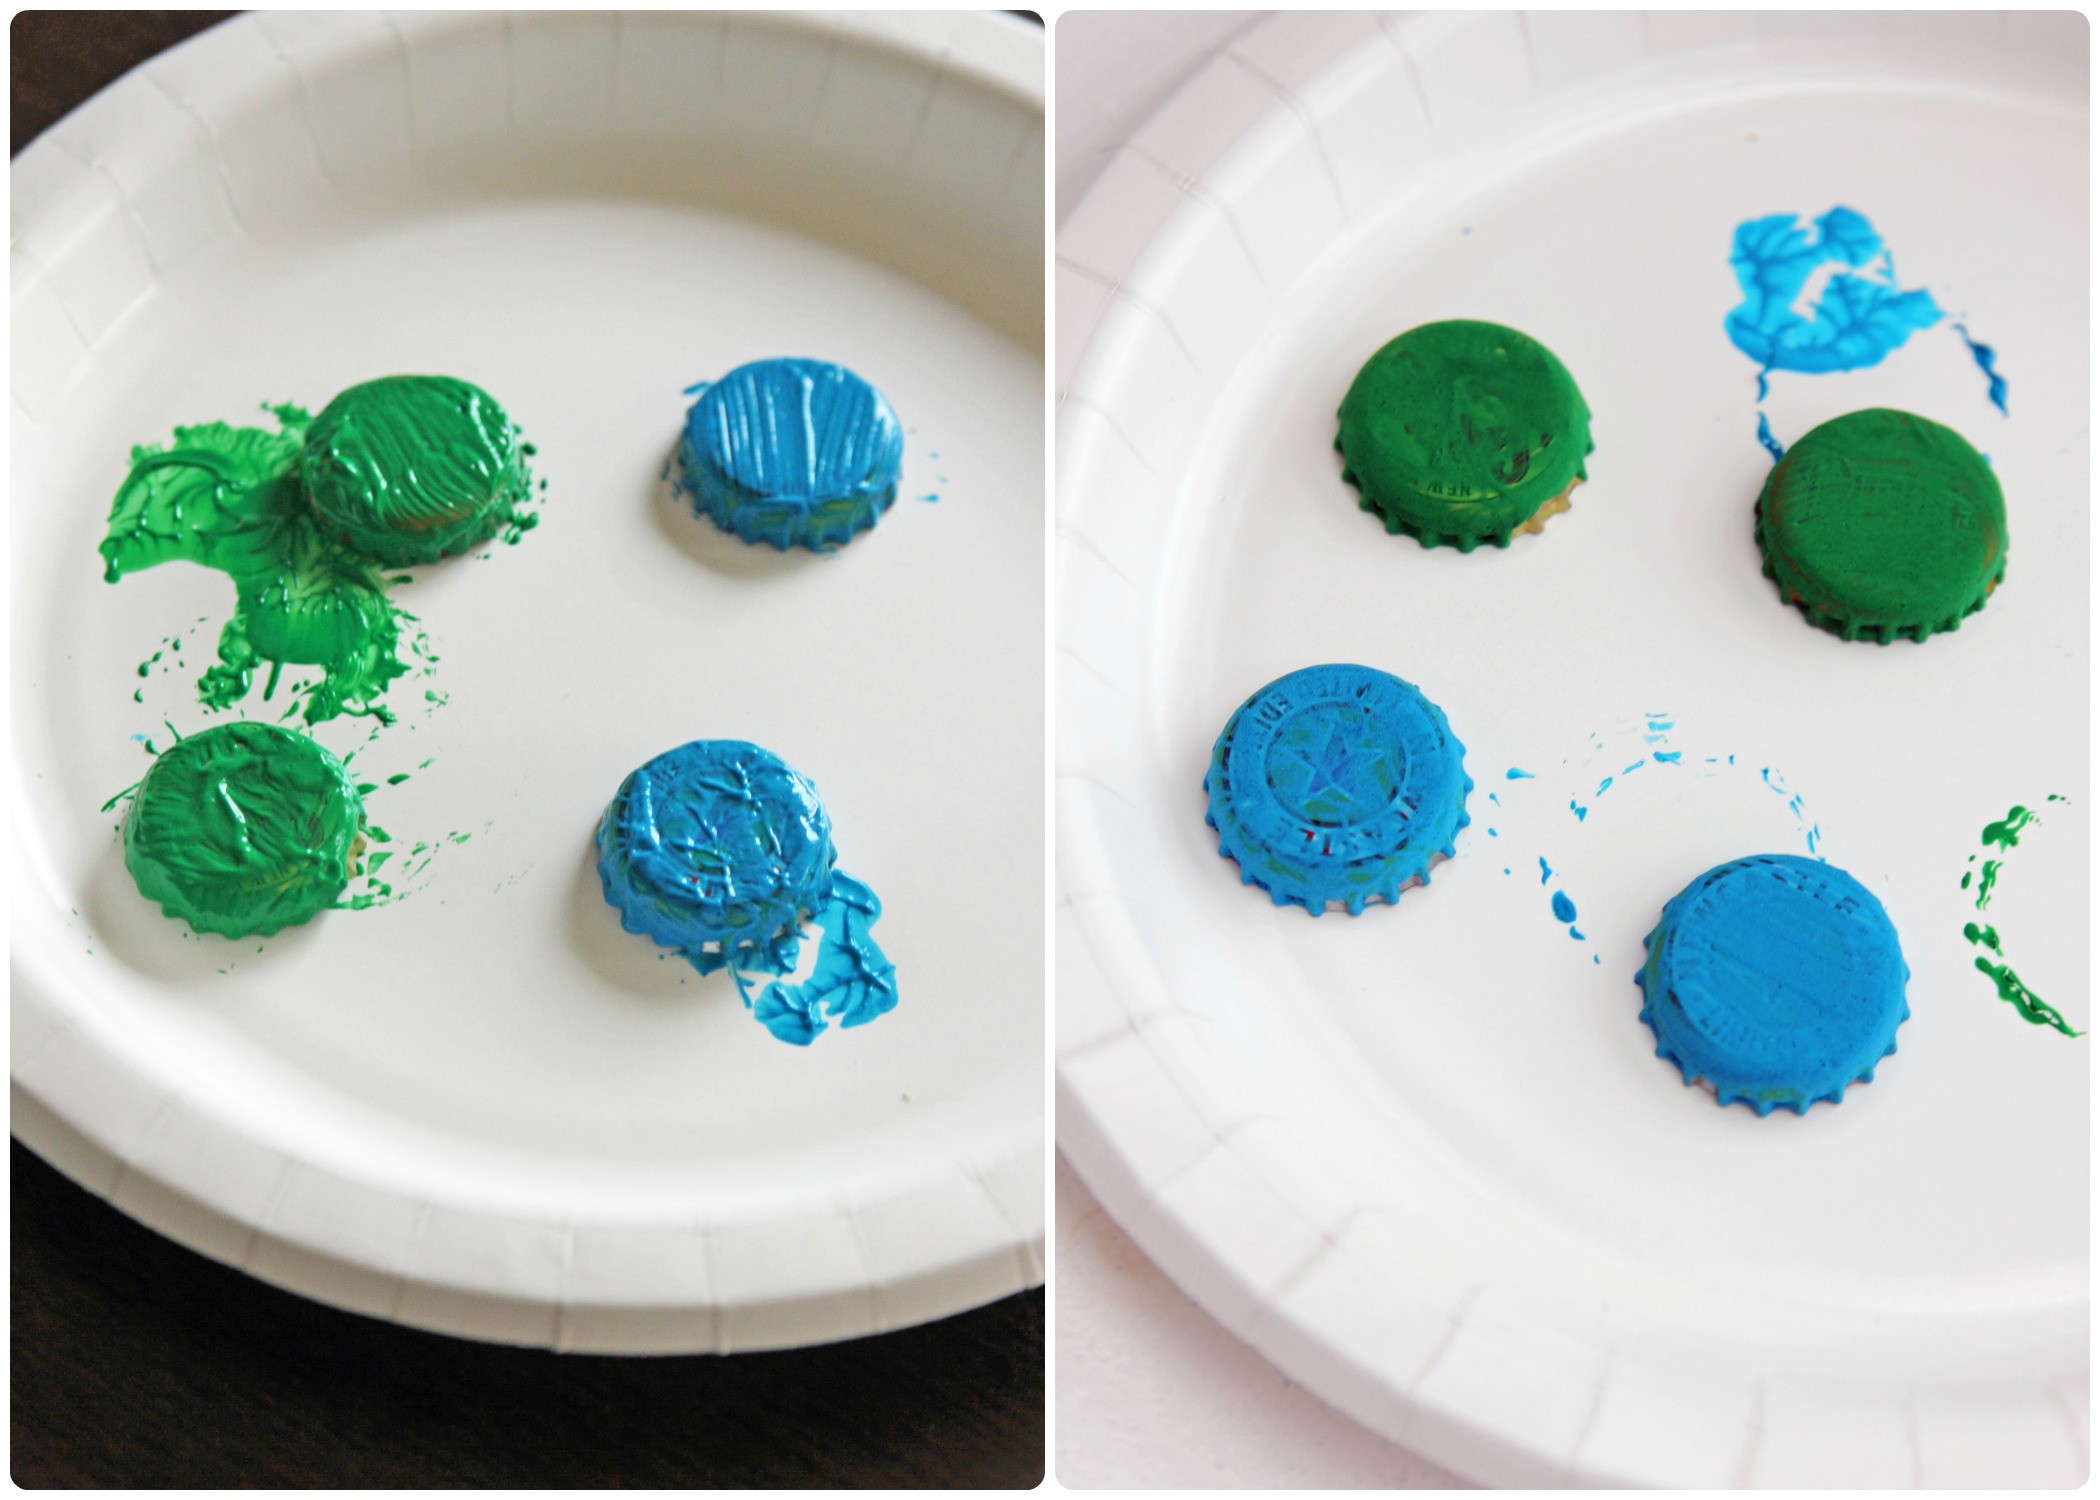
Step 4
Next, let the bottle caps dry. we let ours dry overnight just to make sure they were indeed completely dry.
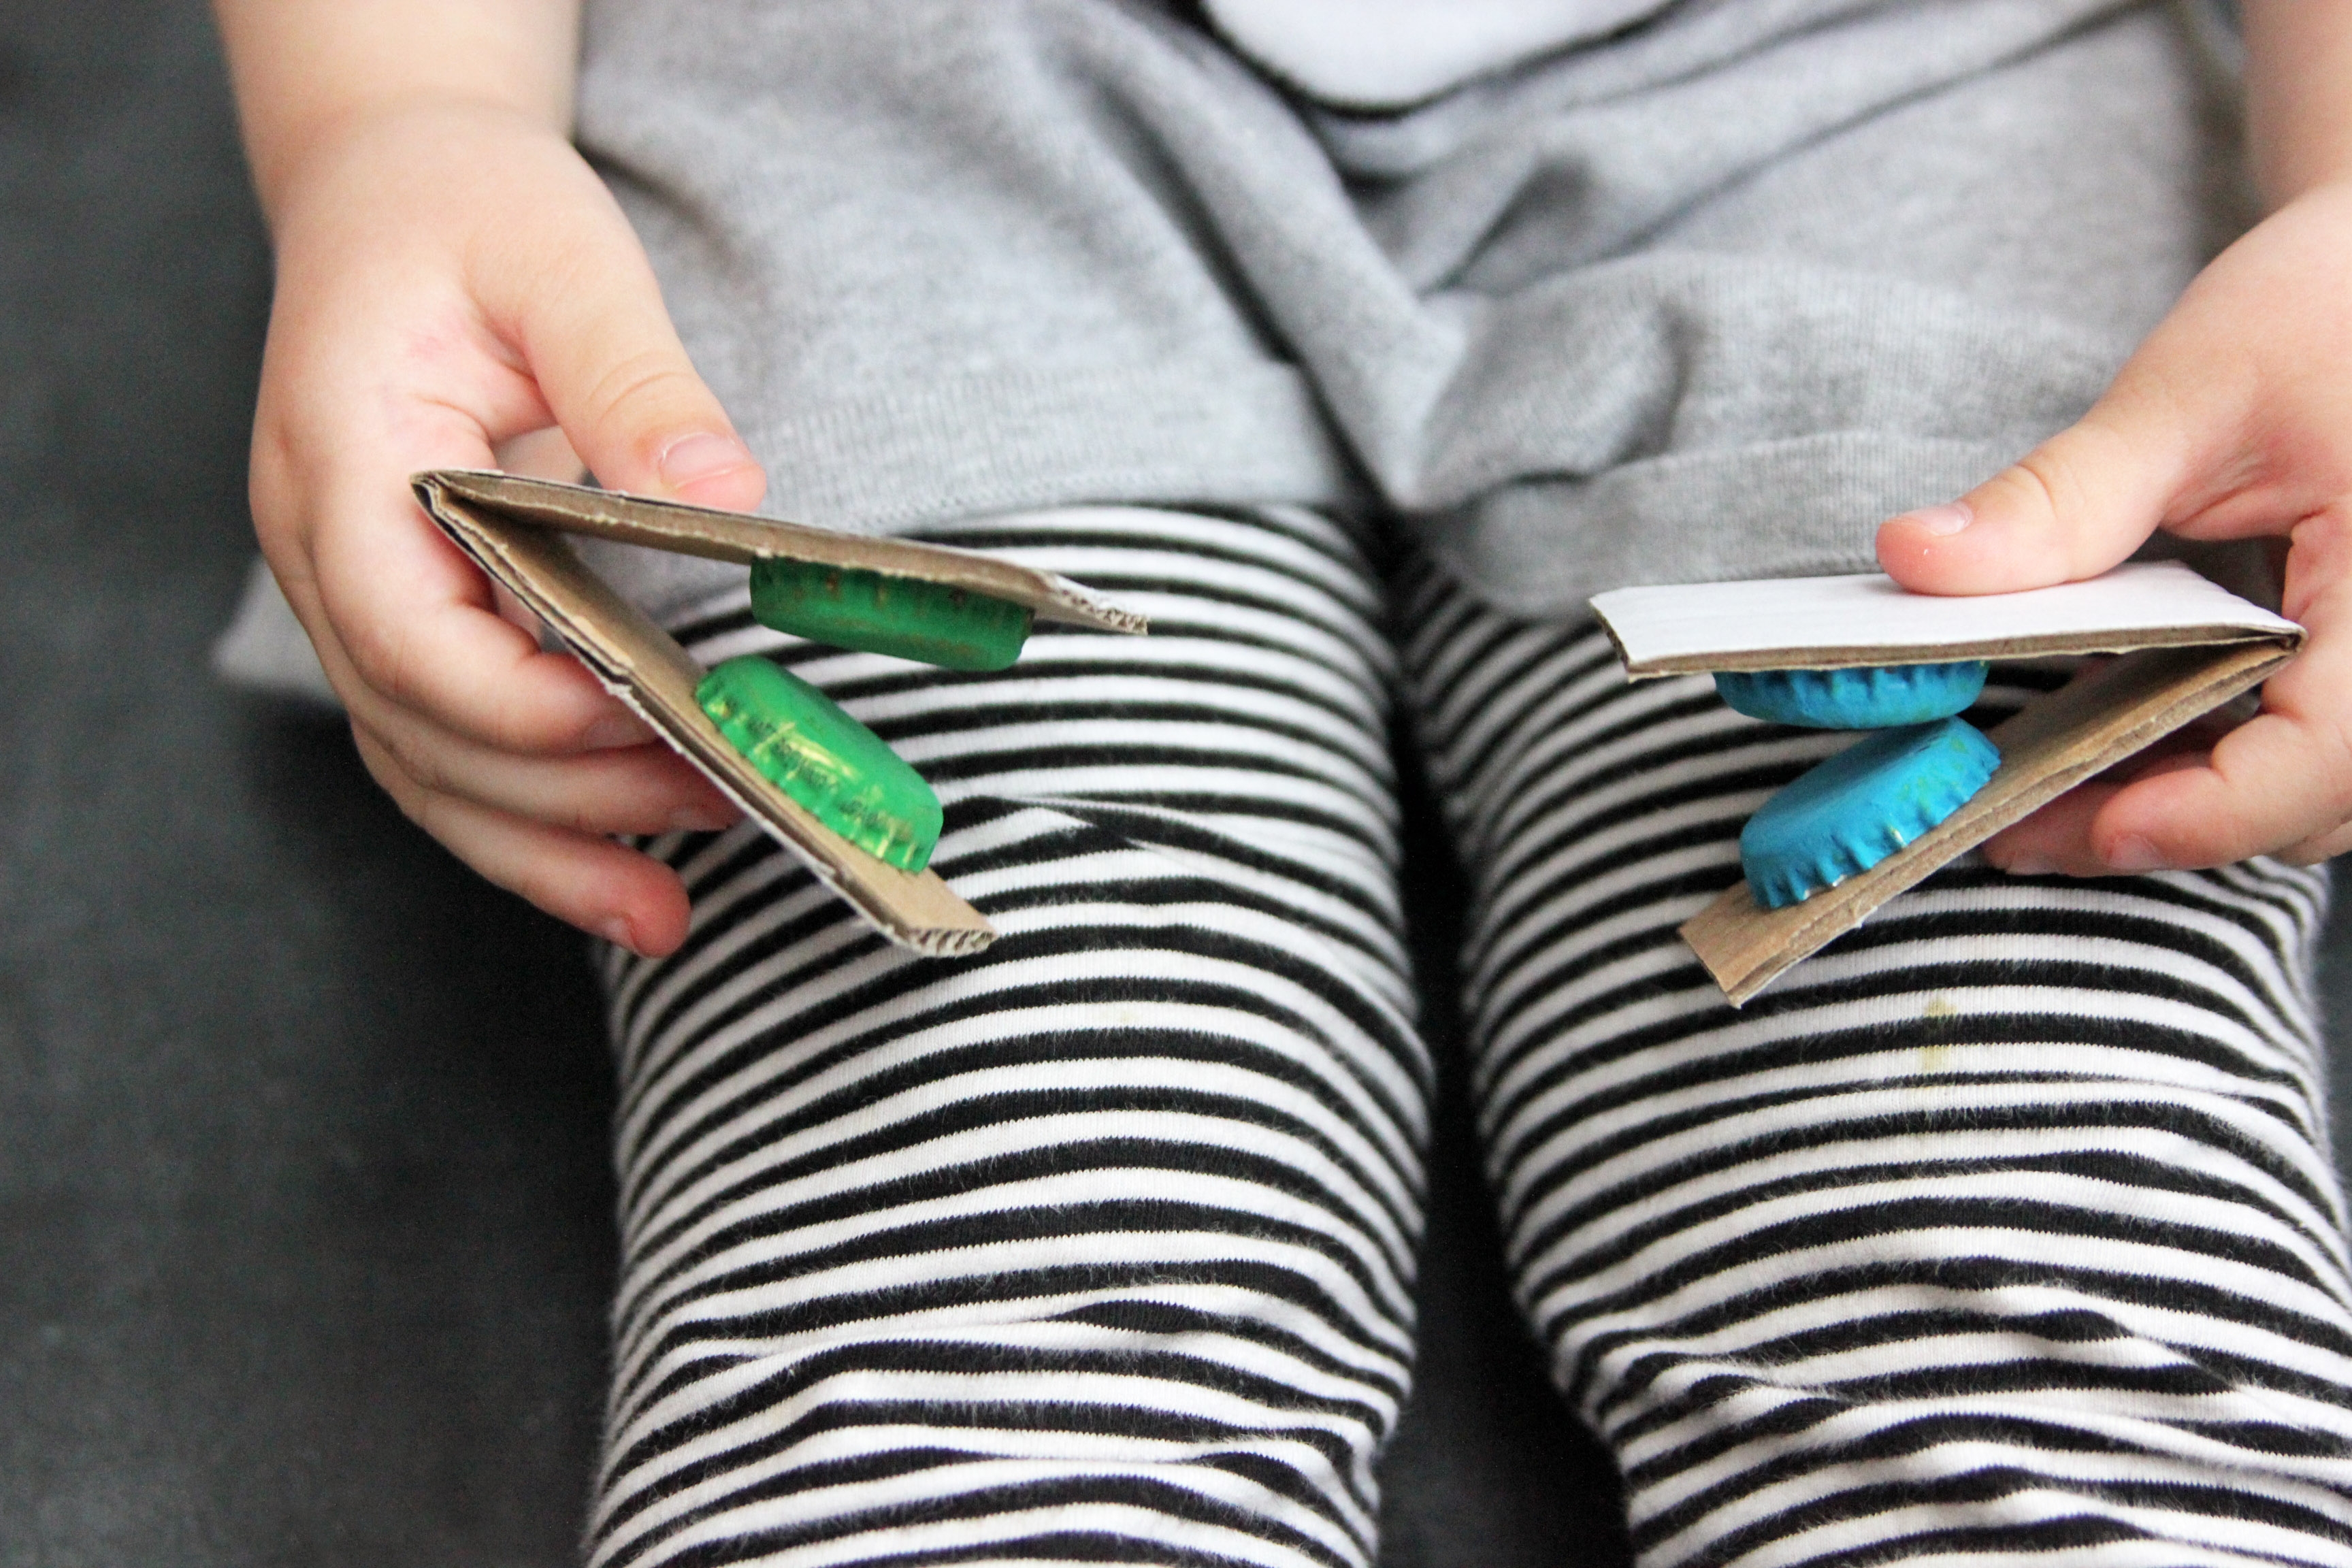
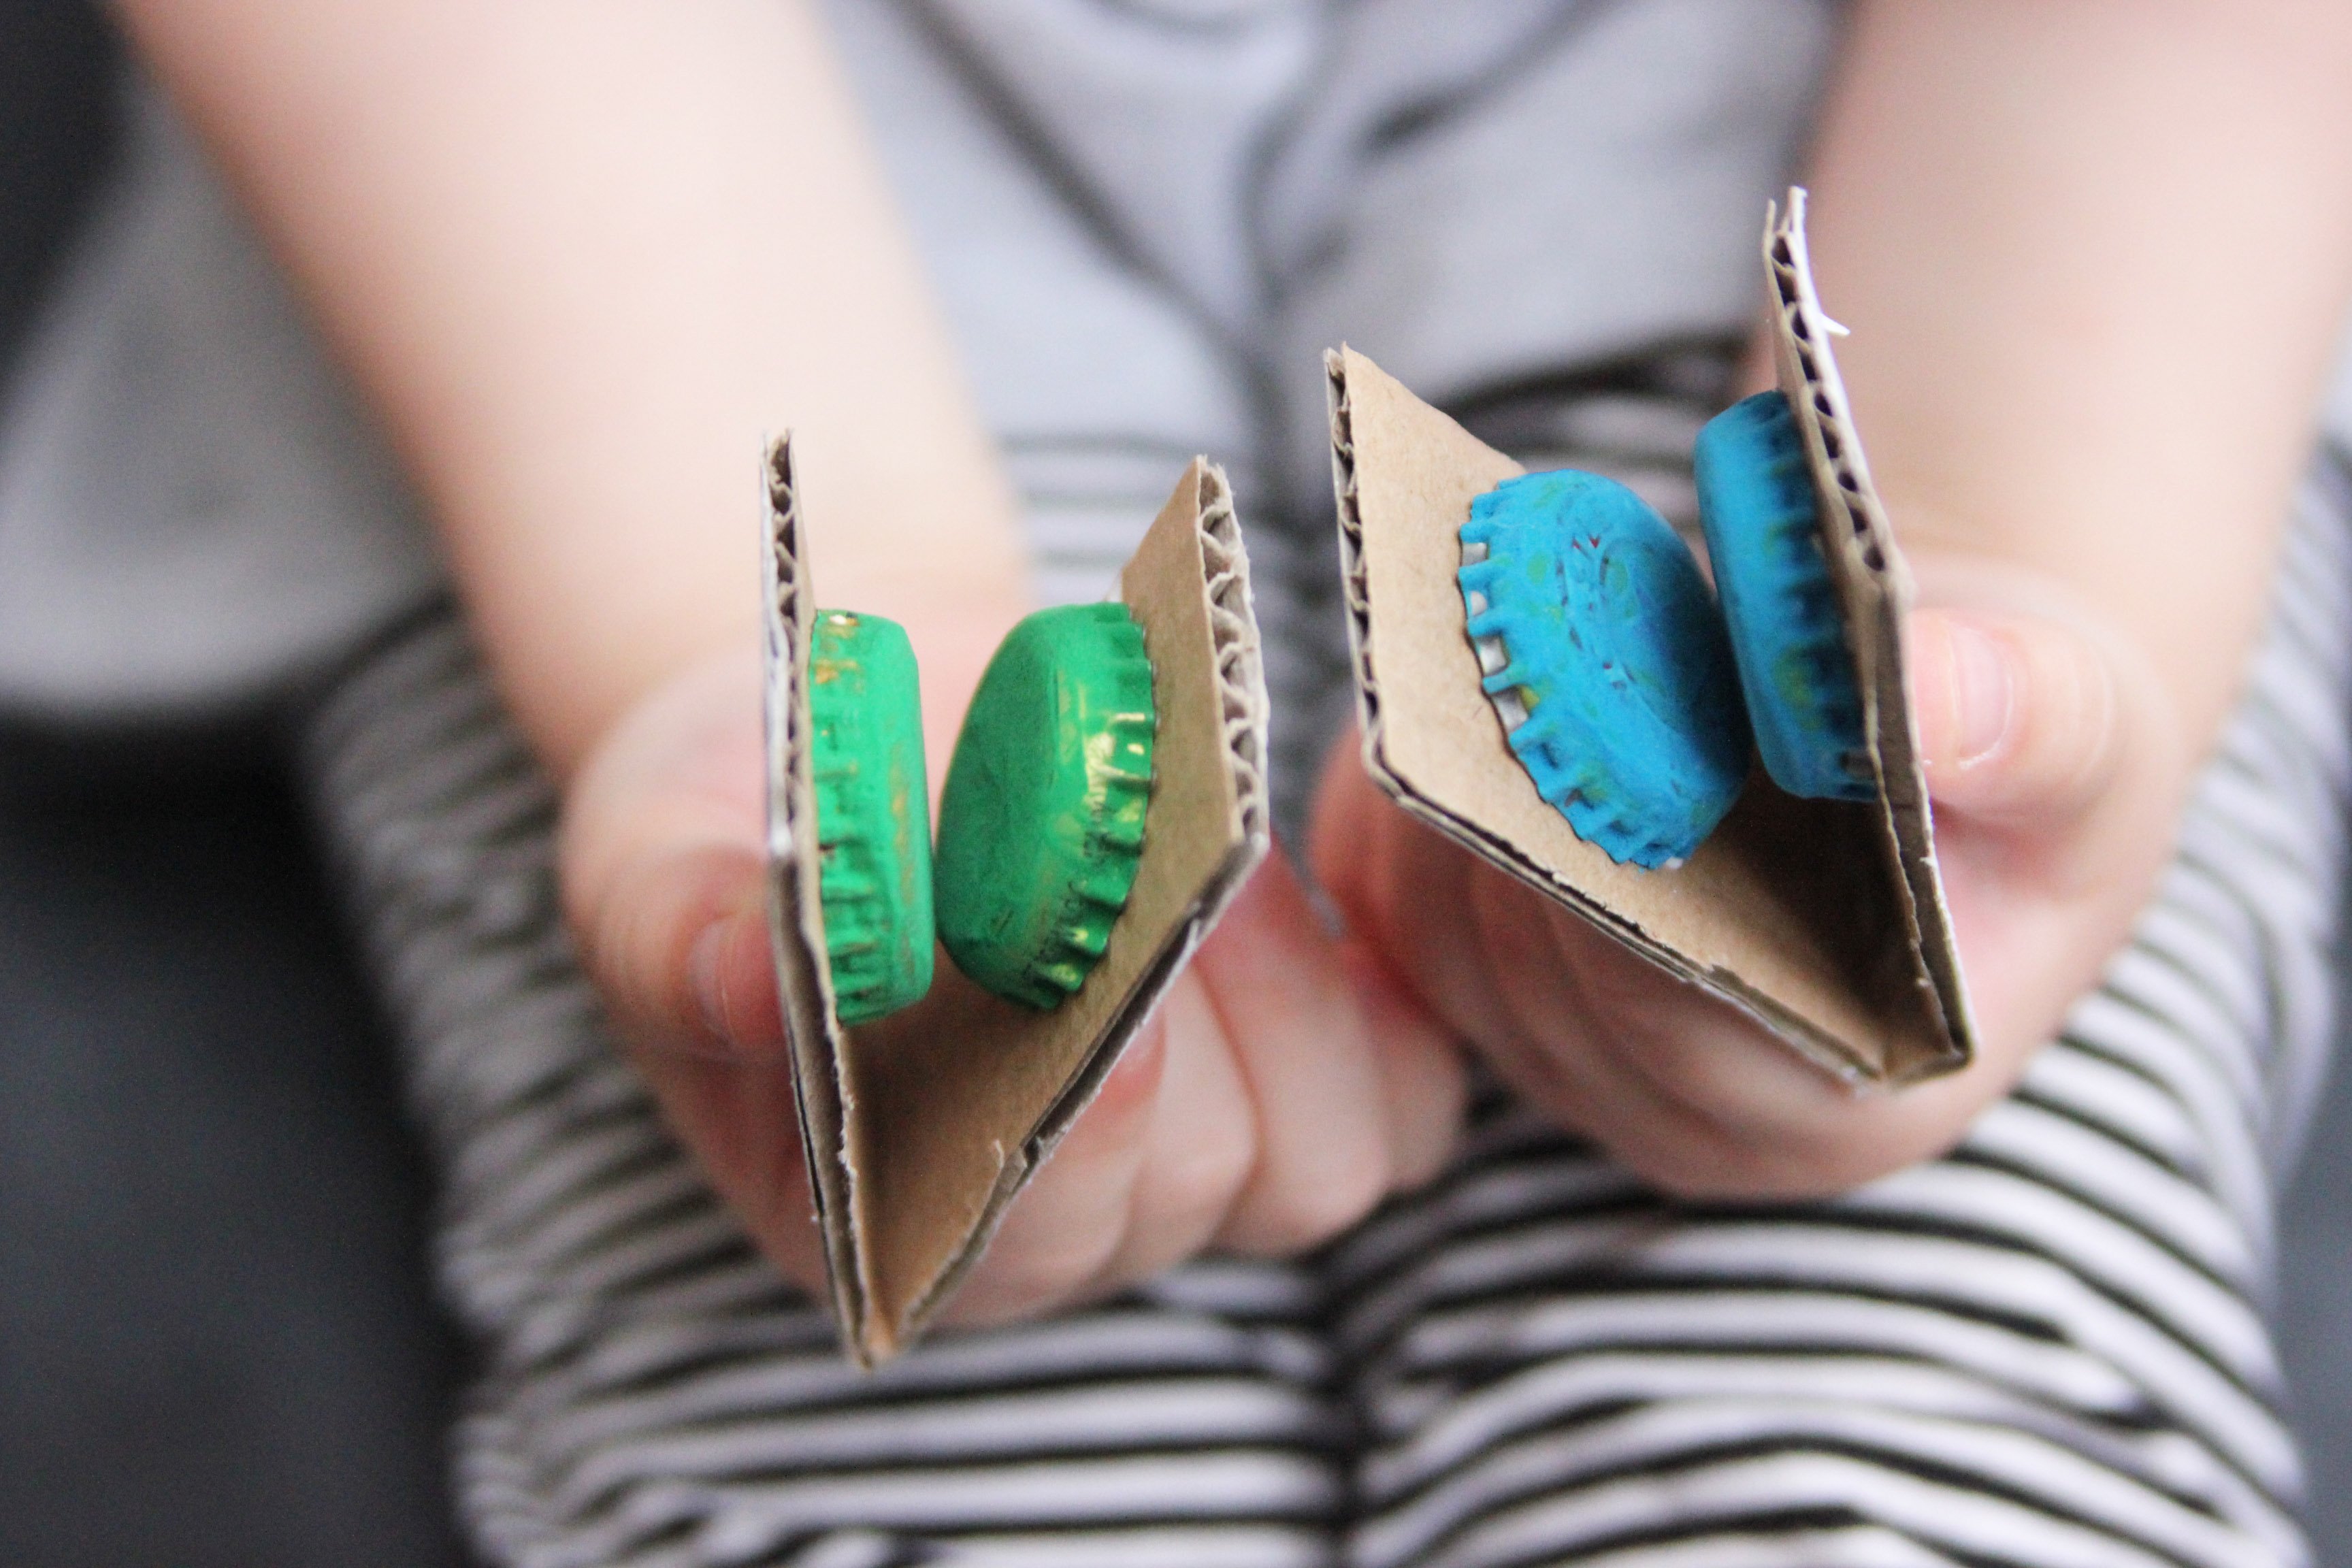
Step 5
Next, cut your corrugated cardboard into two long strips, approximately 5-1/2 inches (14 cm) in length by 1-1/2 inches (3.8 cm) in width (this seemed to be a perfect size for her little 3-year-old hands). I first traced out the shapes on the cardboard and then let V cut them out herself. Depending on the thickness of your cardboard it may be more difficult then regular paper to cut, so it may be necessary to lend a hand, as I had to do with V. Once cut, fold your cardboard strips in half, like shown.

Step 6
Once the bottle caps are dry, turn each one over and fill to the top ridge with glue. Make sure to fill it completely full, almost over-full, so that the excess will touch the cardboard. V had a lot of fun with this step - she couldn't believe she was squeezing that much glue out! Attach the cardboard, like shown on each end. Let dry overnight to secure. We opted to place a book on top of them once they were stable, to tighten the attachment process (it also served as a coverup of the project so that it could dry completely away from curious little hands).
Done!
Once dry, turn on some music and have your child try out their new musical instrument by tapping away to the beat!