Step-by-step tutorial
Step 1
Gather your materials!

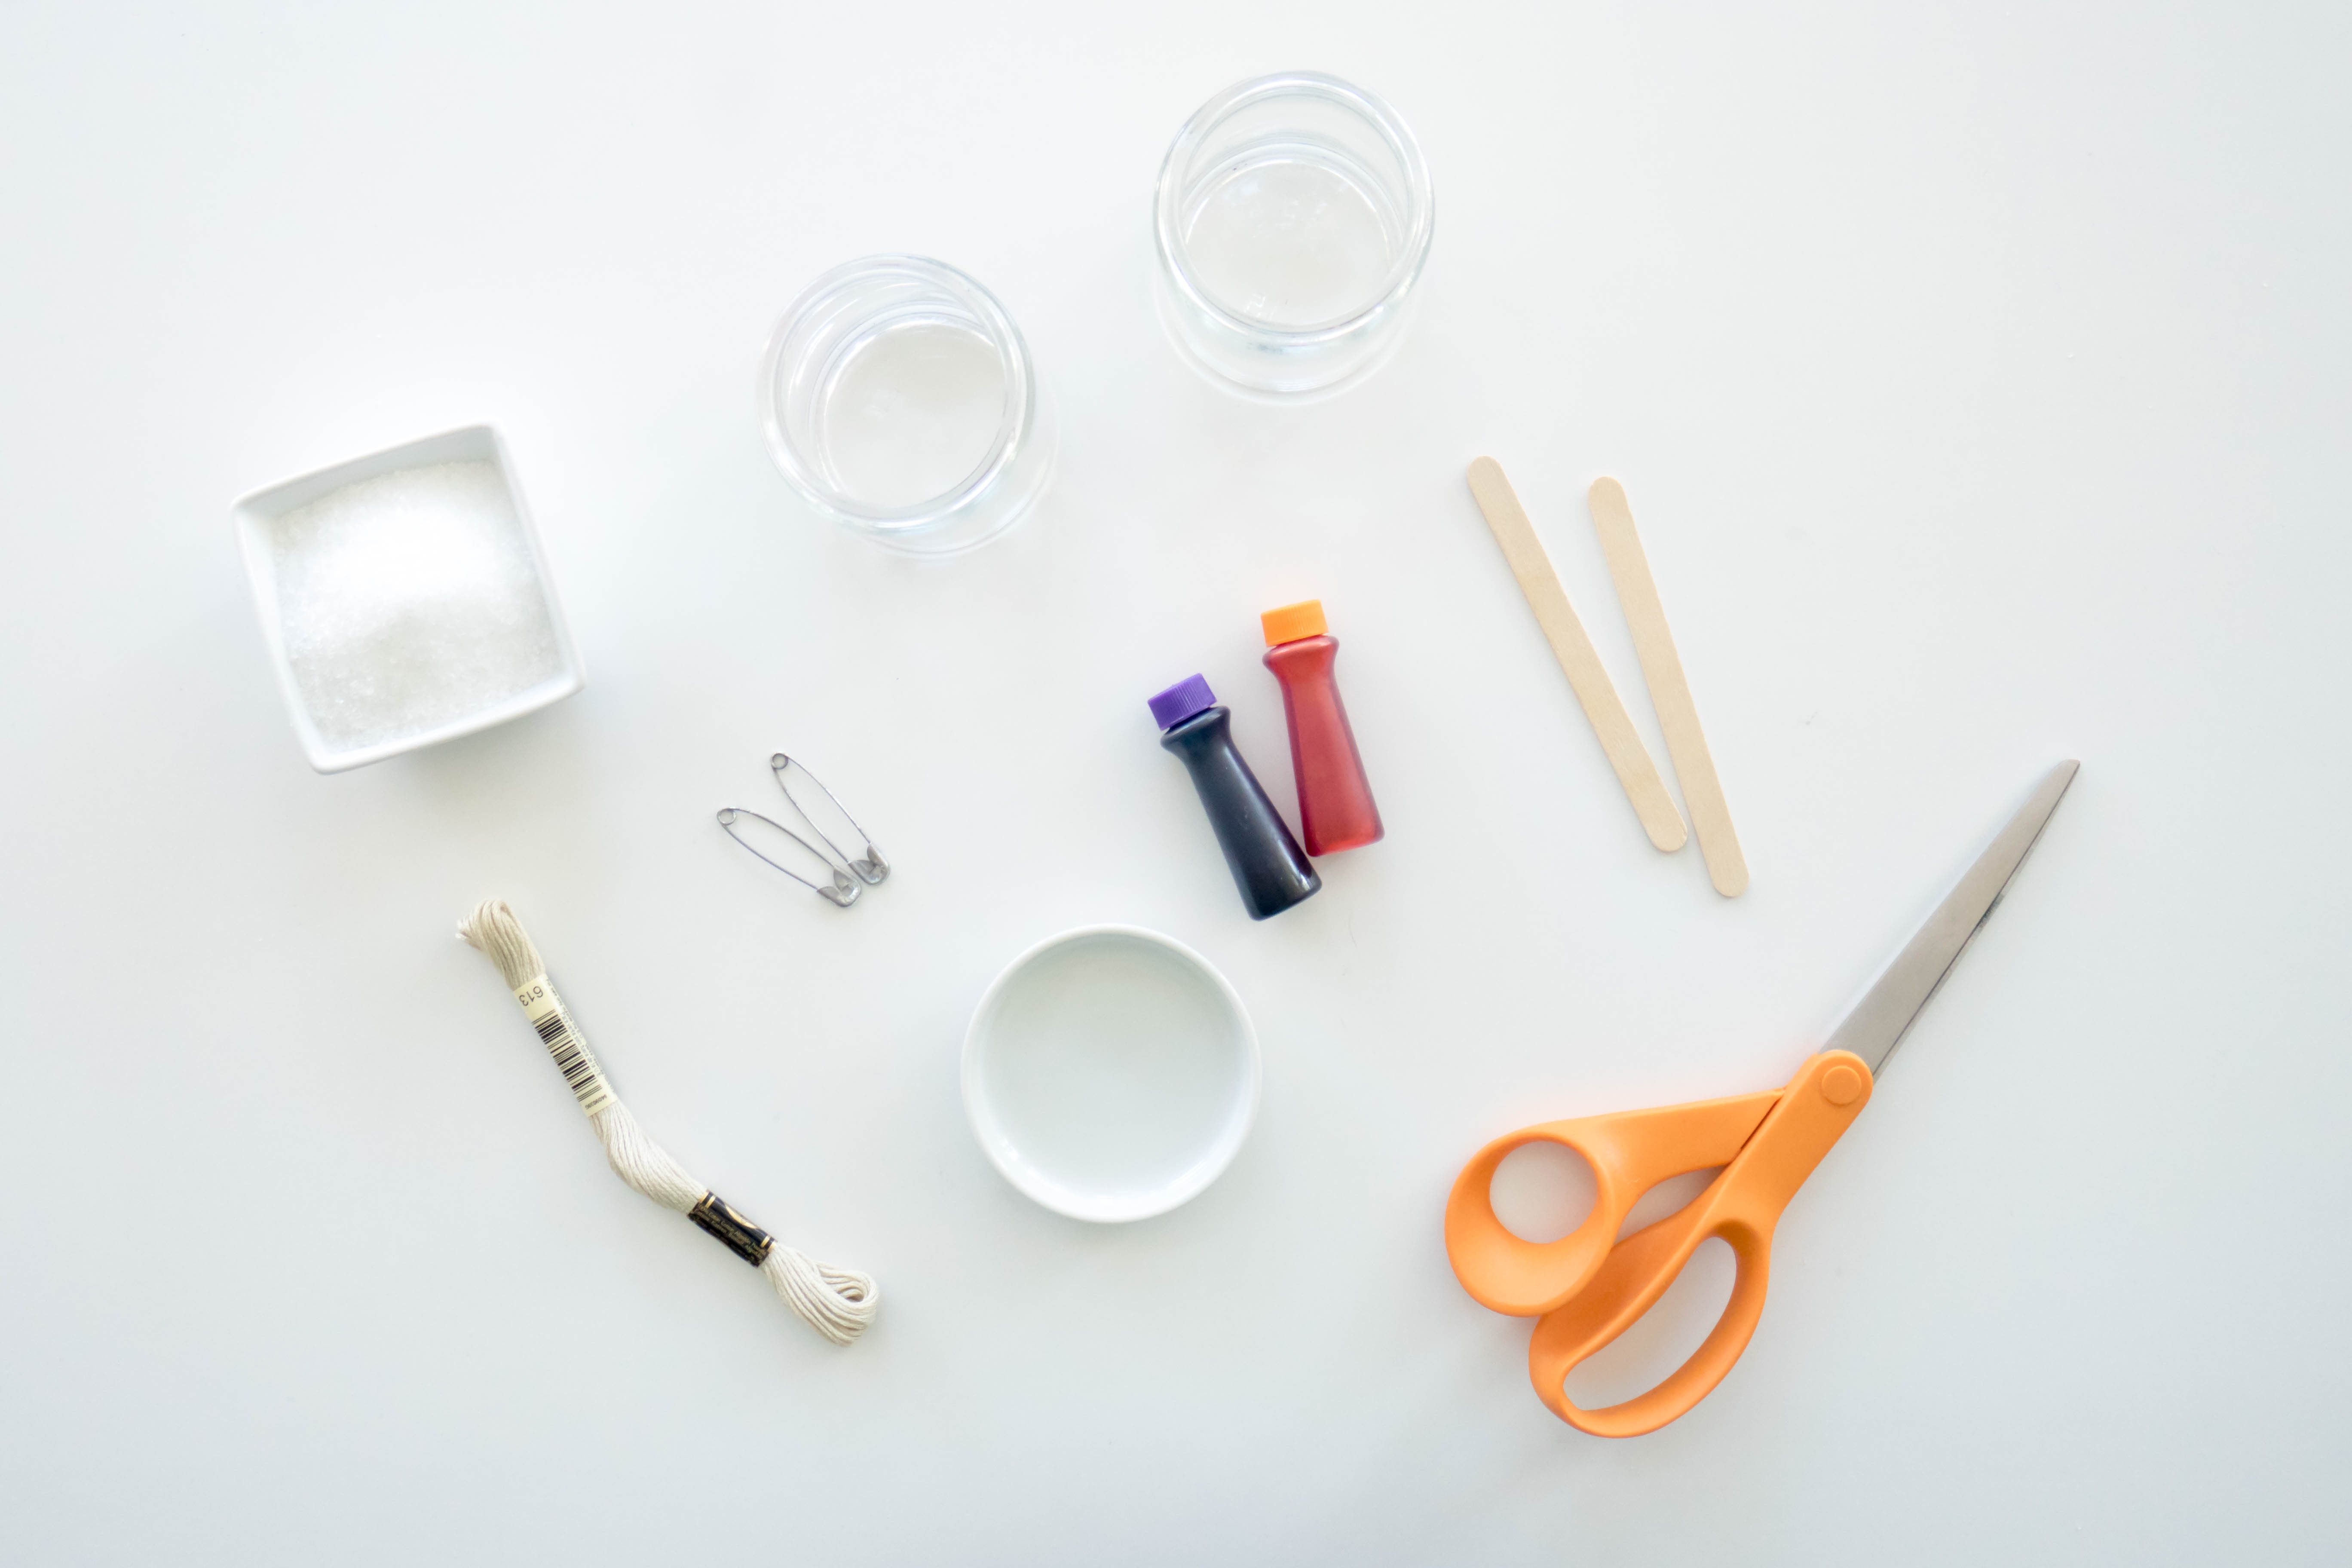
Step 2
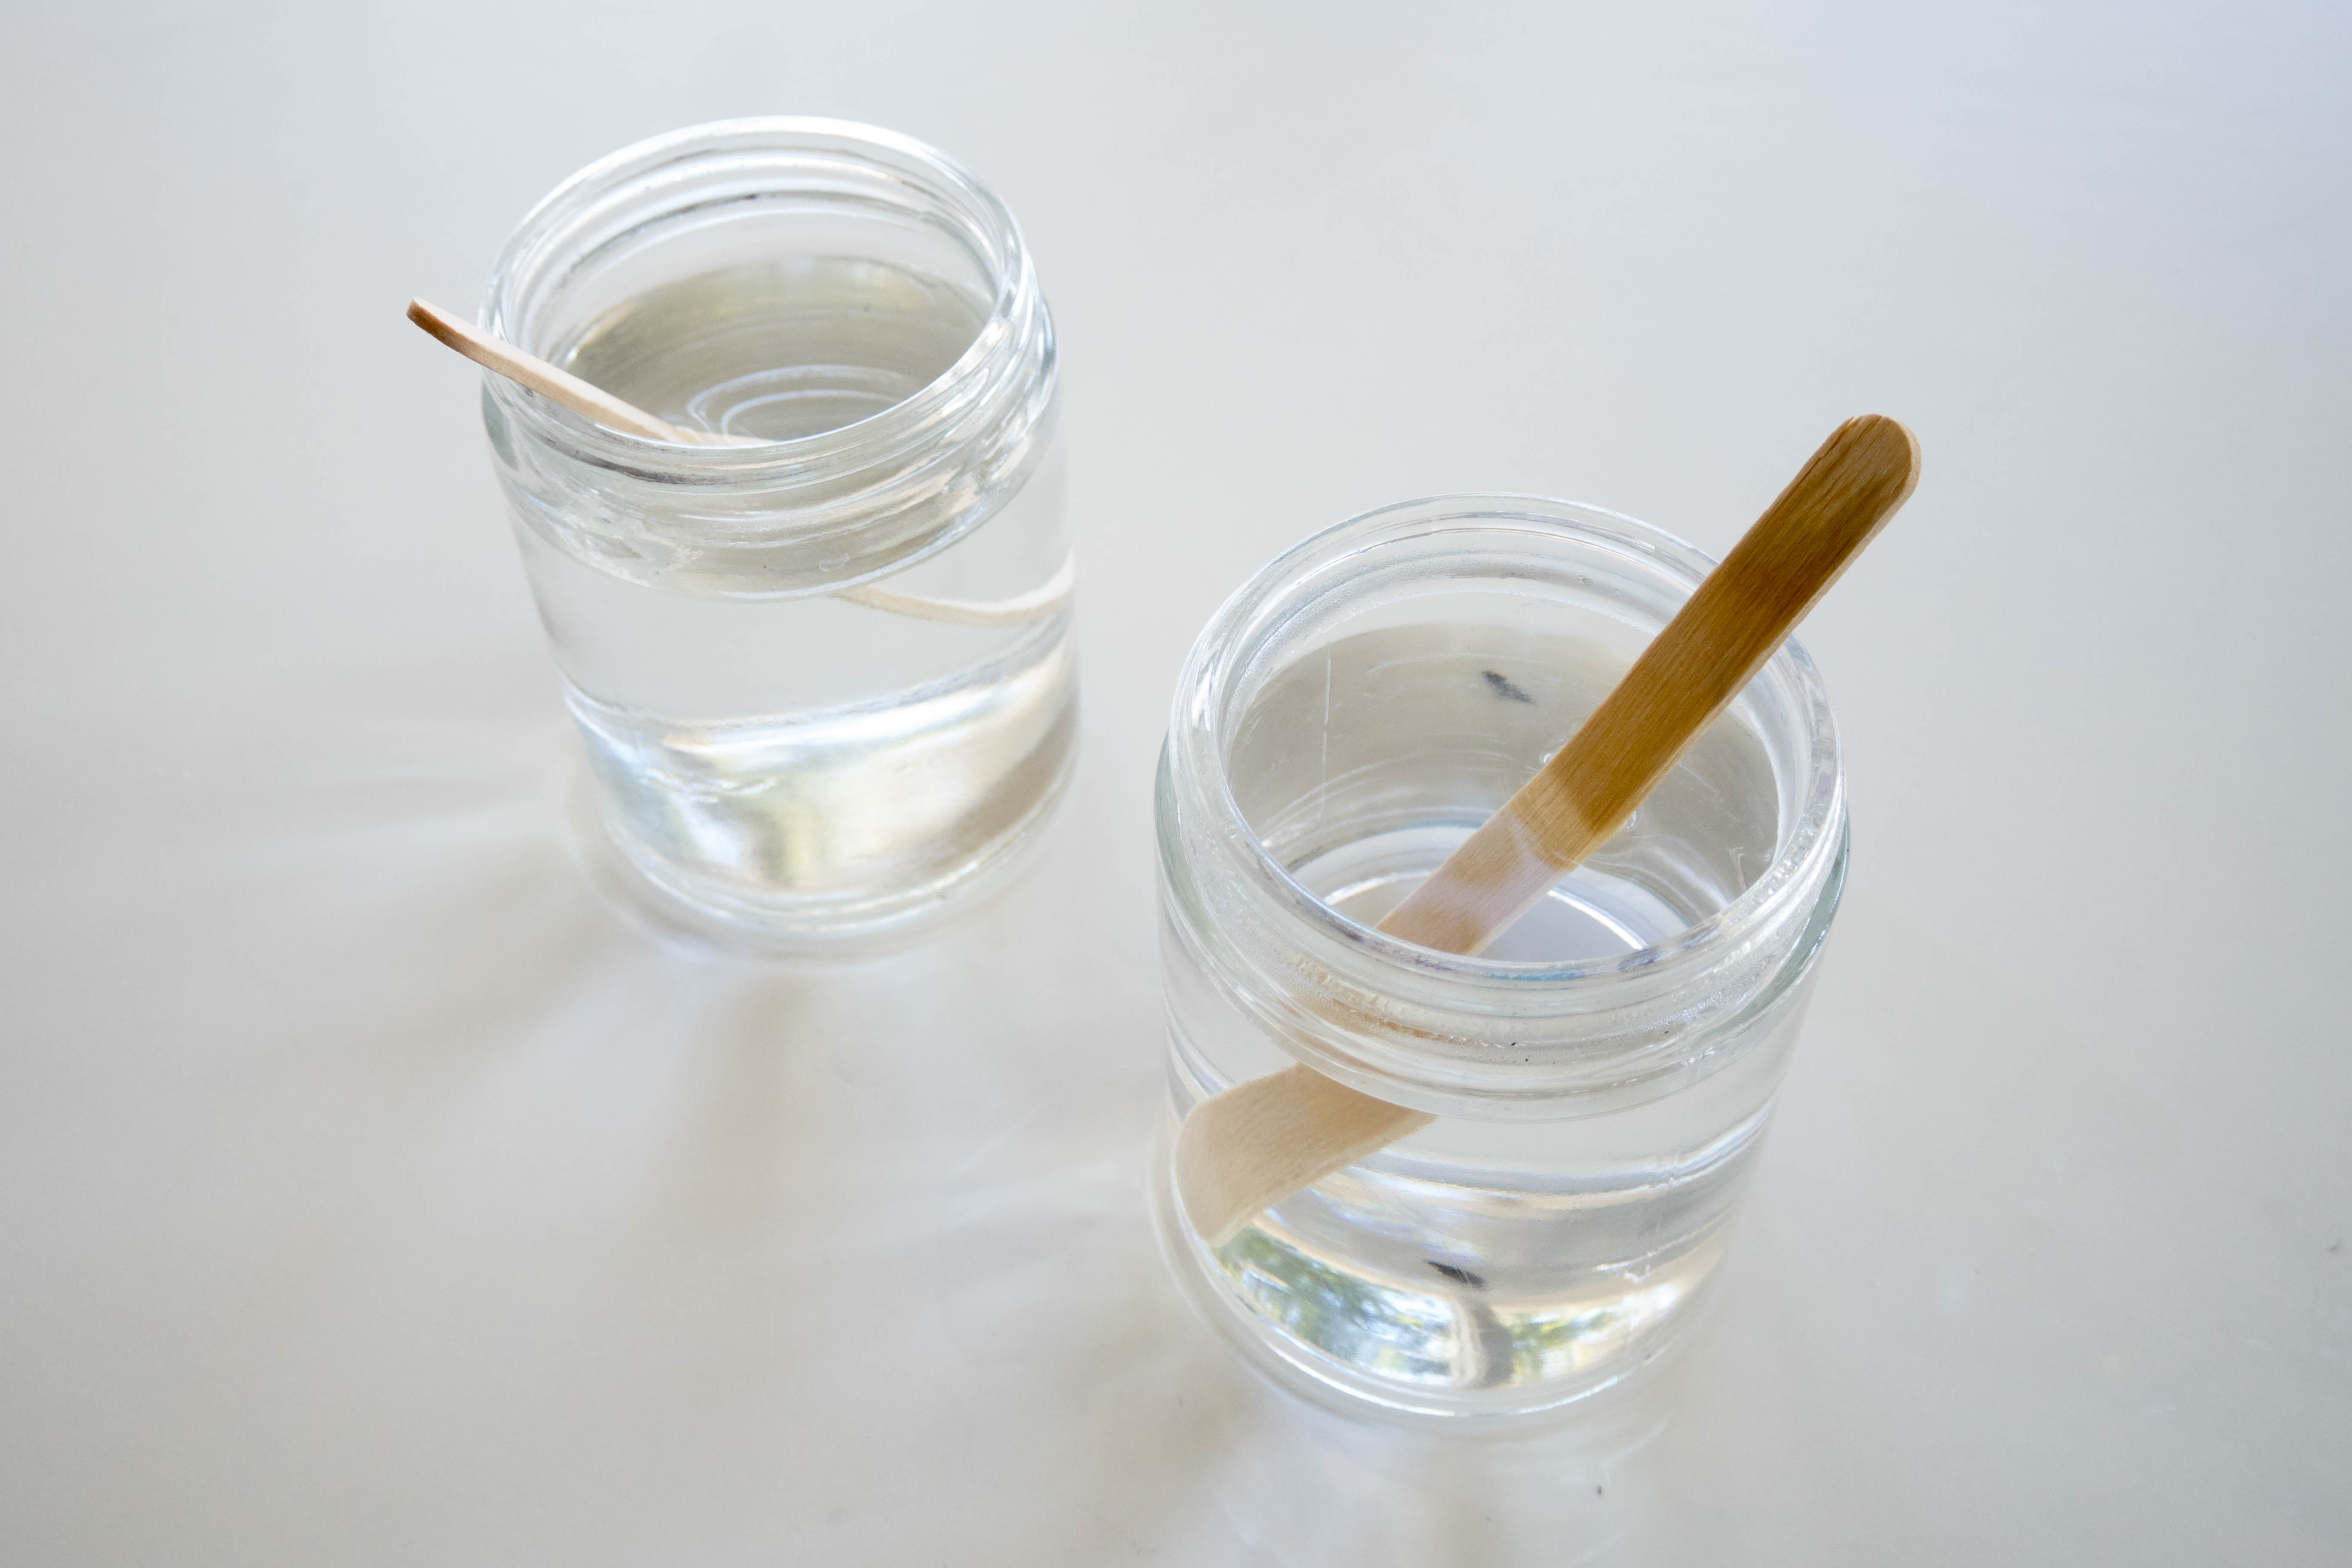
Pour ¼ cup of epsom salt into each glass container.

Step 3
Pour water to the top of the container and mix well for at least one minute. If there isn’t any salt residue left at the bottom of your containers after mixing, keep adding salt until there is. This means that your salt water solution is completely saturated.
Step 4
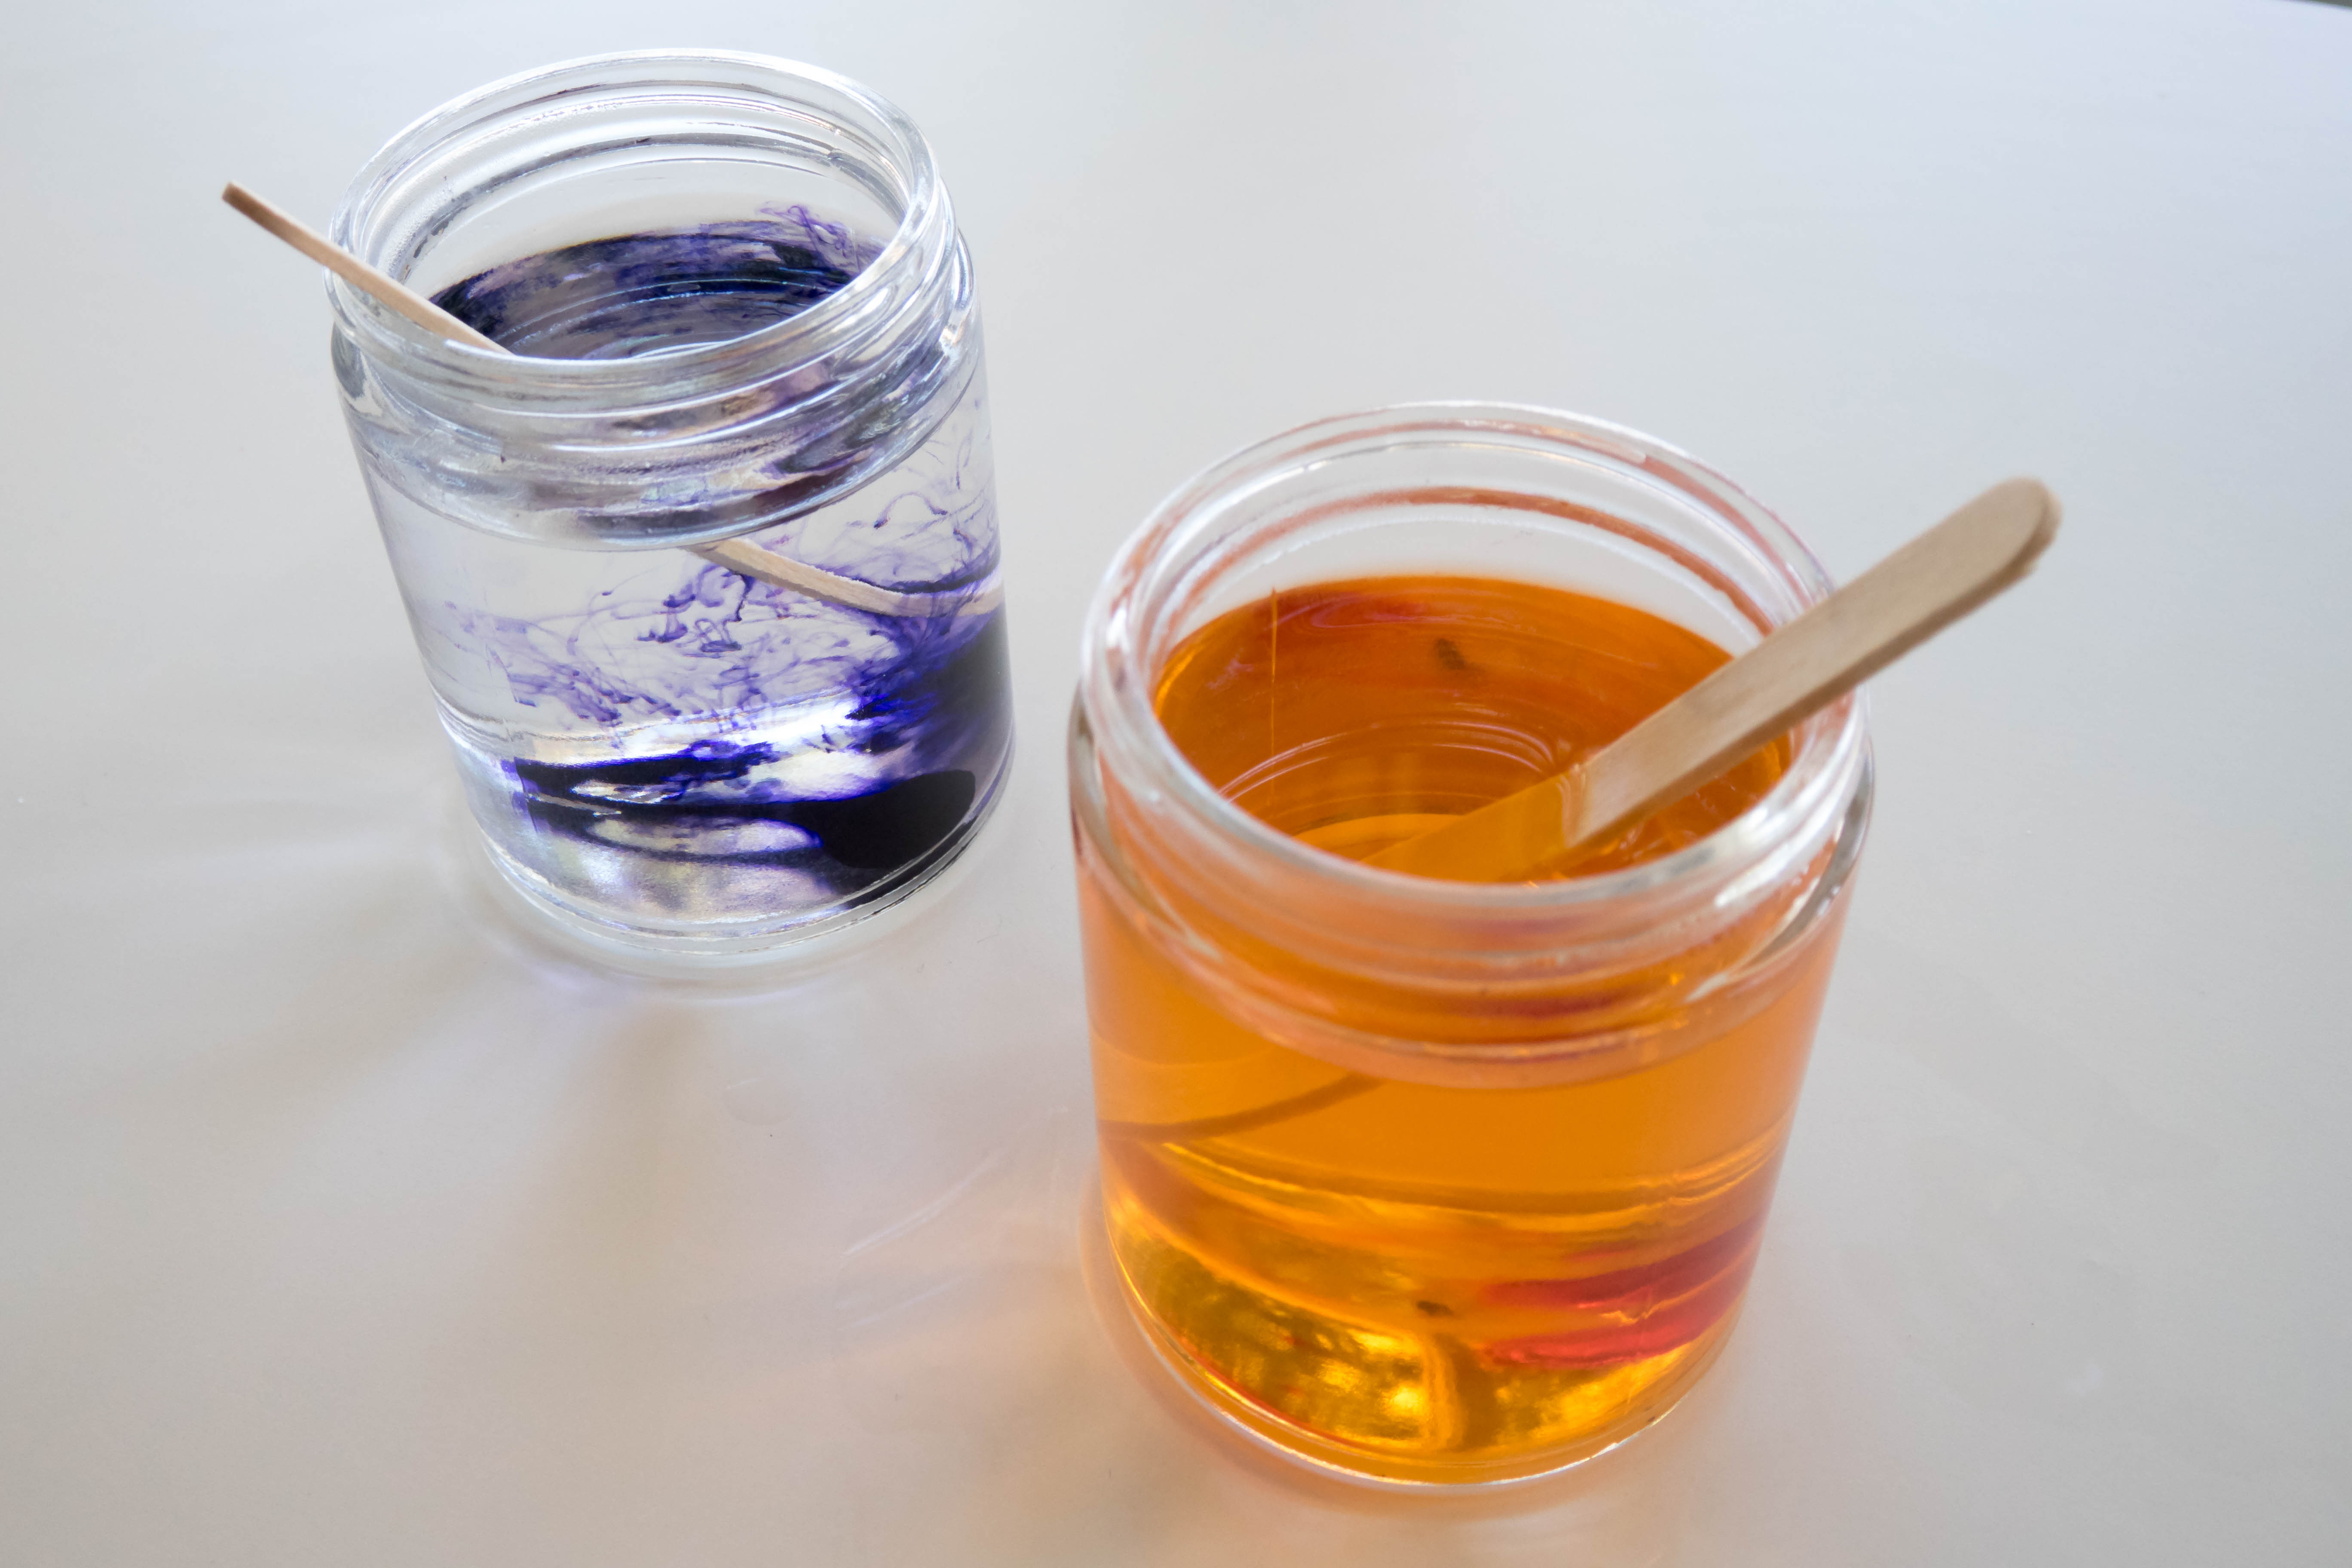
Drip a couple drops of food dye into each container and mix well.
Step 5
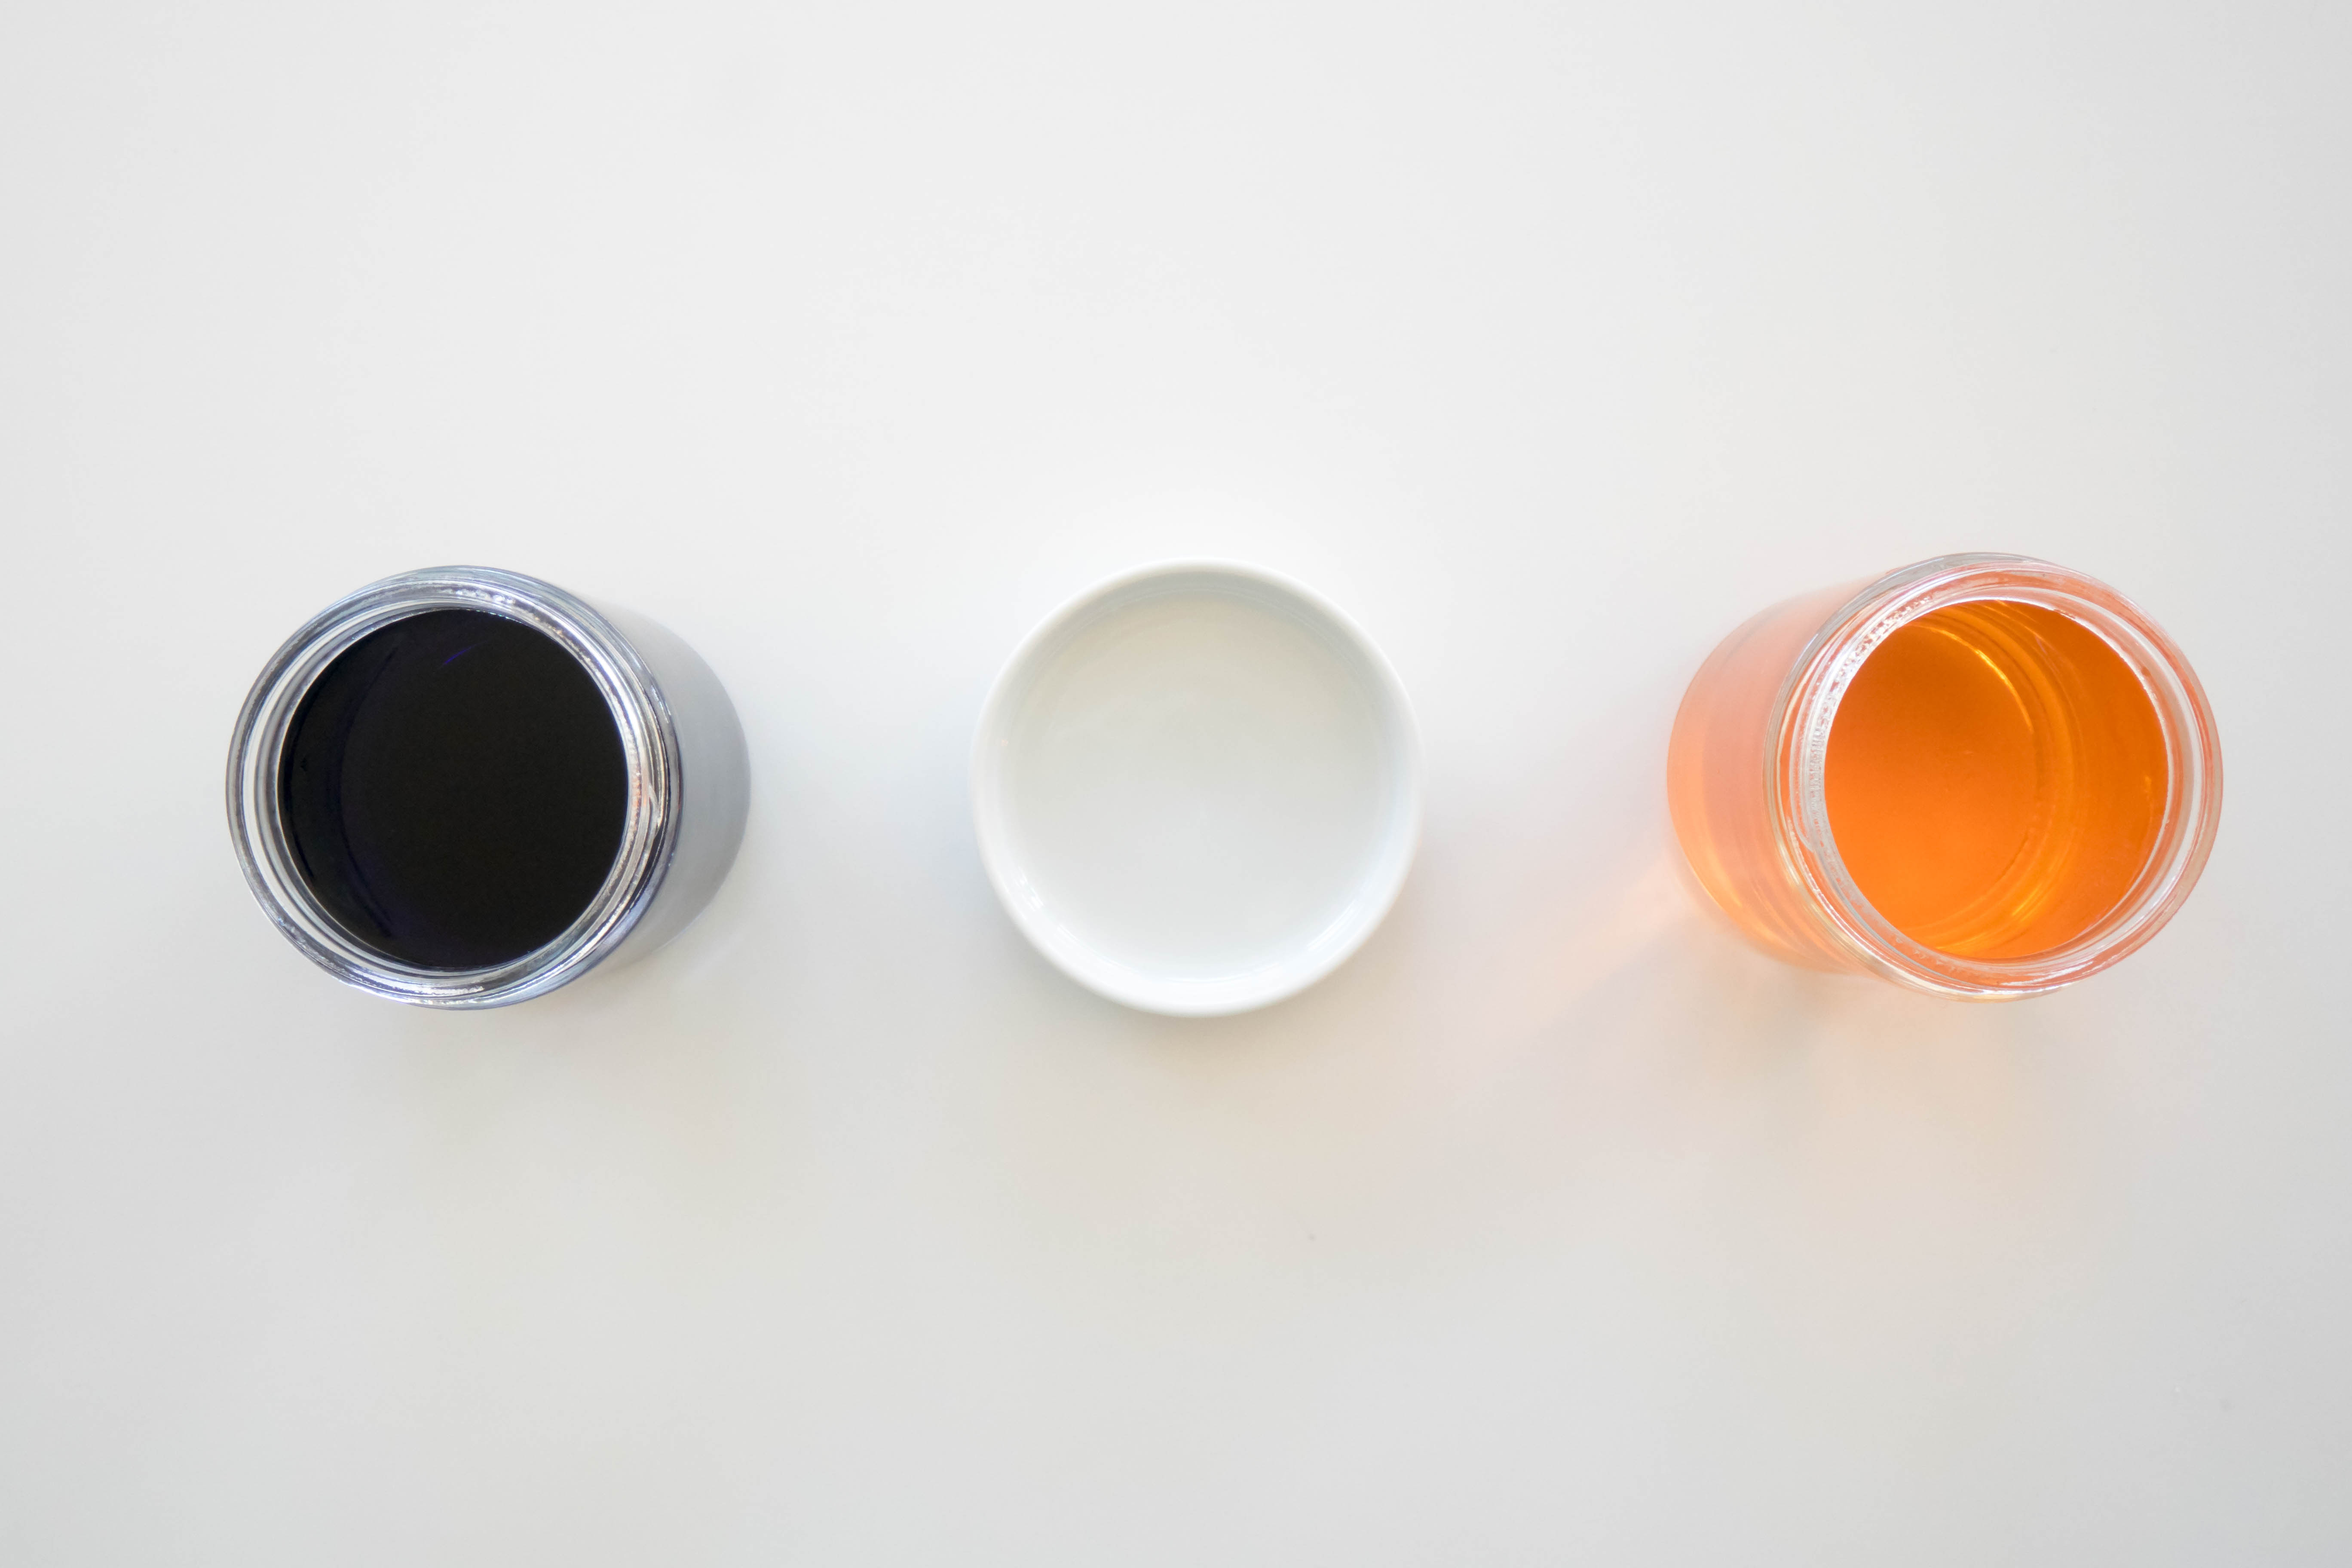
Set the containers down in an area where they won’t be moved for a week or more. Then, place the small dish in between them.
Step 6
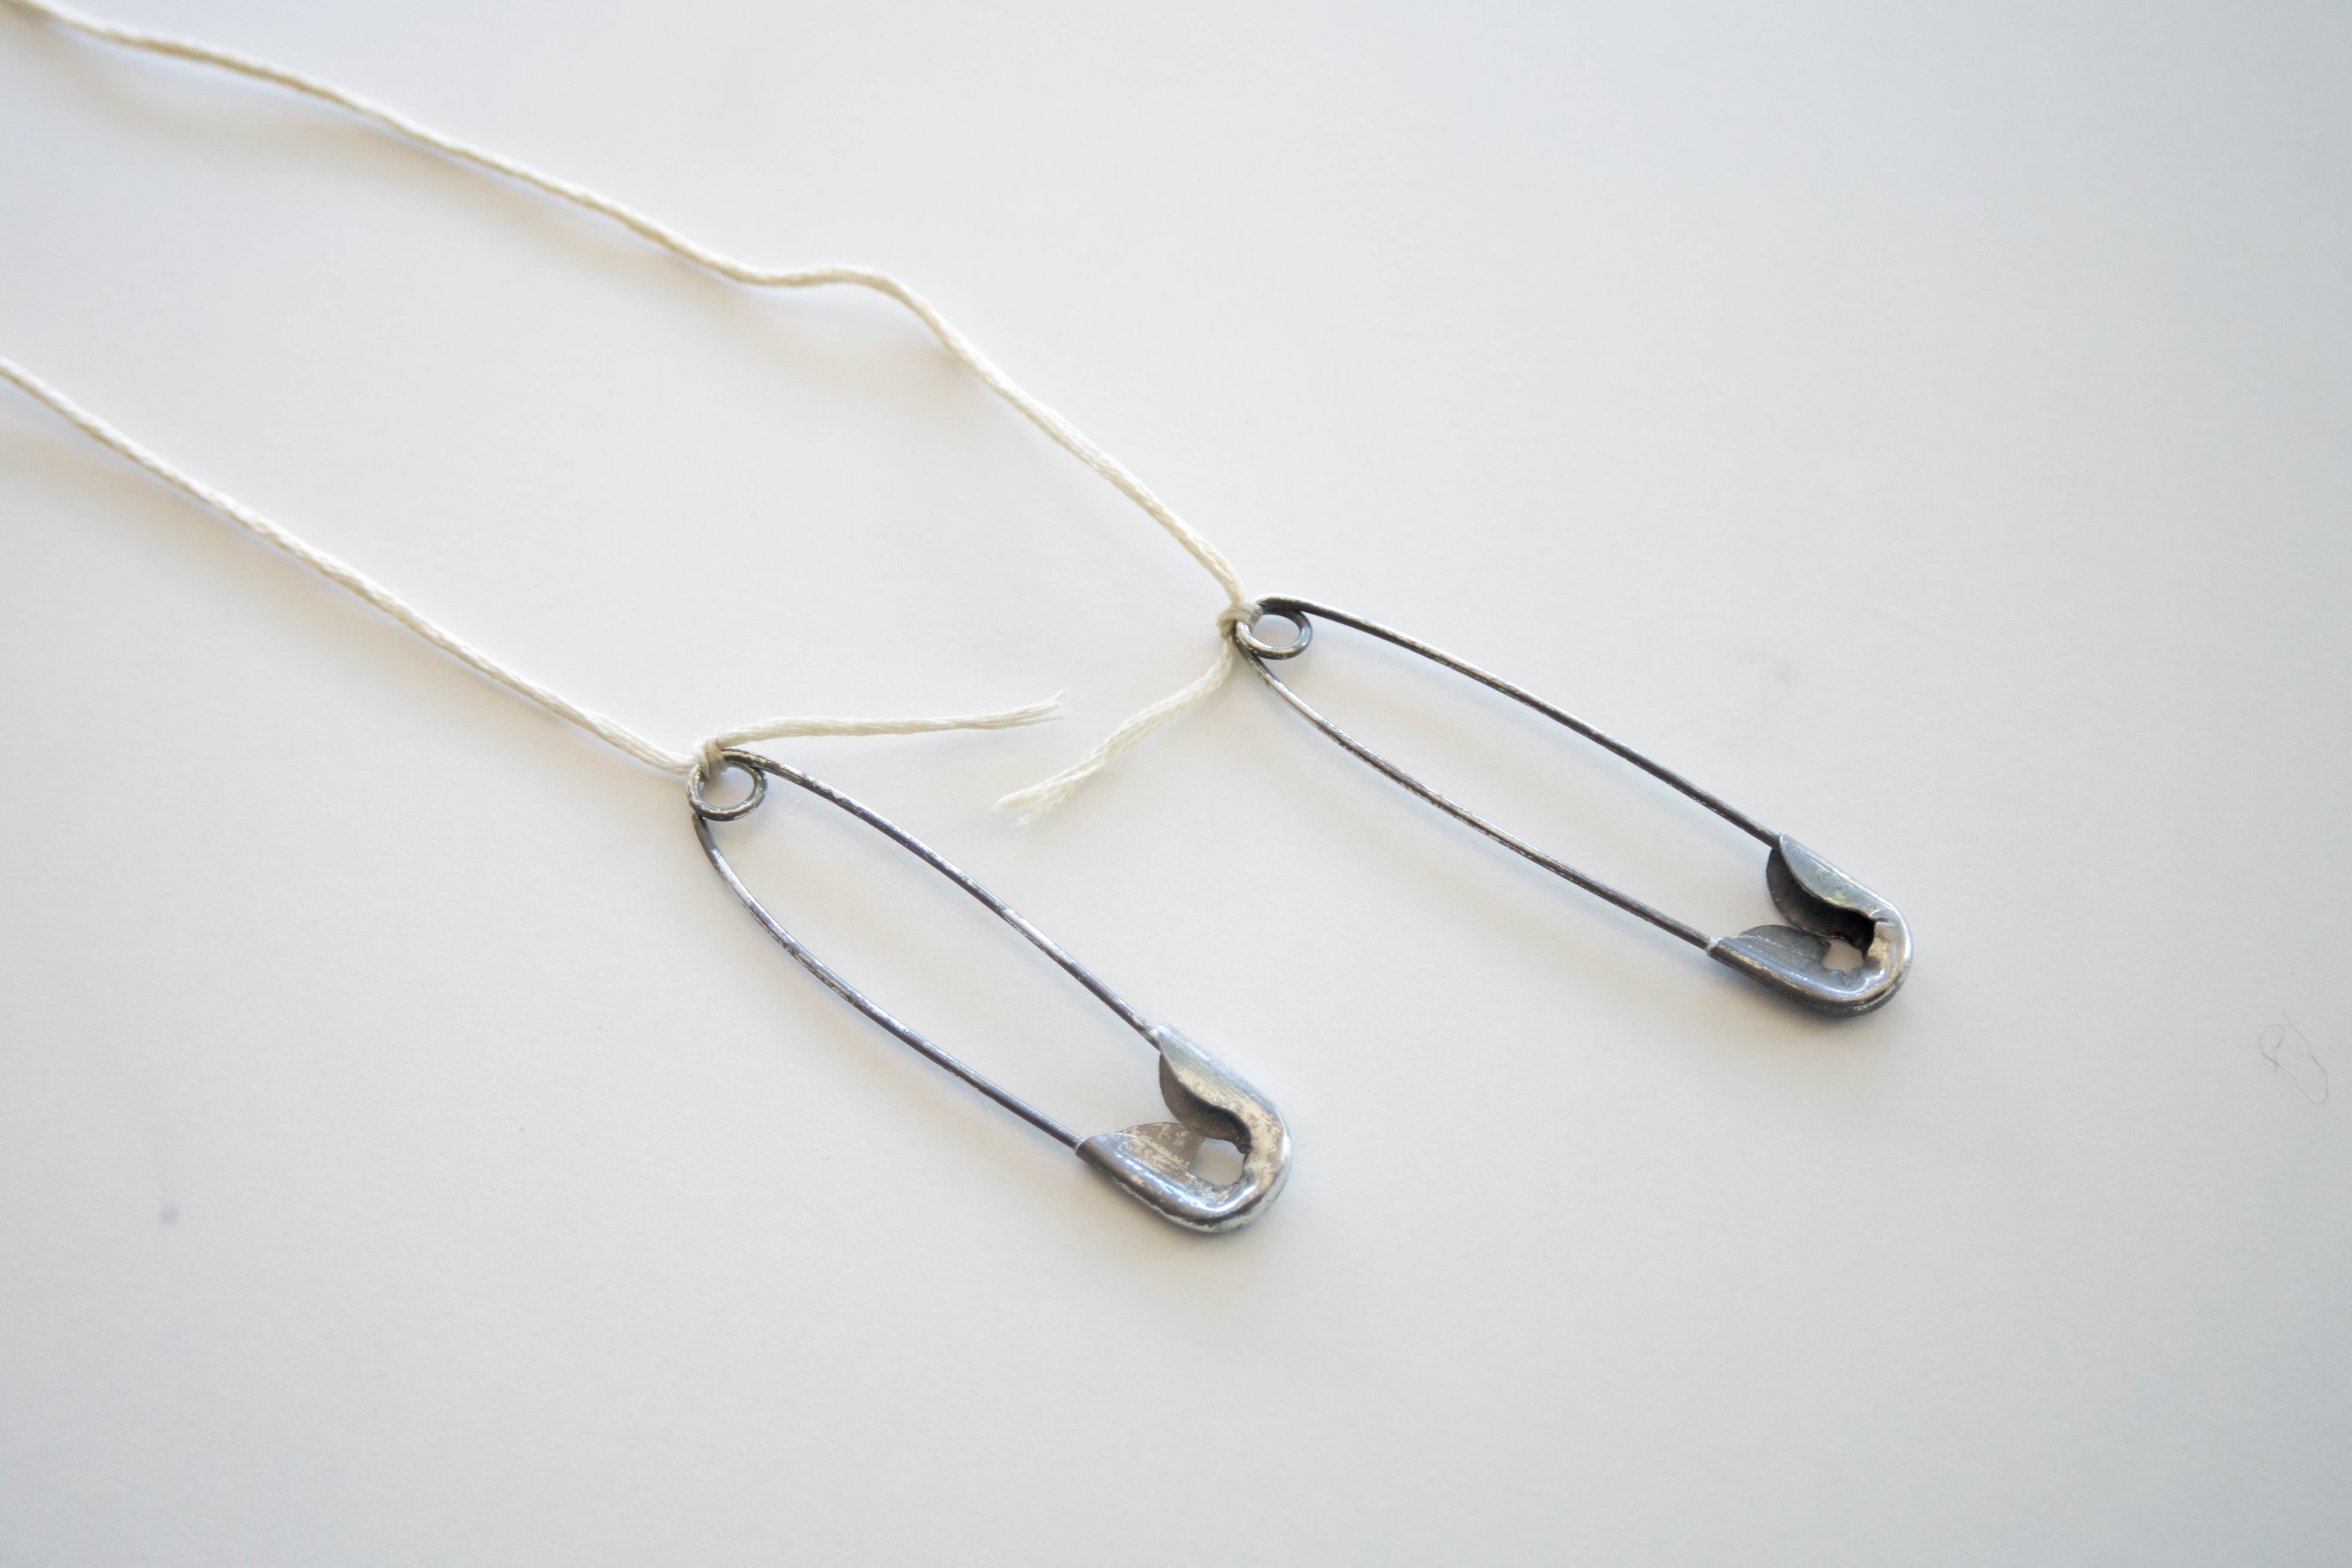
Cut a piece of string about half an arm’s length long. Then, tie the loose ends of the string to the safety pins.
Step 7
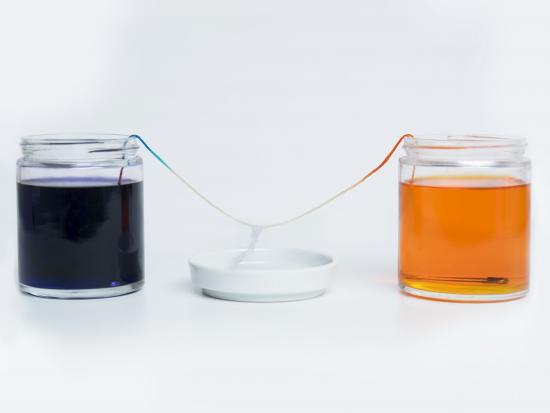
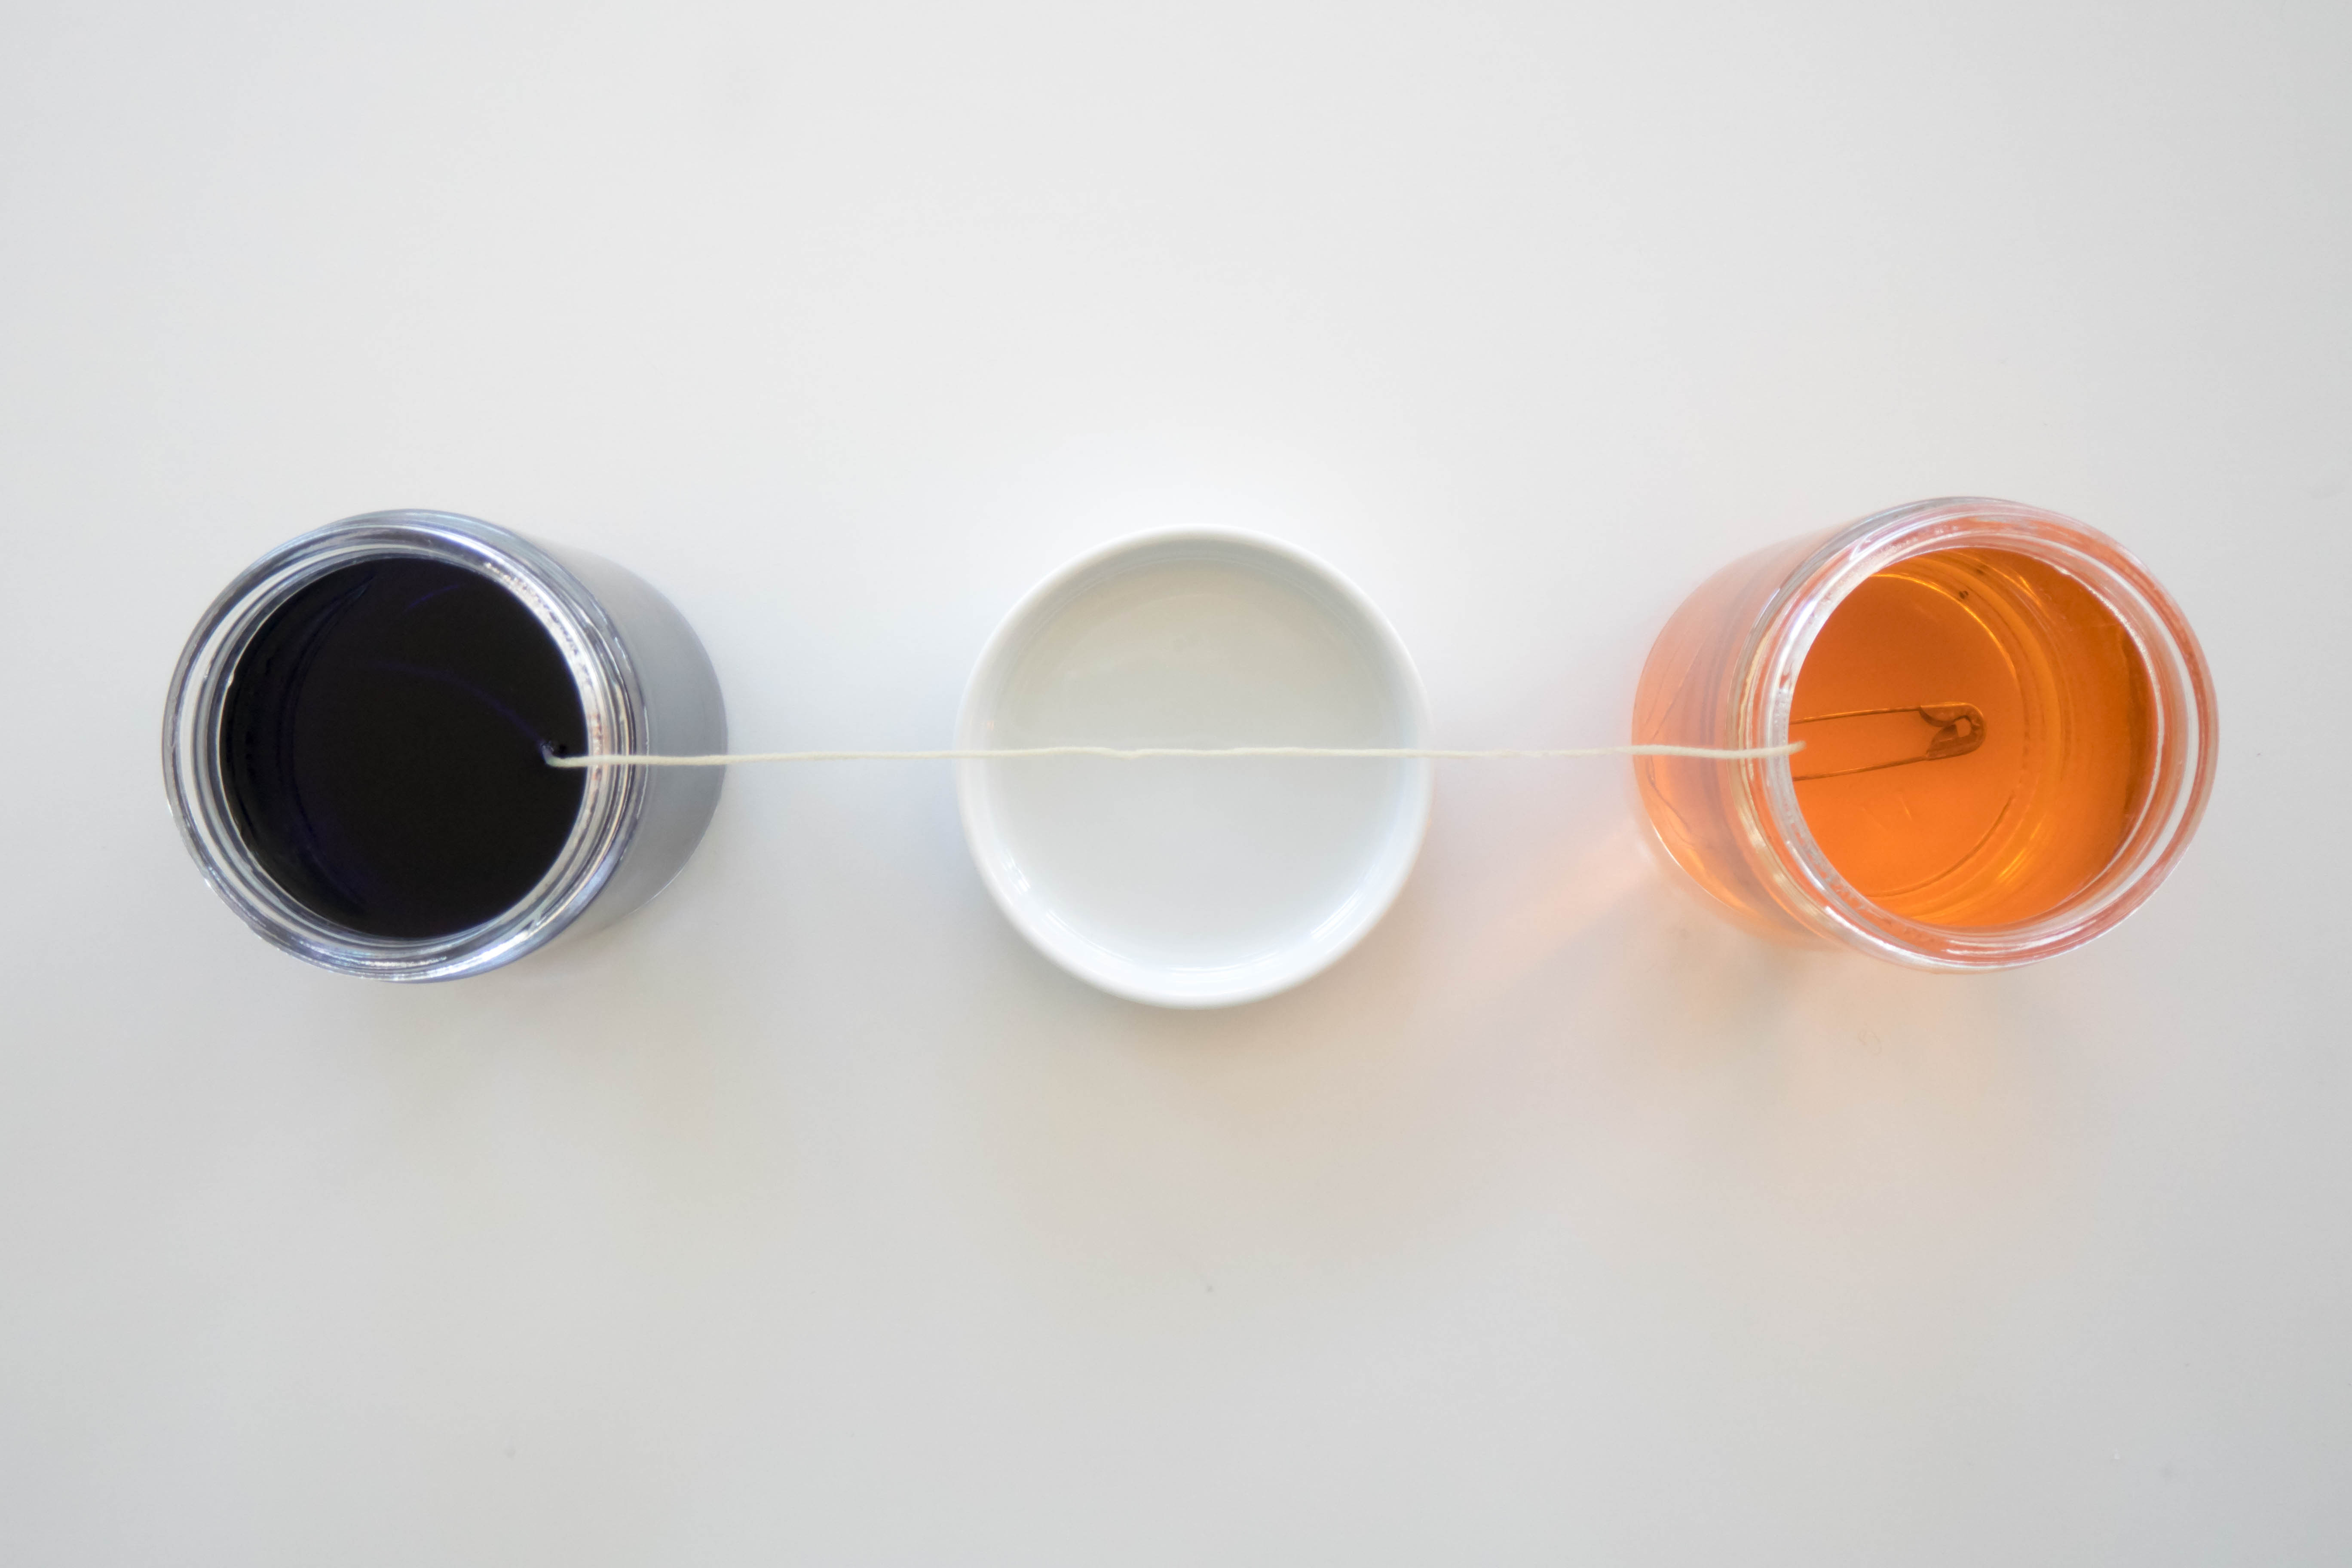
Put one end of the string into one container and the other into the second one.
Tip
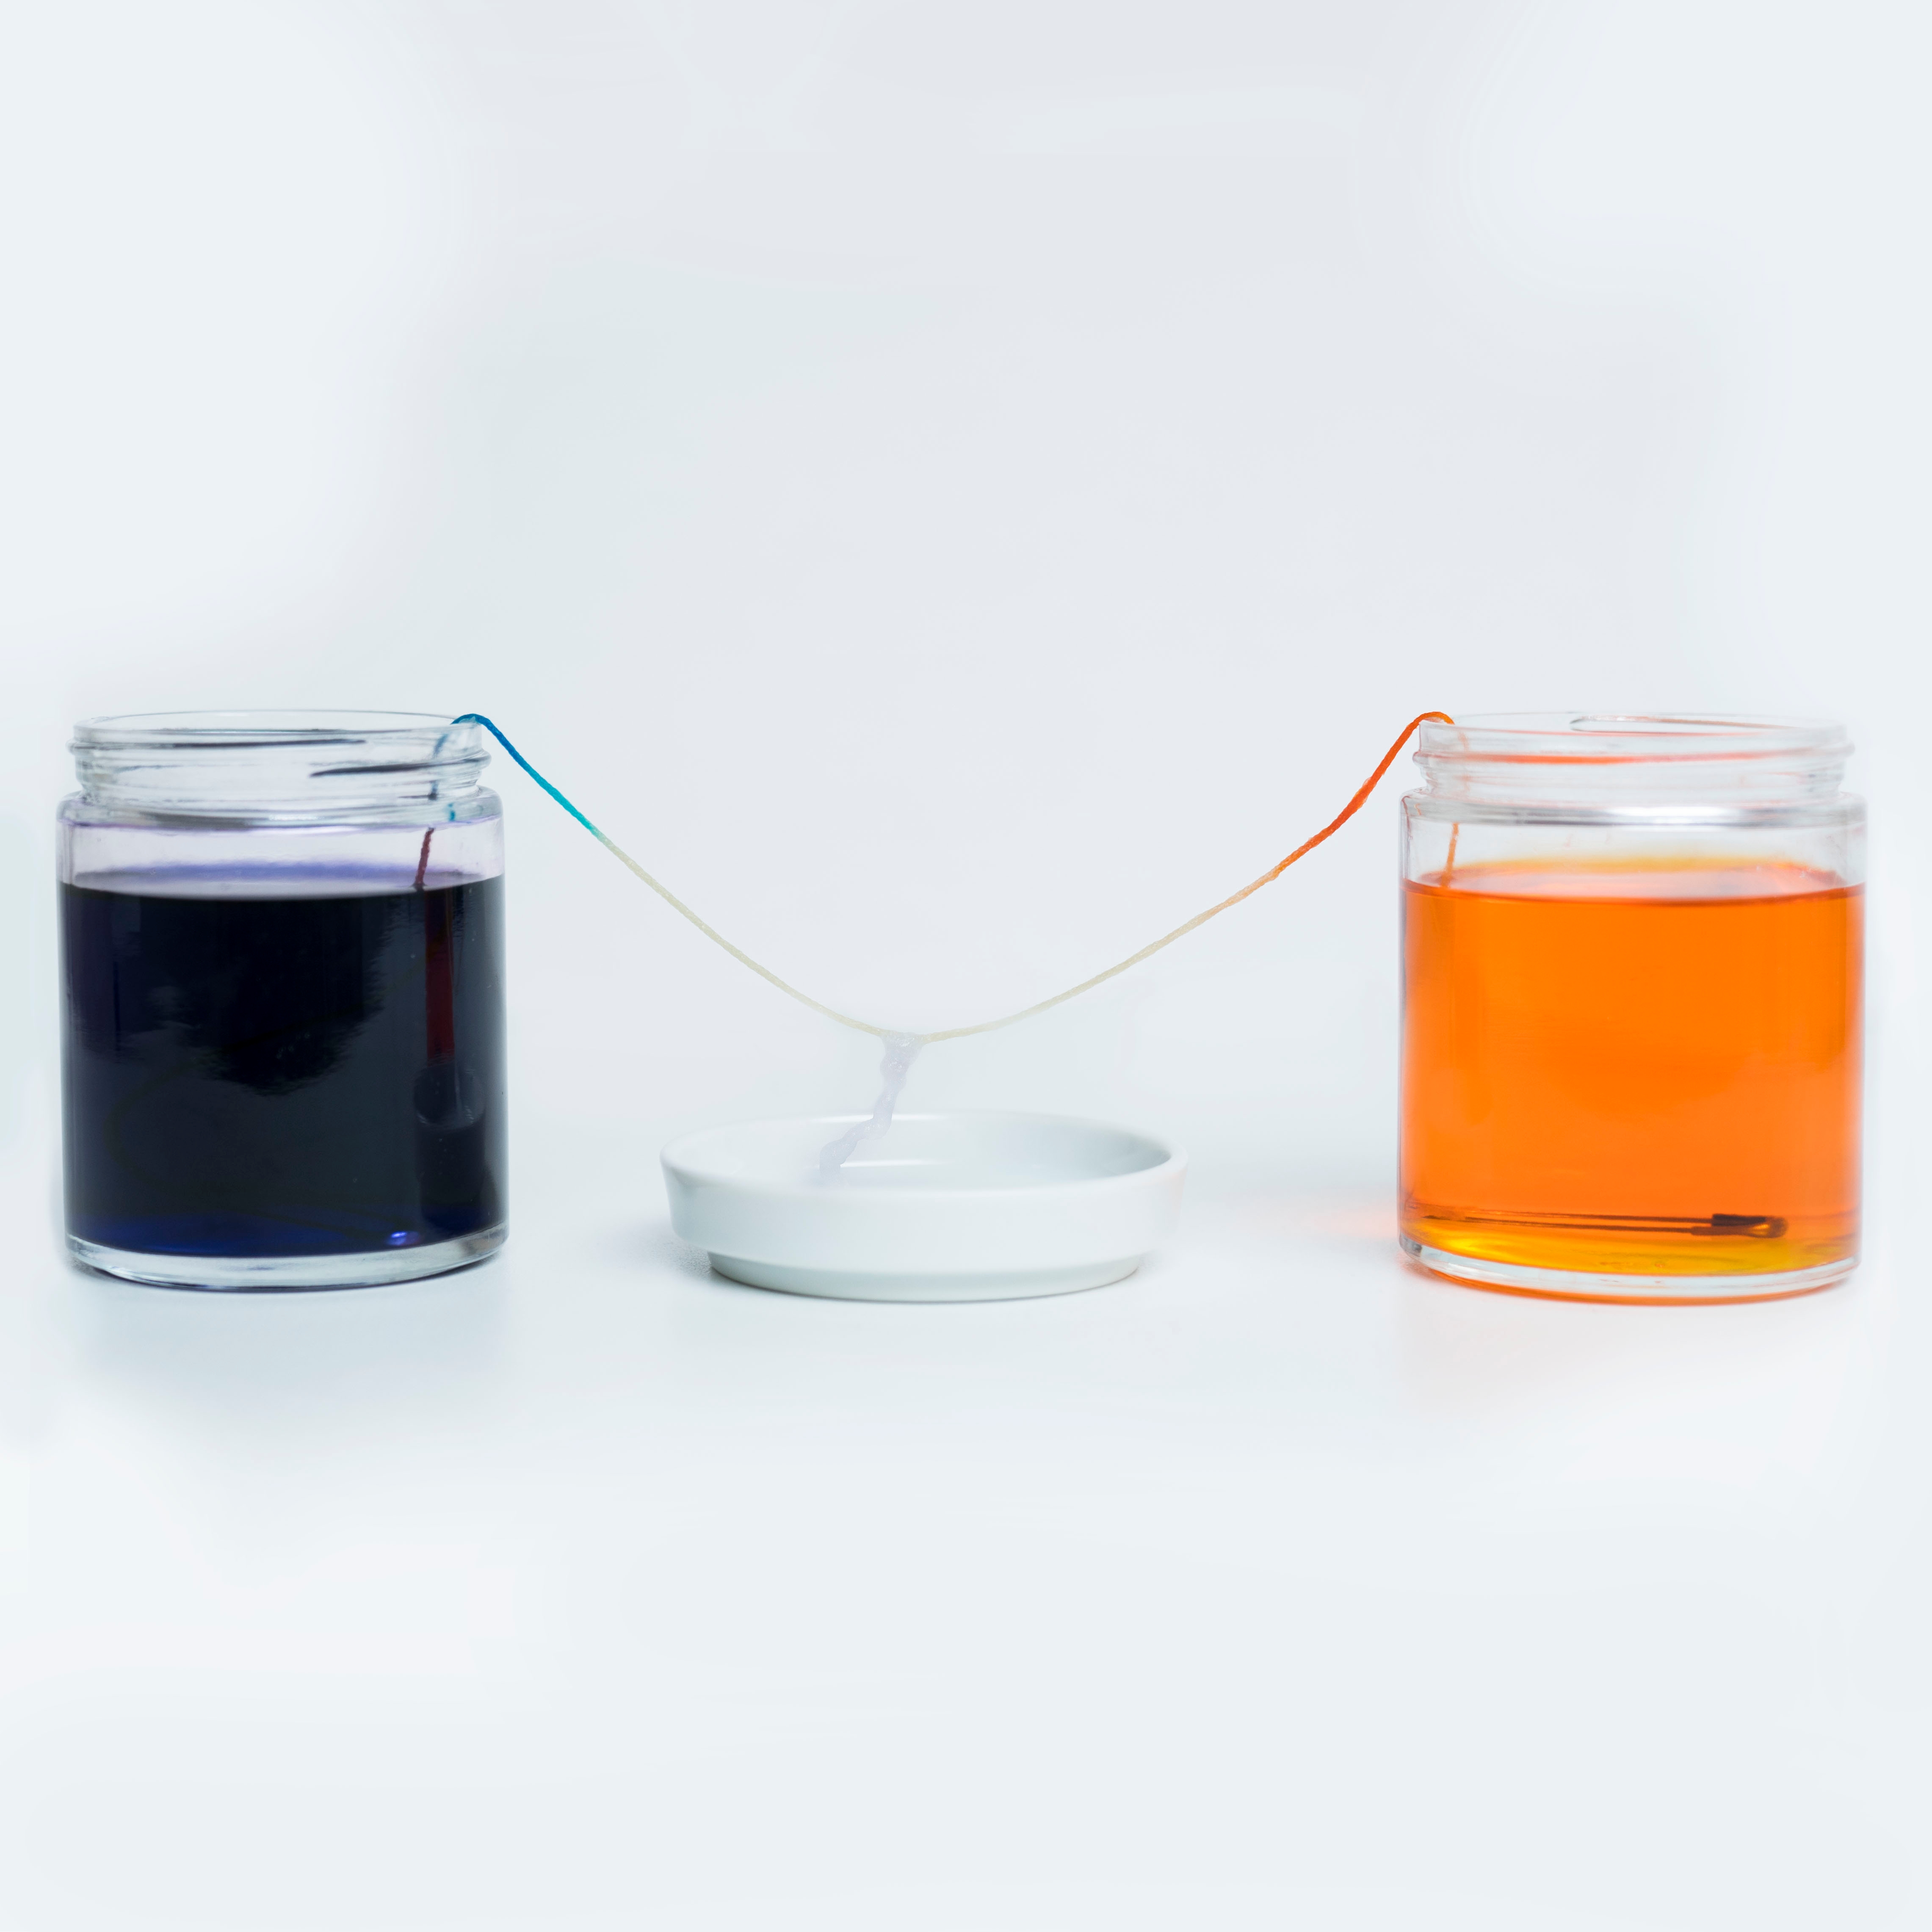
Allow a small arch to form between the two containers, directly above the small dish. The string shouldn’t touch the bottom of the dish.
Done!
You should begin to see some crystals form within the next week! The crystals that grow down from the string are called stalactites. The crystals that grow up from the dish in the middle are called stalagmites. These are small scale models of the crystals that grow in caves!