Step-by-step tutorial
Step 1
Gather your materials!


Step 2
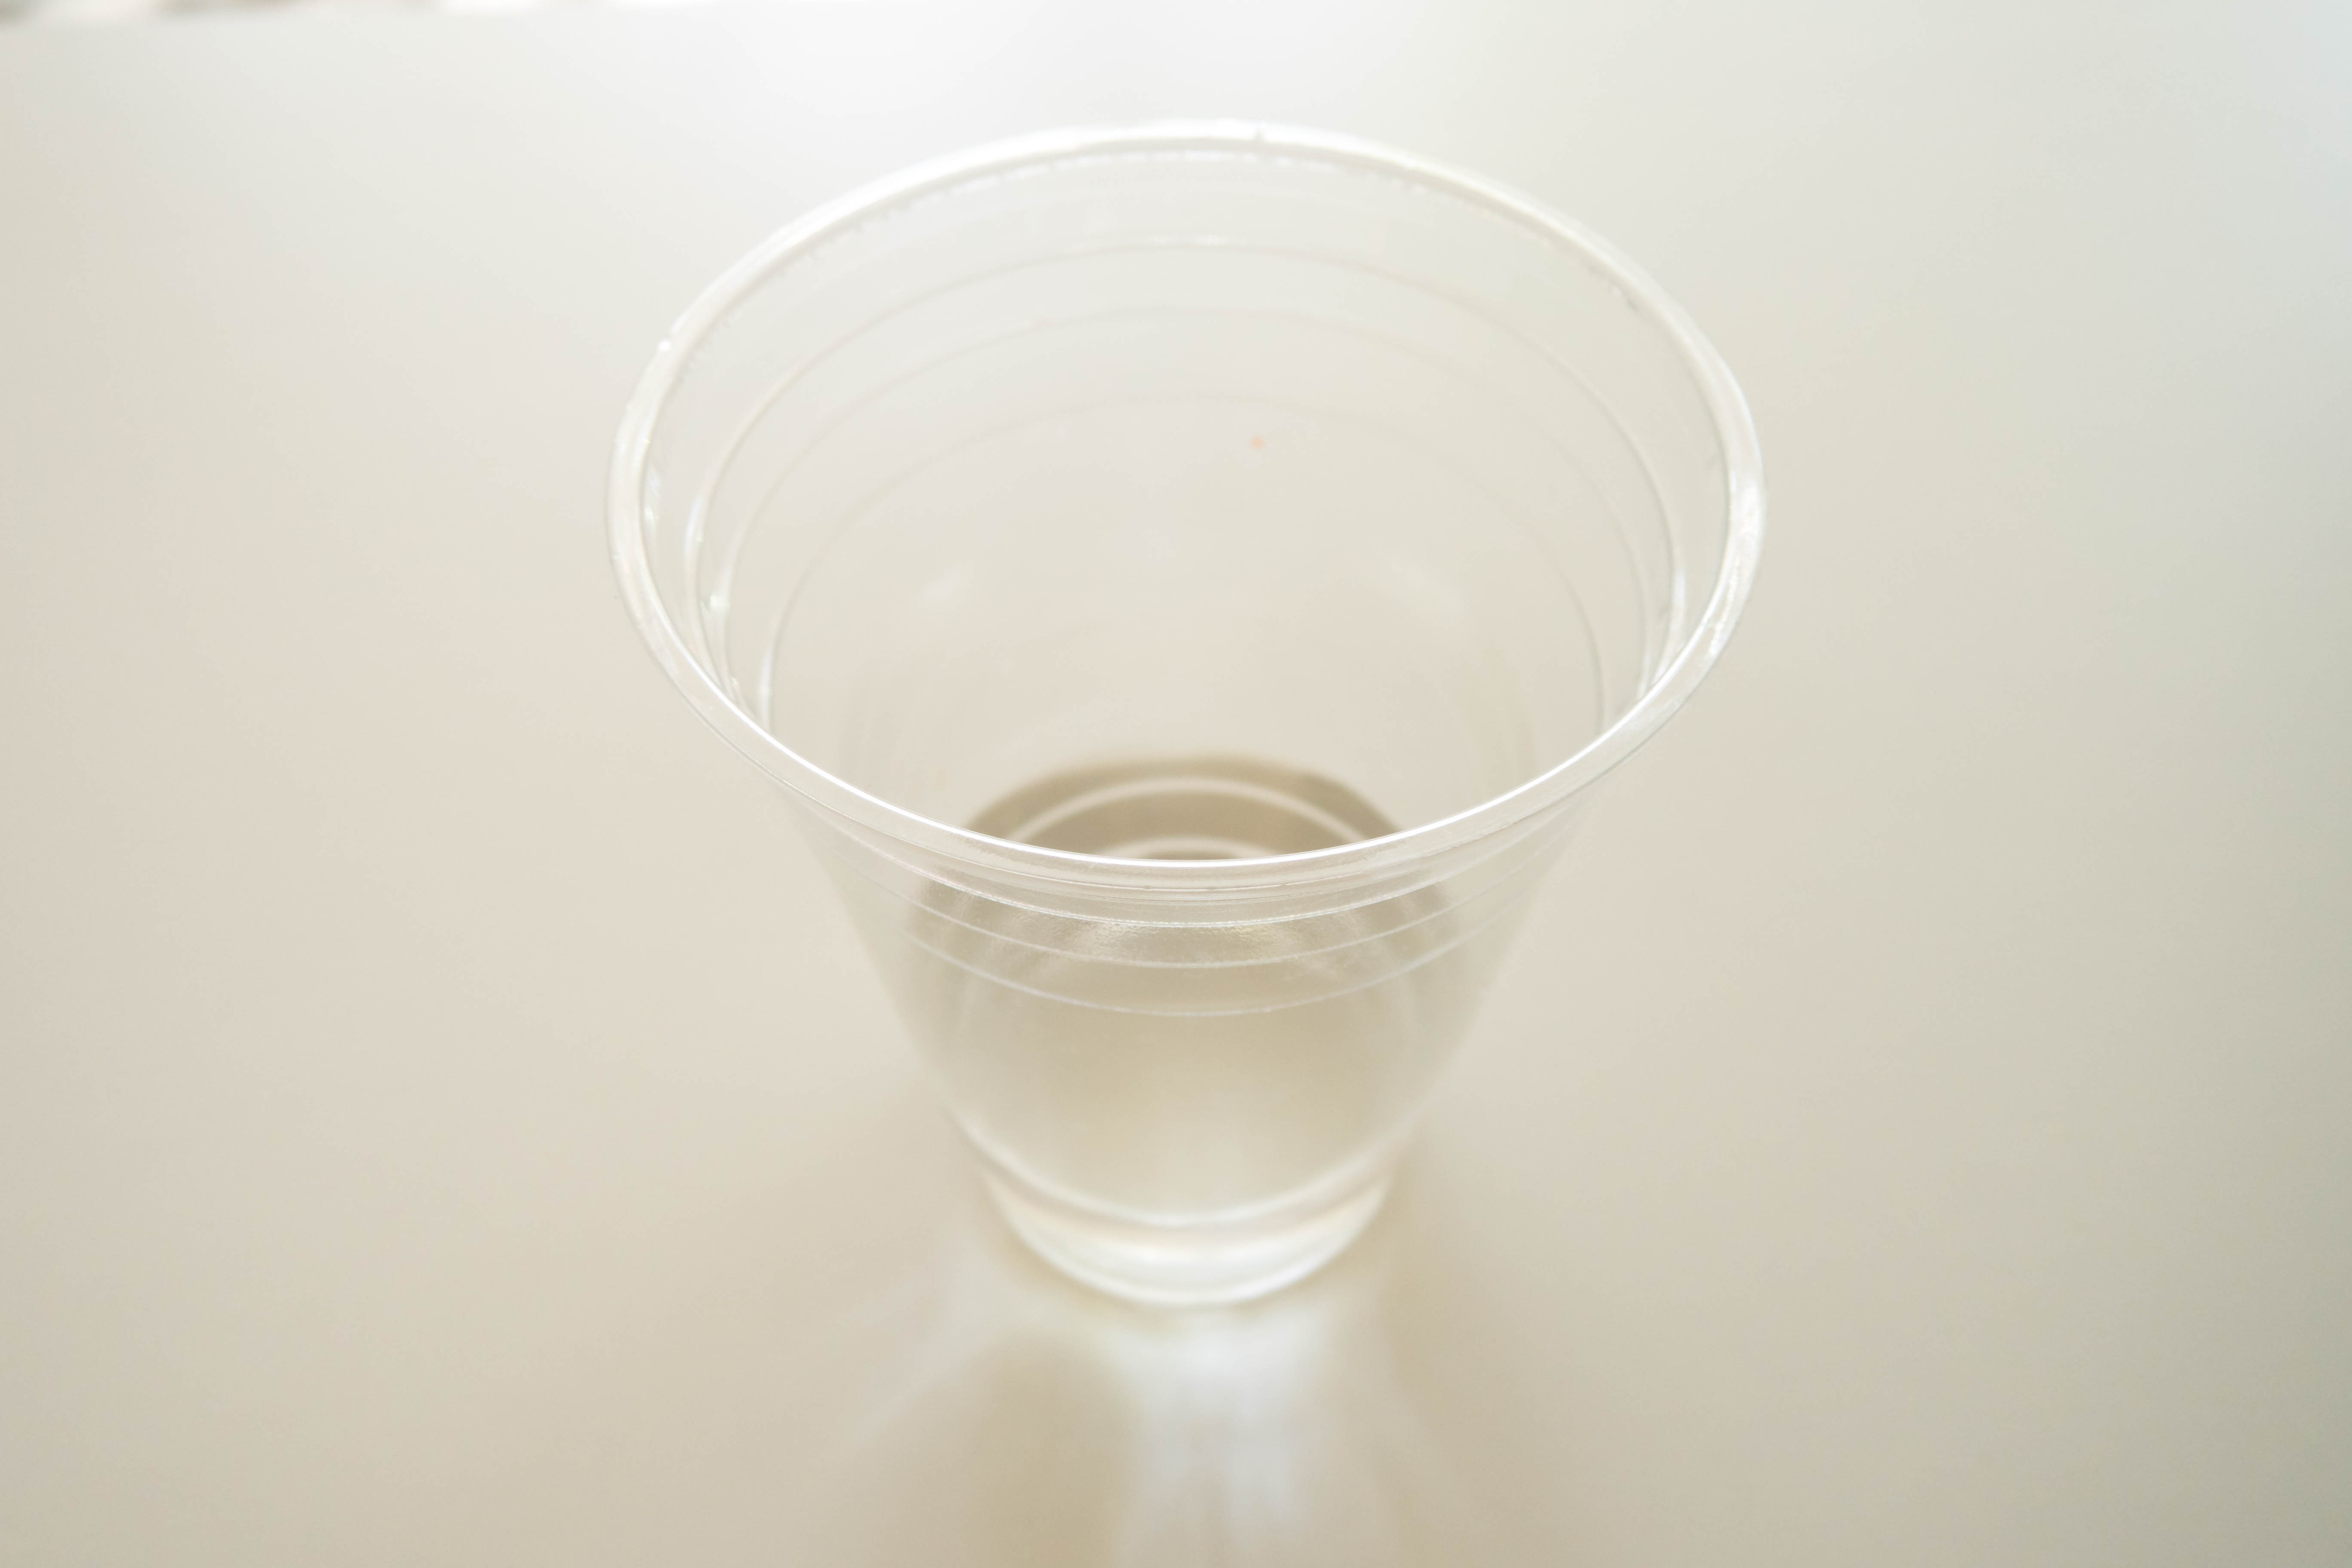
Fill a cup up with vinegar so that it is about 2” high.
Step 3
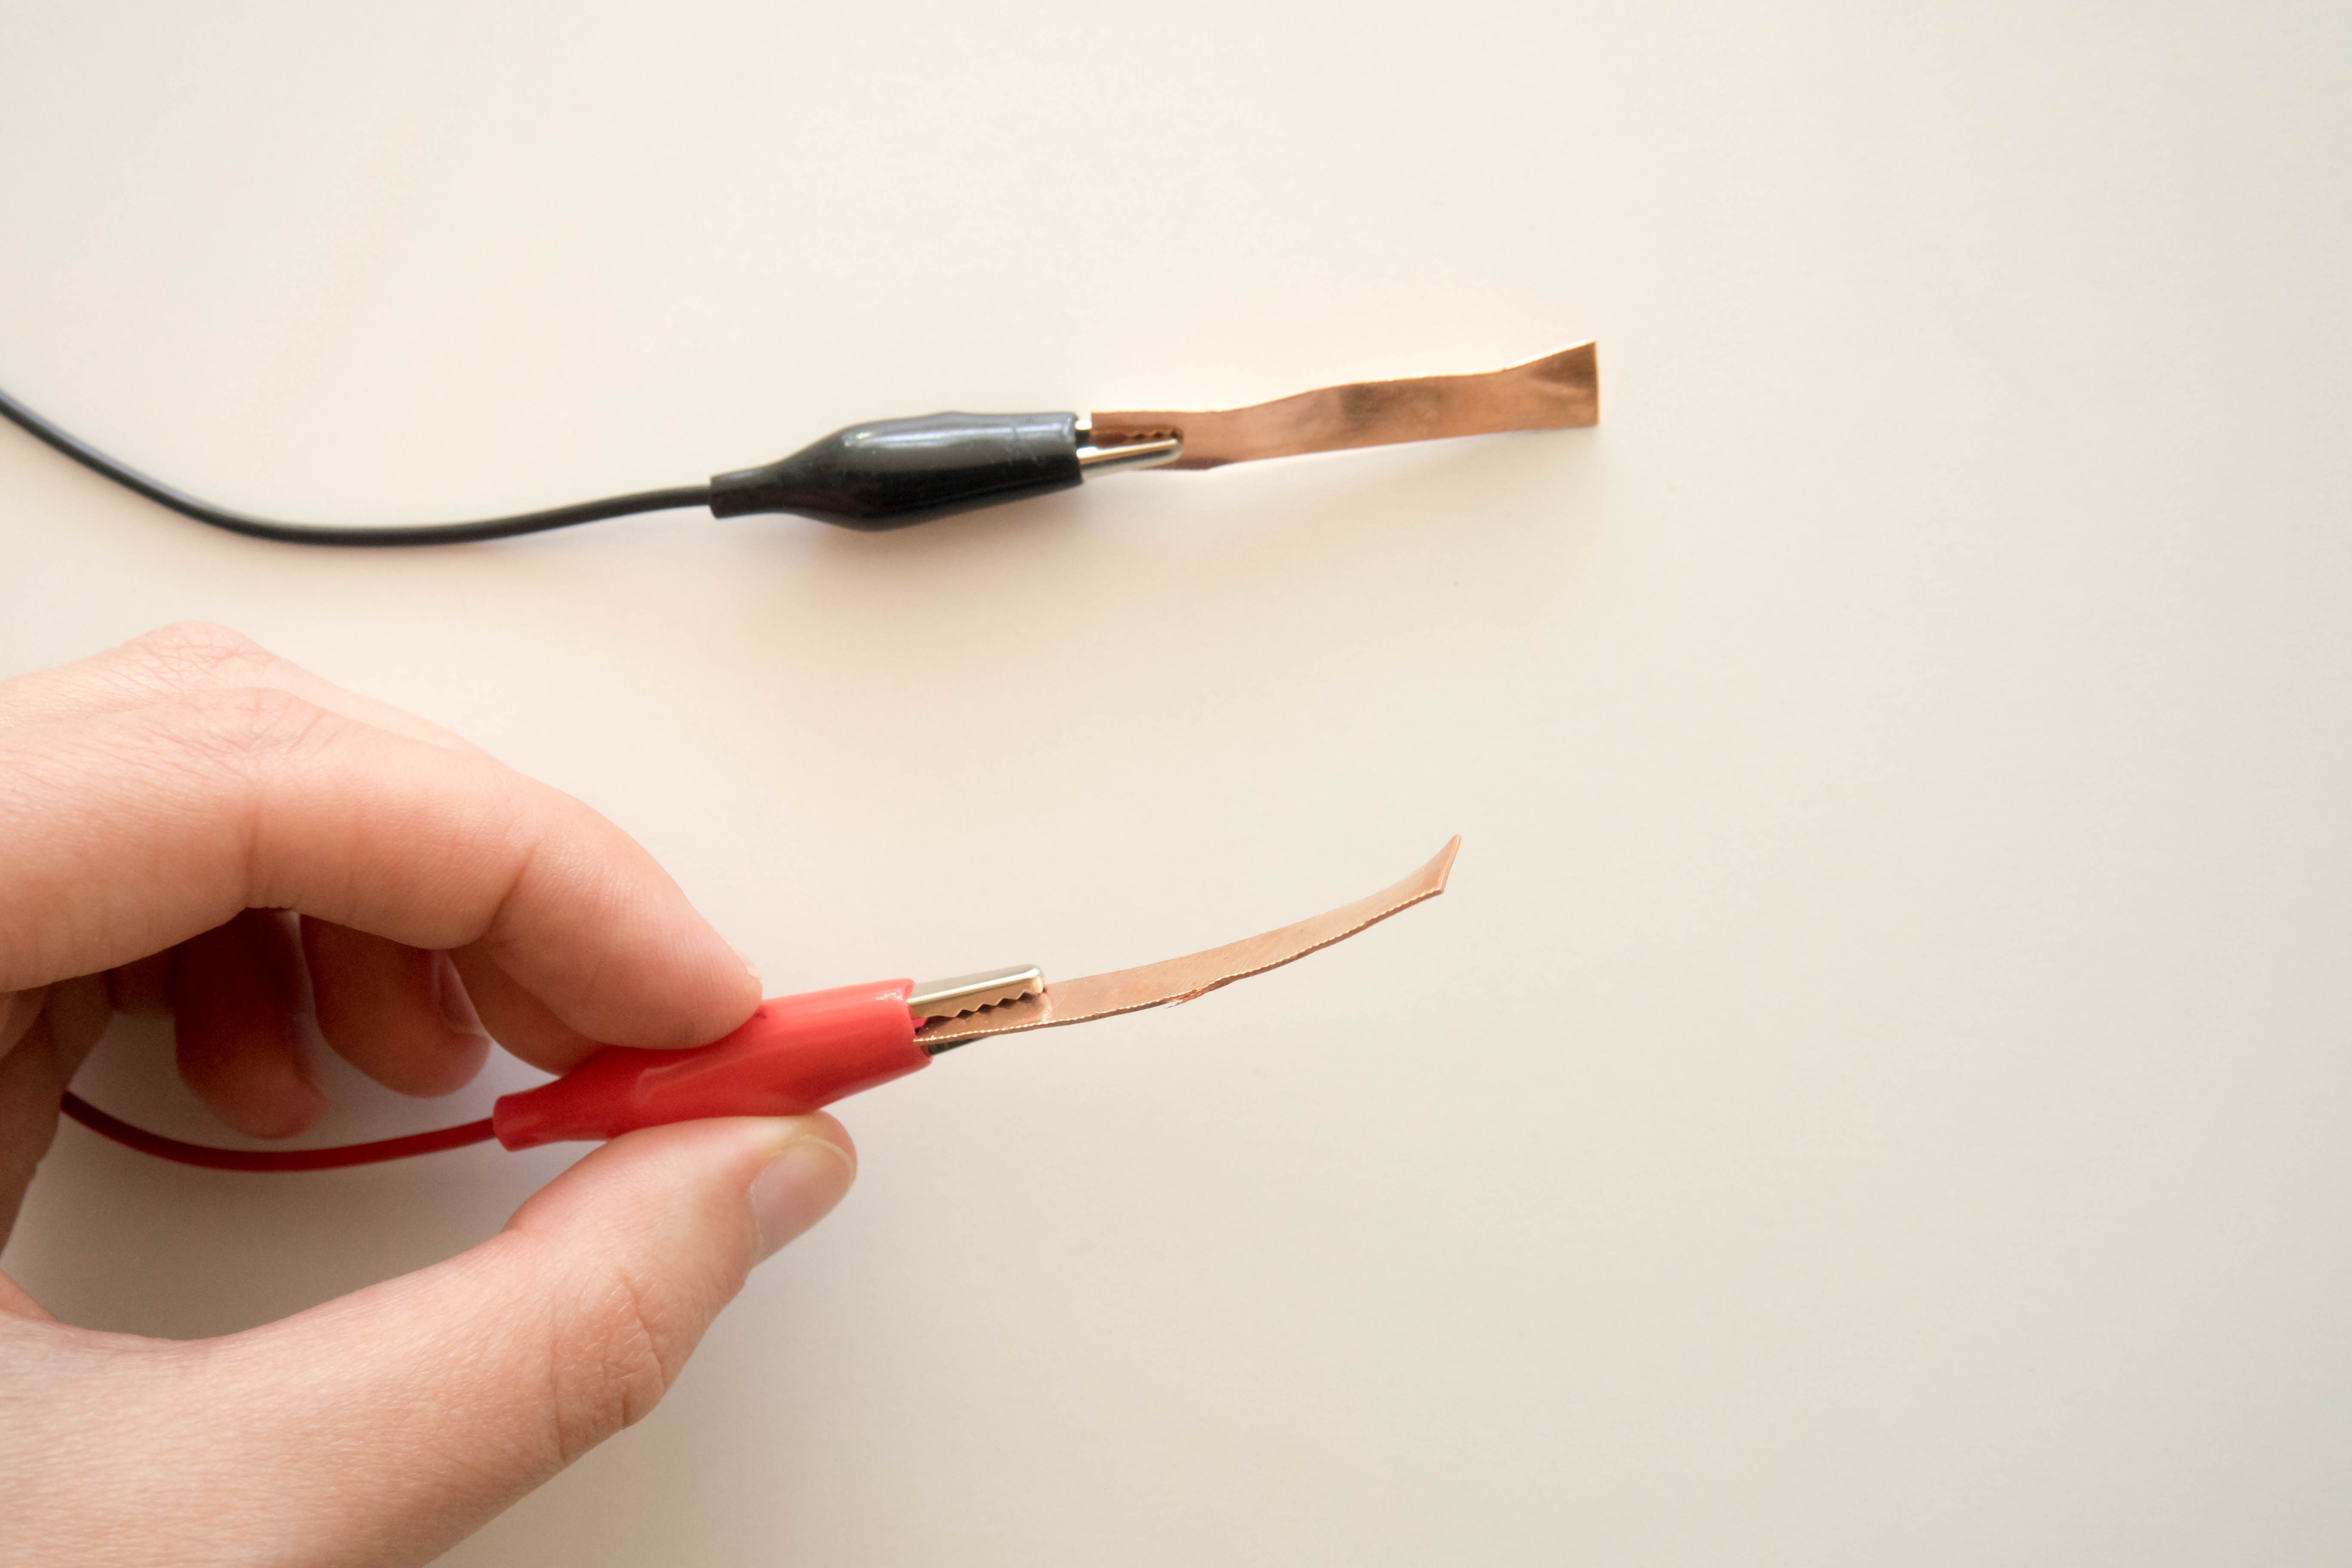
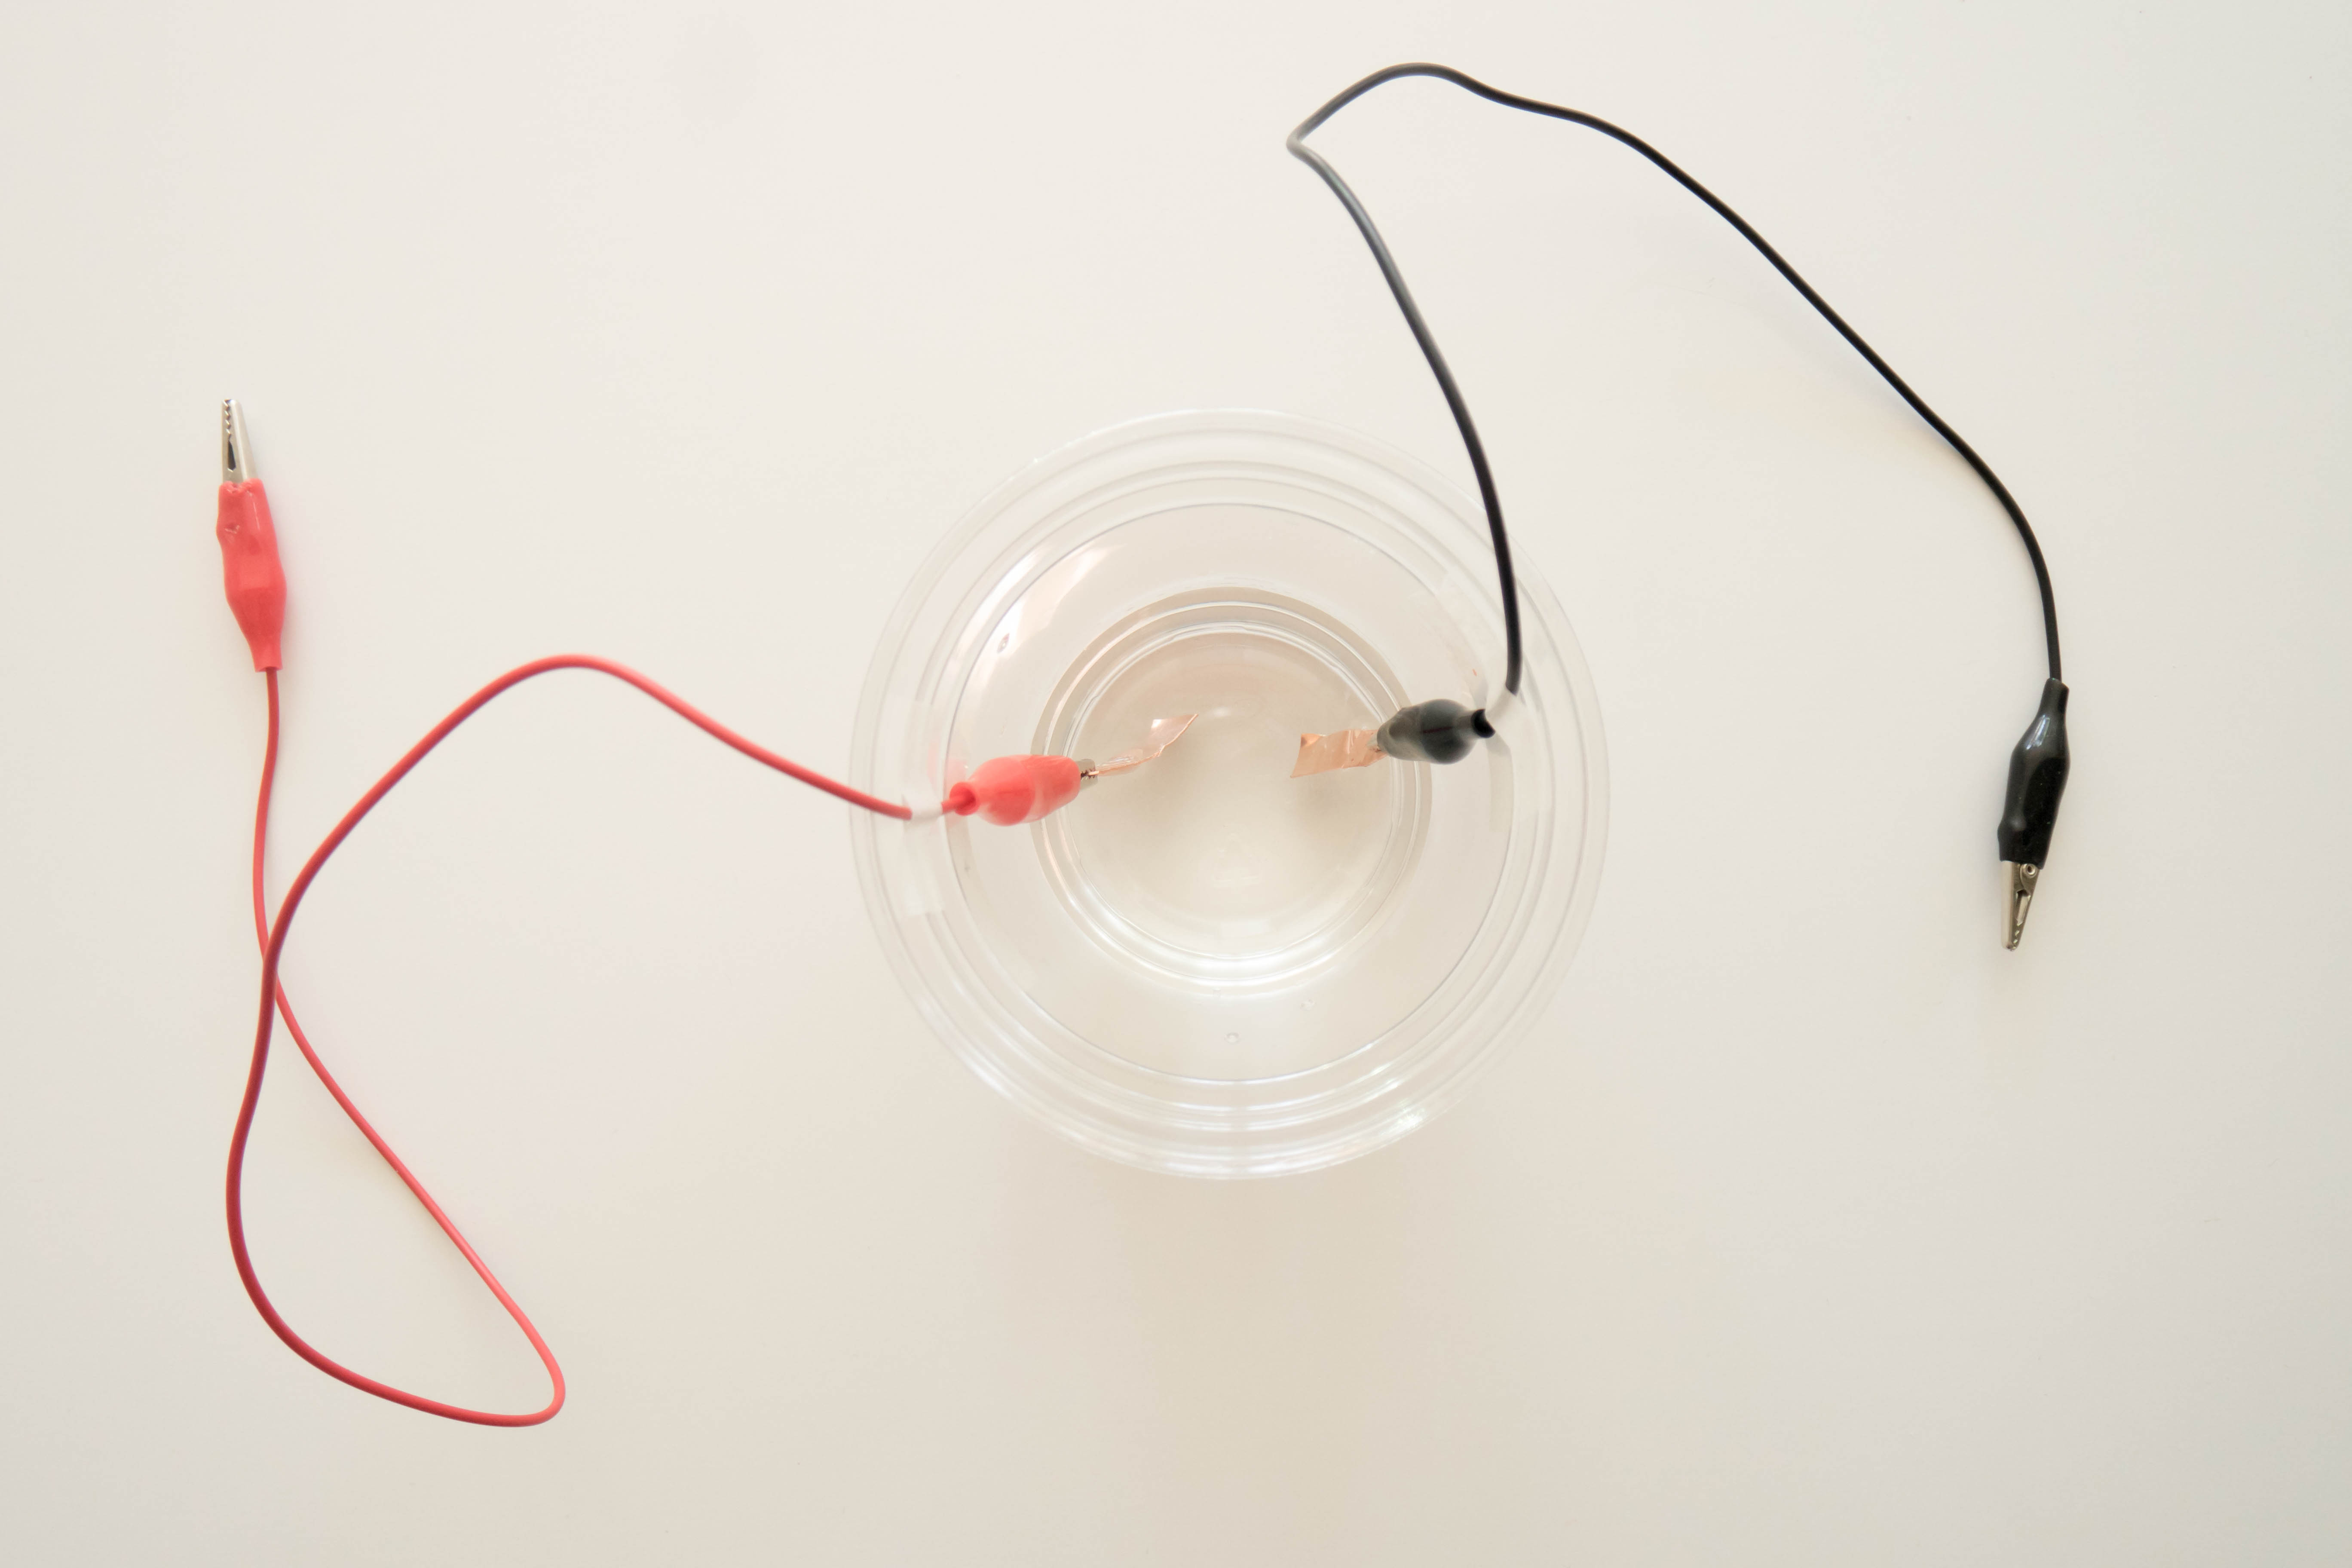
Clip a copper strip to one end of both the red and black alligator clips.
Step 4
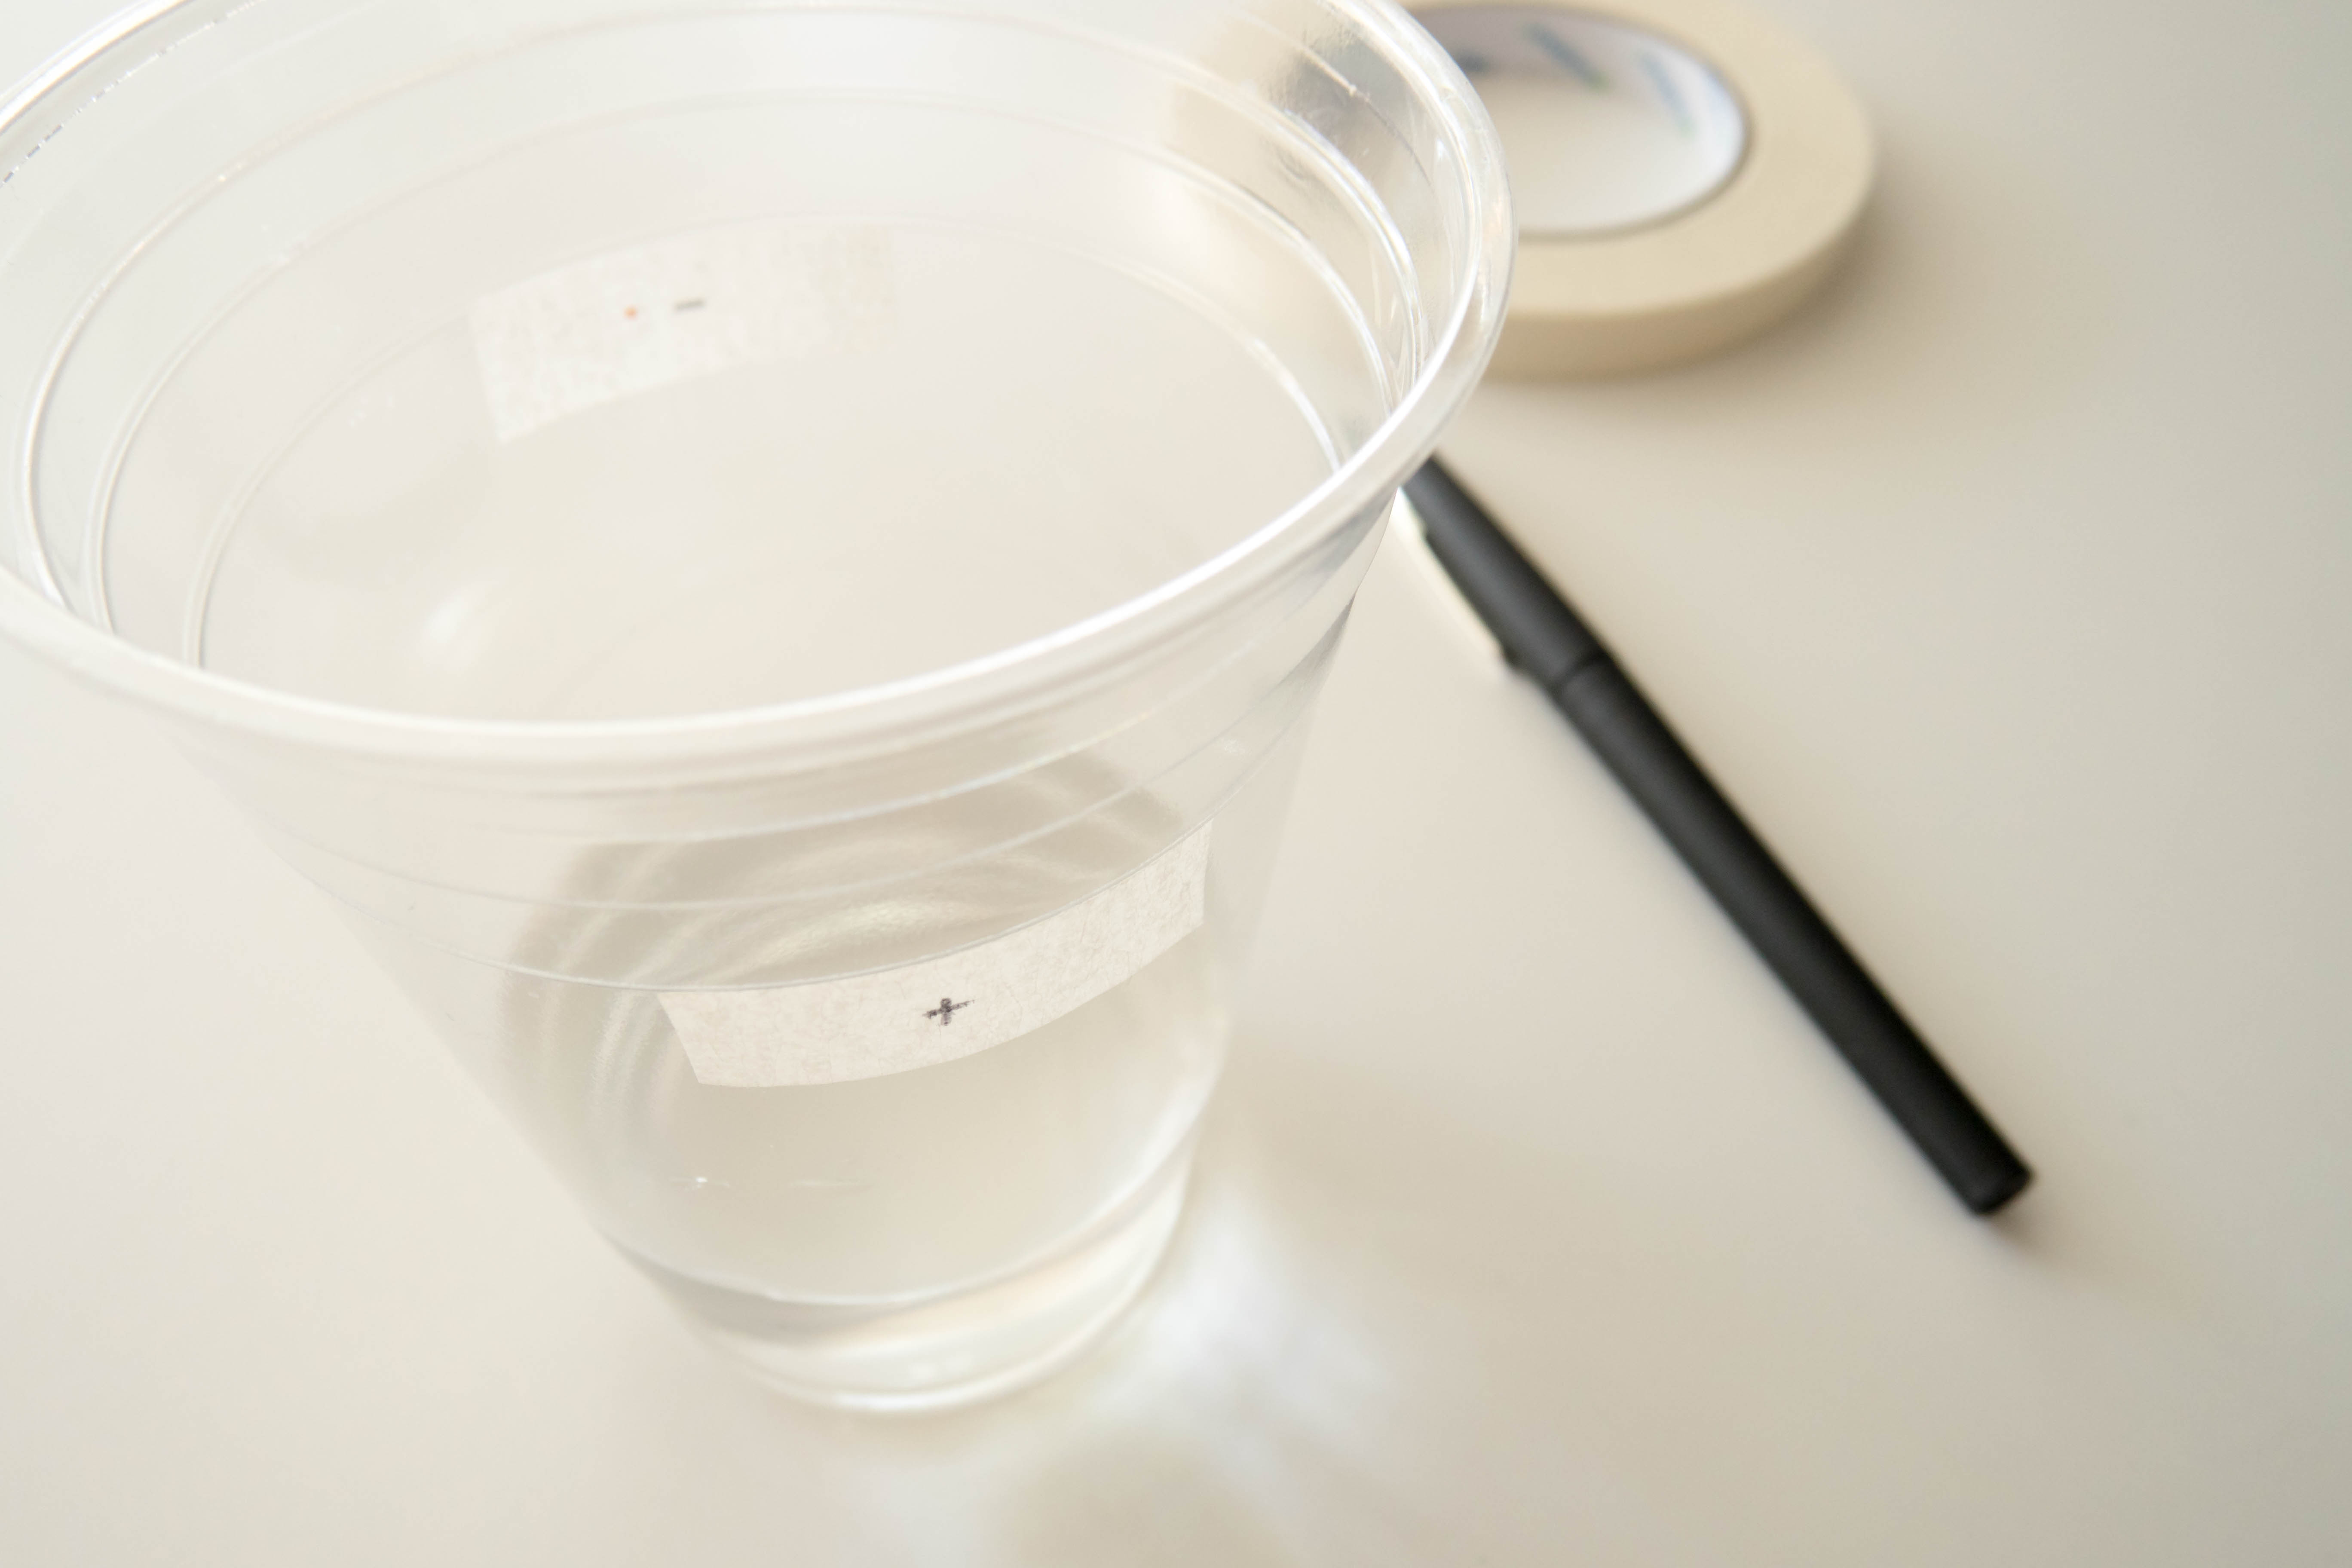
Mark a small piece of tape with “+” and another with “-”. Then, tape them to either side of the plastic cup.
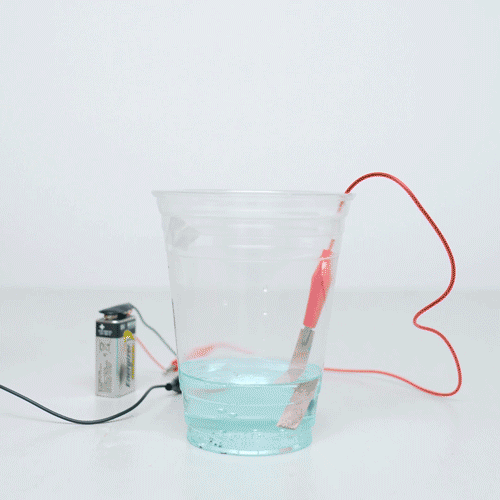
Step 5
Submerge the copper strips into the vinegar, taping the alligator clips to the cup so that they stay in place and aren’t in the vinegar.
Tip
Use the + and - tape to keep track of which alligator clip is which. The black alligator clip is negative and the red alligator clip is positive.
Step 6
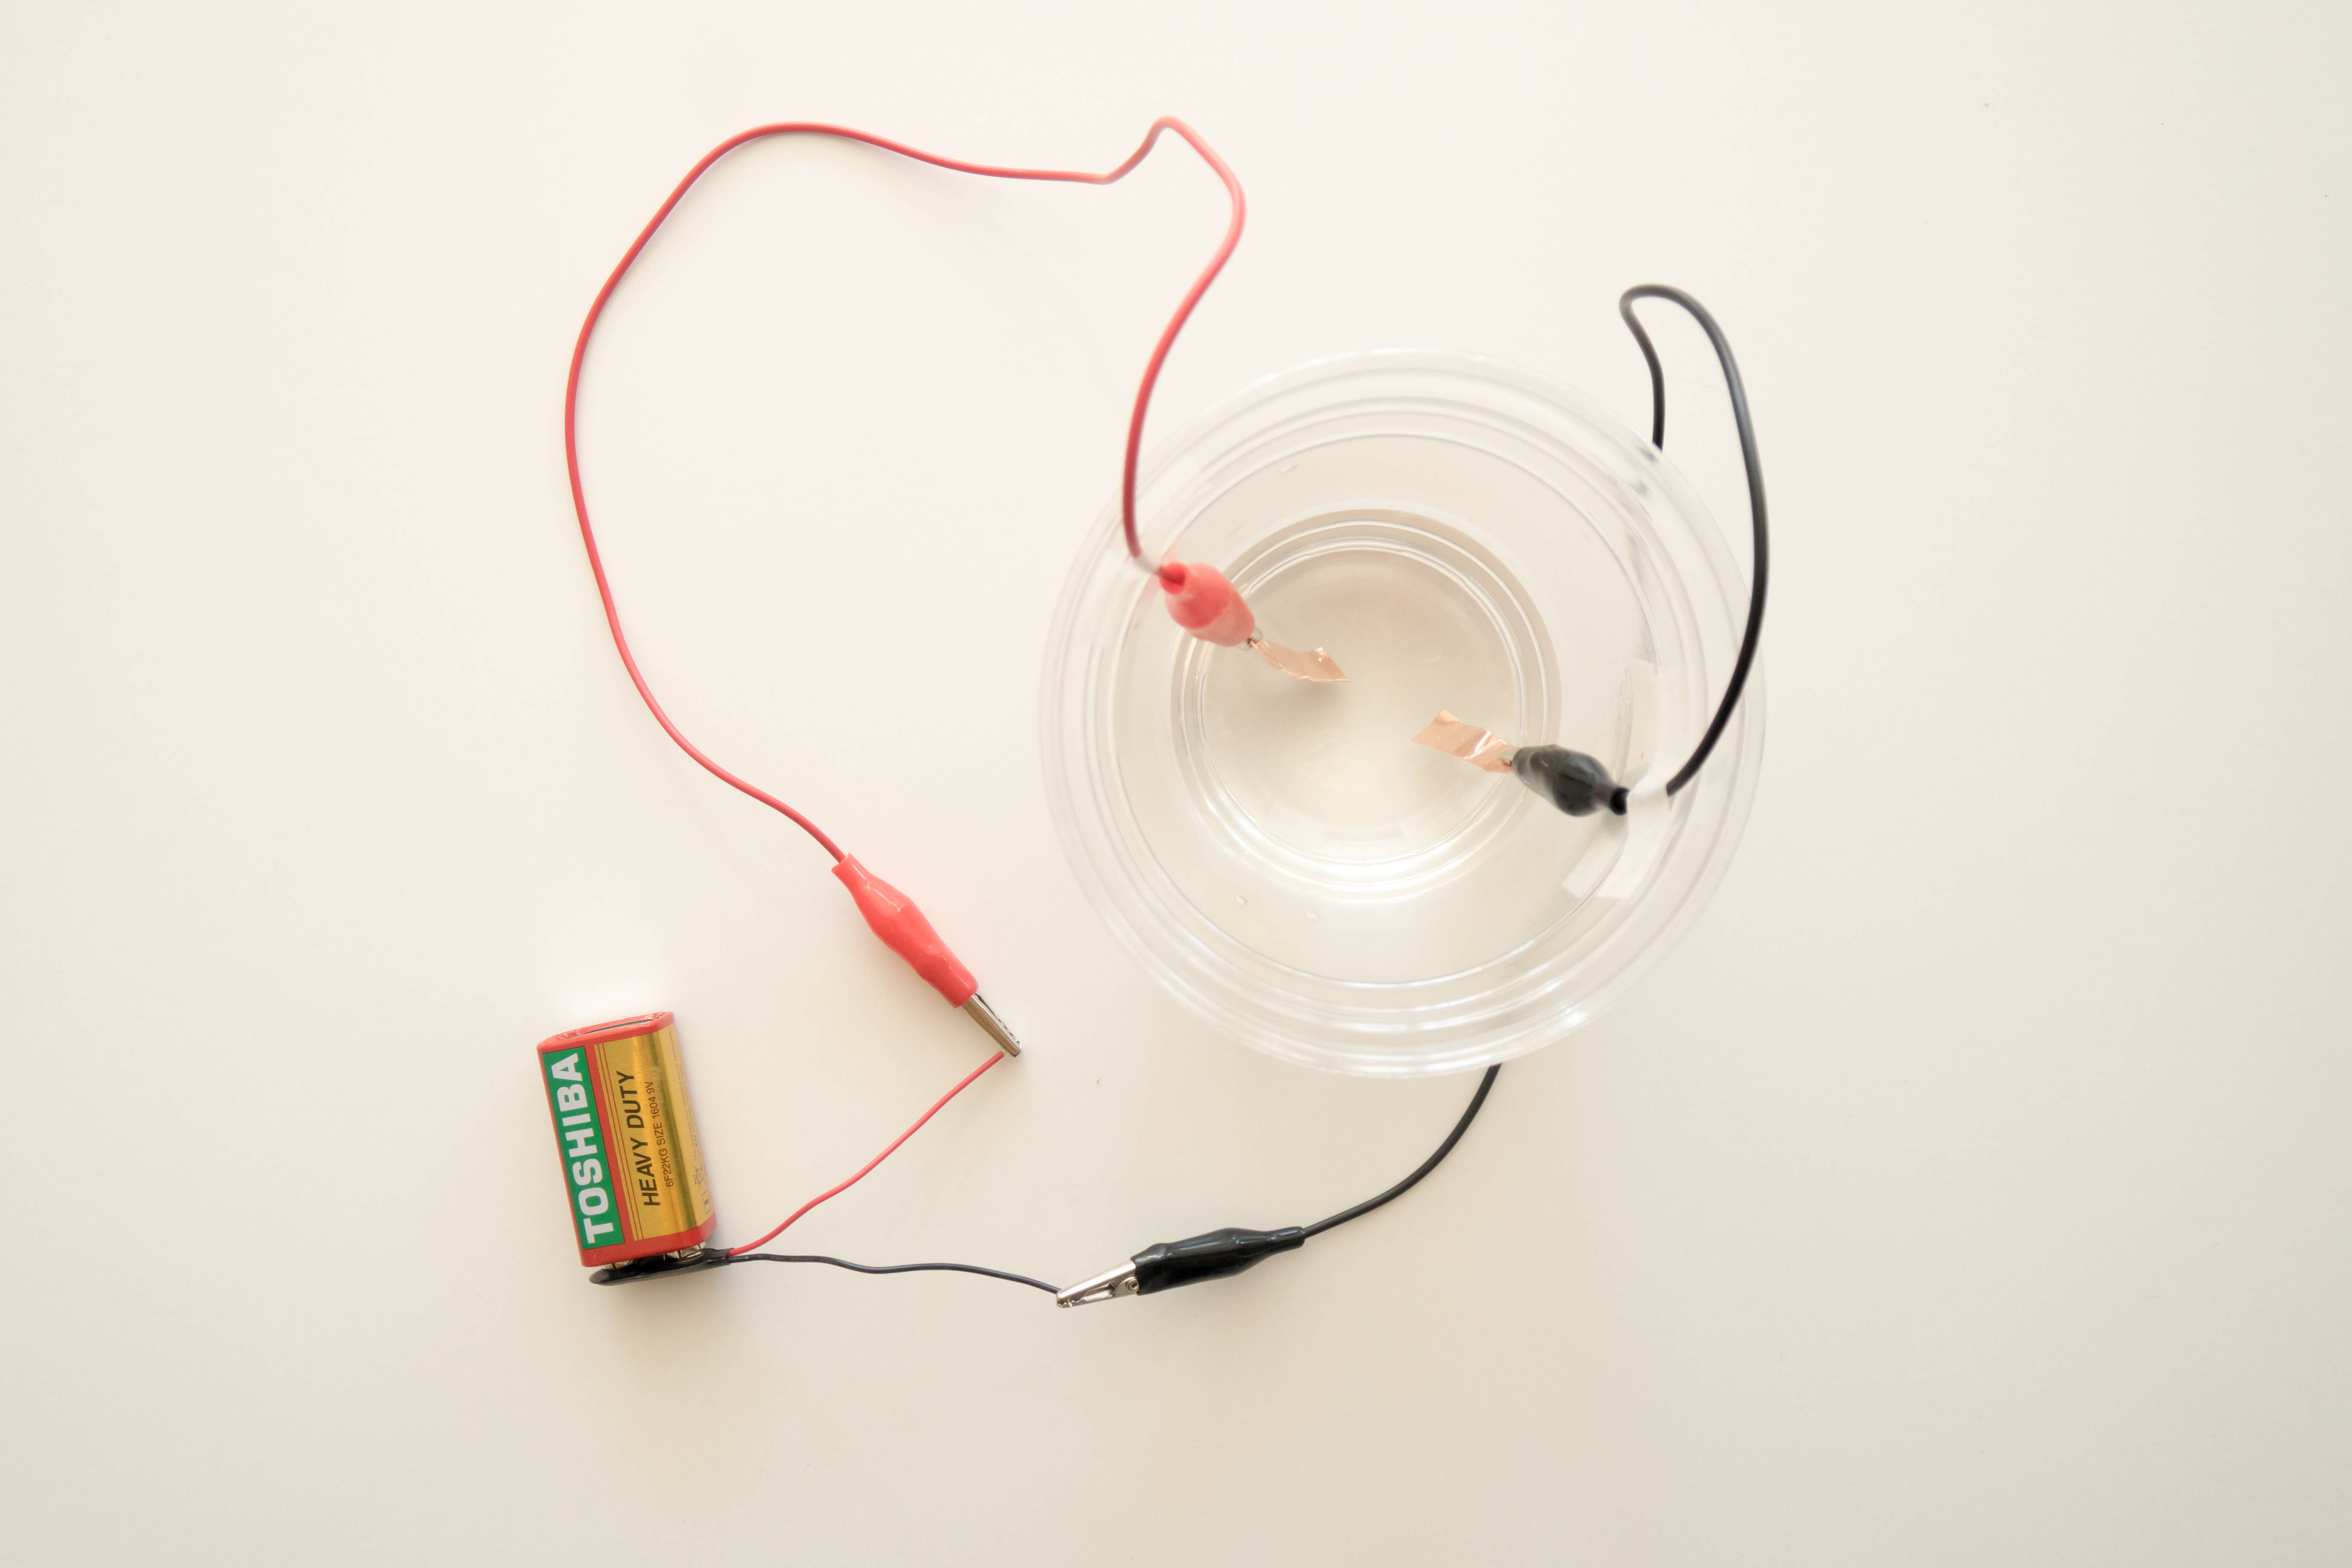
Place the battery into the battery snap. Then, connect the black alligator clip to the black wire lead and the red alligator clip to the red wire lead.
Step 7
Wait about 3 hours or until the vinegar has turned a greenish-blue.

Step 8
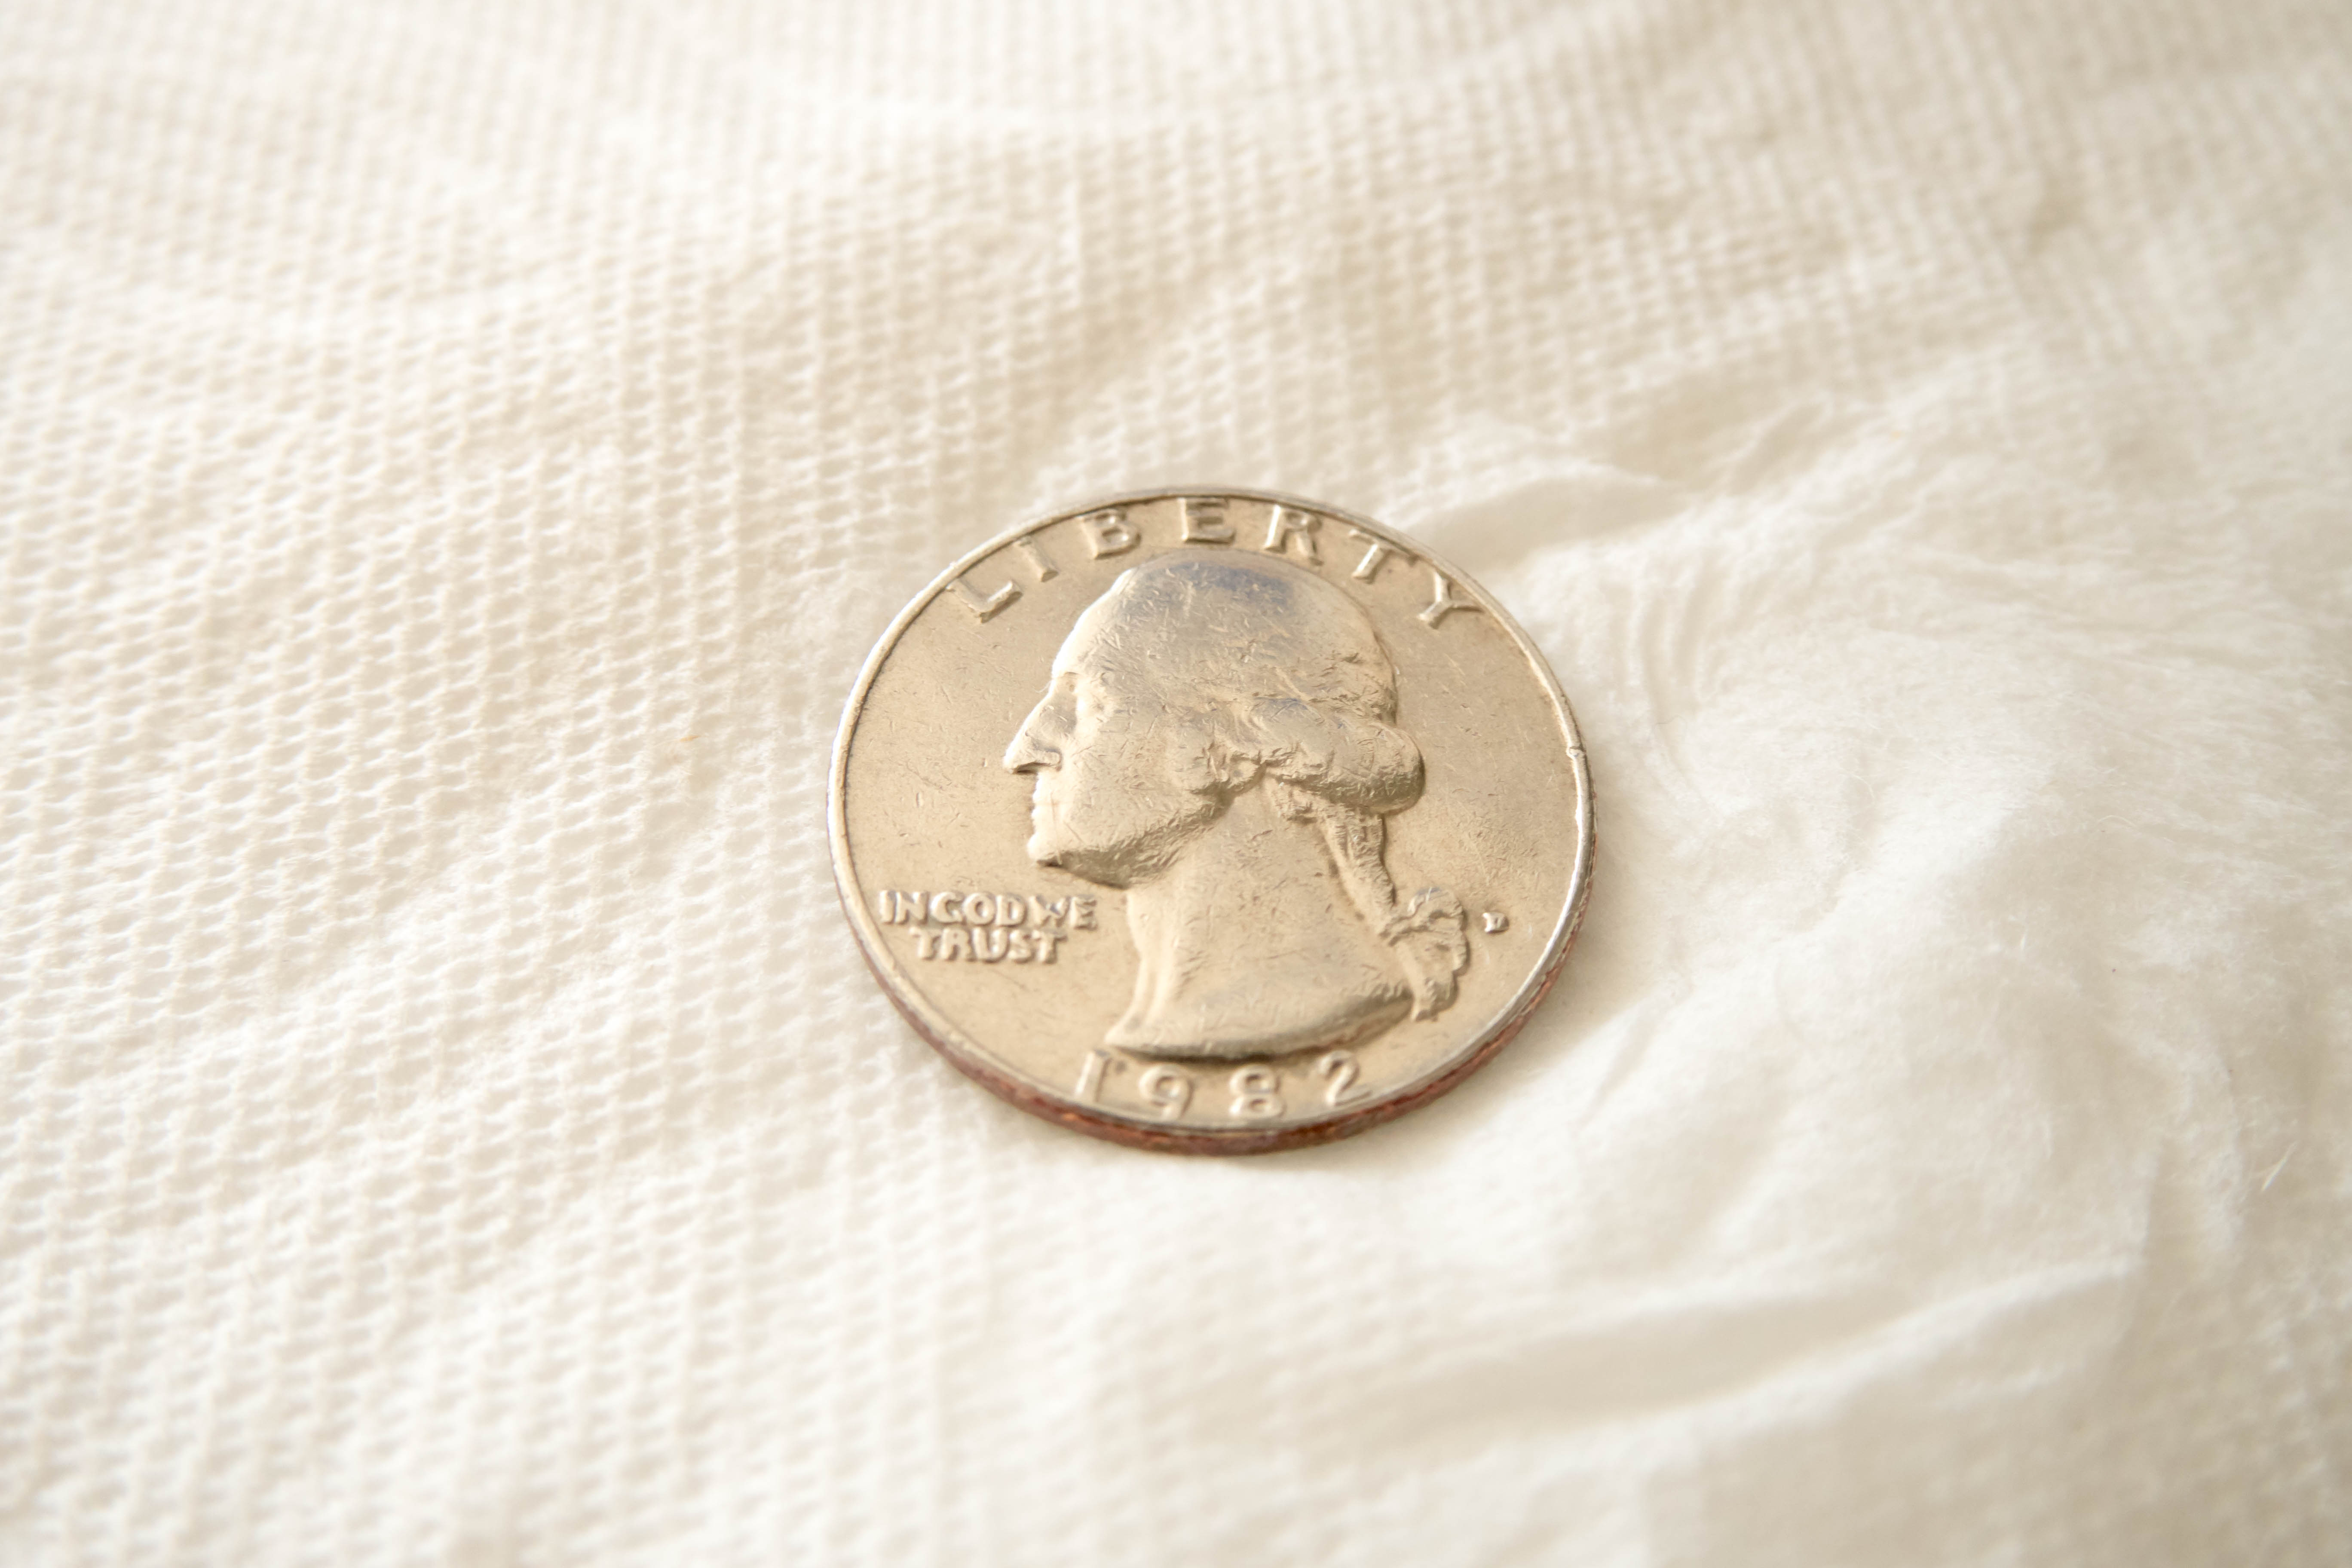
Clean a quarter with rubbing alcohol. Try not to touch it after you’ve cleaned it.
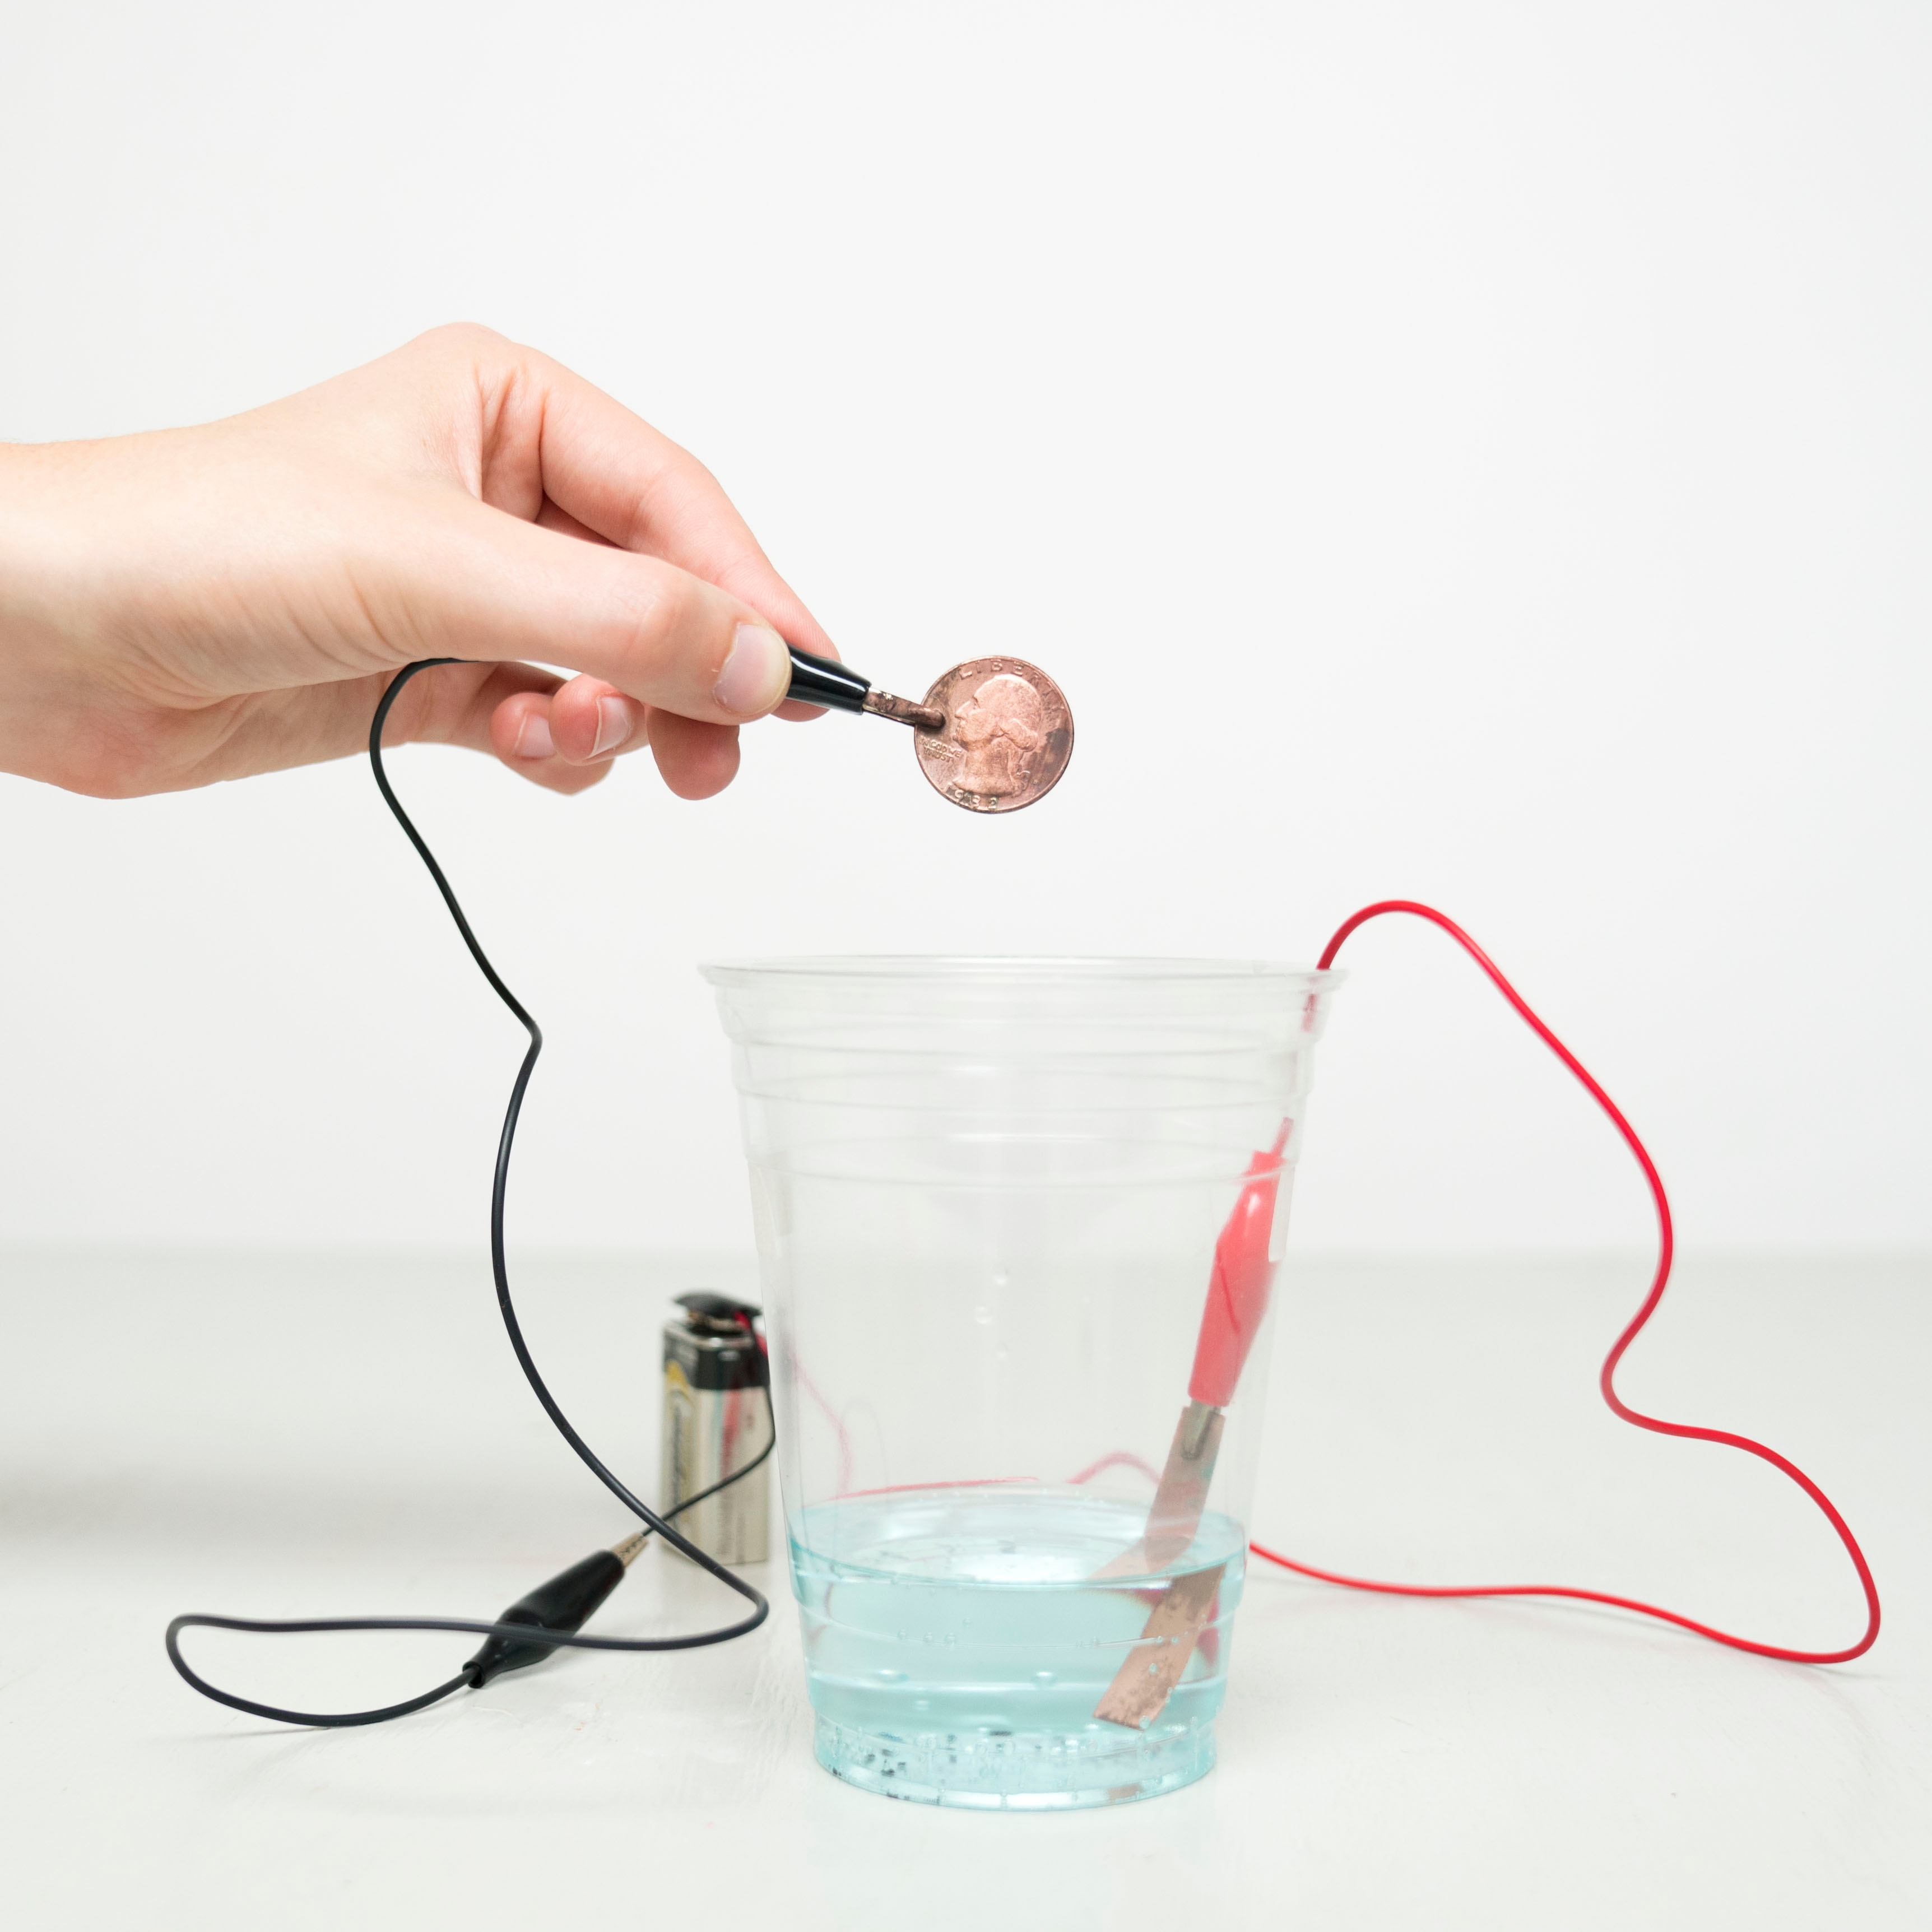
Step 9
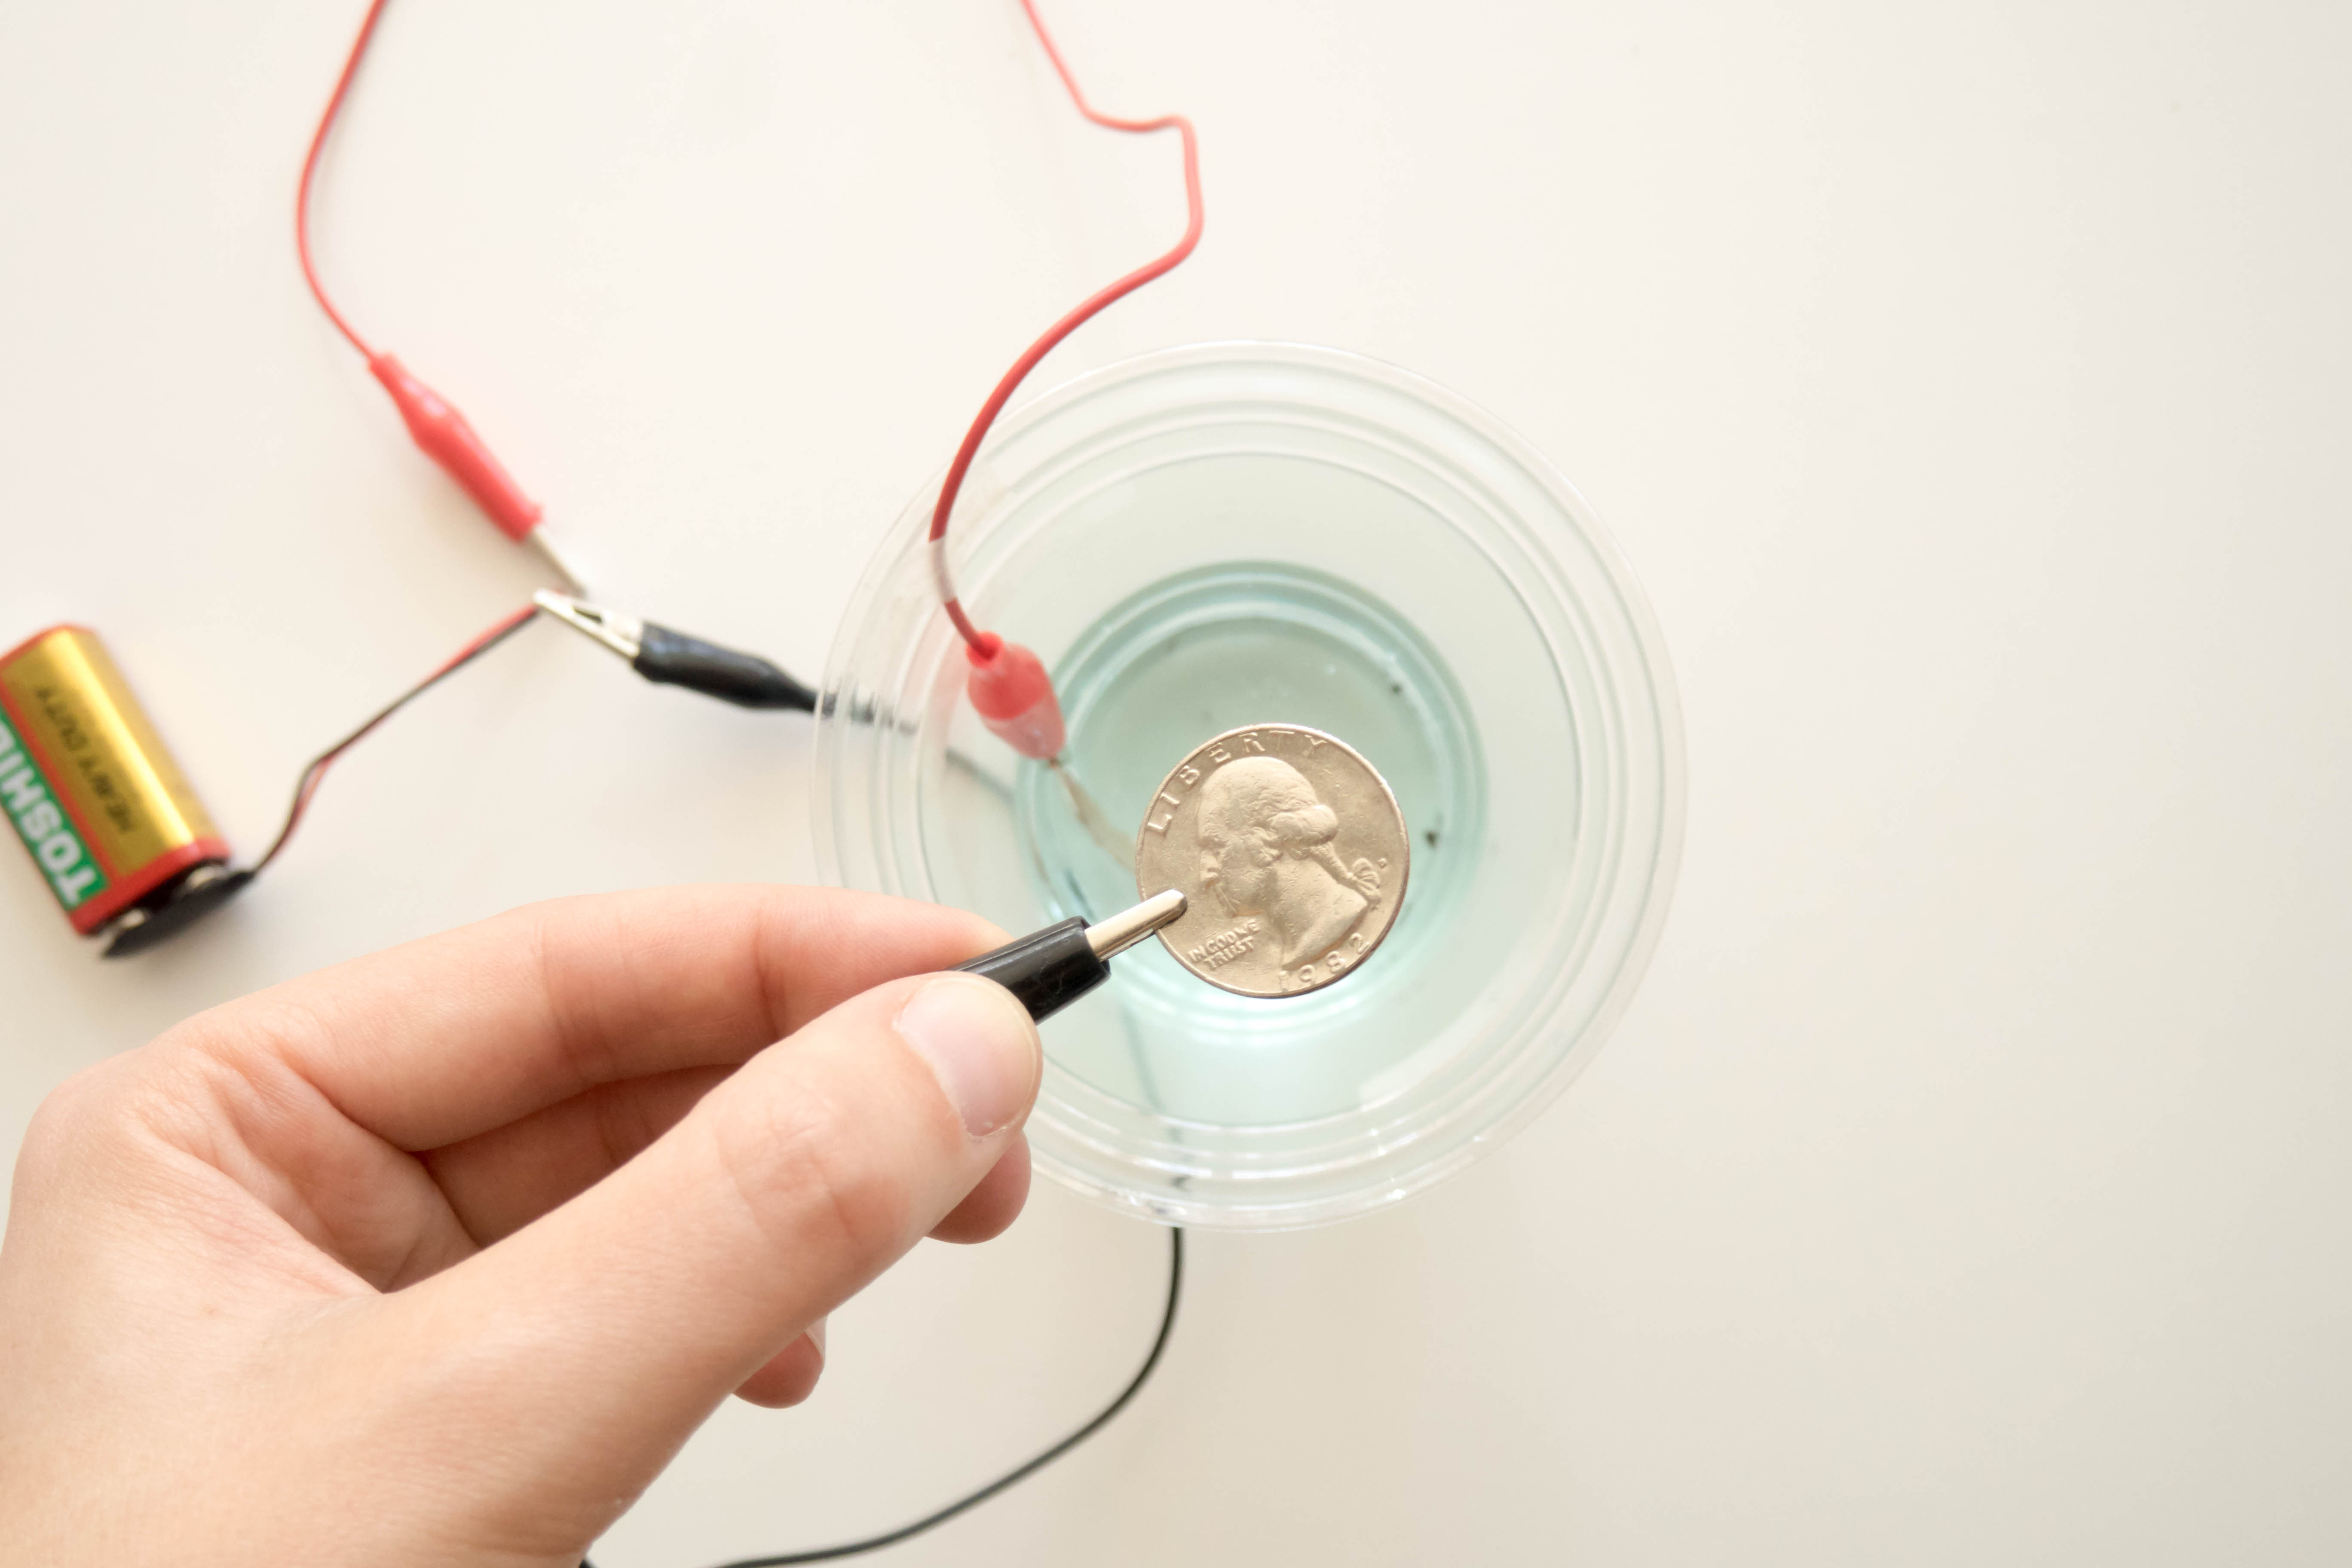
Take the positive alligator clip and the copper strip out of the vinegar. Replace the copper strip with a quarter and submerge it in the vinegar.
Step 10
Wait about 15 to 20 minutes. Then, take the quarter out of the vinegar and pat it dry with a paper towel.
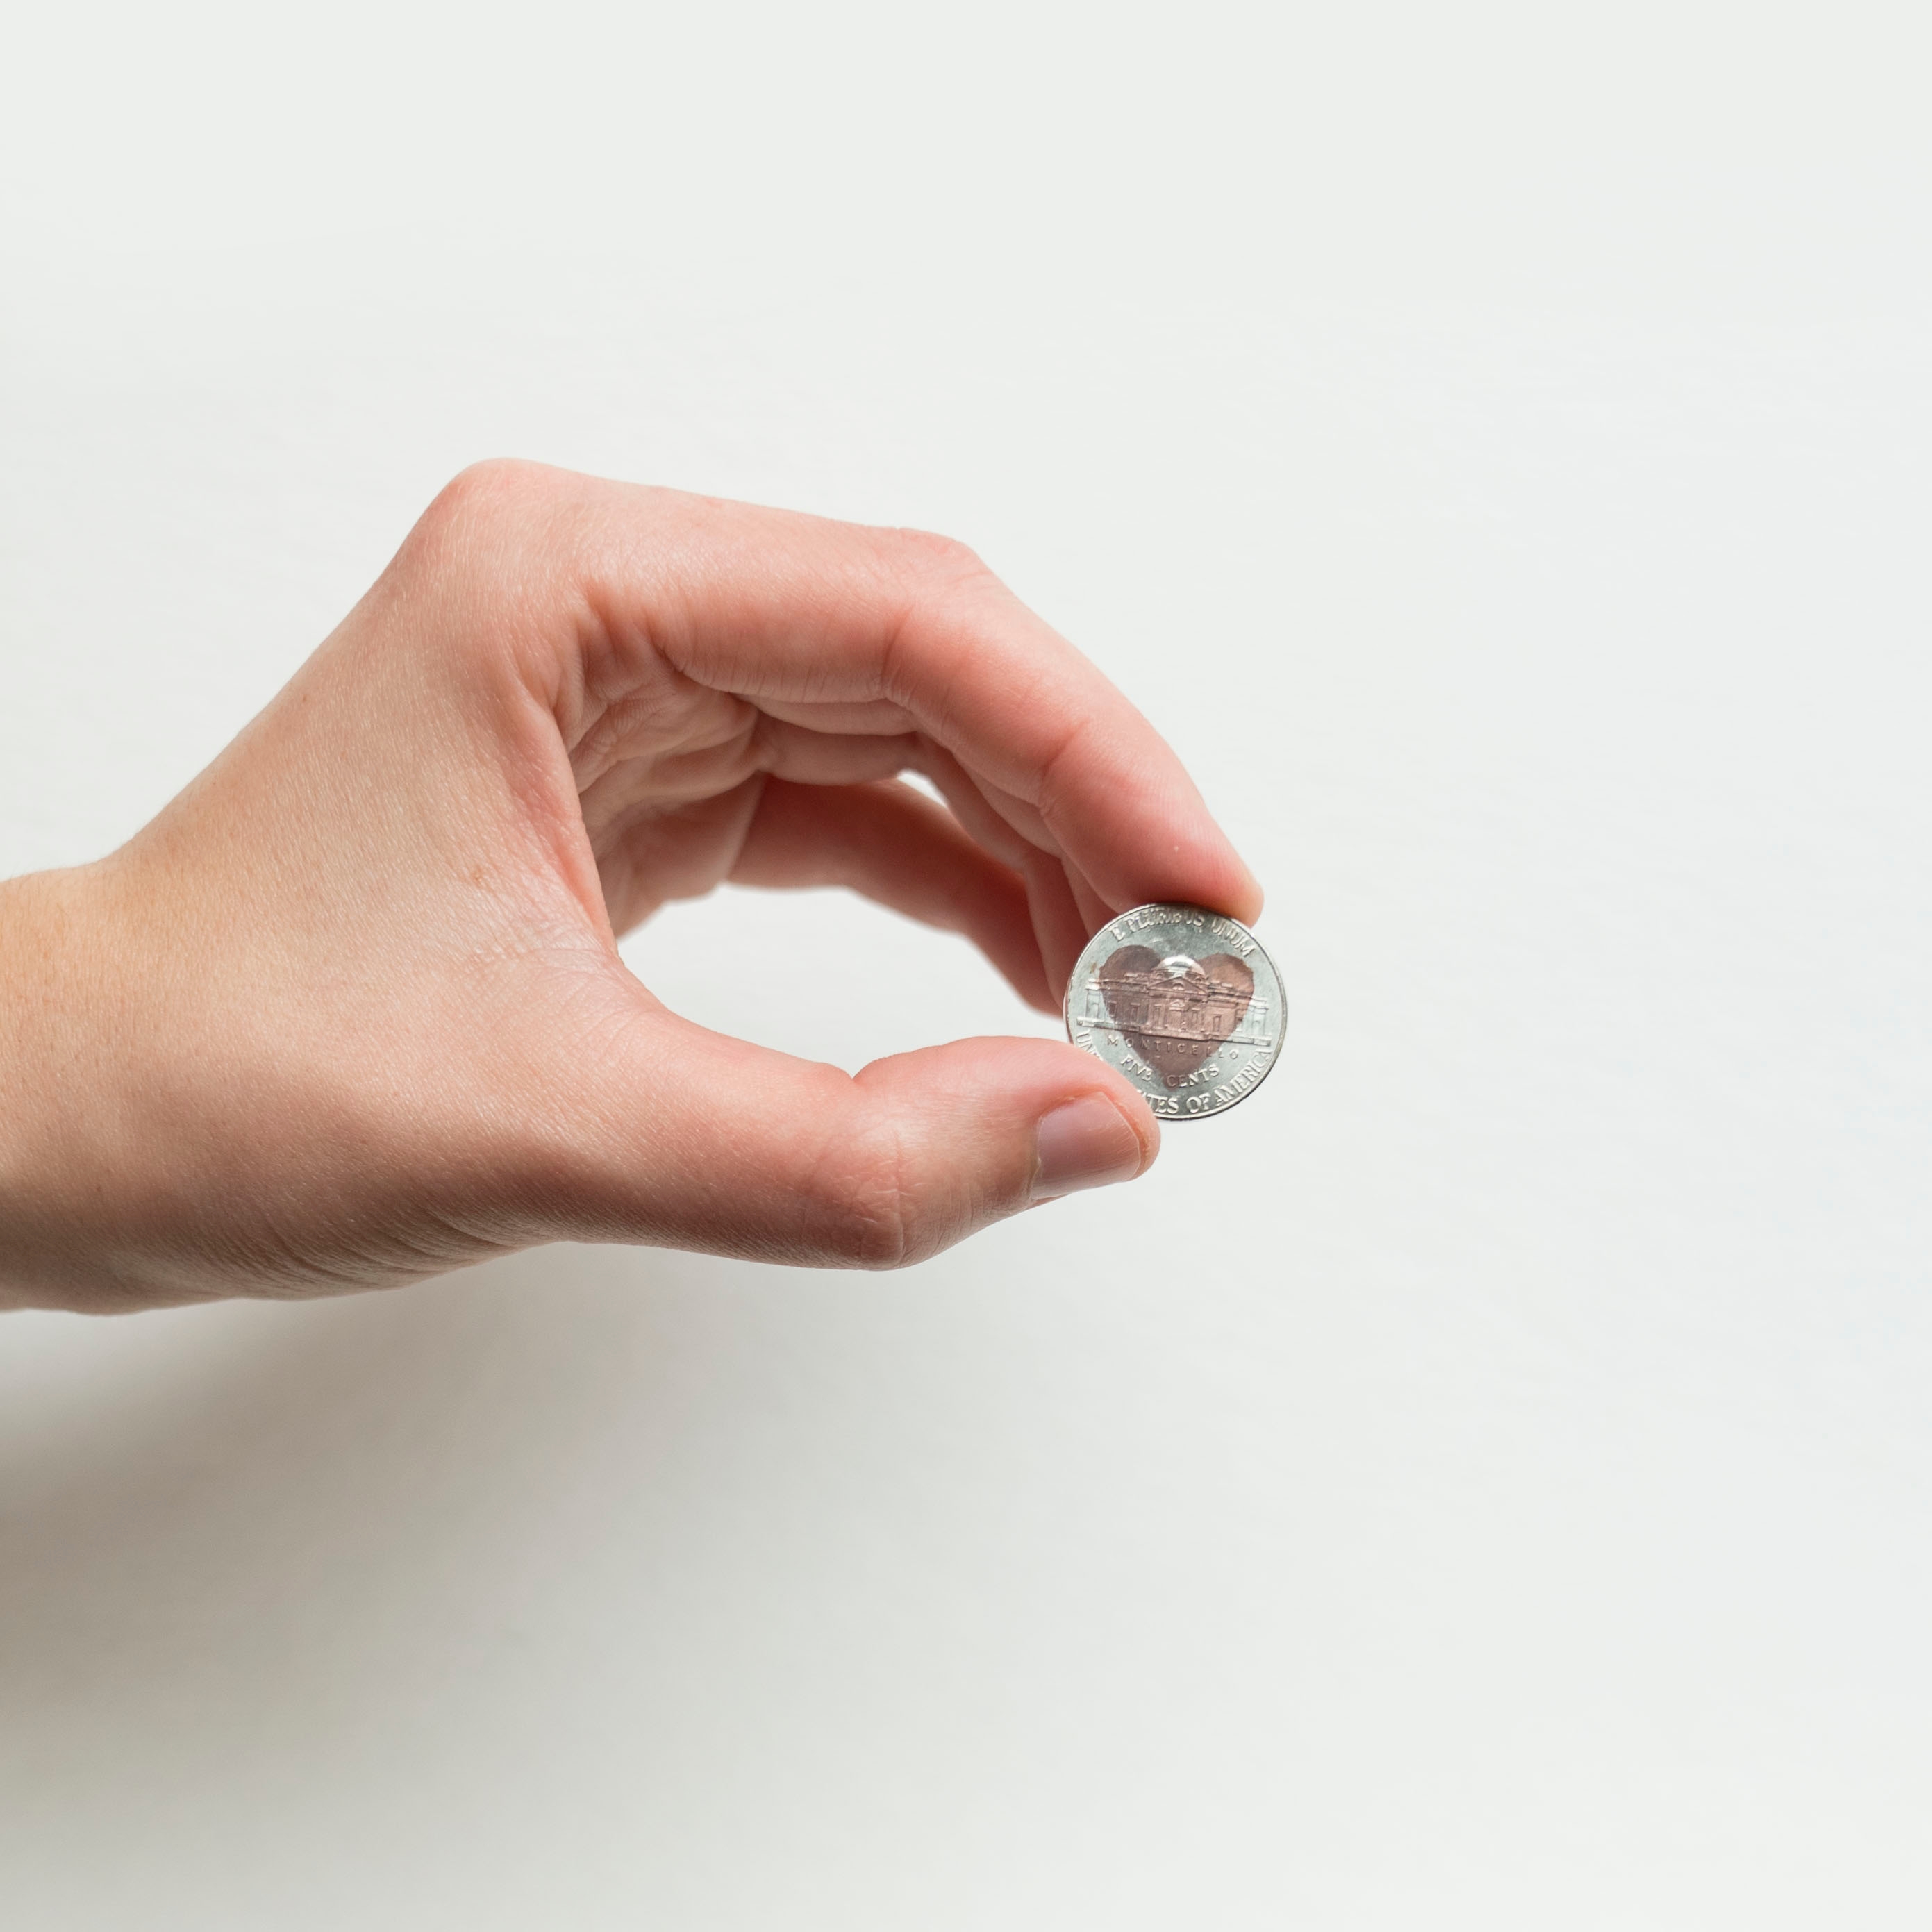
Step 11
Now, you have a copper plated quarter! If you like copper plating, try it with a nickel or dime, or tape off sections of your coin to make cool designs!
Learn more

With this project, you electroplated a quarter to make it look kind of like a penny. Did you know that actual pennies are electroplated too? They aren’t solid copper — in fact, they’re only 2.5% copper by weight! The other 97.5% is another metal called zinc. The US Mint switched to electroplating their pennies in 1982 to help standardize how much they weigh. If you find a penny from before 1982, compare it to a modern penny and see what other differences you can spot!


