Step-by-step tutorial
Step 1
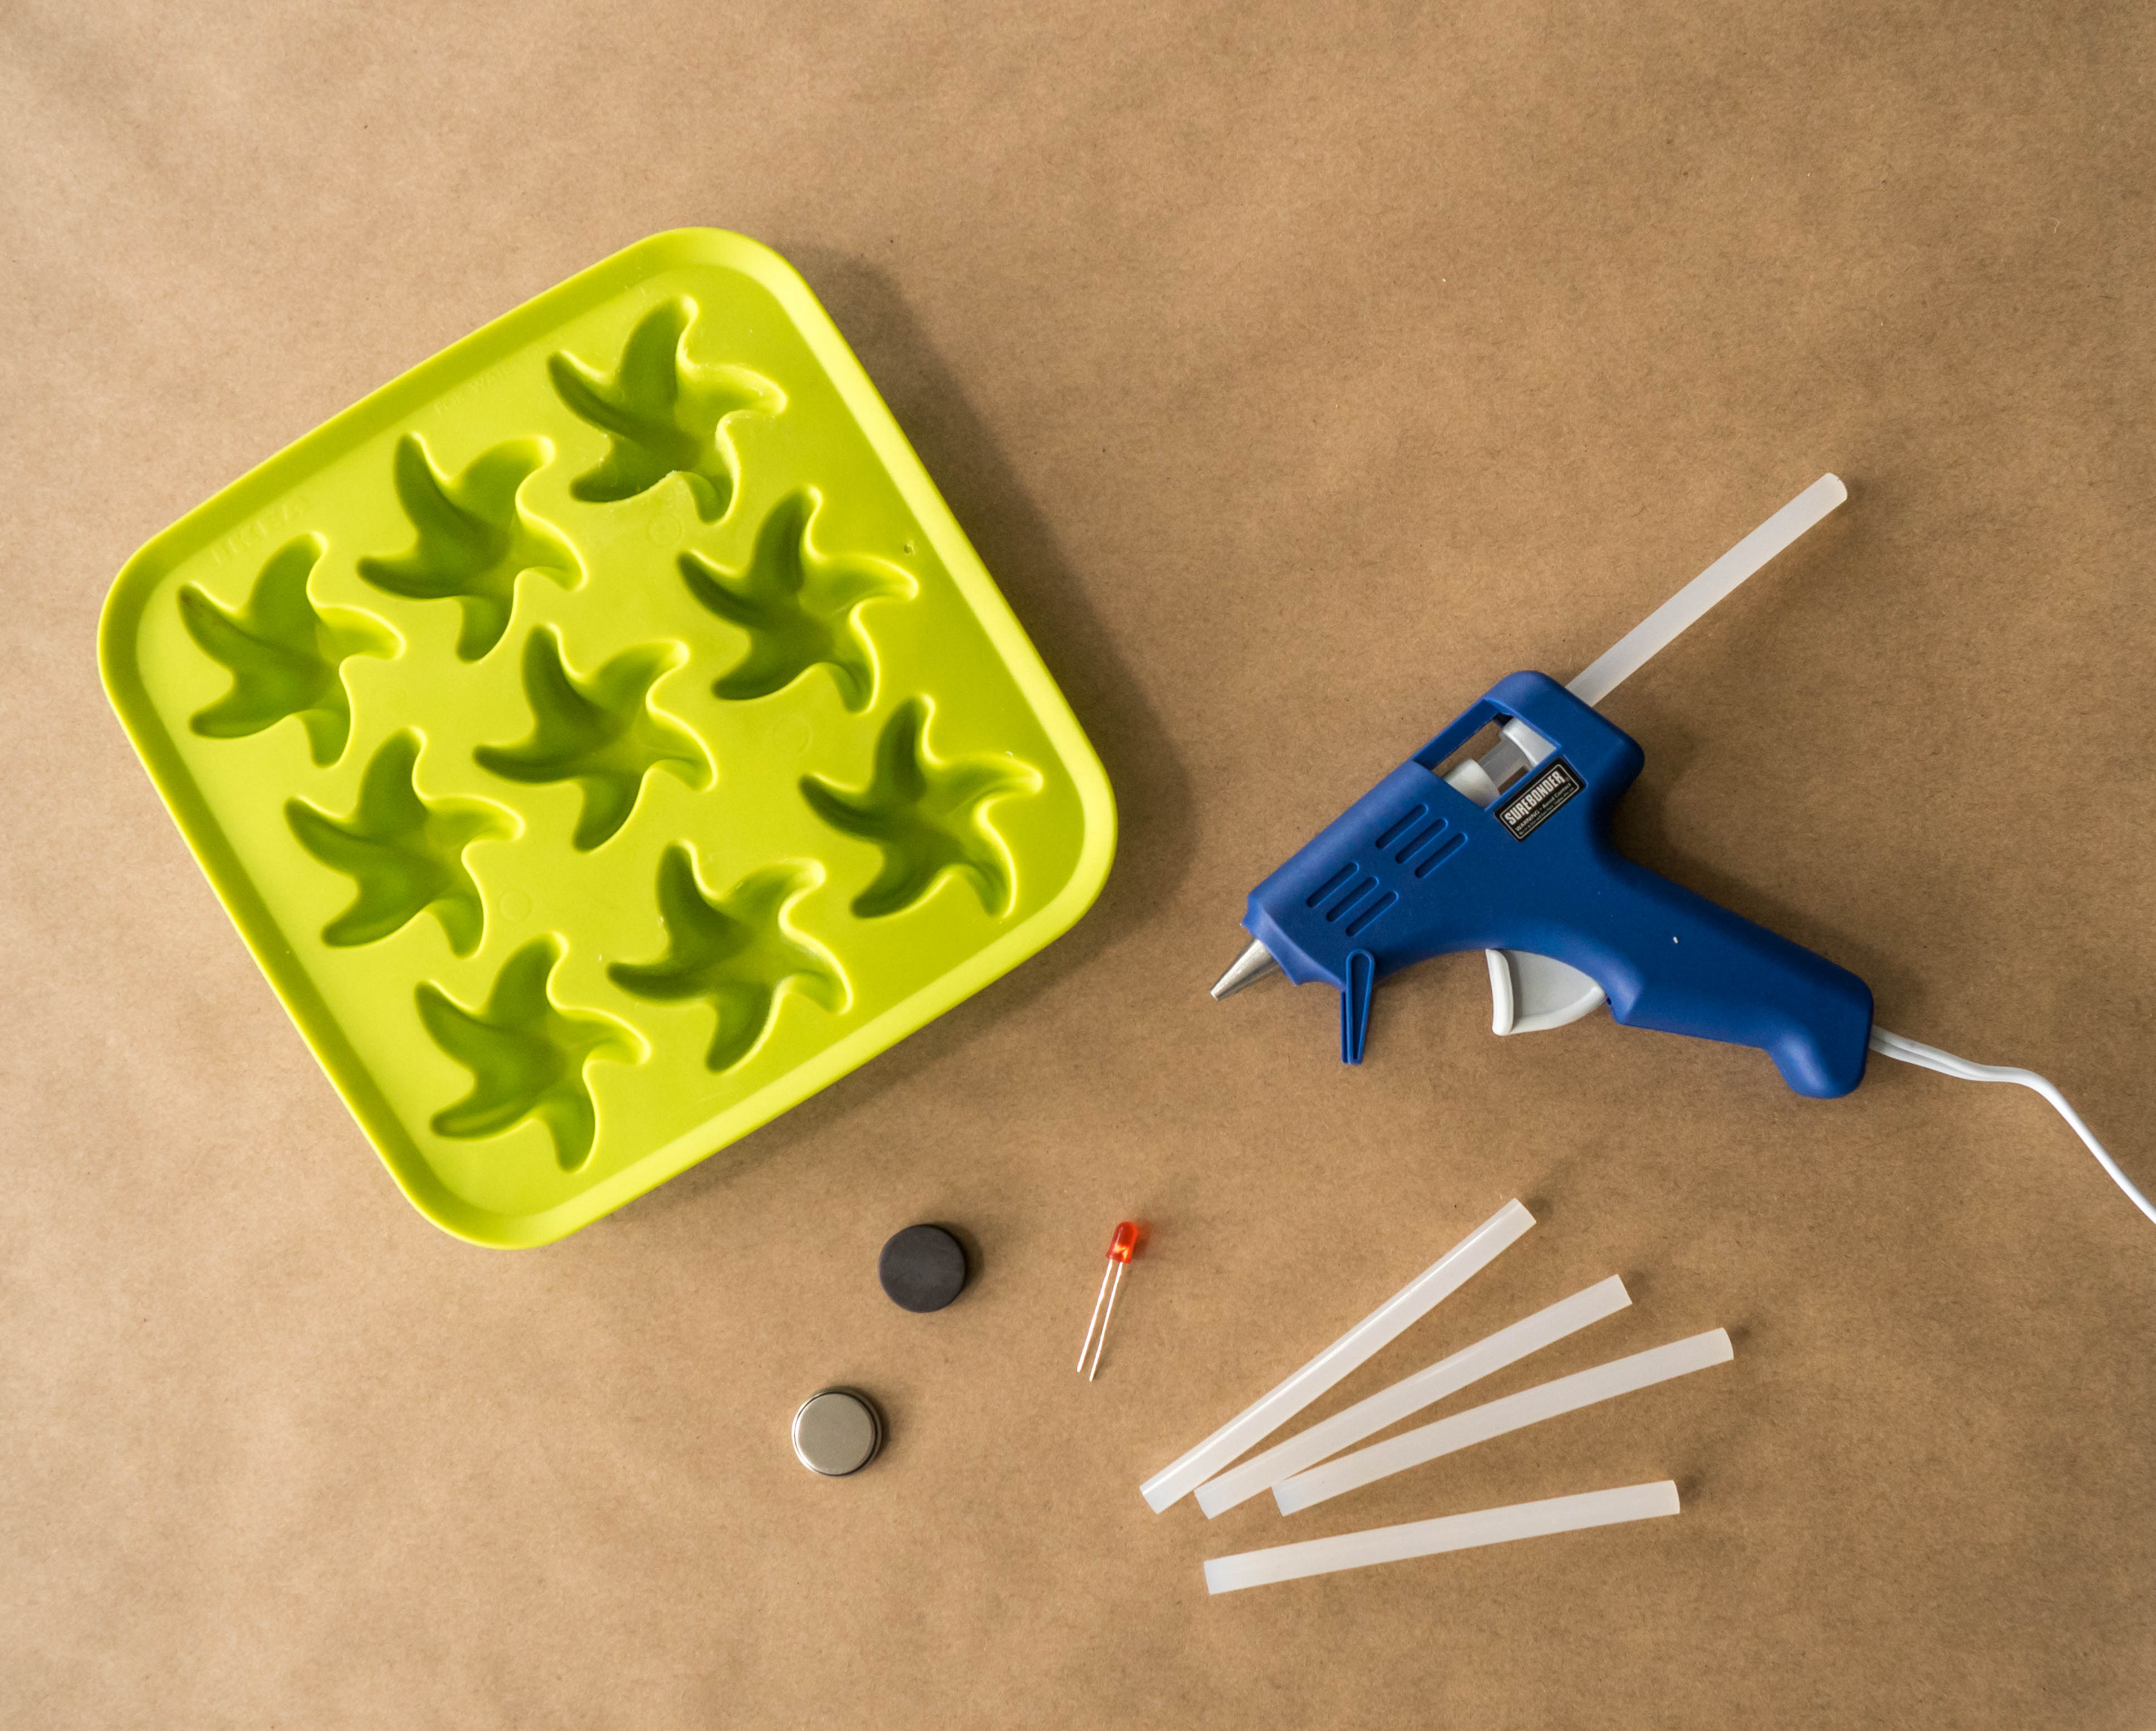
Gather your materials.

Step 2
Squeeze hot glue into a silicone mold until it just reaches the top.
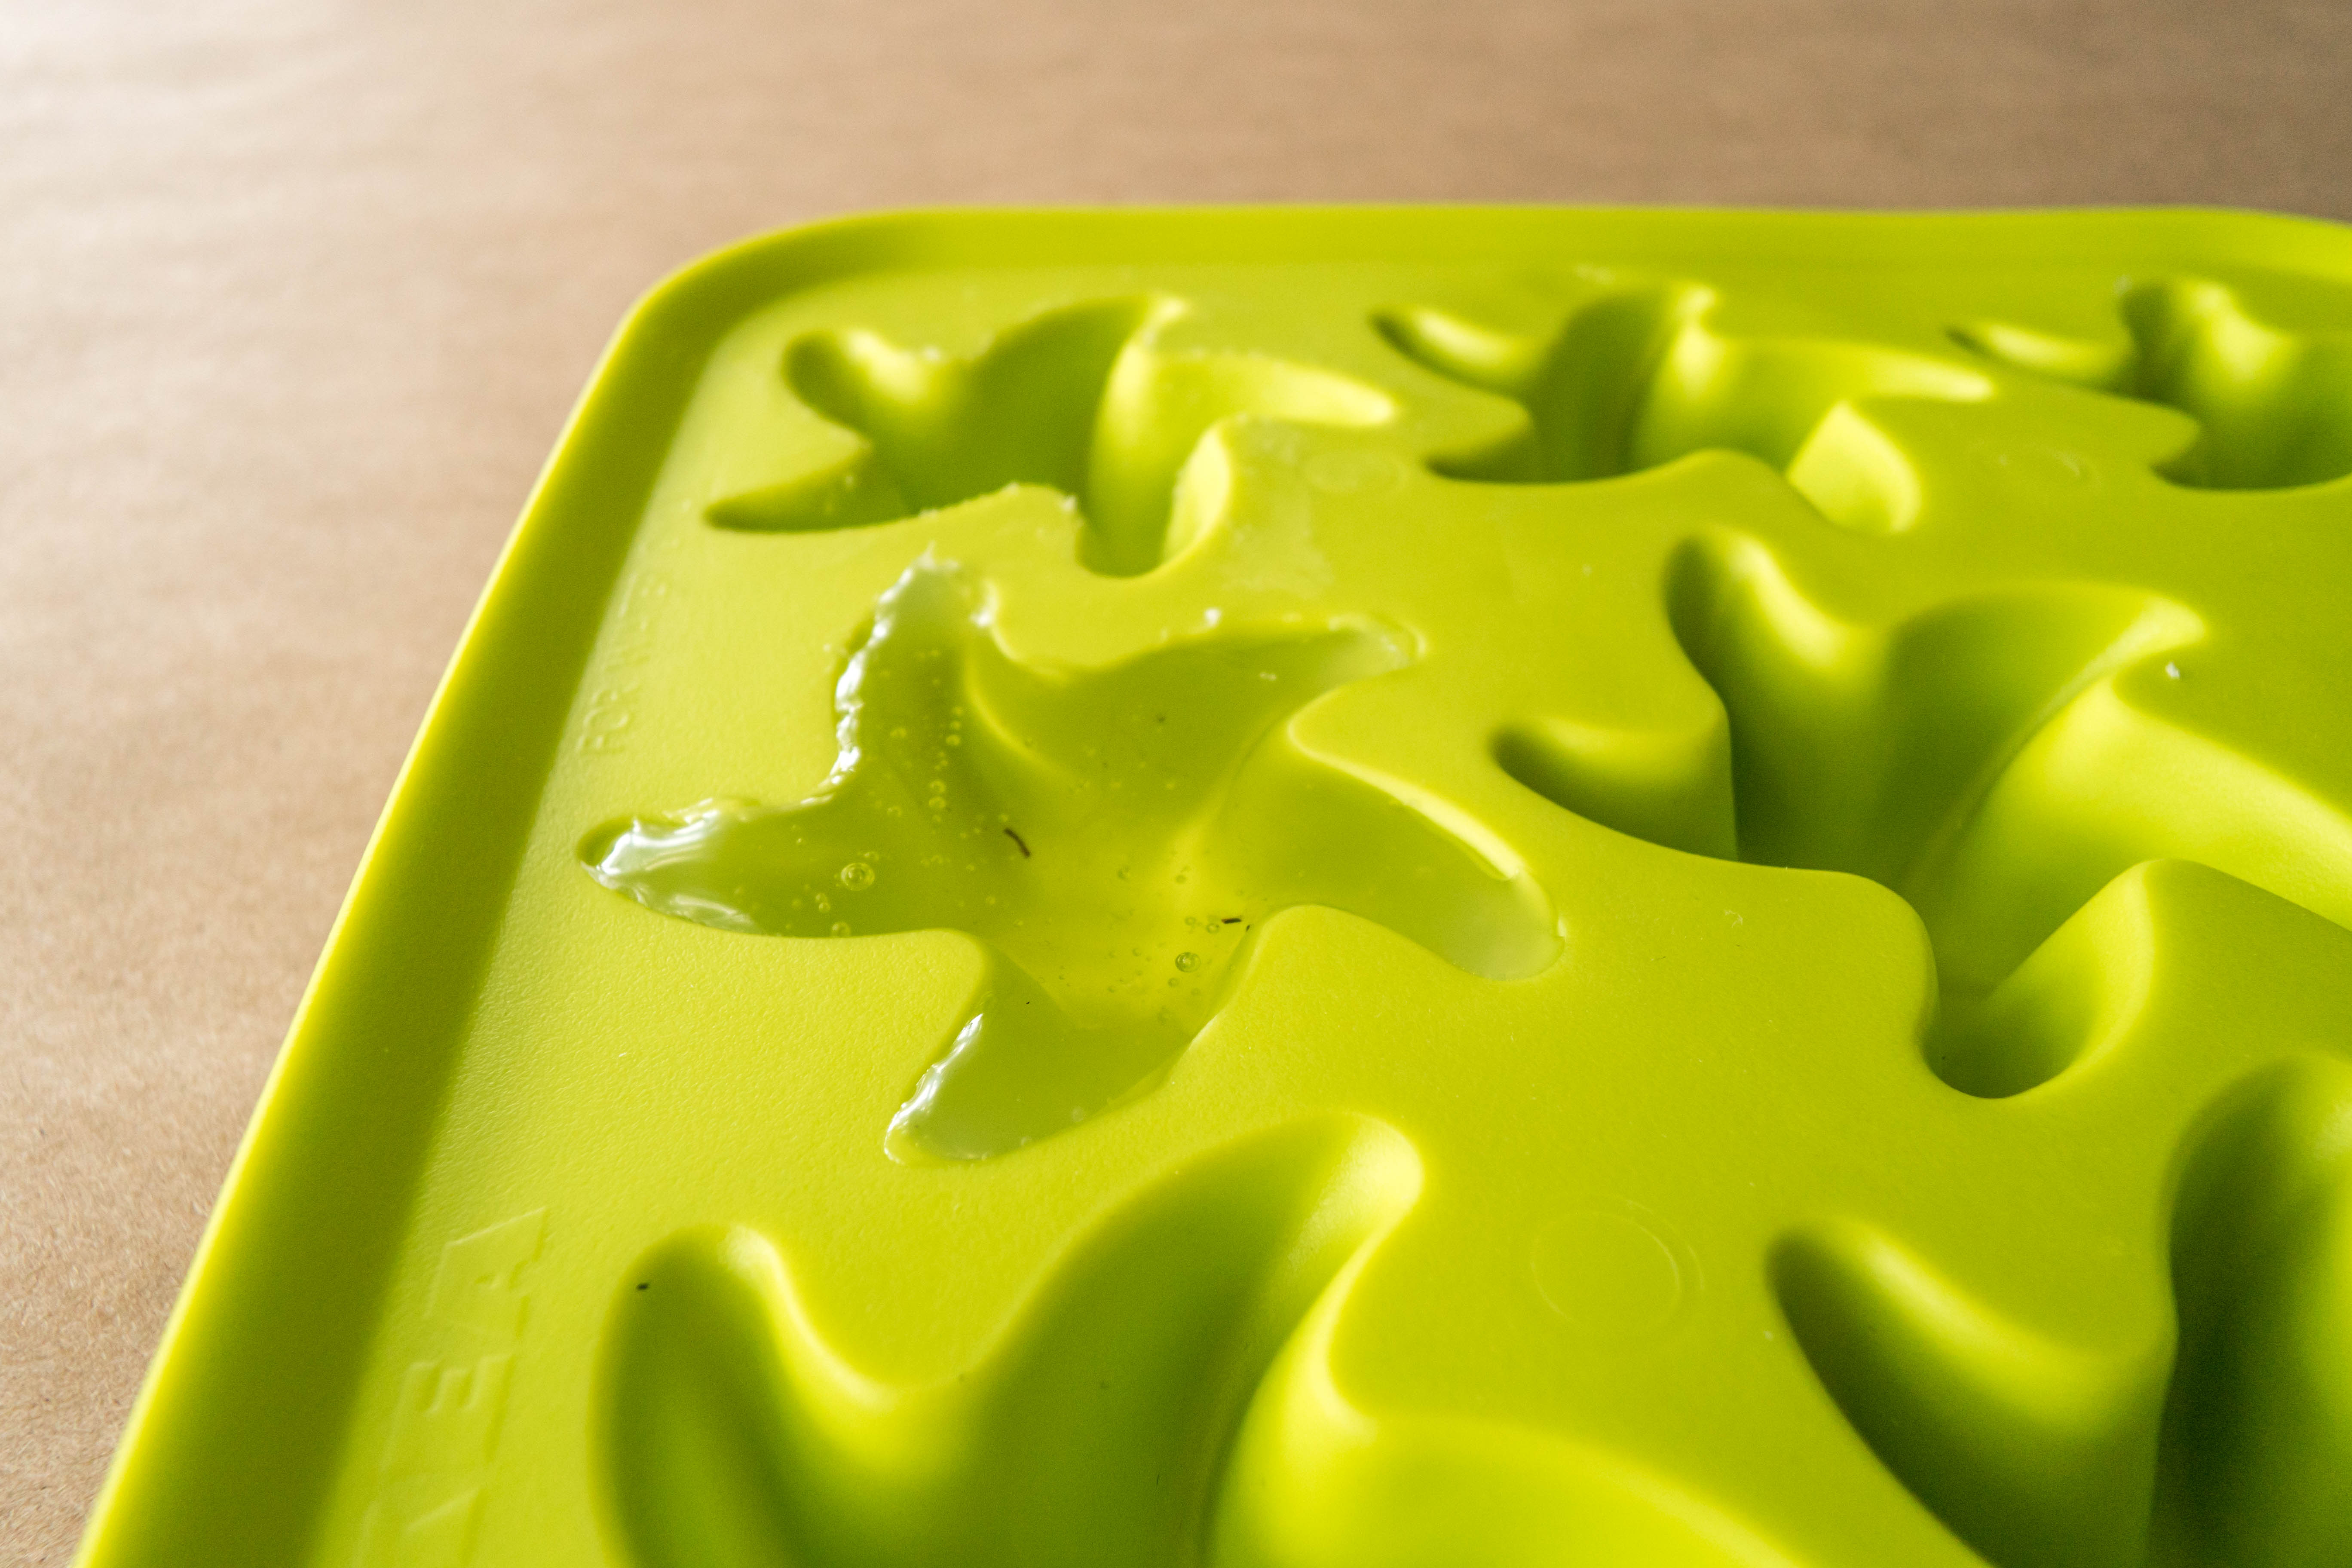
Tip
Try to pop any air bubbles in the hot glue by pushing the hot glue down with the tip of the hot glue gun.
Step 3
Let the glue dry until almost set (the center should still be soft and wet). Carefully place the LED (light first) into the center of the mold. The back of the light should be flush with the hot glue and not sunken in.
Tip
The hot glue will set at different temperatures depending on the depth of your mold and the kind of hot glue you are using. Be patient - if the mold is very deep, it will take longer for the hot glue to set.
Step 4
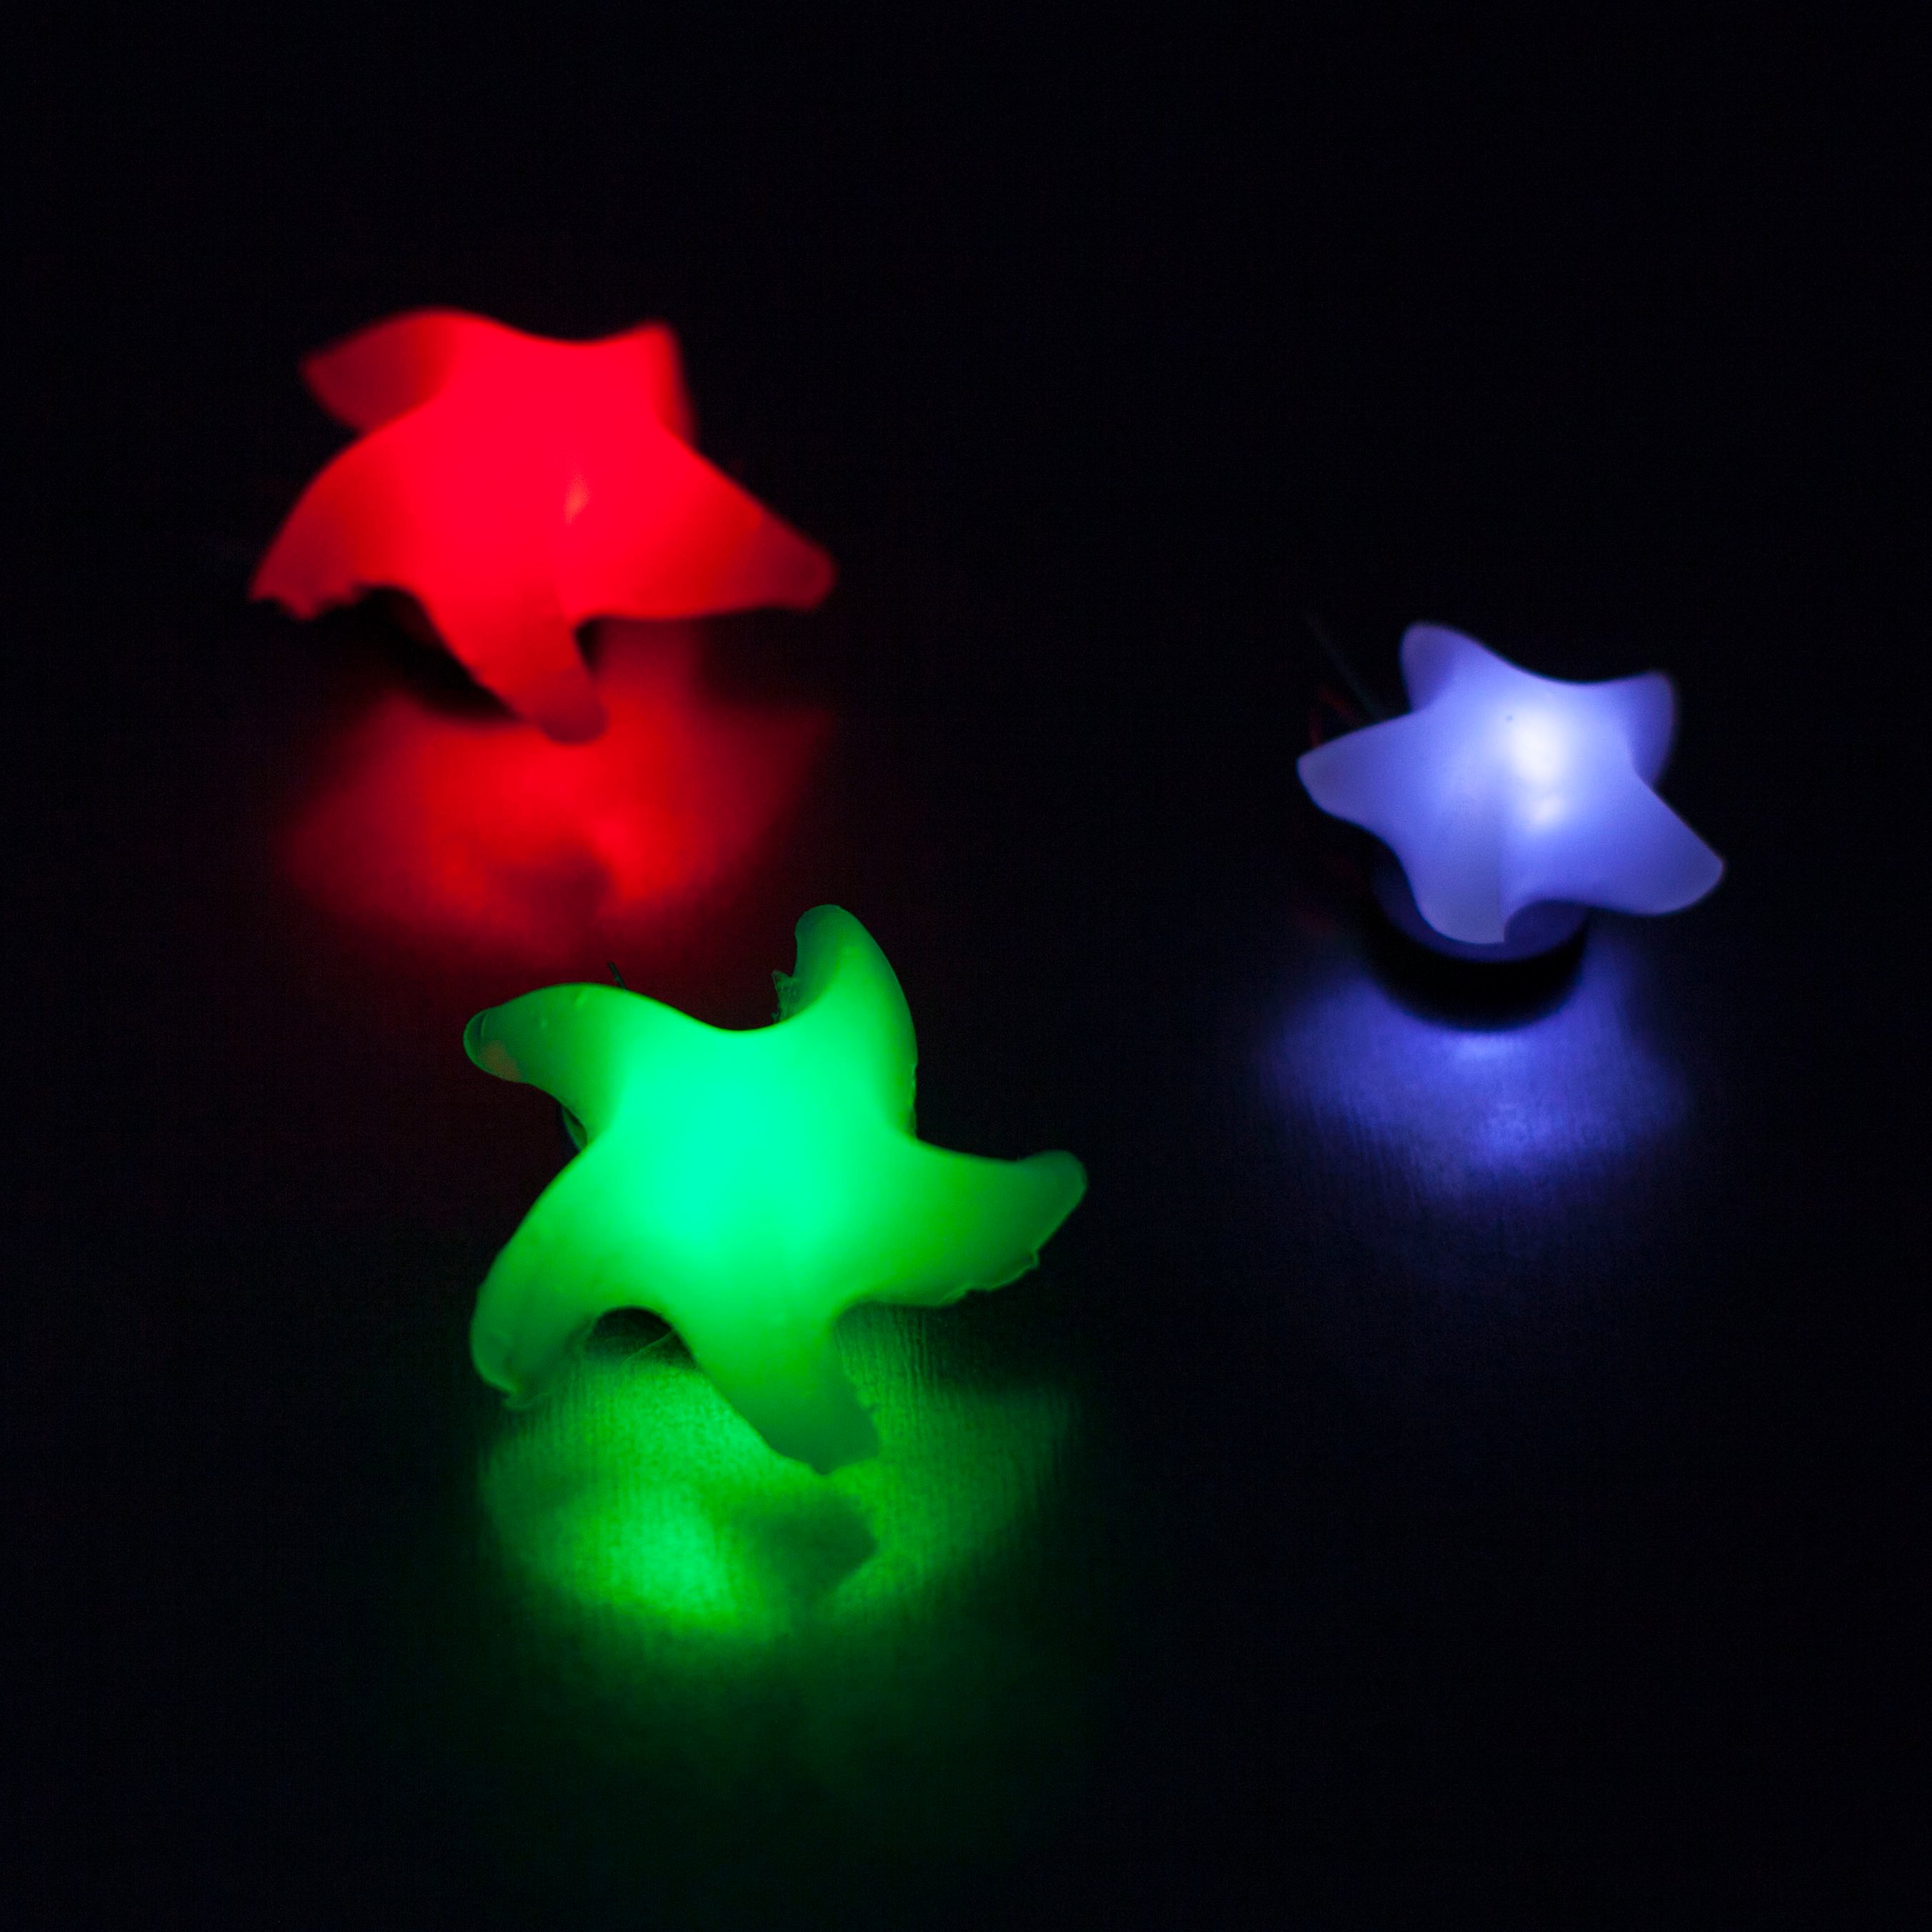
Let the hot glue dry completely until the mold feels cool to the touch. Then, carefully pop your molded piece out of the silicone mold.

Step 5
Gently bend the LED’s wire leads to one side, leaving a small space in between them.
Step 6
Hot glue the magnet to the wire lead furthest from the mold.
Step 7
Place the coin cell battery in between the two wire leads and tape it to both wires.
Tip
Tape the longer wire lead to the positive side of the coin cell battery.
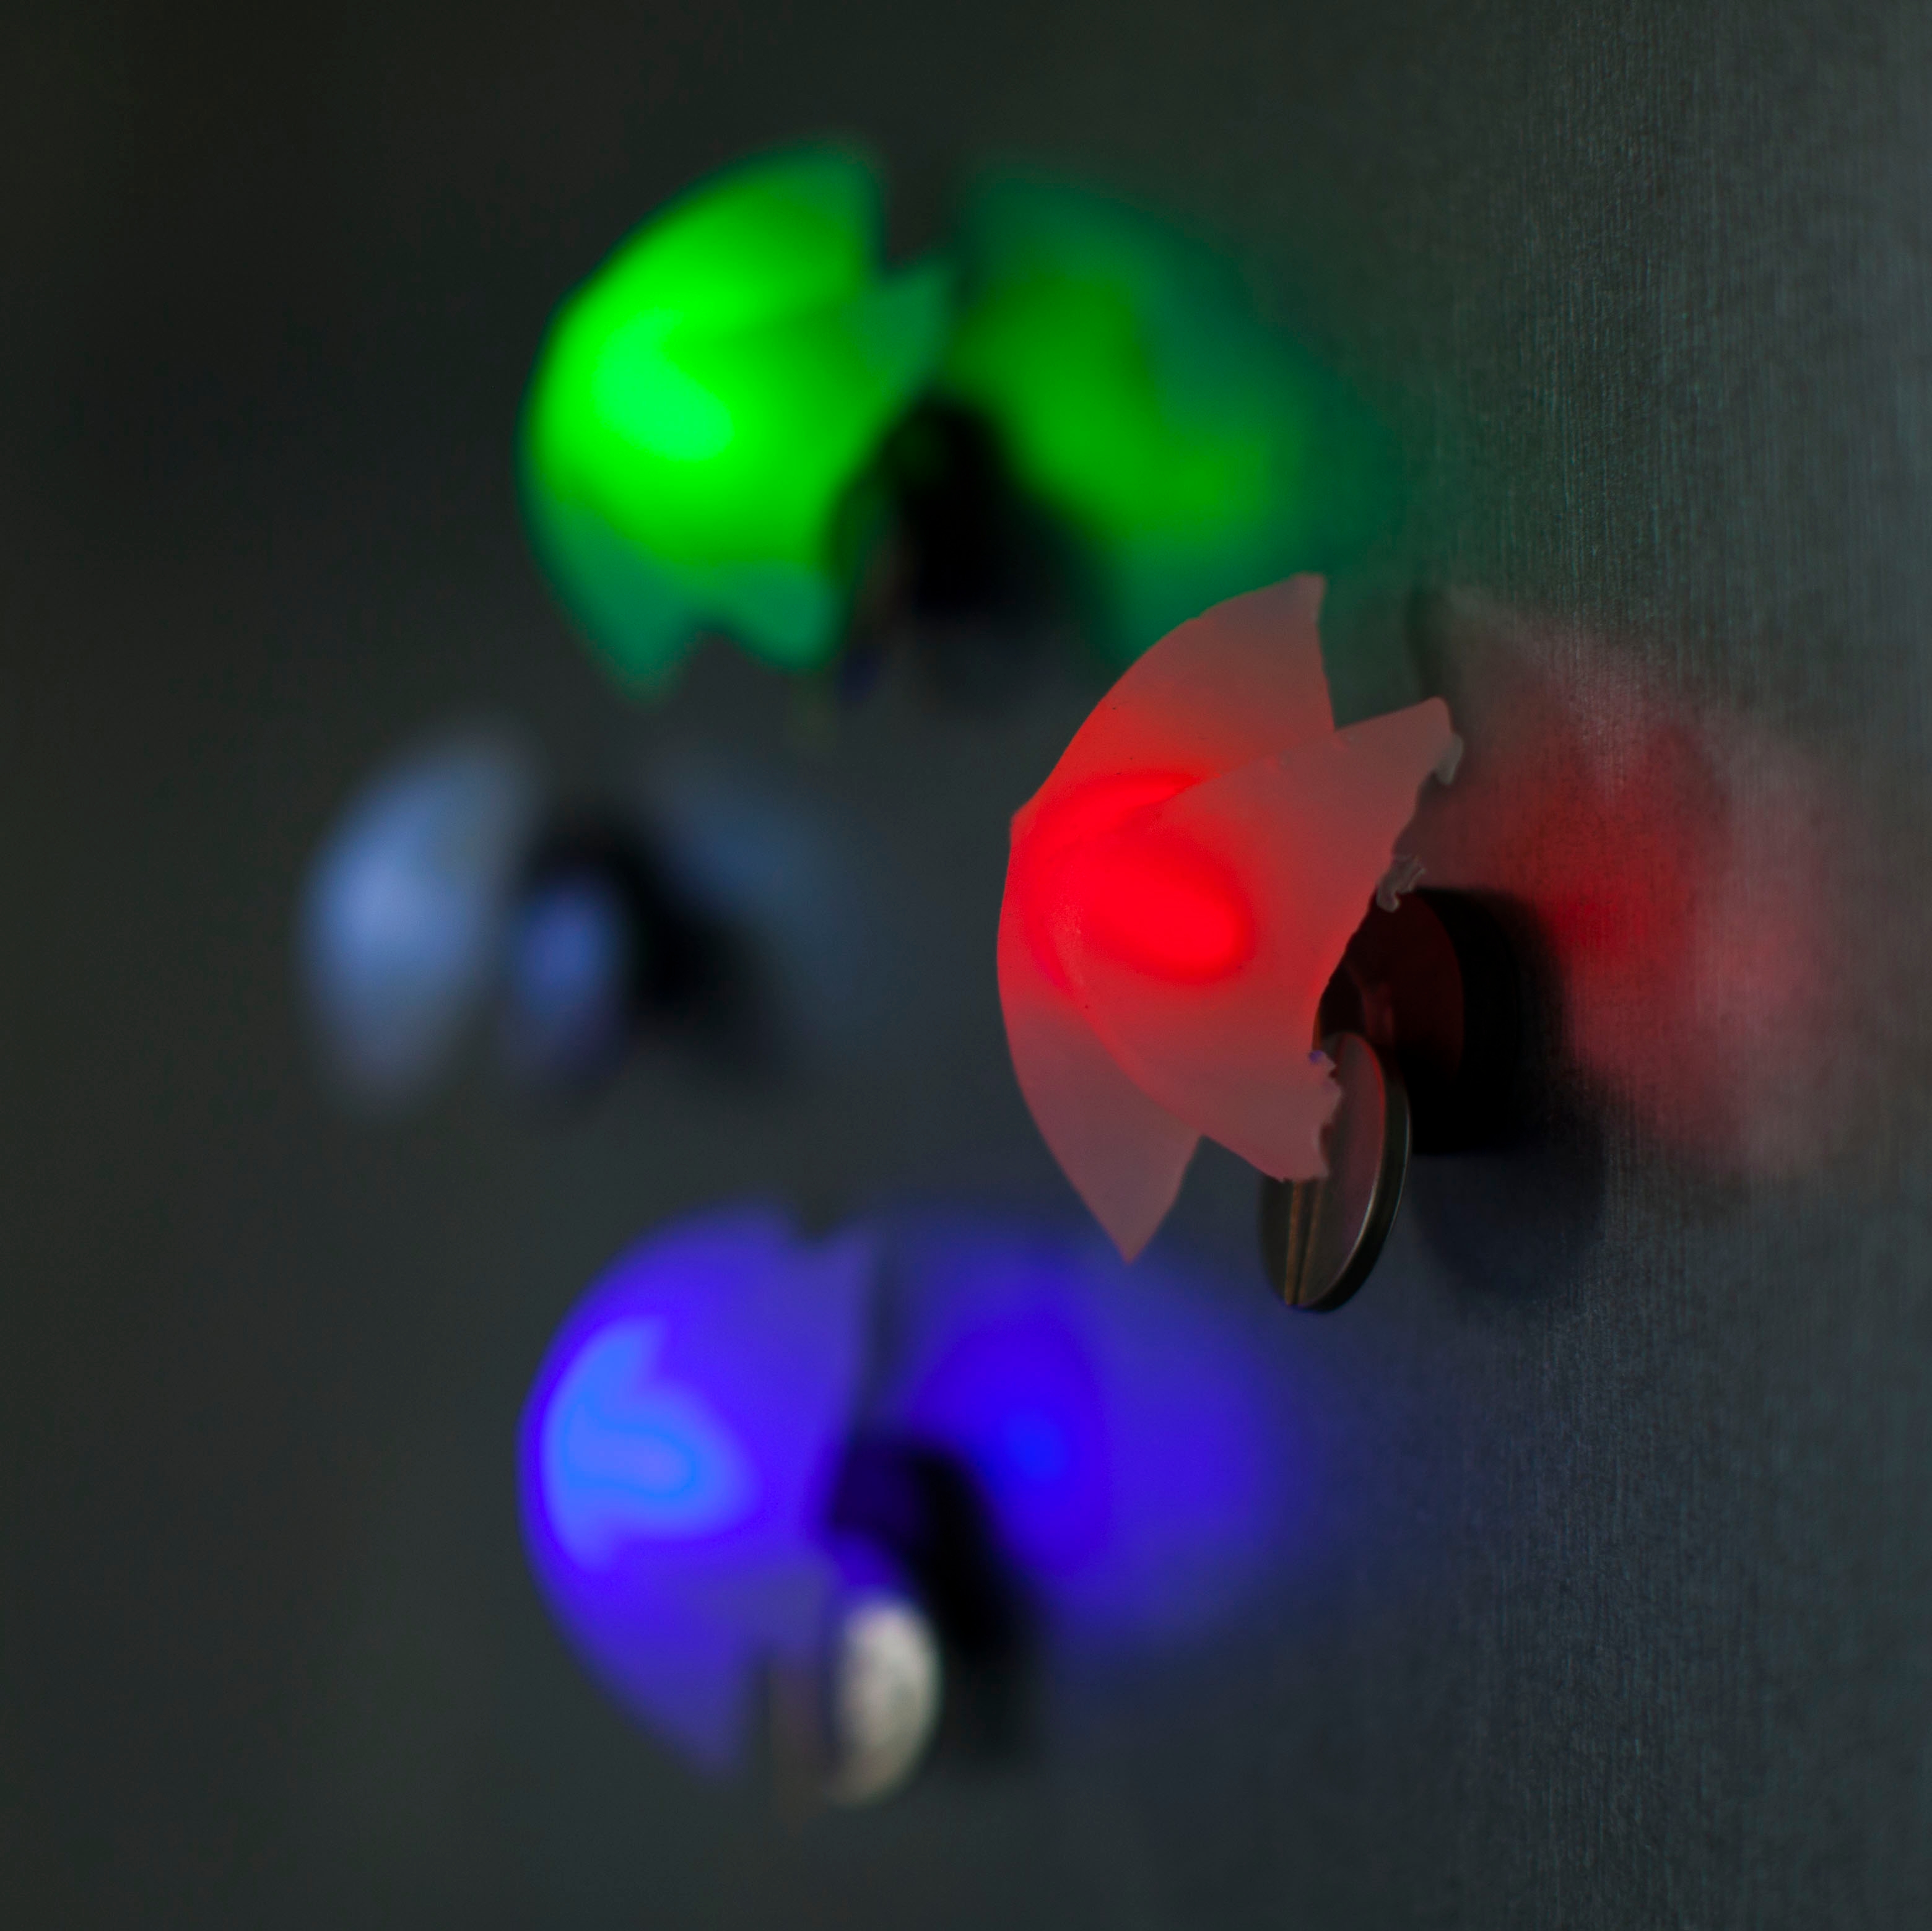
Done!
Now, you have a working LED magnet mold for your refrigerator. To turn it off, just detach the battery!