Step-by-step tutorial
Learn more

You’ve probably never opened a battery before (there are harmful chemicals inside, so please don’t try it), but you might be surprised to know that inside is the makings of a chemistry experiment. Batteries are electrical, but they work through chemistry! In this project, you’ll be trying out the exact same chemical reactions that batteries use to power your electronics, just with safer chemicals. You’ll use two different metals (zinc and copper) and something called an electrolytic solution, which in this case is just plain old saltwater. Things start up when the zinc begins dissolving into the saltwater solution. That chemical reaction leaves behind some extra electrons in the undissolved zinc metal. Those electrons could be used to make electrical power if they had somewhere to go to, since electricity is just moving electrons. On the other side of the saltwater, the copper reacts by giving some of its extra electrons to the hydrogen in the water. So the zinc side is producing electrons, the copper side is getting rid of electrons… what would happen if you connected them? The electrifying answer is — you get electricity! Electrons zoom from the zinc side over to the copper side, powering any electrical things they pass through along the way. A single set of these two metals and their electrolytic solution is called a “cell.” Sandwich a bunch of cells together, and you get more electrical power from more electrons moving around. The pile of cells you’re about to make—called a “Voltaic pile” after the scientist who invented them, Alessandro Volta—is the basis for the batteries you use every day.
Step 1
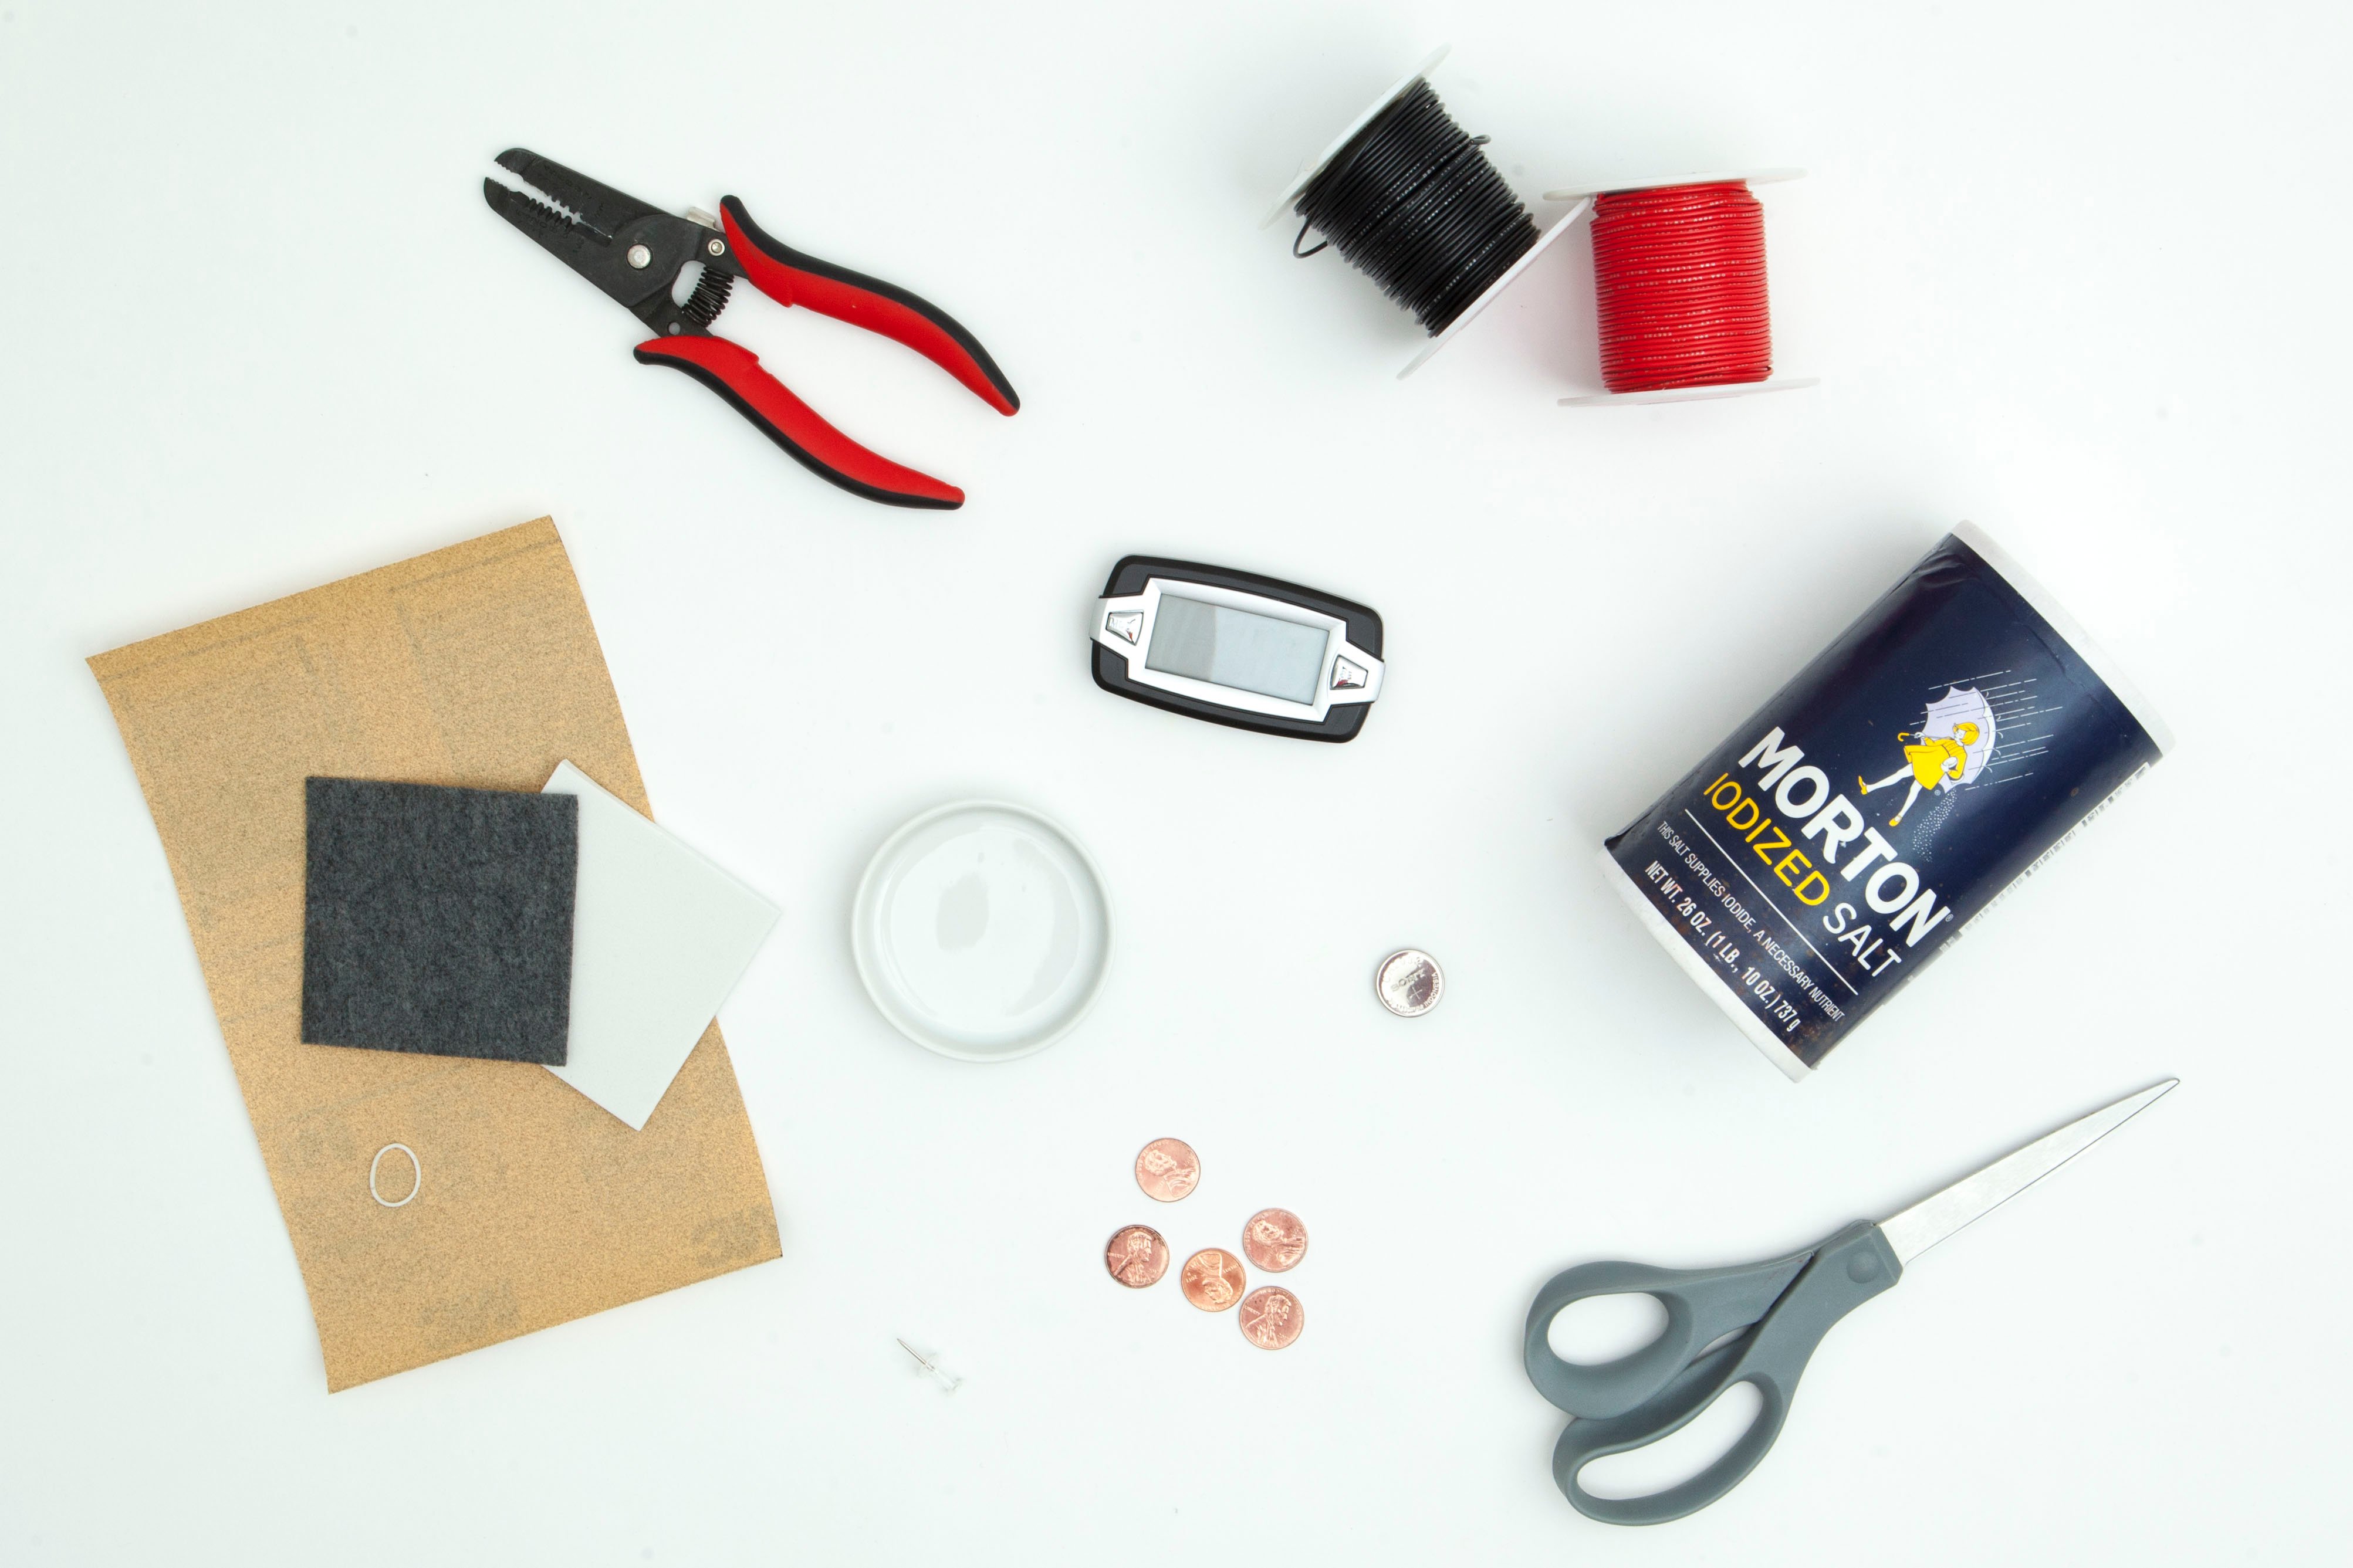
Gather your materials.

Step 2
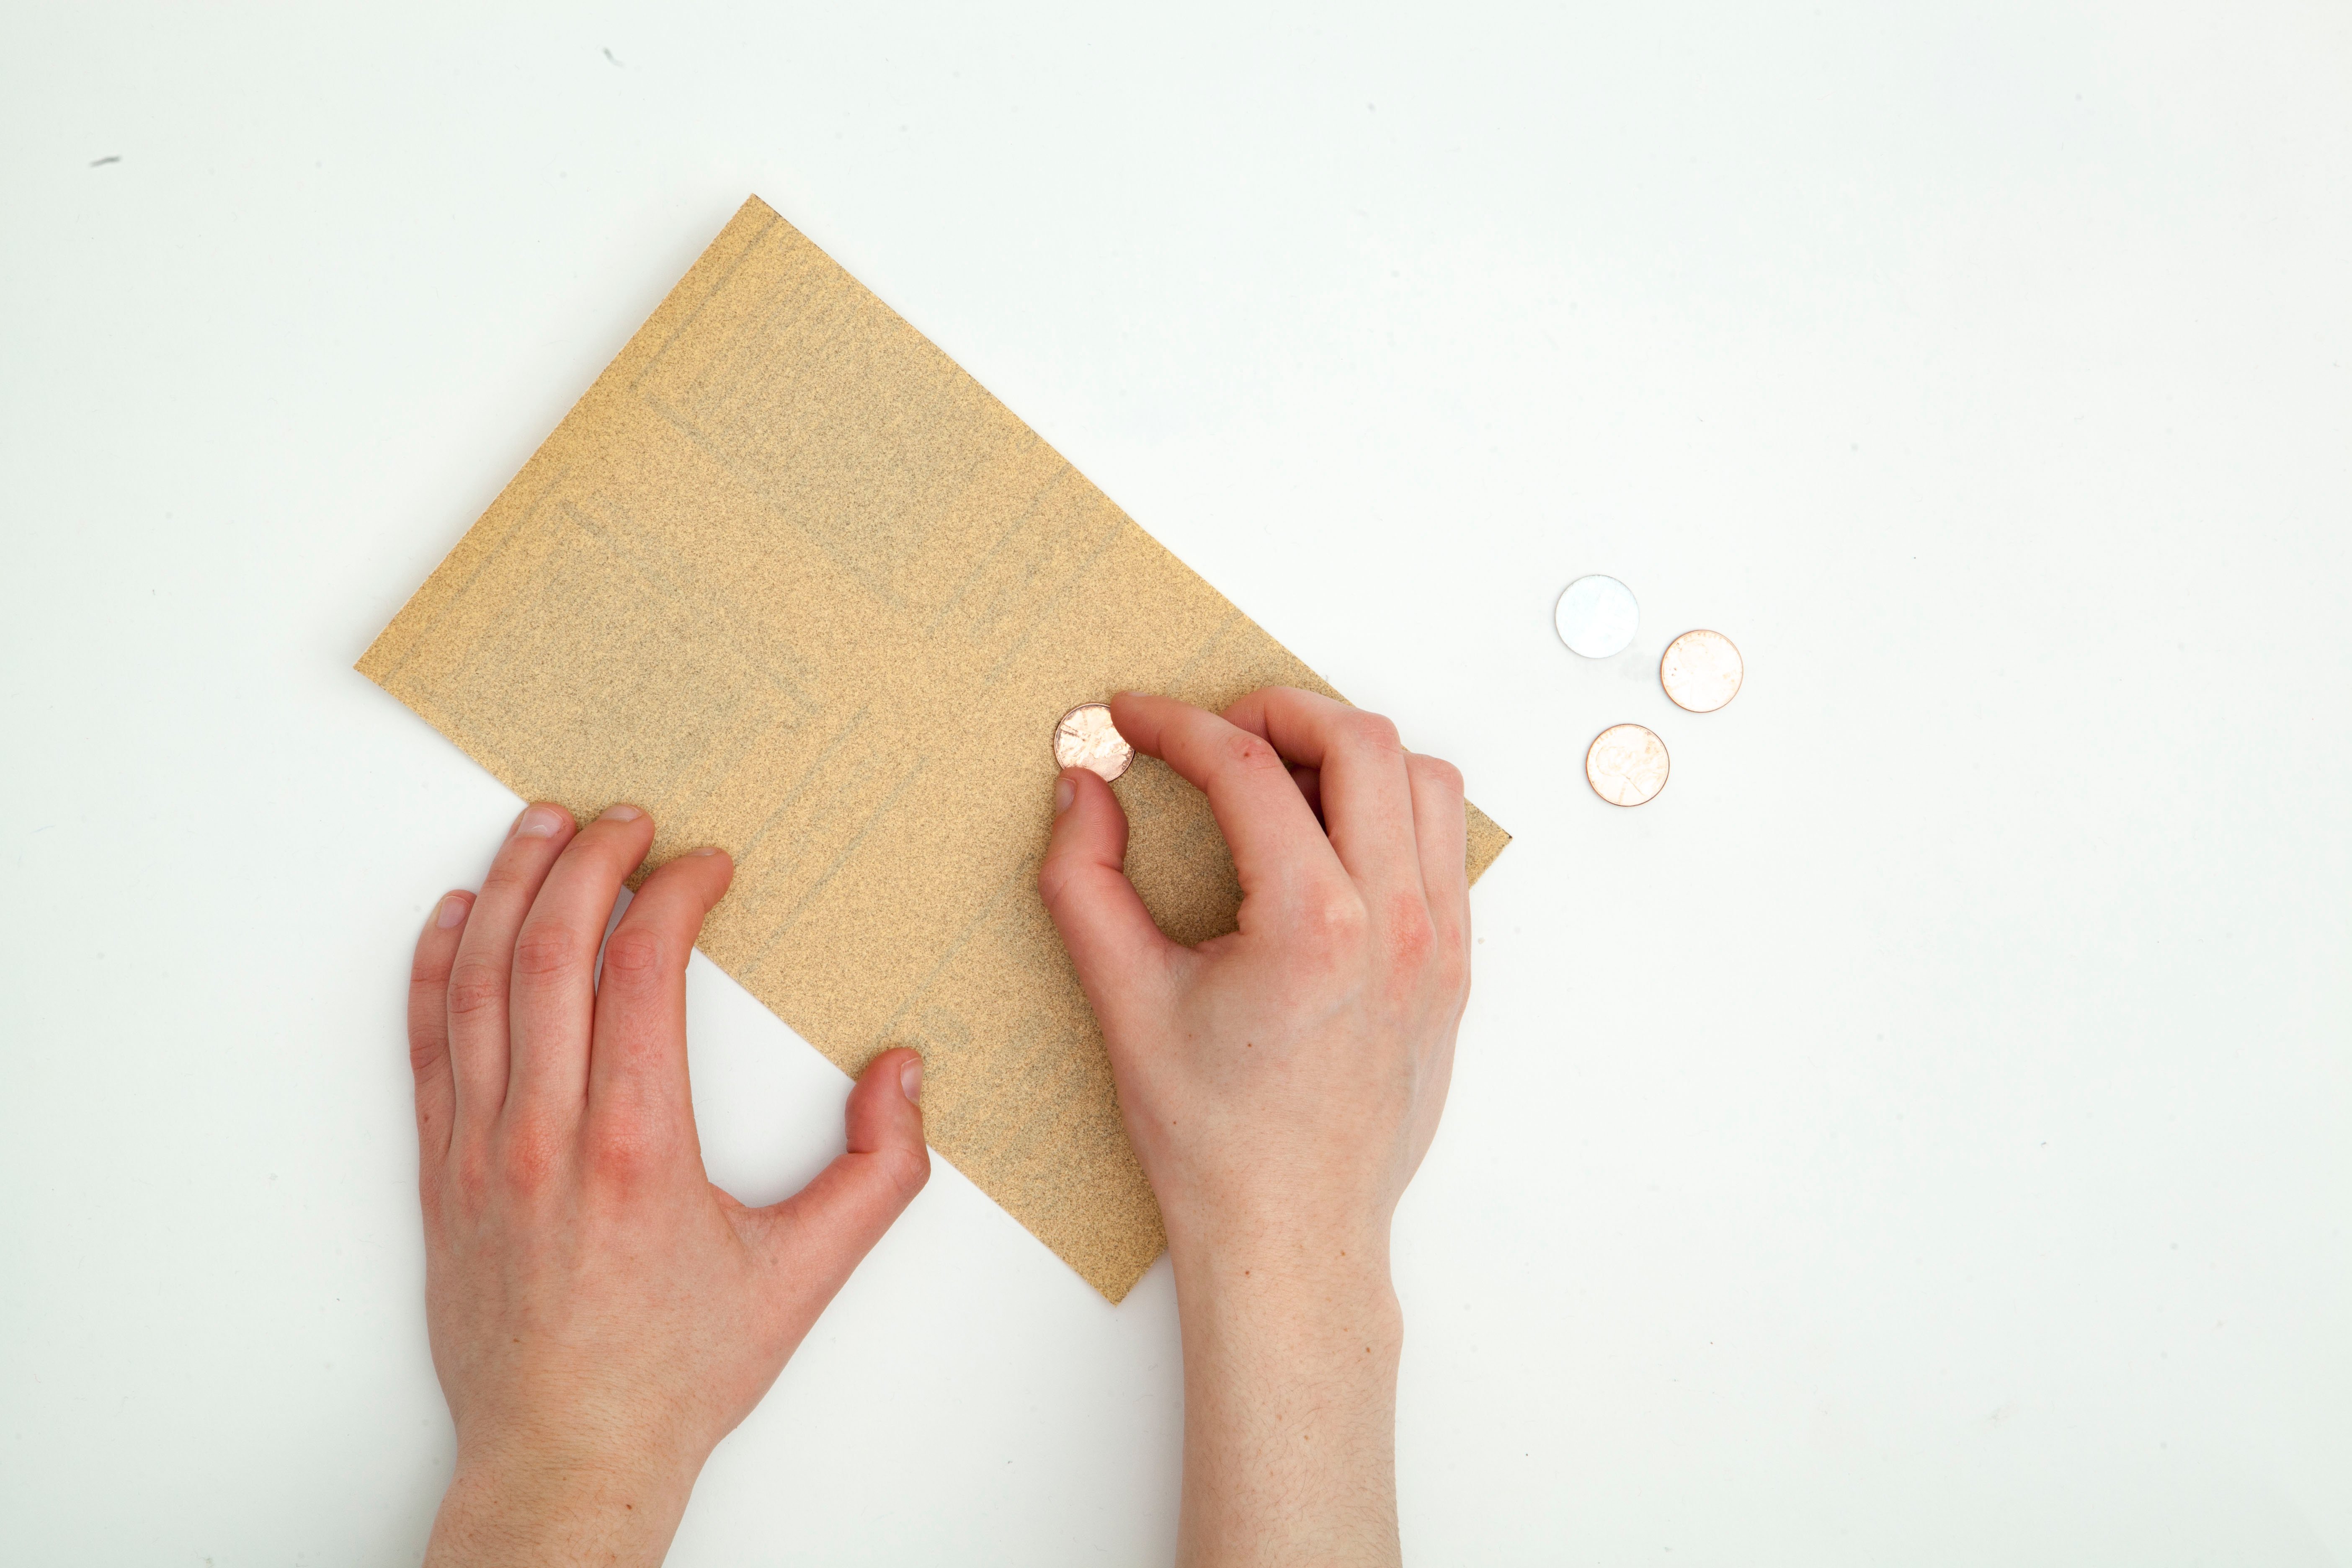
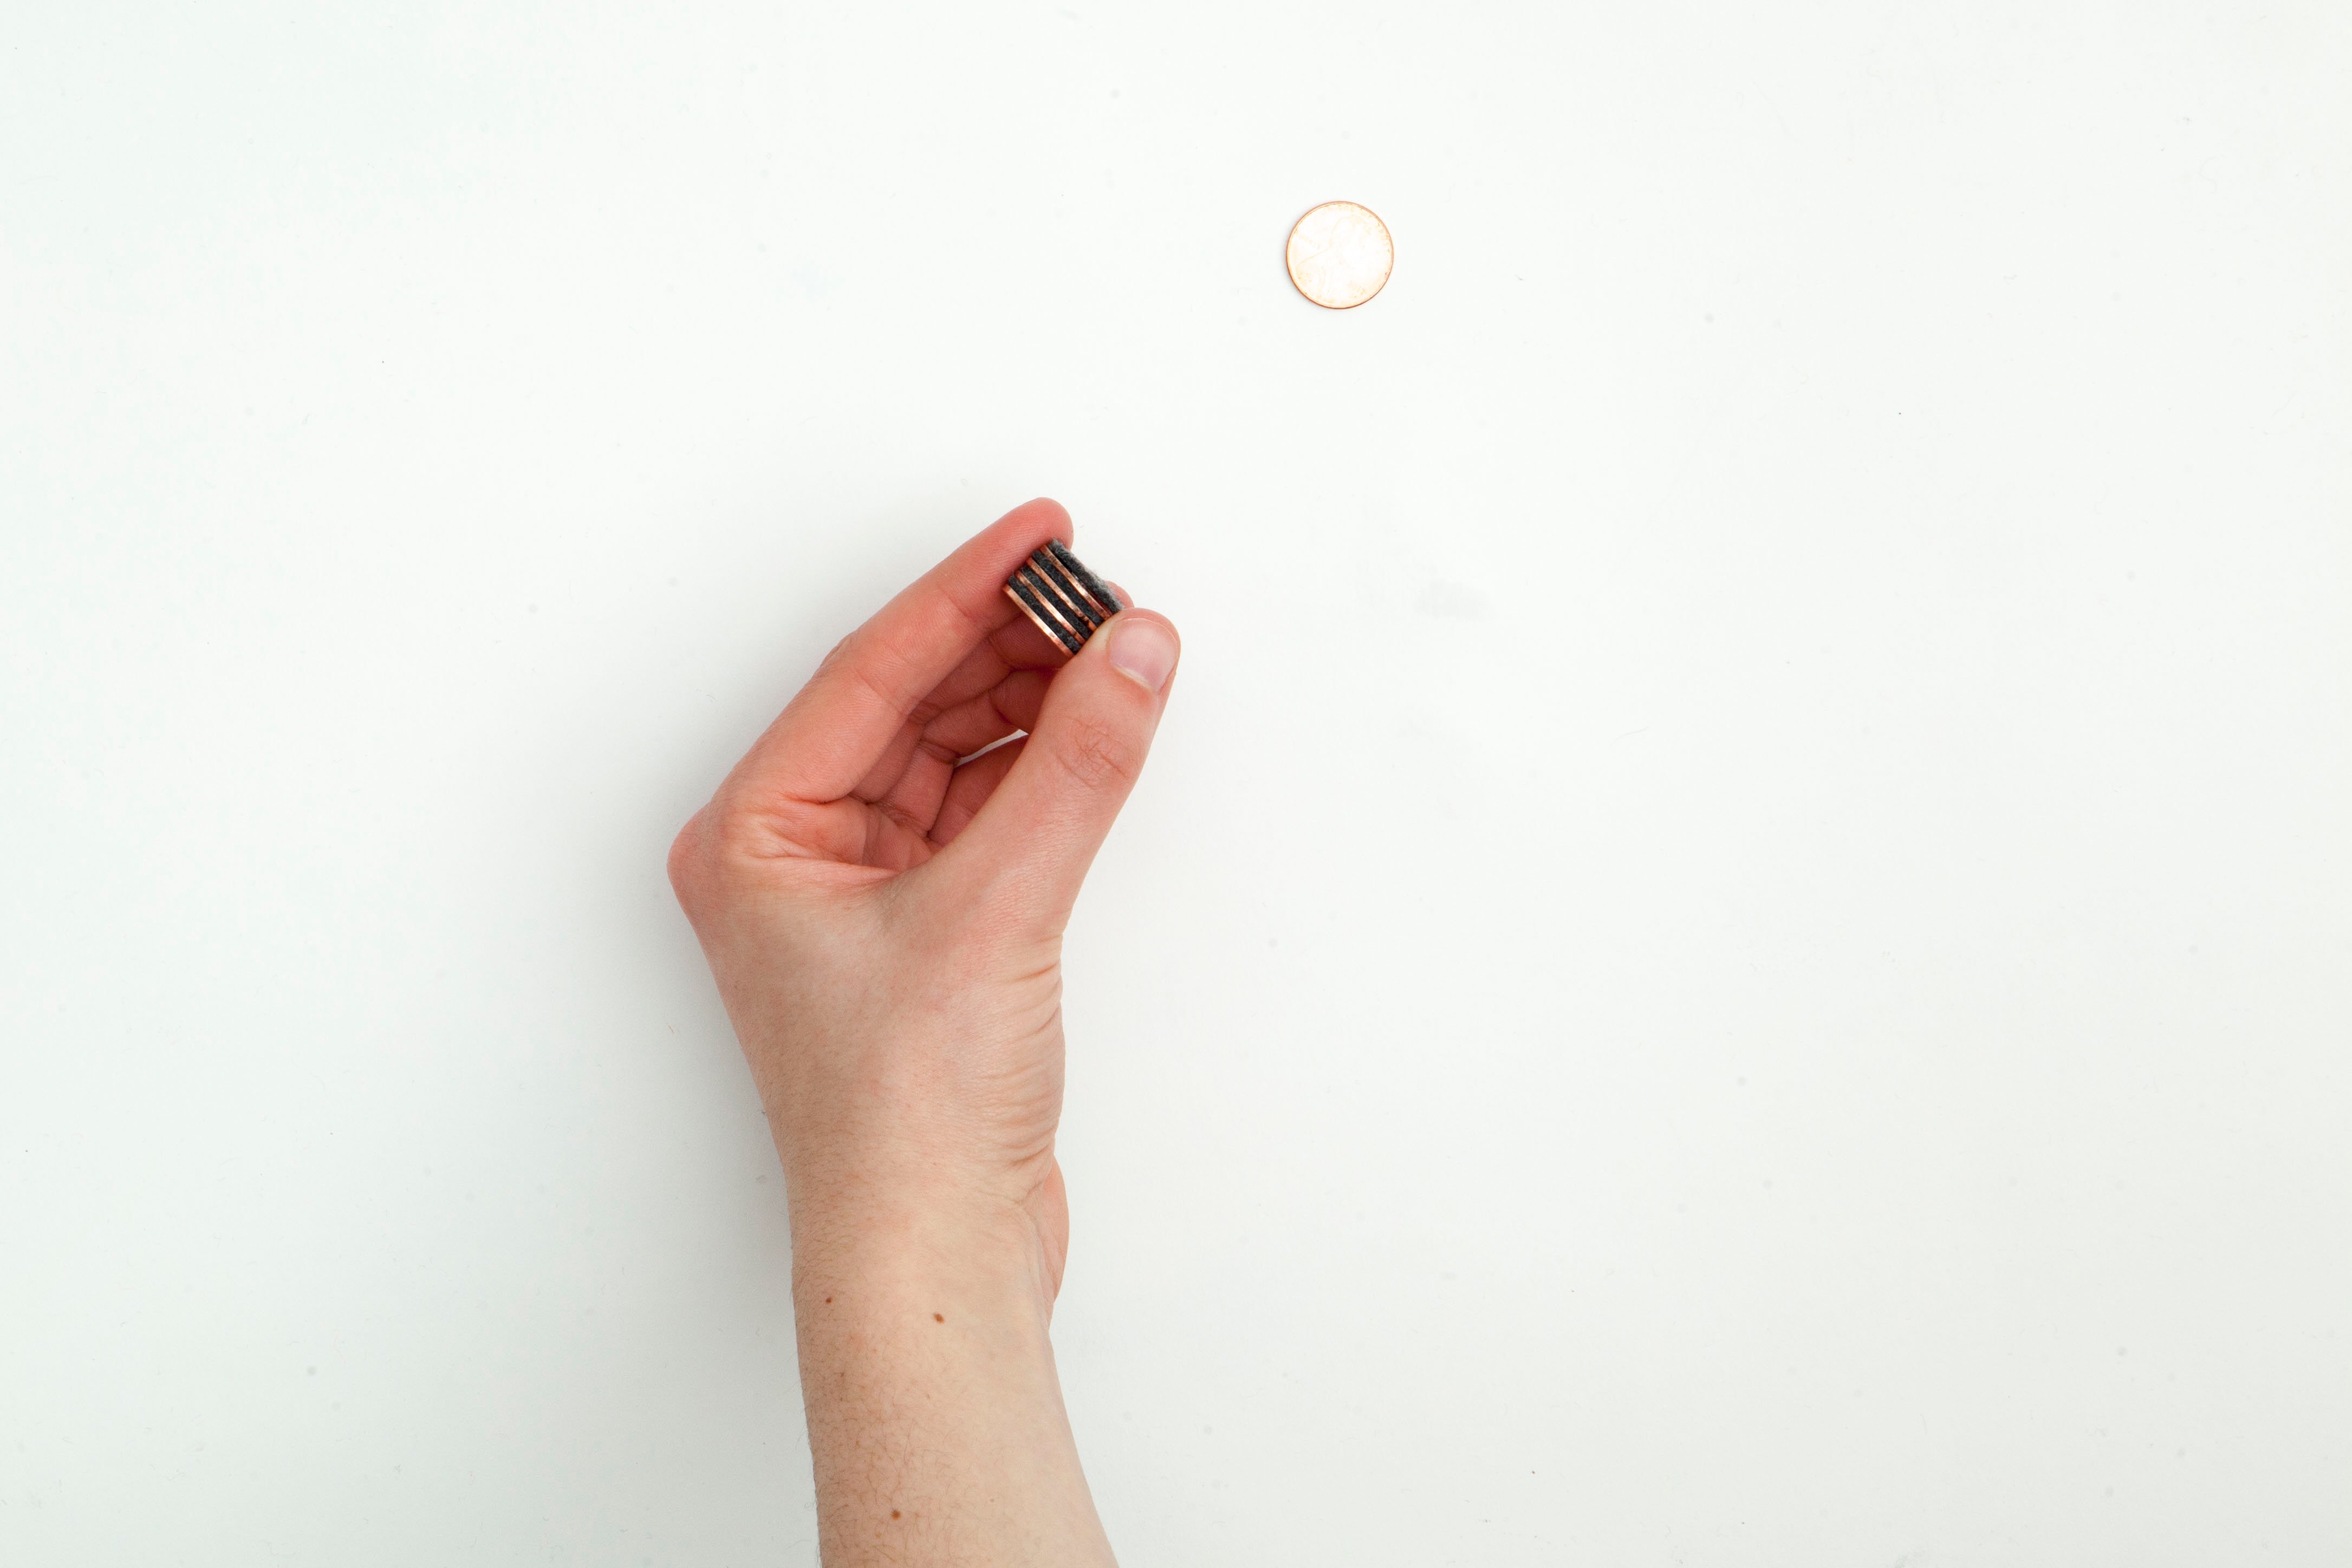
Sand down one side of a penny to expose the zinc. Repeat with 3 more pennies.
Tip
This may take a bit of effort. Be patient! Once you see silver, you’ve gotten to the zinc.
Step 3
After 1982, they started making pennies by copper plating zinc instead of using solid copper!
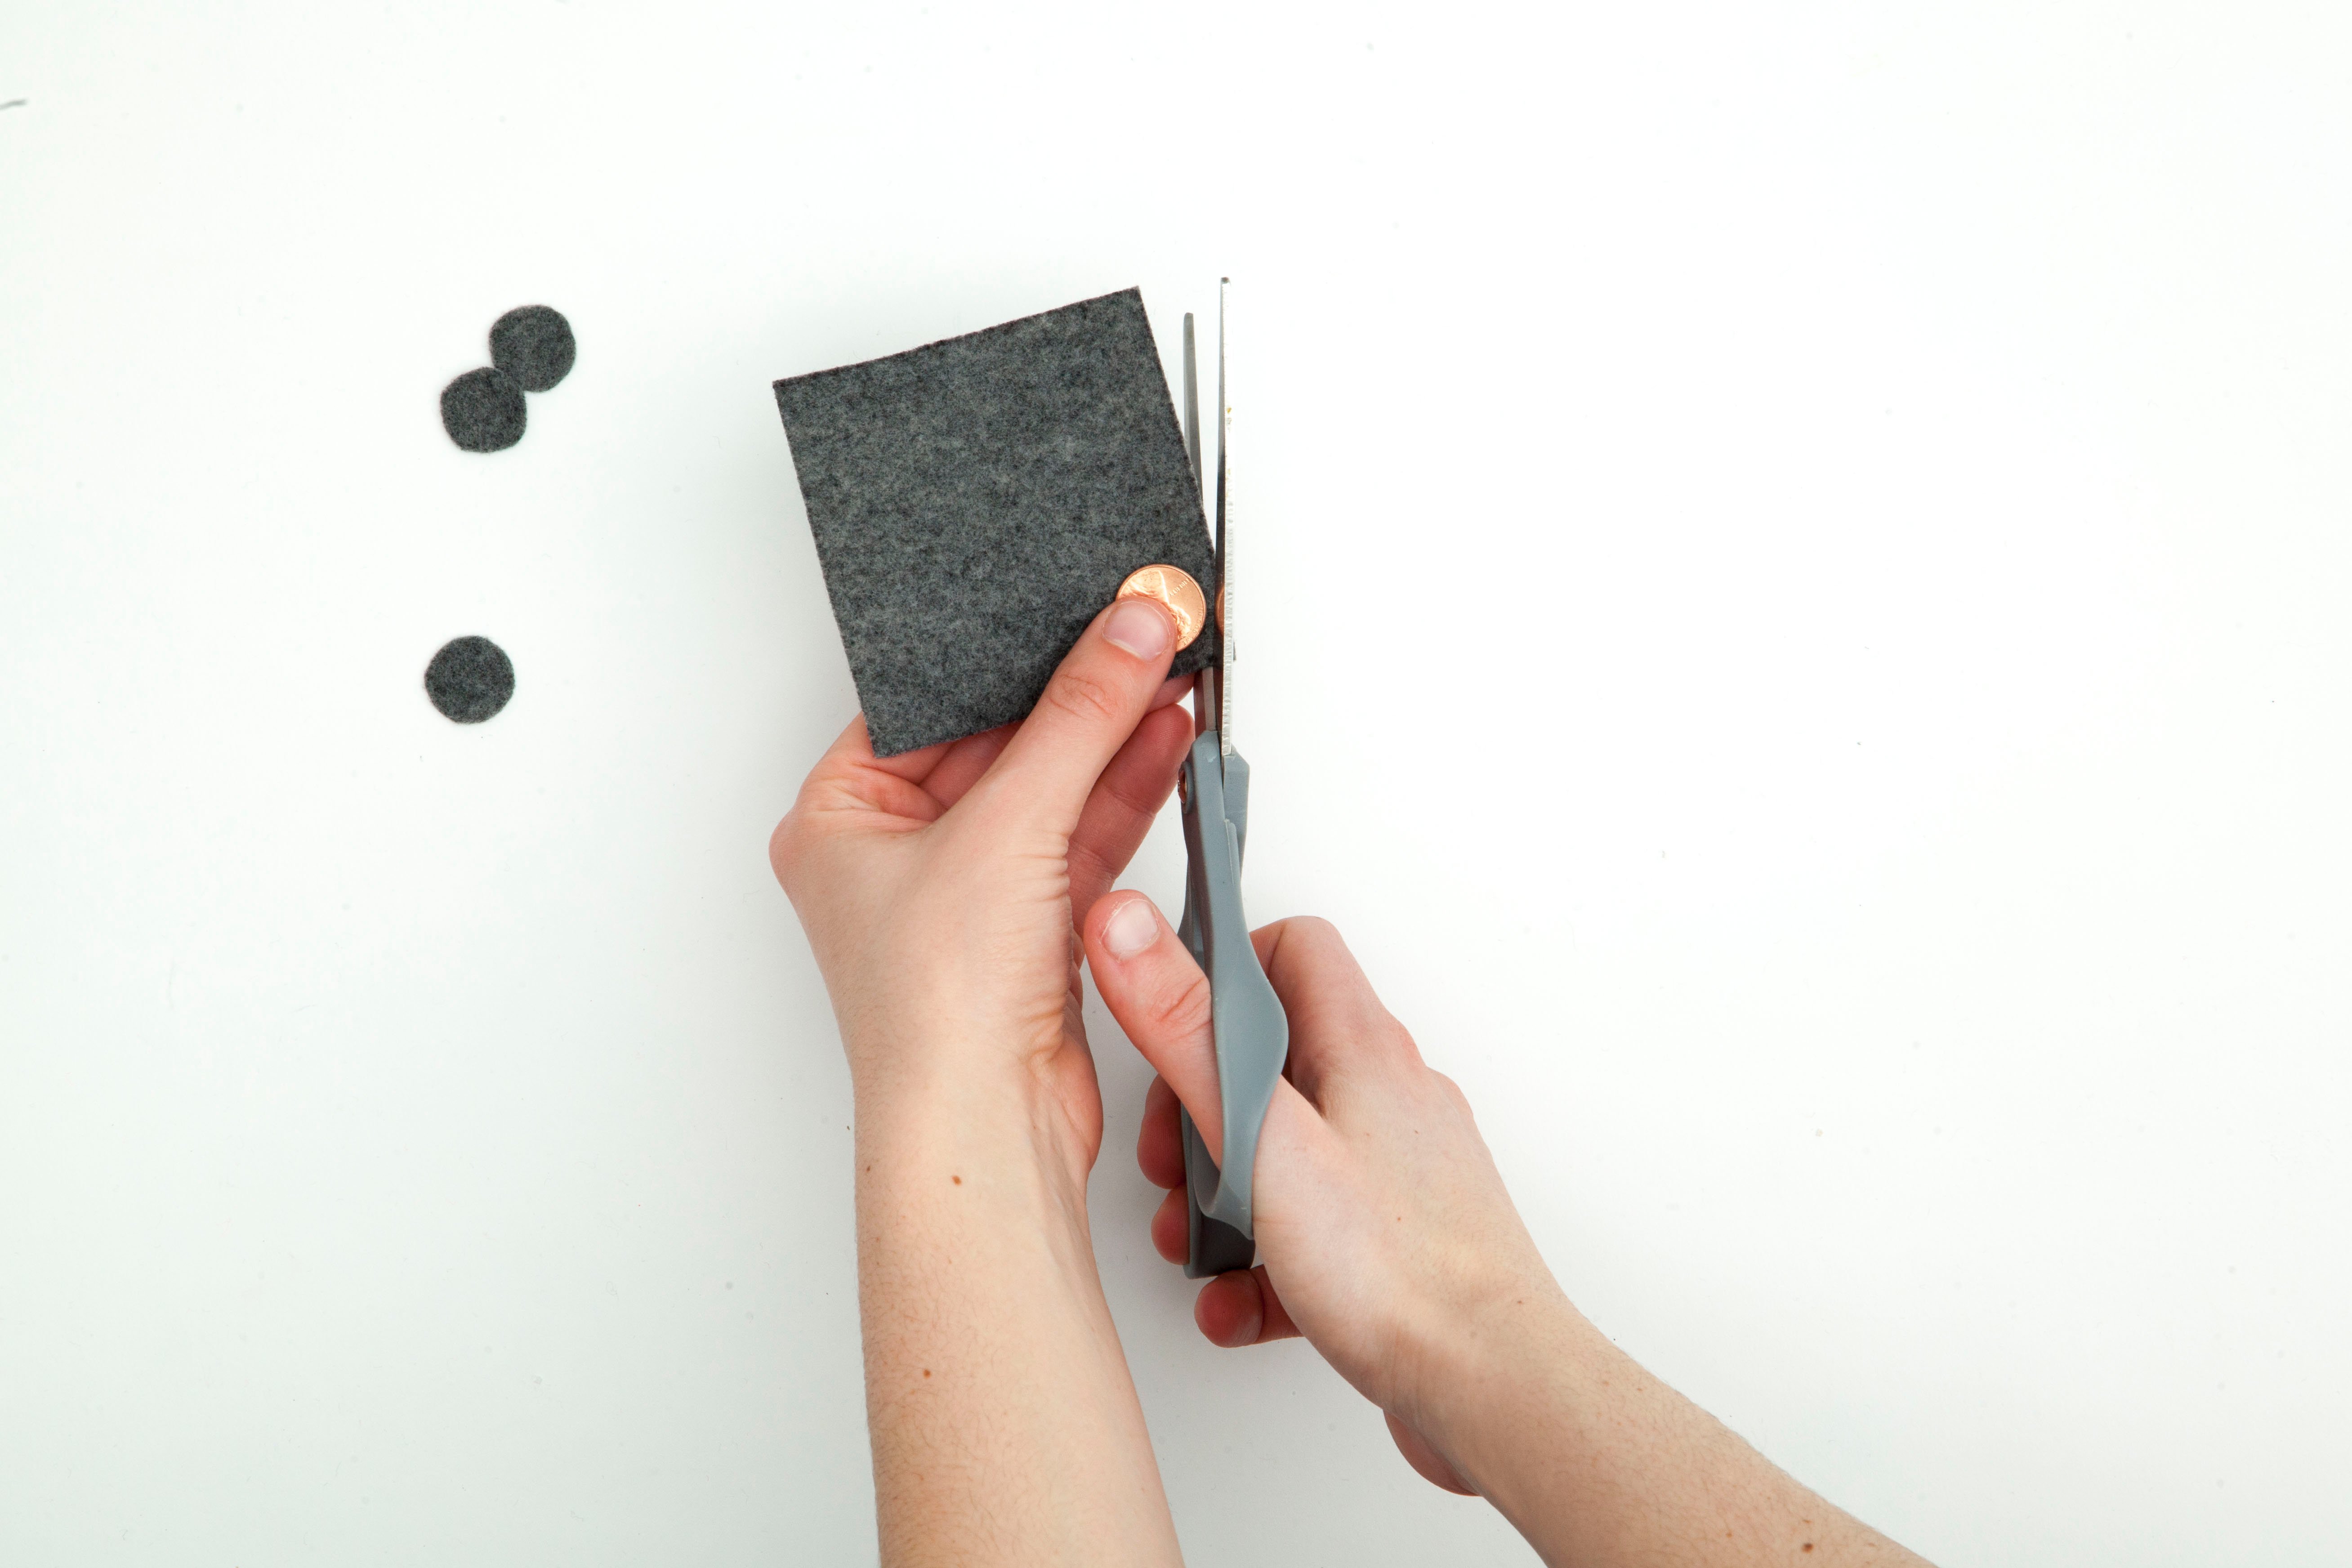
Step 4
Using a penny as your guide, cut 5 small circles out of a piece of felt. Then, set them aside.
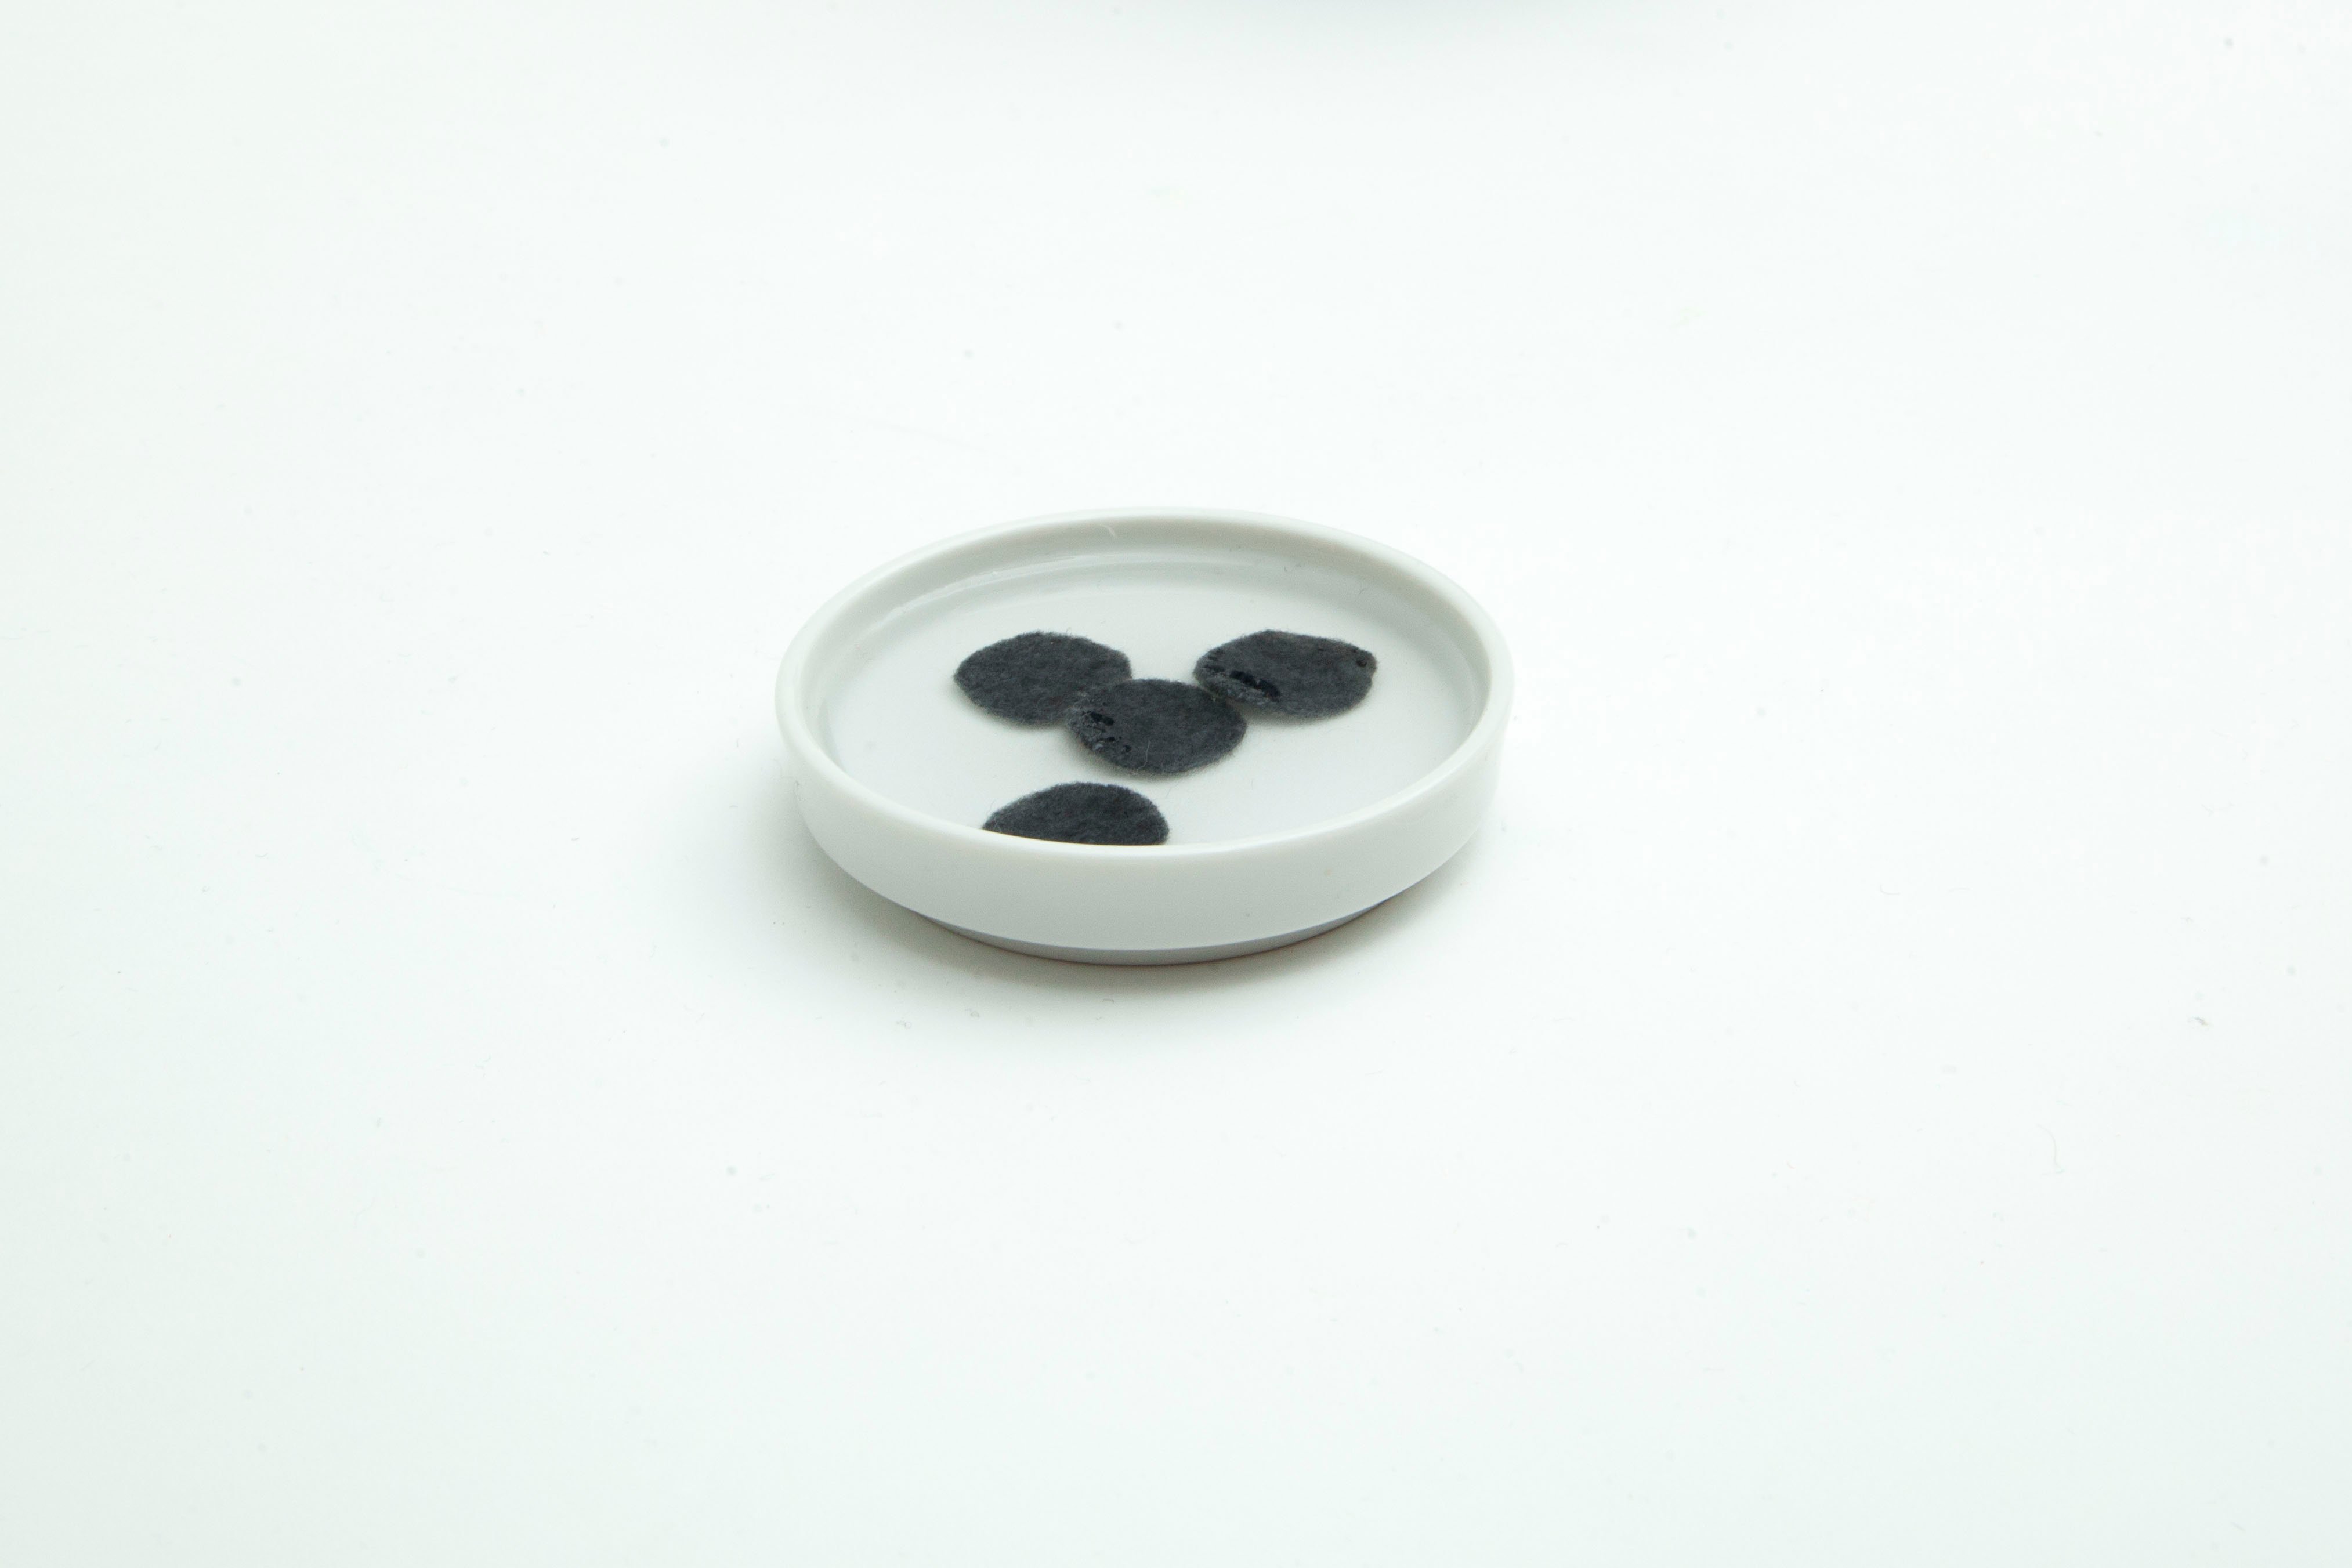
Step 5
Make a saturated salt water solution by mixing salt into a bowl of water until the salt no longer dissolves. Then, soak the felt circles in the solution for about 5 minutes.
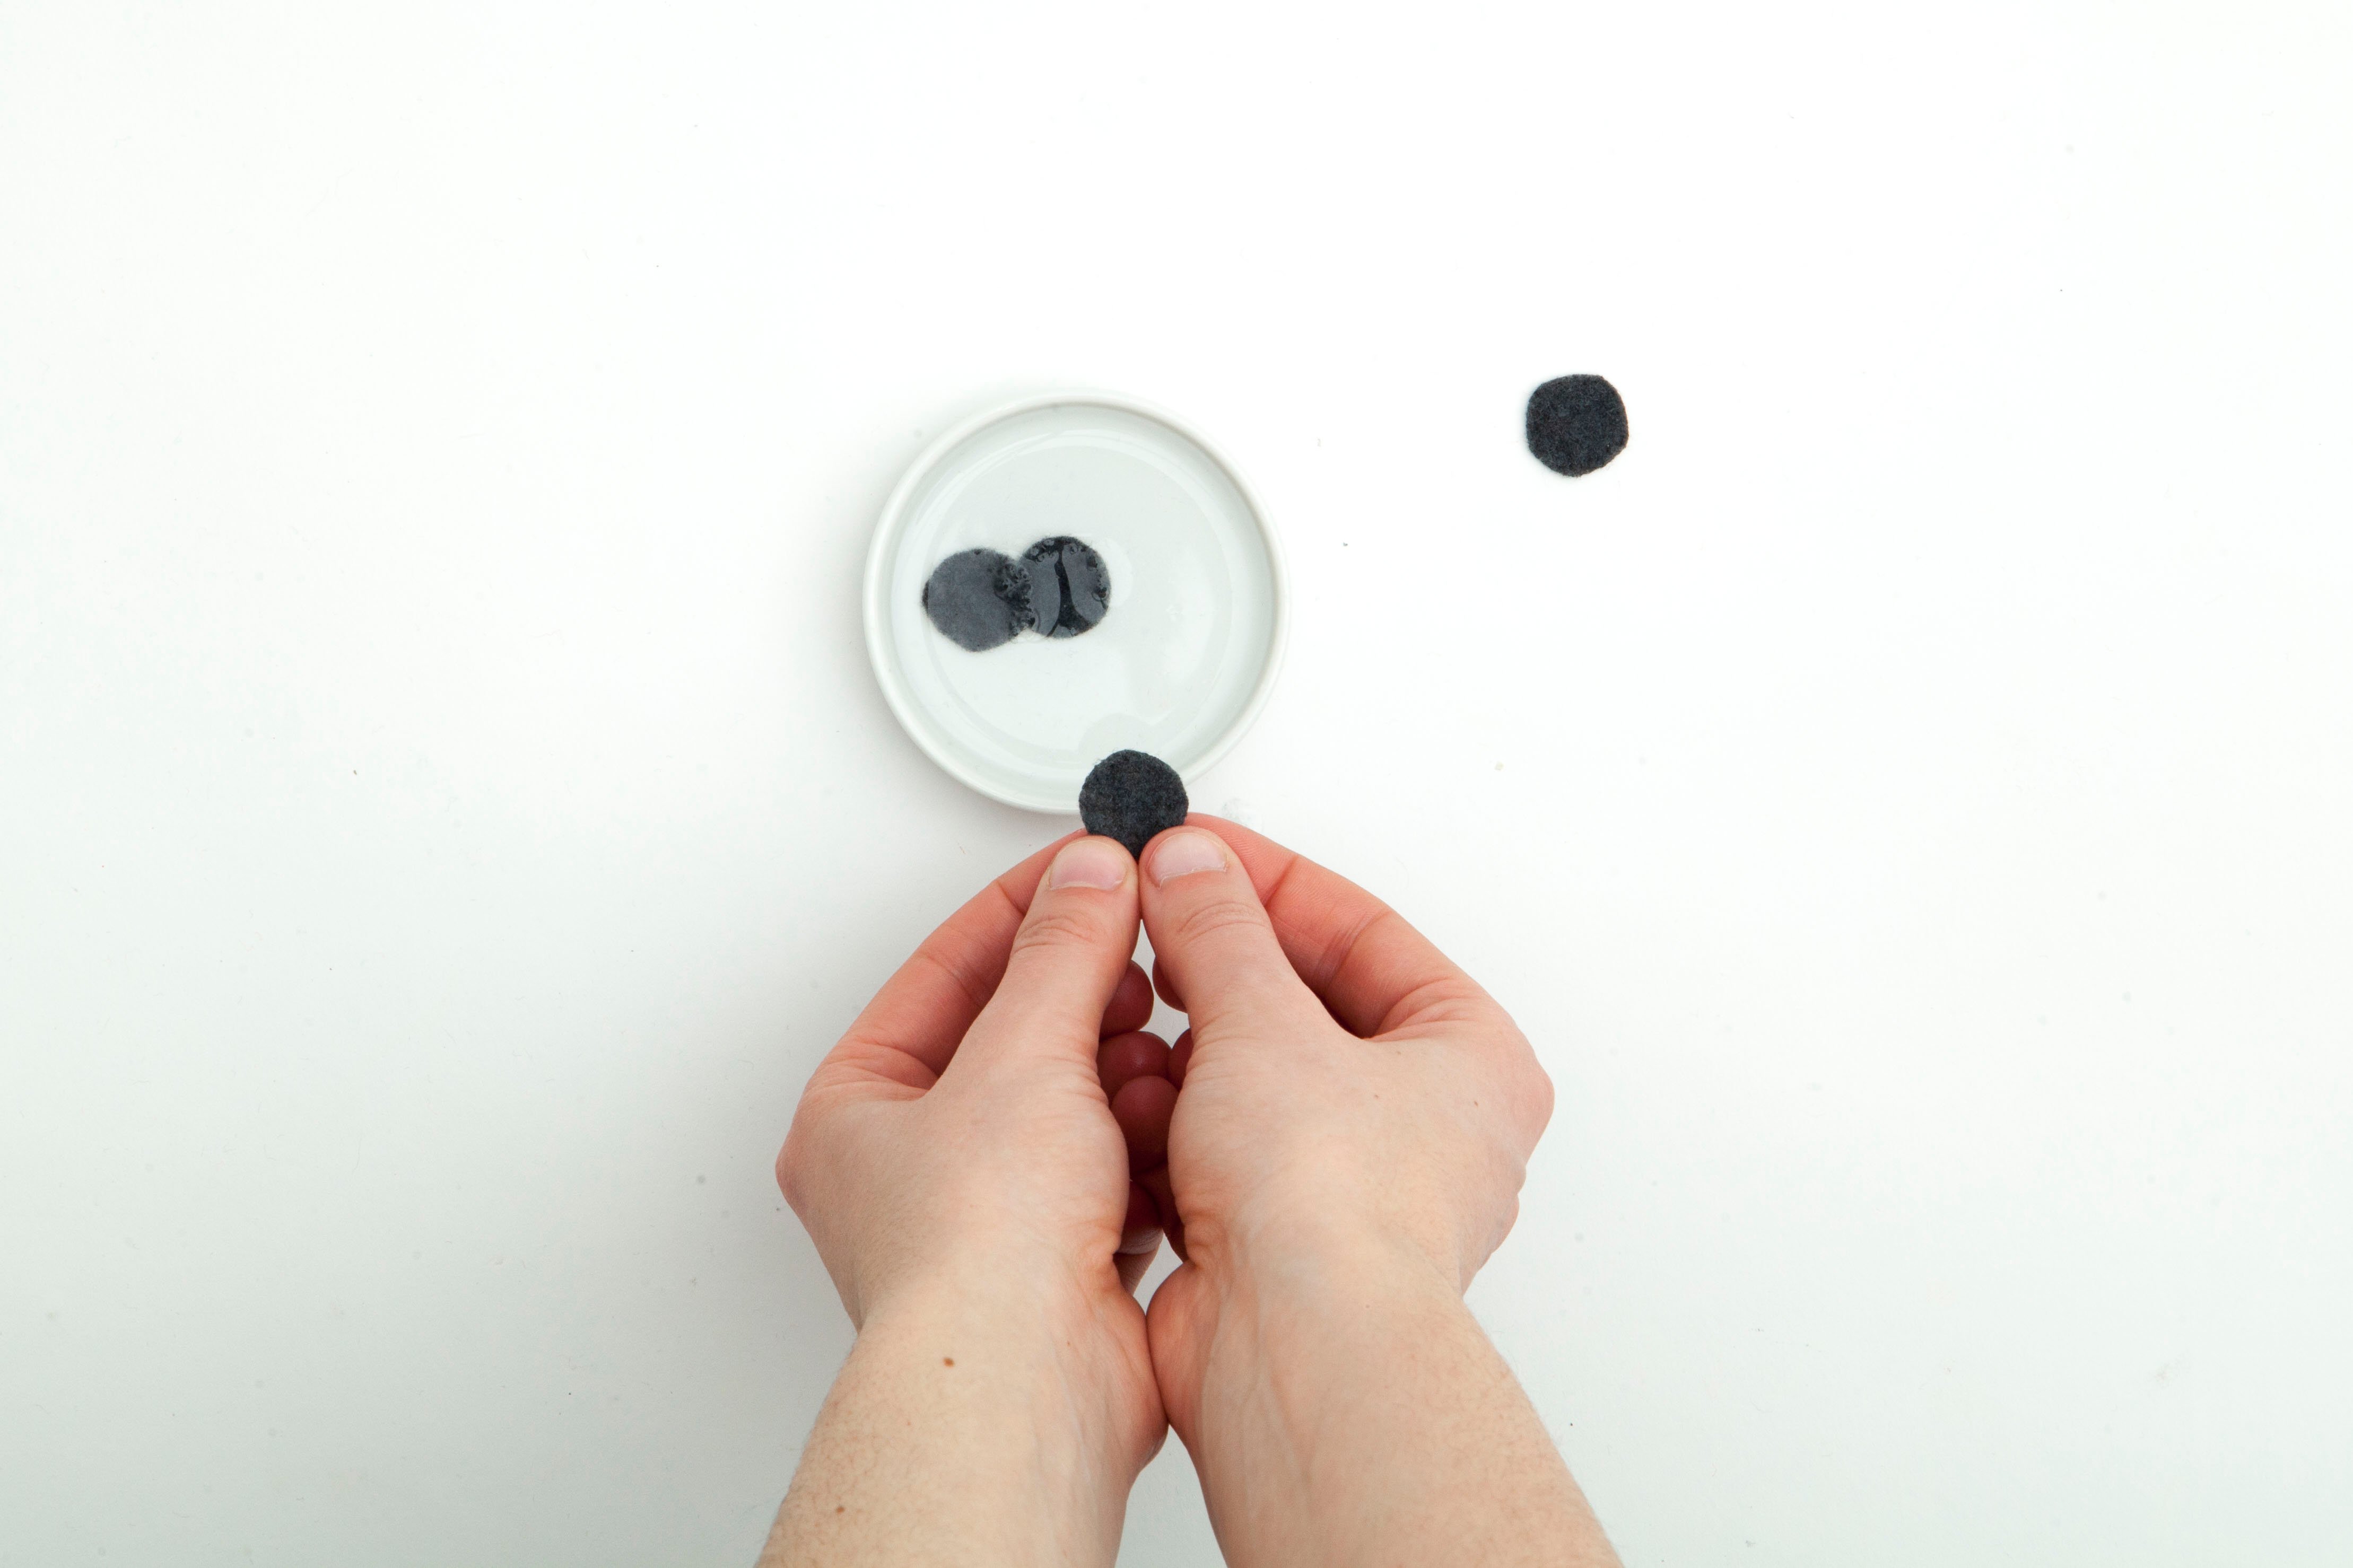
Step 6
Take out the felt circles and squeeze them gently so that they’re damp, but not dripping wet.
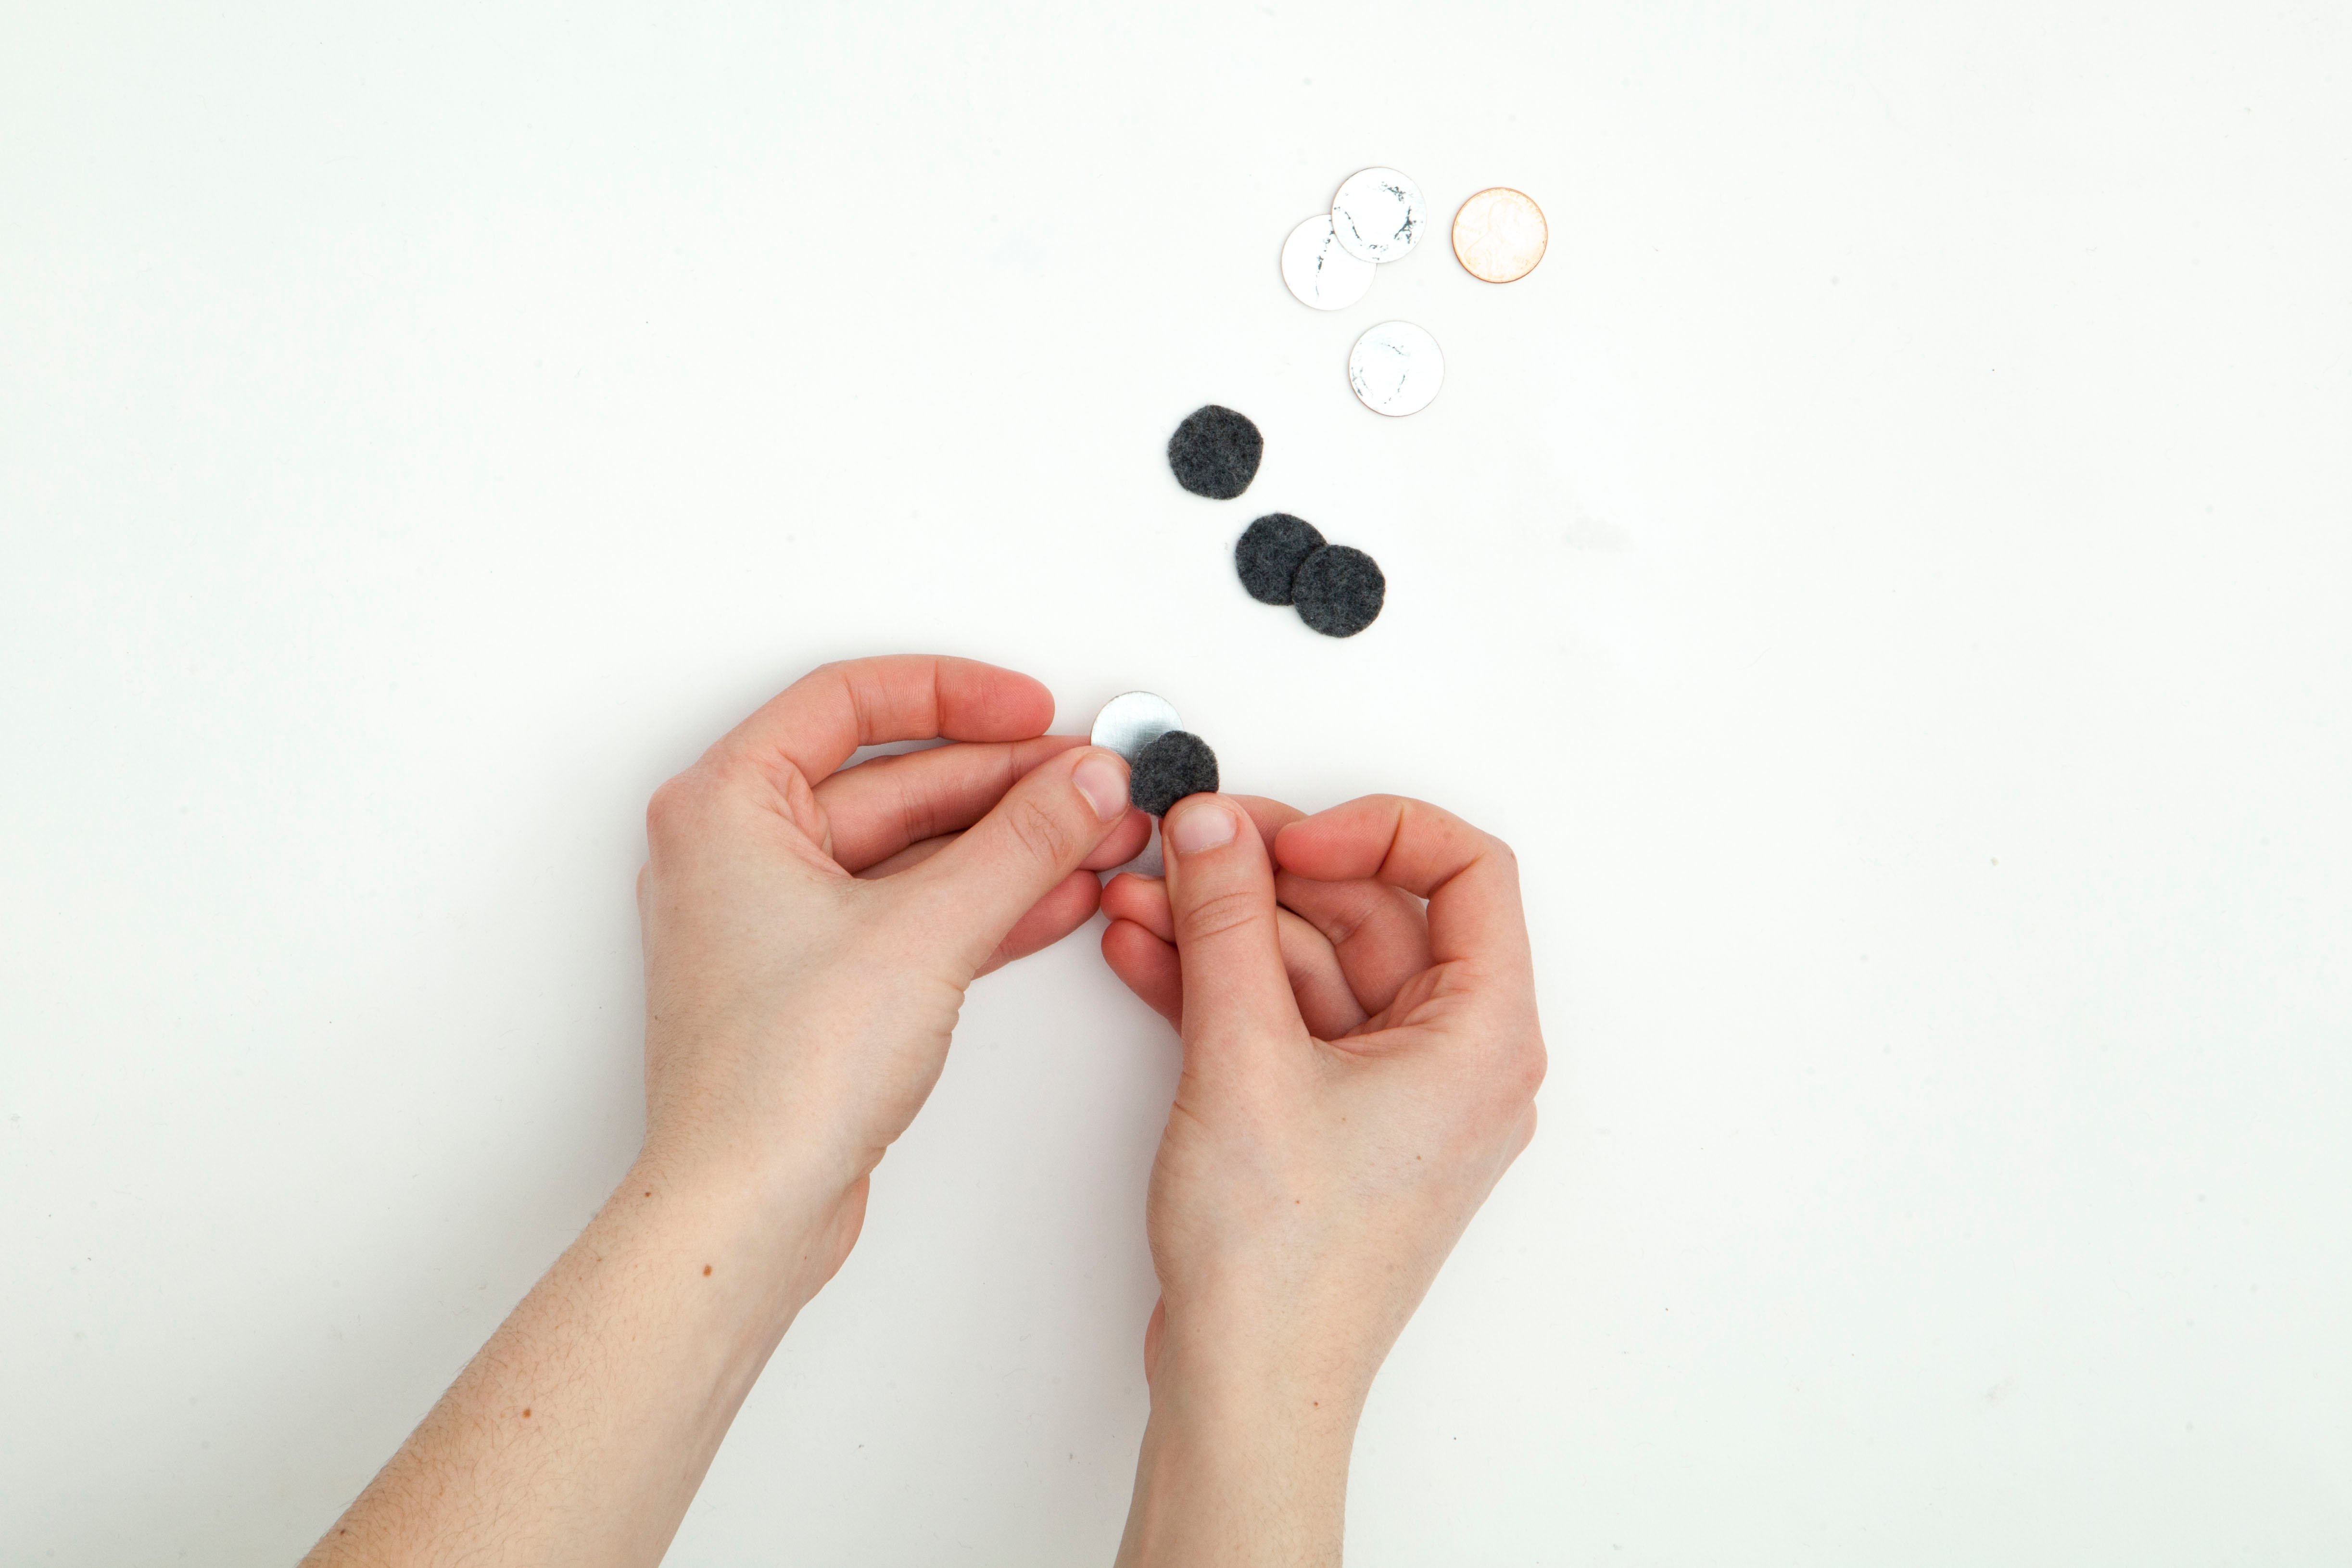
Step 7
Place a felt circle on top of the zinc side of one penny.
Step 8
Continue stacking felt on top of penny in this way until you have placed the last piece of felt on top of the last sanded penny.
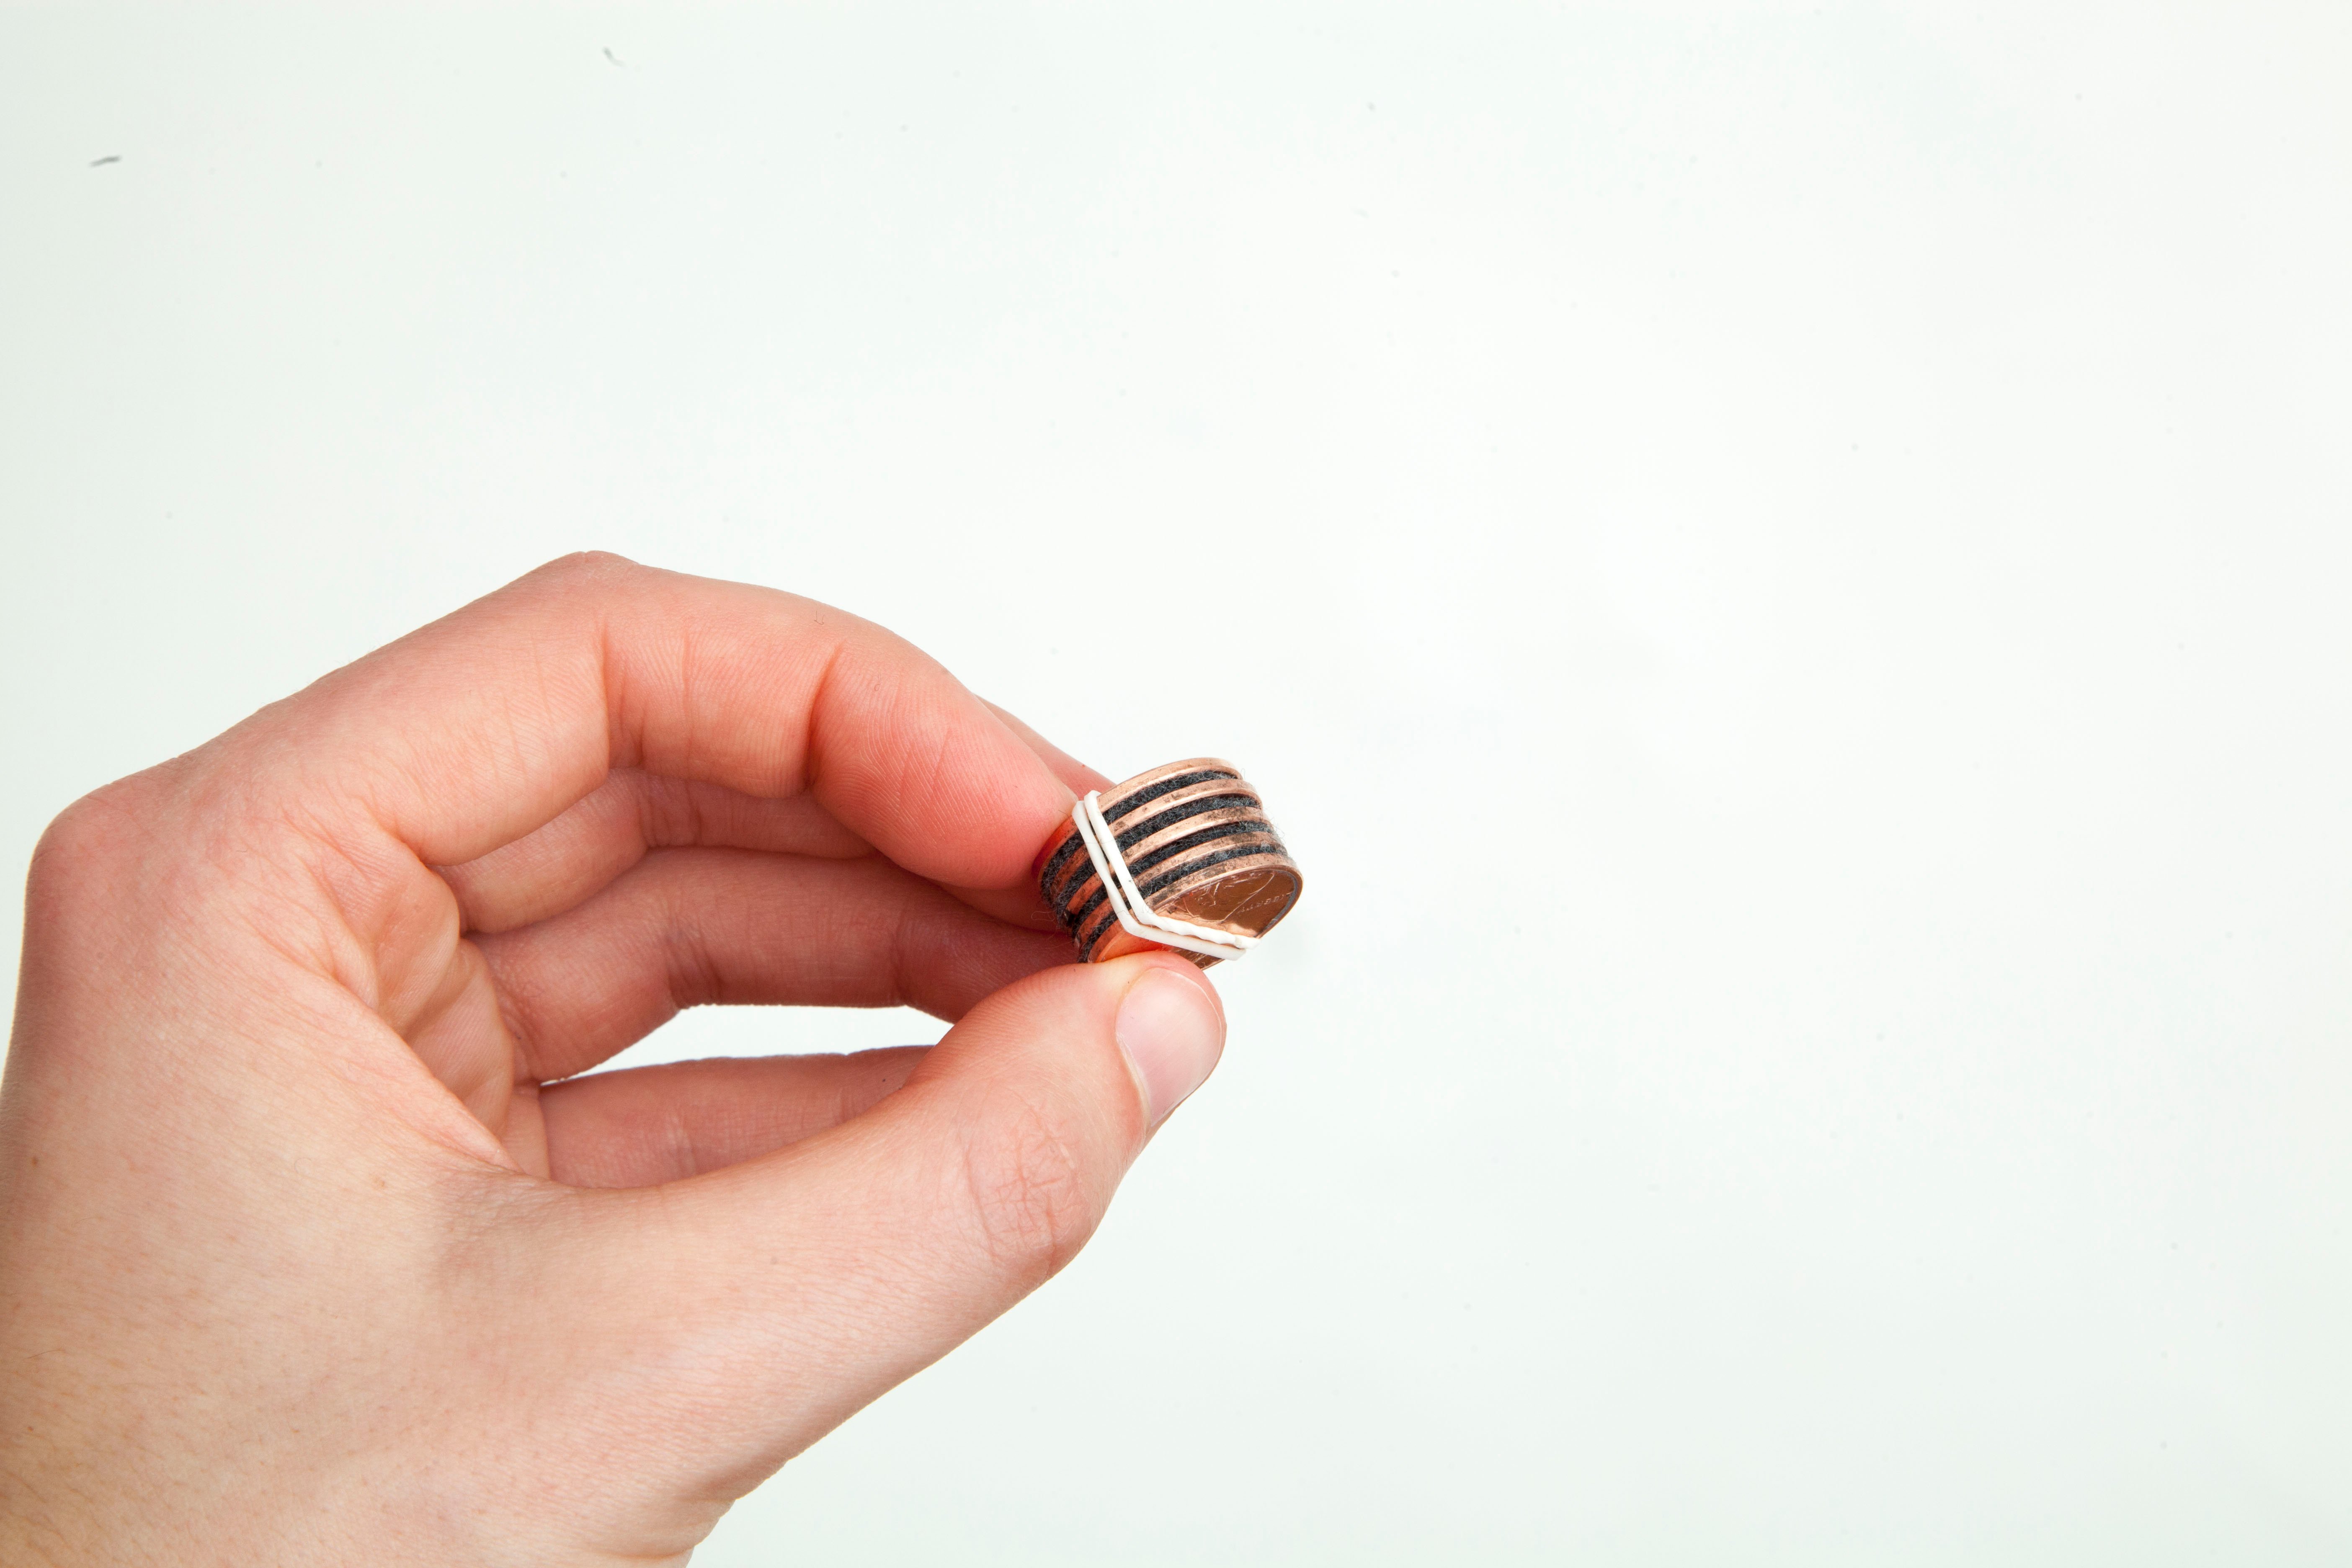
Step 9
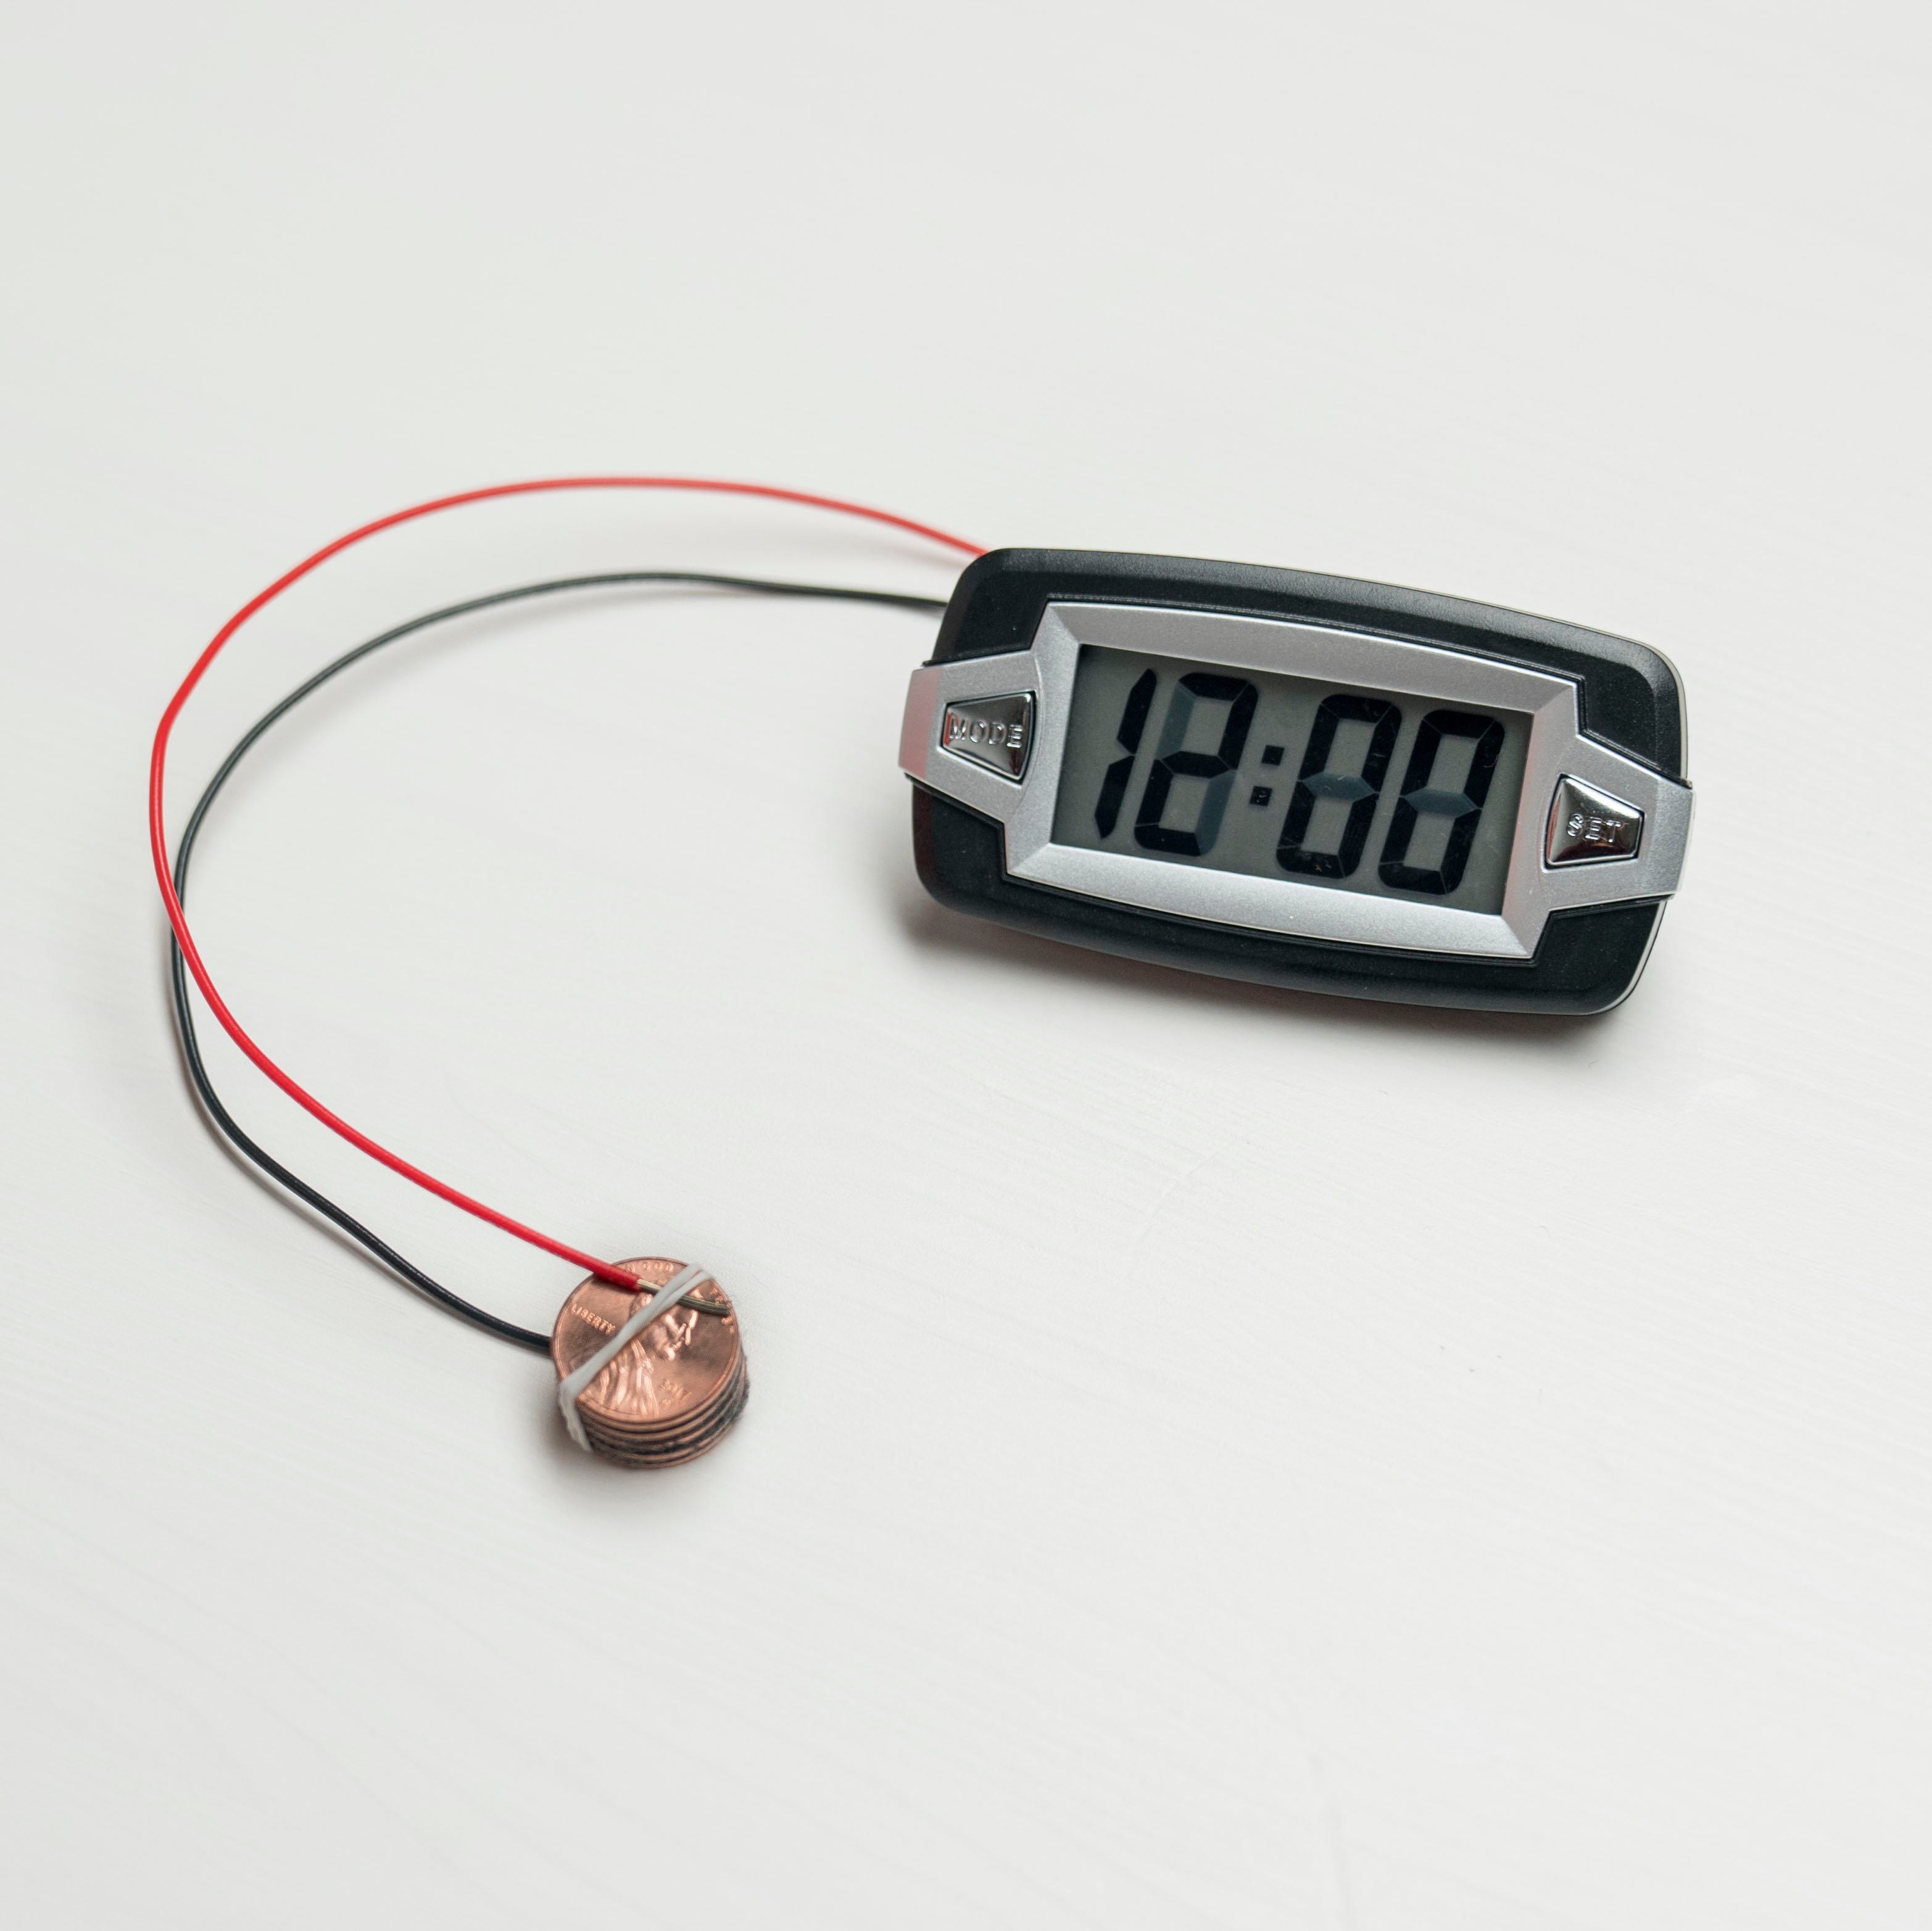
Place the fifth, unsanded penny on top of the last piece of felt. Then, wrap a rubberband around the whole stack. You just made a battery!
Step 10
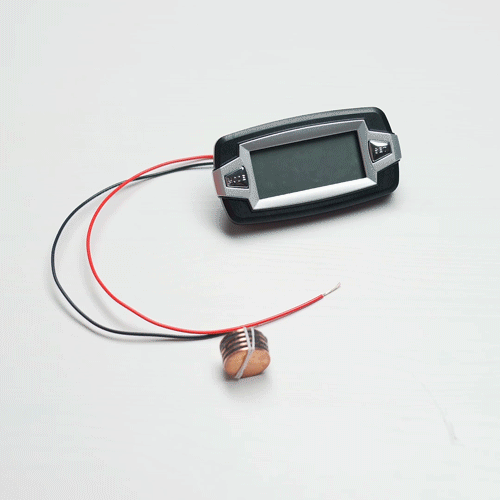
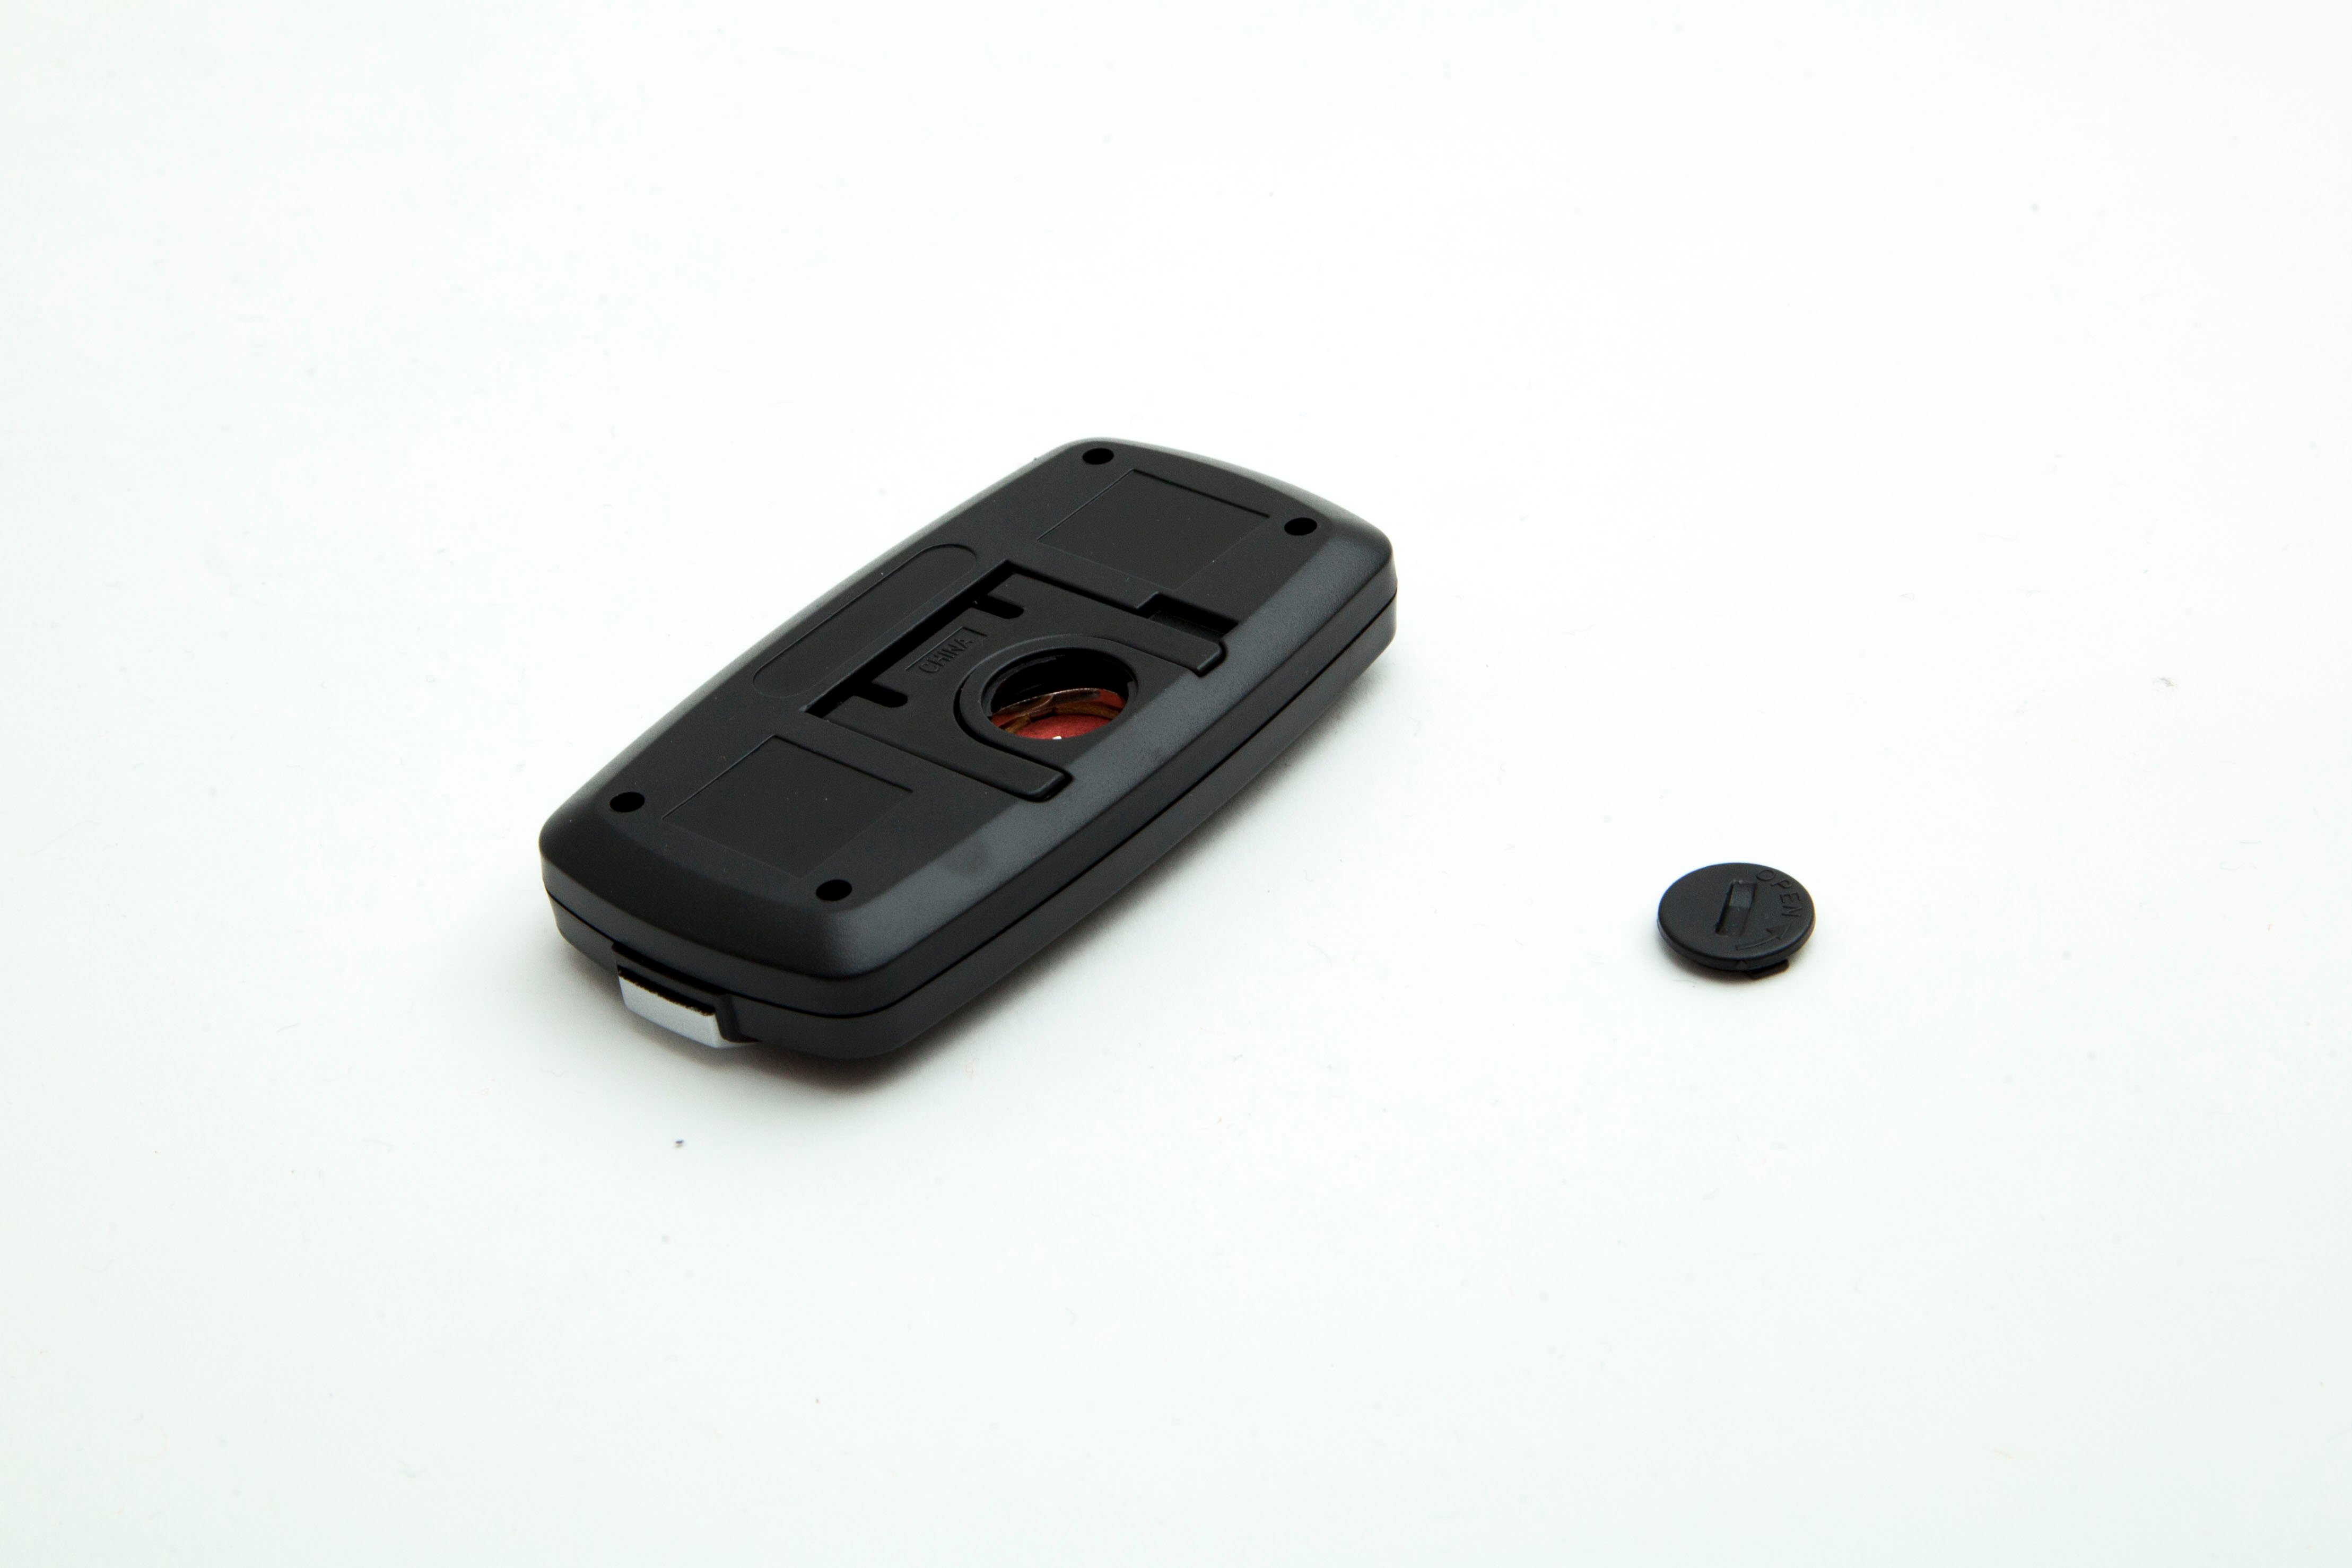
Take the small black screw off the back of the digital LCD clock.
Step 11
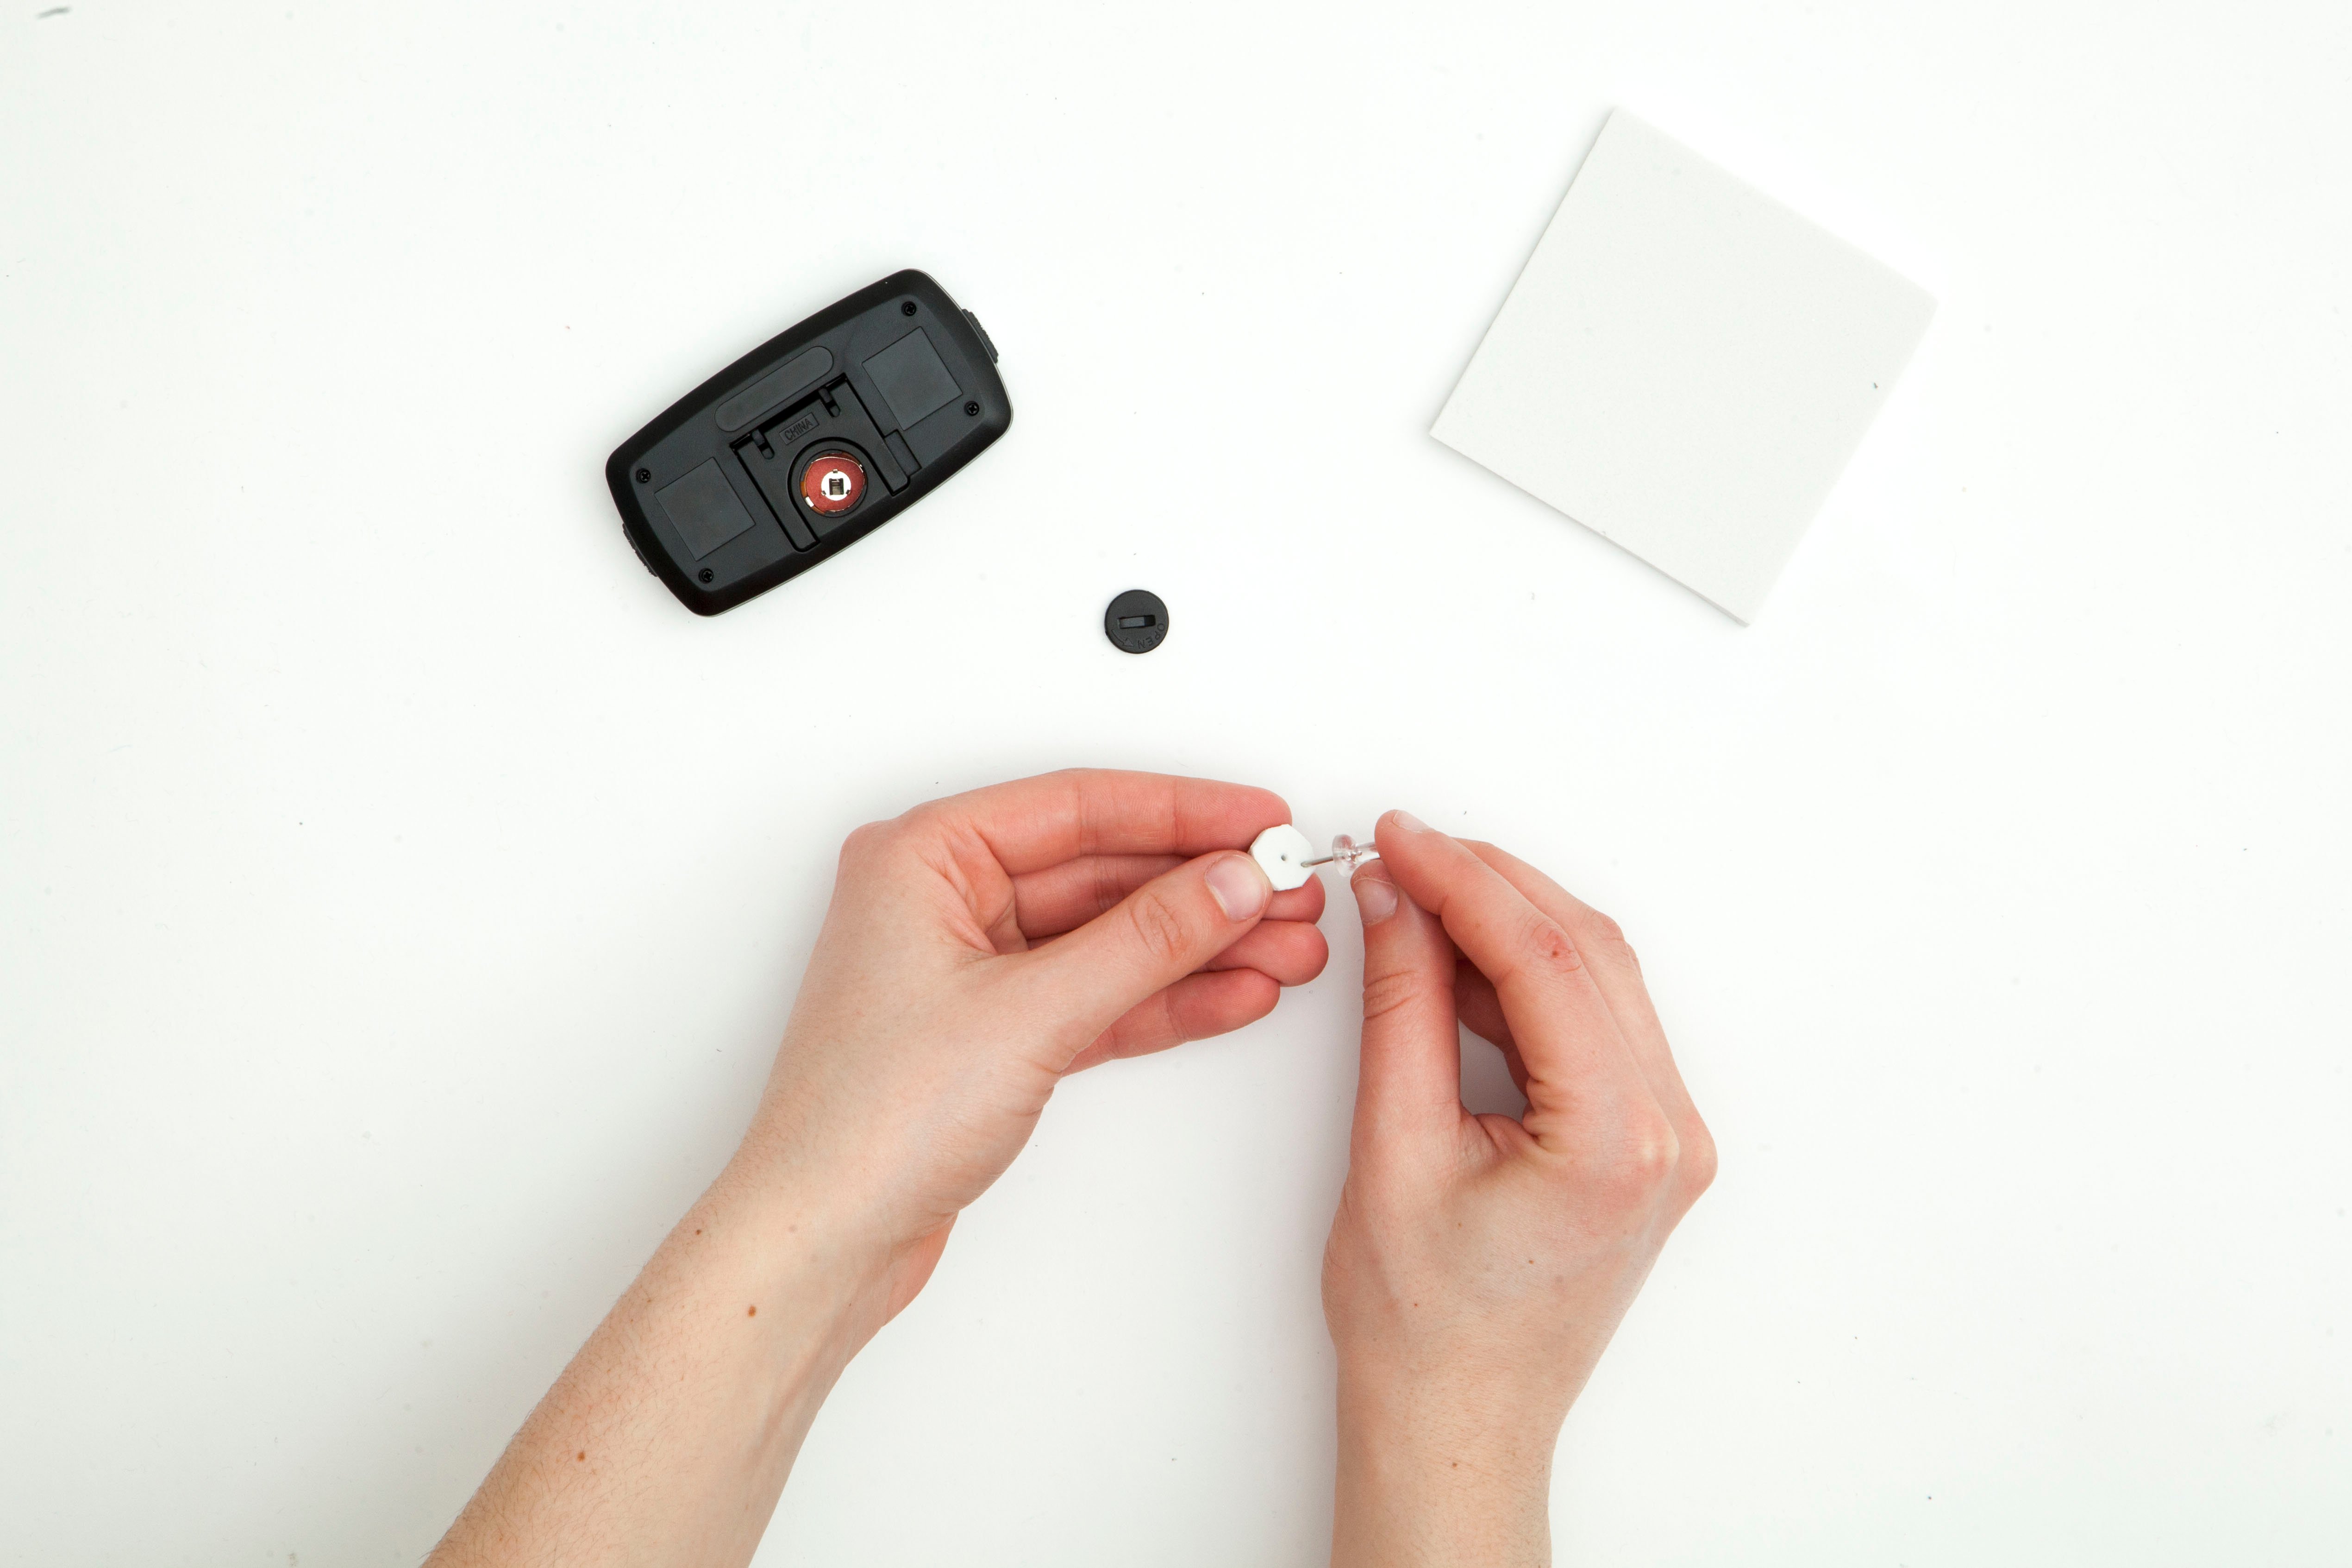
Cut a piece of craft foam the same size as the screw. Then, poke two holes in it with a pushpin: one in the center and one on the edge.
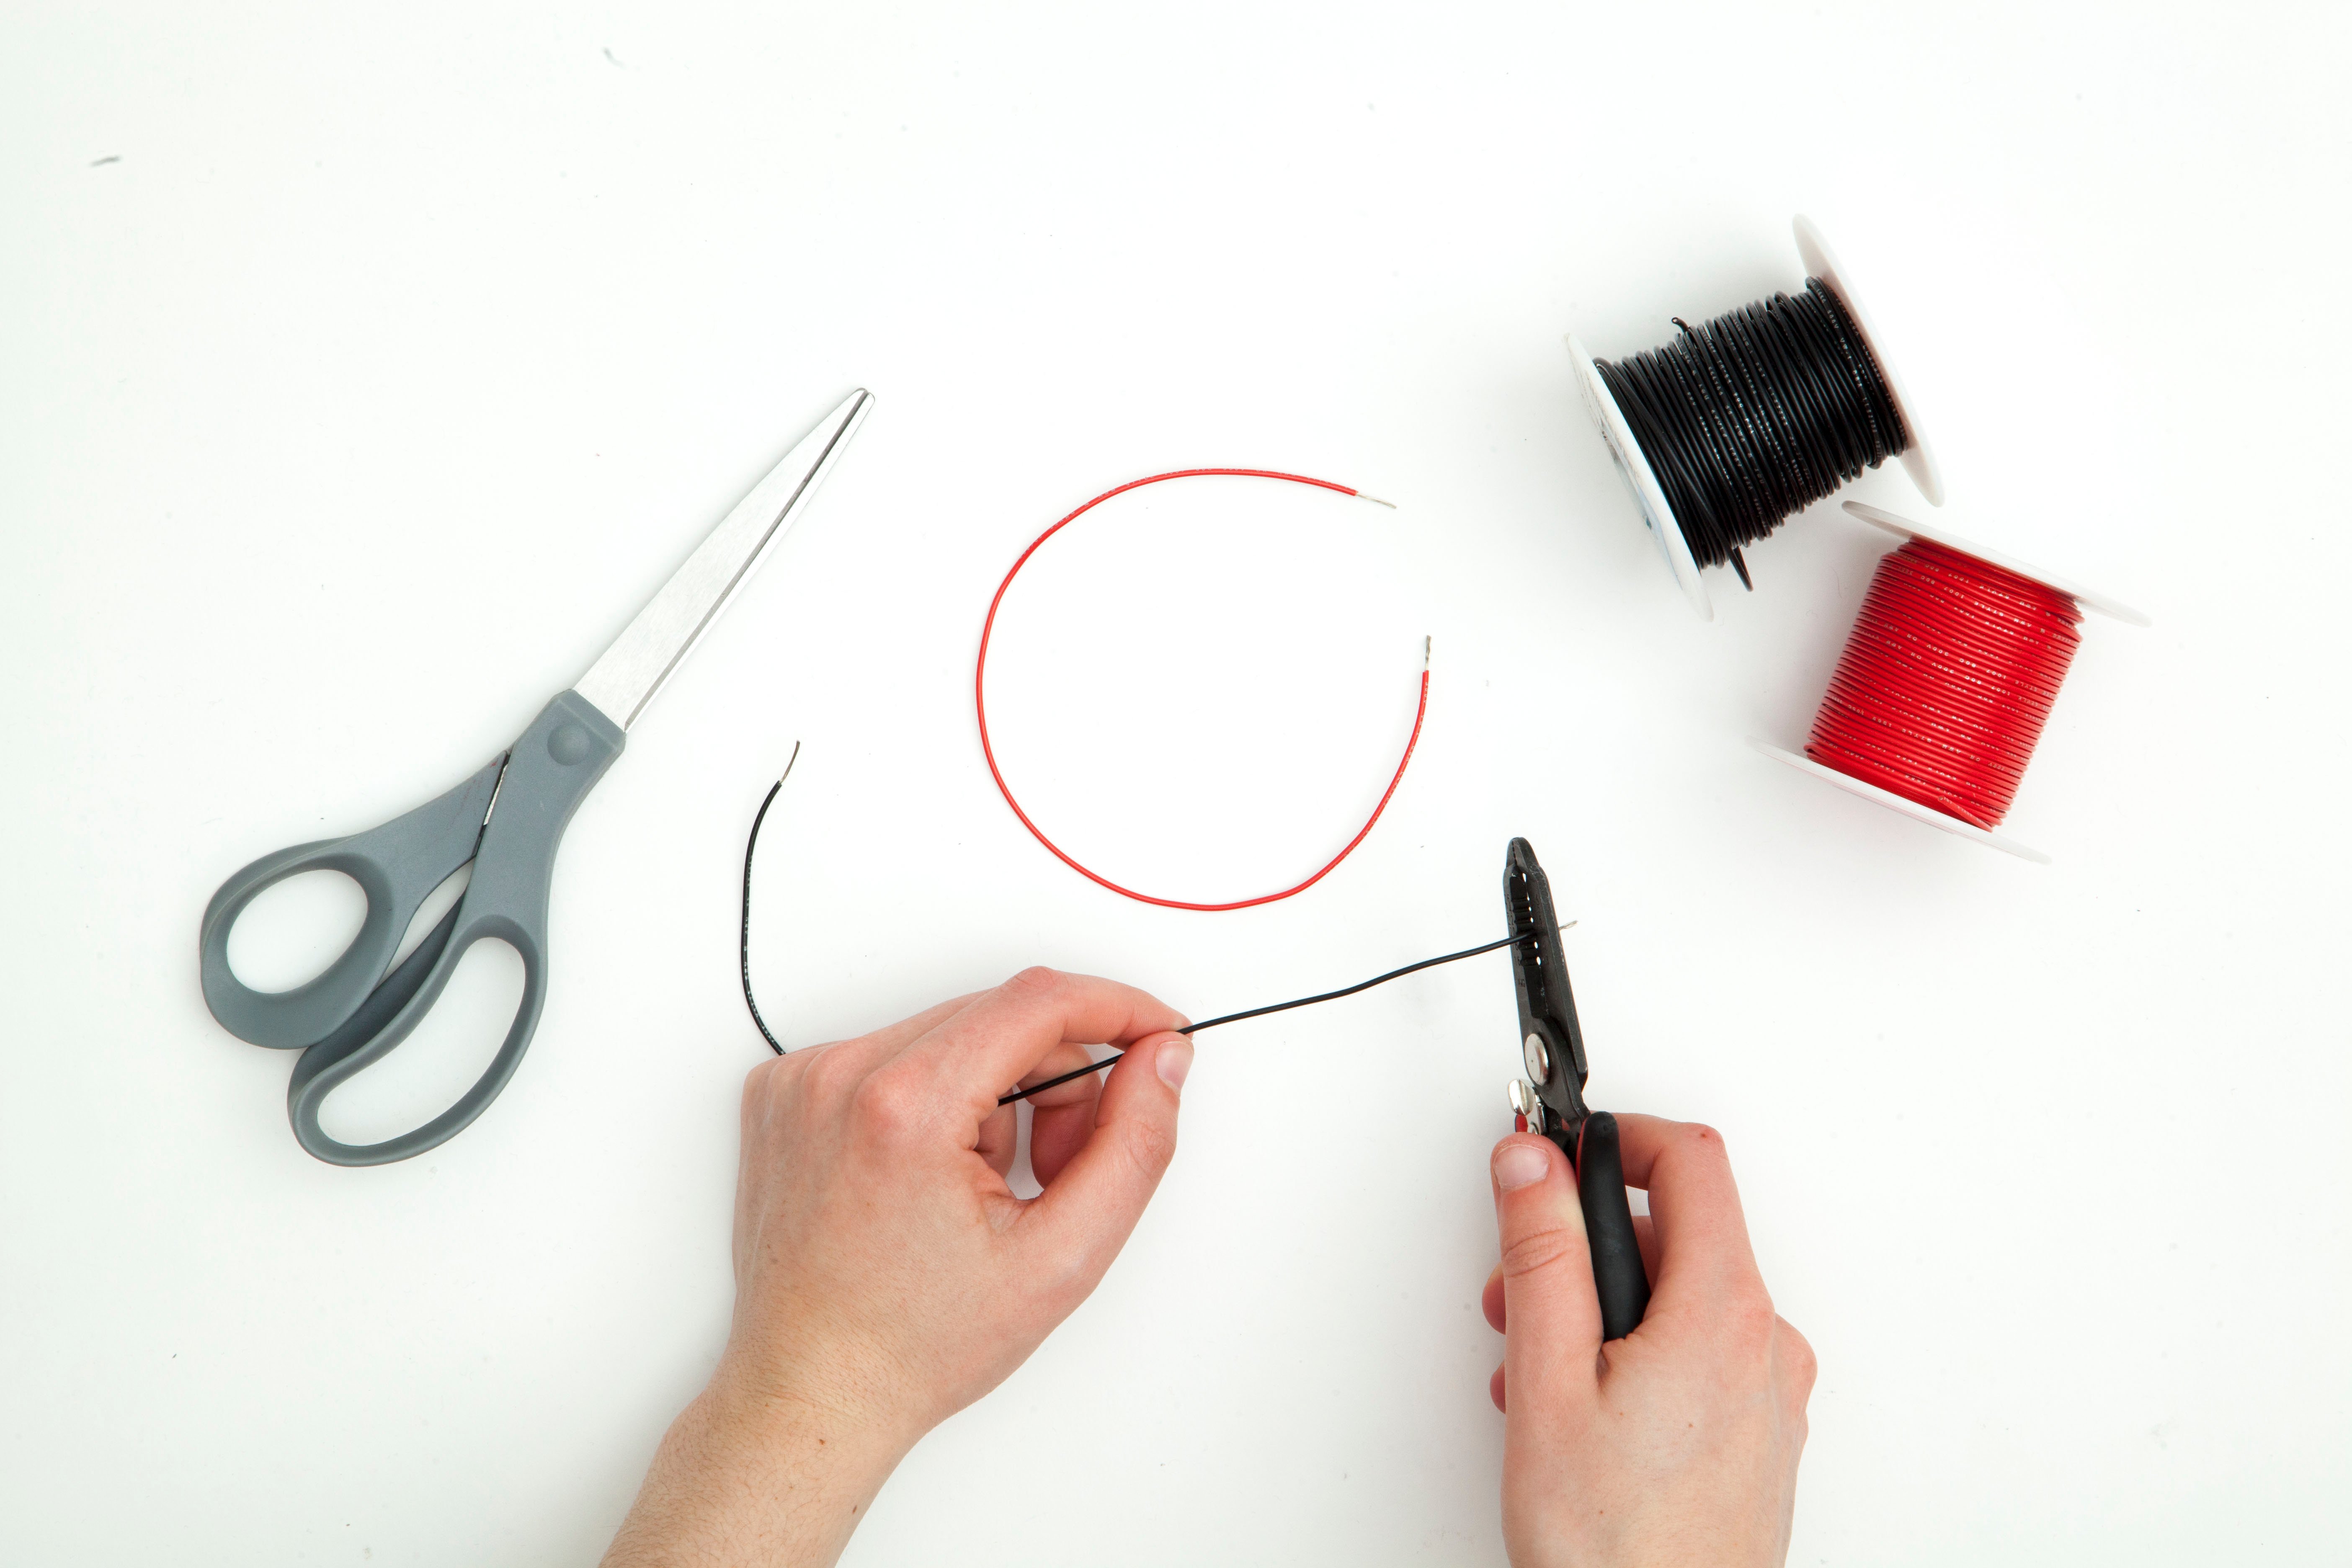
Step 12
Cut two 10” pieces of wire (one red and one black) and strip both ends of each wire. You may need an adult to assist you.
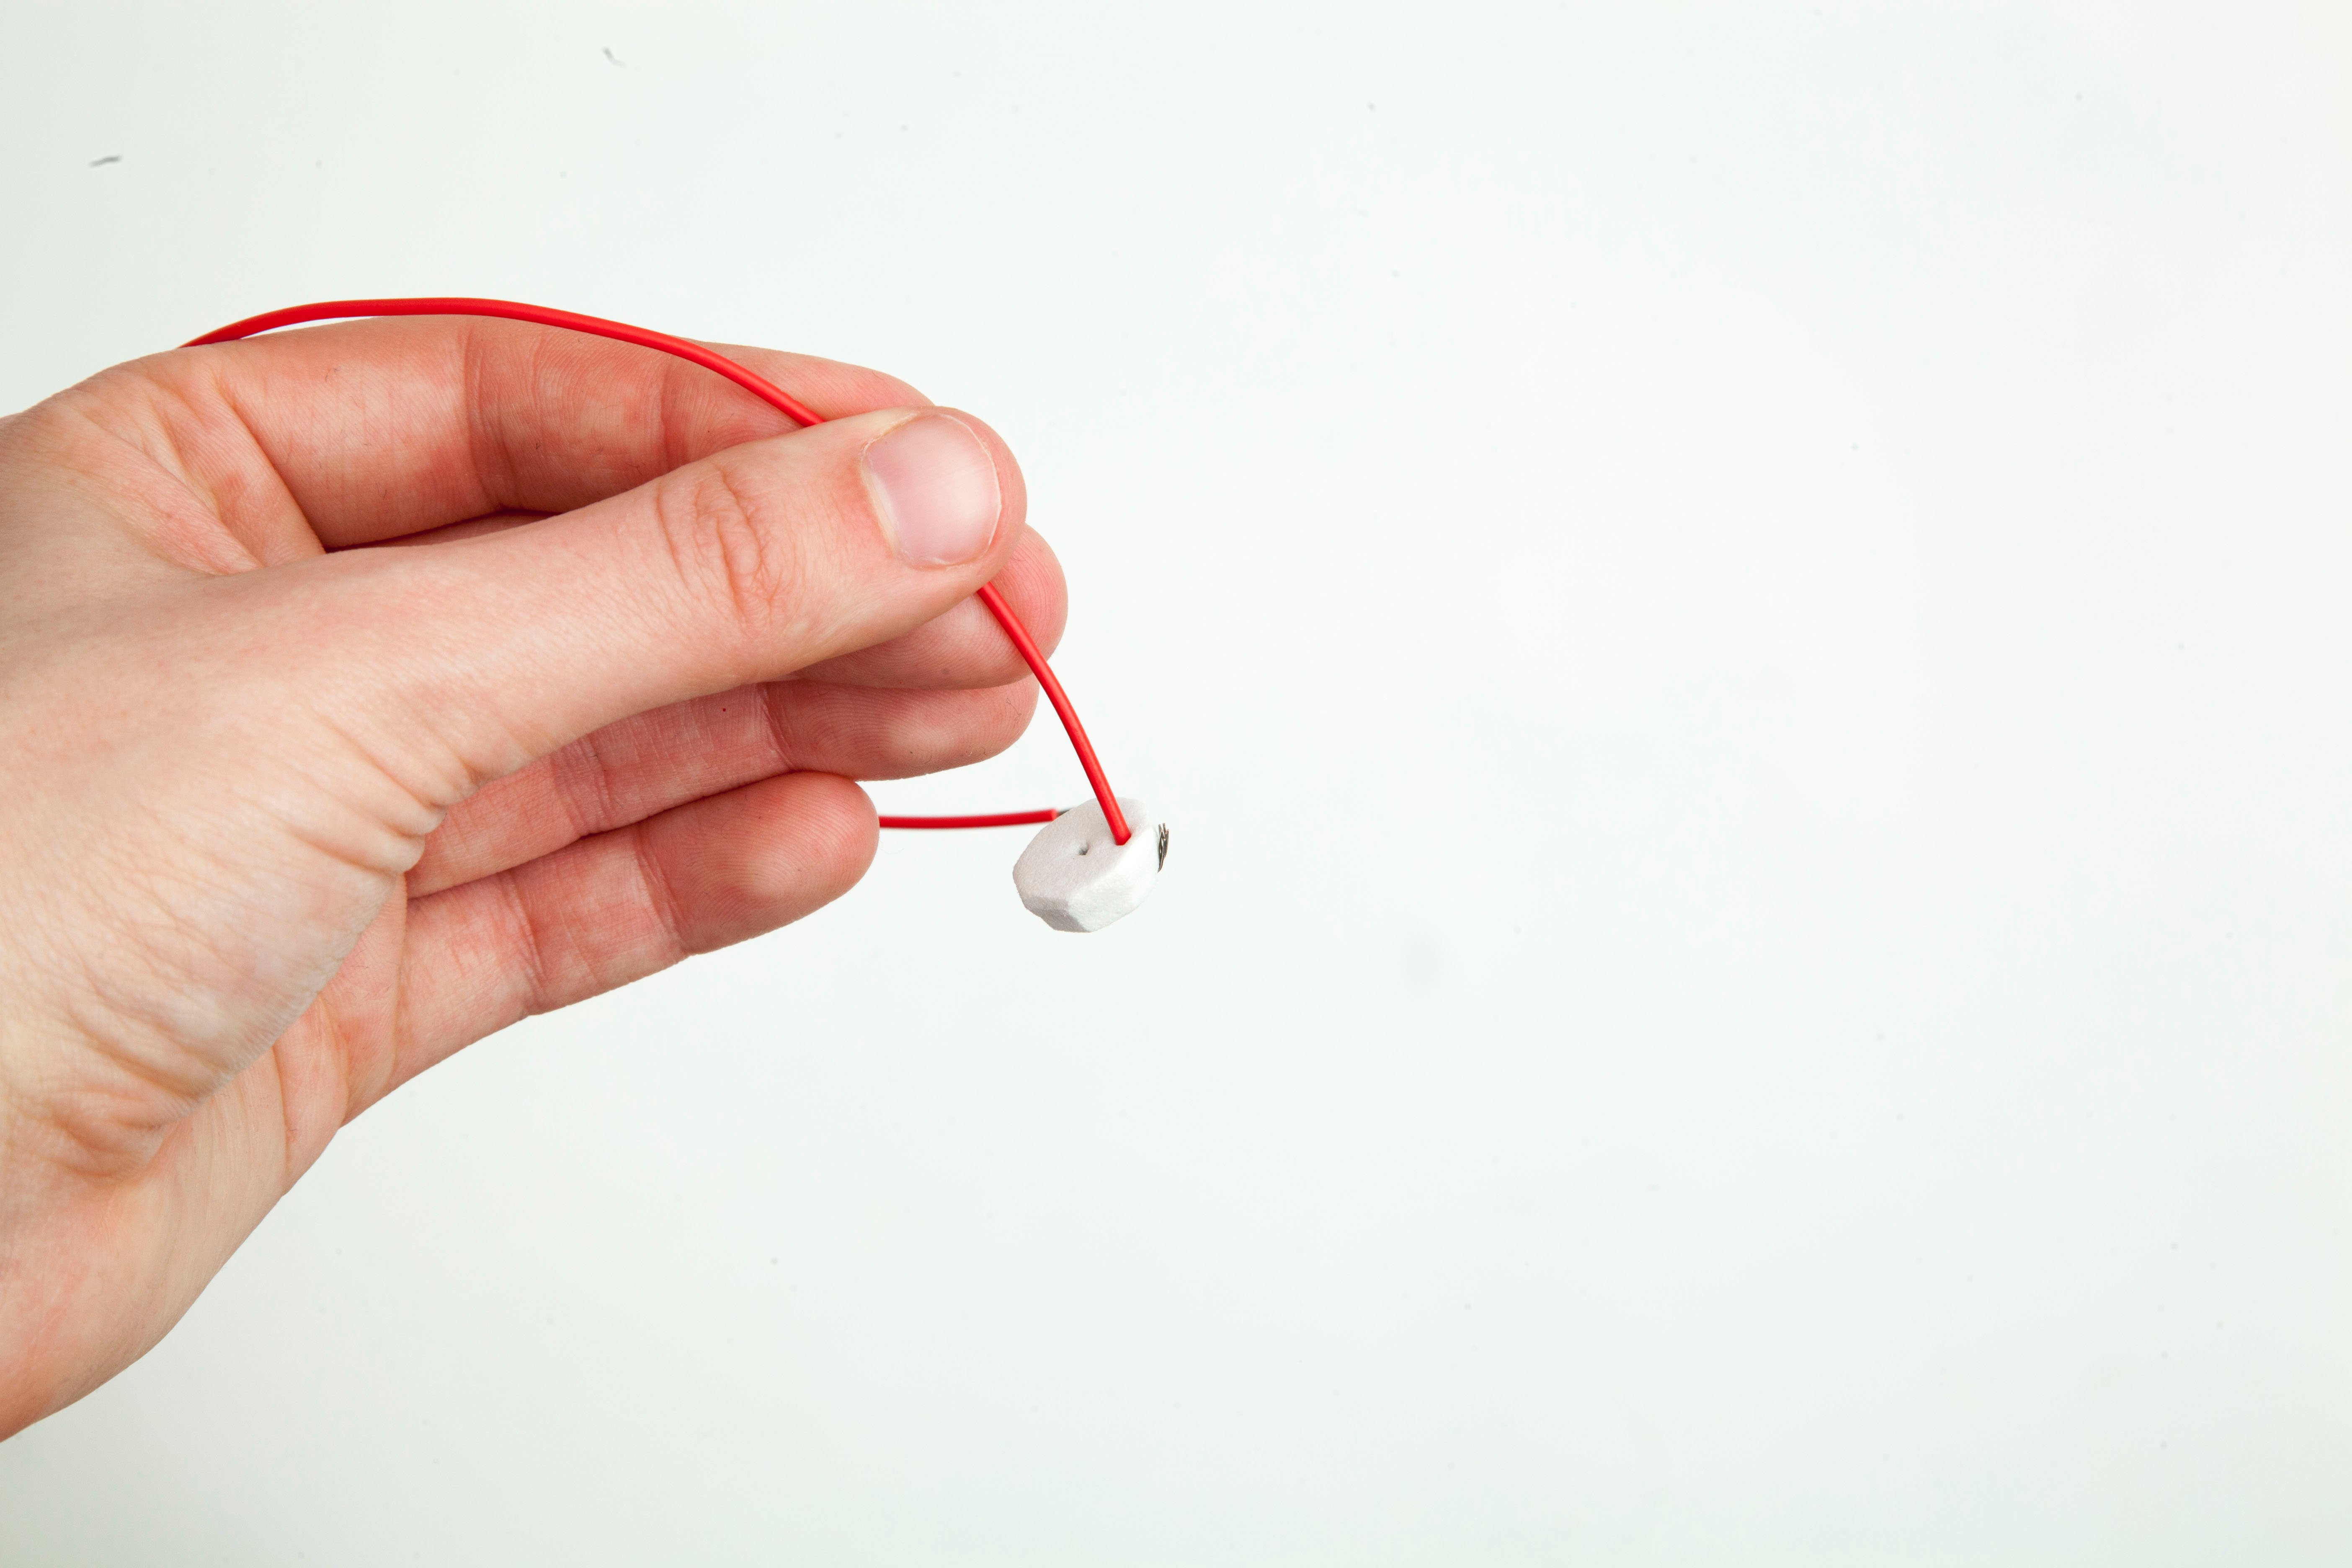
Step 13
Poke one end of the red wire through the hole on the edge of the craft foam circle and bend it towards the top of the circle.
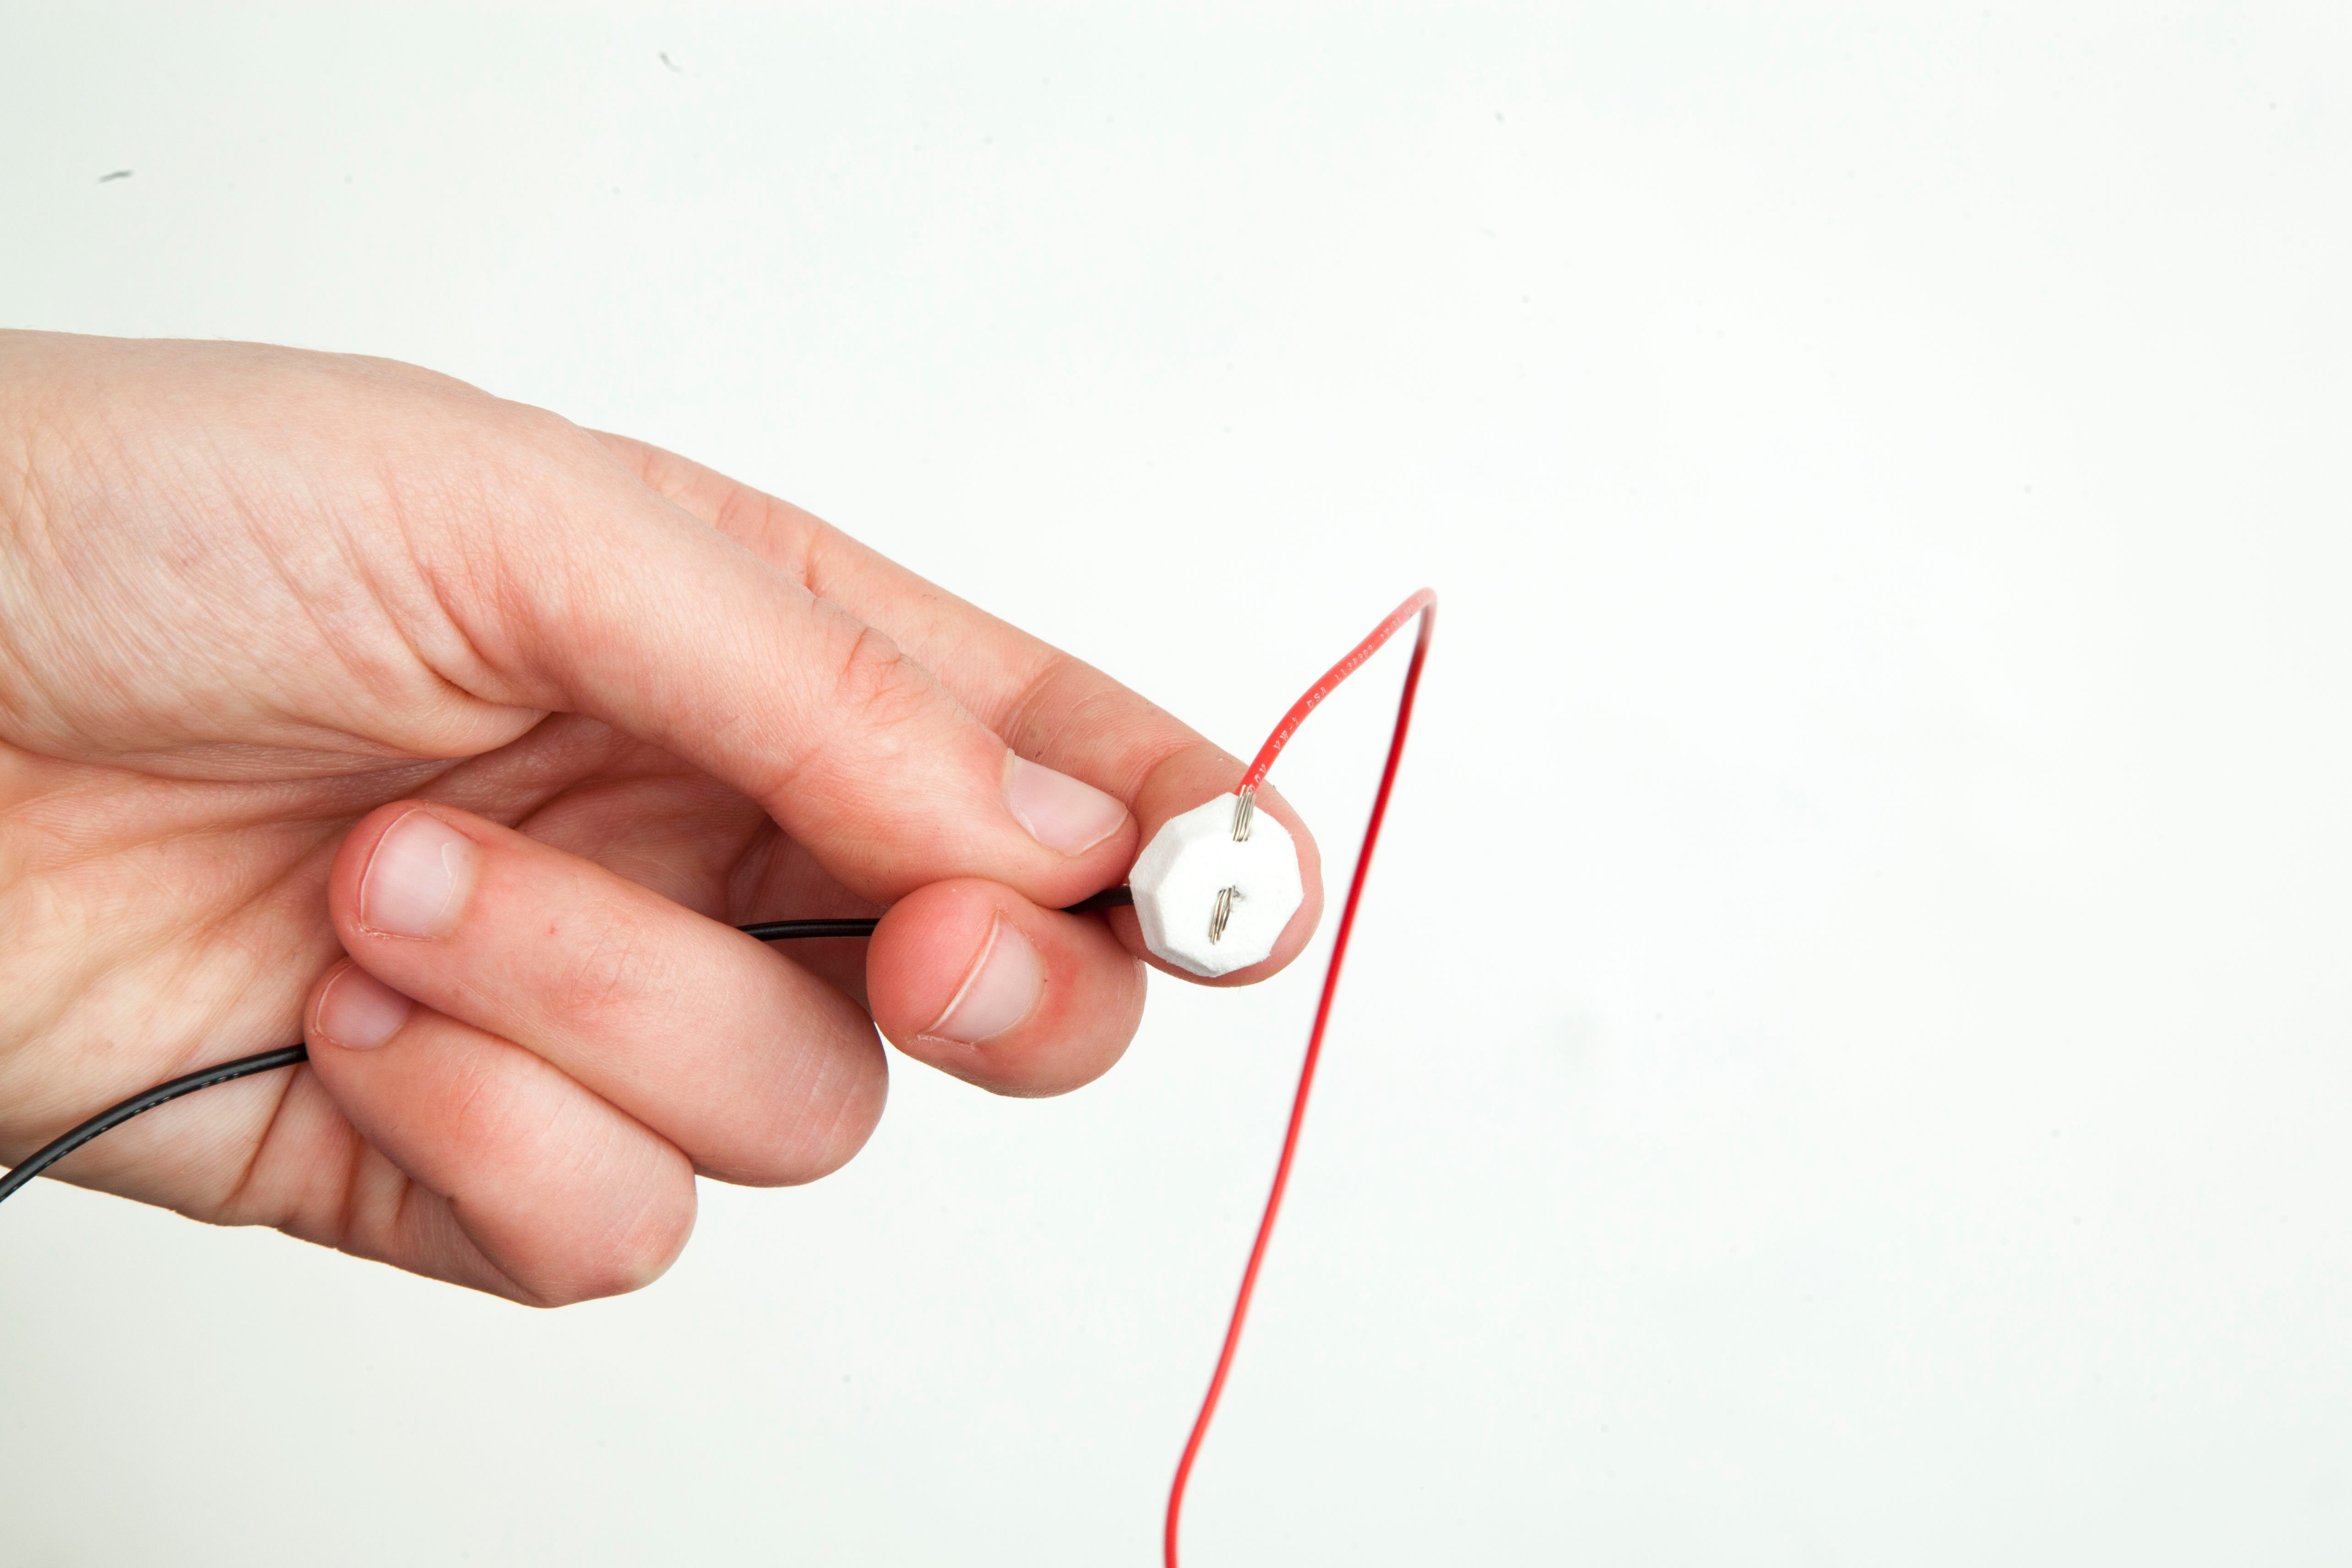
Step 14
Poke one end of the black wire through the hole in the middle of the craft foam circle and bend it away from the red wire.
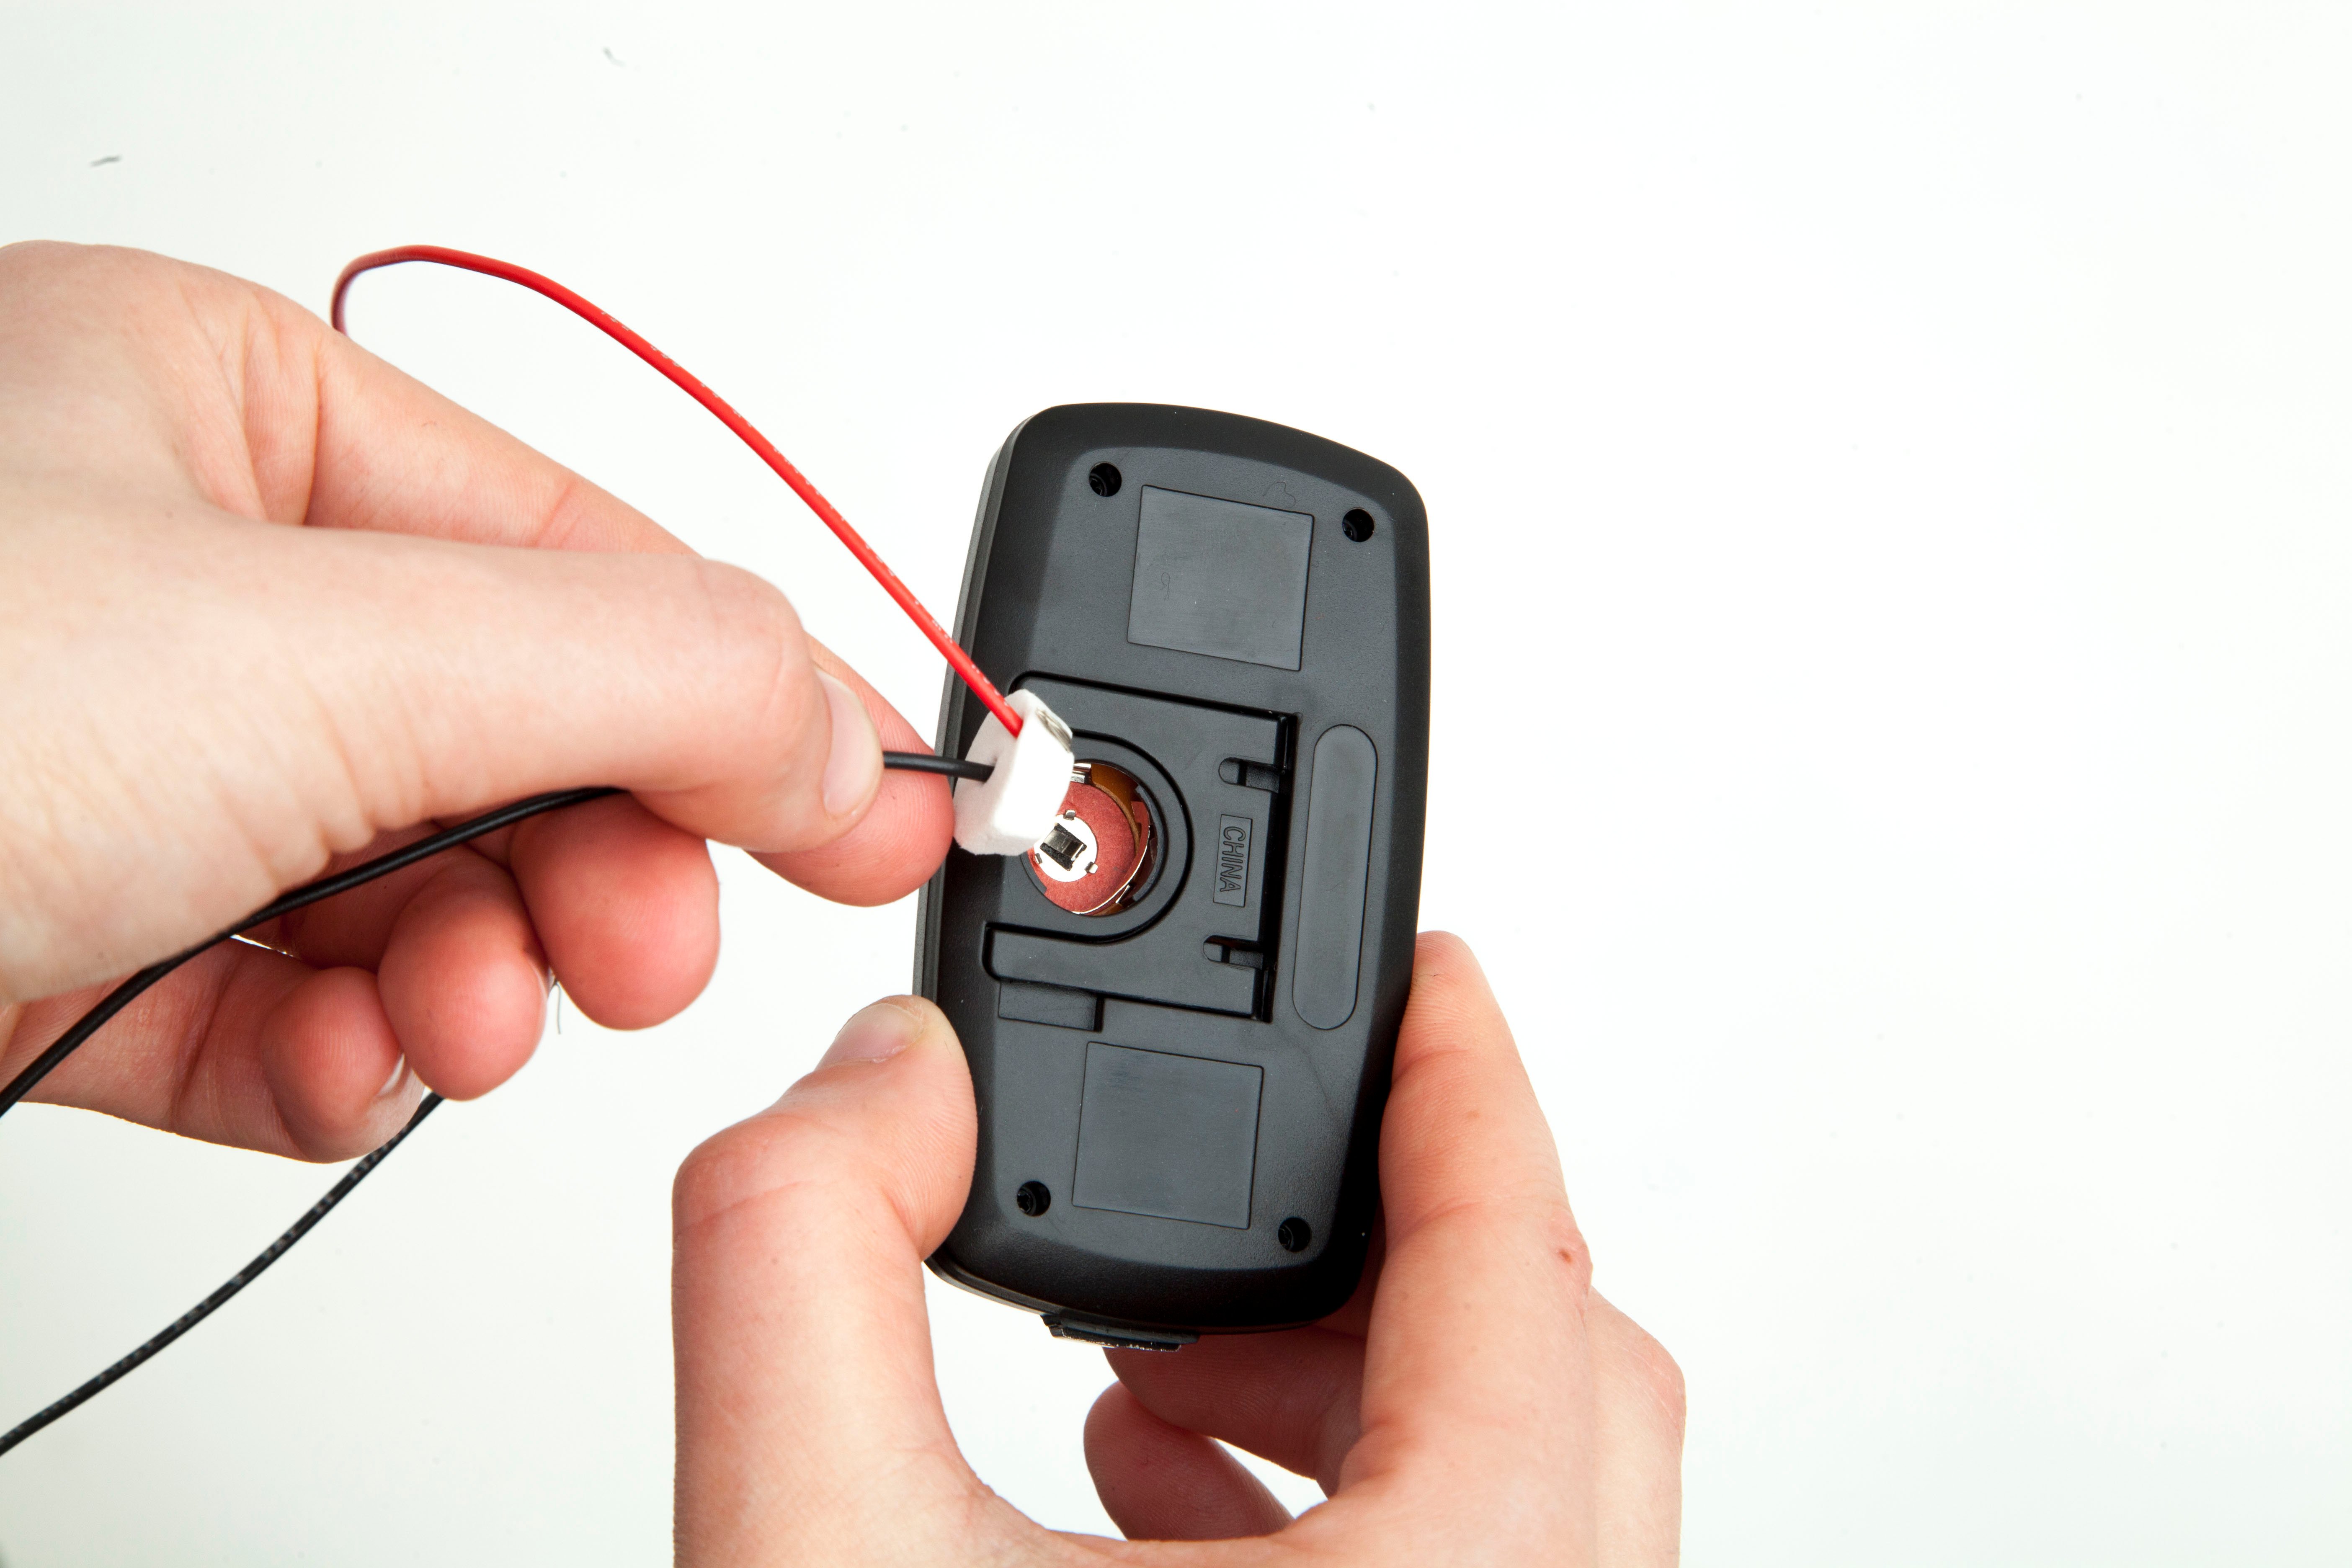
Step 15
Push the circle into the clock so that the black wire lines up with the center metal tab and the red wire lines up with the end of the metal ring.
Tip
Test your wiring by connecting a coin cell battery to the loose ends of the wire. If the clock turns on you wired them correctly! If not, flip your coin cell battery around. If the clock still doesn’t turn on, try repositioning the craft foam circle.
Done!
Connect your penny battery to the loose ends of the wires by securing the wires in place with the rubber band. Does your clock turn on?