Step-by-step tutorial
Step 1
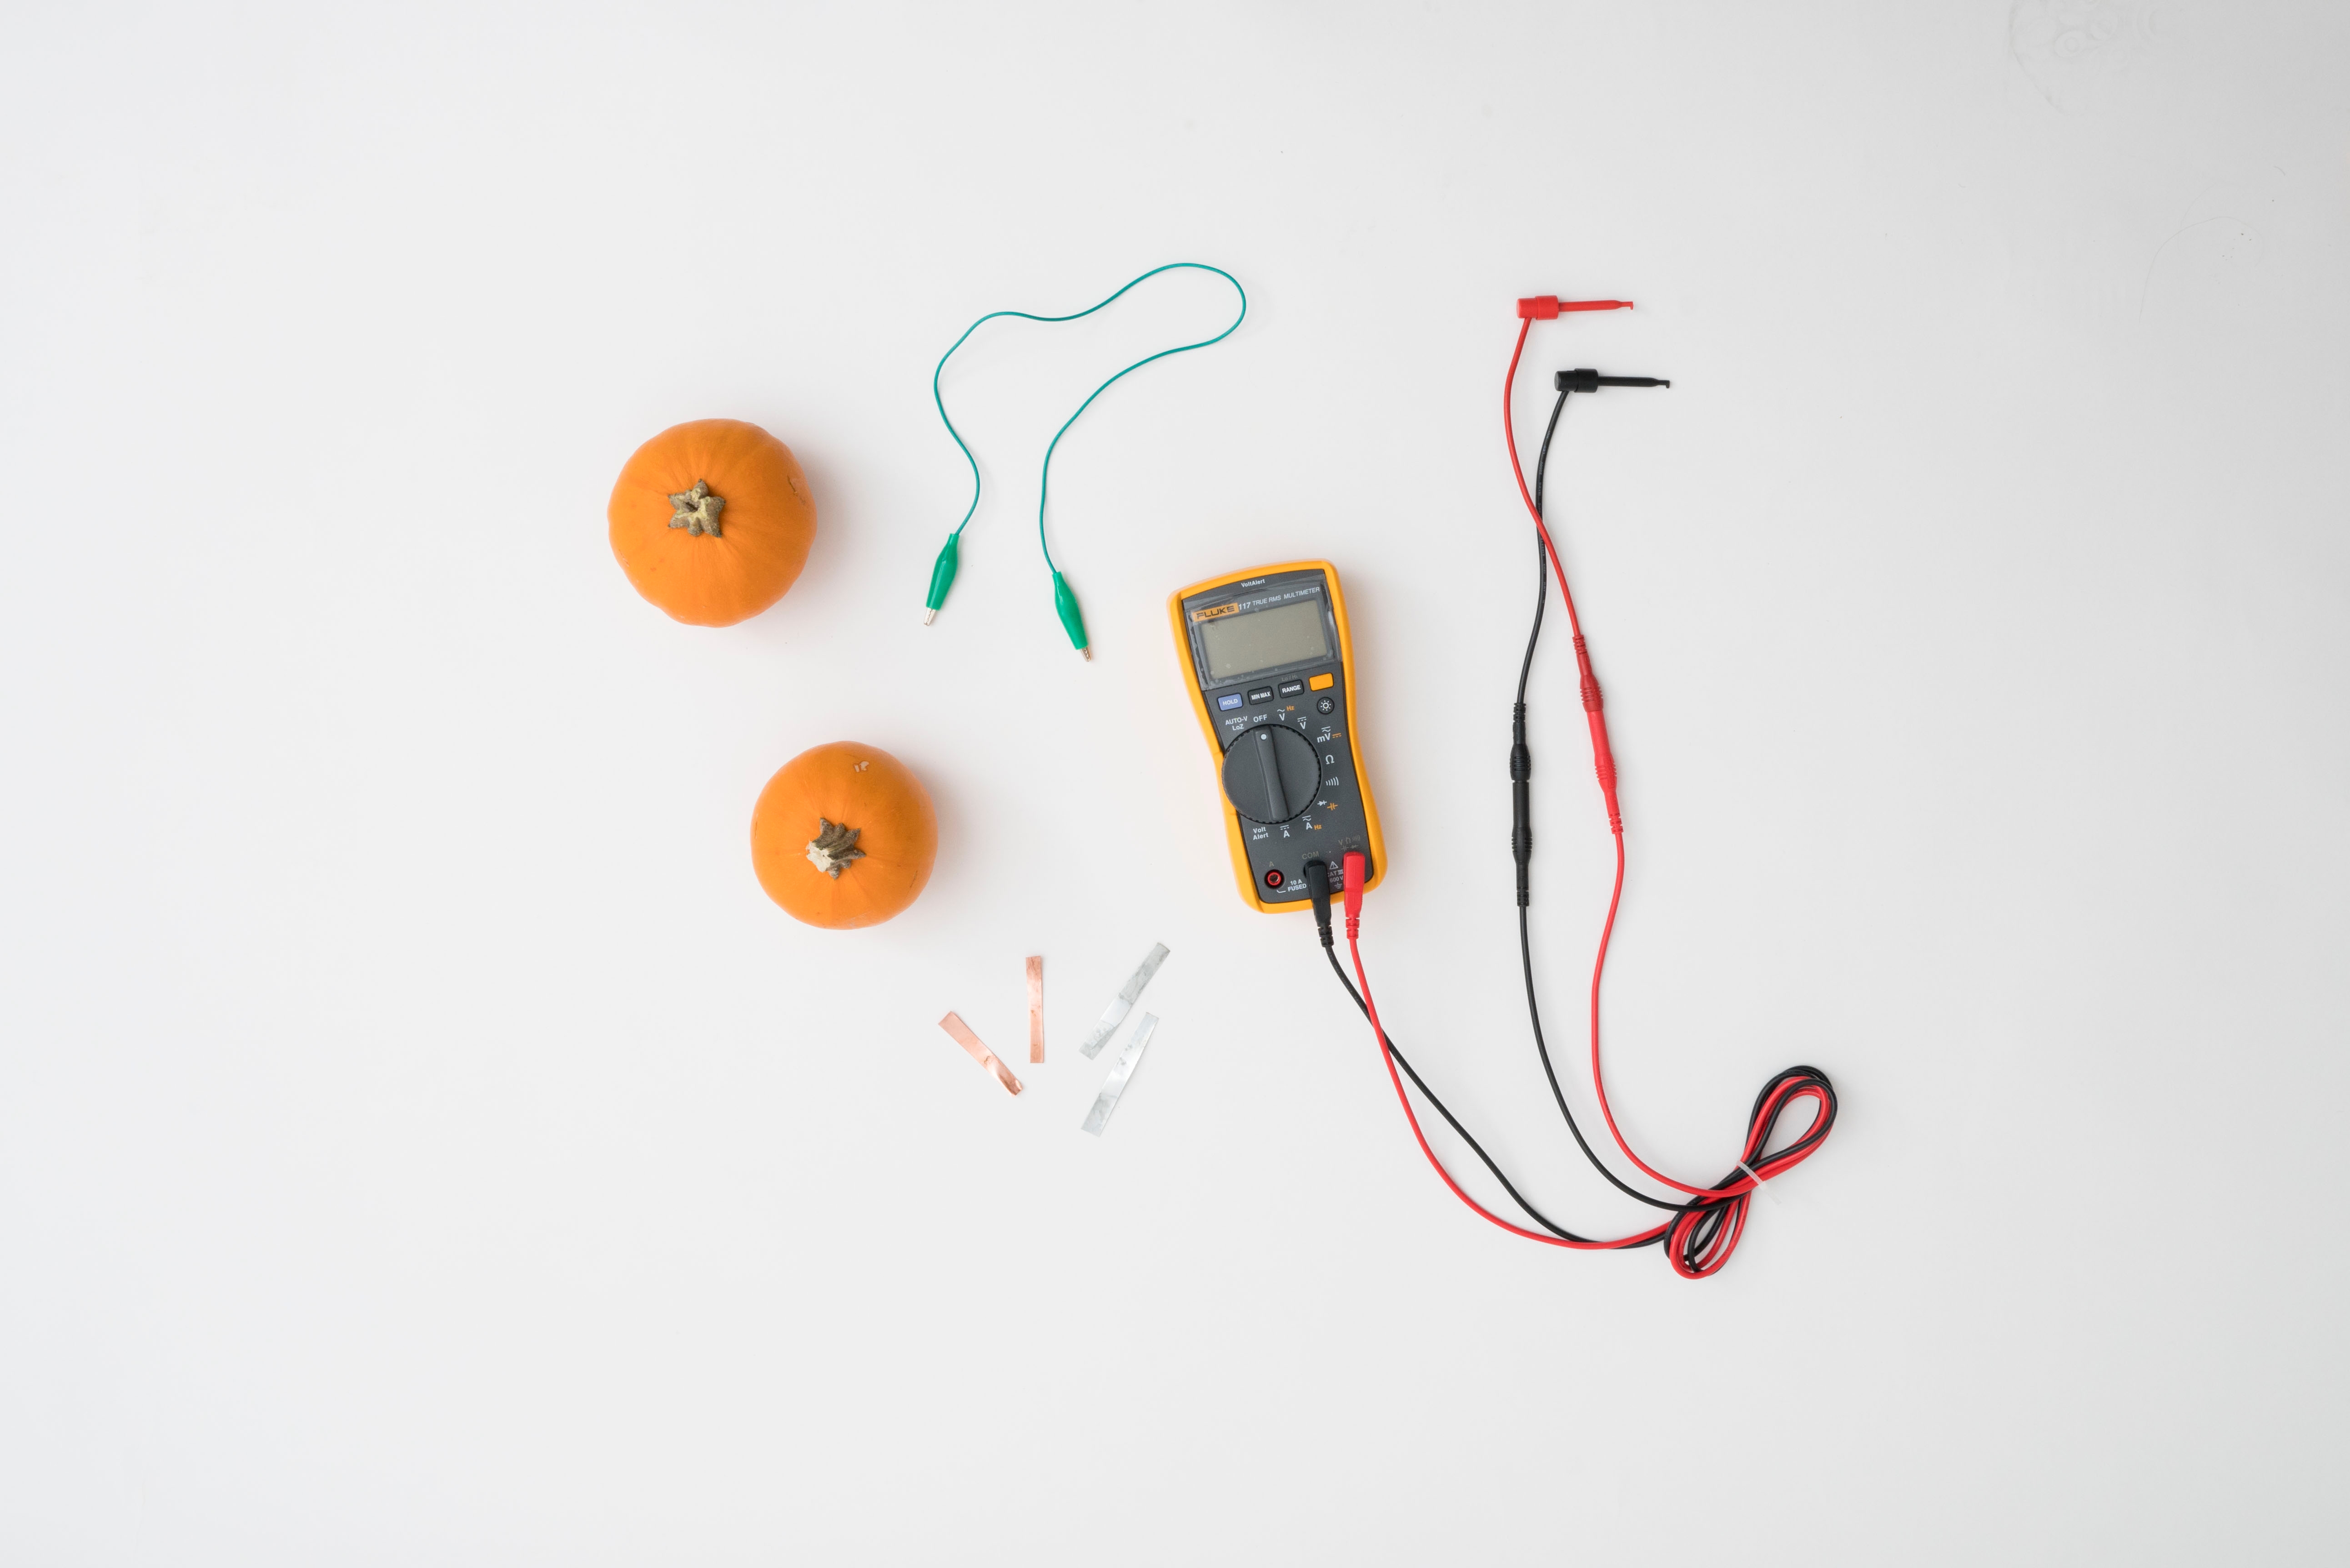
Gather your pumpkin battery materials!

Step 2
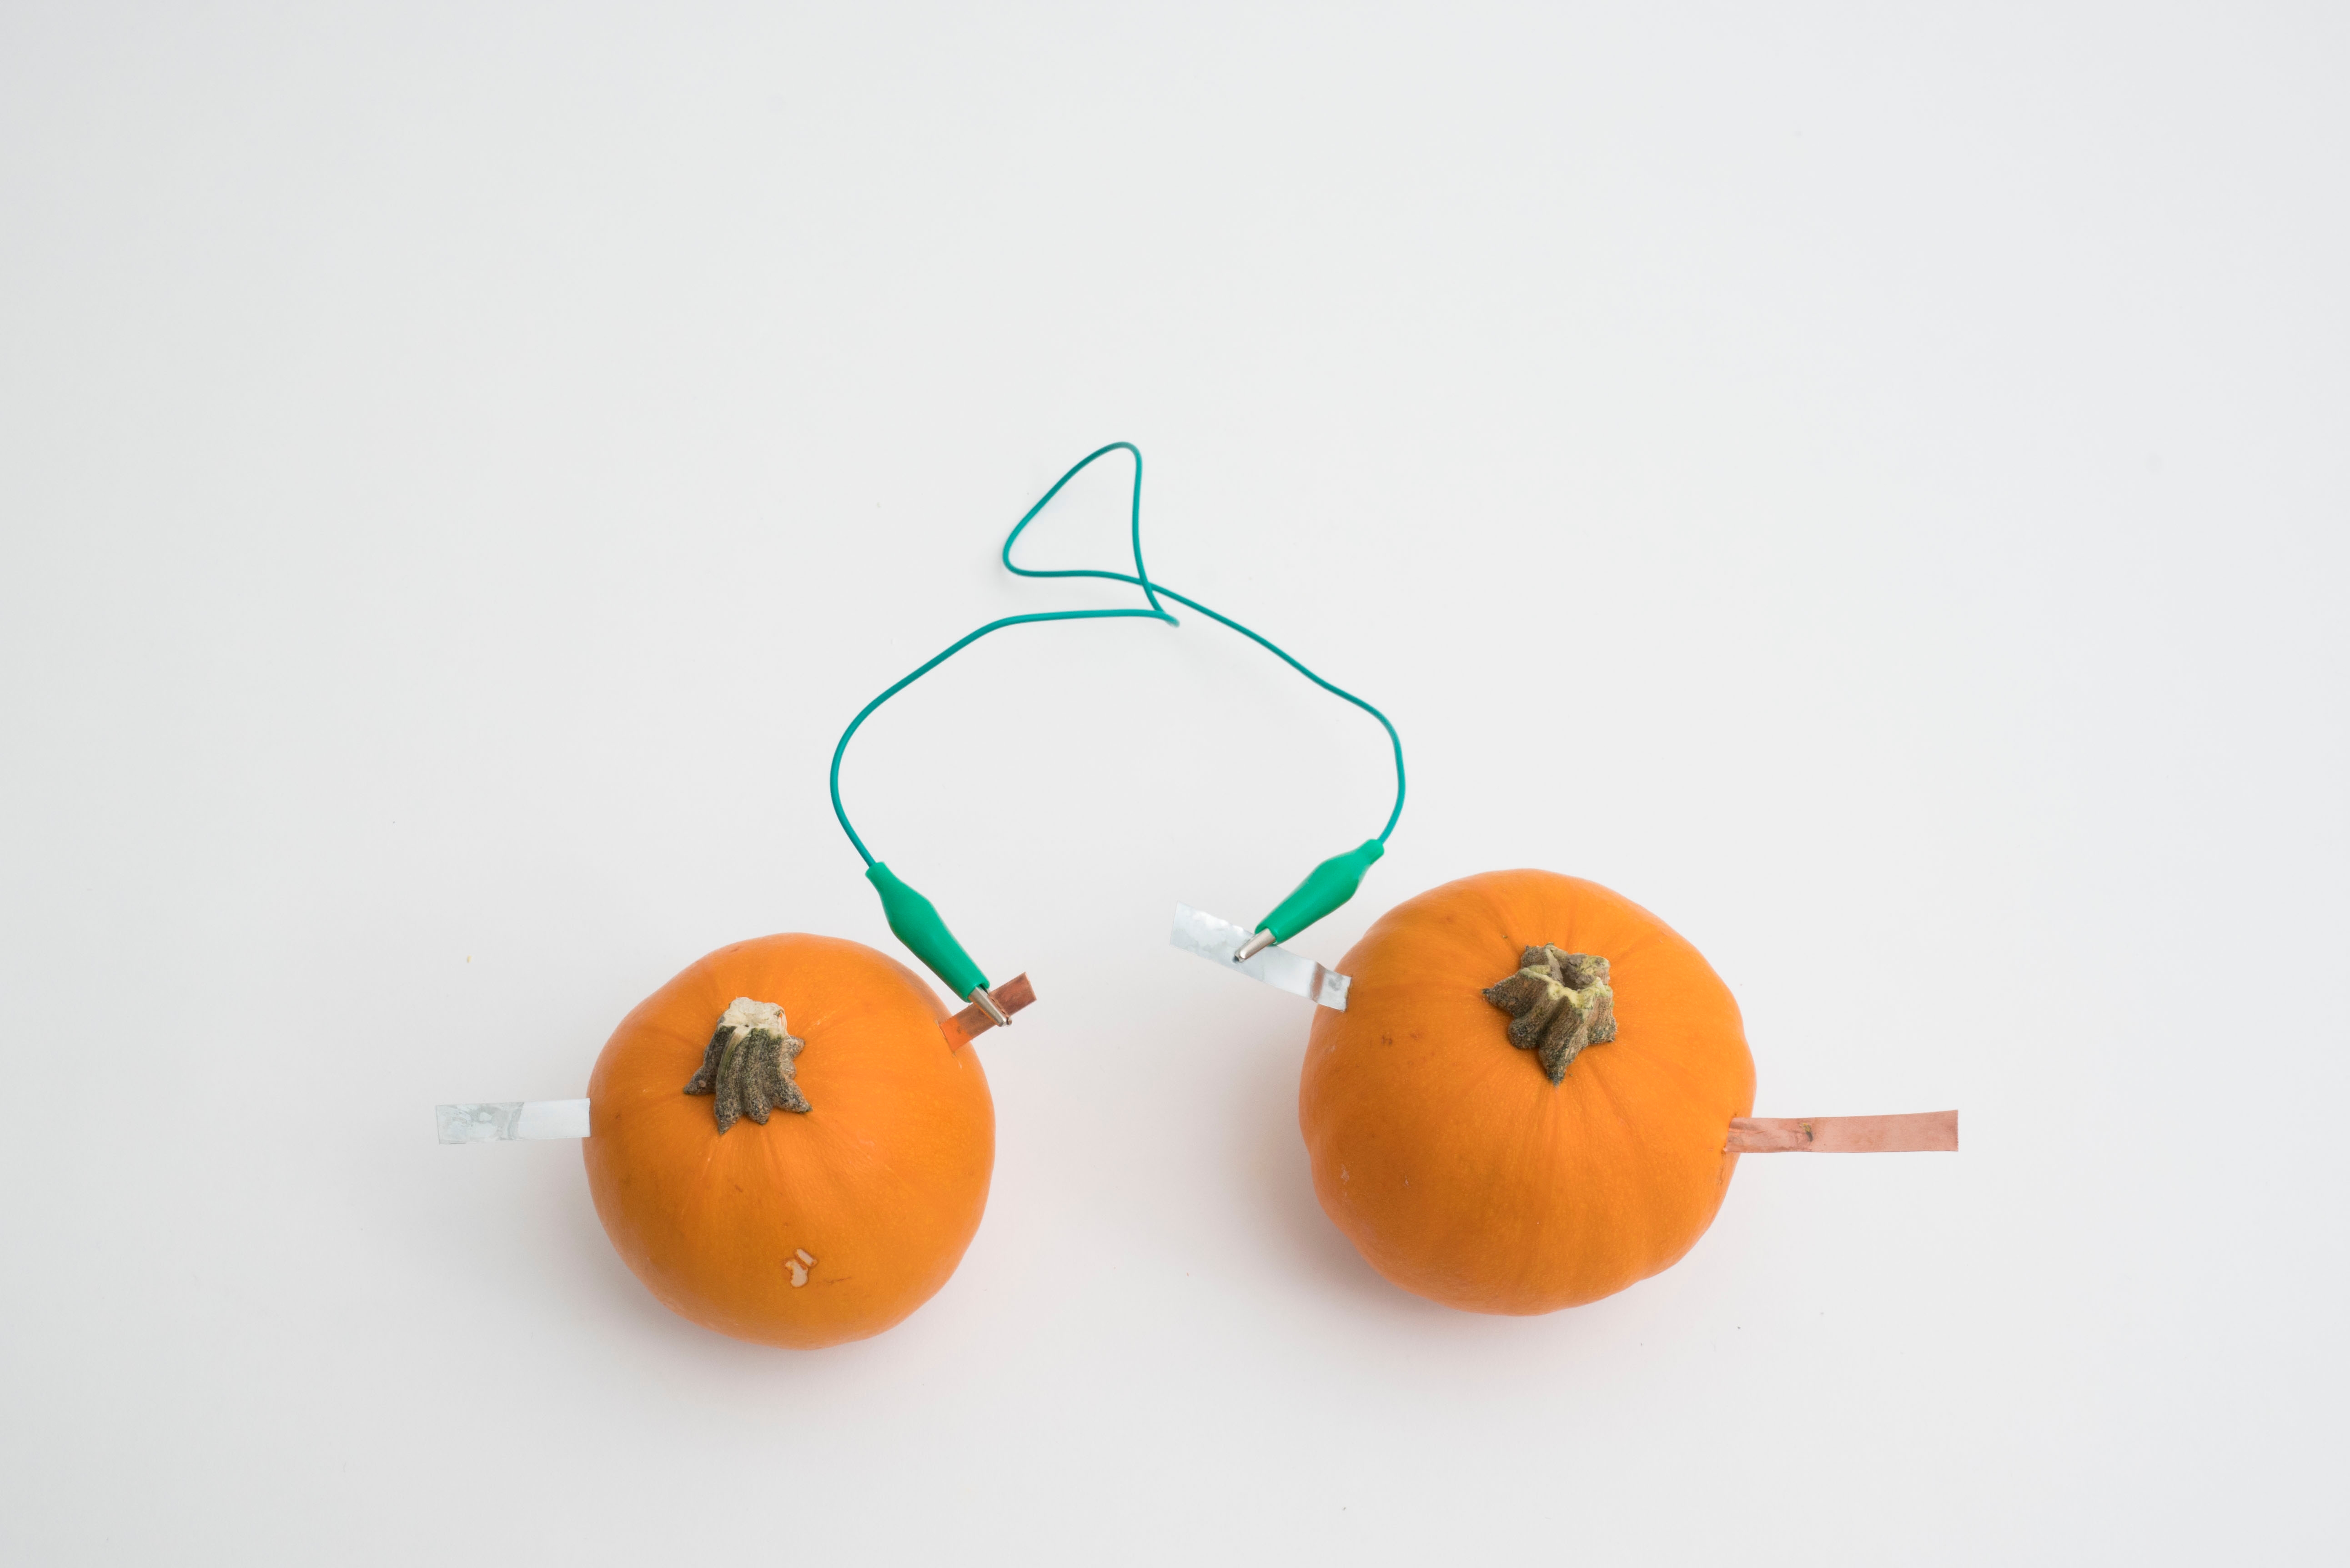
Stick a copper strip and a zinc strip in opposite sides of each pumpkin.

Step 3
Connect the copper strip from one pumpkin to the zinc strip in the other pumpkin with the alligator clip.
Step 4
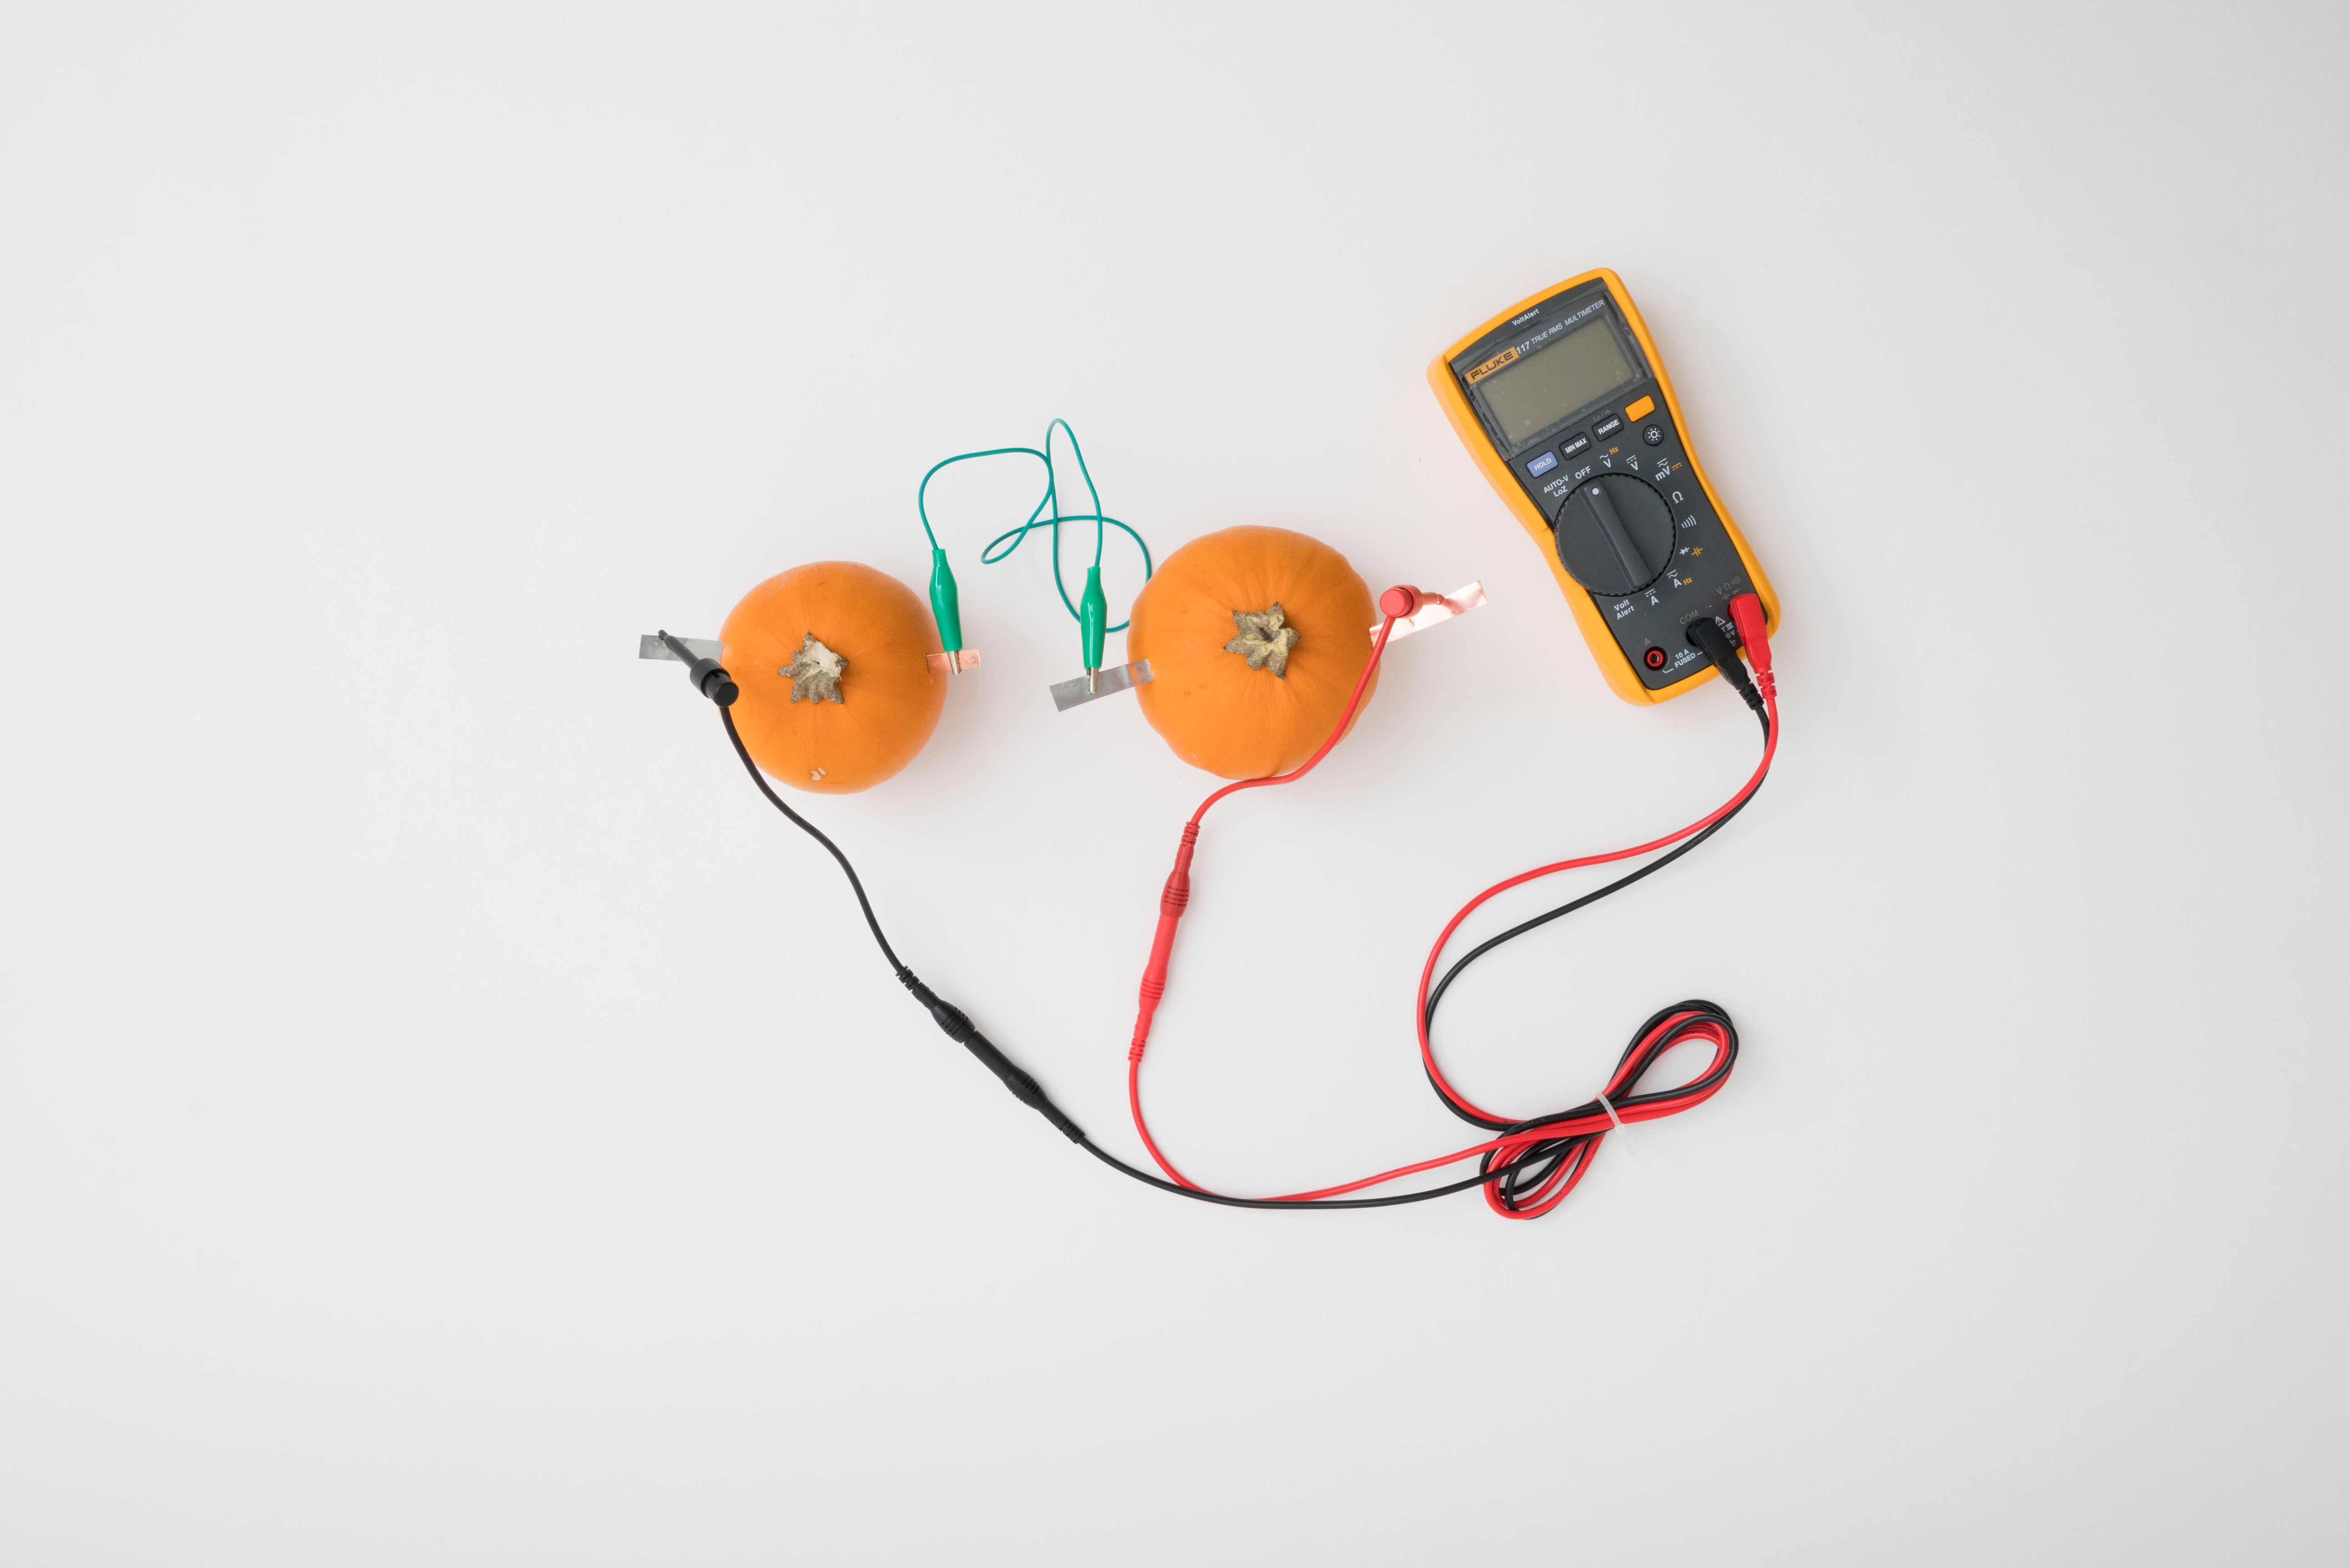
Connect the black lead from the multimeter to the remaining zinc strip and the red lead to the remaining copper strip.
Step 5
To see how powerful your pumpkin battery is, turn the multimeter to the V with the line above it!
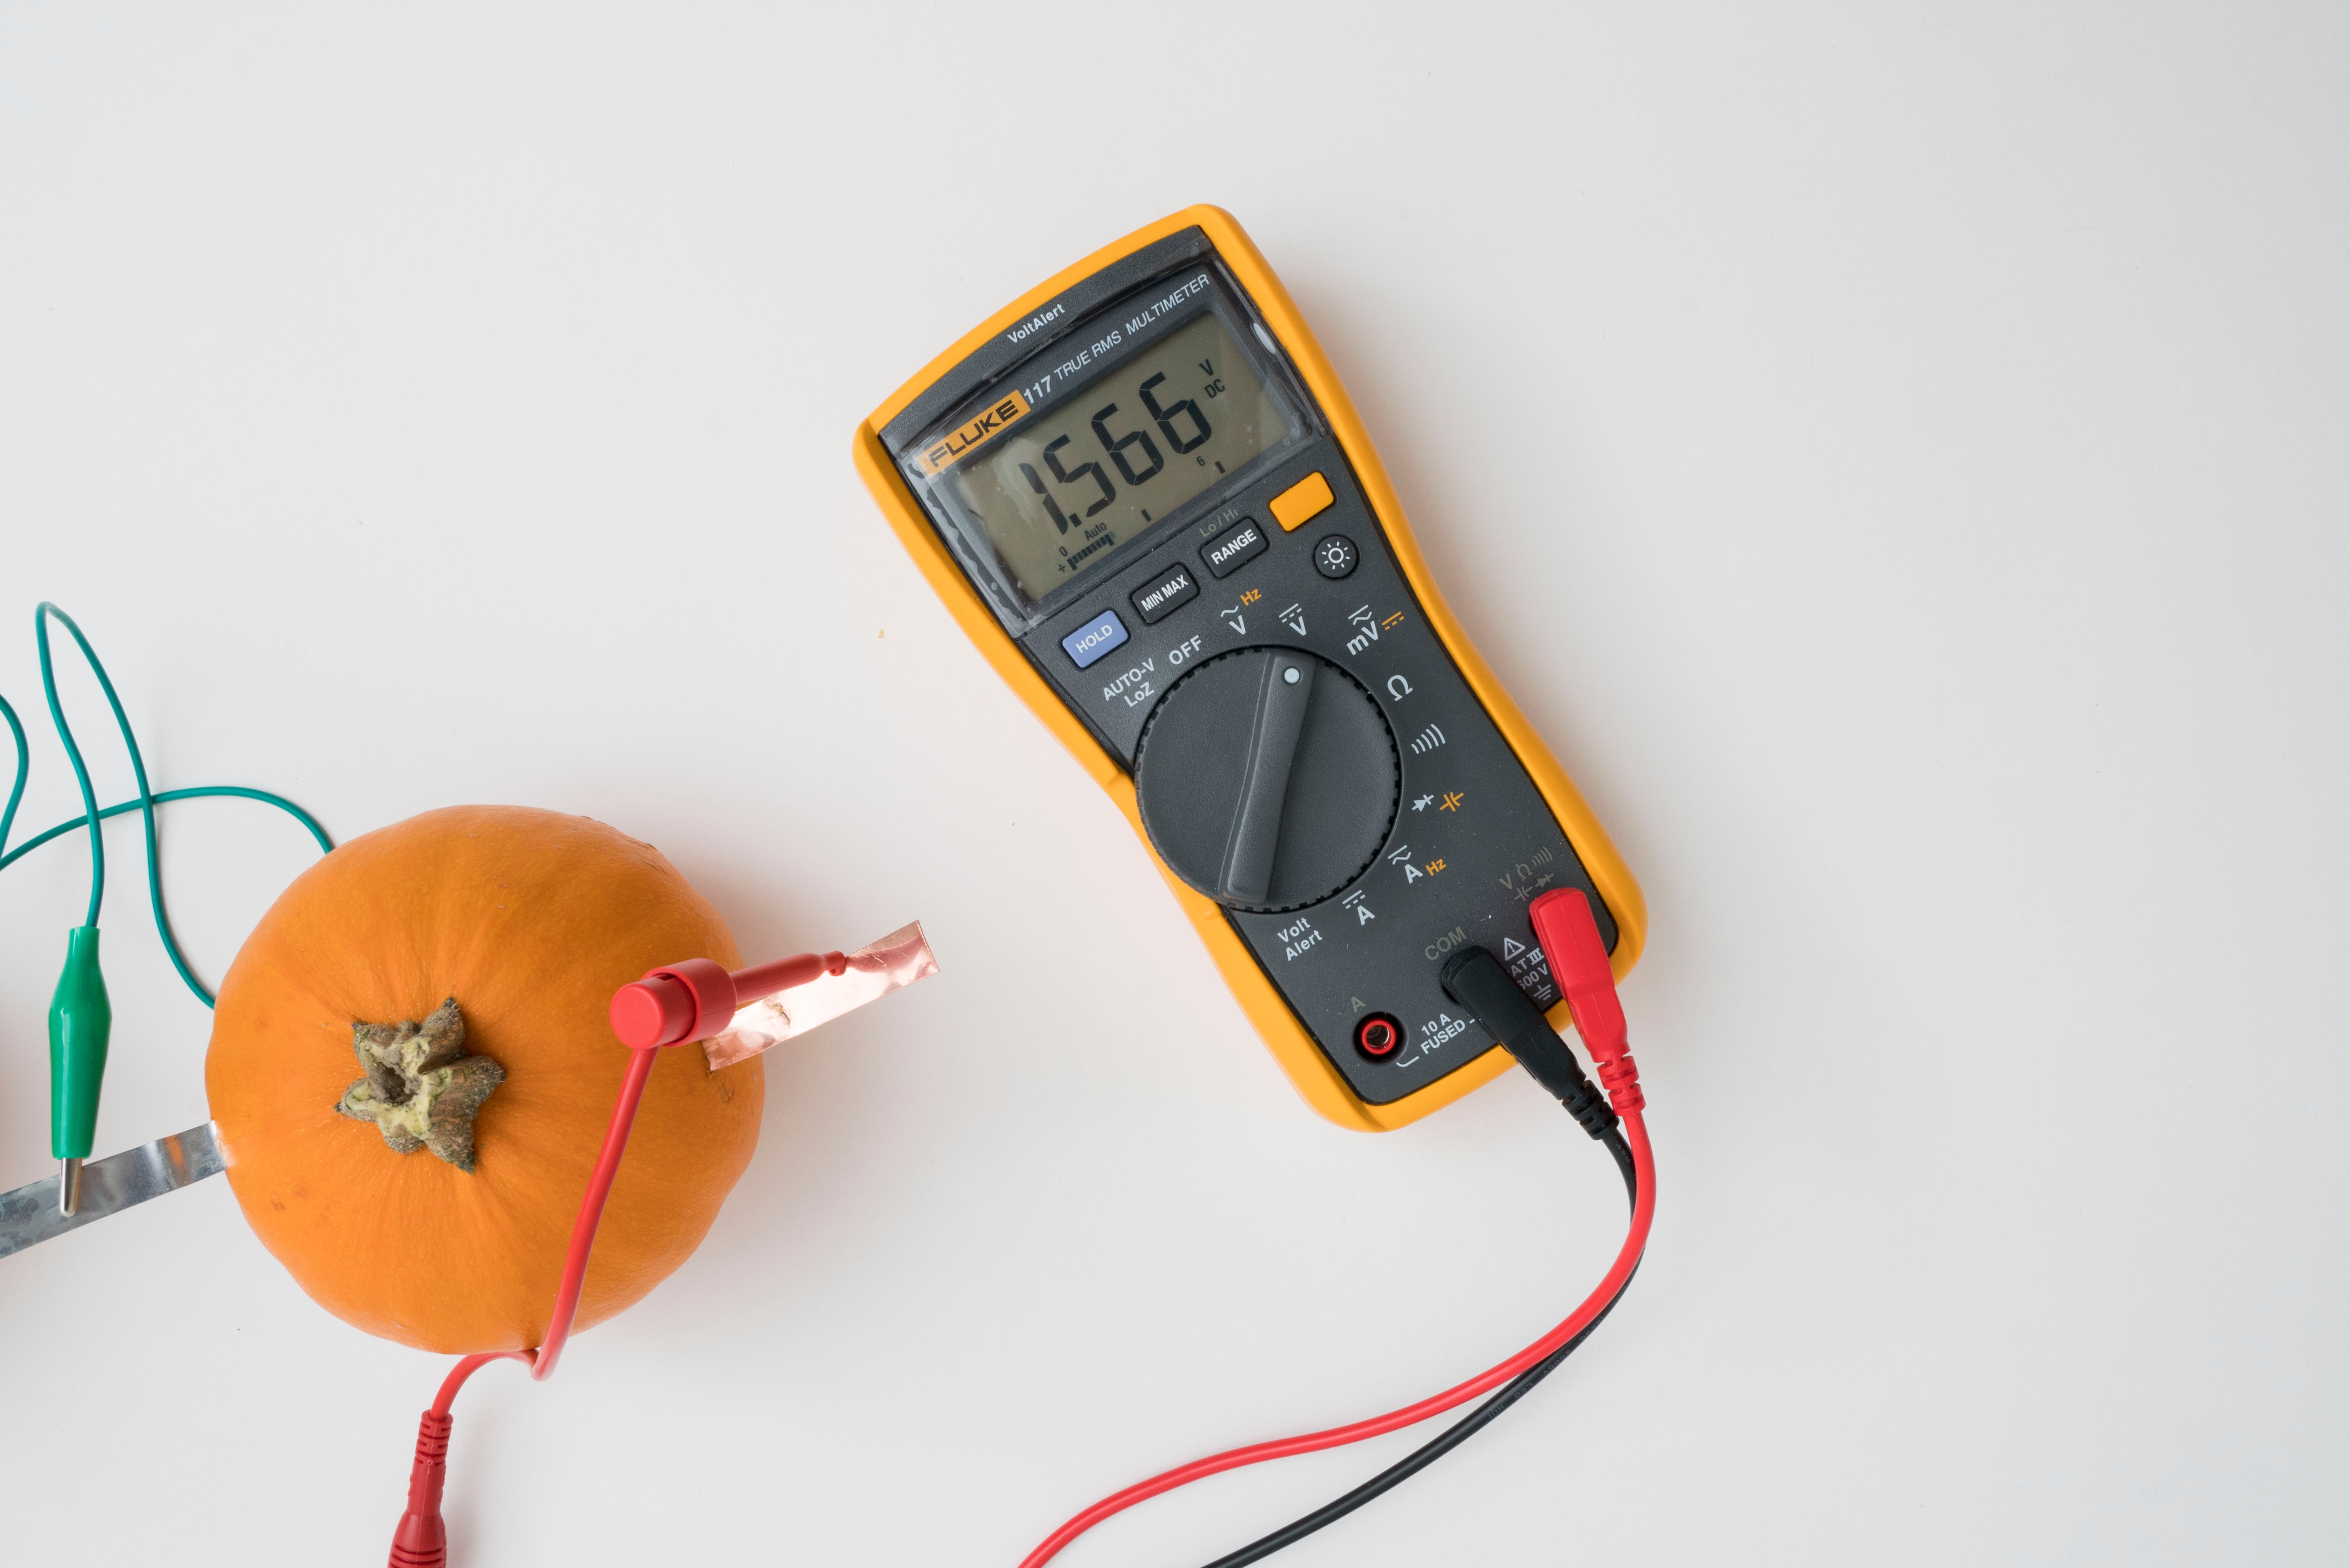
Tip
V stands for volts. You should have approximately 1.5 V. If you don’t, check your connections.
Learn more

How does the pumpkin battery work?
The acid in the pumpkin is still strong enough to get electricity moving. It starts by dissolving charged ions of zinc off of the zinc metal. The zinc ions leave behind extra electrons in the zinc metal, which travel over to the copper through the wire. That movement of electrons creates electricity!
However, the flow would eventually stop if it only went into the copper and didn’t have anywhere else to go. The copper would get too packed with electrons. So where do the electrons go? Back into the pumpkin juice! The acid in the pumpkin also has ions of hydrogen in it, and they love to grab onto loose electrons. The hydrogen takes electrons from the copper, and the flow continues to go.Tip
Check out our other DIY, the Lemon Battery, if you want to make more fruit-based batteries. What other fruits and vegetables can you use to make electricity flow?
You could try a potato, an apple, a banana, or a head of lettuce!


