Step-by-step tutorial
Step 1
Gather your materials!

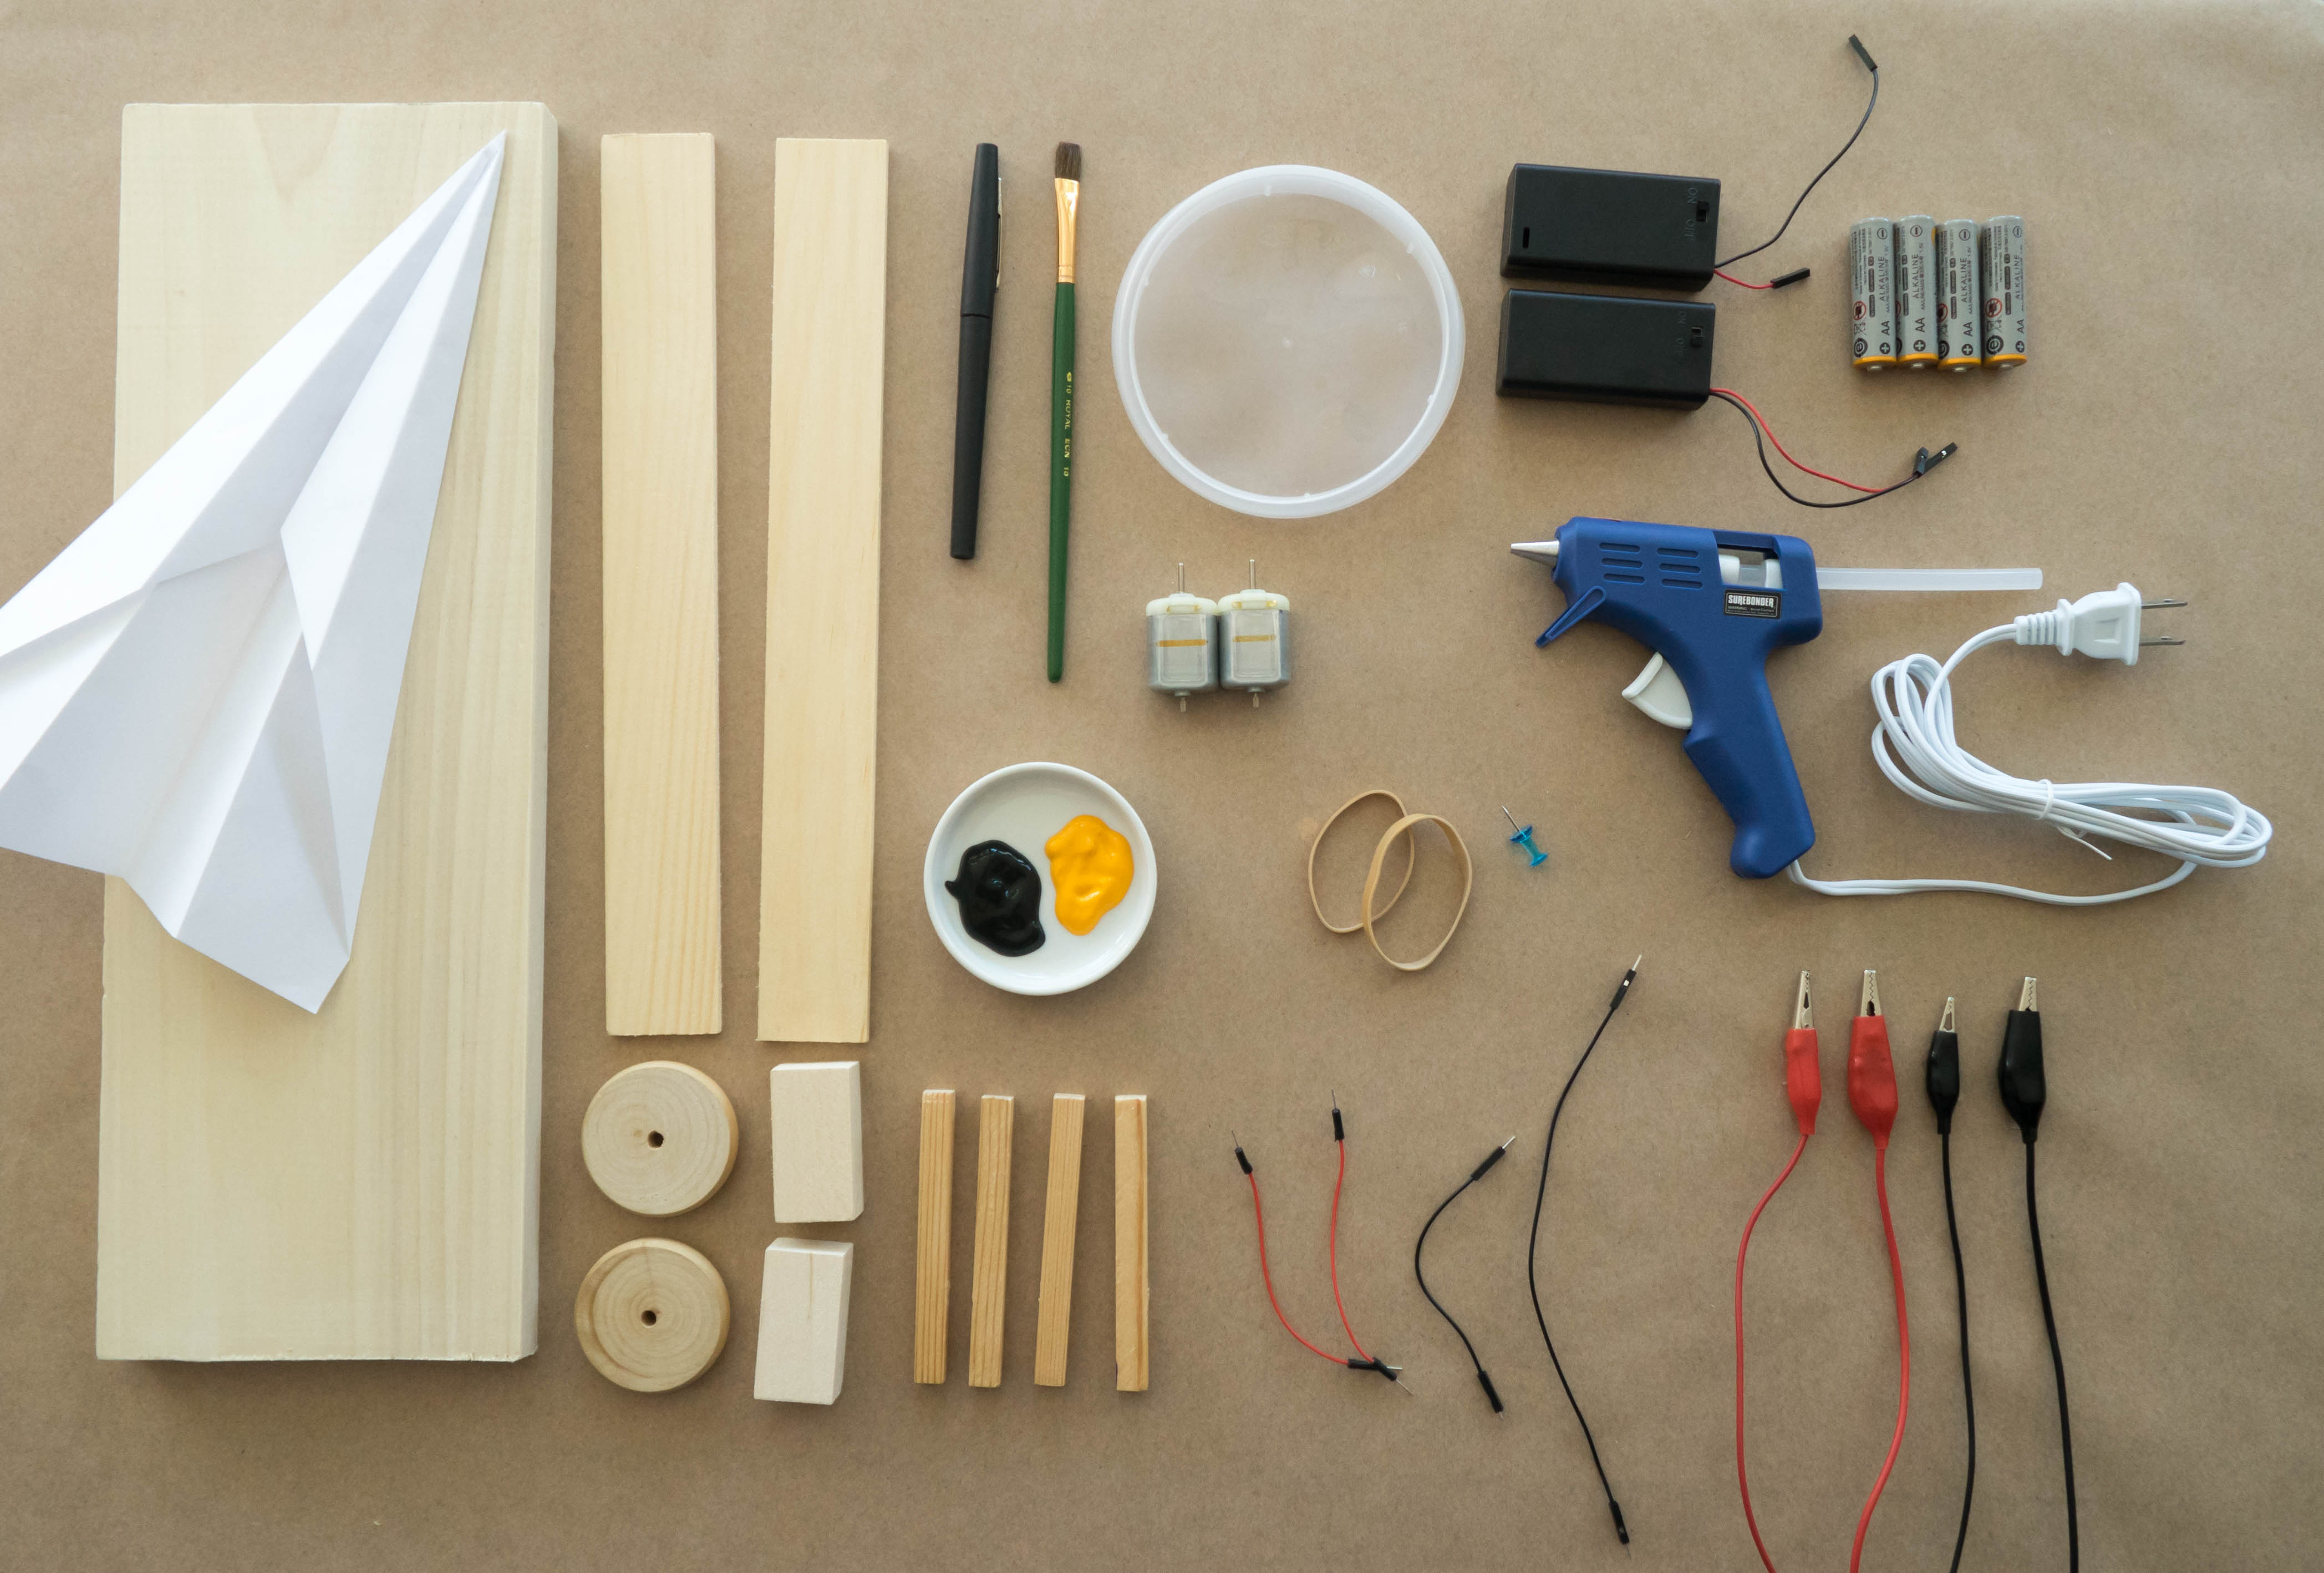
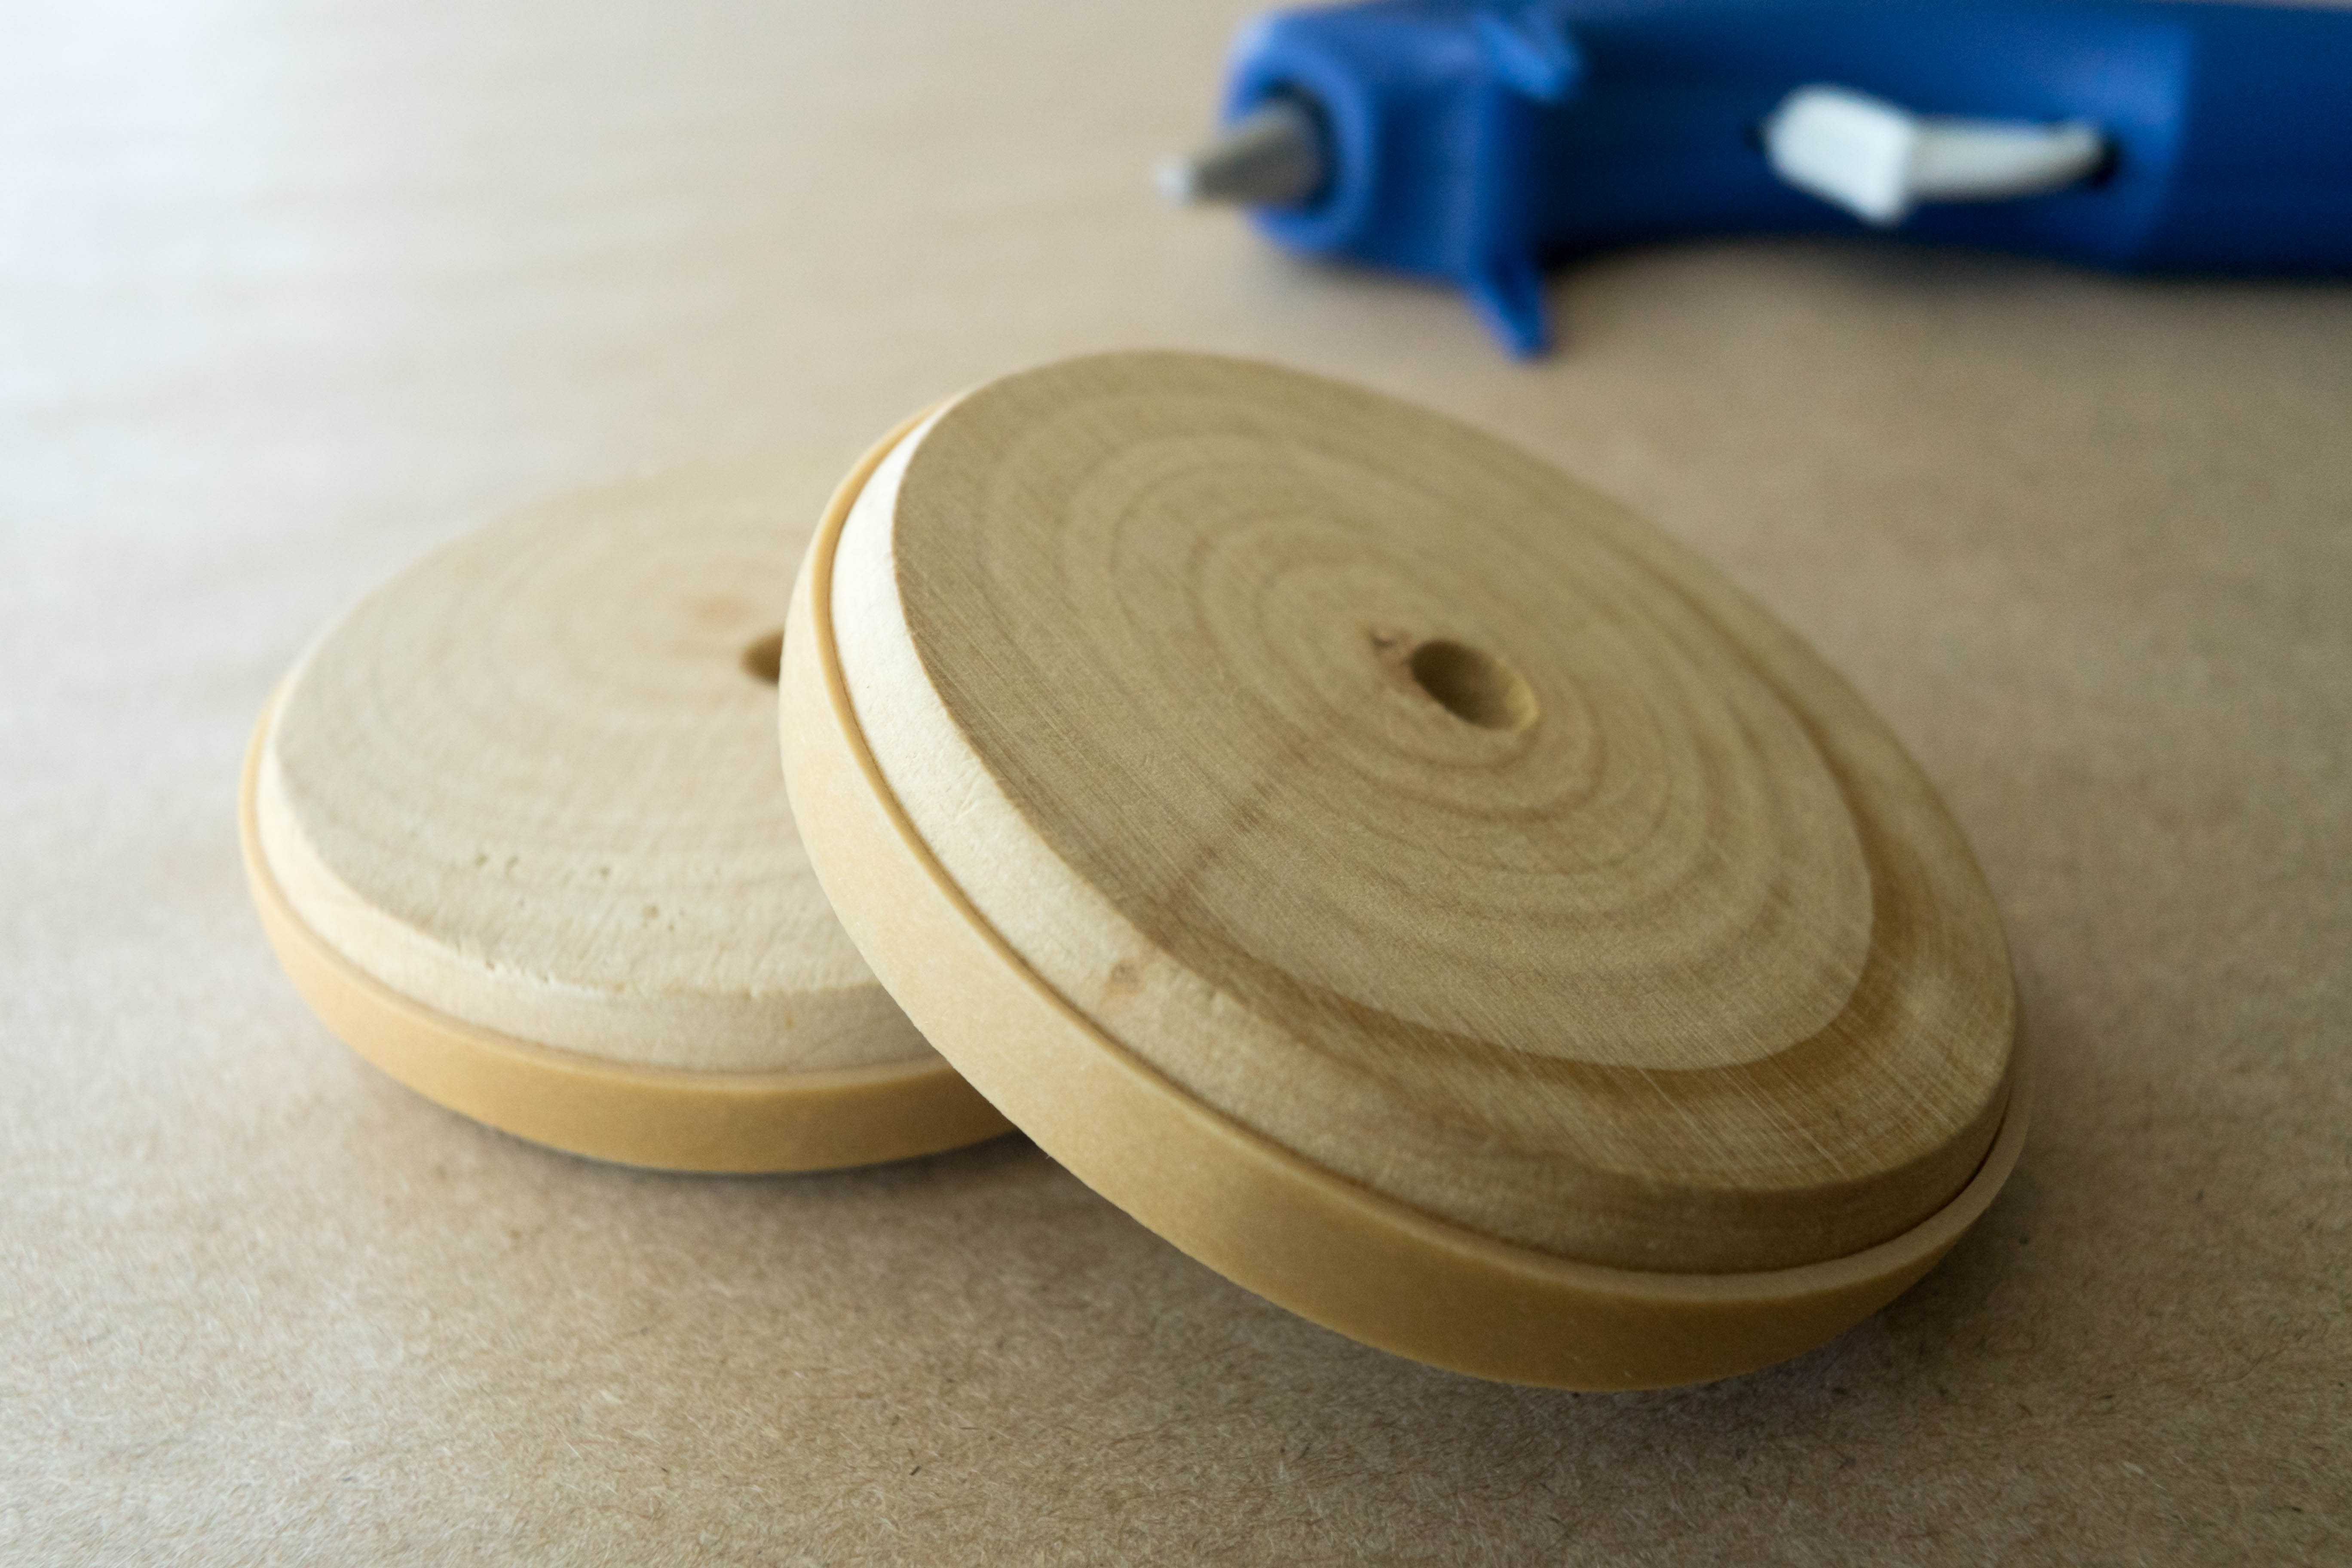
Step 2
Hot glue a flat rubber band around the outside of a wooden wheel. Repeat for the second wheel.
Step 3
Create a small plastic circle using the pushpin. Push the pushpin into the lid and trace around it with a marker. Repeat again to make a second circle.

Step 4
Cut out one of the small circles and hot glue it to the center of the wooden wheel. Repeat for the other wheel.
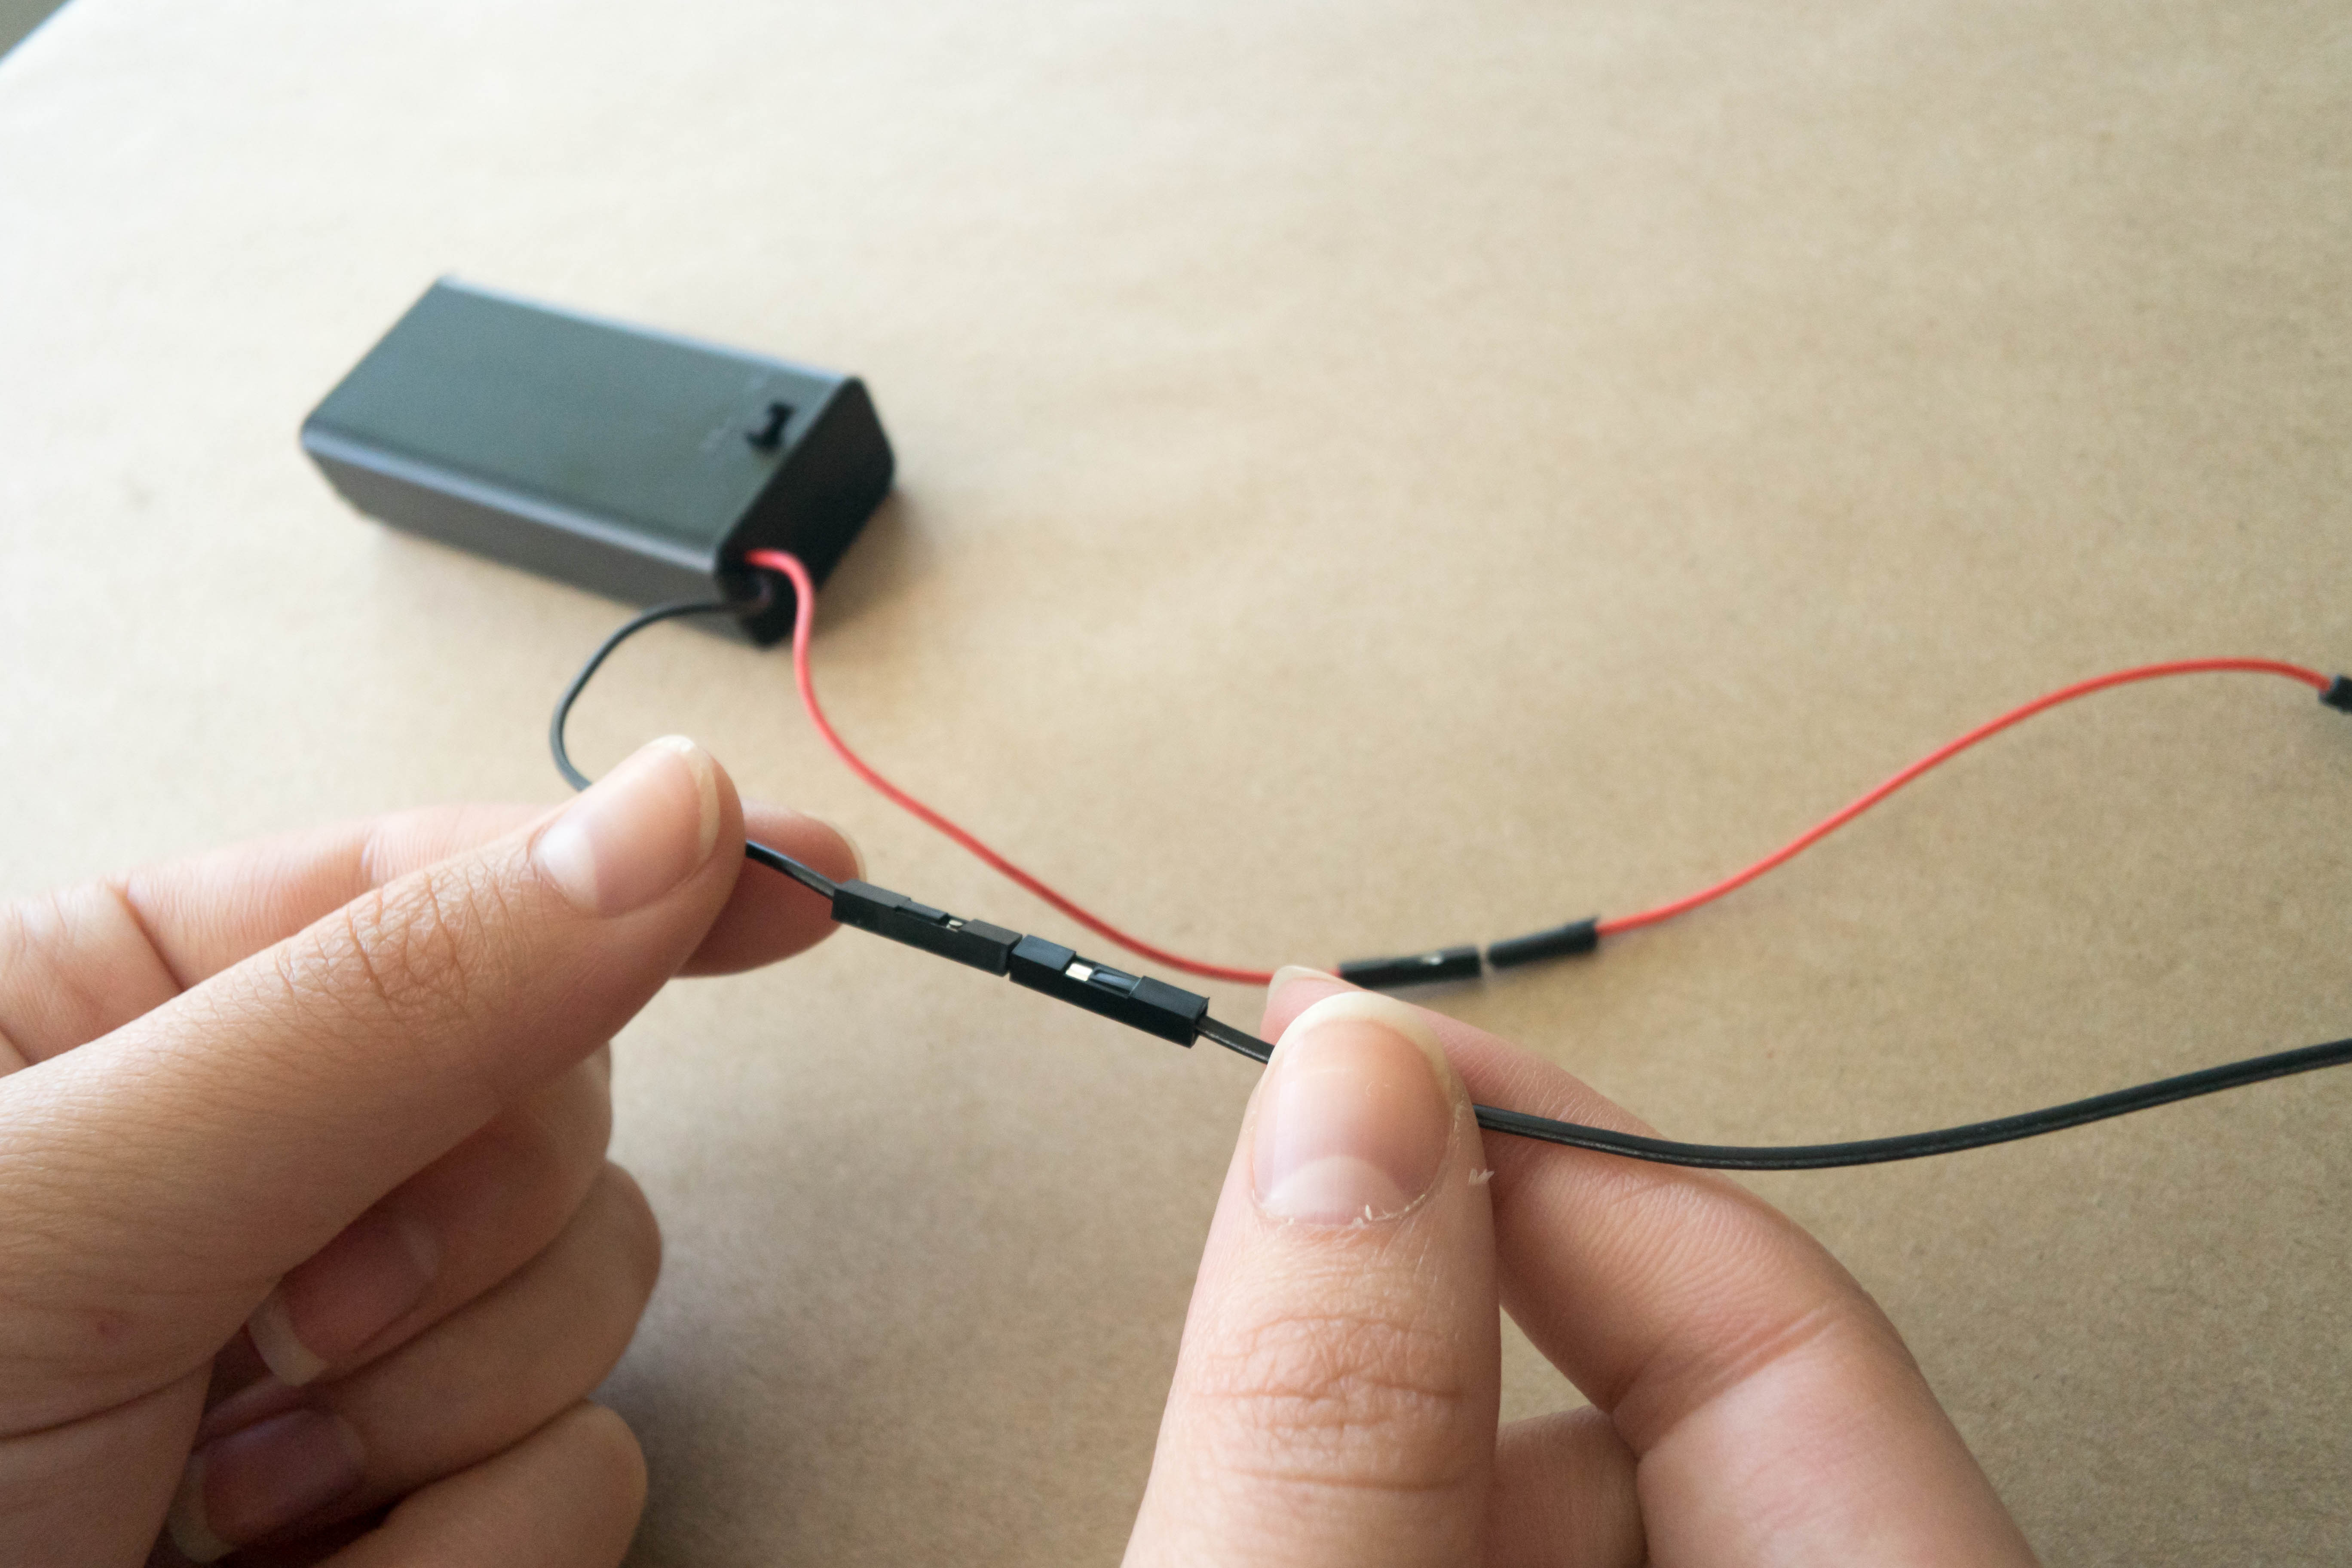
Step 5
Connect the battery leads to the loose wire leads.
Step 6
Connect the alligator clips to the free end of the leads.
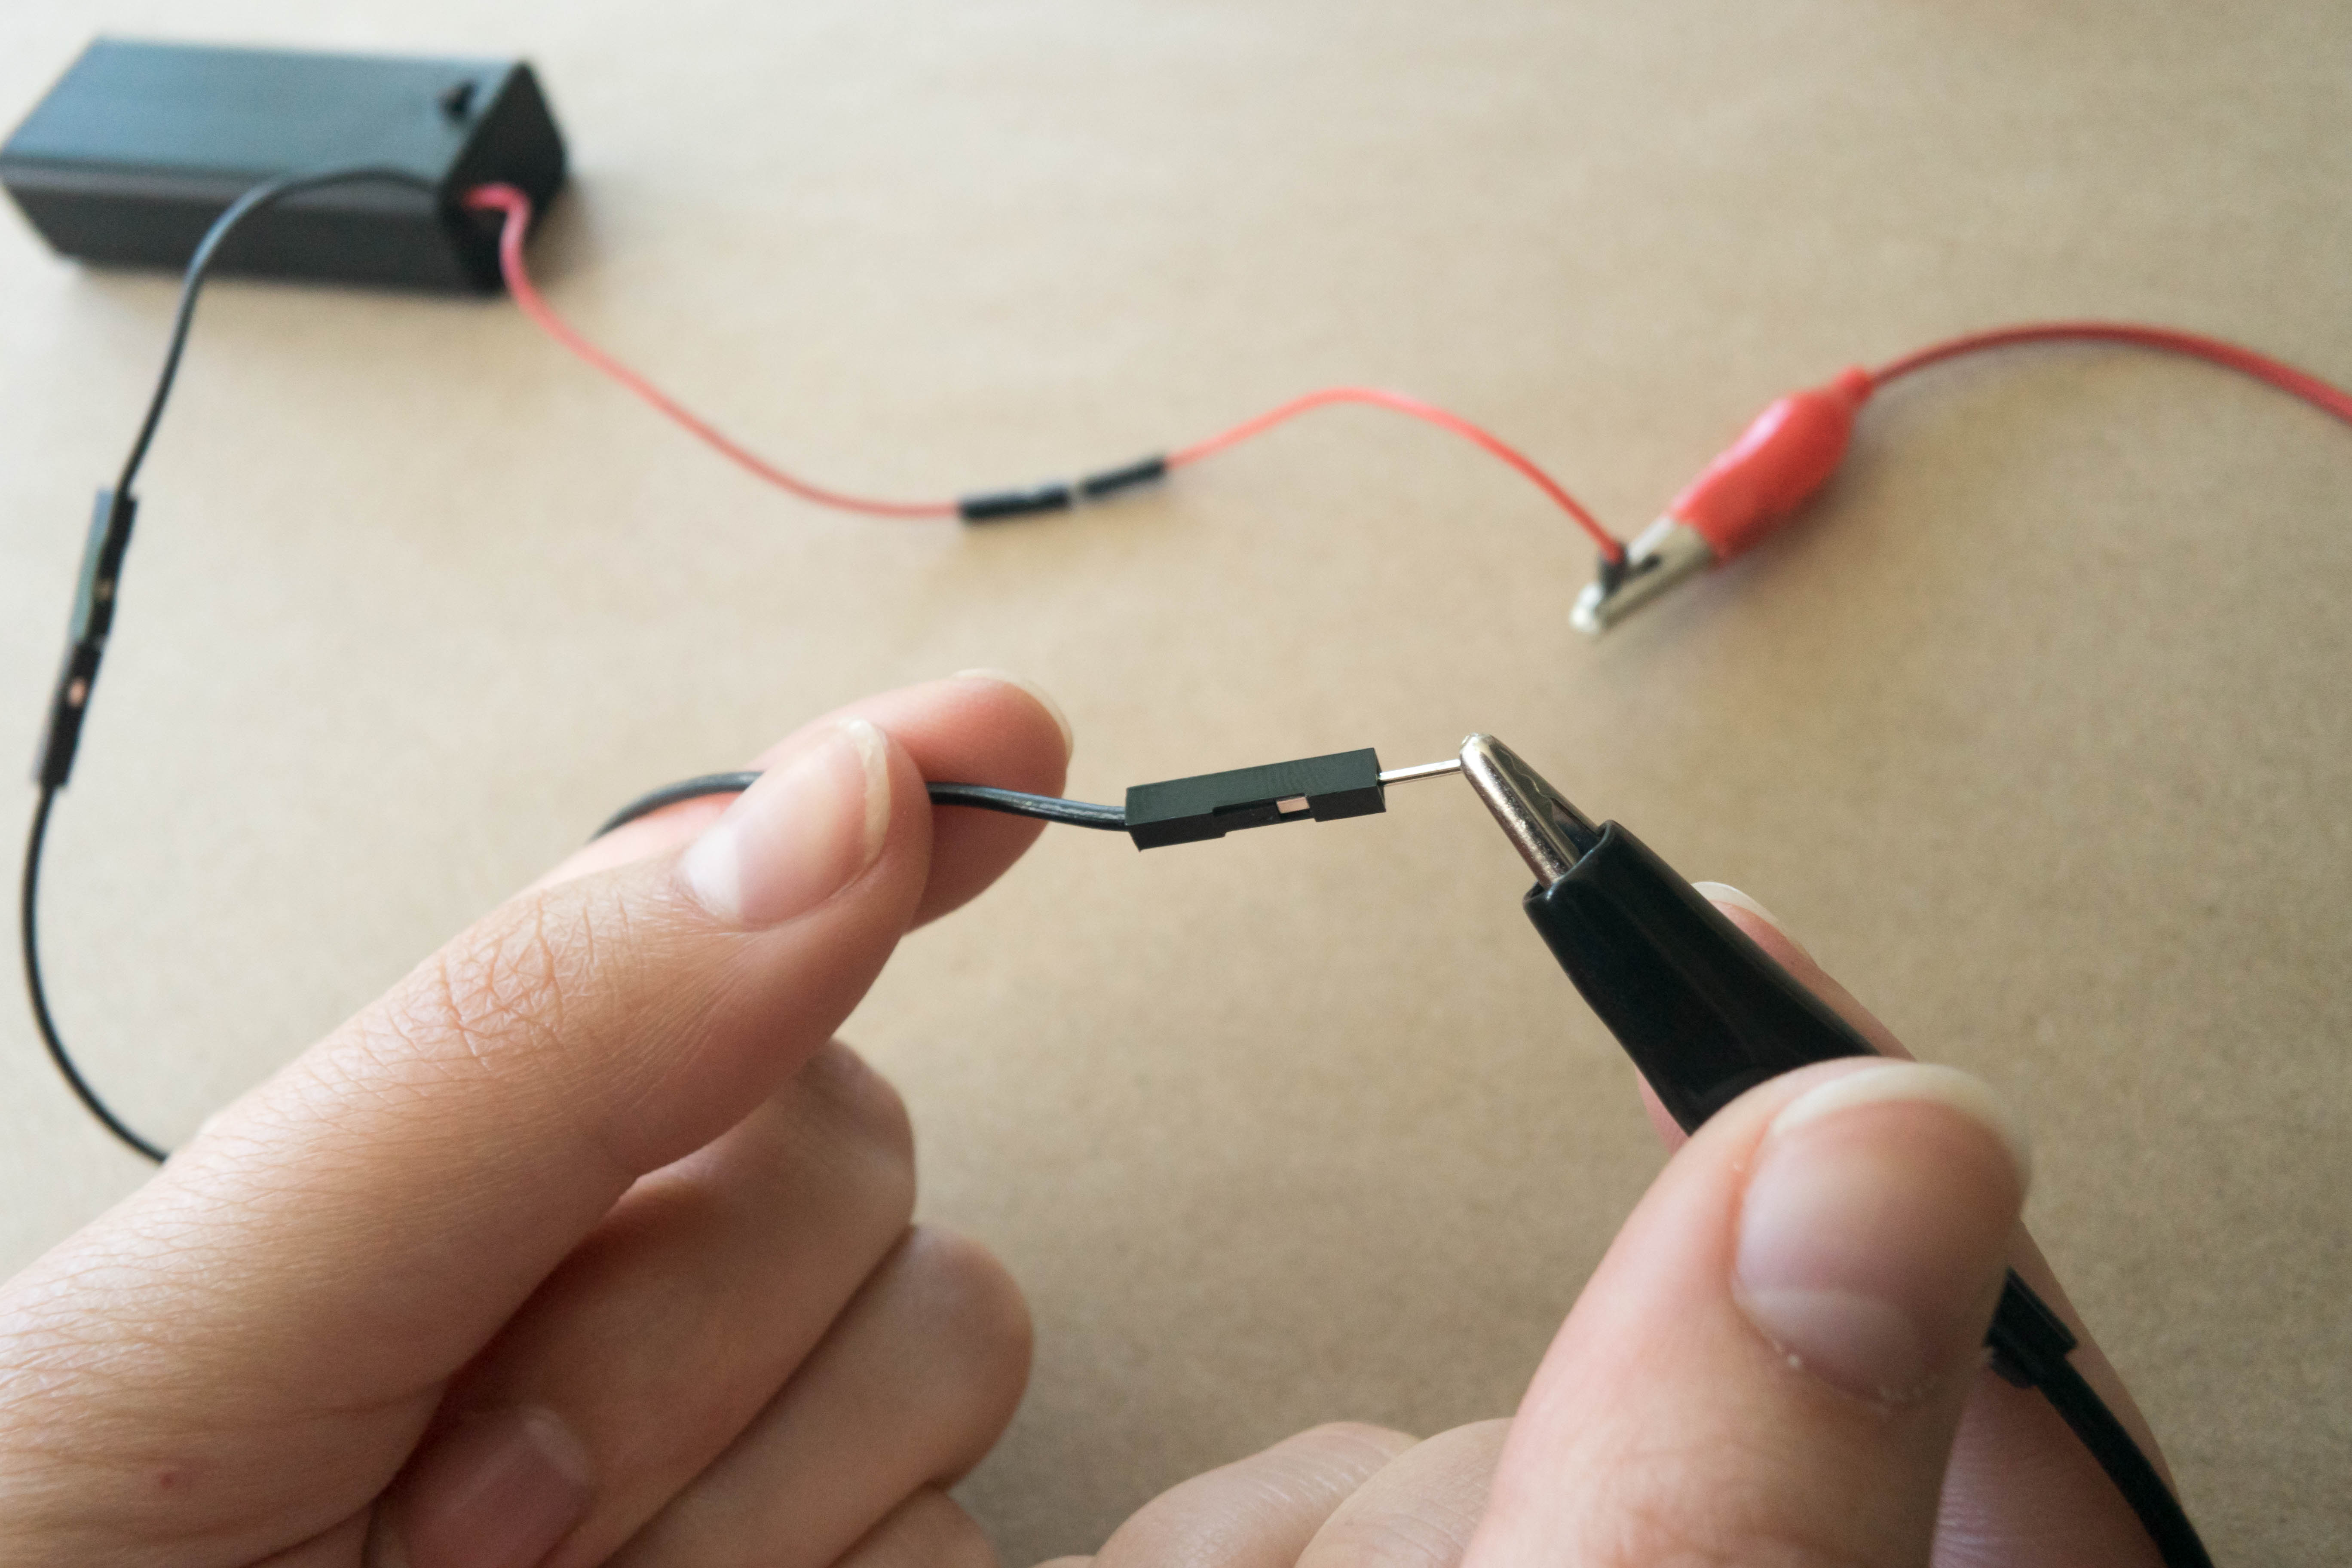
Tip
Using the same colored leads and alligator clips will help you to remember what goes where.
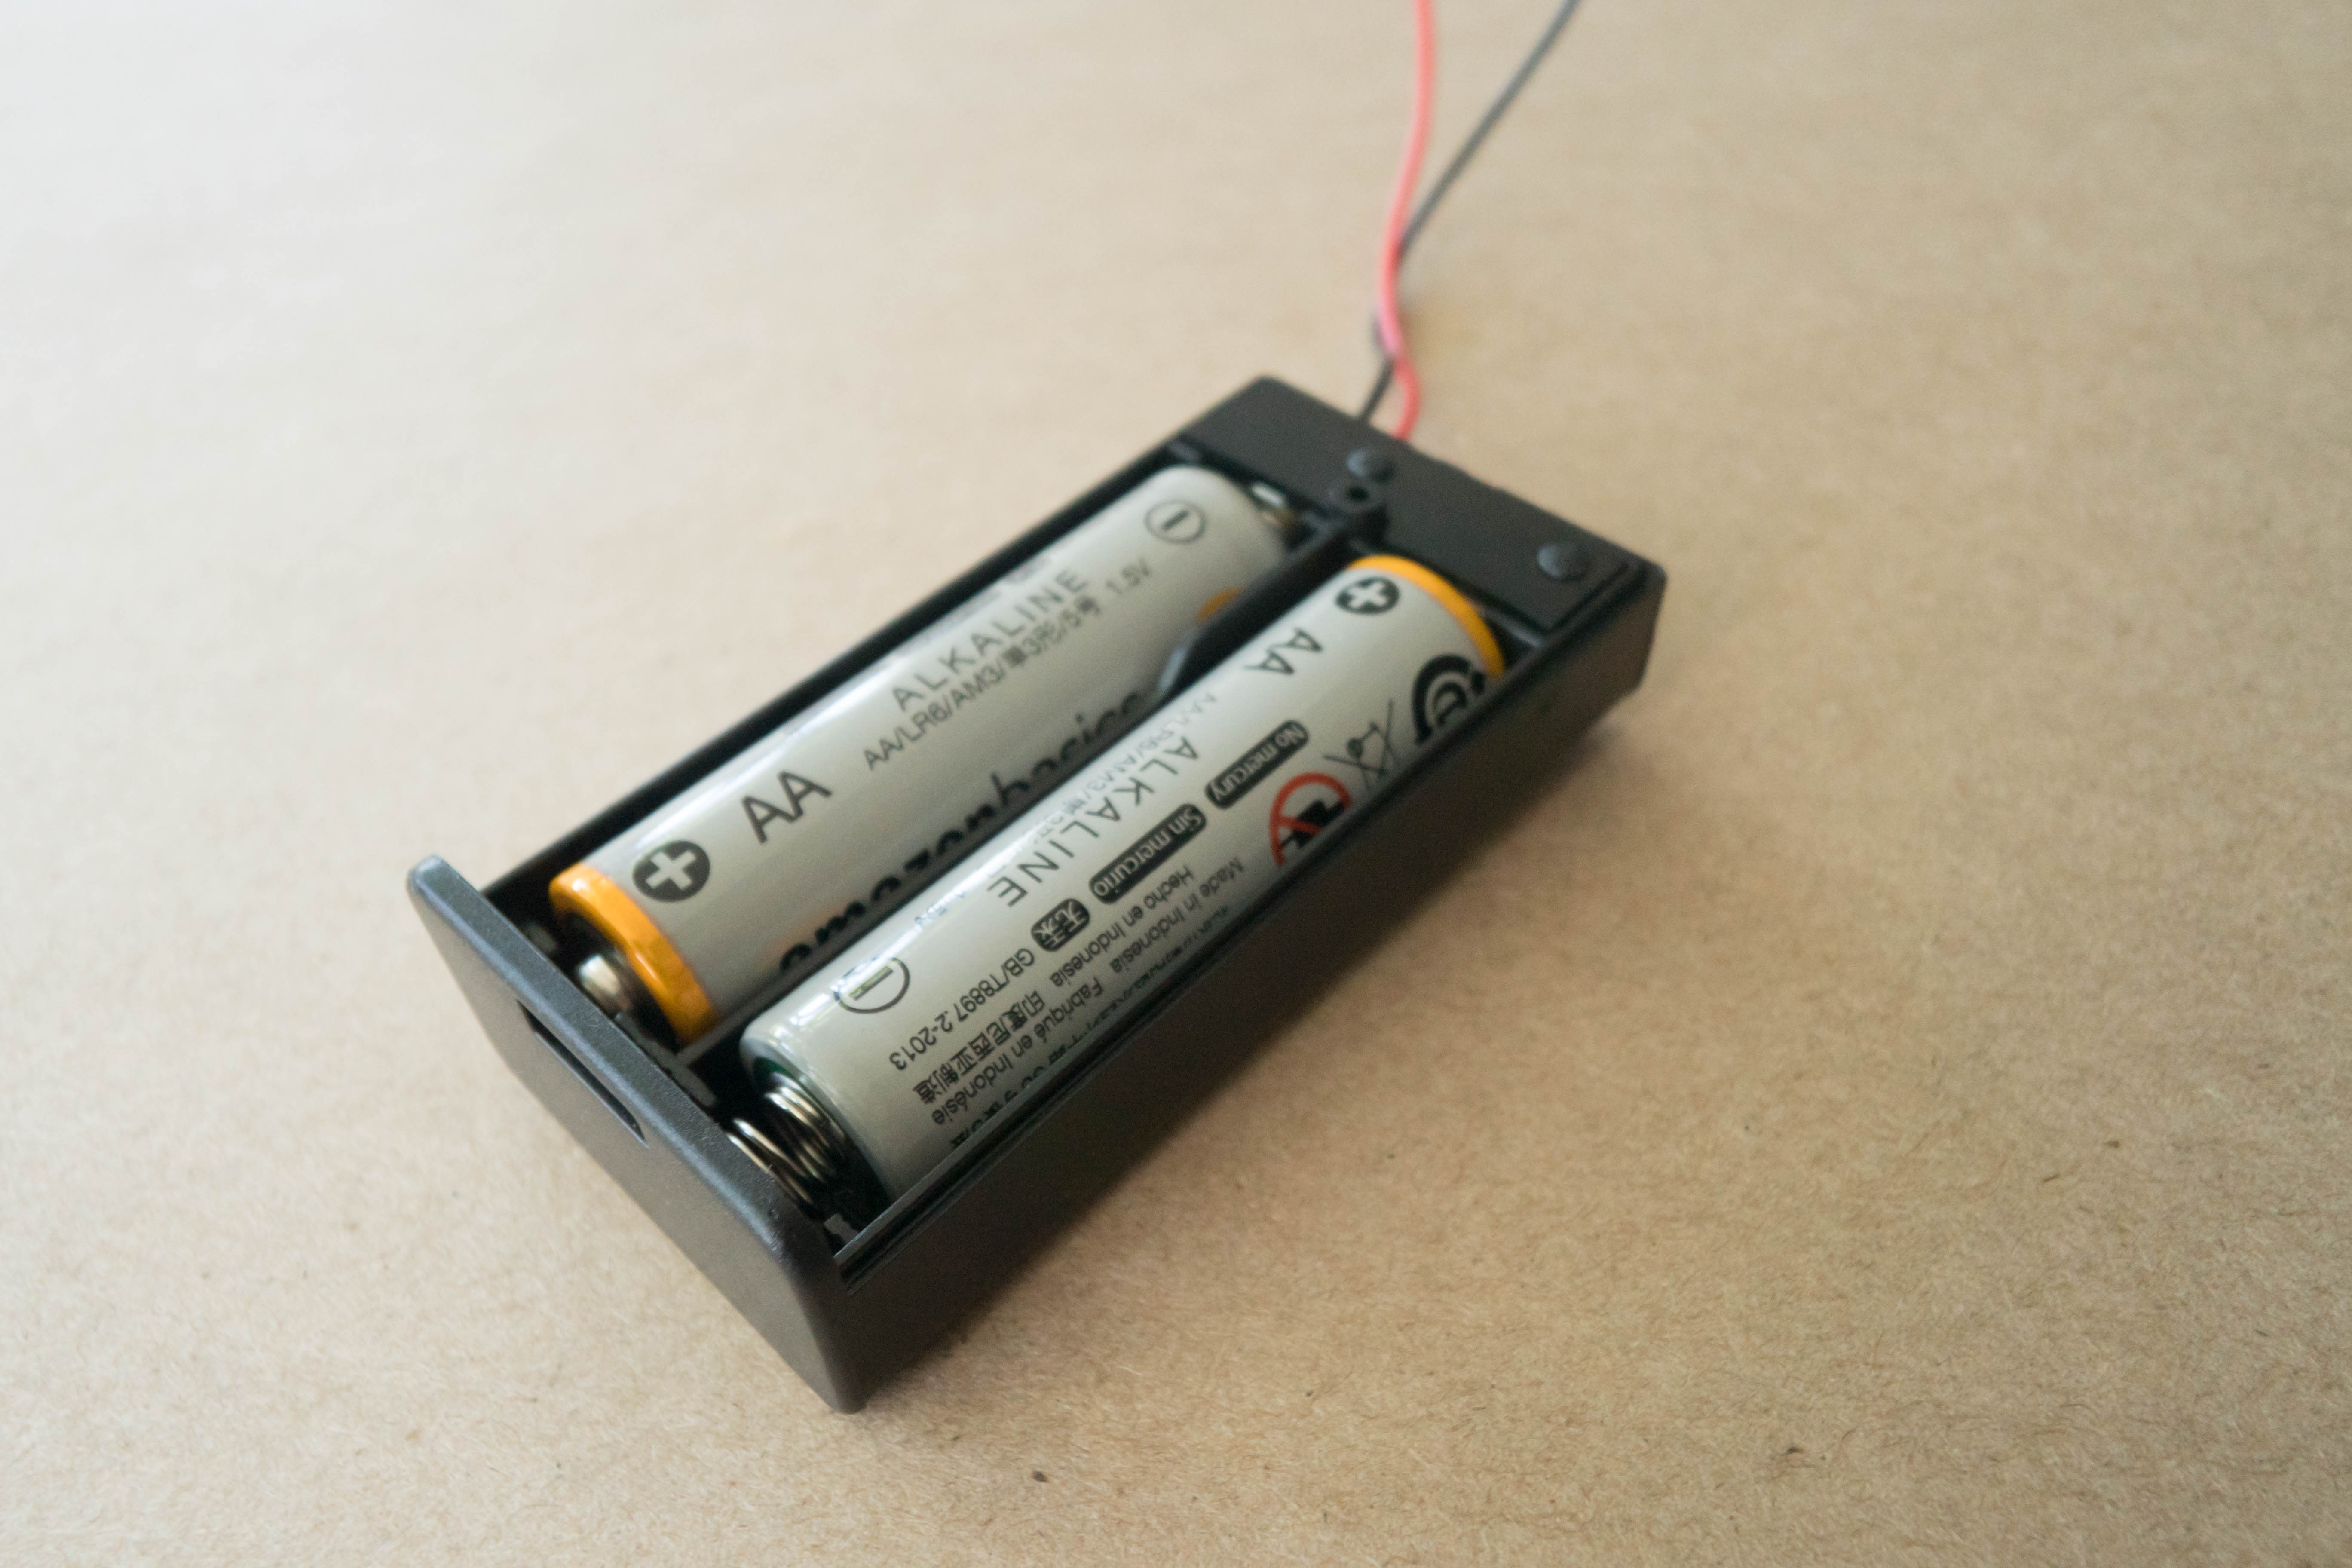
Step 7
Place batteries in the battery holders. Then, close them.
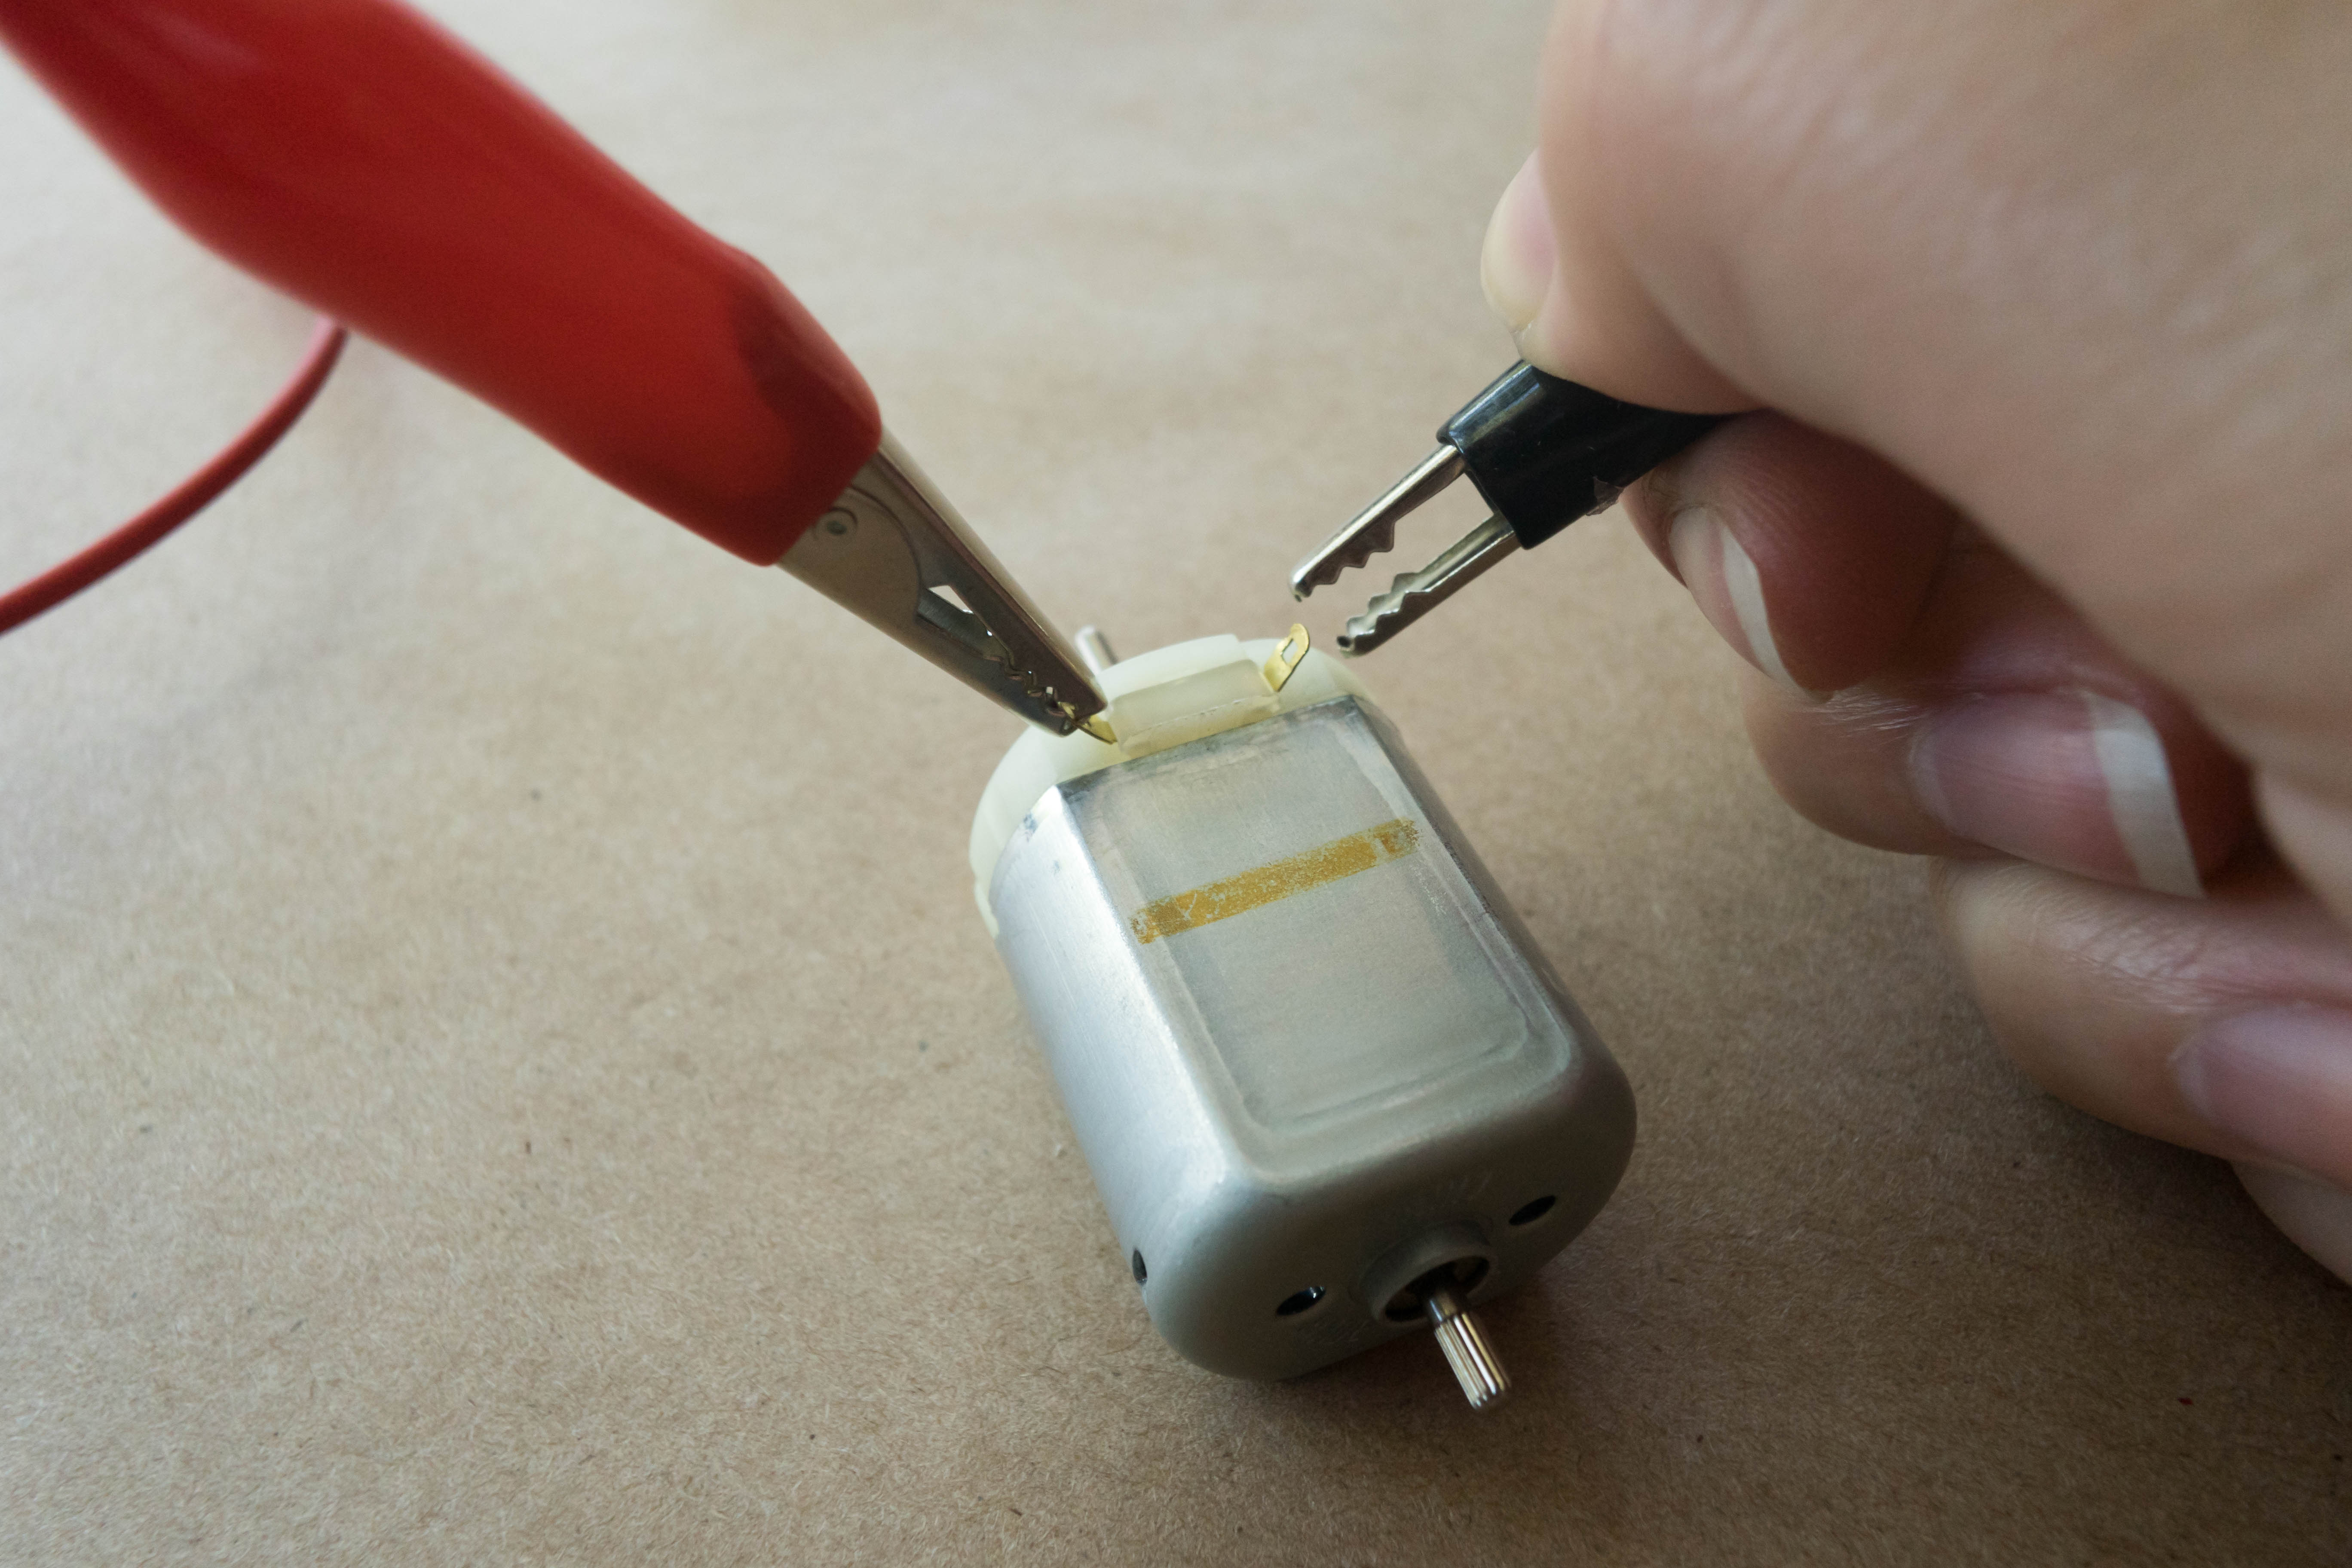
Step 8
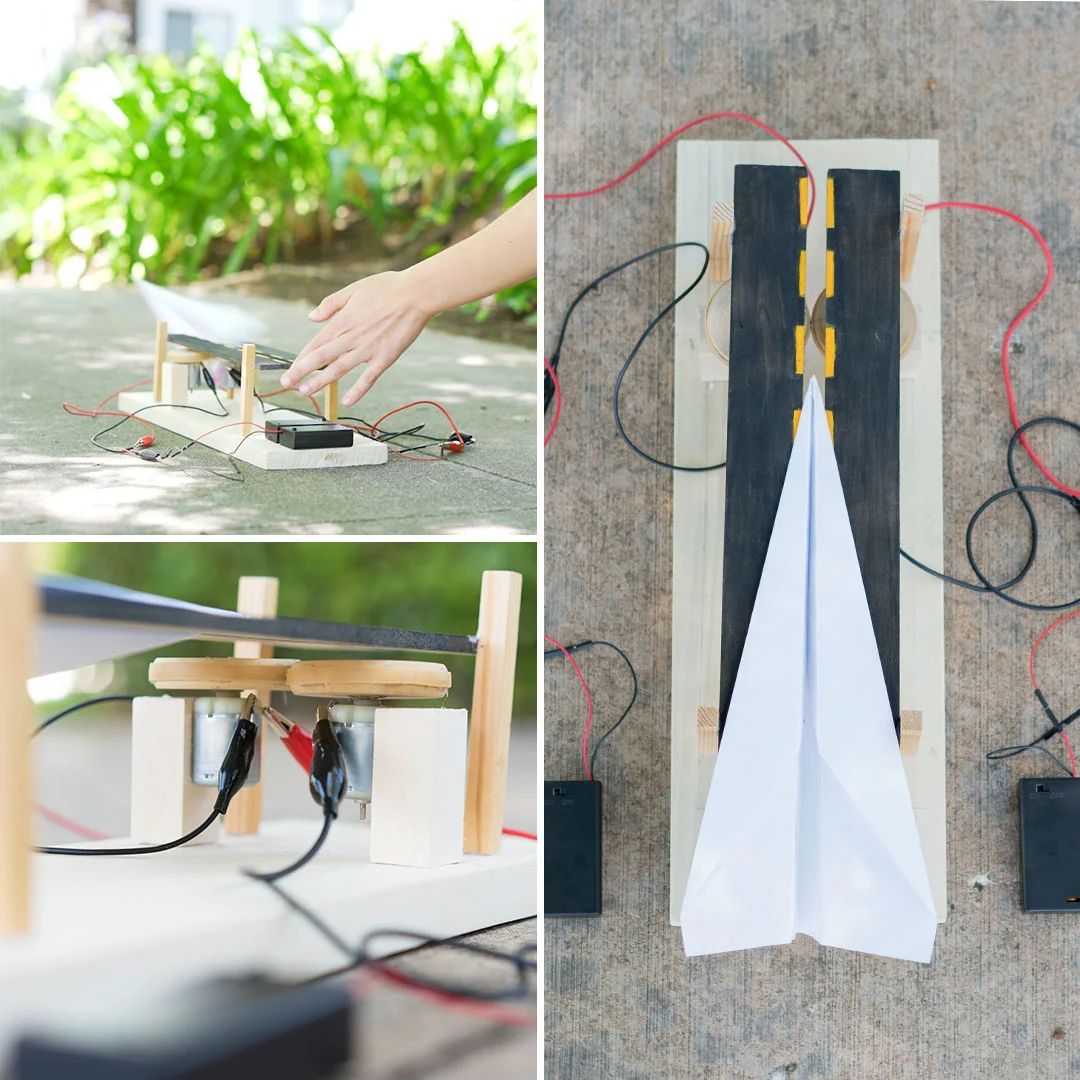
Connect the free ends of the alligator clips to the motor as seen in the photo.
Step 9
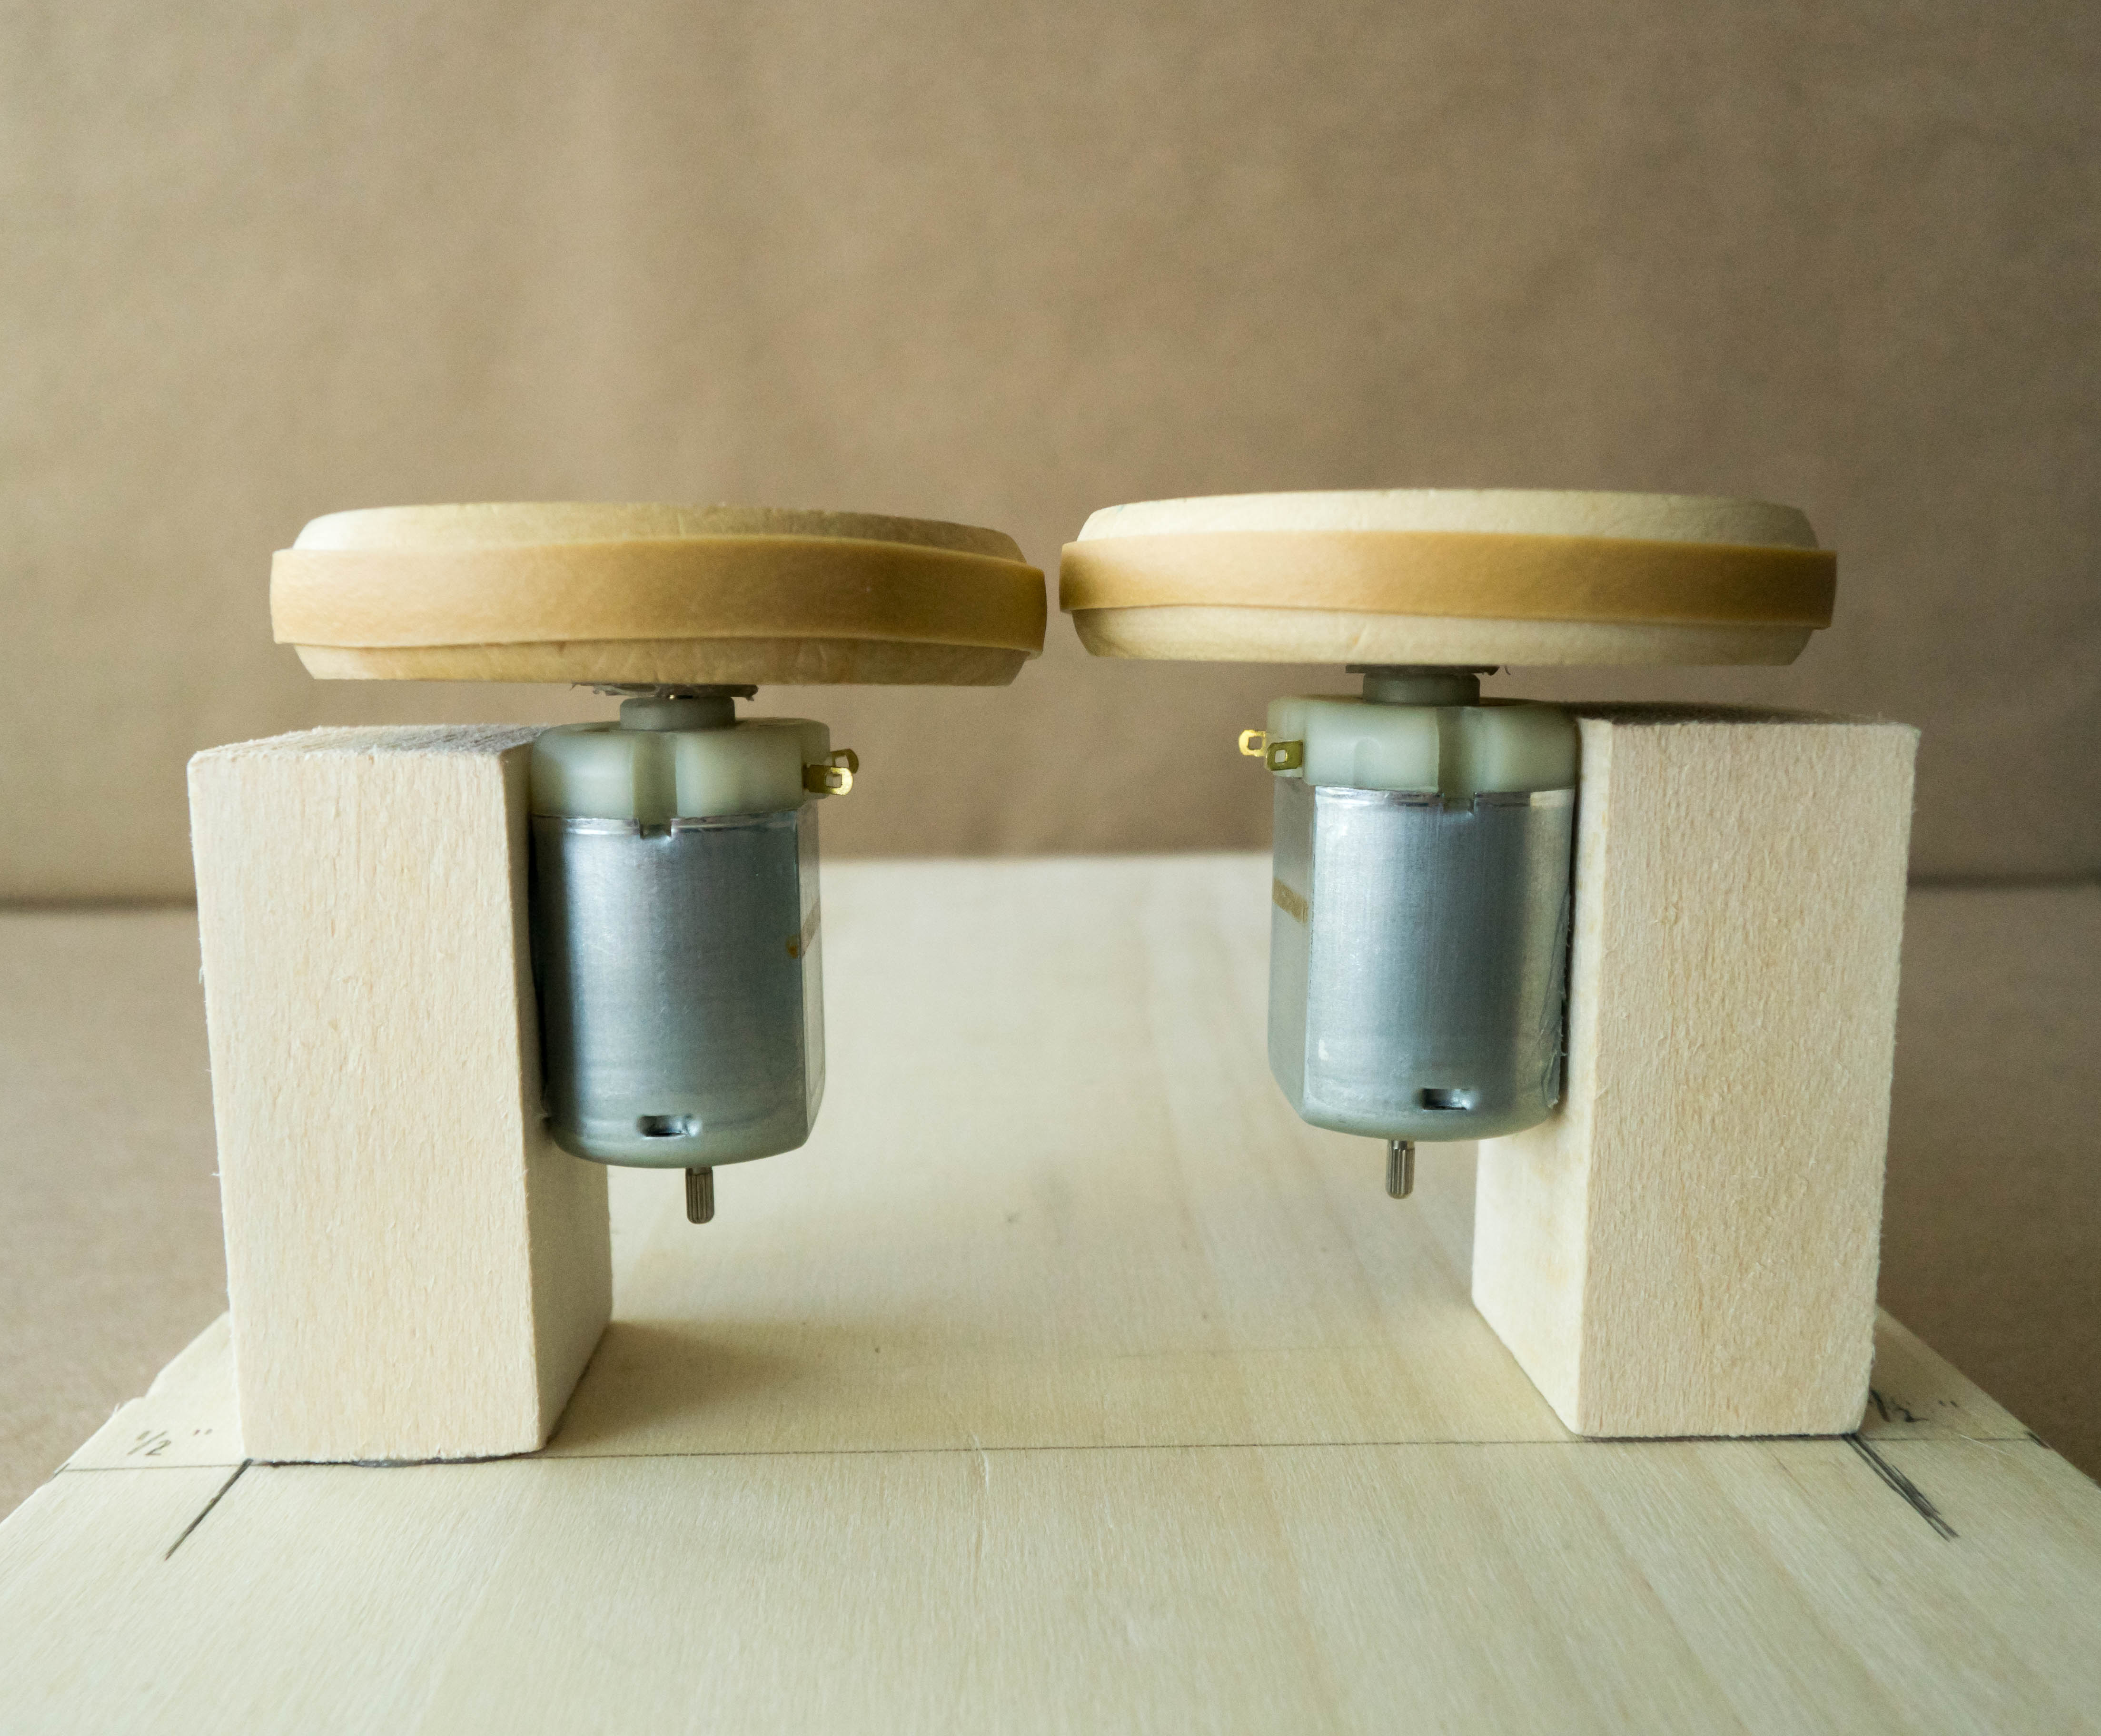
Test the motors! Place each wheel onto the top of either motor and turn the battery holders on. Make sure that the wheels are spinning in opposite directions.
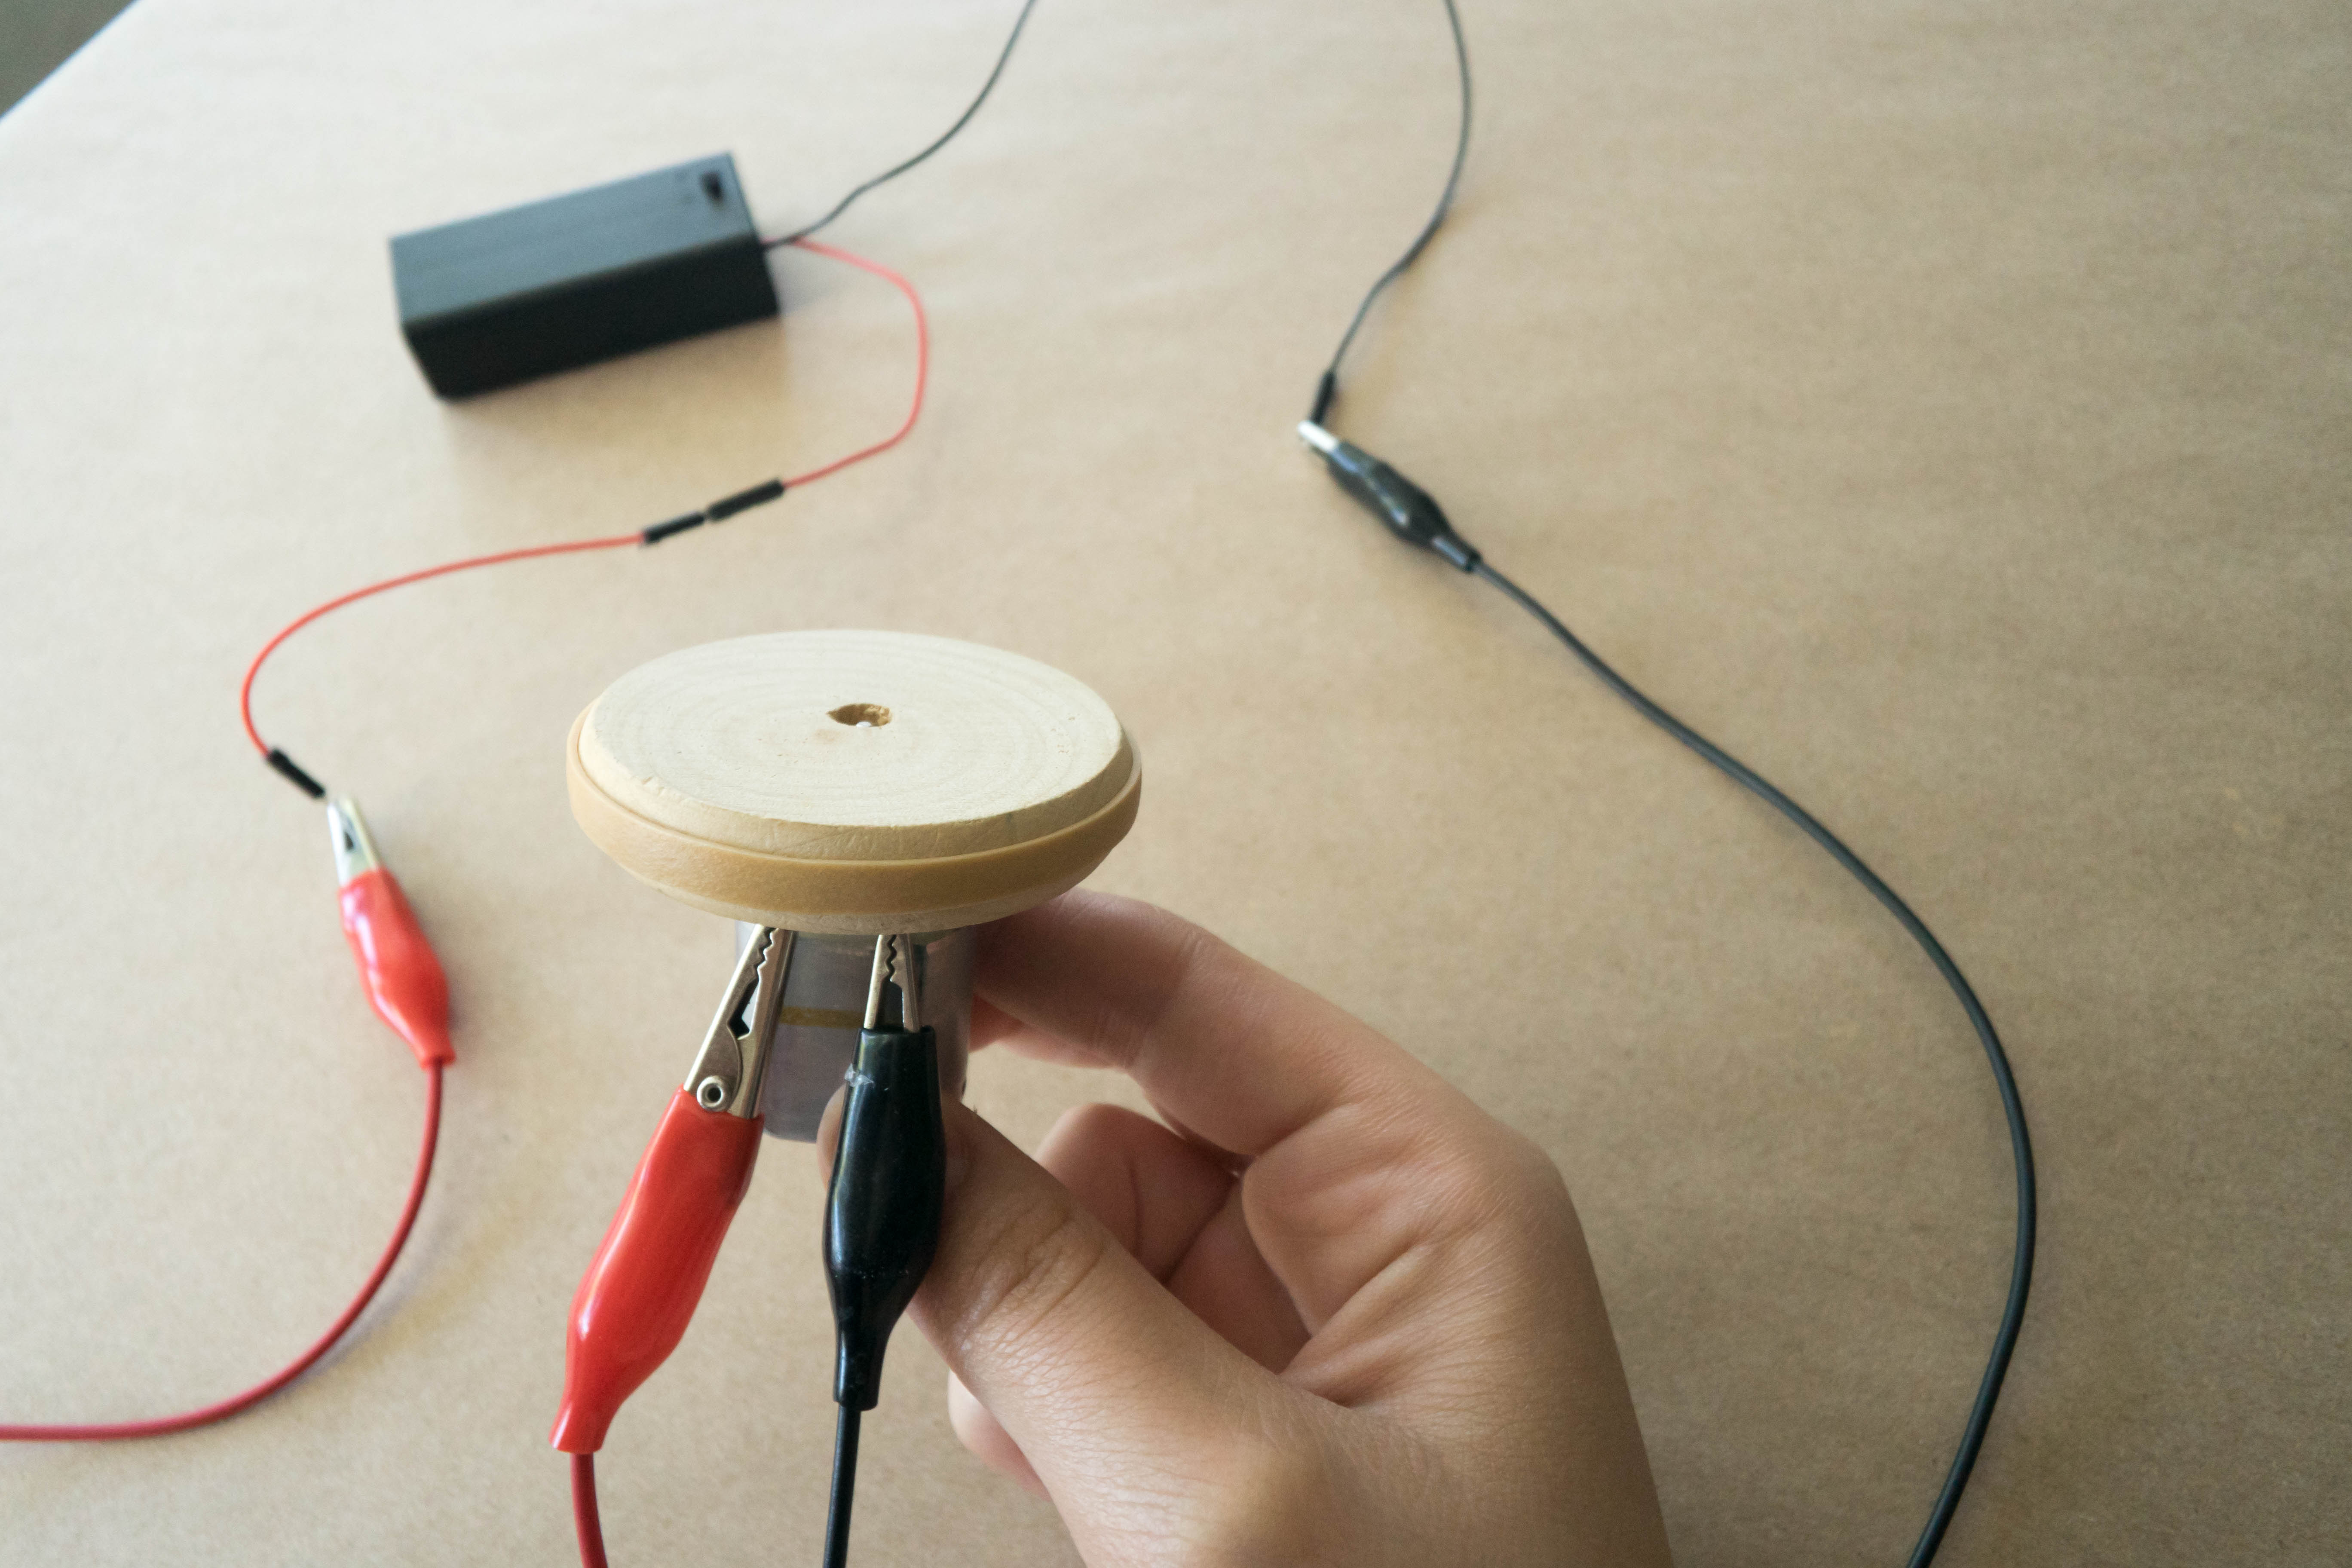
Tip
If the wheels are not spinning in opposite directions, switch the position of the alligator clips on the motor.
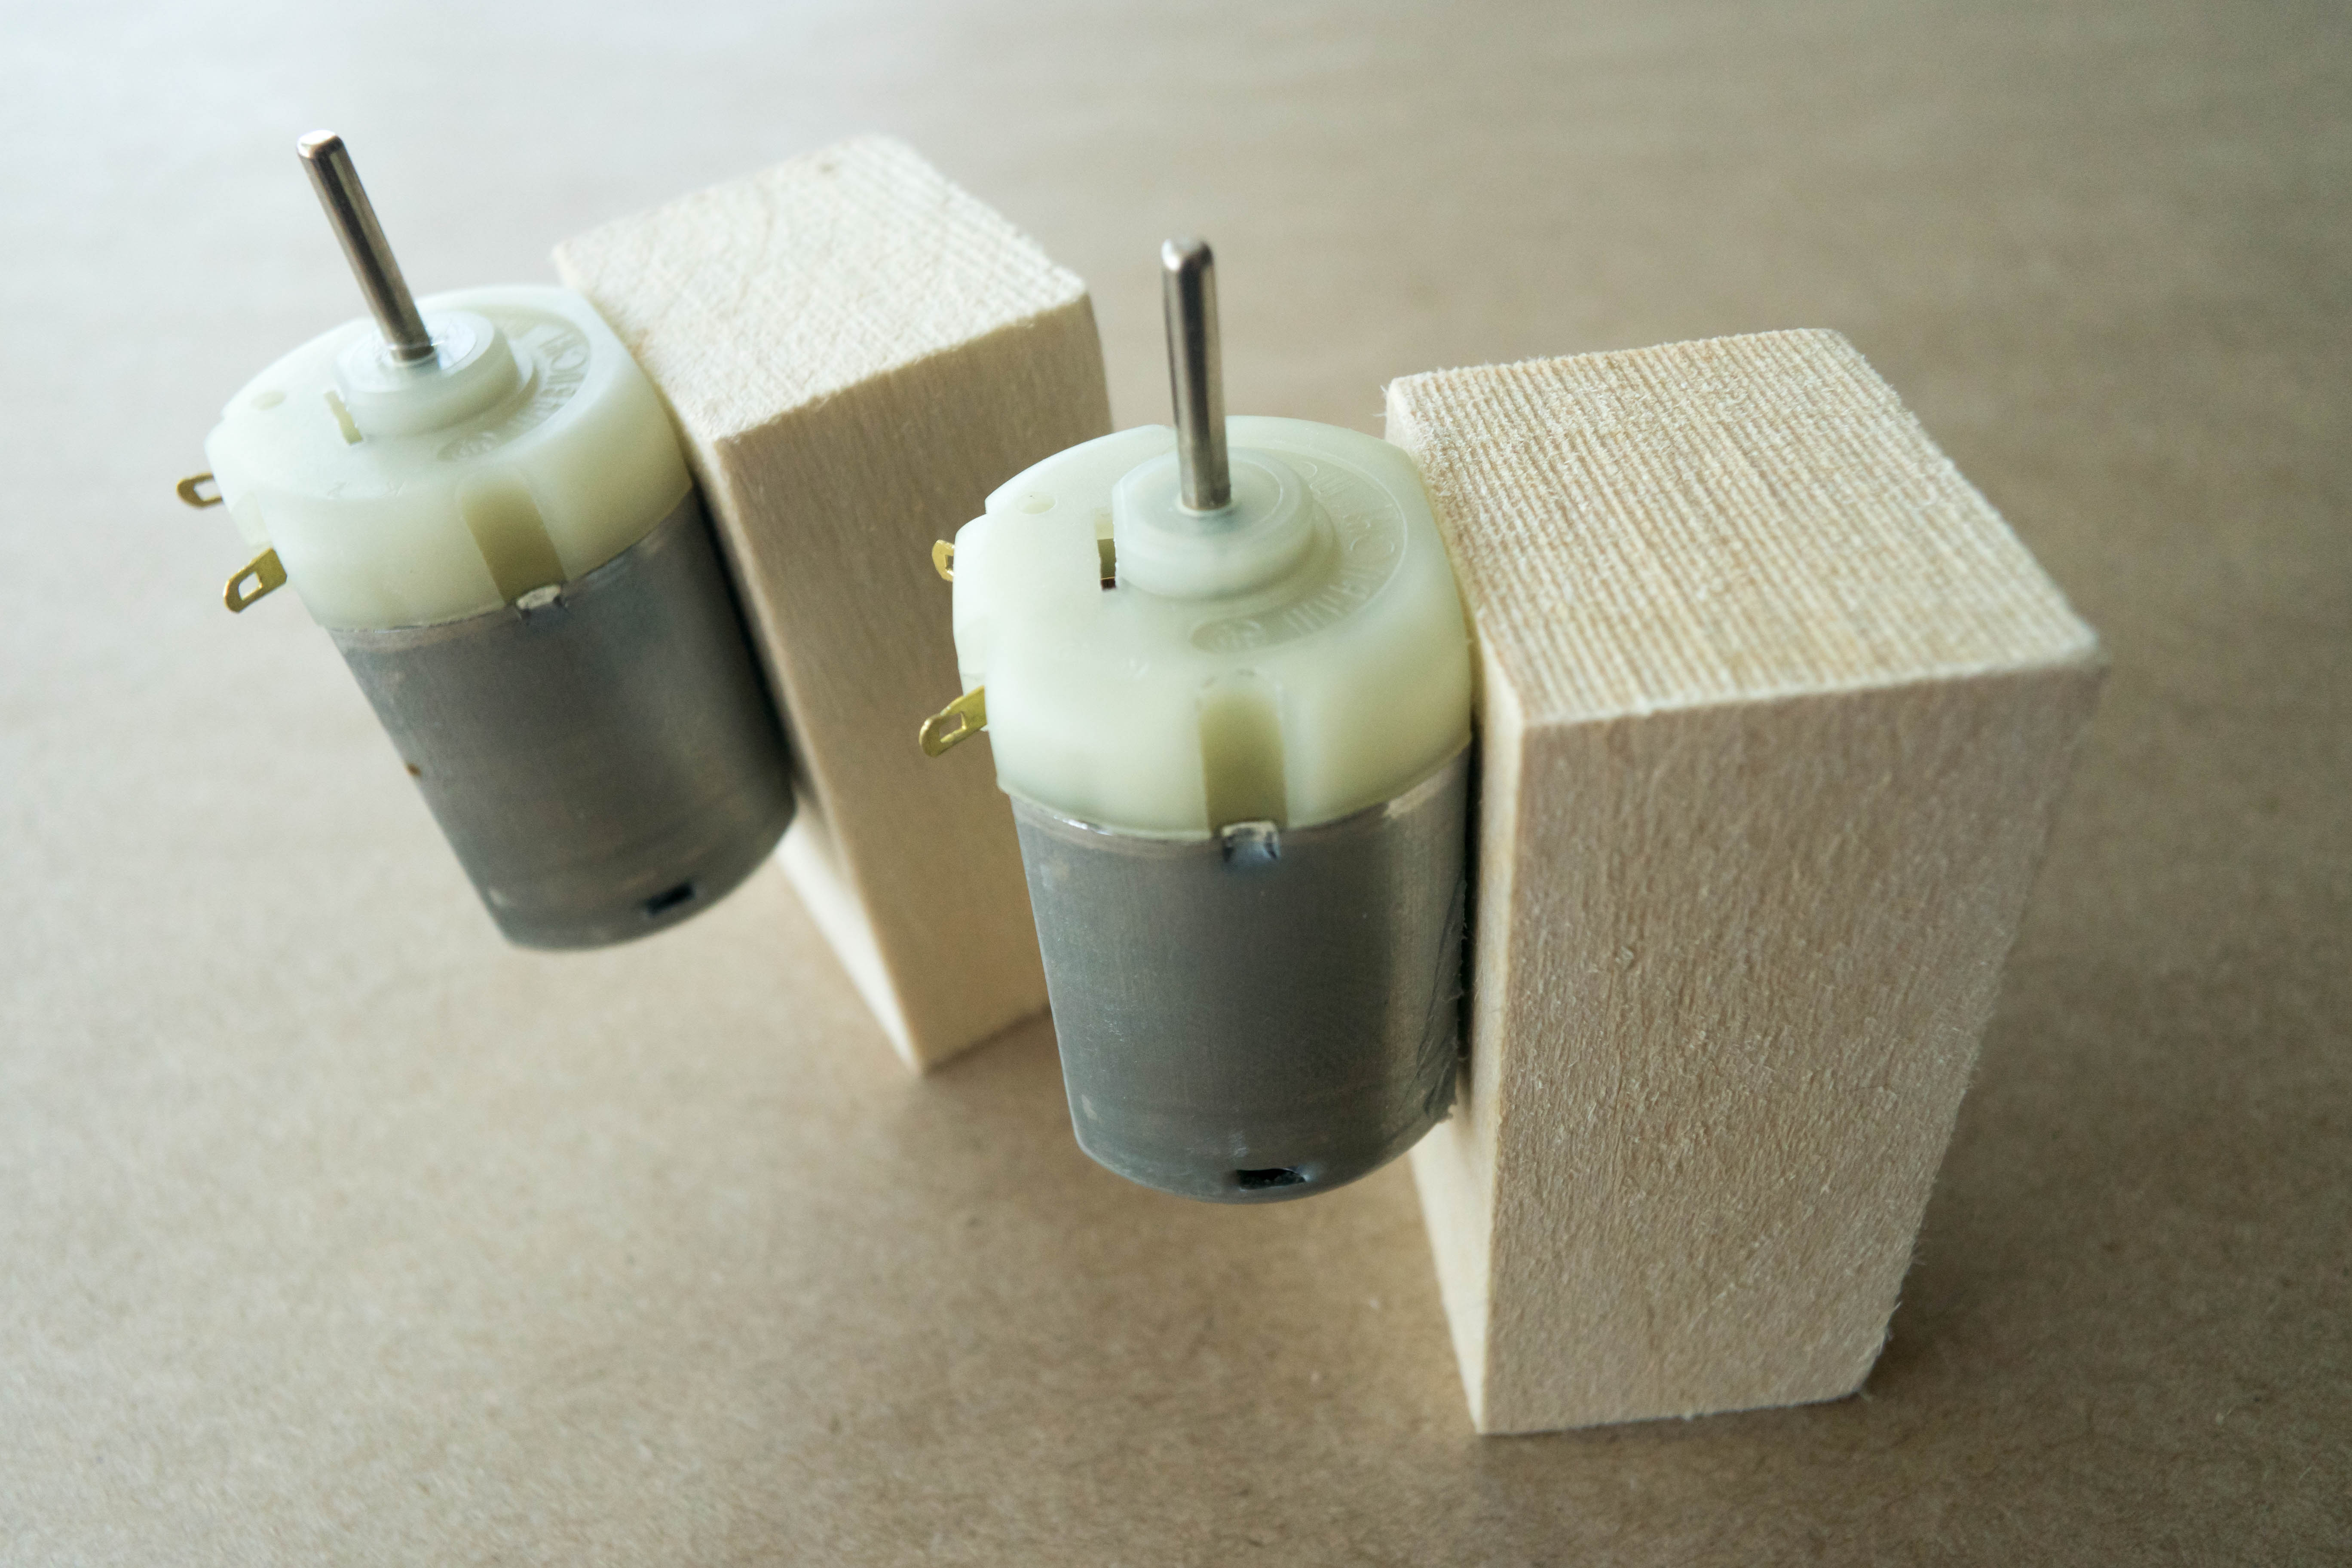
Step 10
Disconnect the motors from the alligator clips. Then, hot glue the motors to the smallest wooden blocks so that the motors are flush to the top of the blocks.
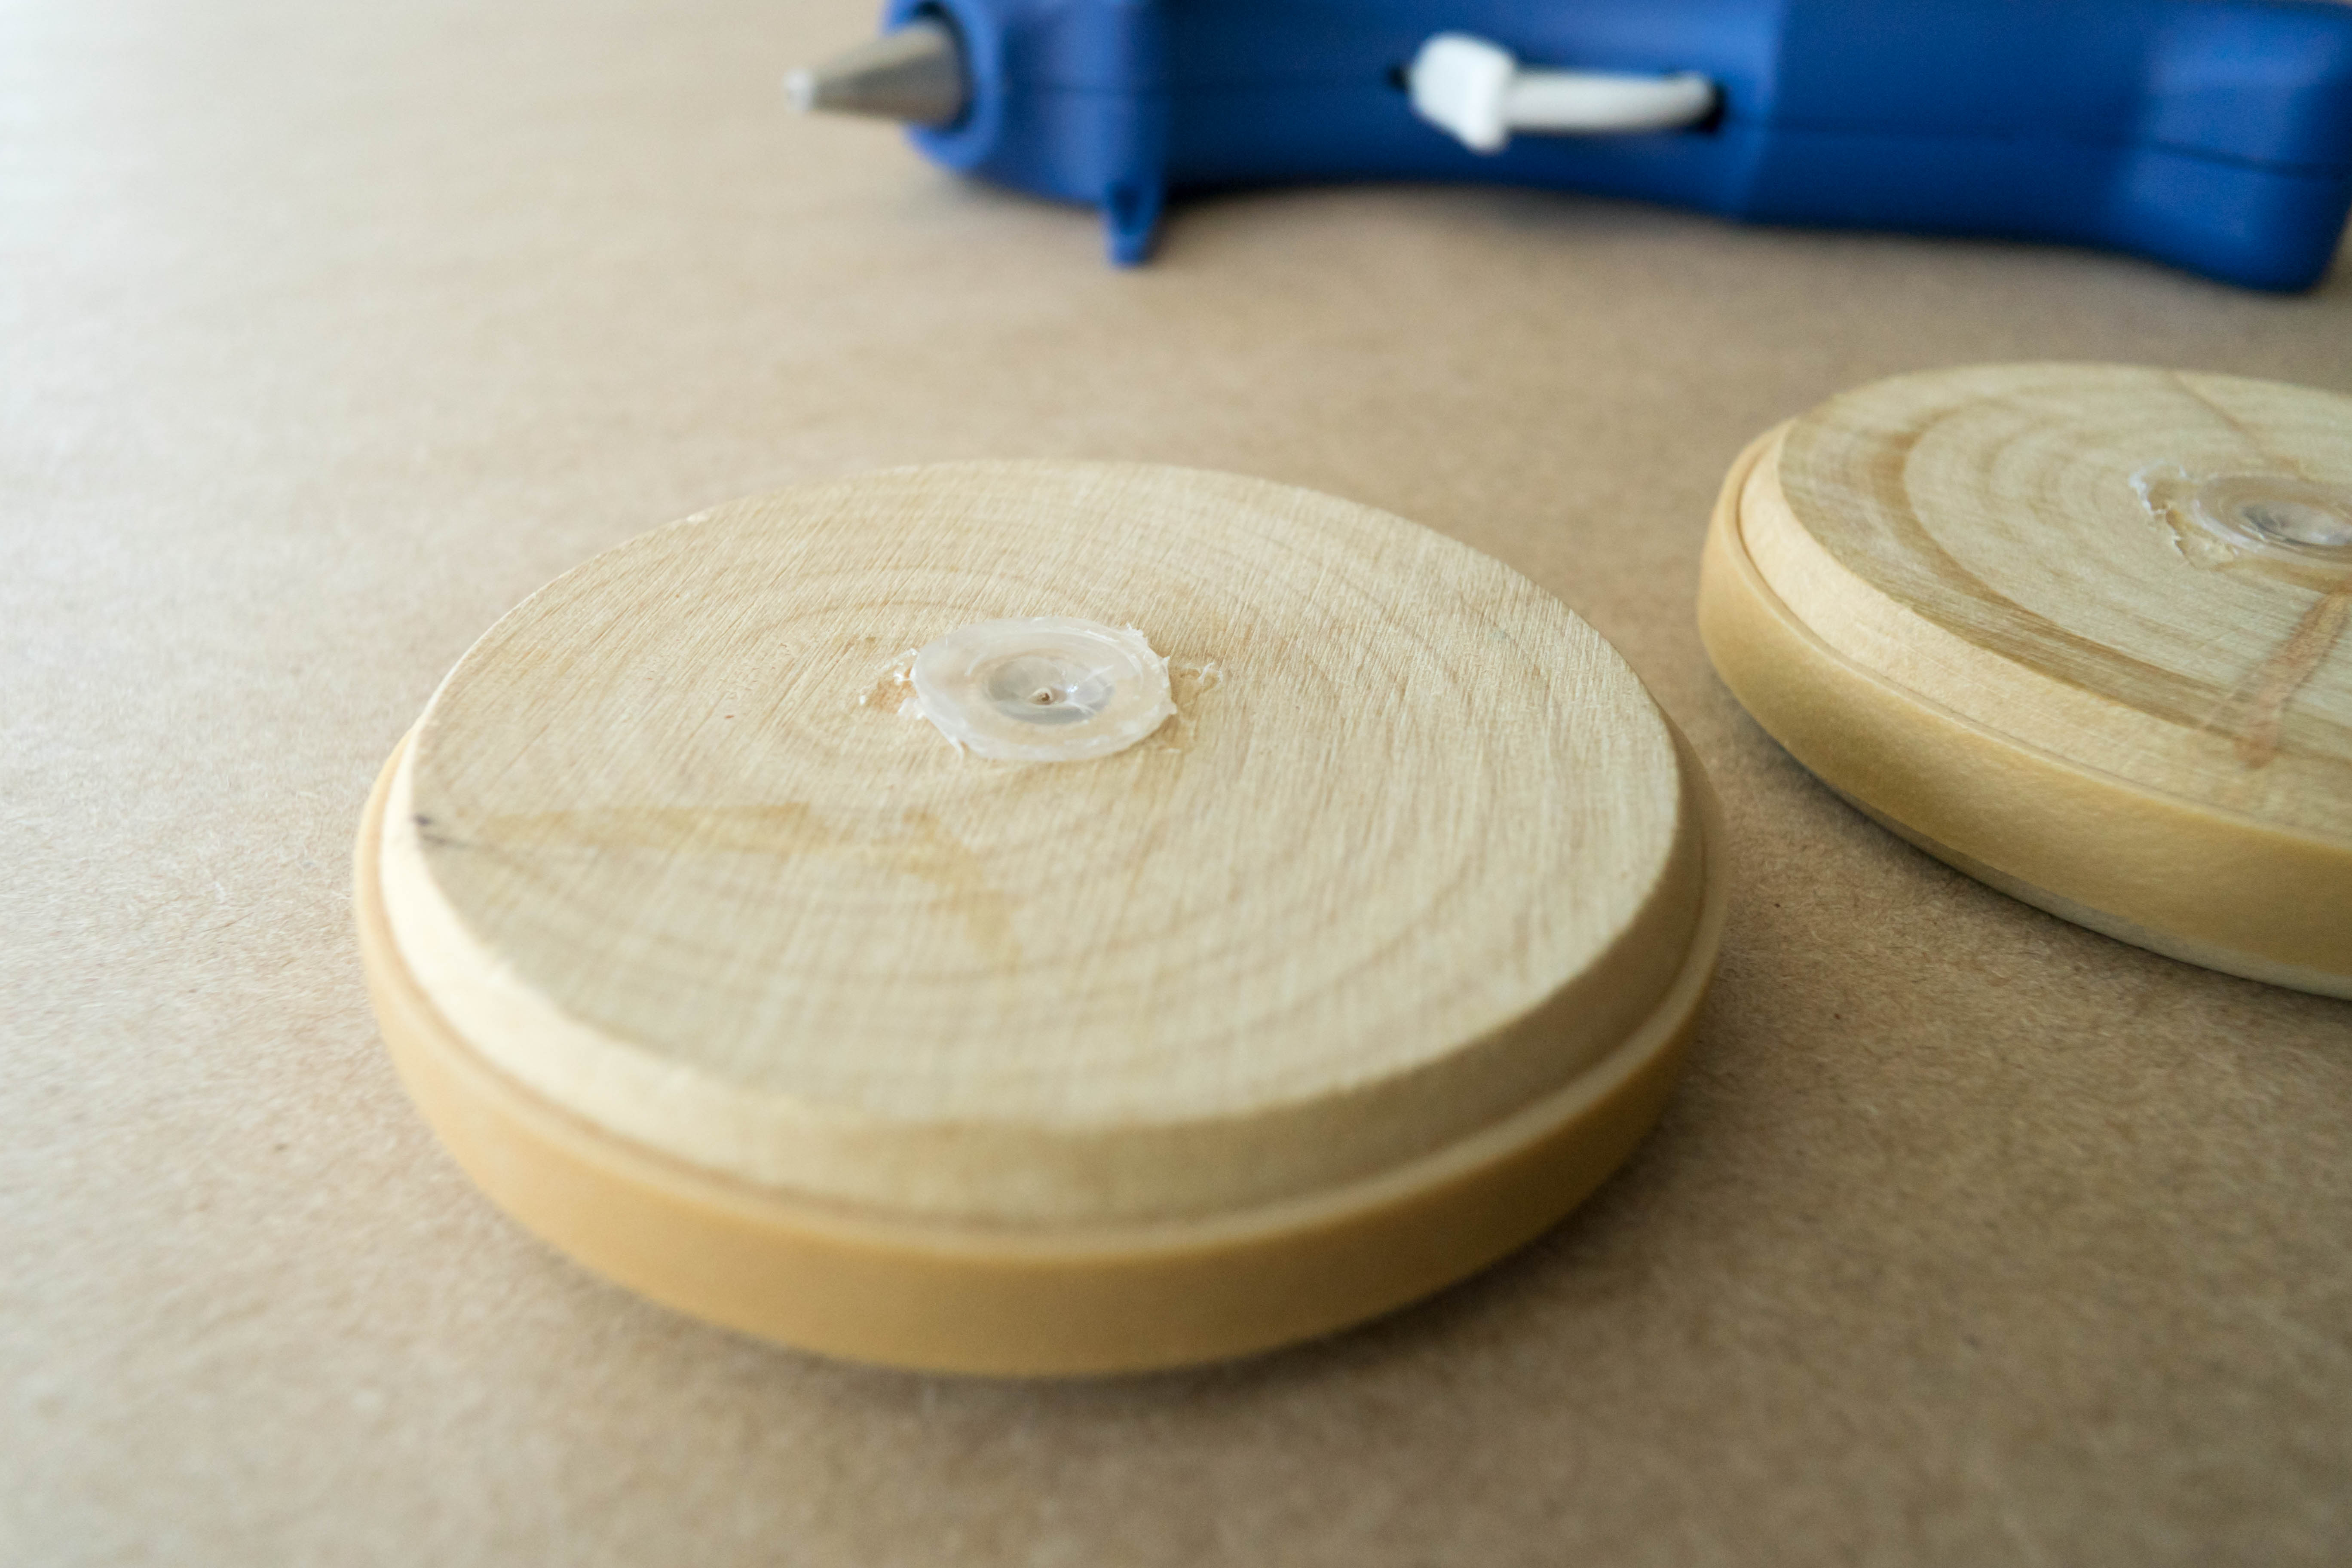
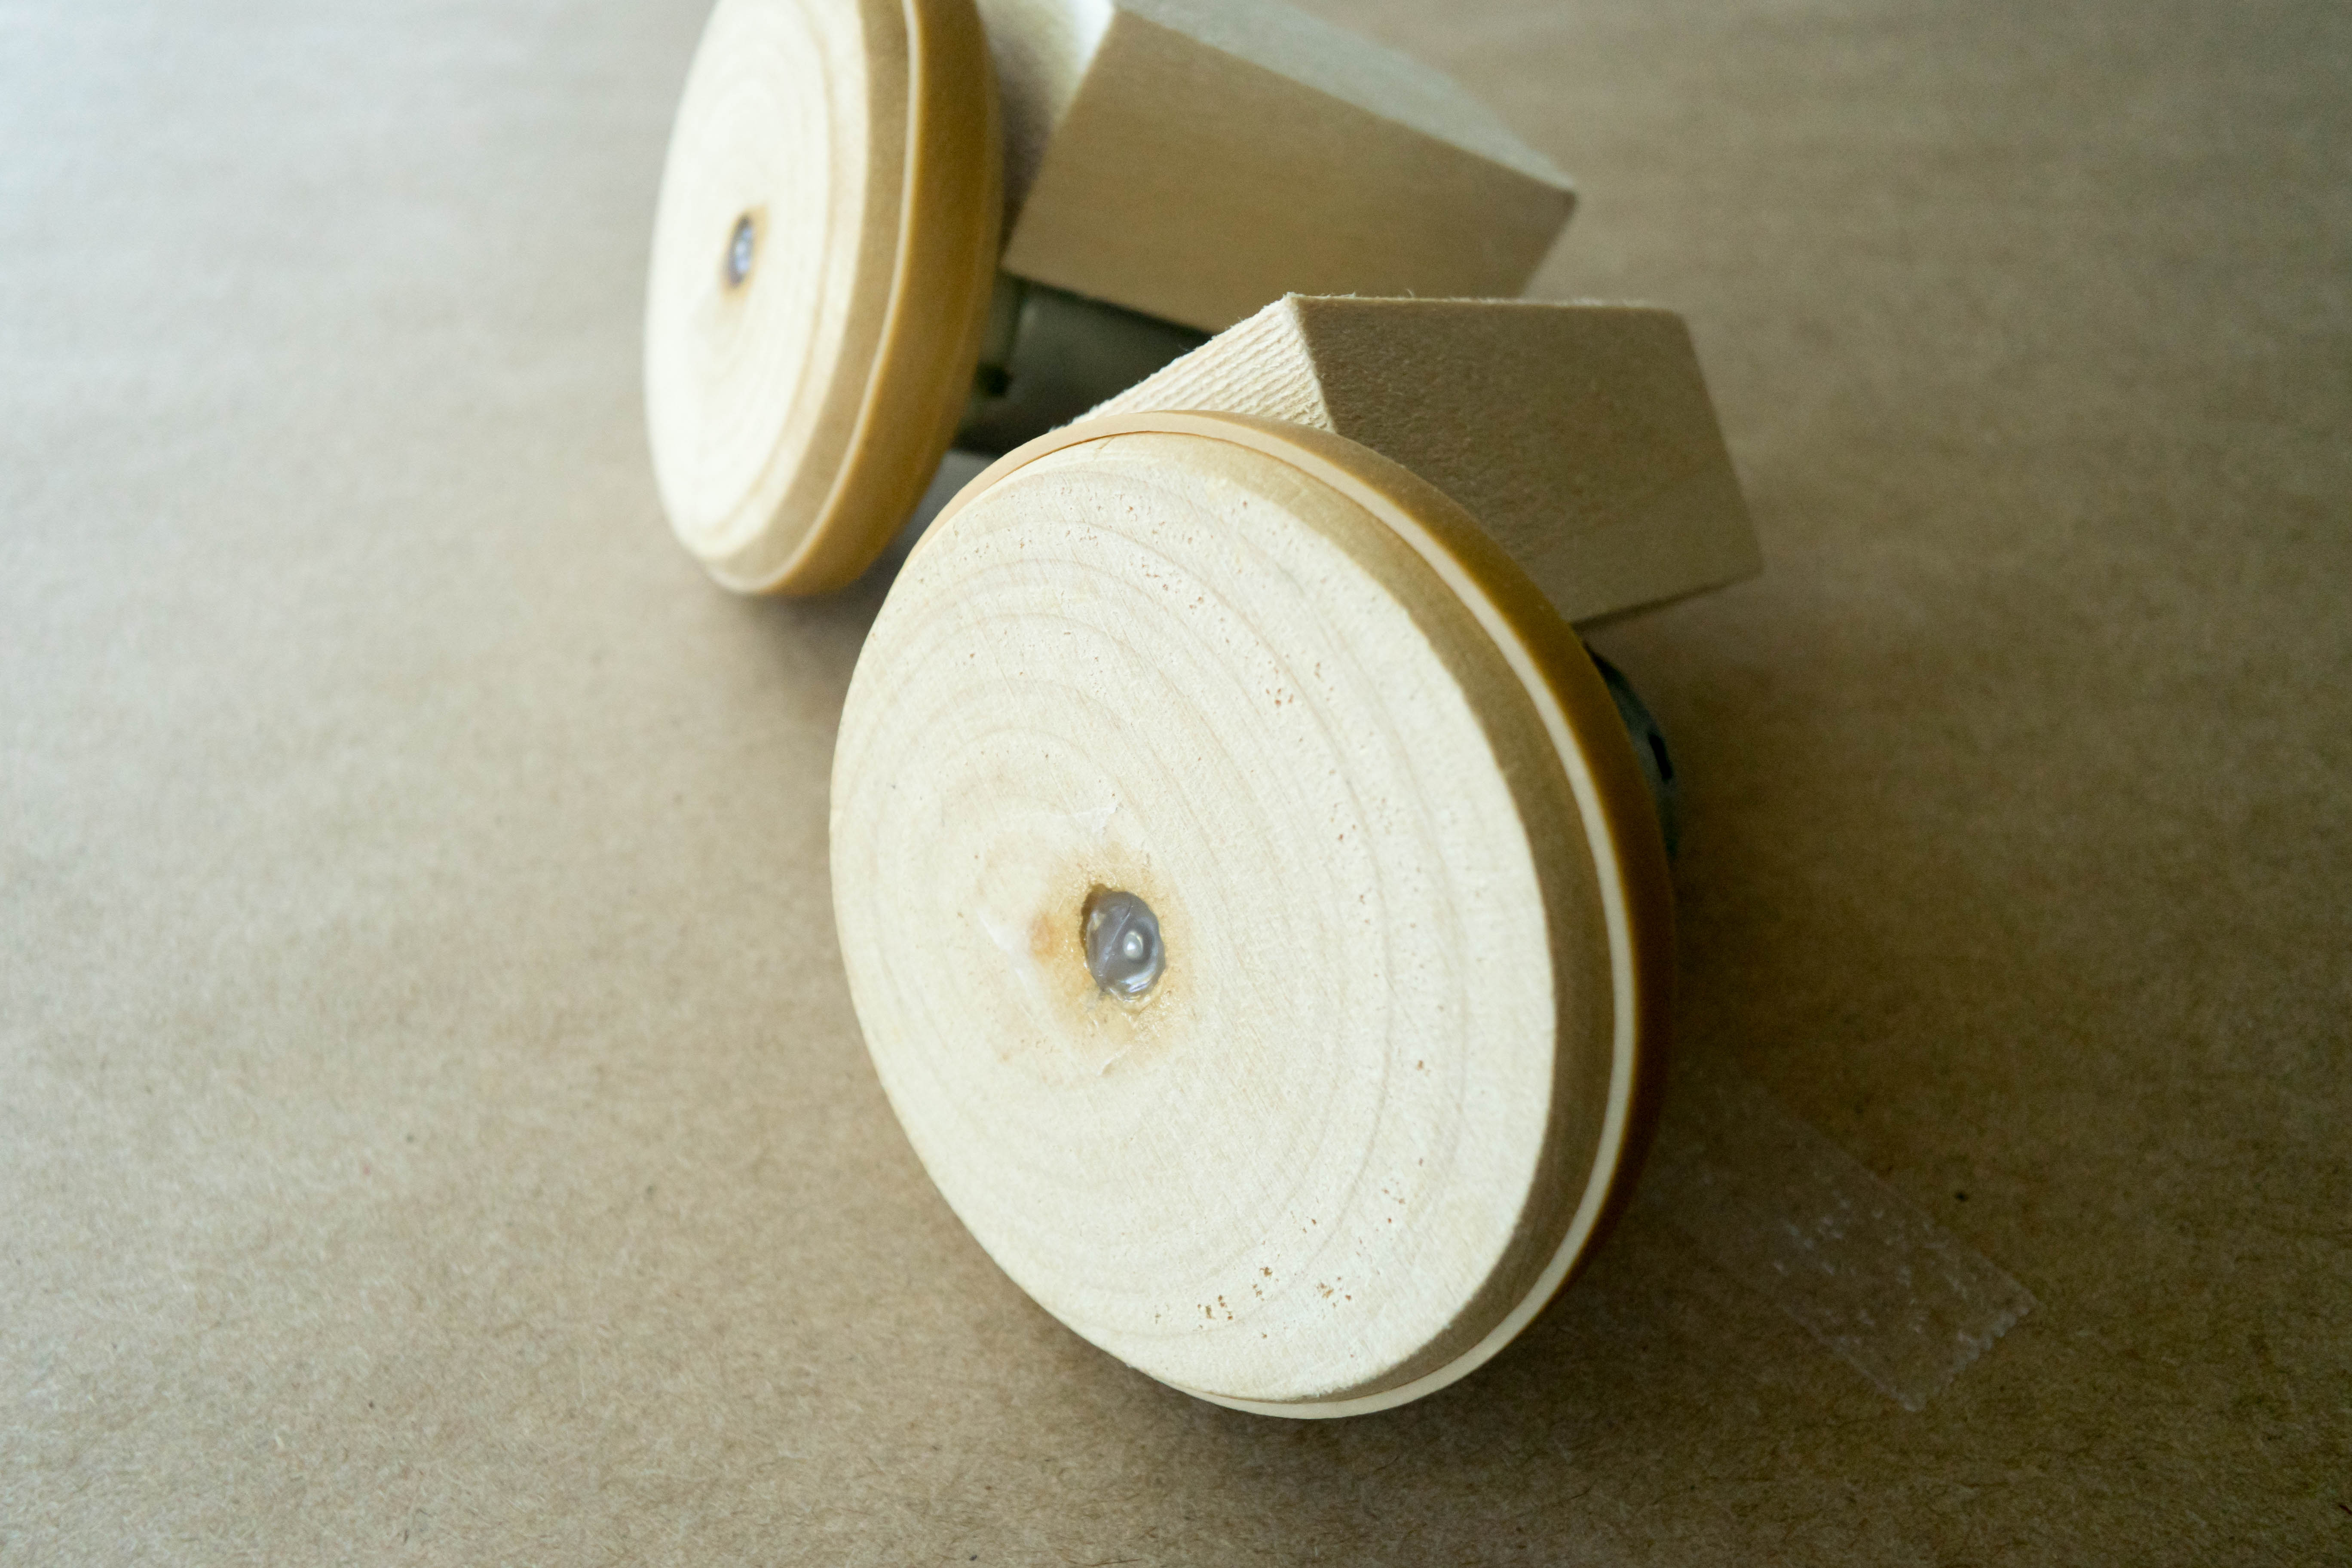
Step 11
Fill the hole in the center of the wheel with hot glue so that it is as stable as possible. Scrape any excess hot glue off the top with a scrap piece of paper or cardboard.
Step 12
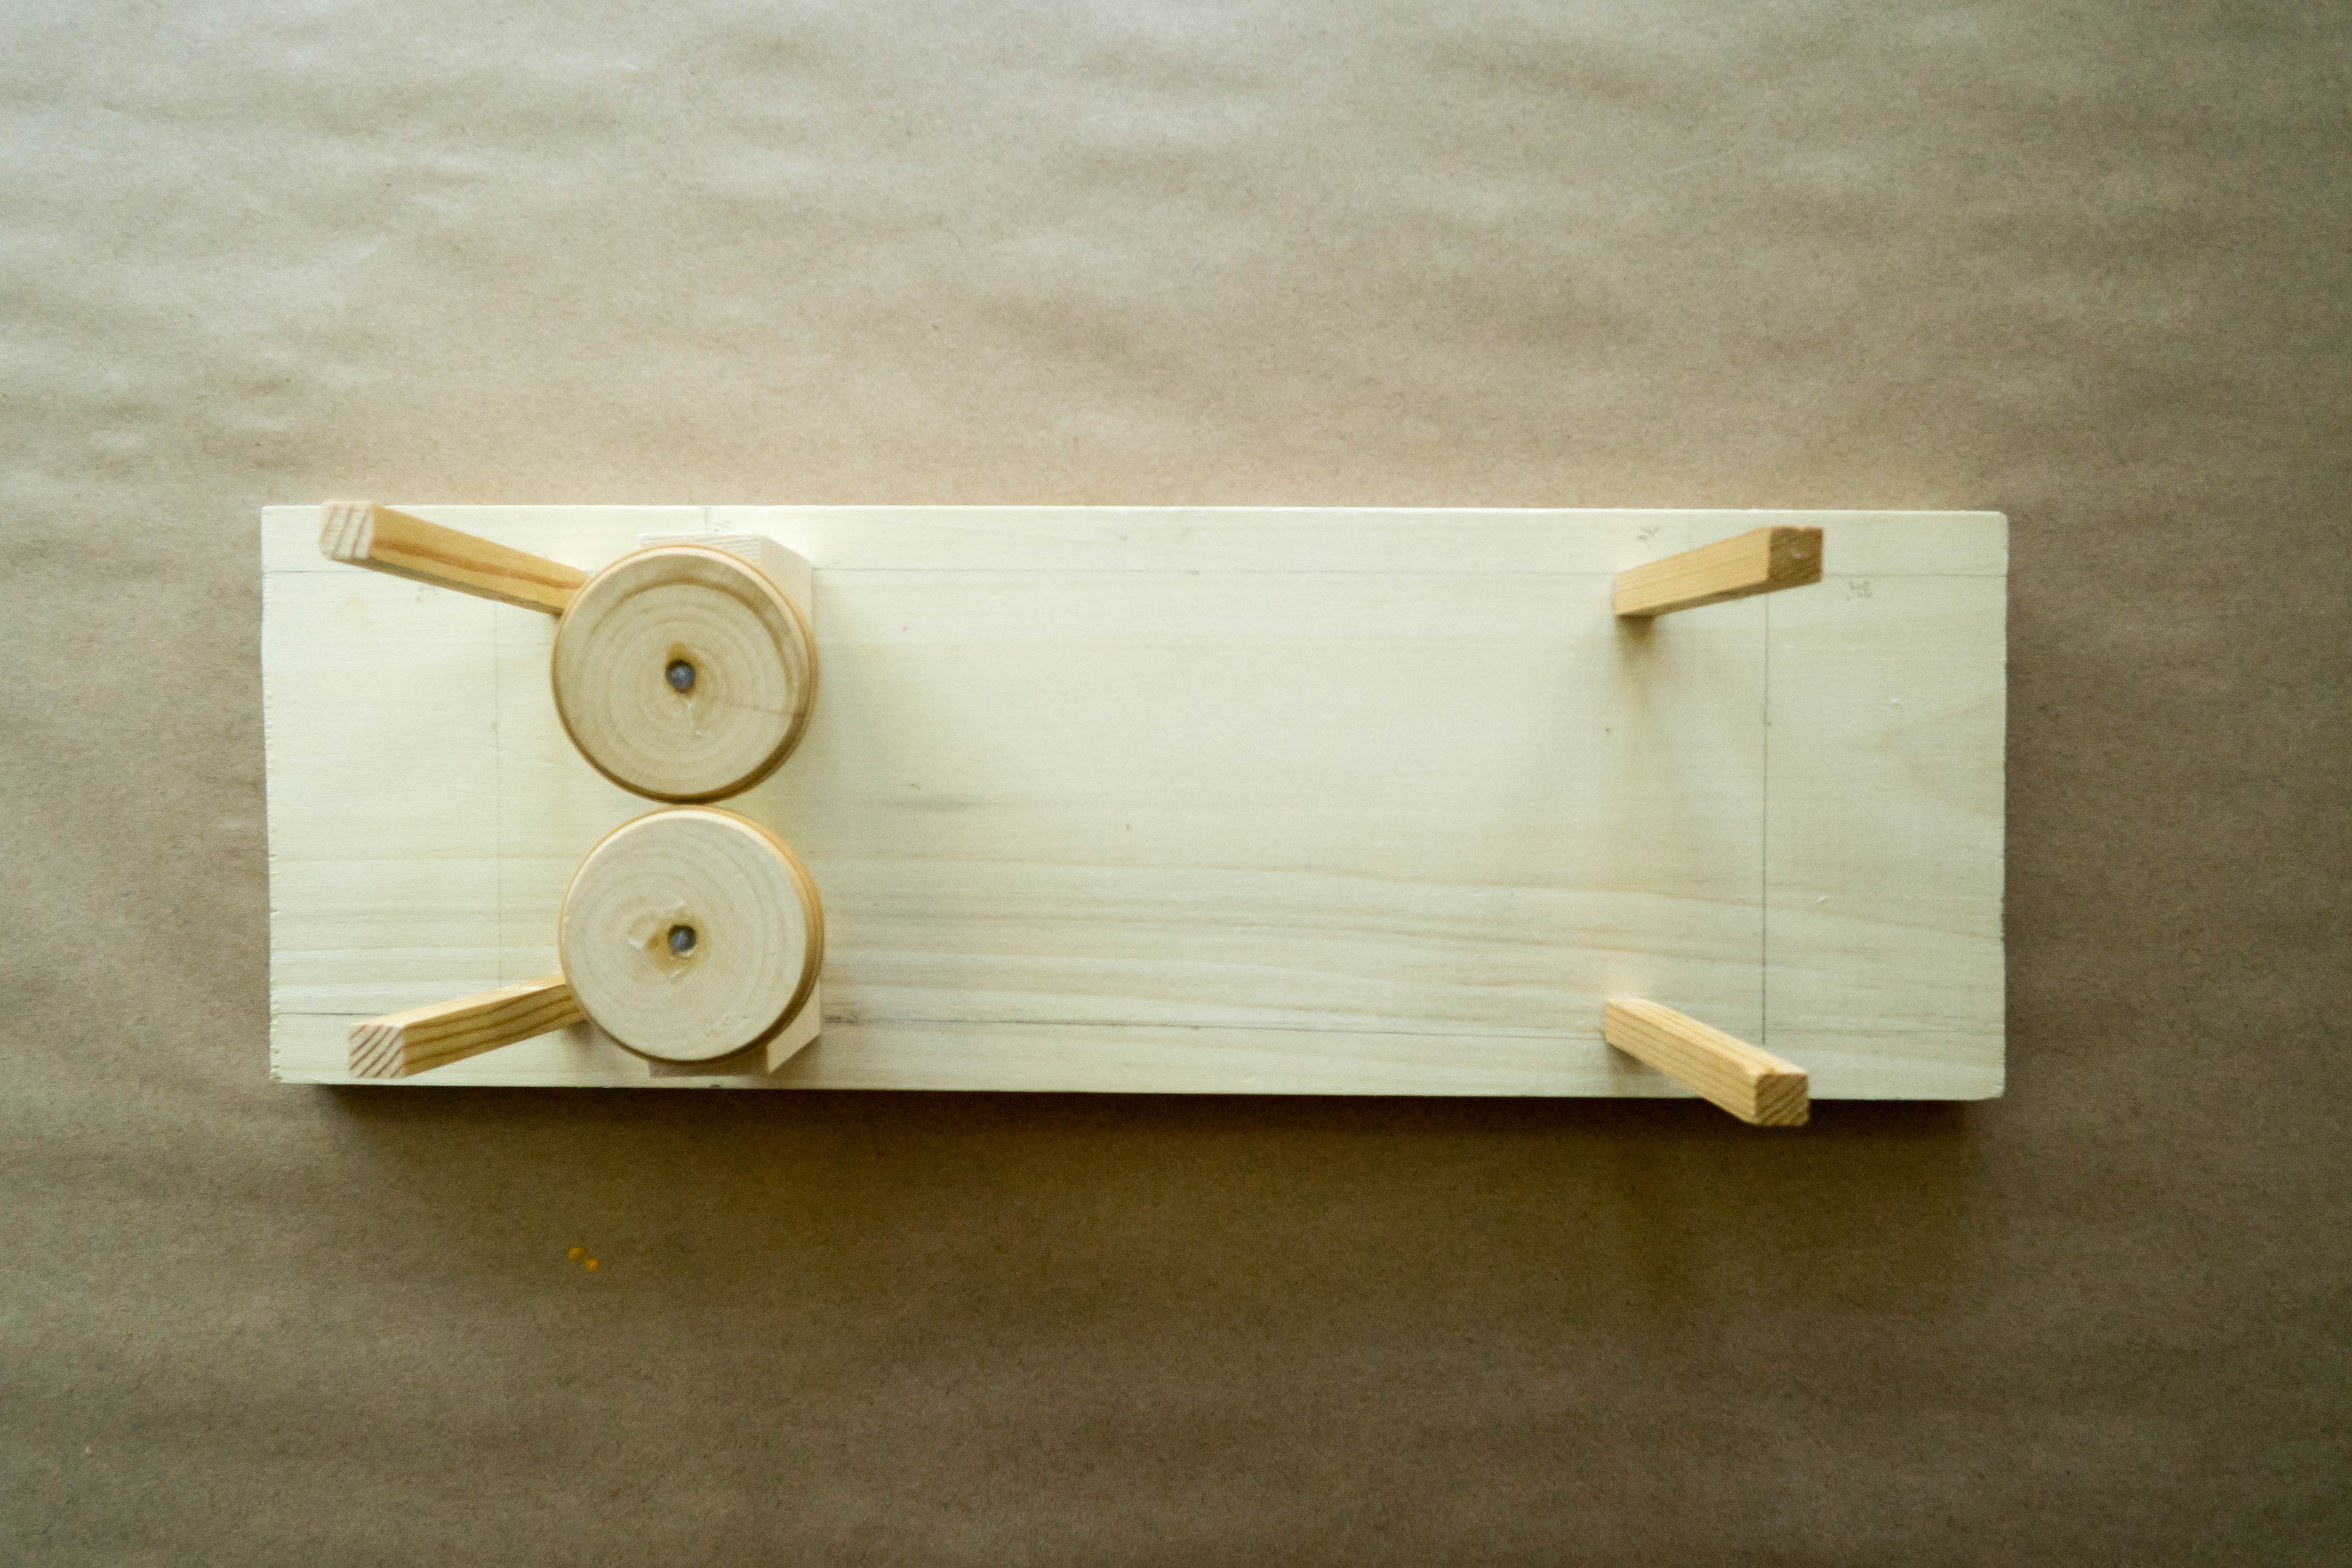
Mark the base ½” from either short side and 4 ¼” from the bottom. Then, hot glue the mounted motors on your mark. Note: The bottom is the end of the base closest to the mounted motors.
Step 13
Mark the base ¼” from either short side and 2 ¾” from the bottom. Also, mark the base ¼” from either short side and 3 ¼” from the top. Then, hot glue the the wooden poles on your marks.
Step 14
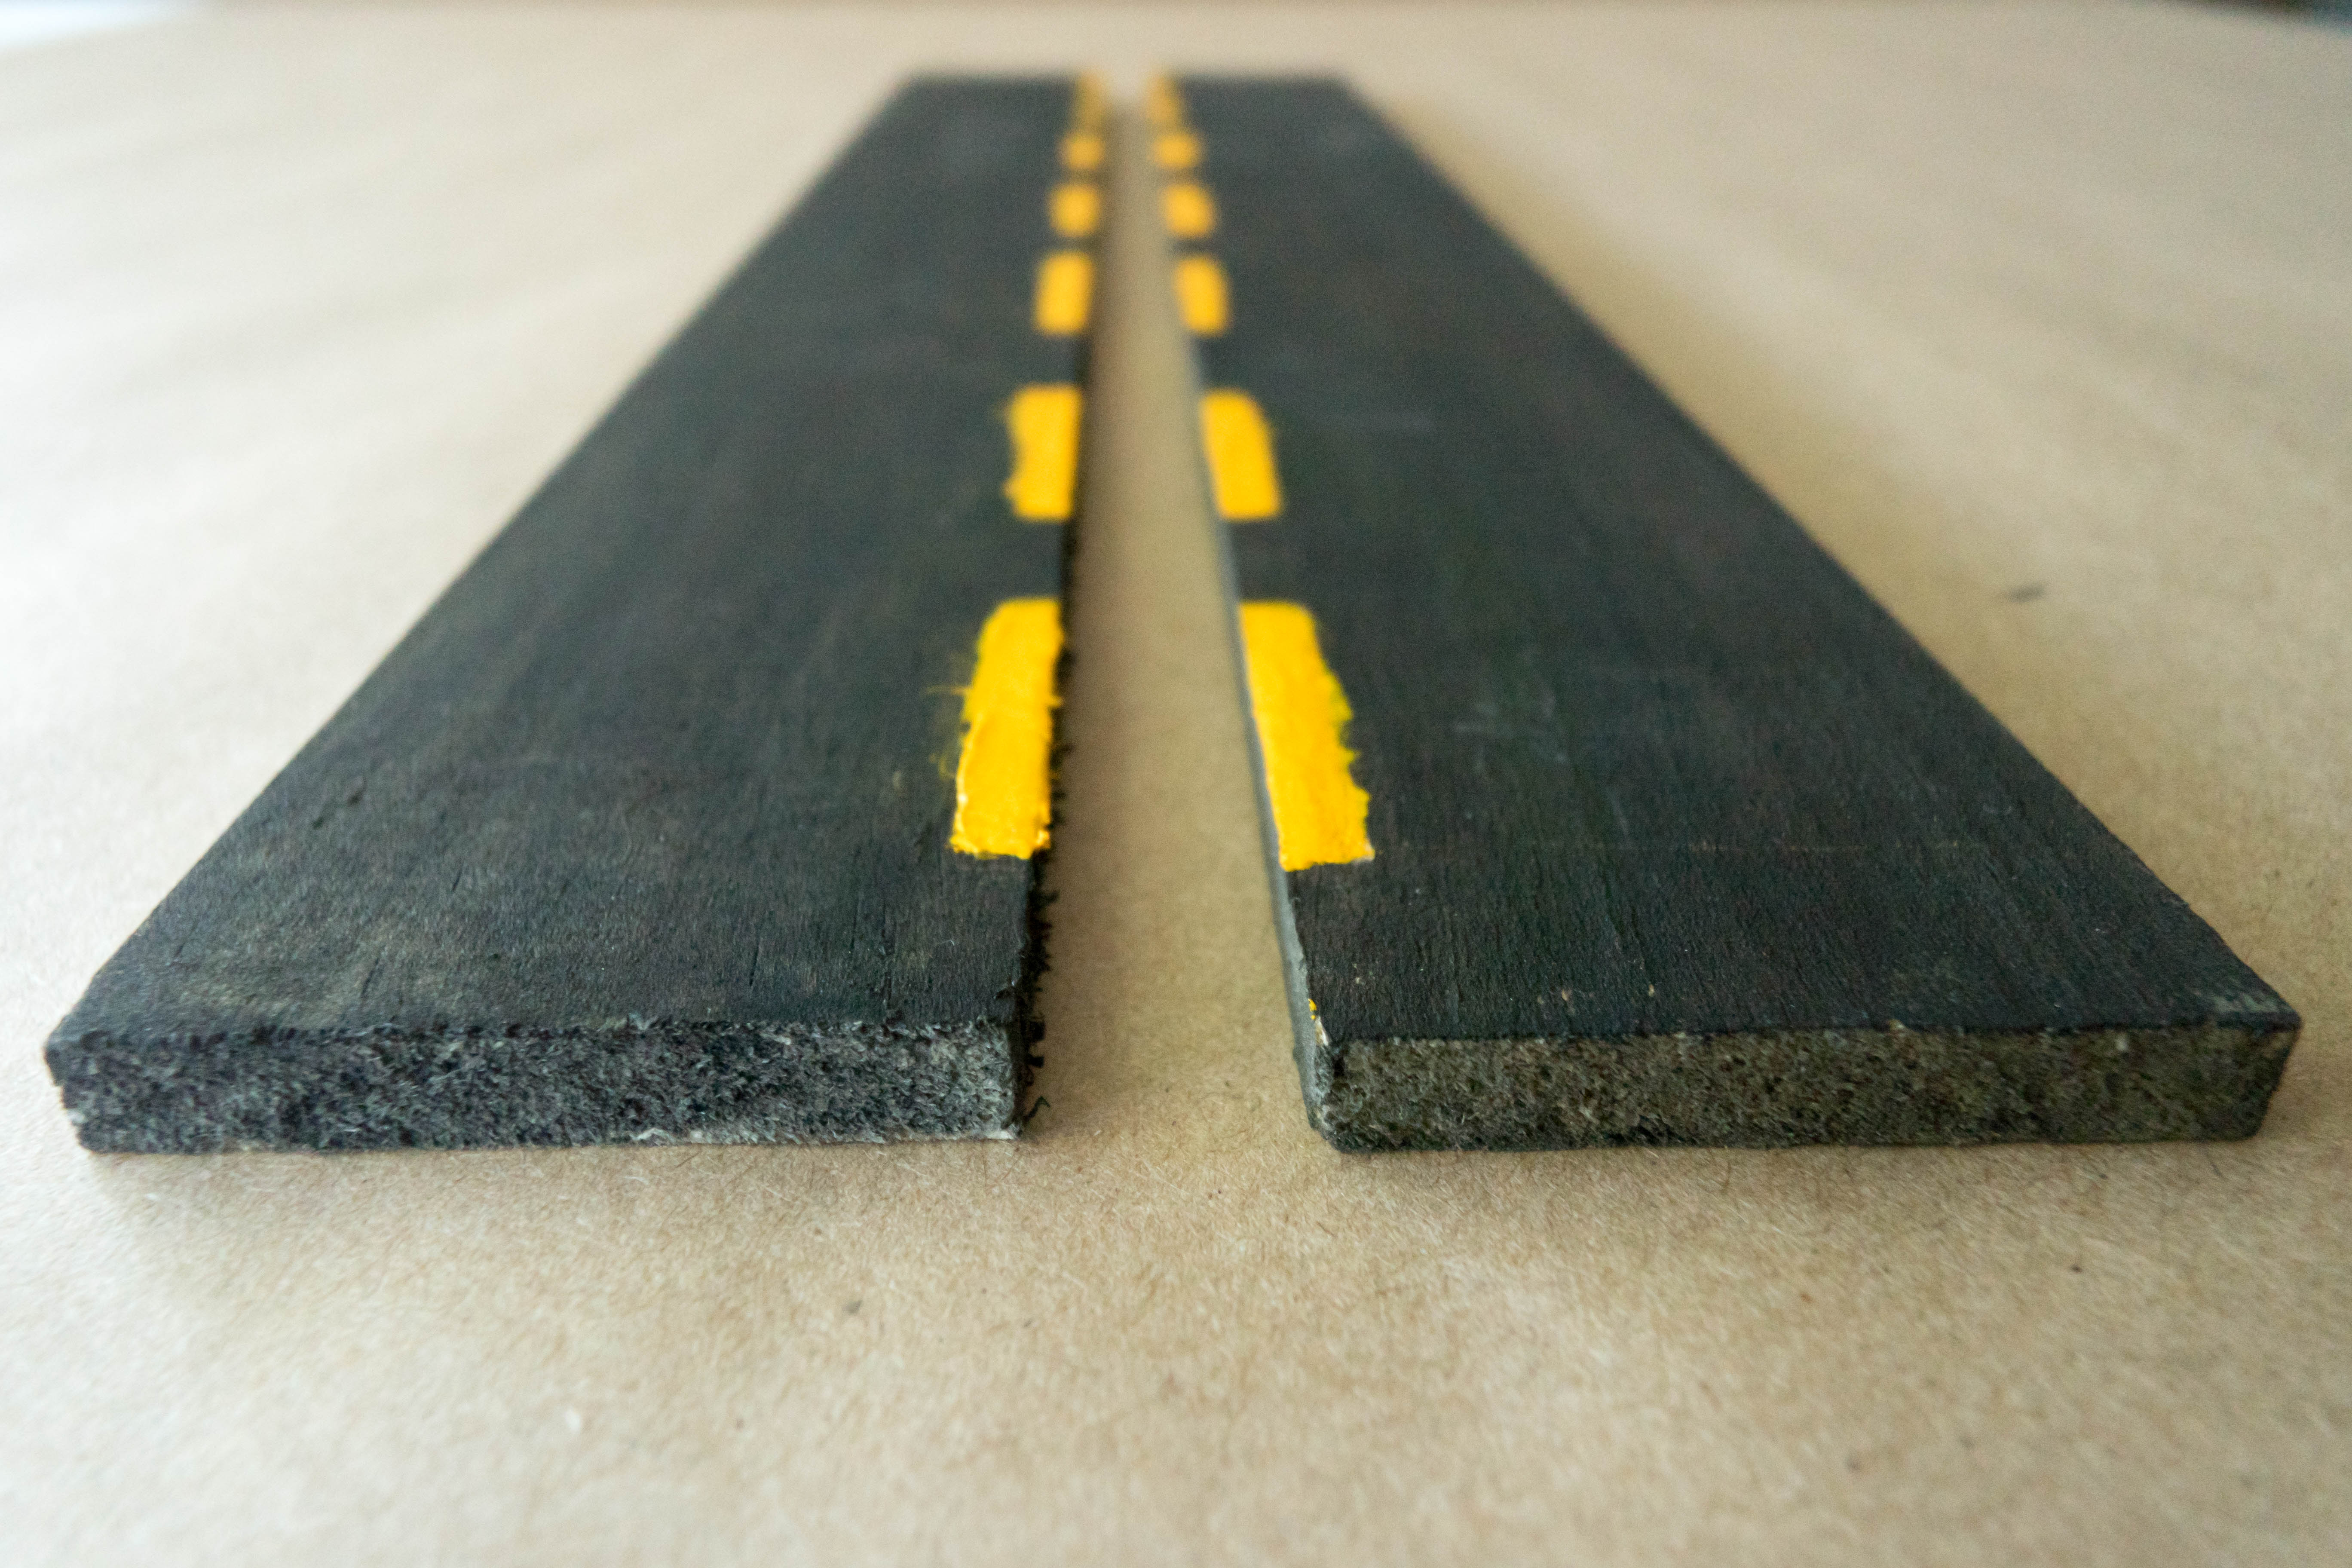
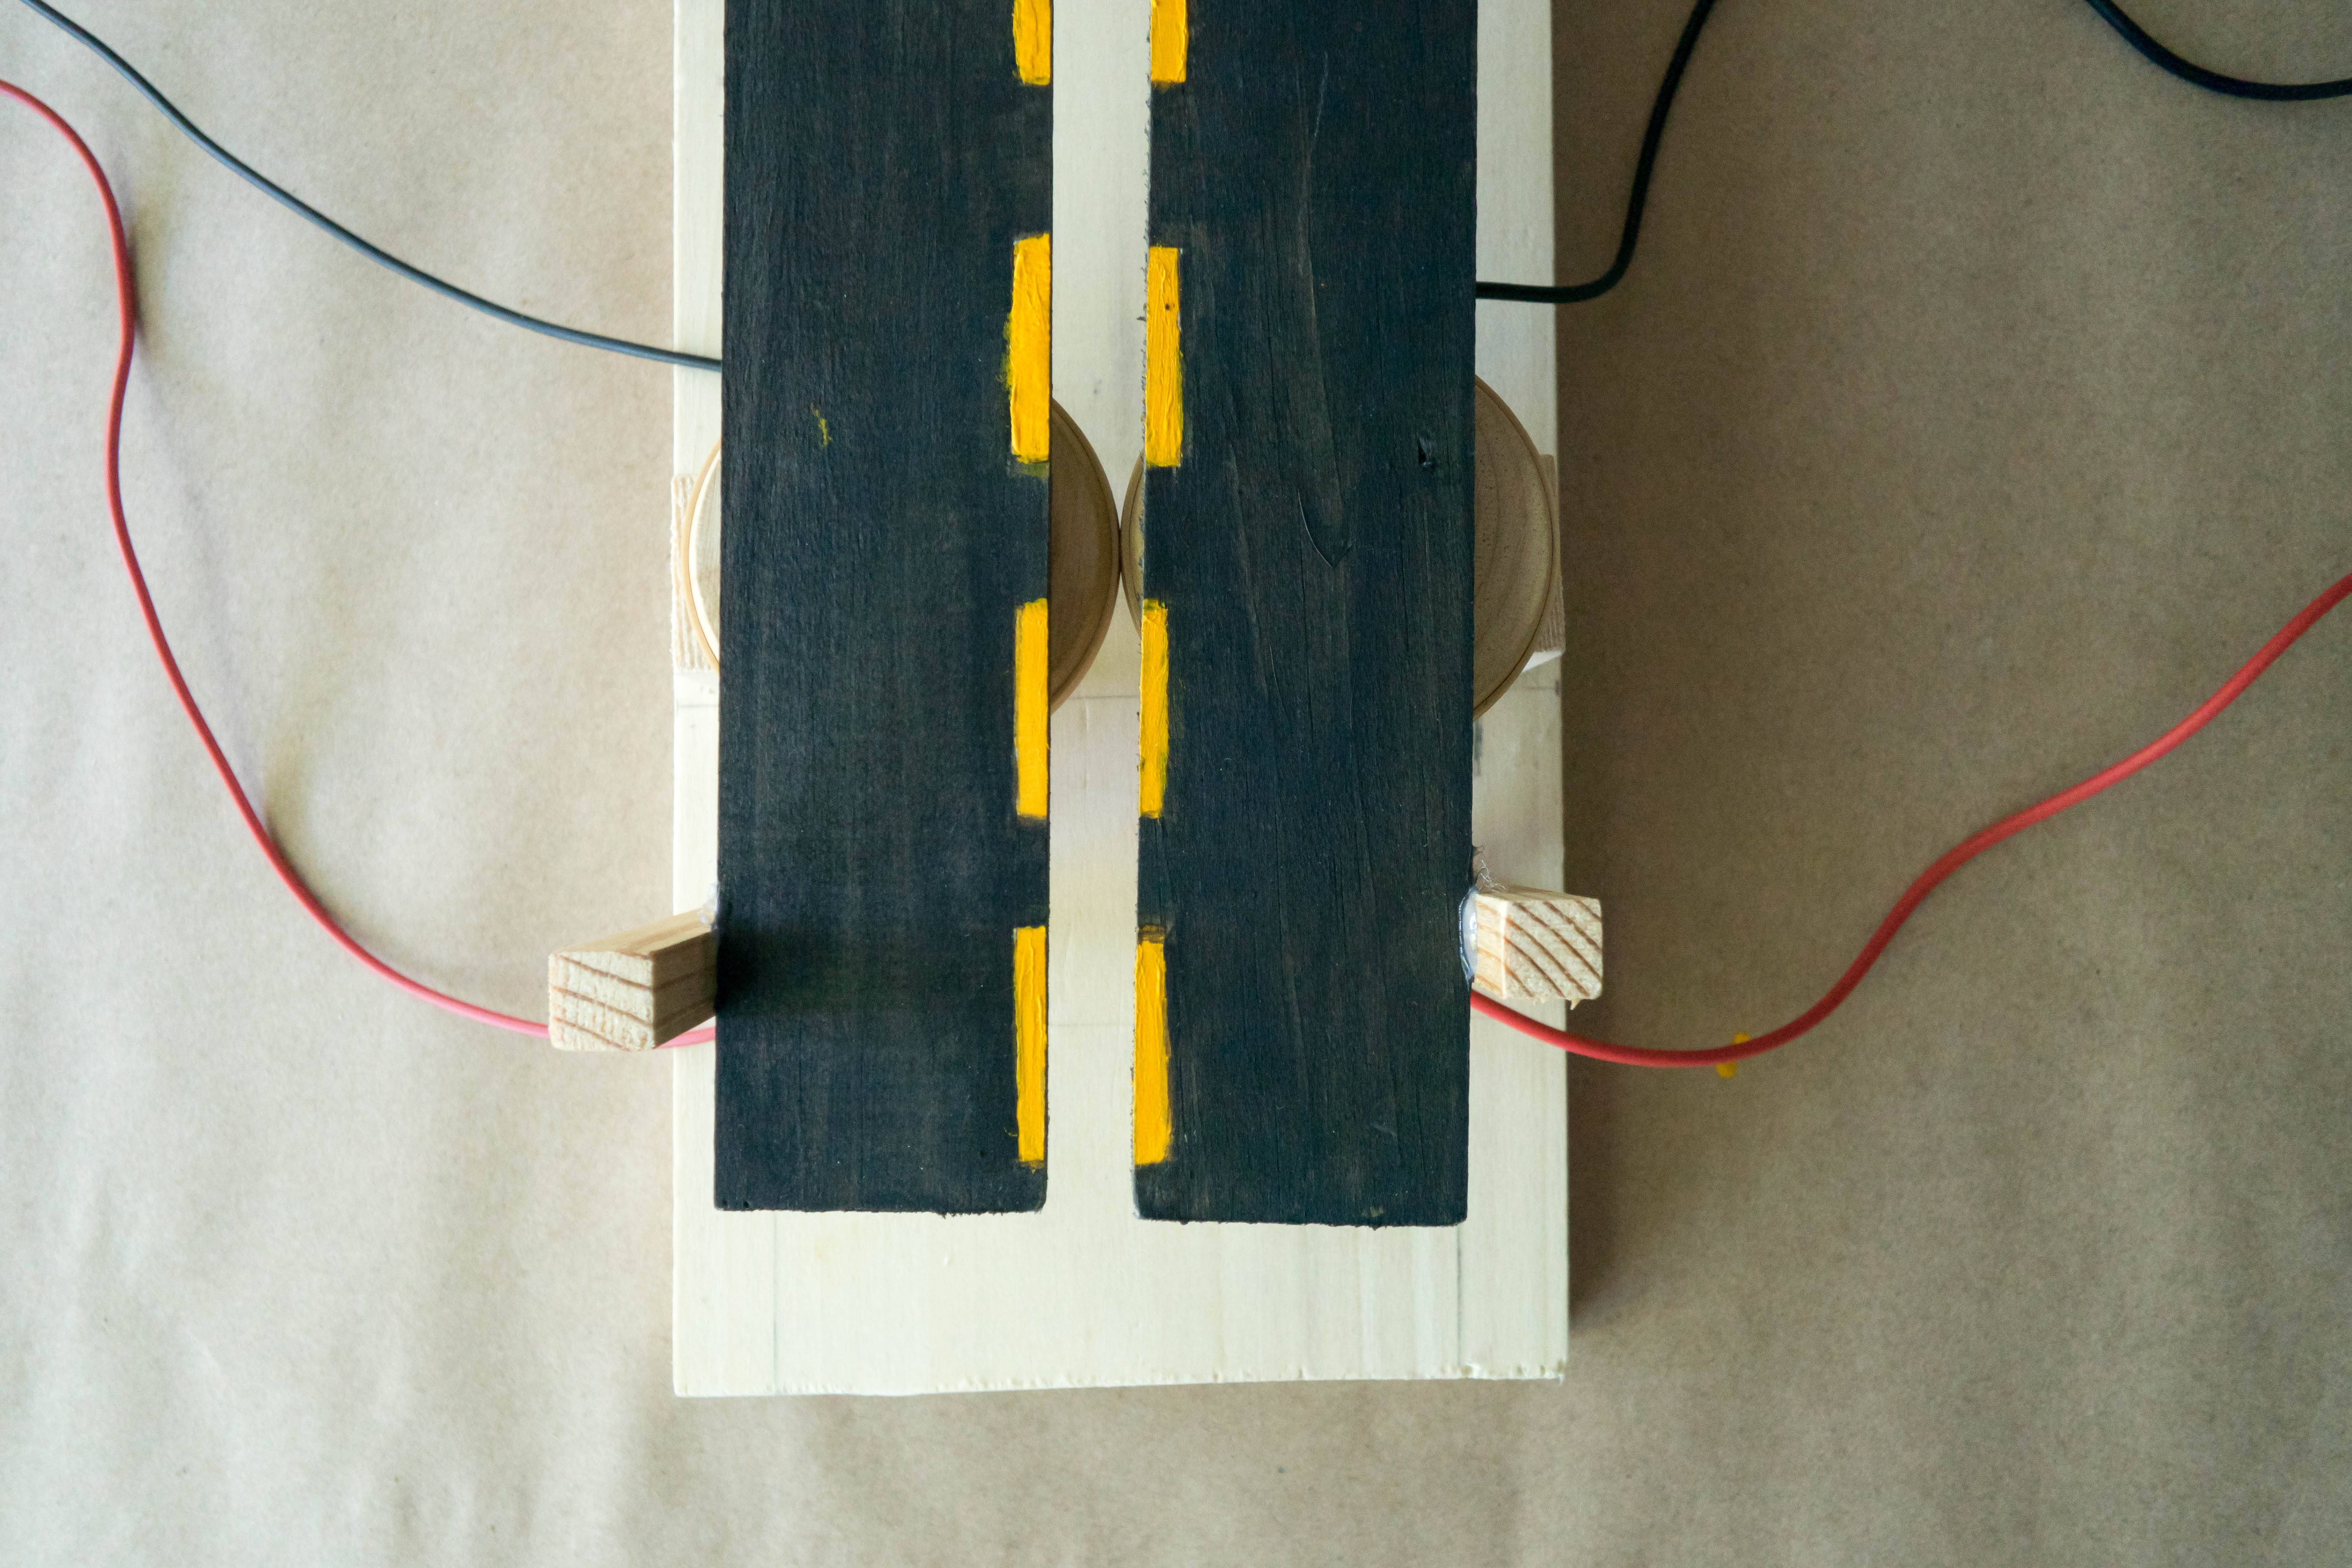
Paint the wooden runways so that they look like a real runway or design them however you like! This is where your plane will “take off” from.
Step 15
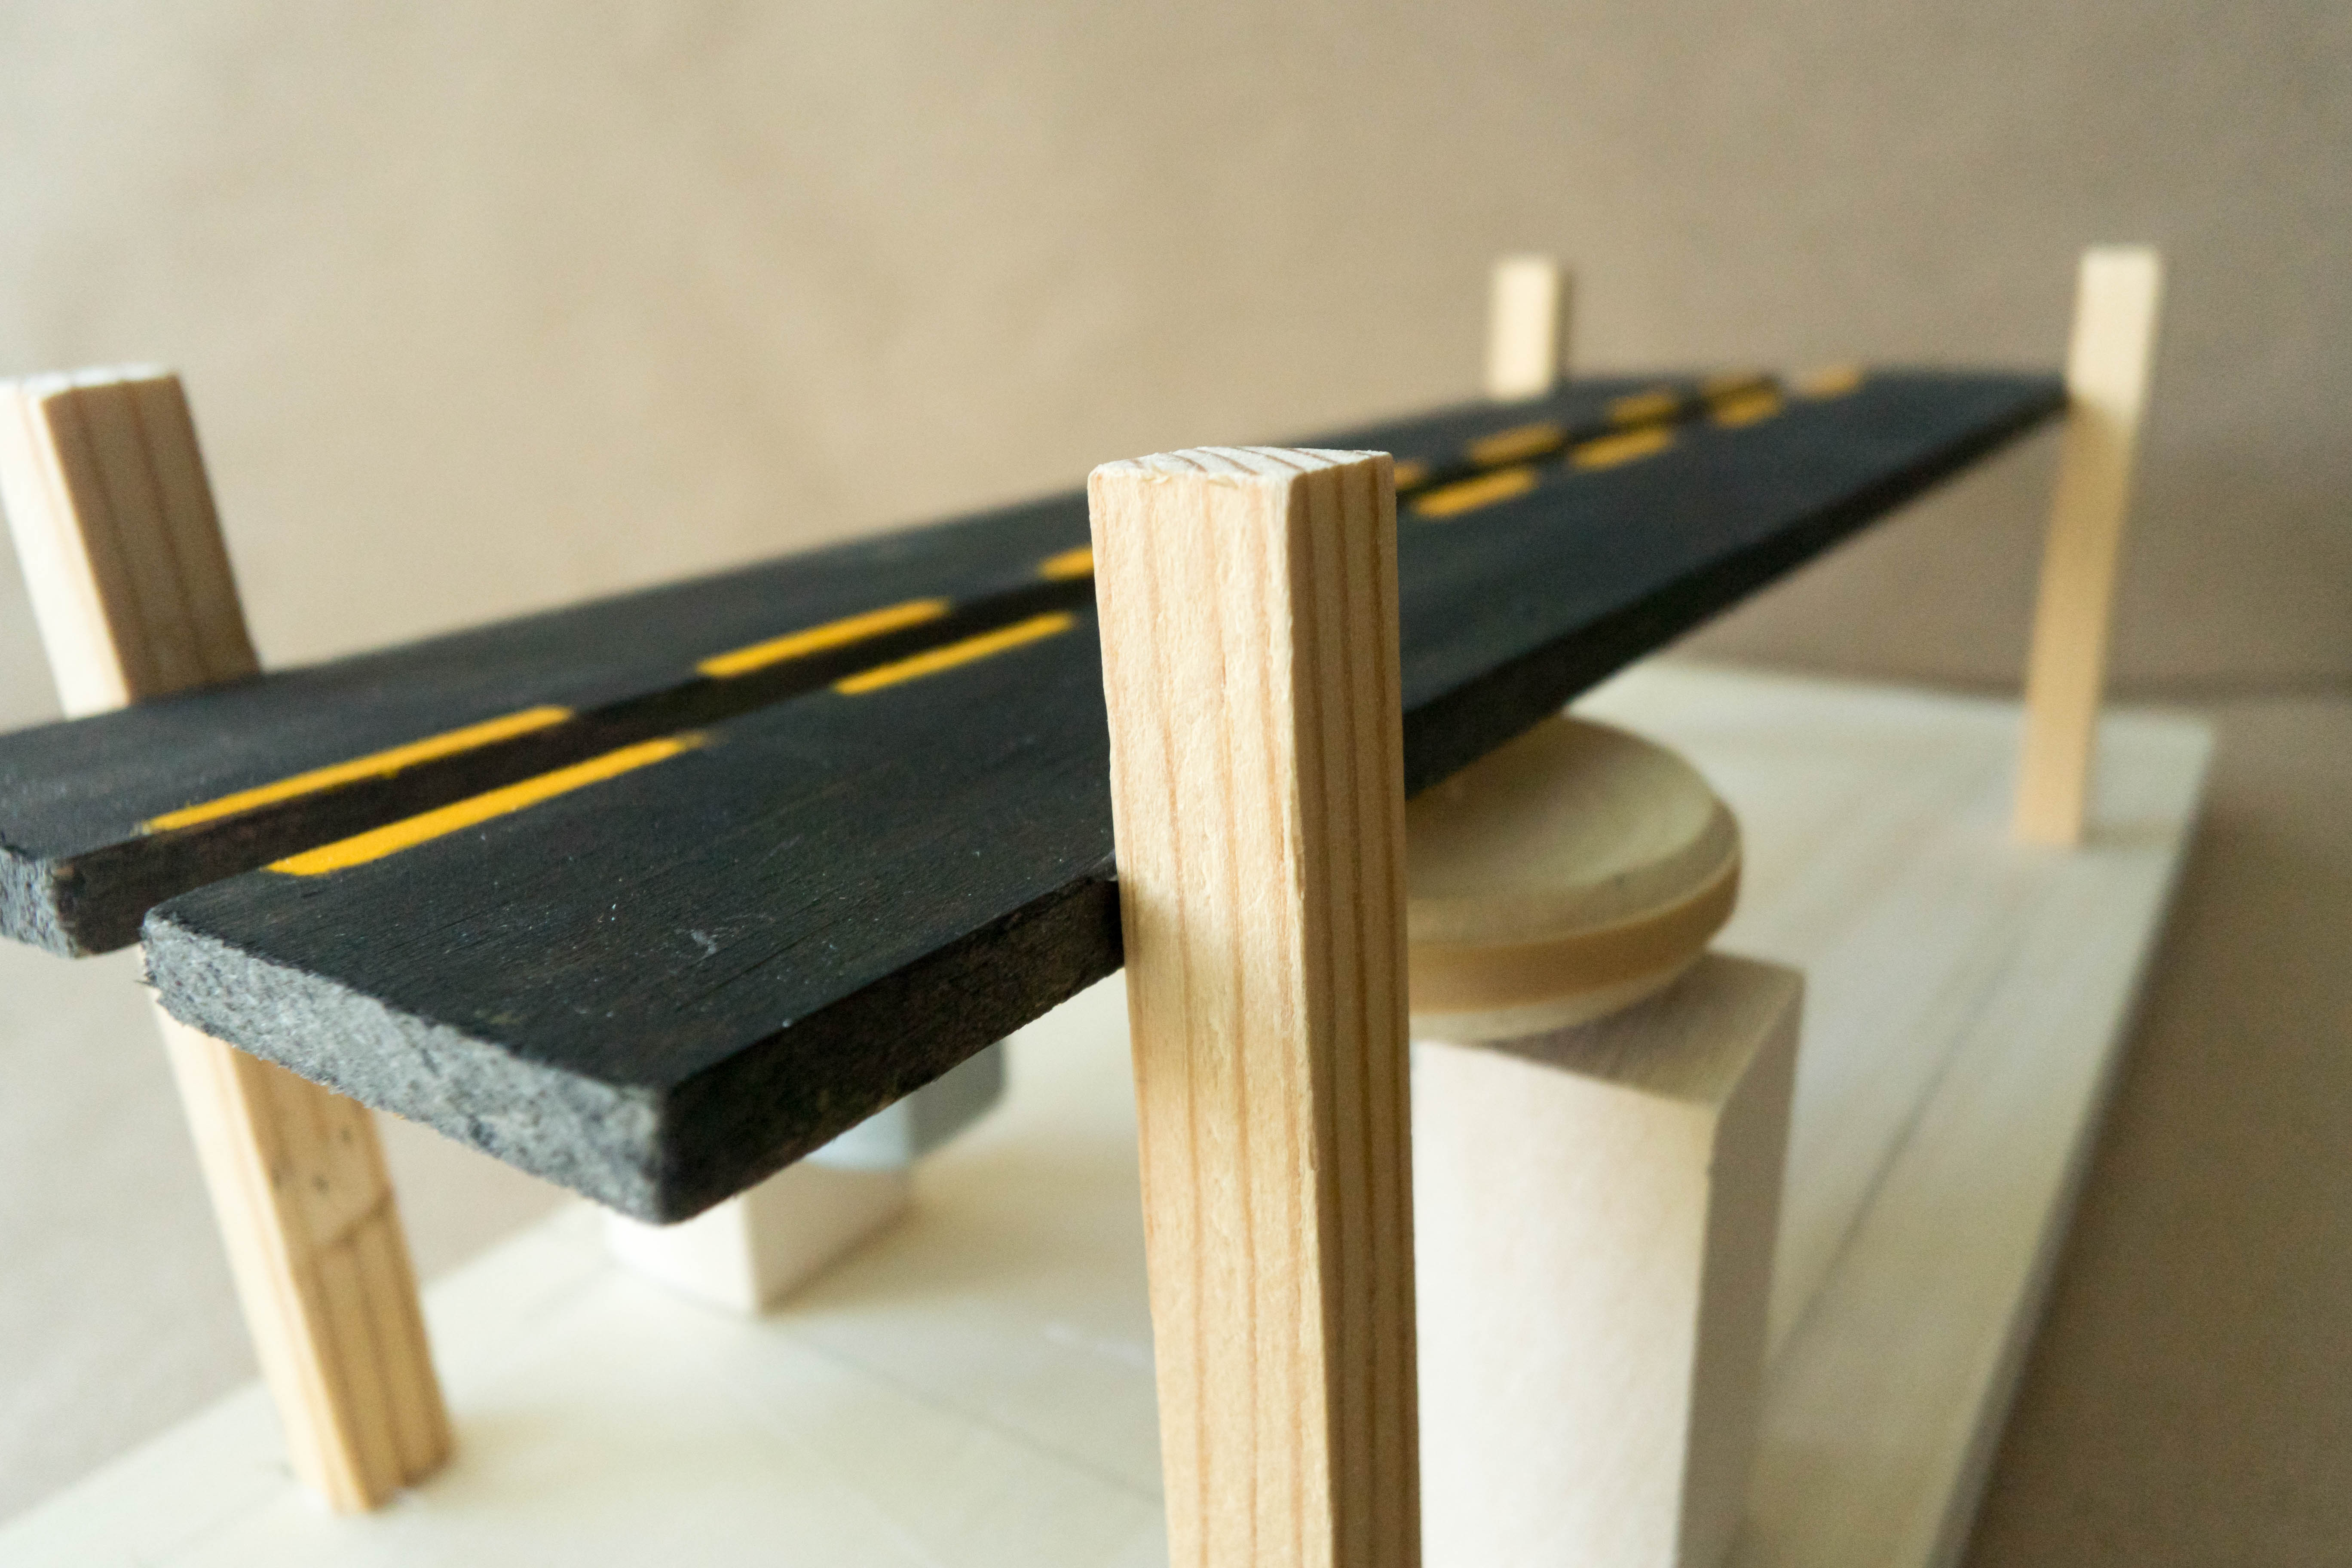
Hot glue the runways to the poles. Note: Make sure to leave about ¼” of space between the wheels and the runway.
Step 16
Connect the free ends of the alligator clips to the motors. Then, test them to make sure that the wheels are spinning in opposite directions.
Tip
If the wheels are not spinning in opposite directions, first check that the alligator clips on a single motor are coming from the same battery pack. If the wheels are still not spinning in opposite directions, switch the position of the alligator clips on the motor.
Step 17
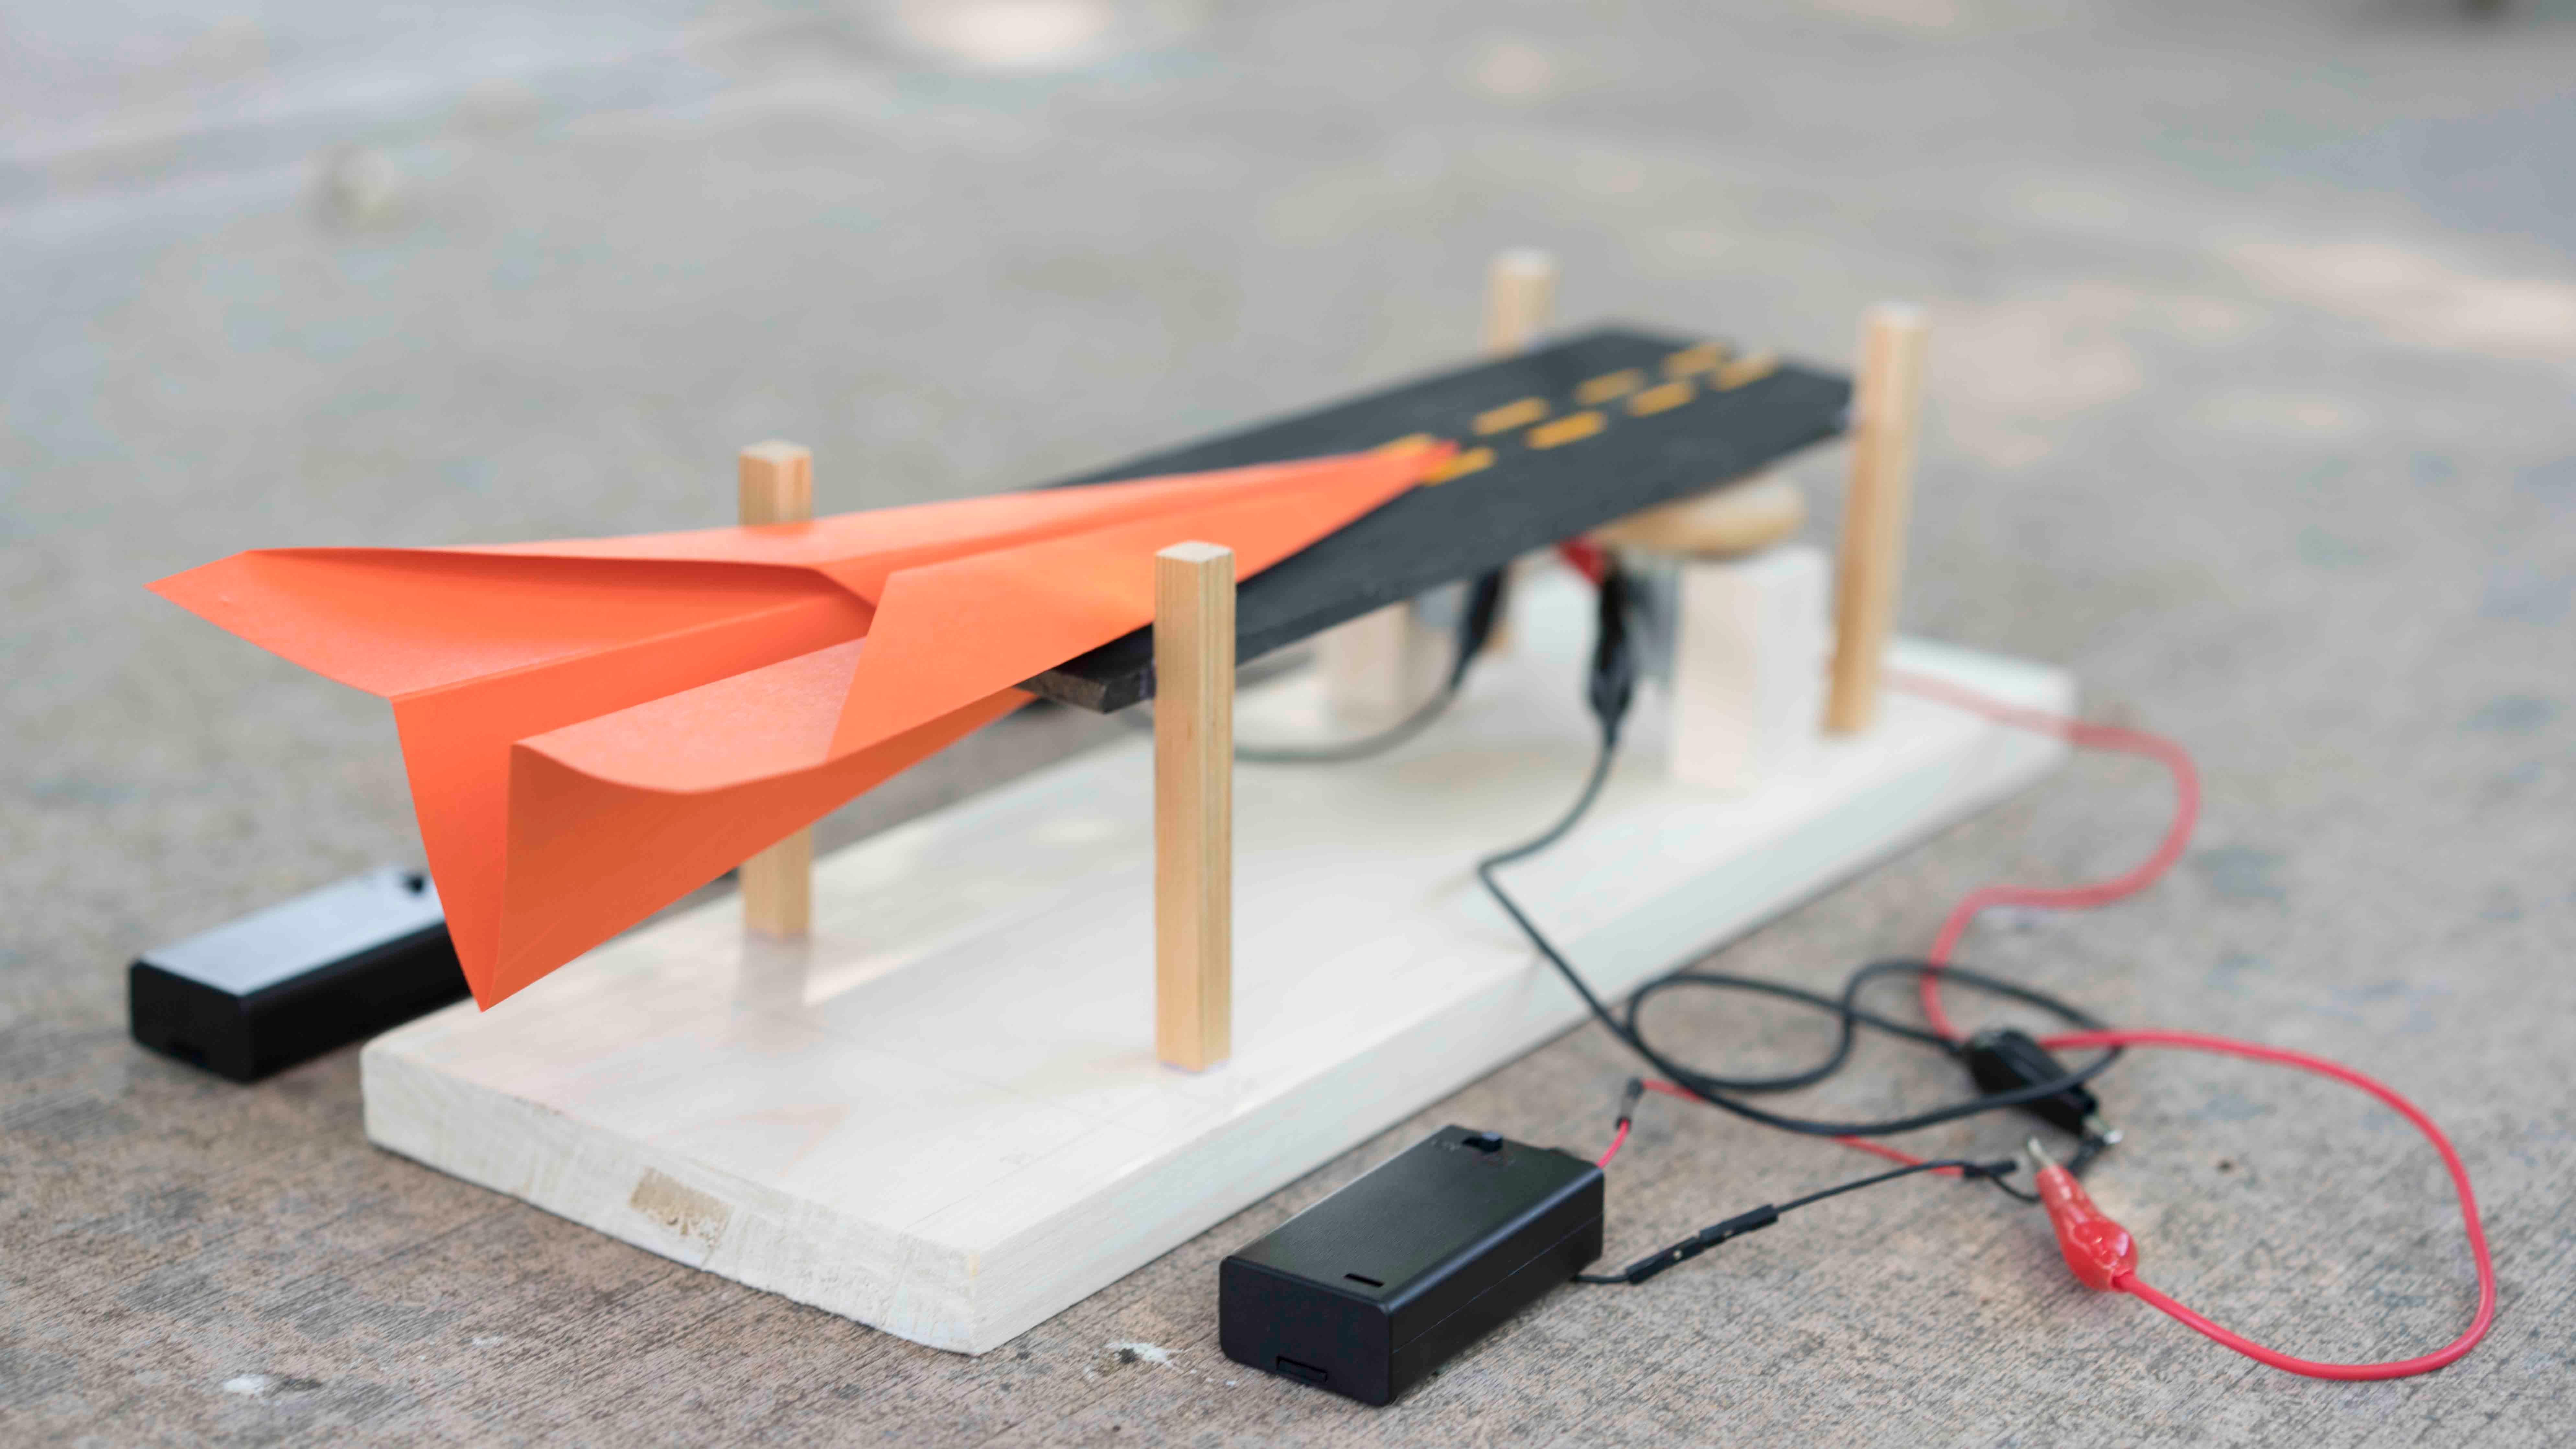
Now you’re ready to launch some paper airplanes! Load a paper airplane into your launcher and watch it fly away. Try angling your launcher by placing some books underneath it and see what happens!
Tip
You may want to have a friend hold down your airplane launcher when it’s on.
Learn more

Paper airplanes work just like regular passenger planes and fighter jets: by redirecting air to keep themselves airborne. As long as a plane is moving quickly, its wings will redirect a lot of air downwards, which generates an equal upwards force (lift). This lift is enough to bear the weight of the plane against the pull of gravity. Your paper airplane launcher is effective because it gives the paper airplanes a lot of speed, and therefore a lot of lift — plenty to keep the planes aloft for lengthy trips around a room (or until they hit something!)


