Step-by-step tutorial
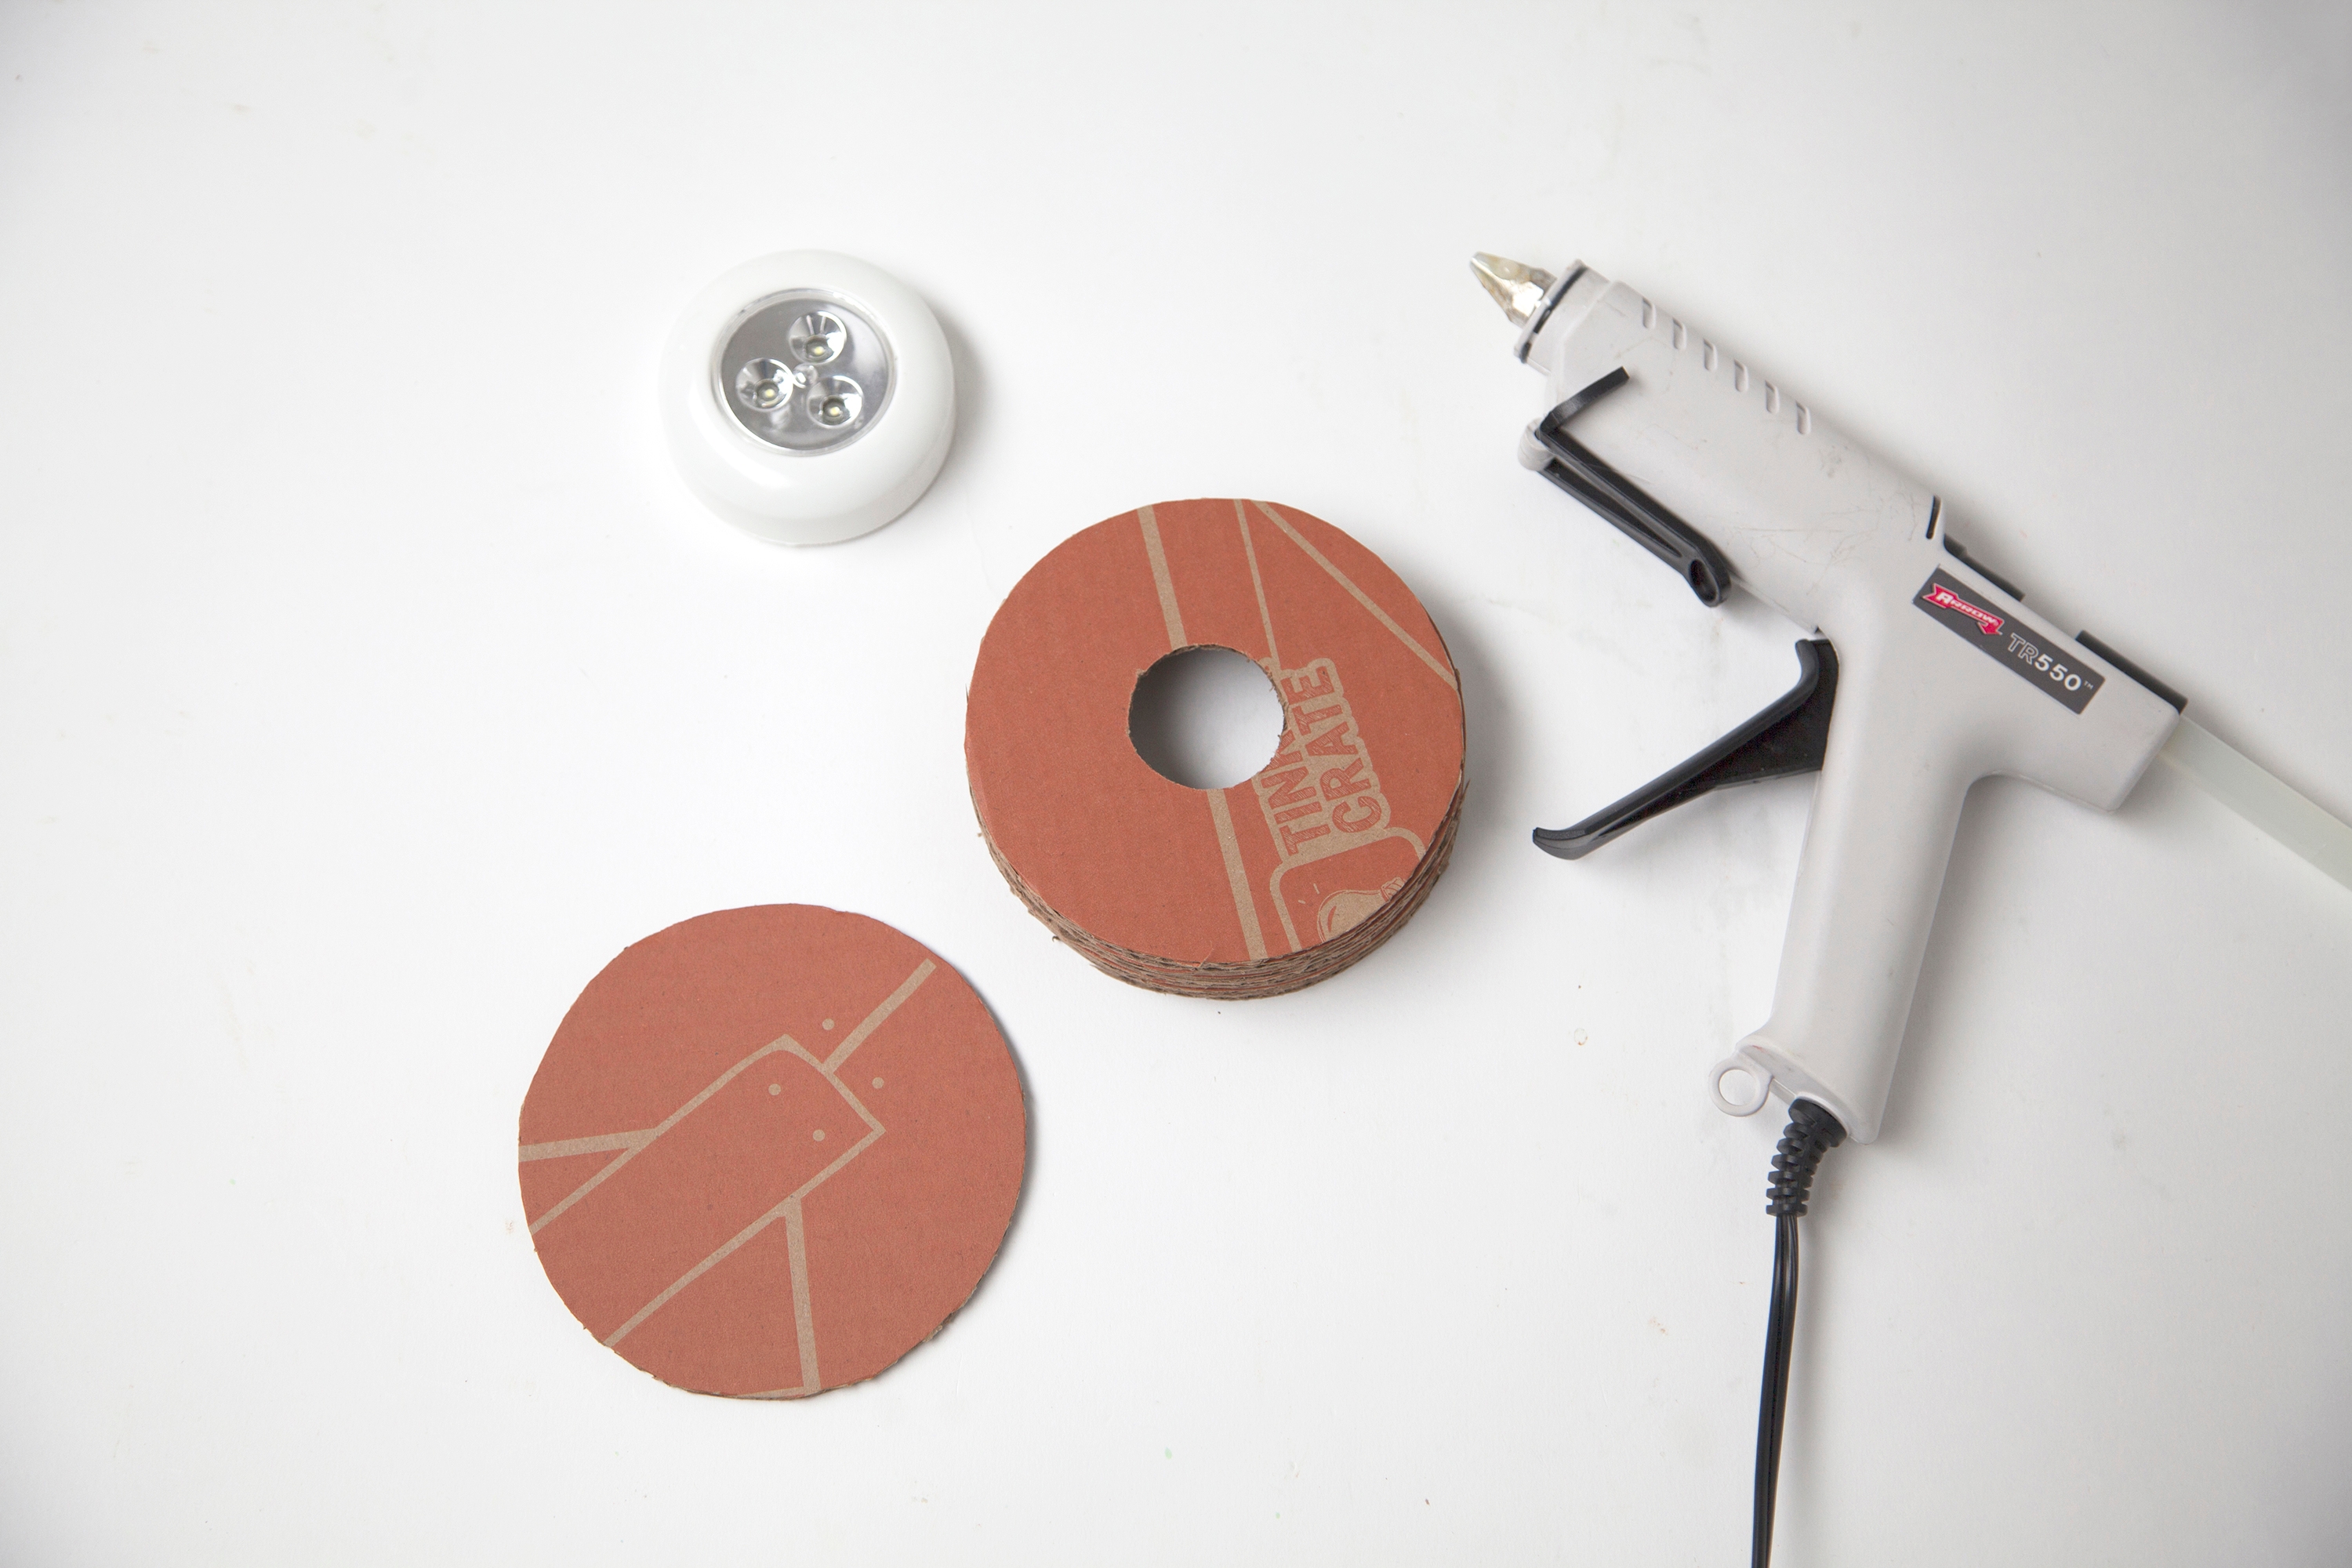
Step 1
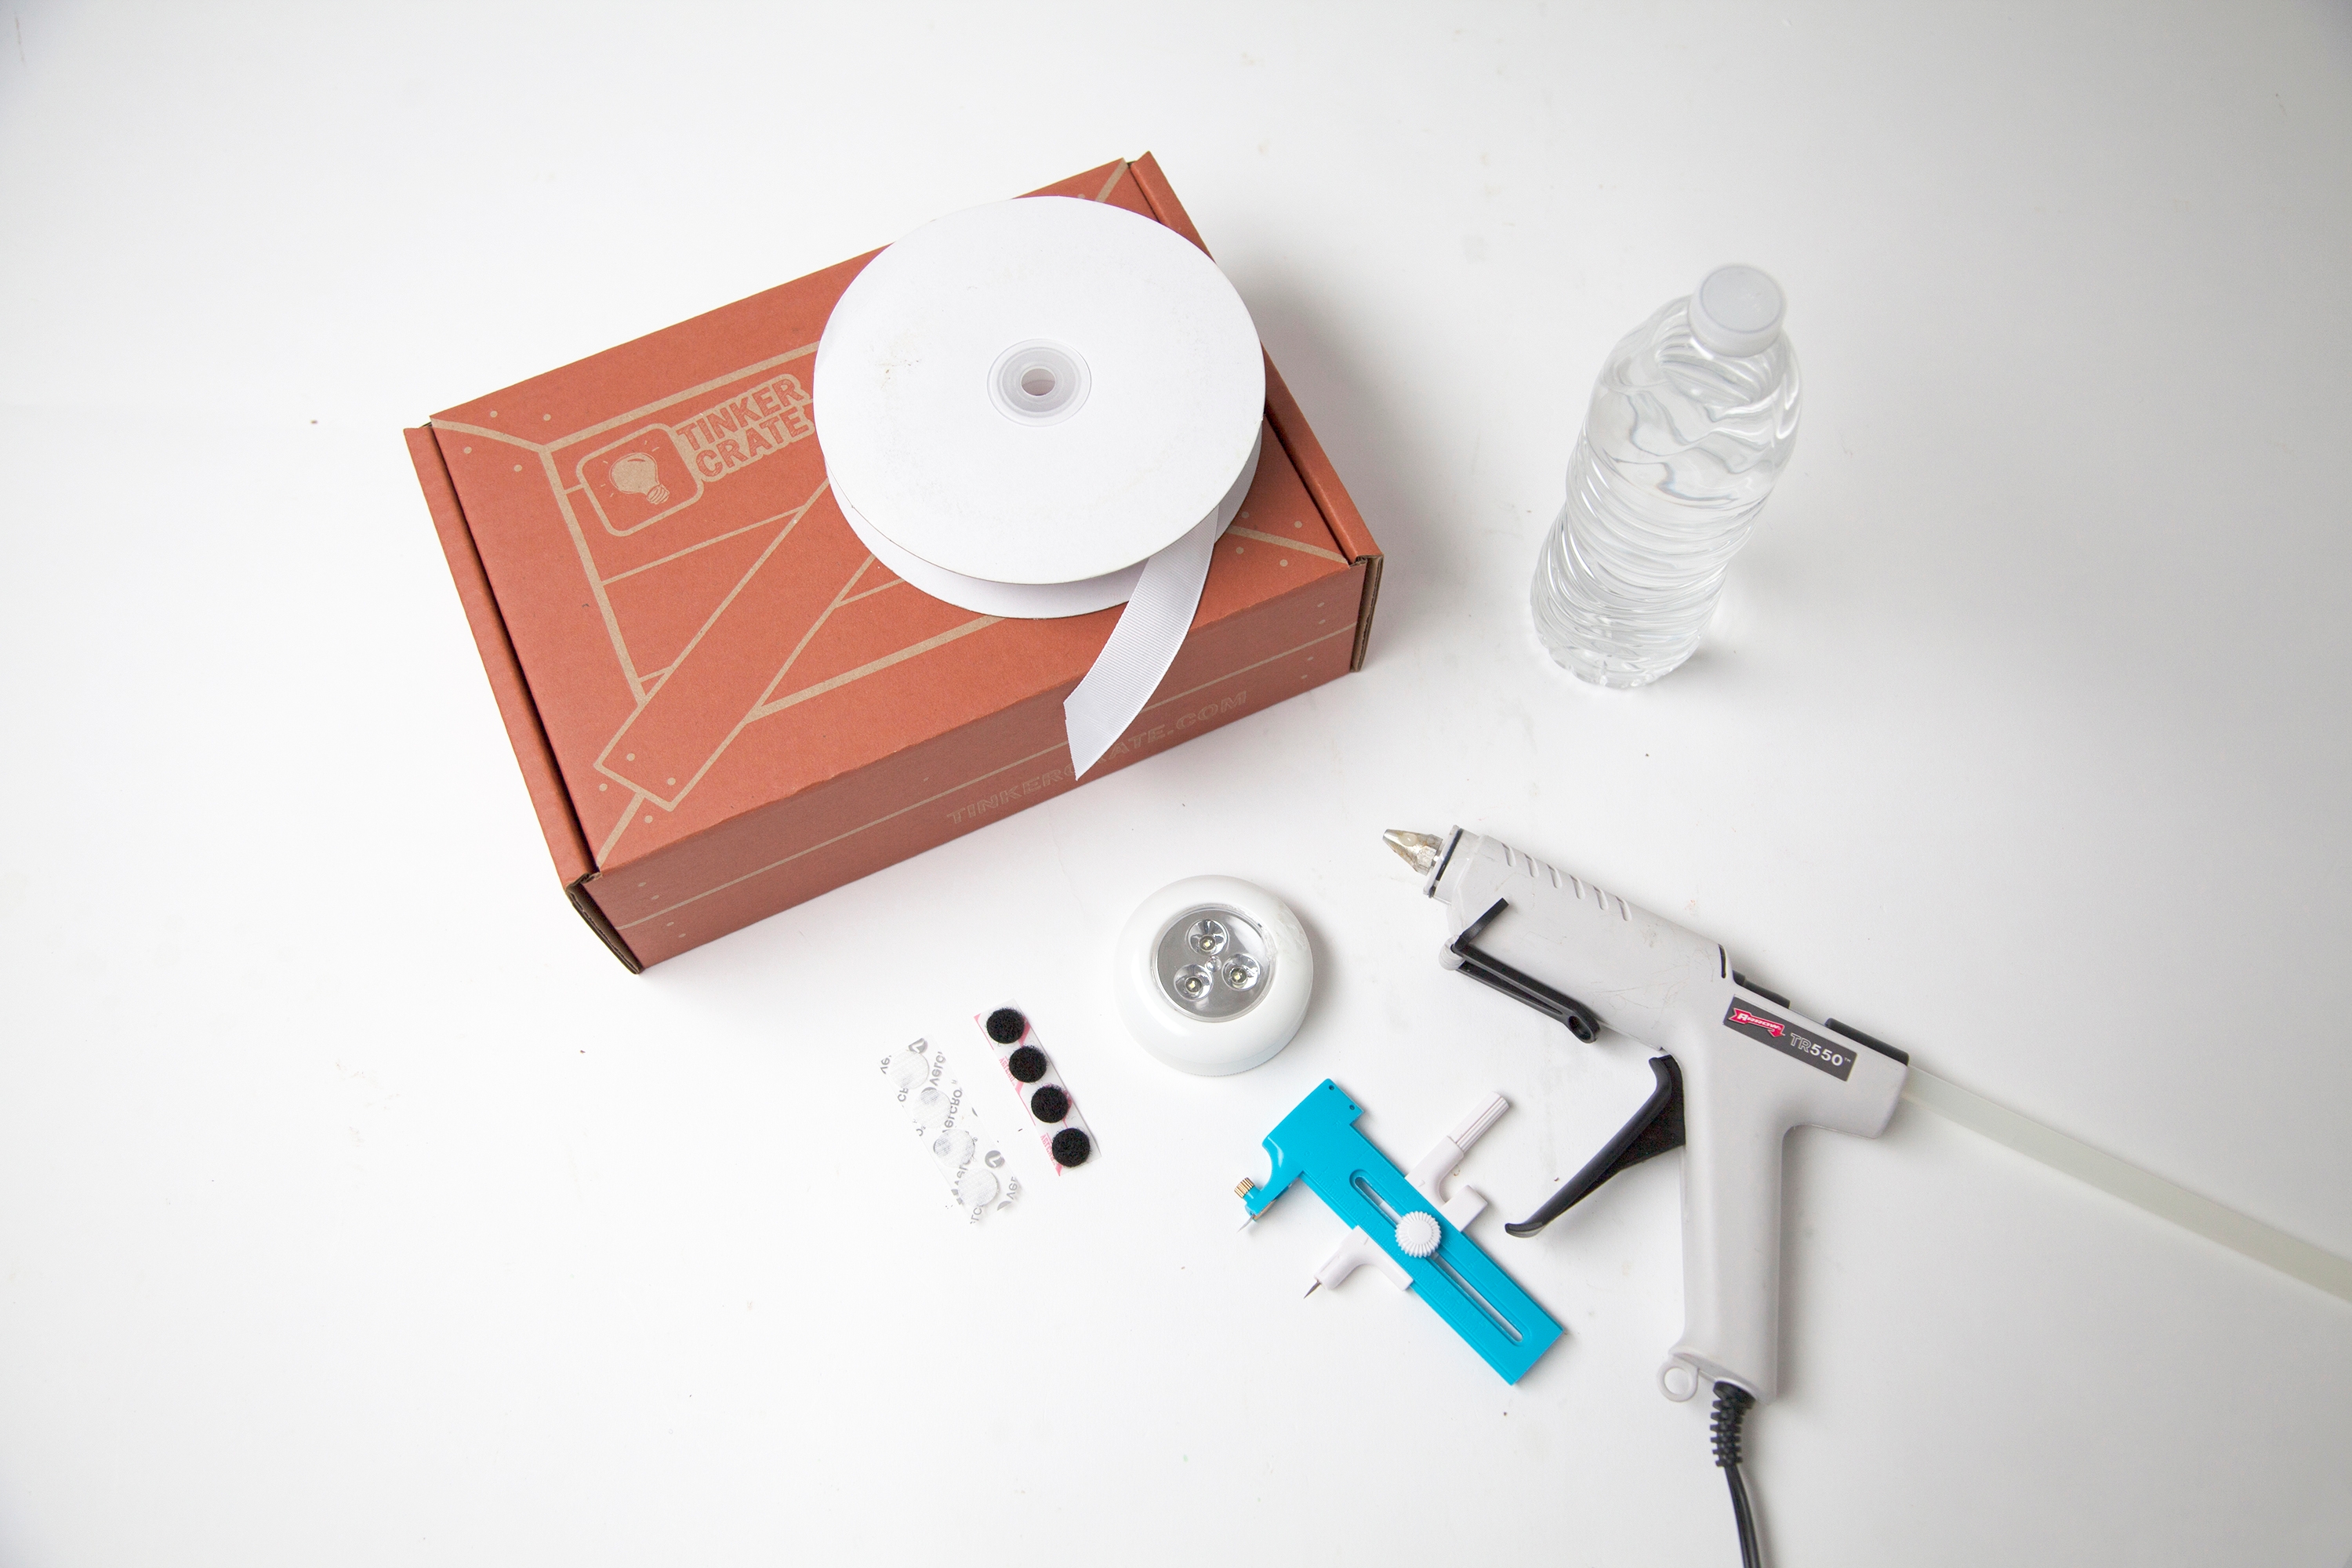
Gather the materials to make your DIY lantern.

Step 2
Cut out at least 8 circles out of your cardboard. You will want them to be larger in diameter than both your water bottle and tap light.
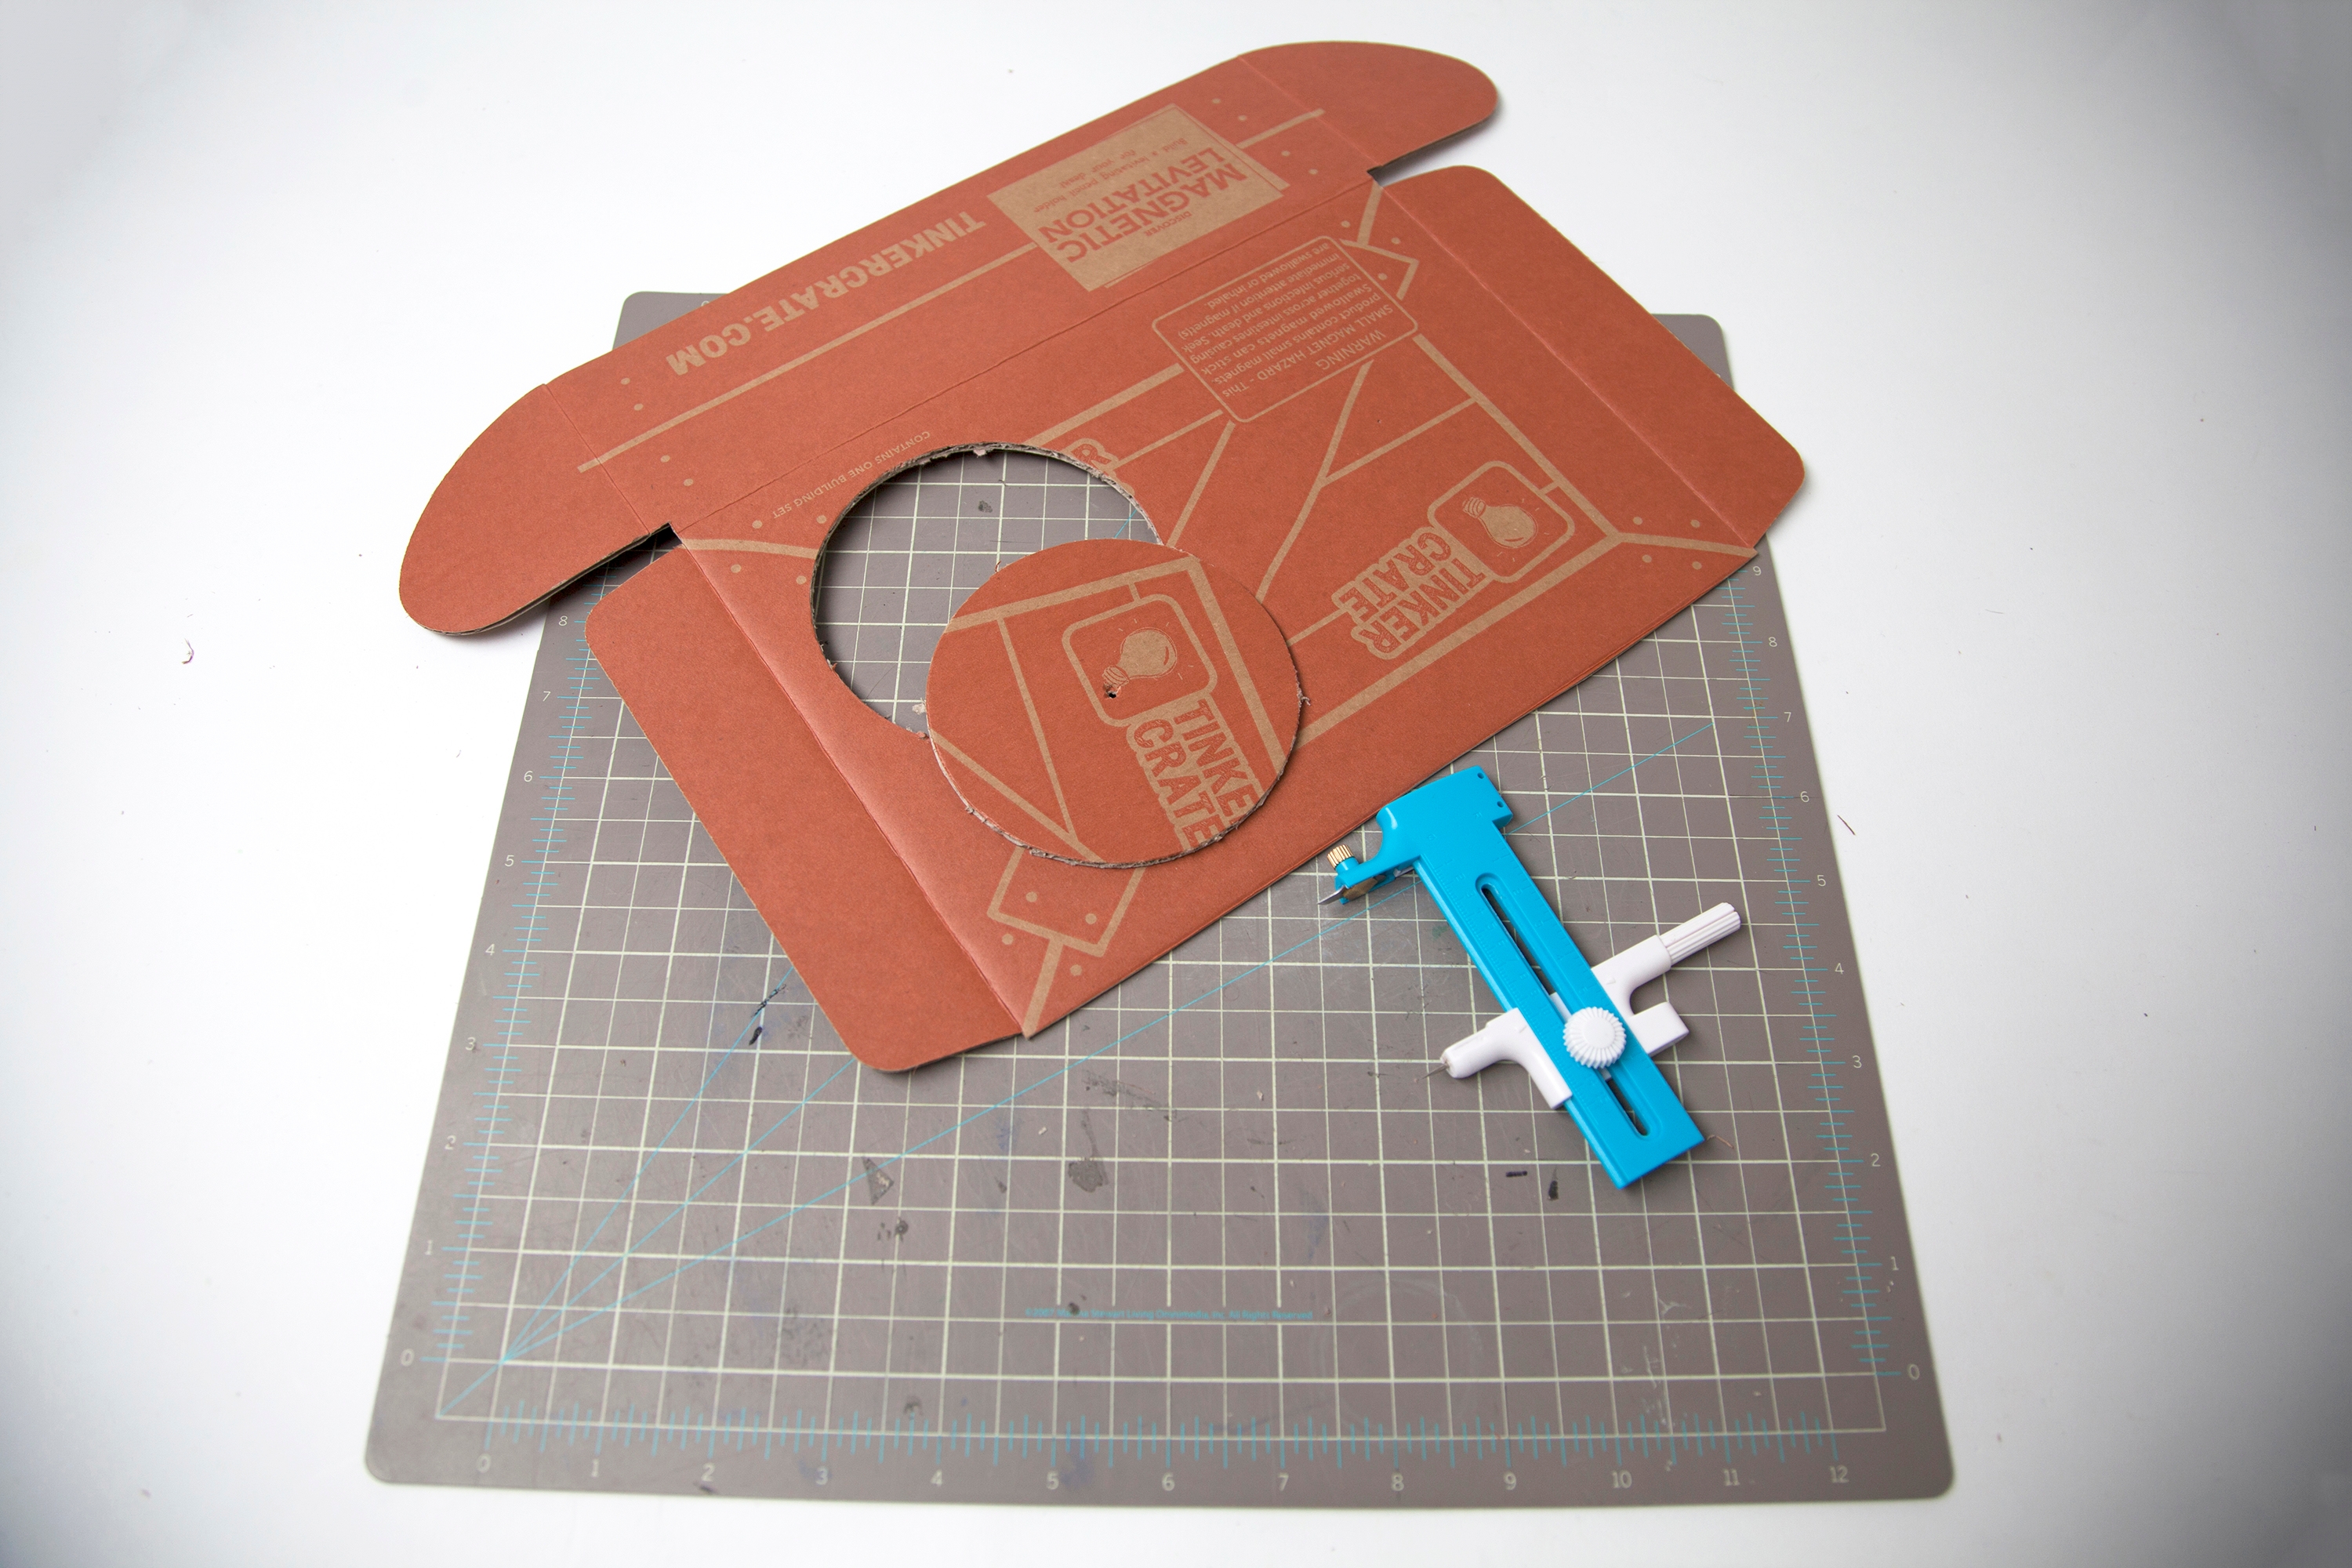
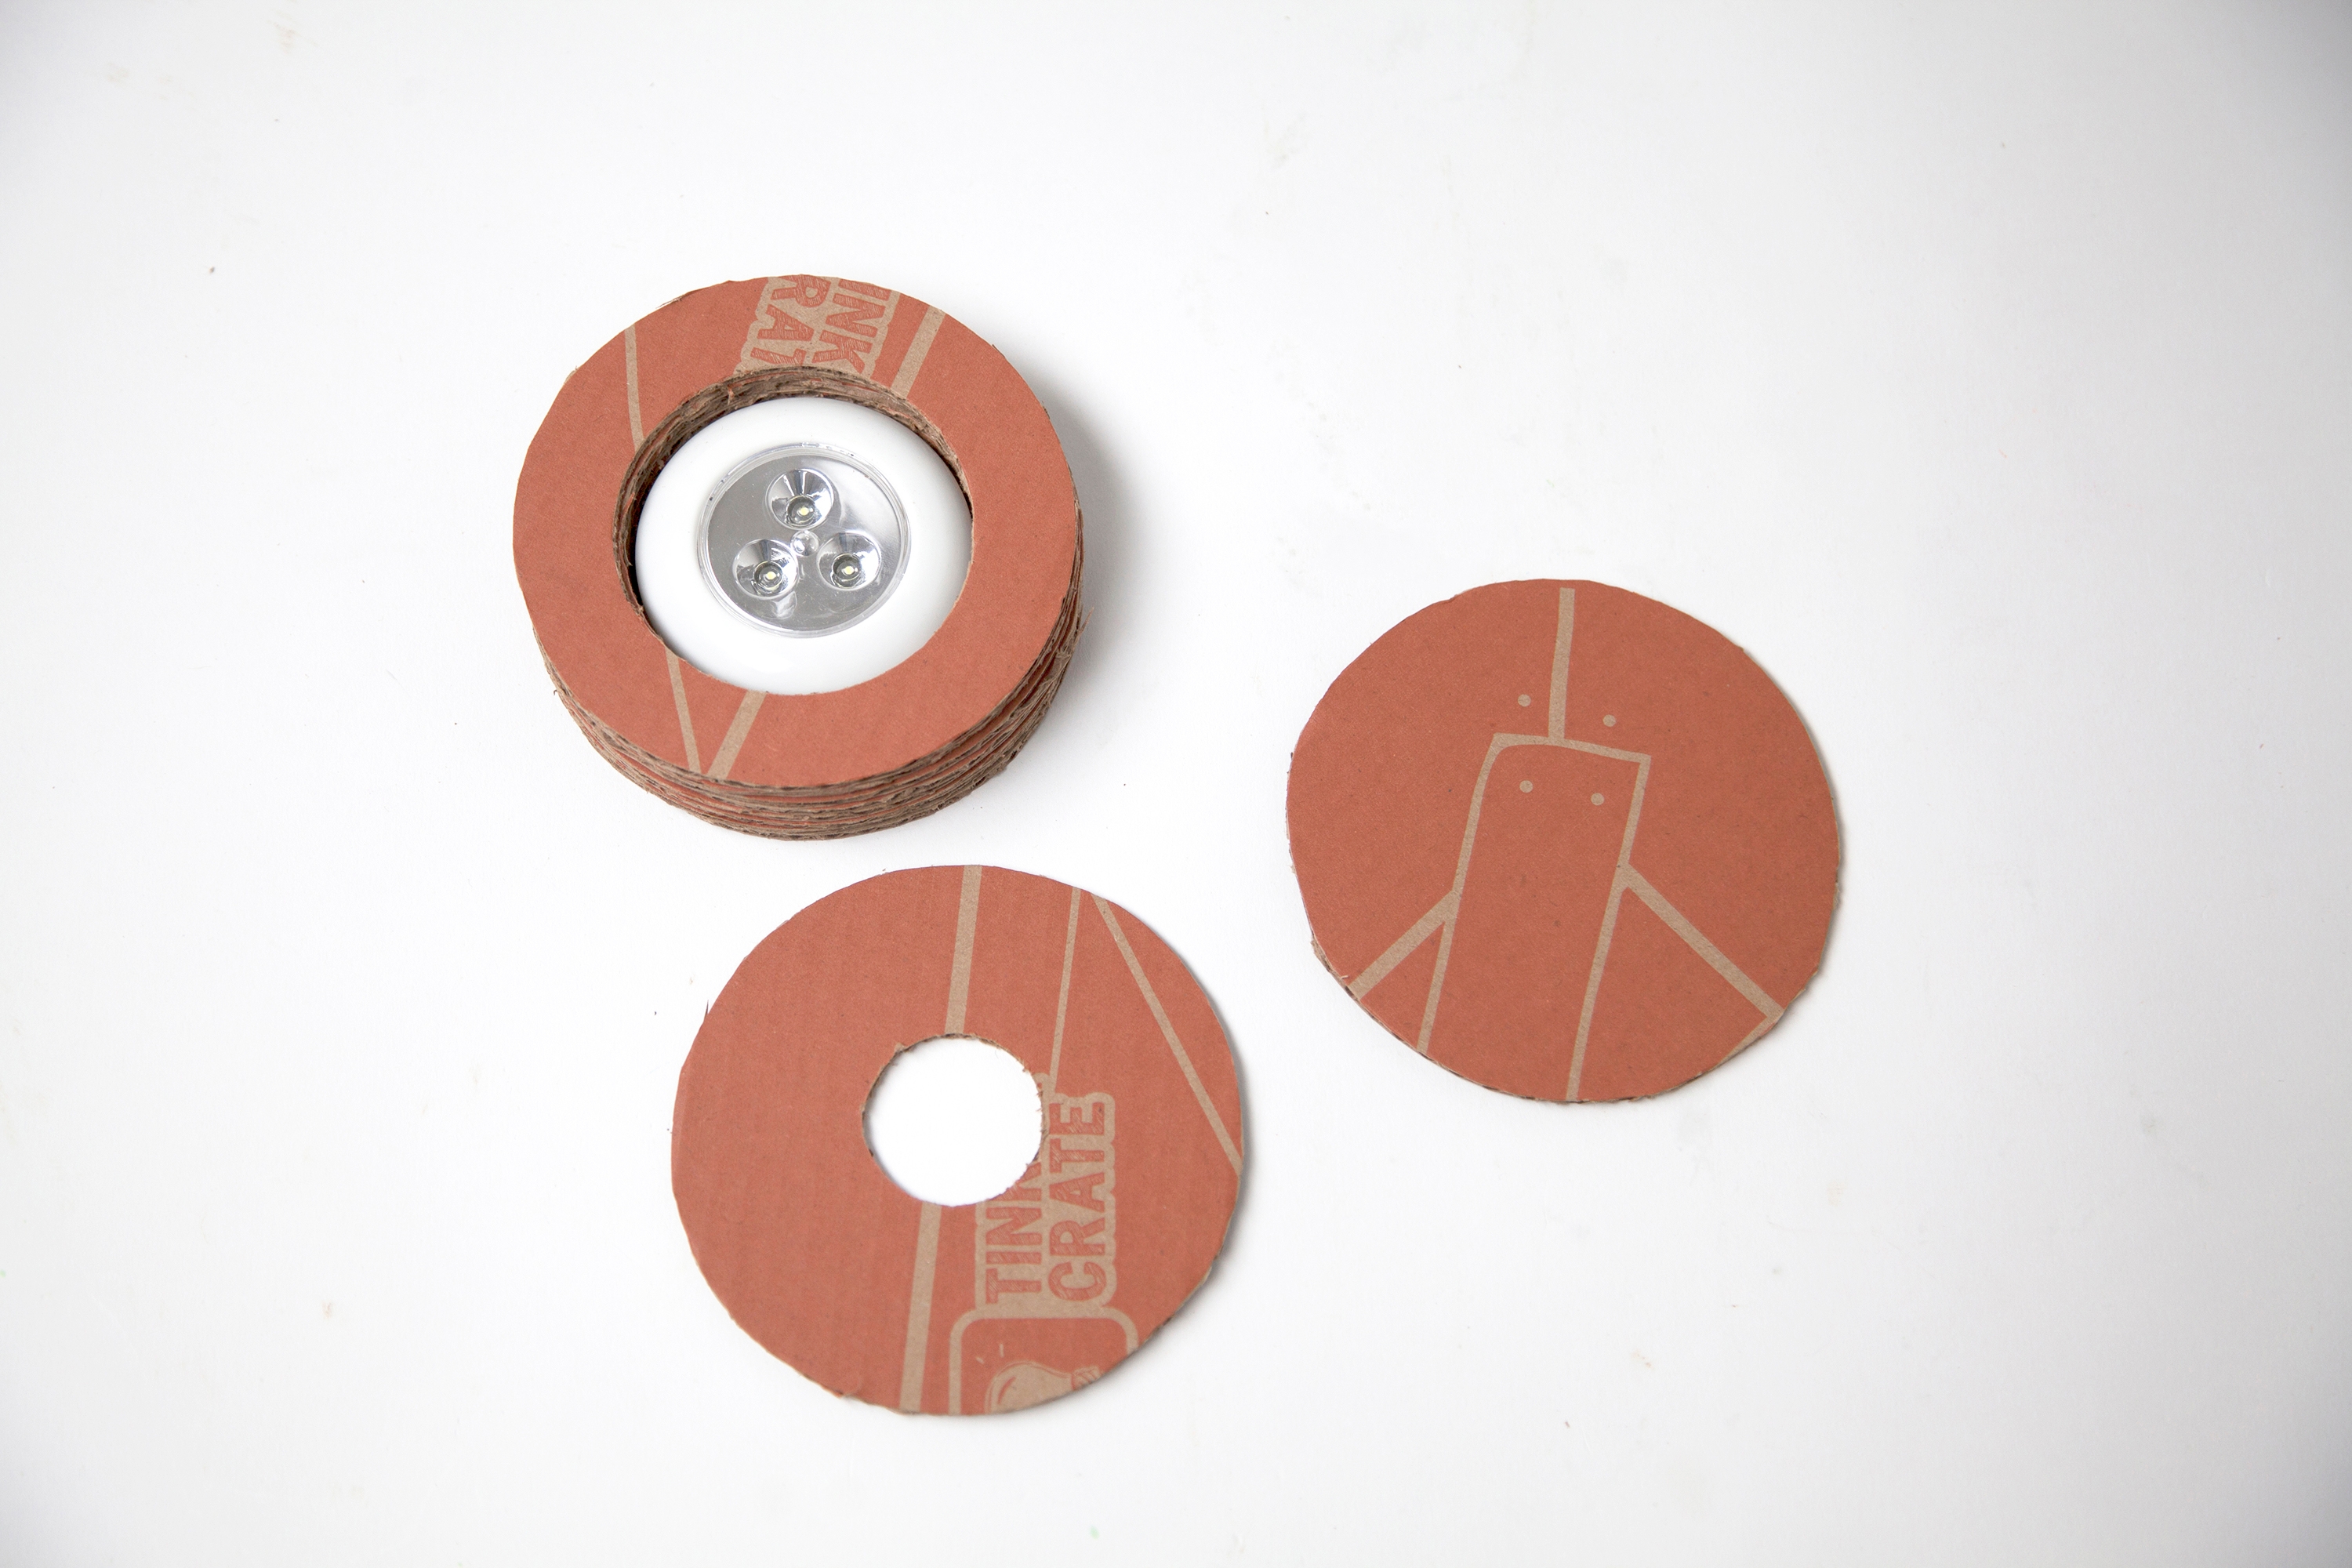
Step 3
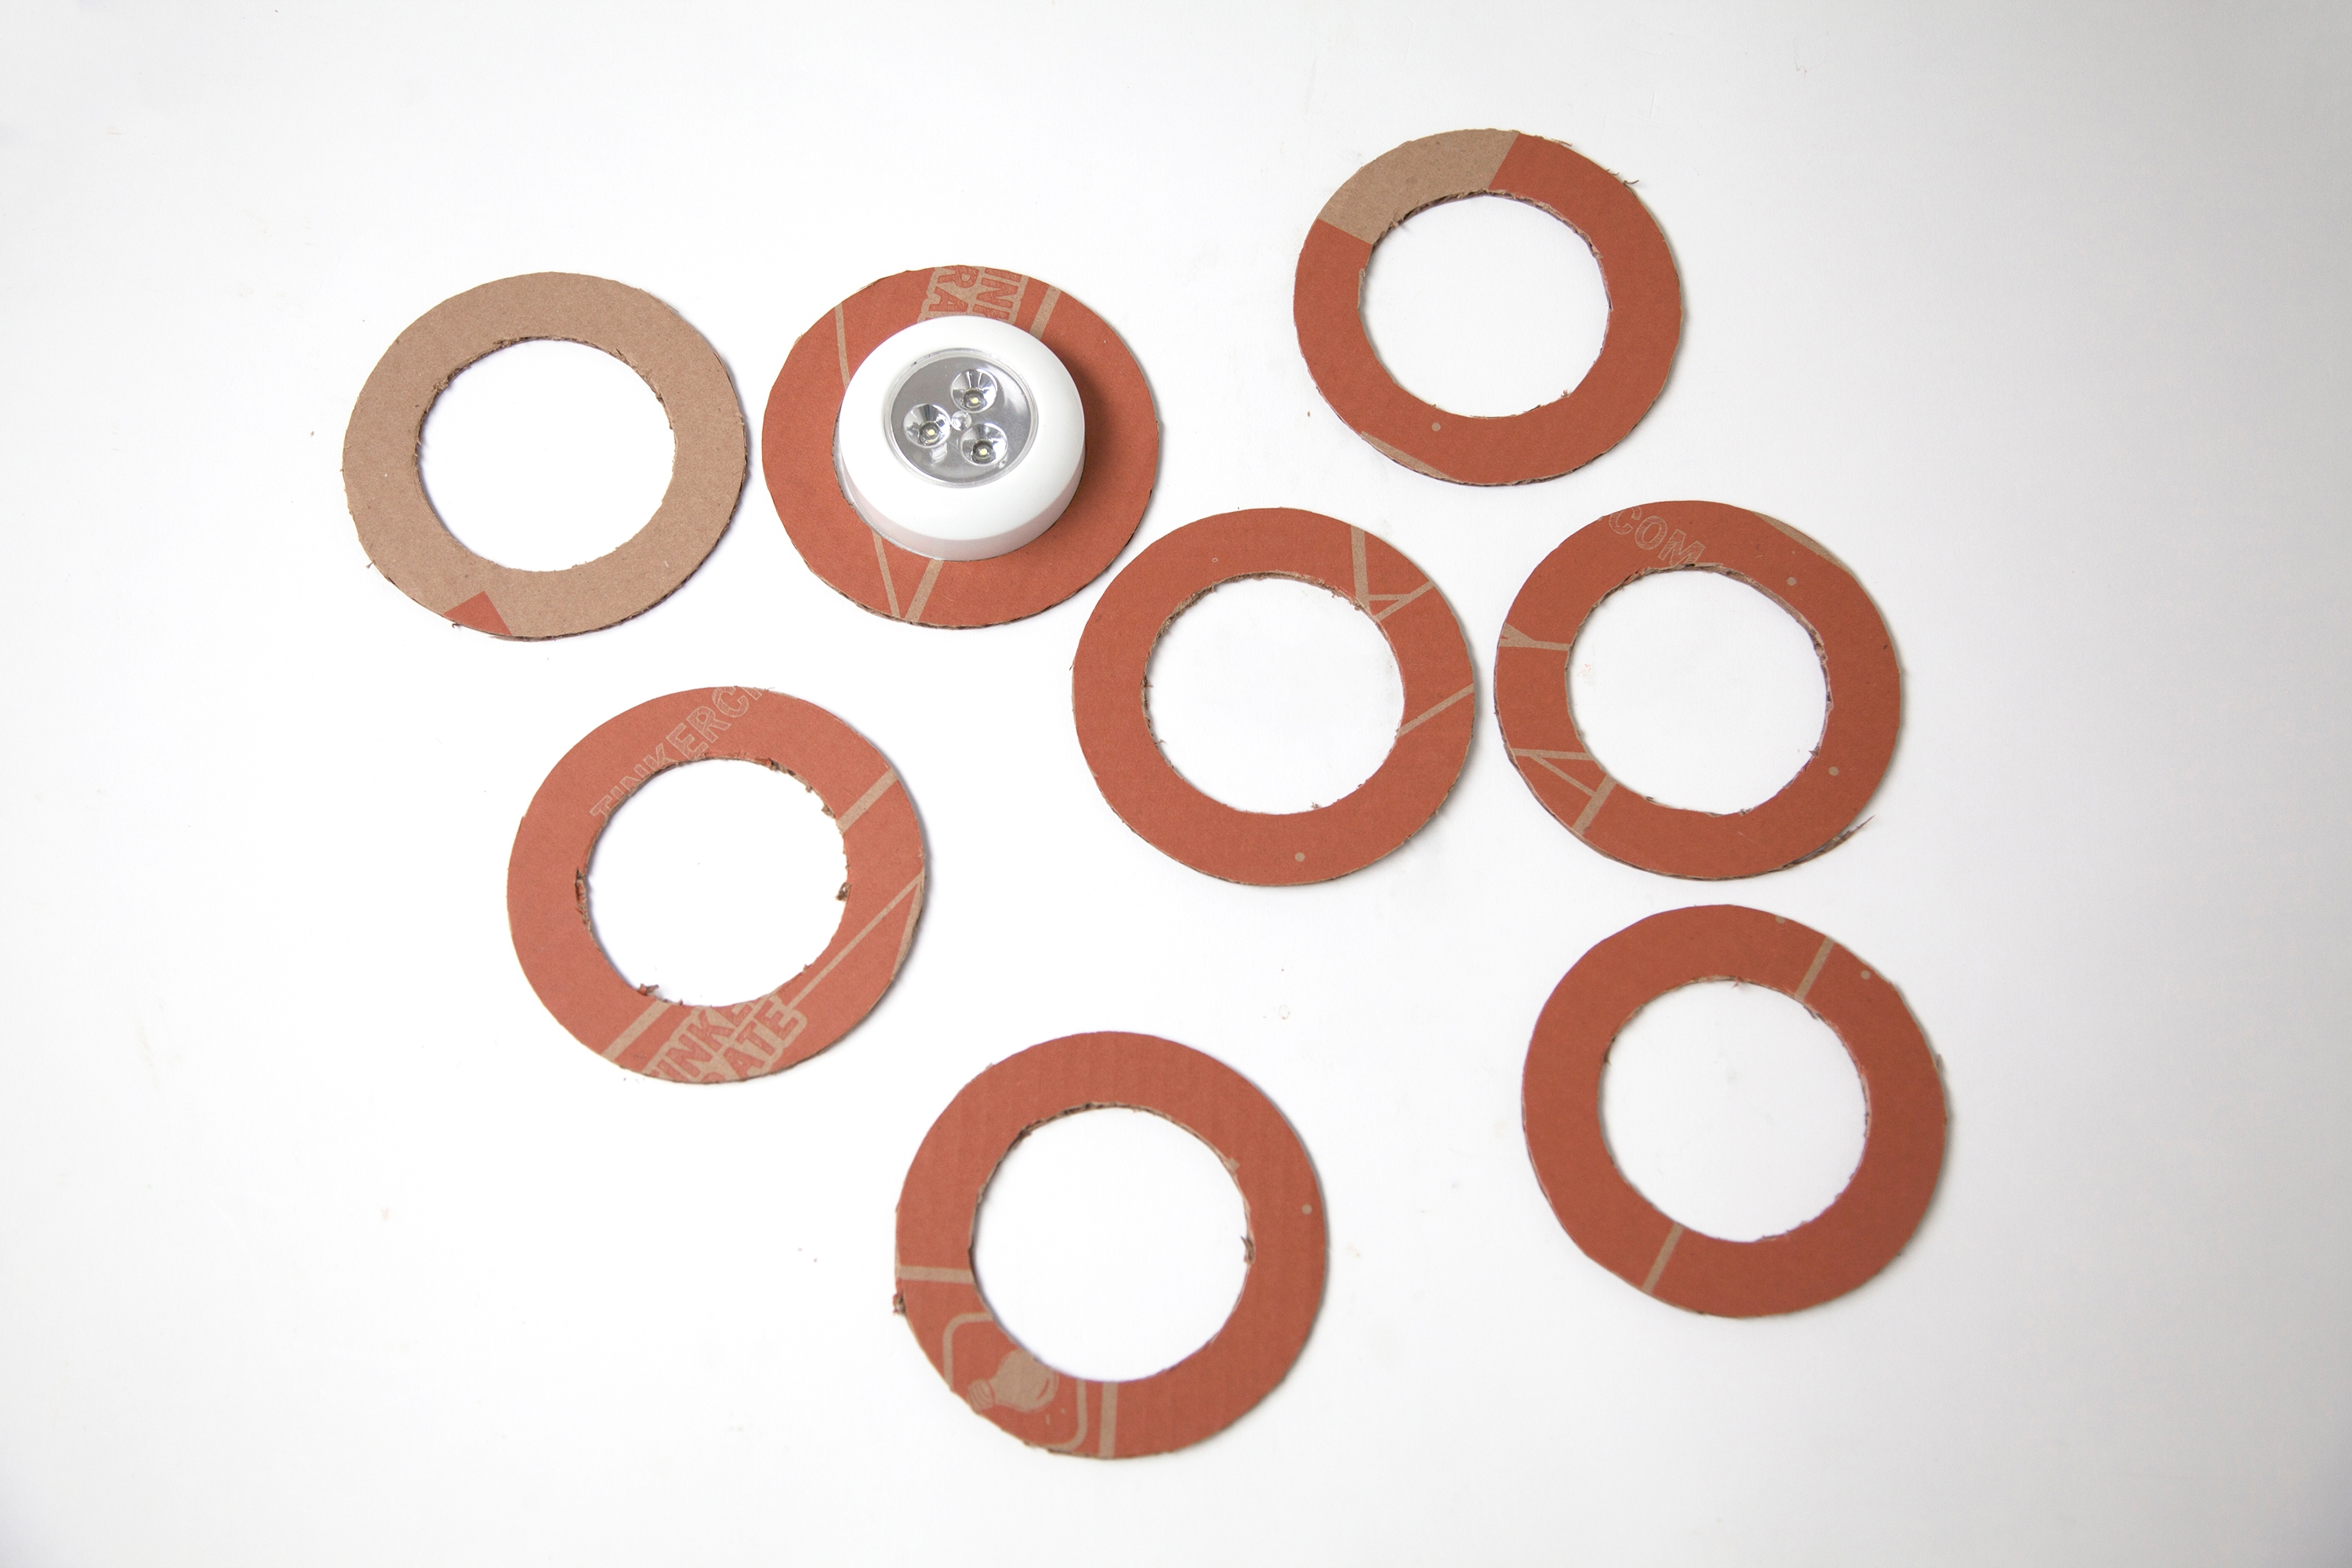
Cut smaller circles out of the center of the larger ones turning them into rings. They should be just slightly larger than the diameter of your tap light so that it fits loosely in the center.

Step 4
Keep cutting out the circles until you have a stack that is taller than your tap light.
Step 5
Cut two more circles of the same size. Cut a hole smaller than the diameter of the water bottle into the center of one of them. Don't cut a hole in the other one.
Step 6
Glue together all of the cardboard rings you first cut. Then, glue the one with the smaller hole on top. Leave the circle without a hole detached for now.
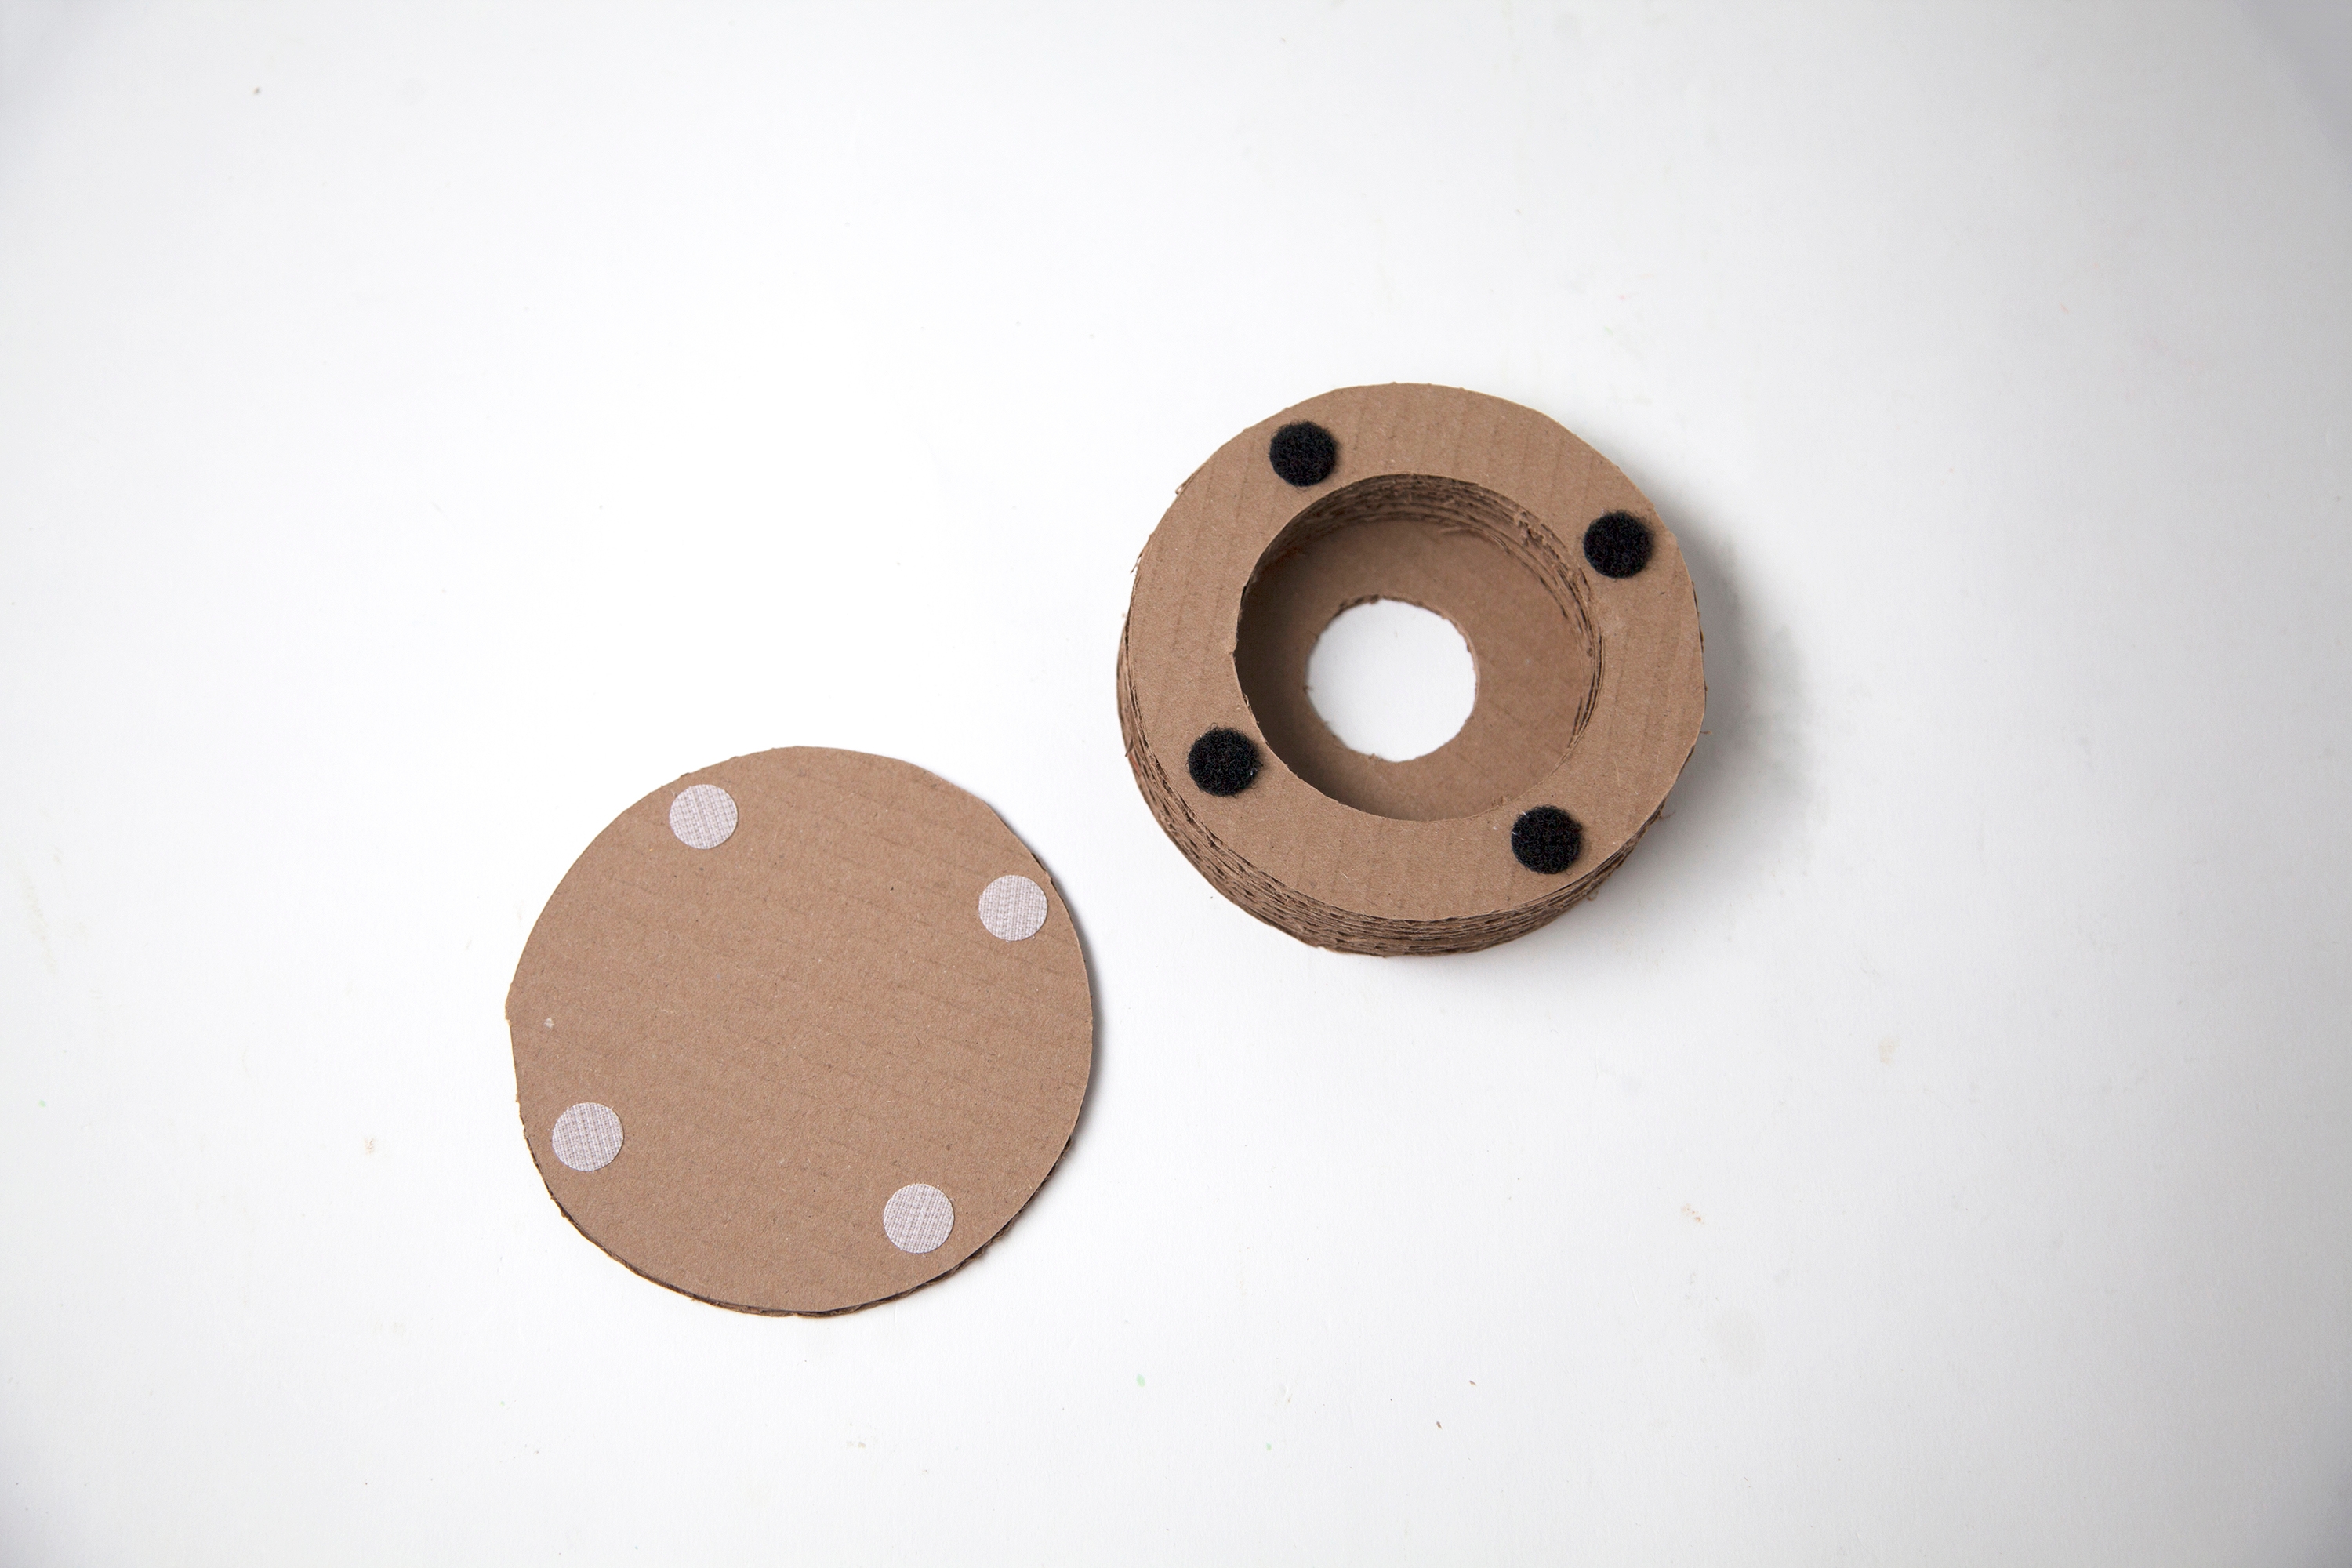
Step 7
Flip over your stack of rings and attach hook and loop fastener dots to the bottom. Attach the opposite hook and loop fastener dots to the circle without a hole.
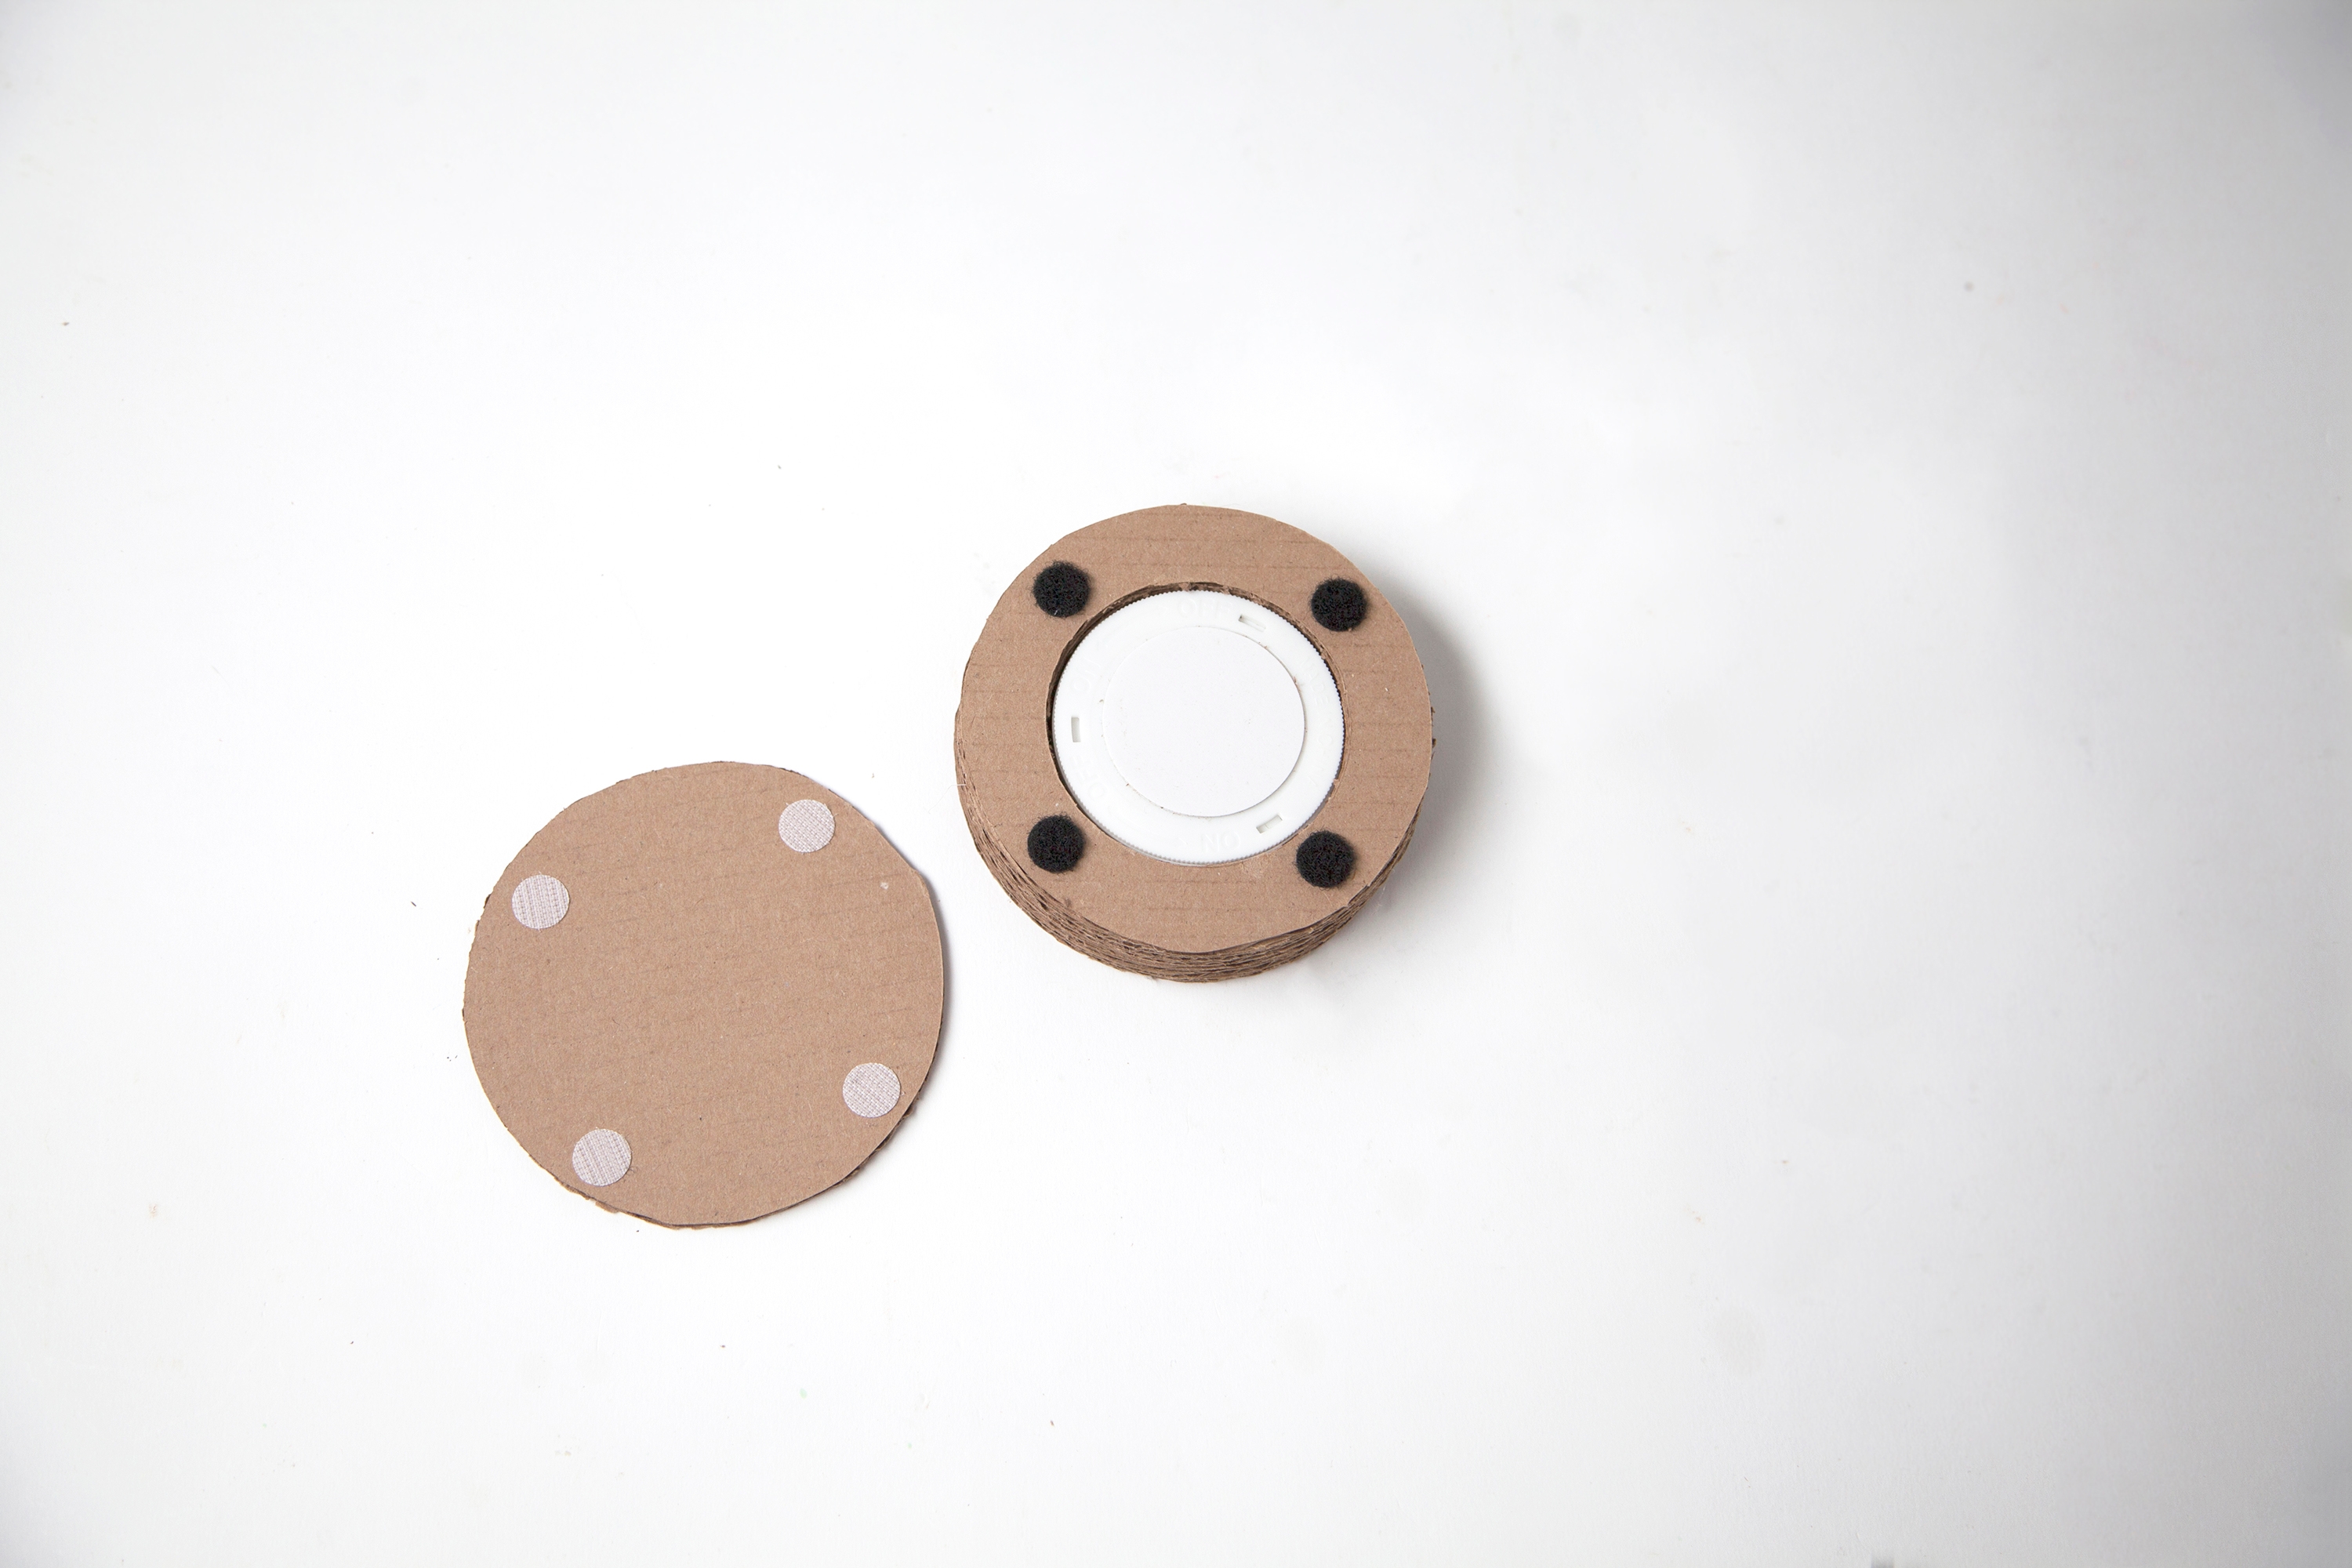
Step 8
Insert your tap light face down into the stack of rings. The bottom cover is removable using the hook and loop fasteners, allowing the light to be turned on and off.
Step 9
Glue the water bottle to the top of your cardboard housing. The water bottle's base should cover the hole that the light shines through.
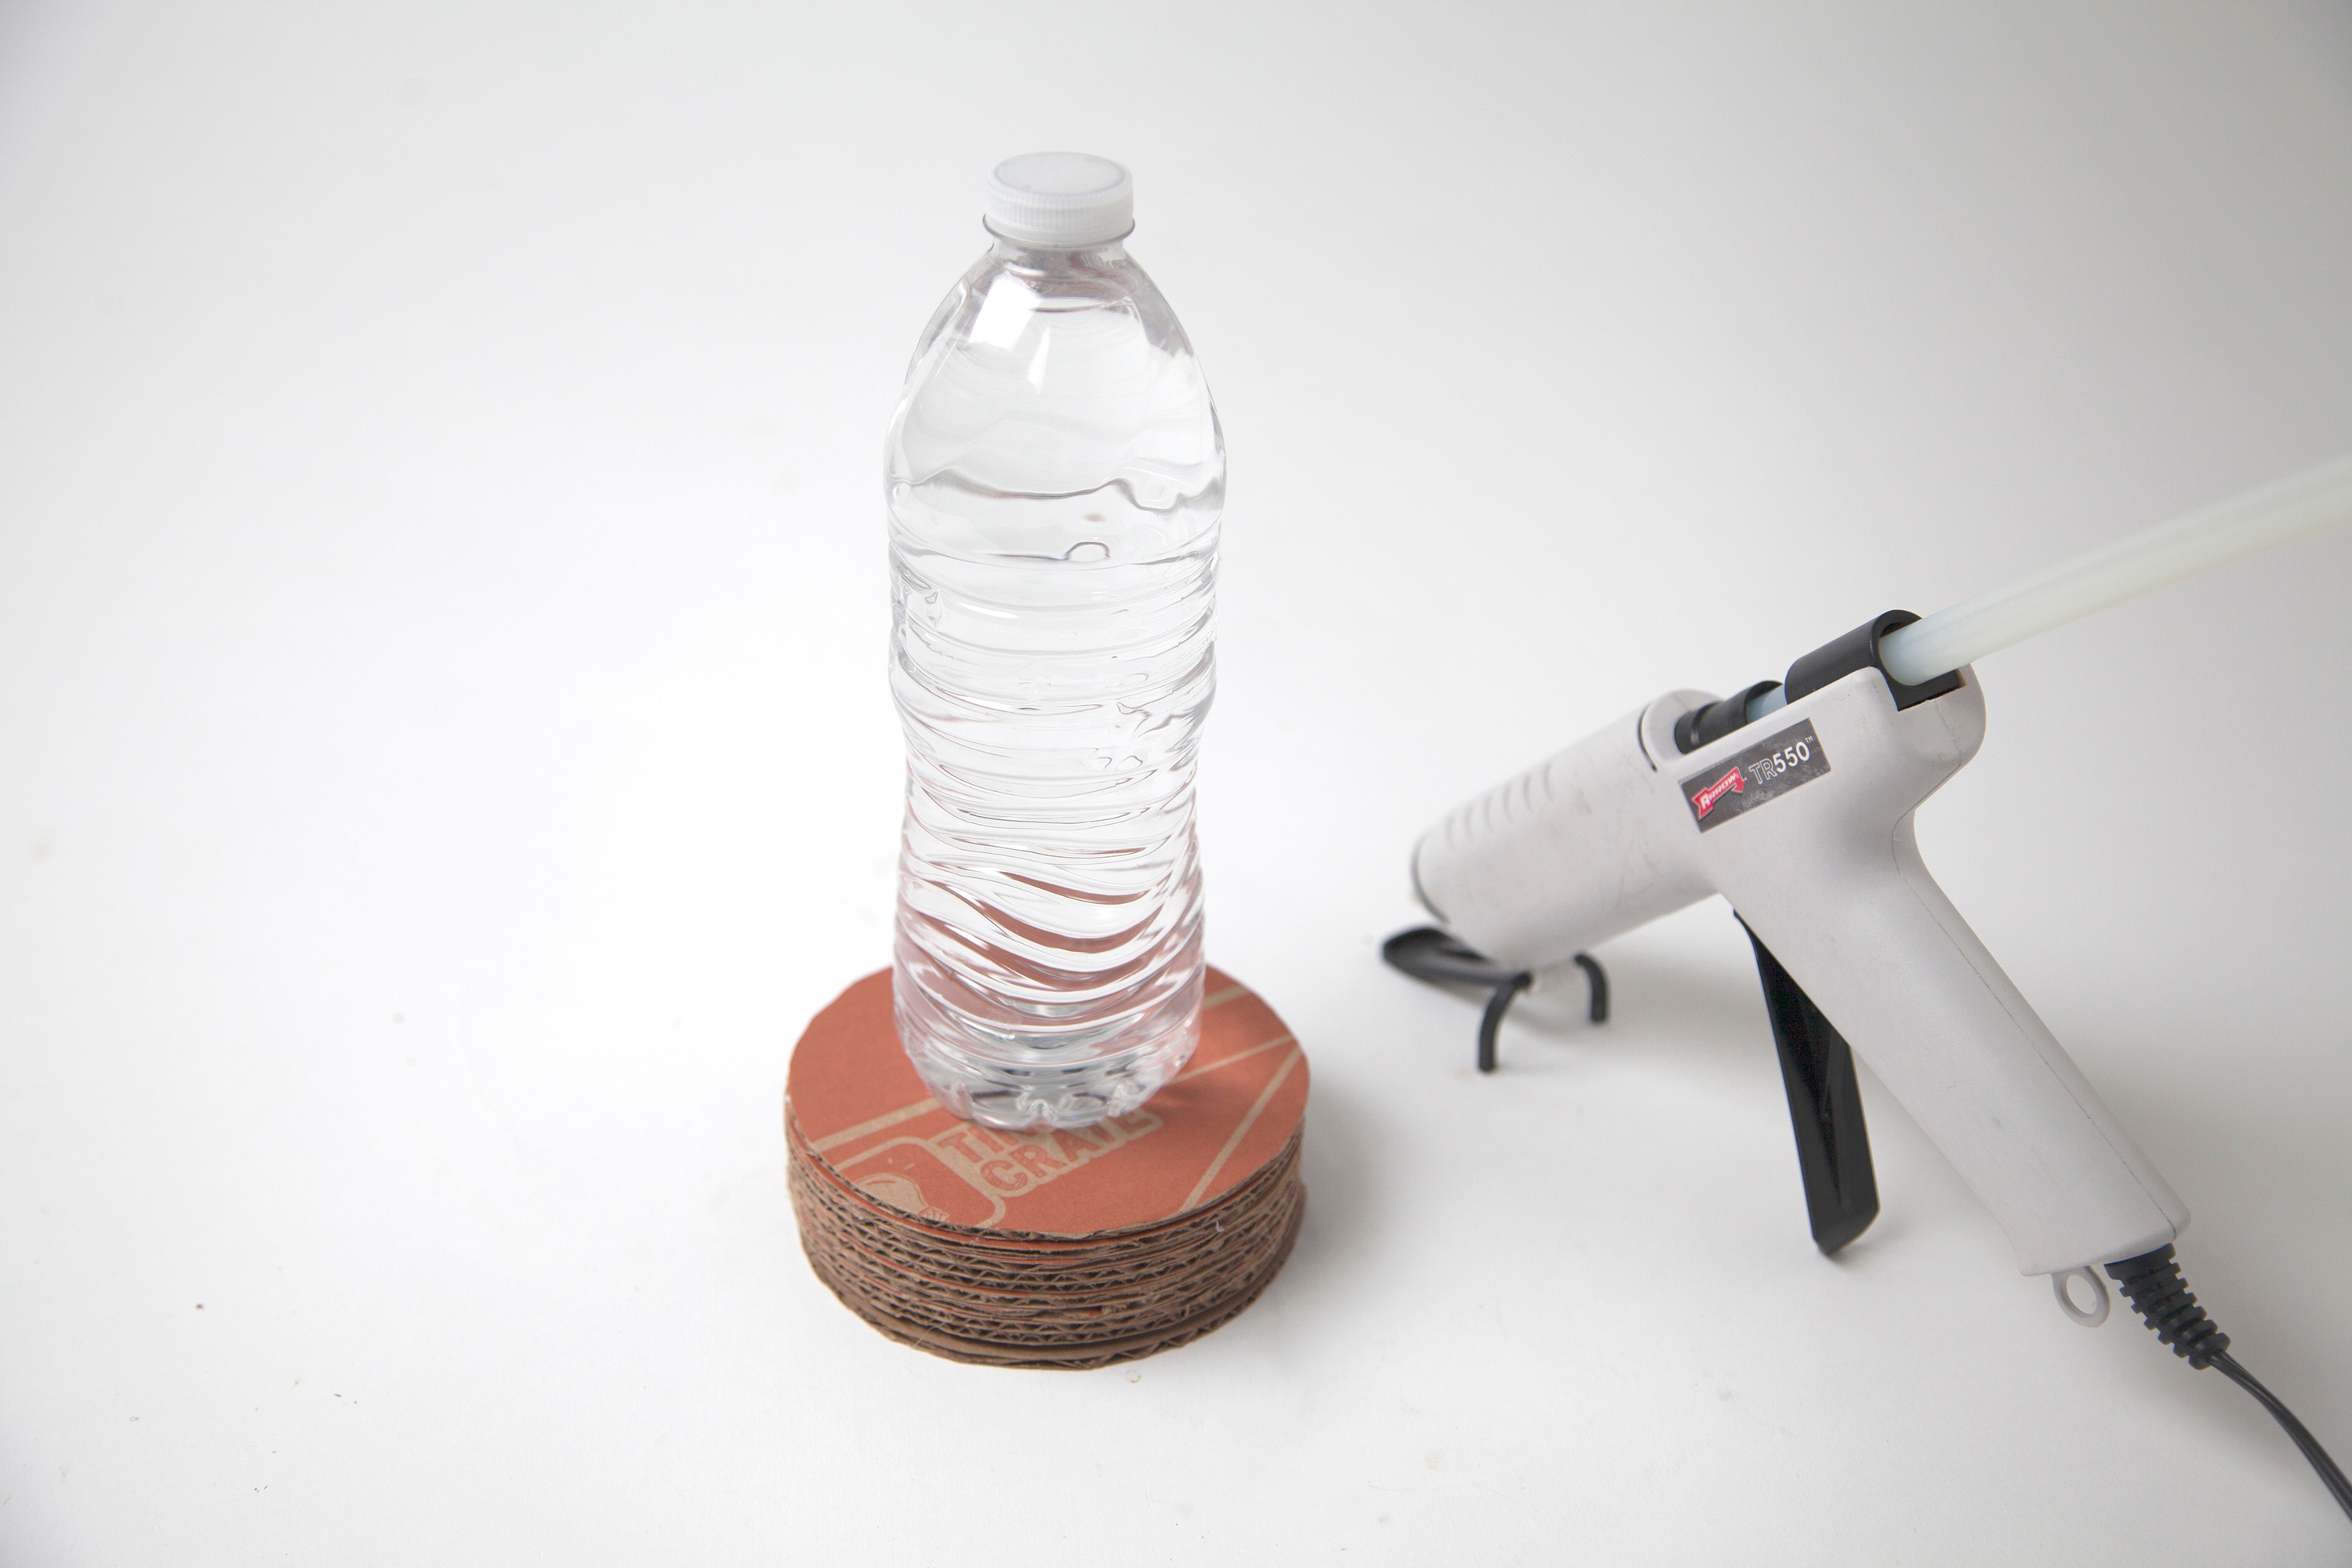
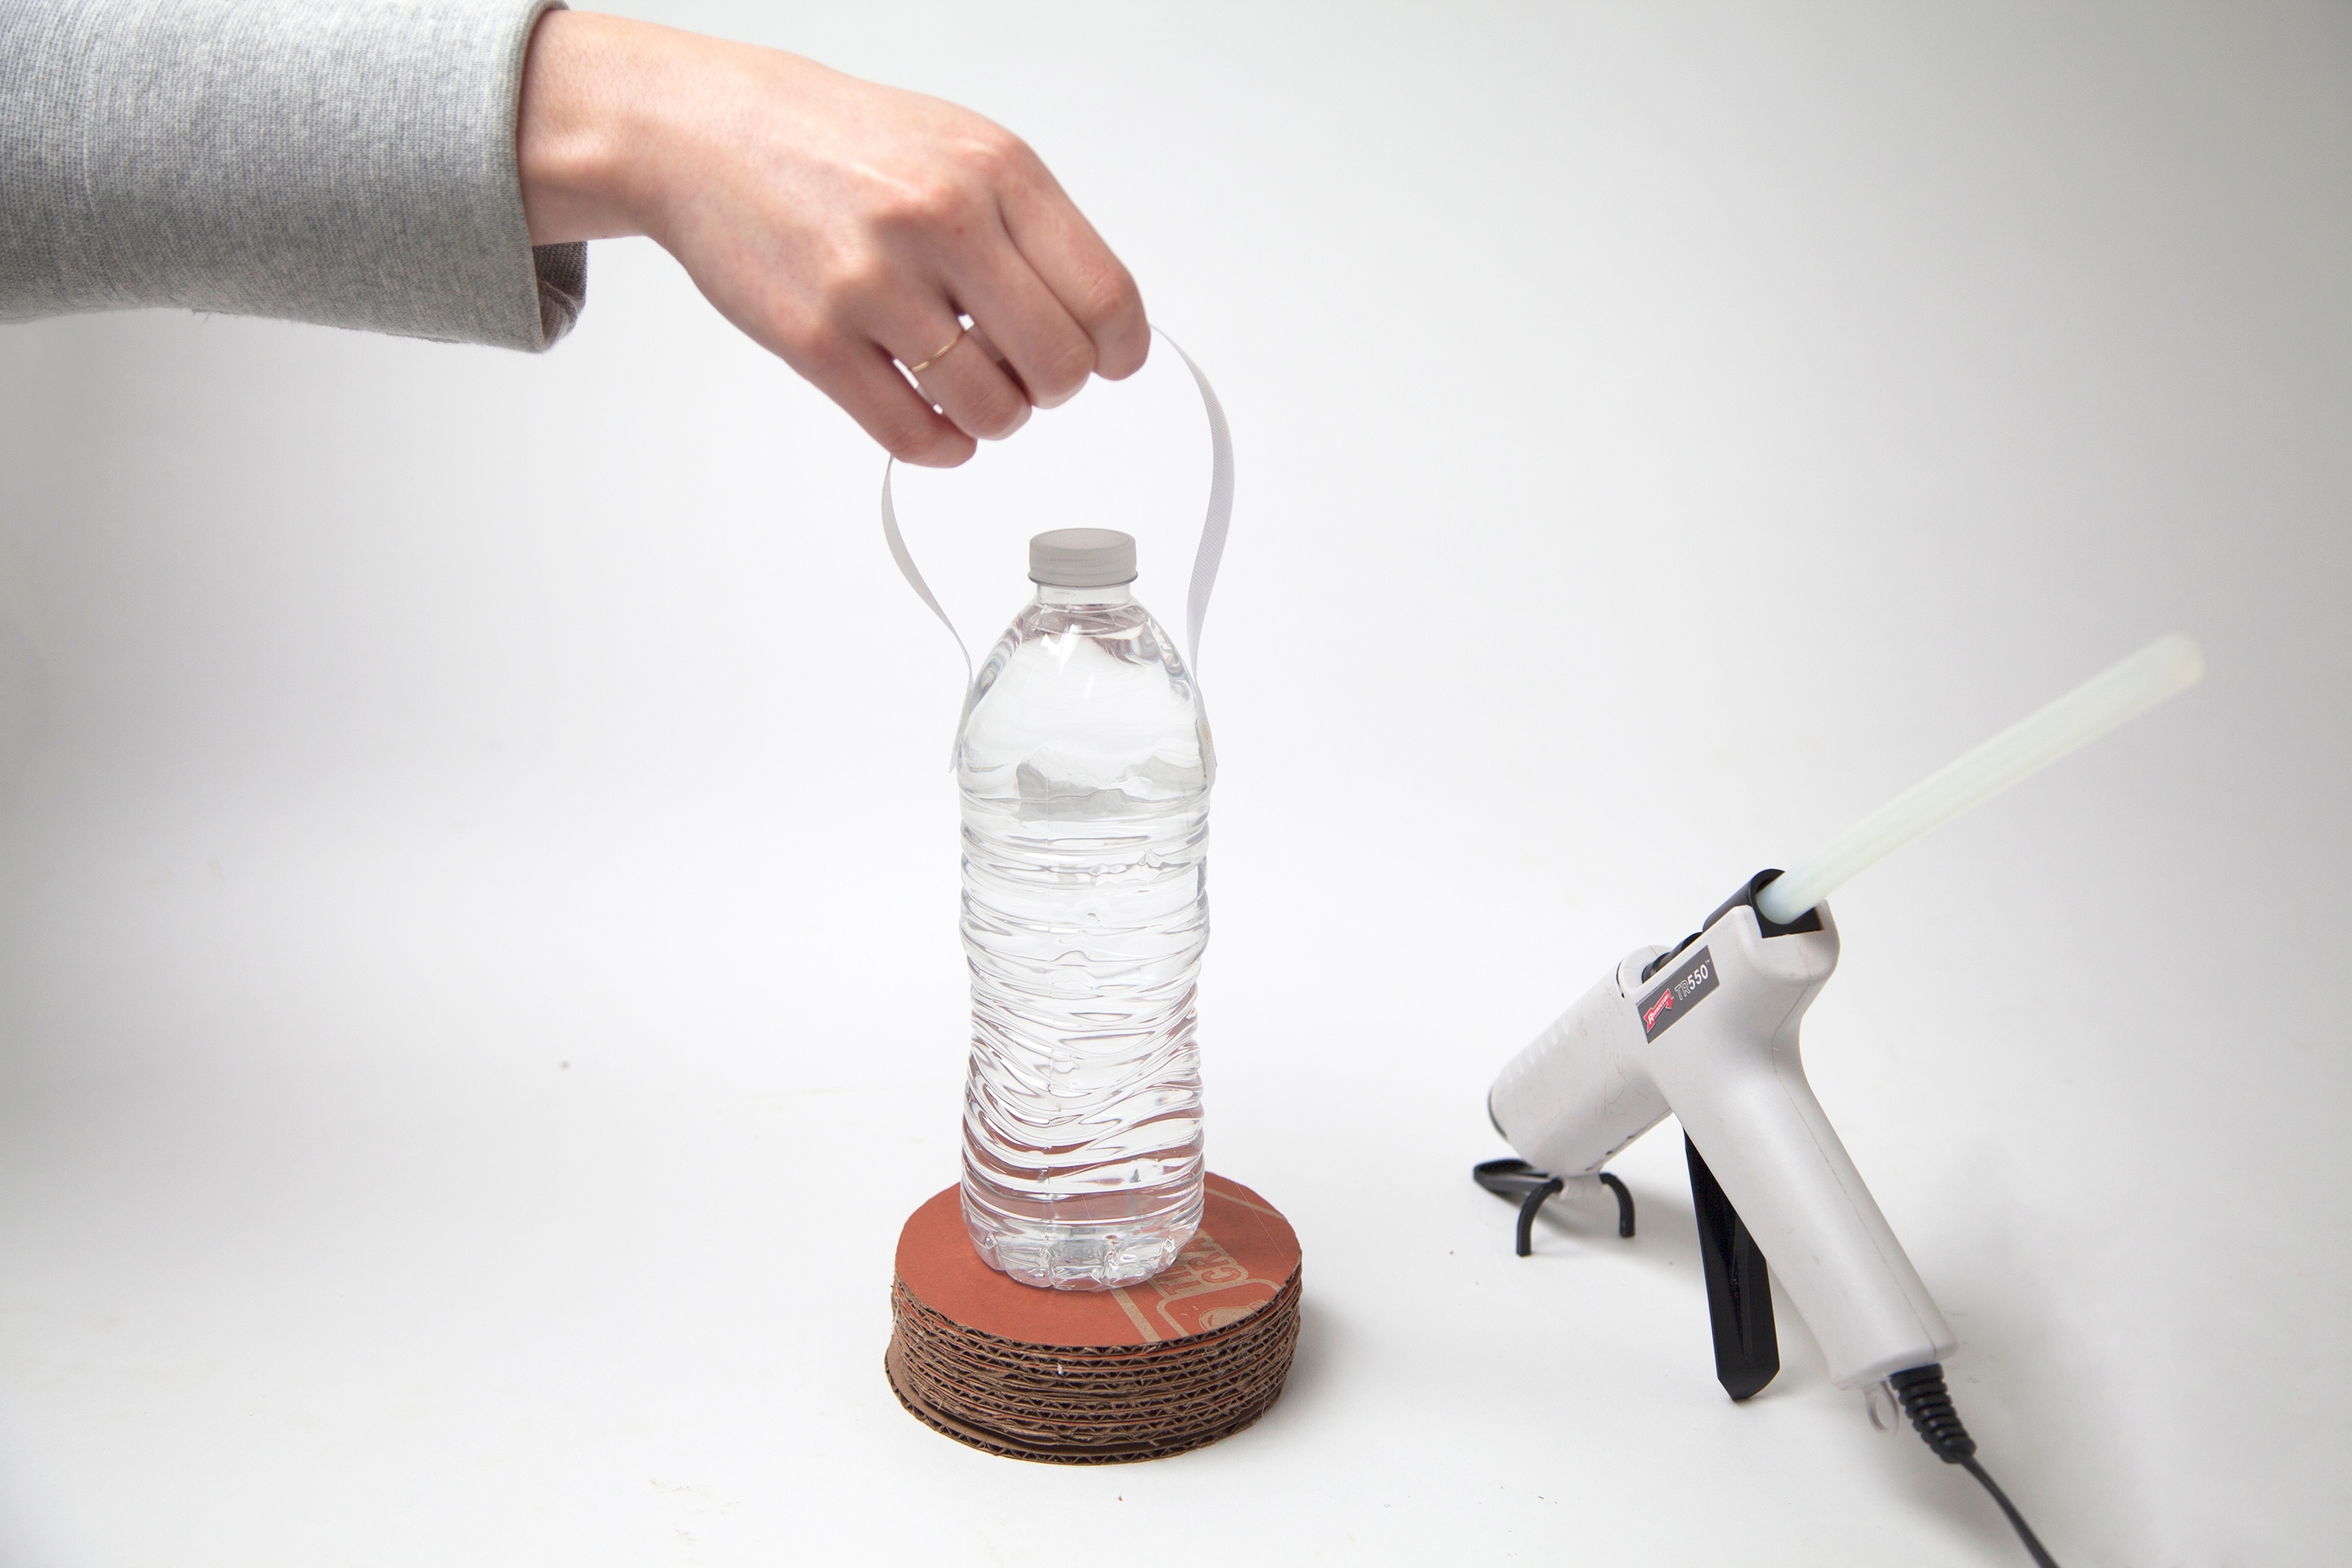
Step 10
Cut a length of ribbon, and glue both ends to the sides of the water bottle. This will act as the lantern's handle.
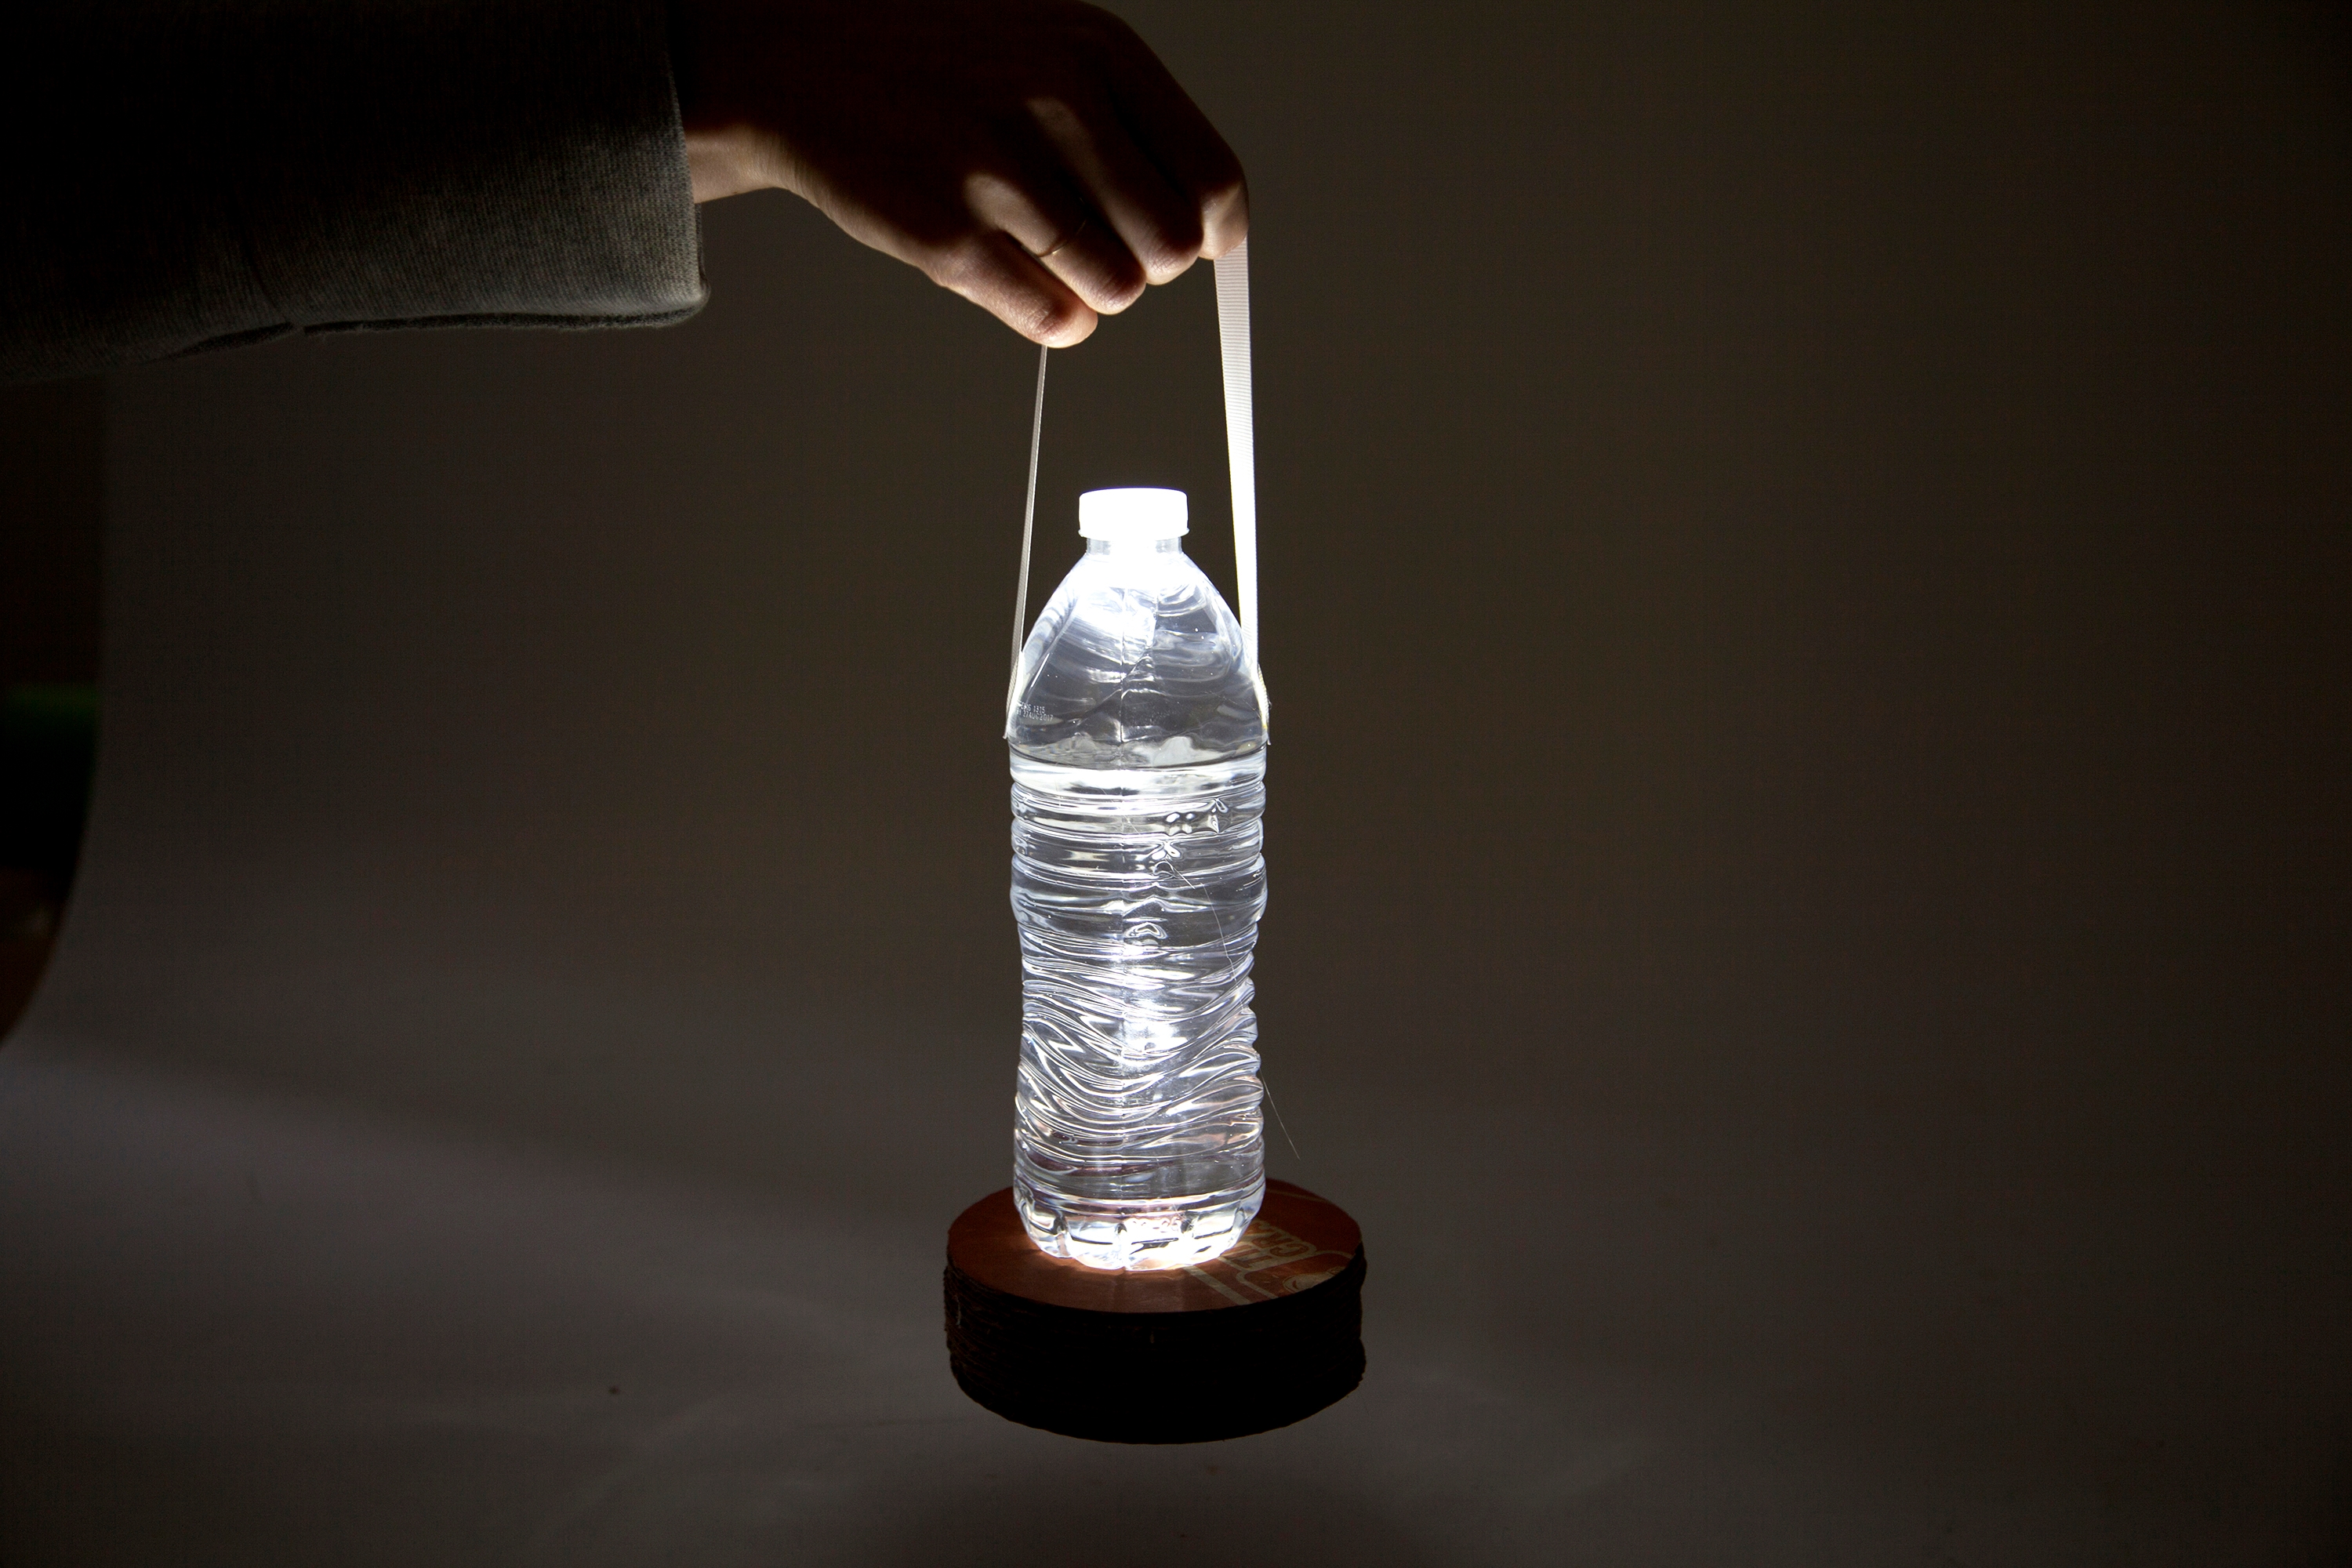
Step 11
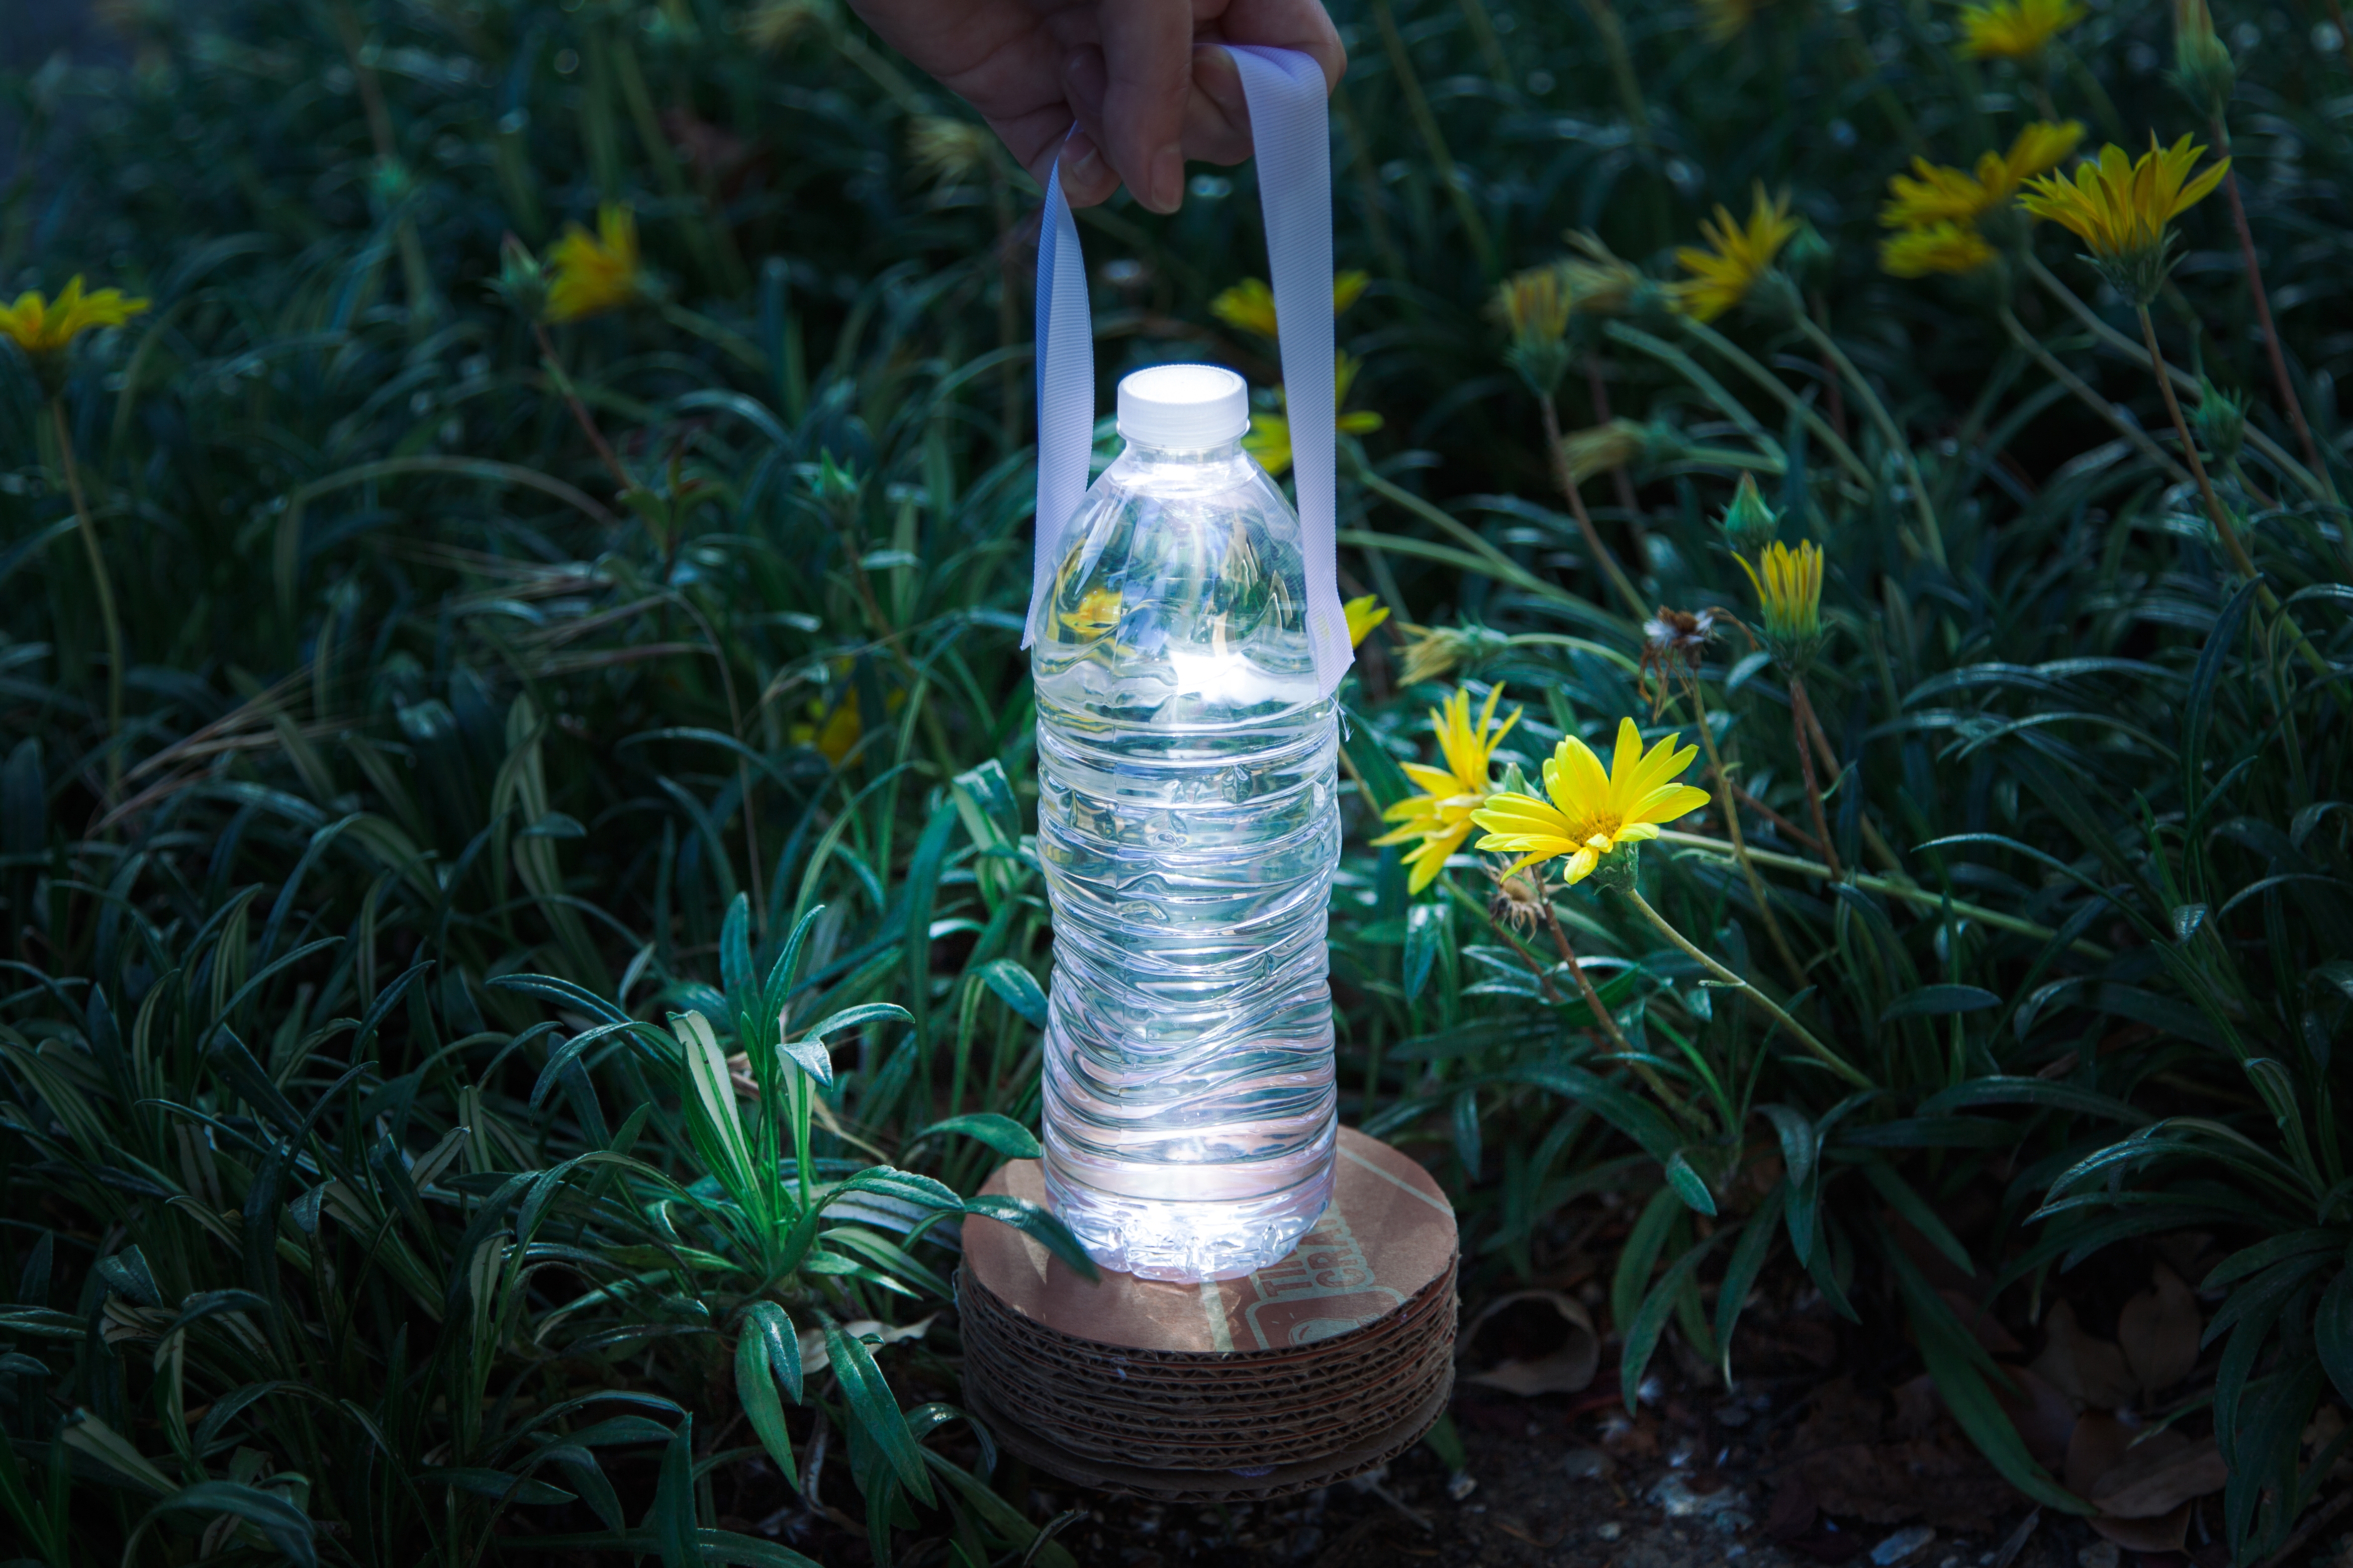
The last step is to turn on the light and find a dark place to test our your lantern!
Learn more

What's happening?
The water causes the light to change direction. (You can see the same effect by putting a pencil in a clear glass of water – viewed from the side, the pencil appears to be broken.) This change in direction is called refraction, and it causes the focused light from the tap light to disperse in all directions. This spreads the light out around your campsite, making it easier to see all around you.


