Step-by-step tutorial
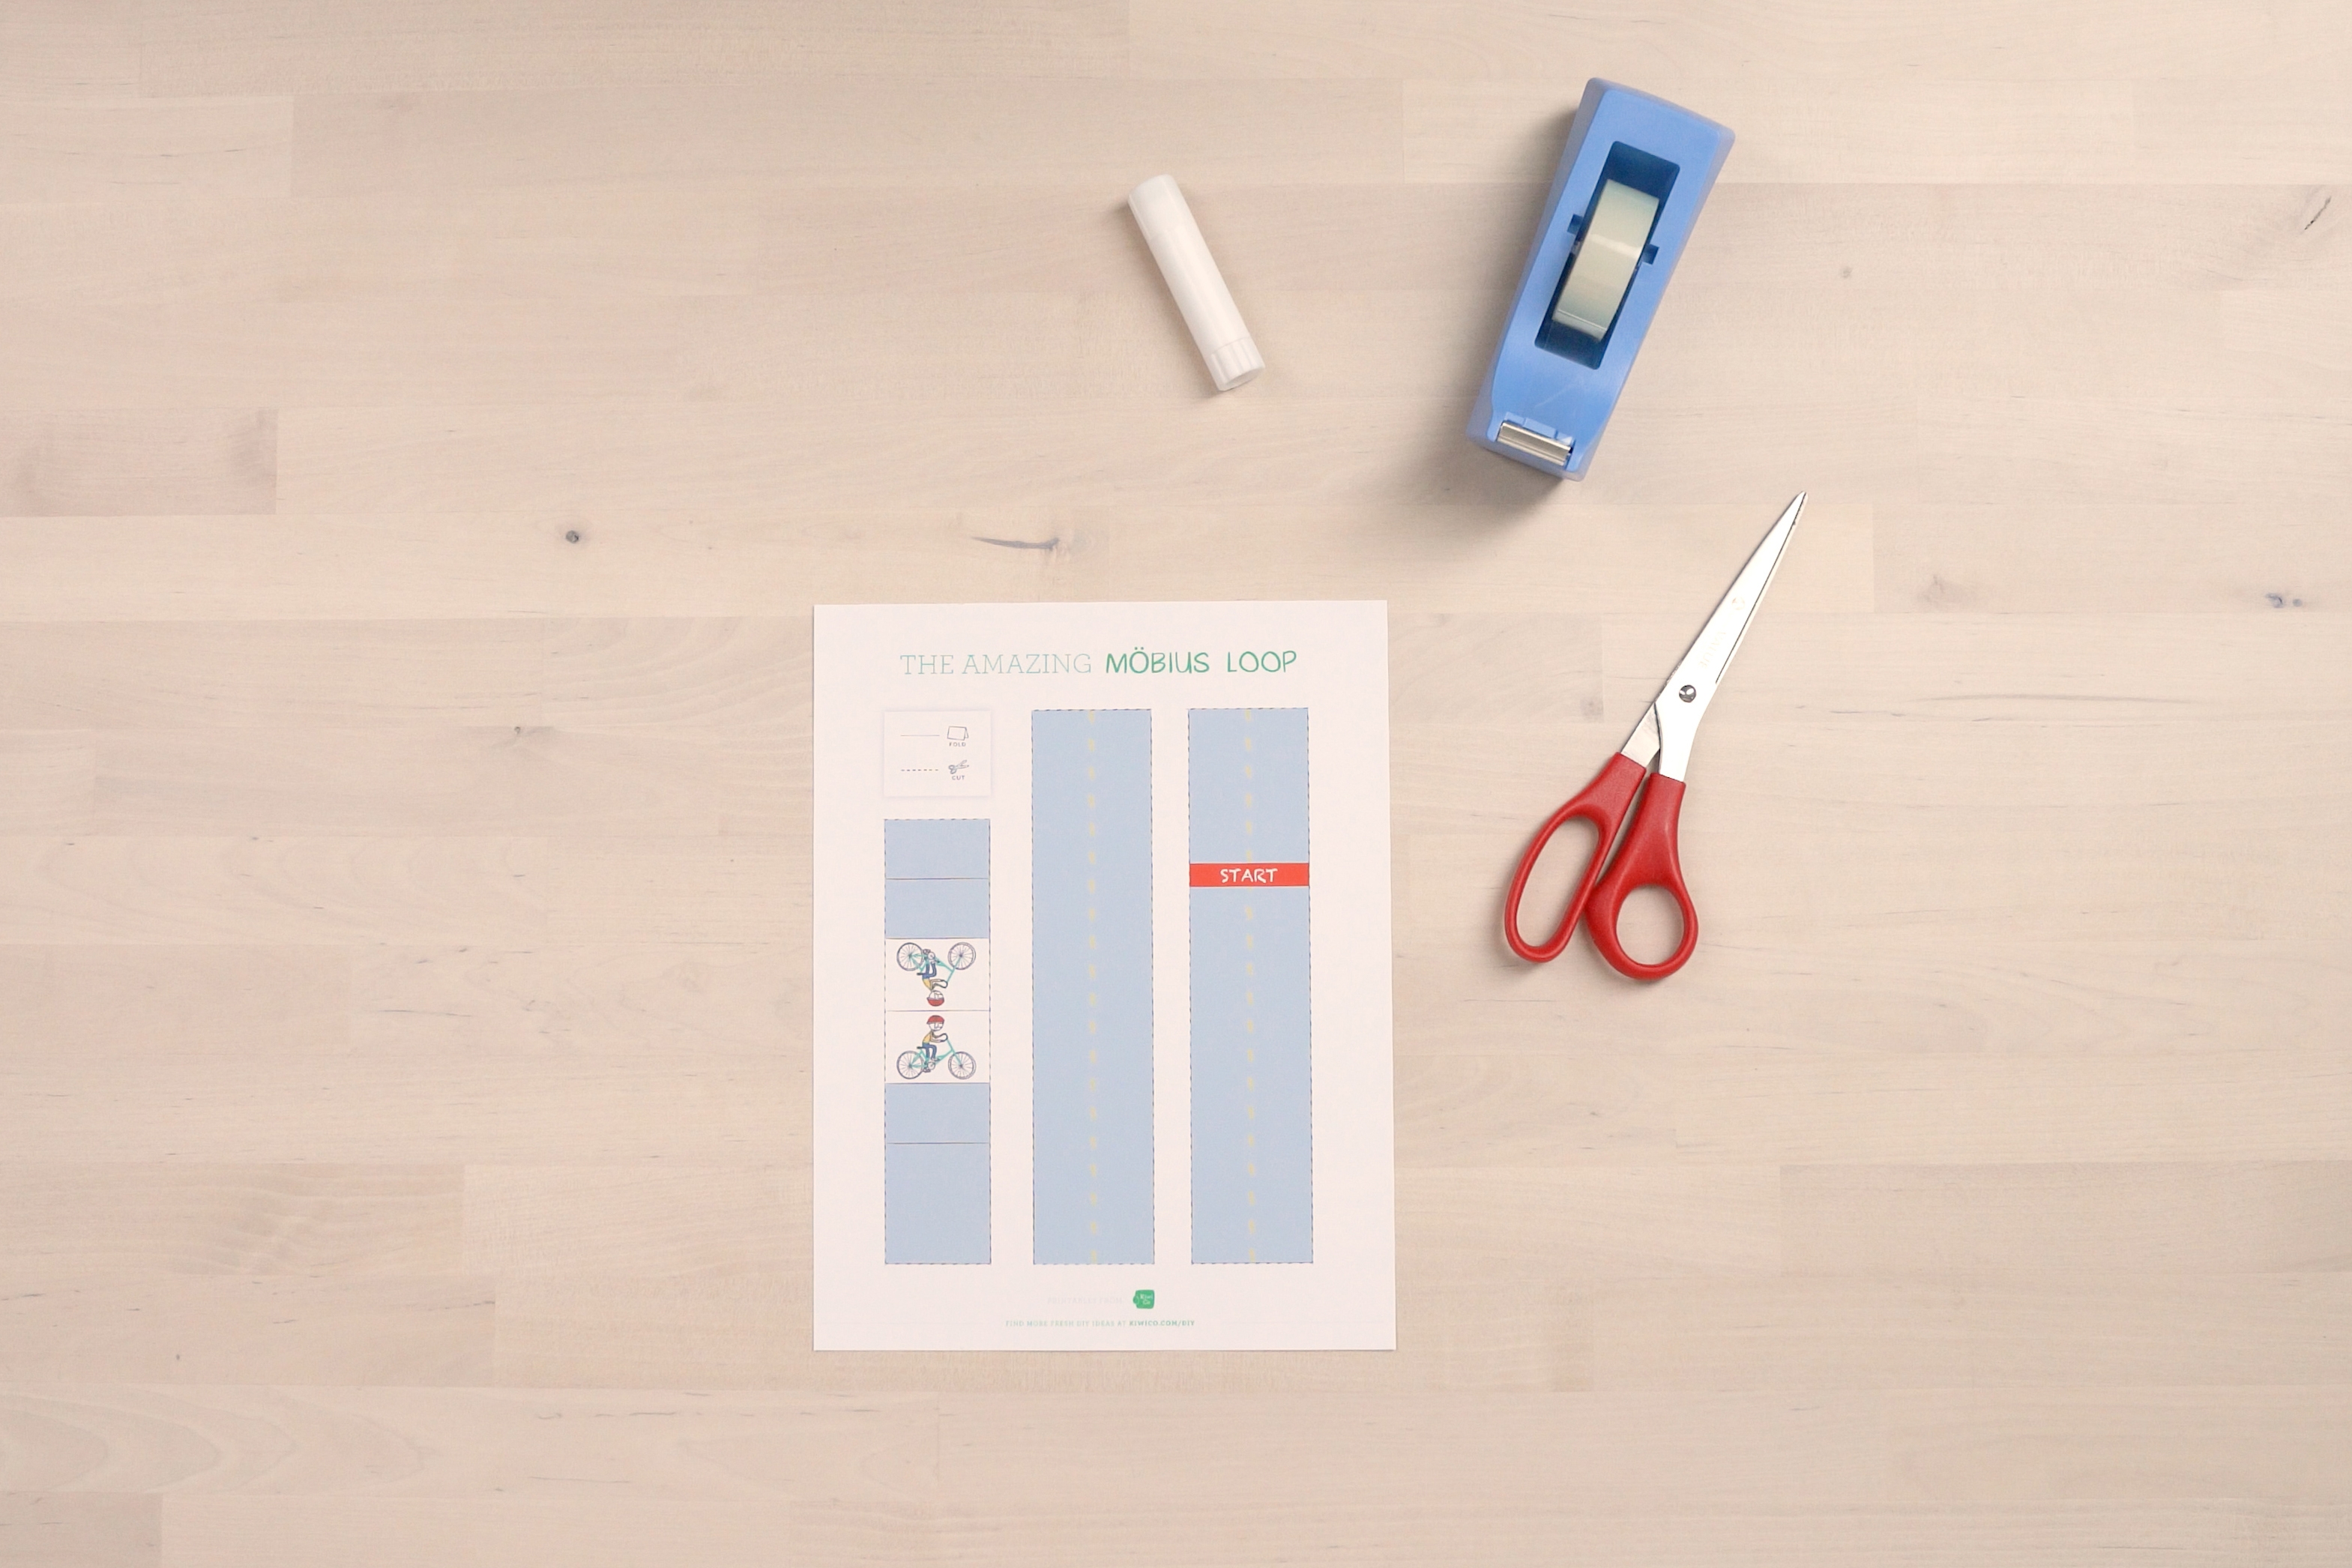
Step 1
Gather your materials.

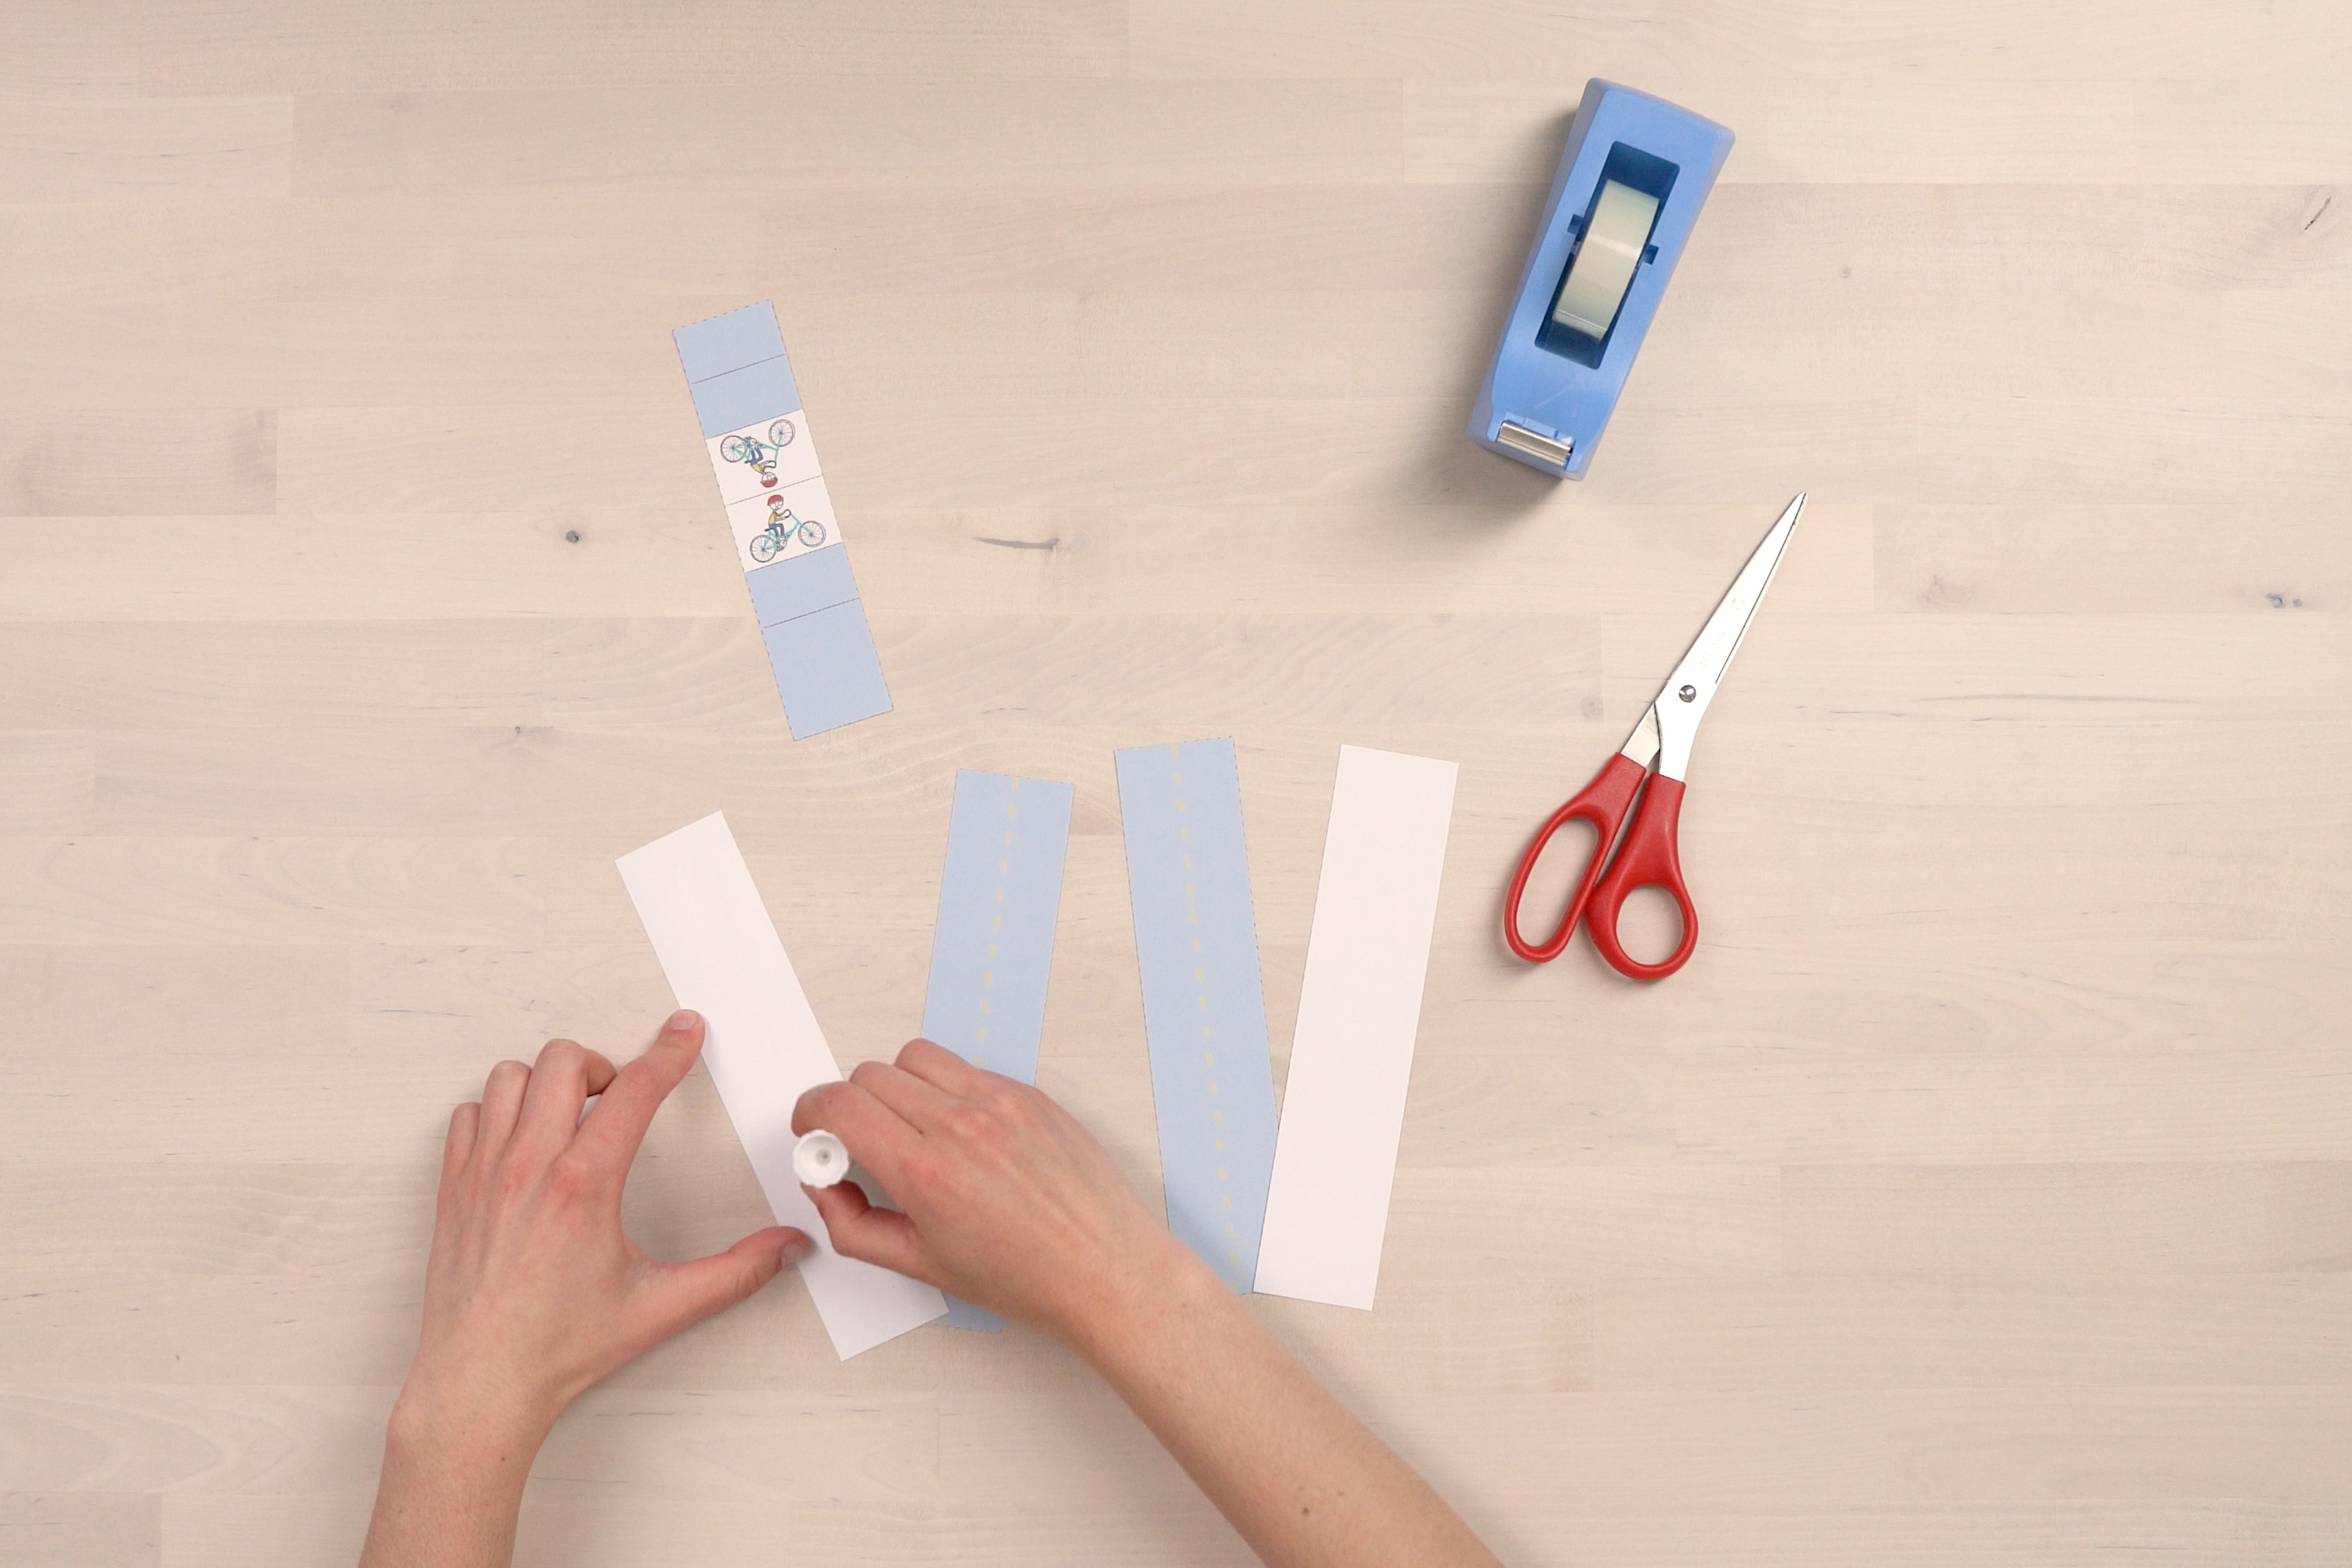
Step 2
Cut the printable along the dotted lines.

Step 3
Glue the roads to each other so that each road has a front and a back.
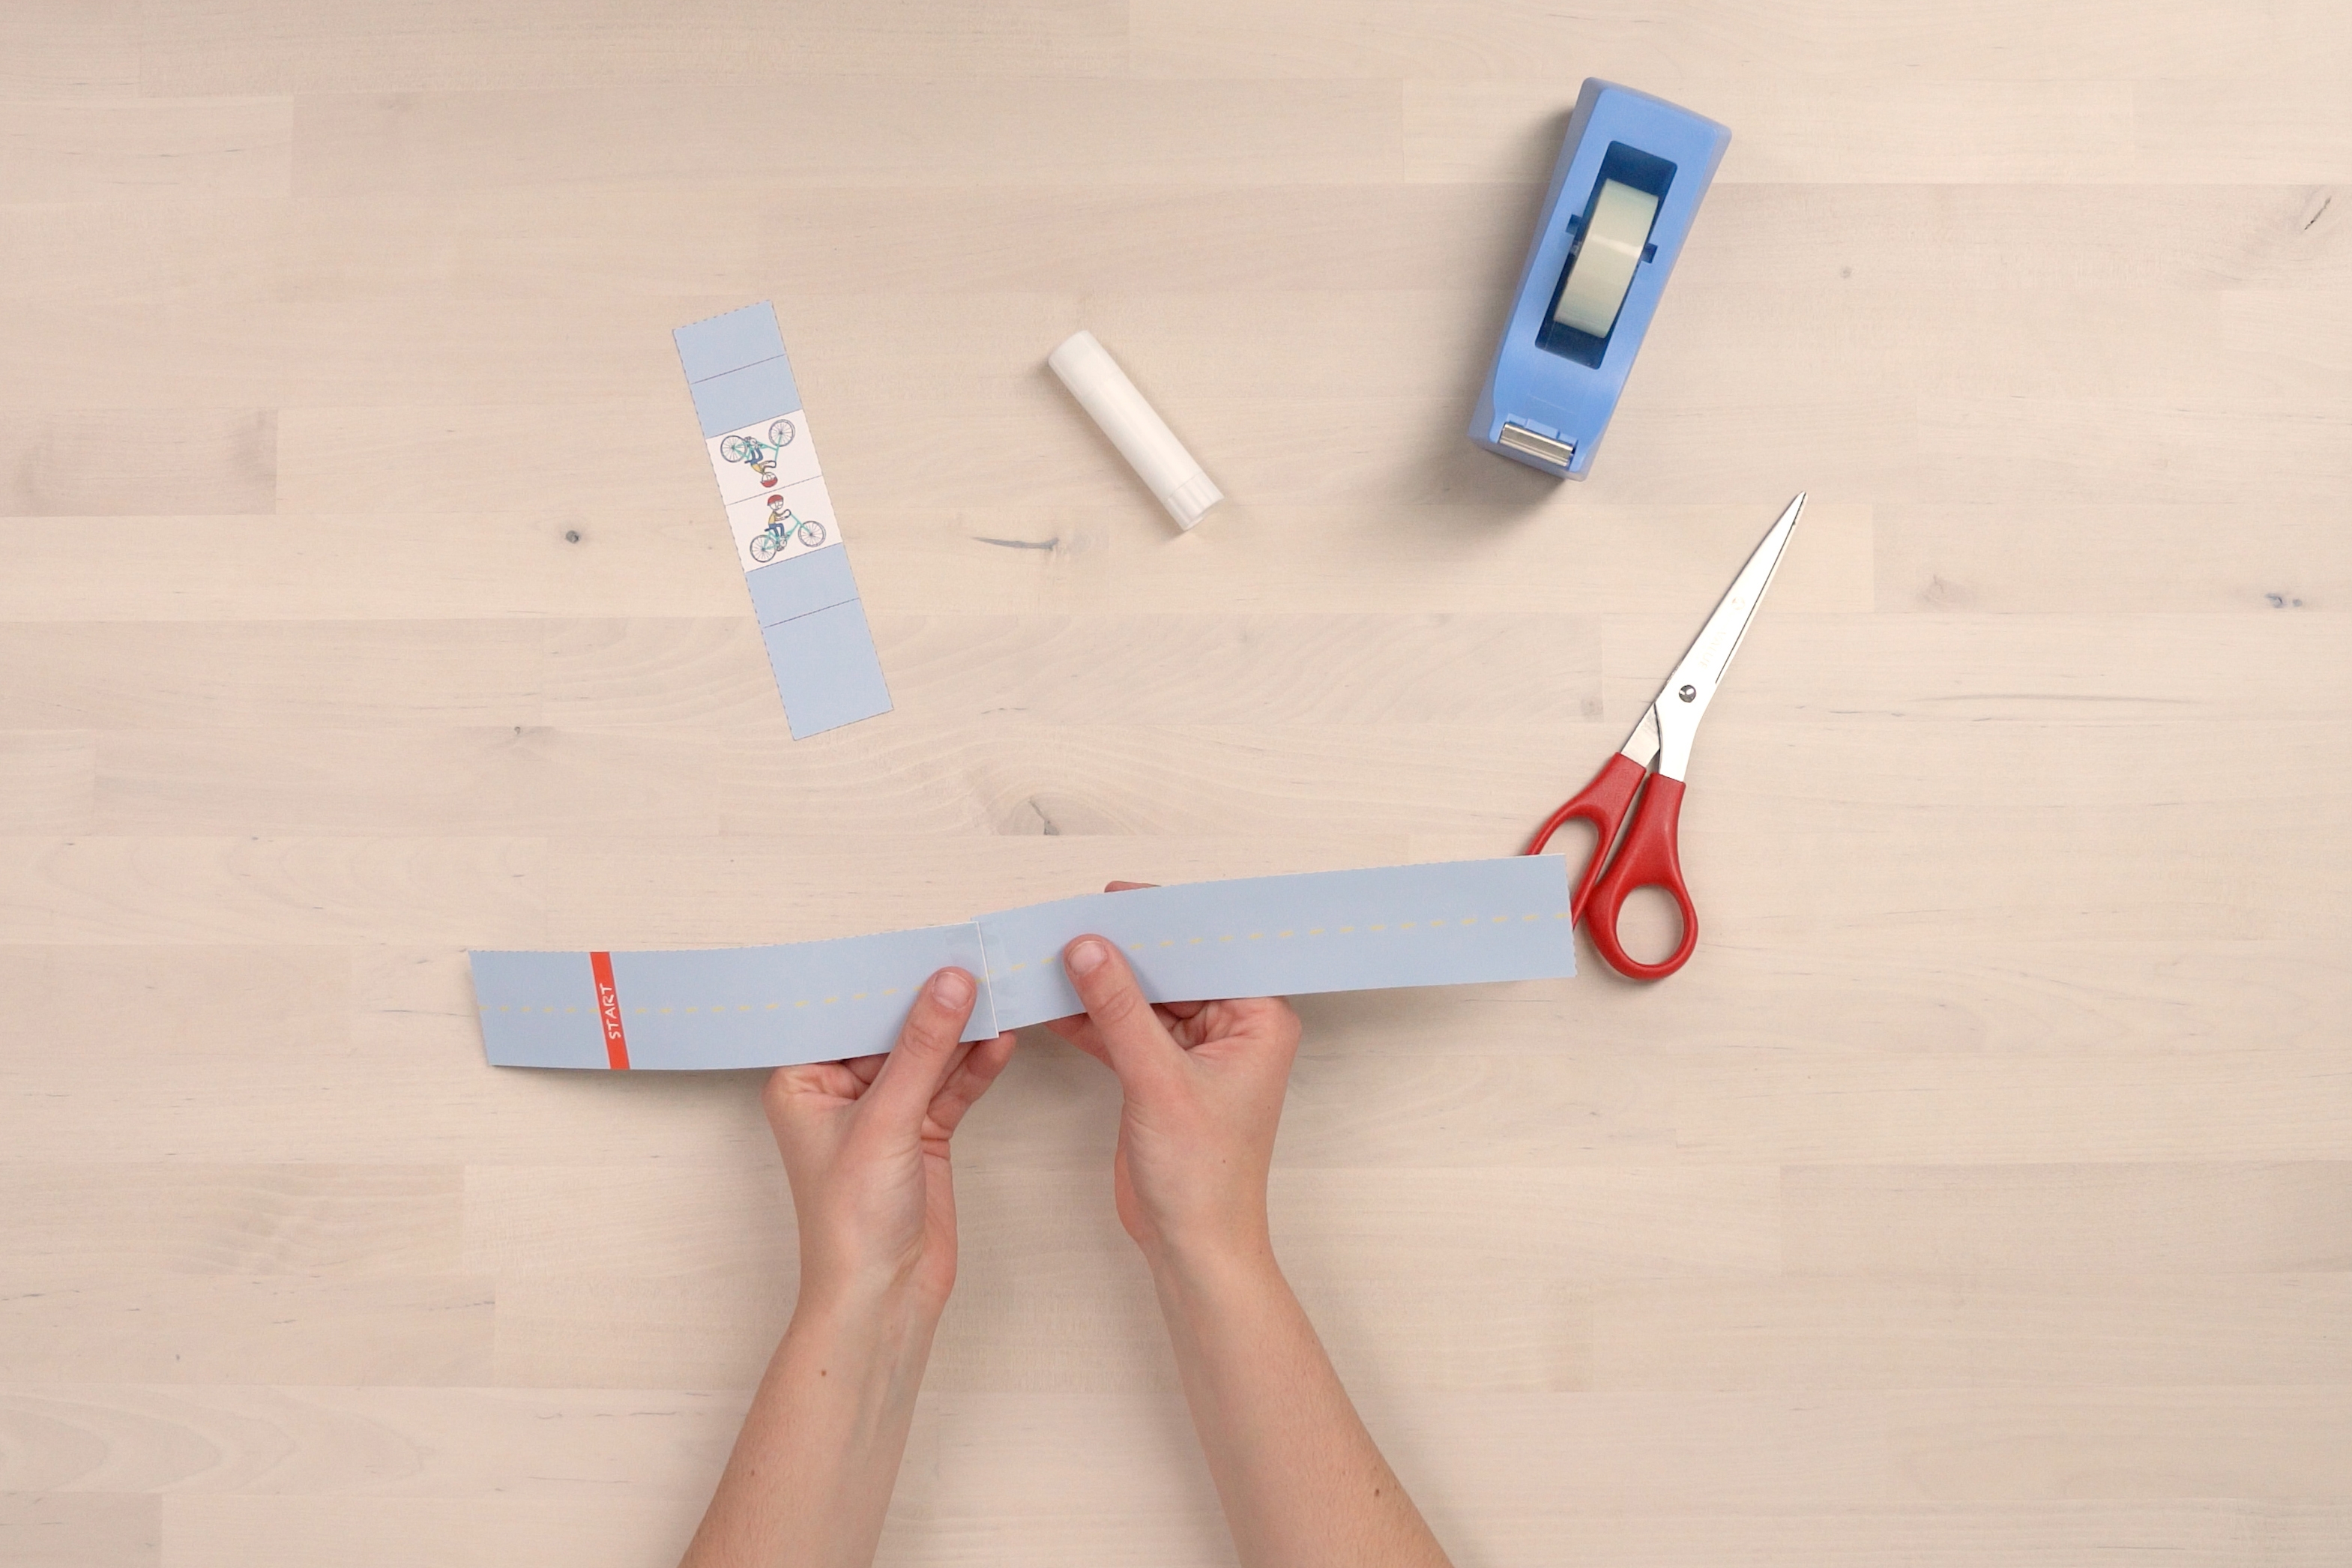
Step 4
Tape the roads together to create one long road.
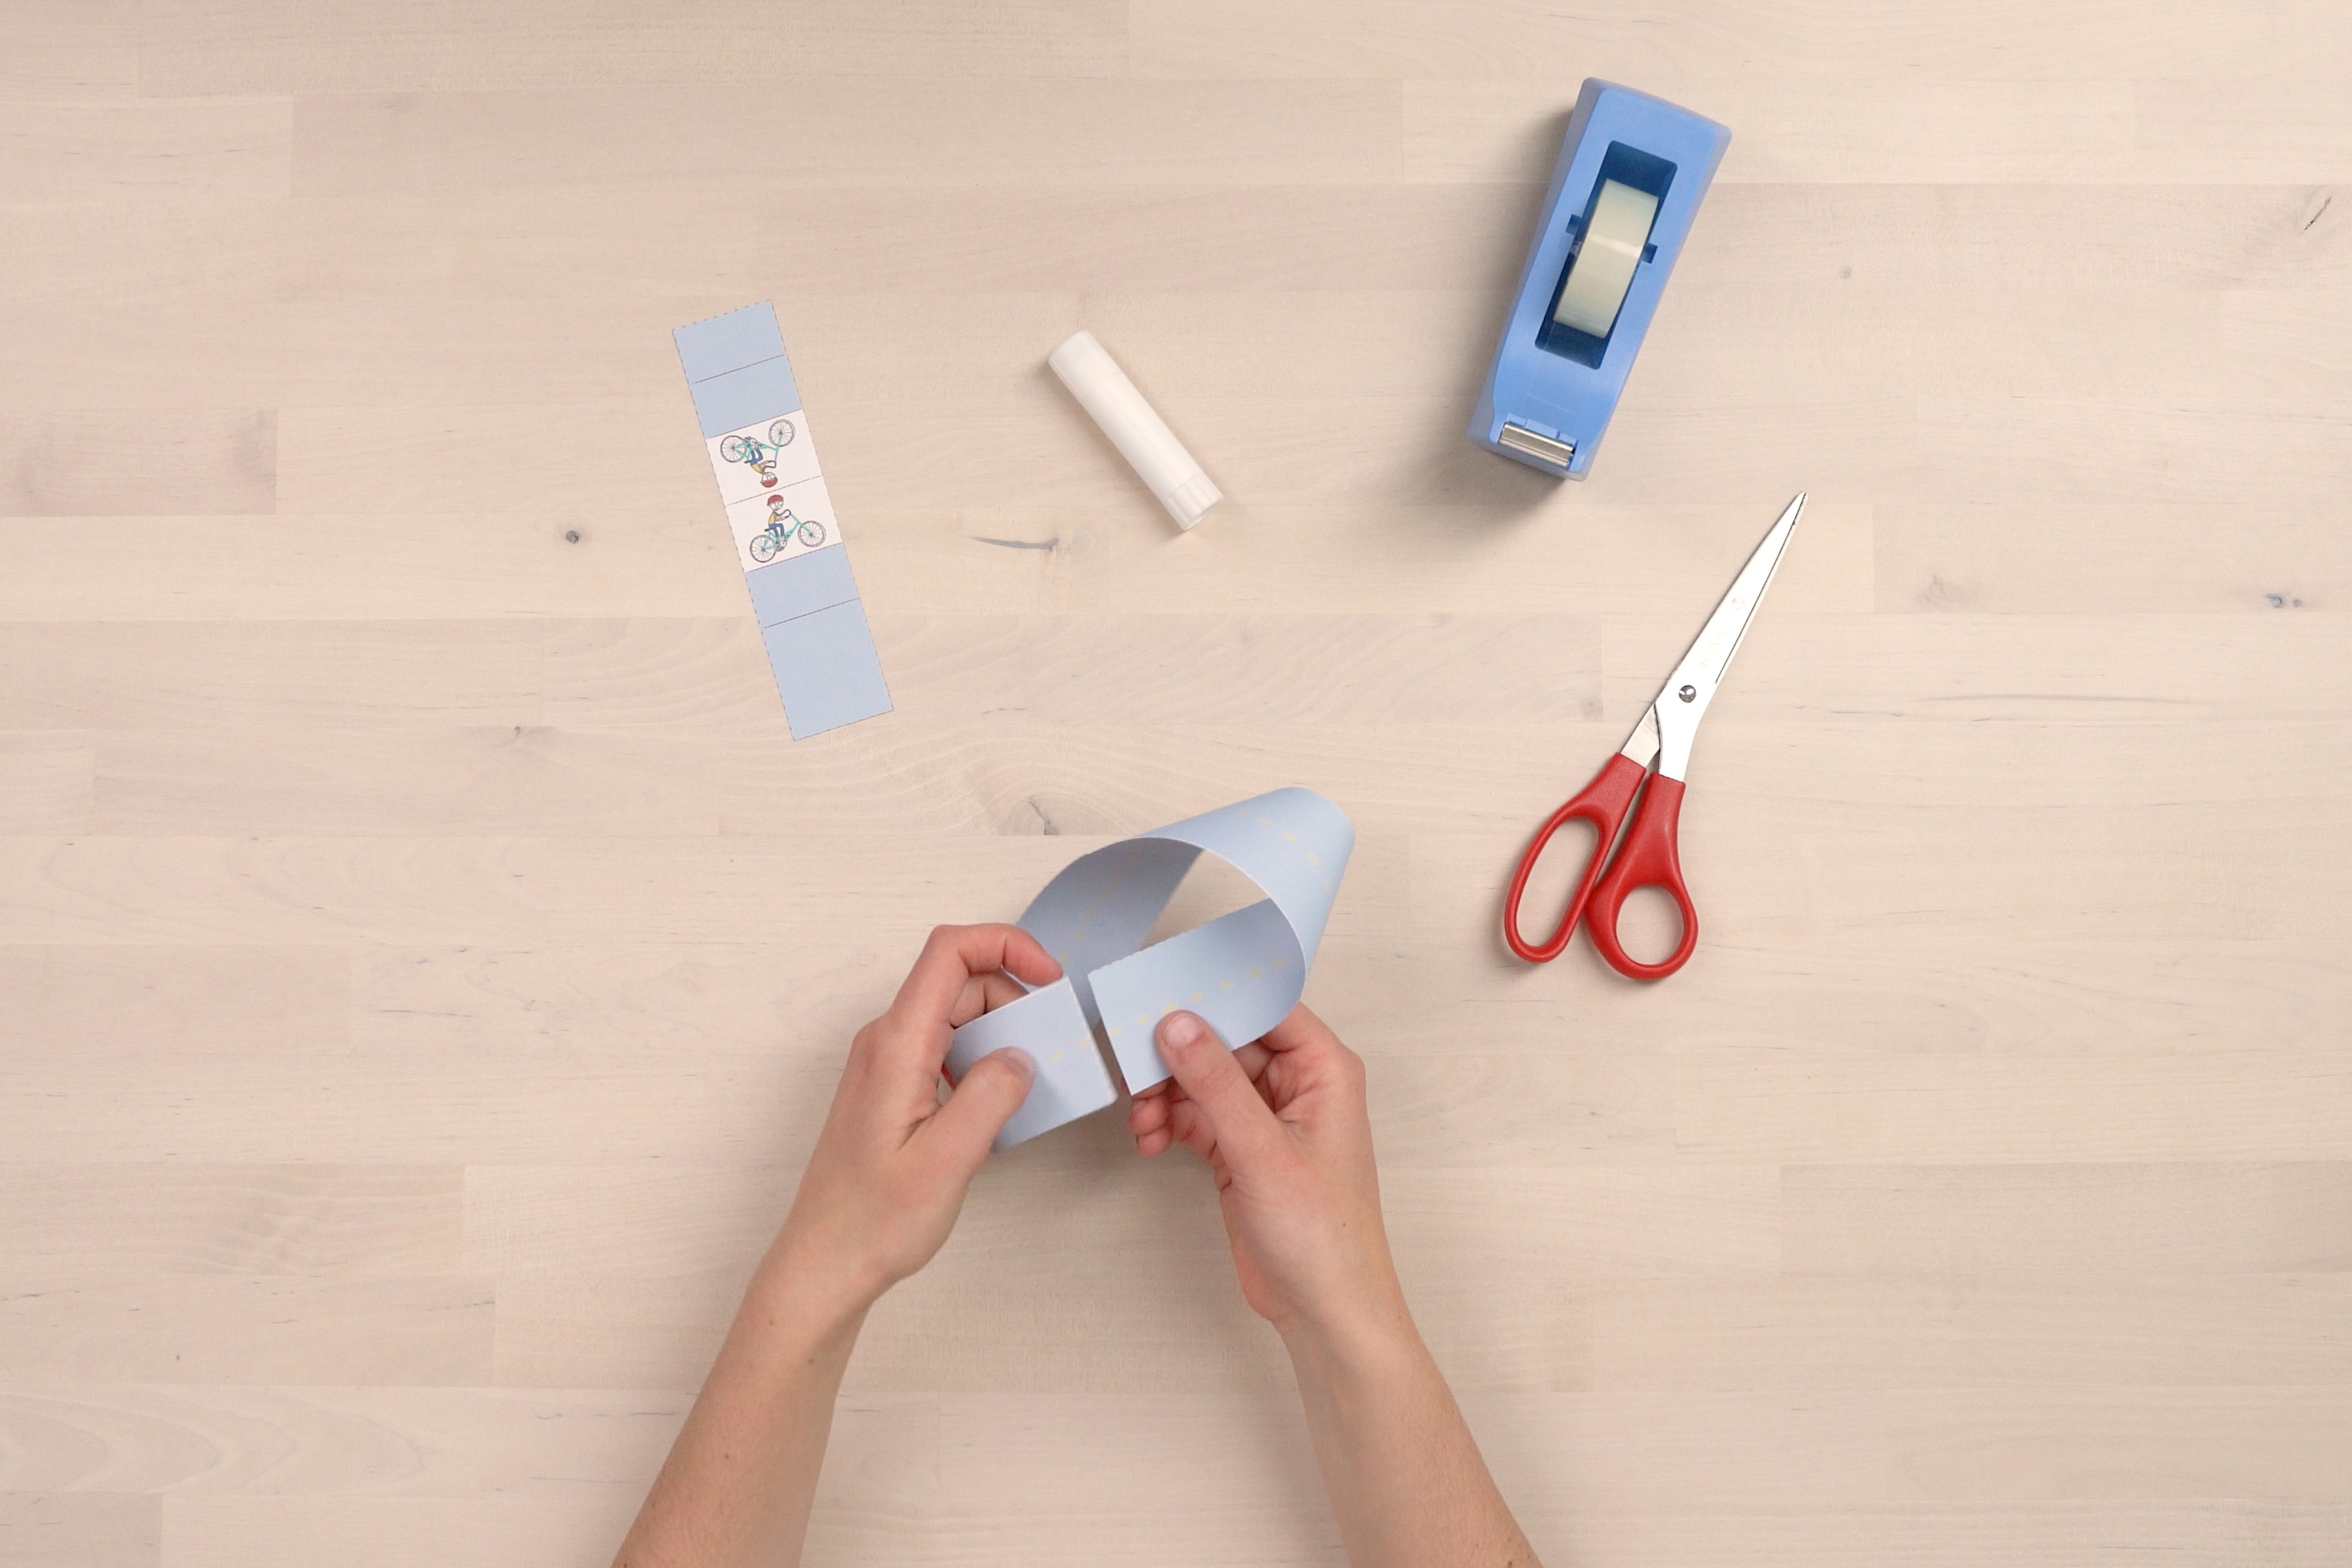
Step 5
Bend the road into a loop. Before you tape the ends together, twist one end 180 degrees. Then, tape them together.
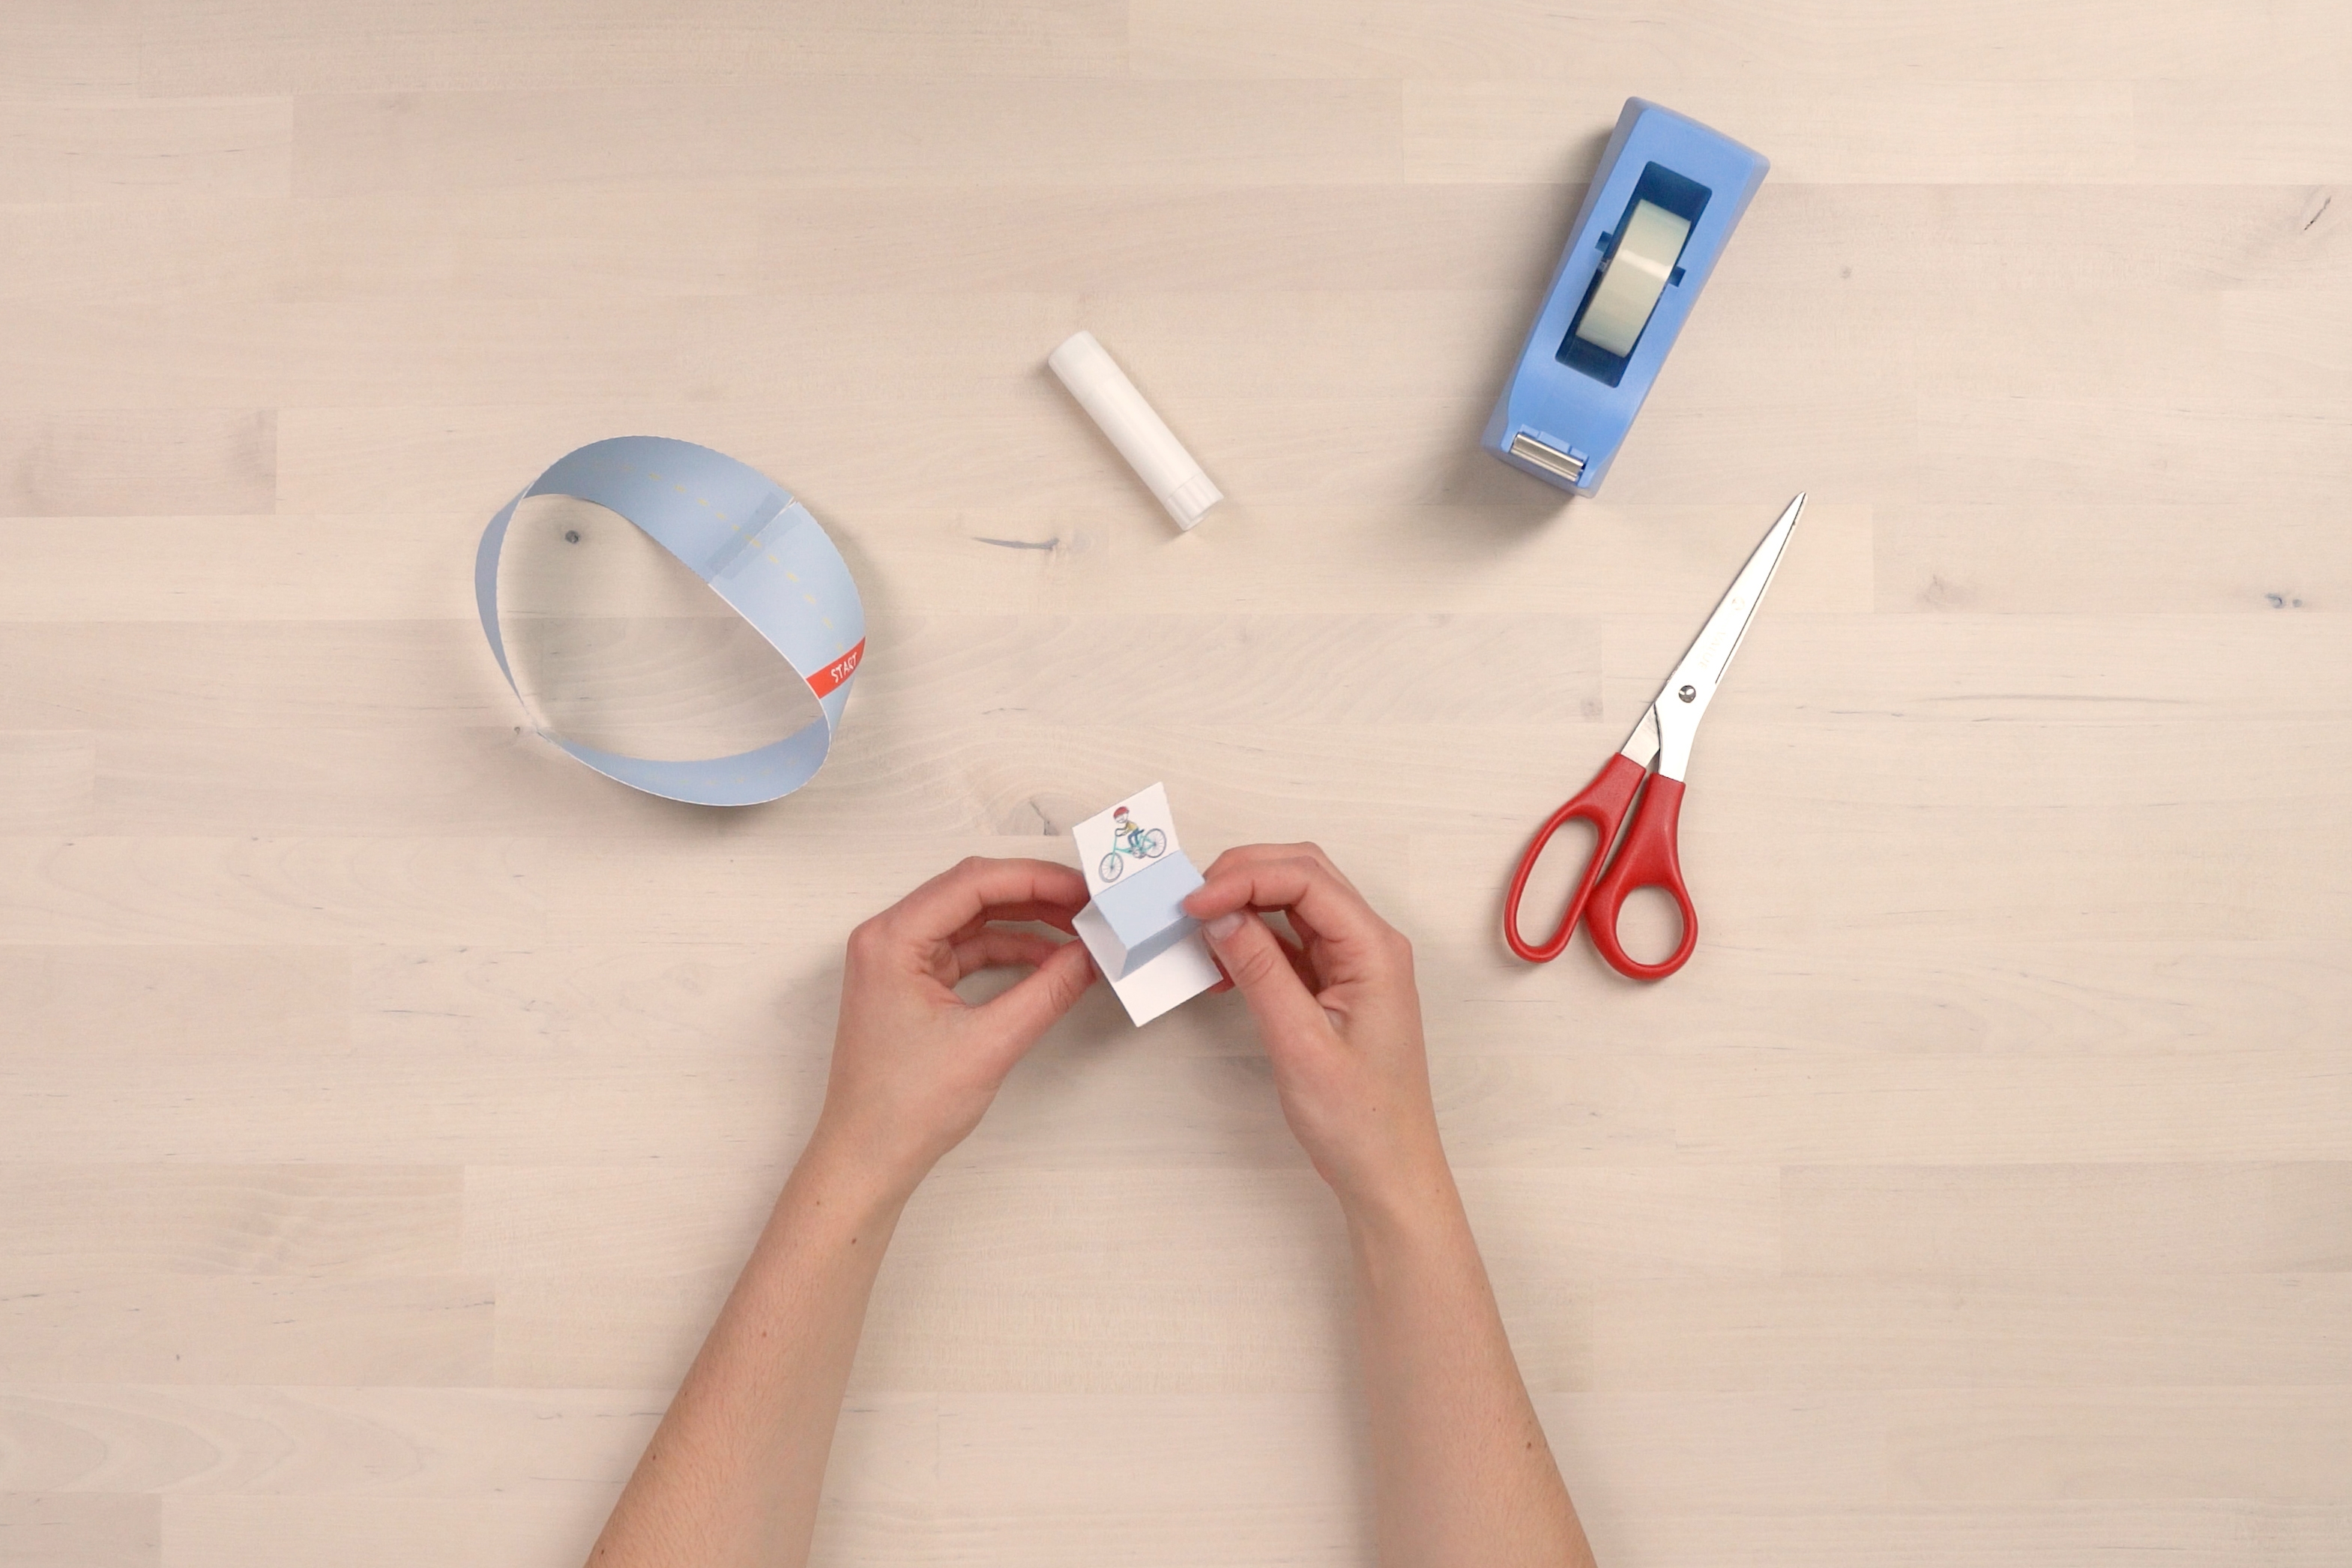
Step 6
Fold the bicyclist on the solid lines.
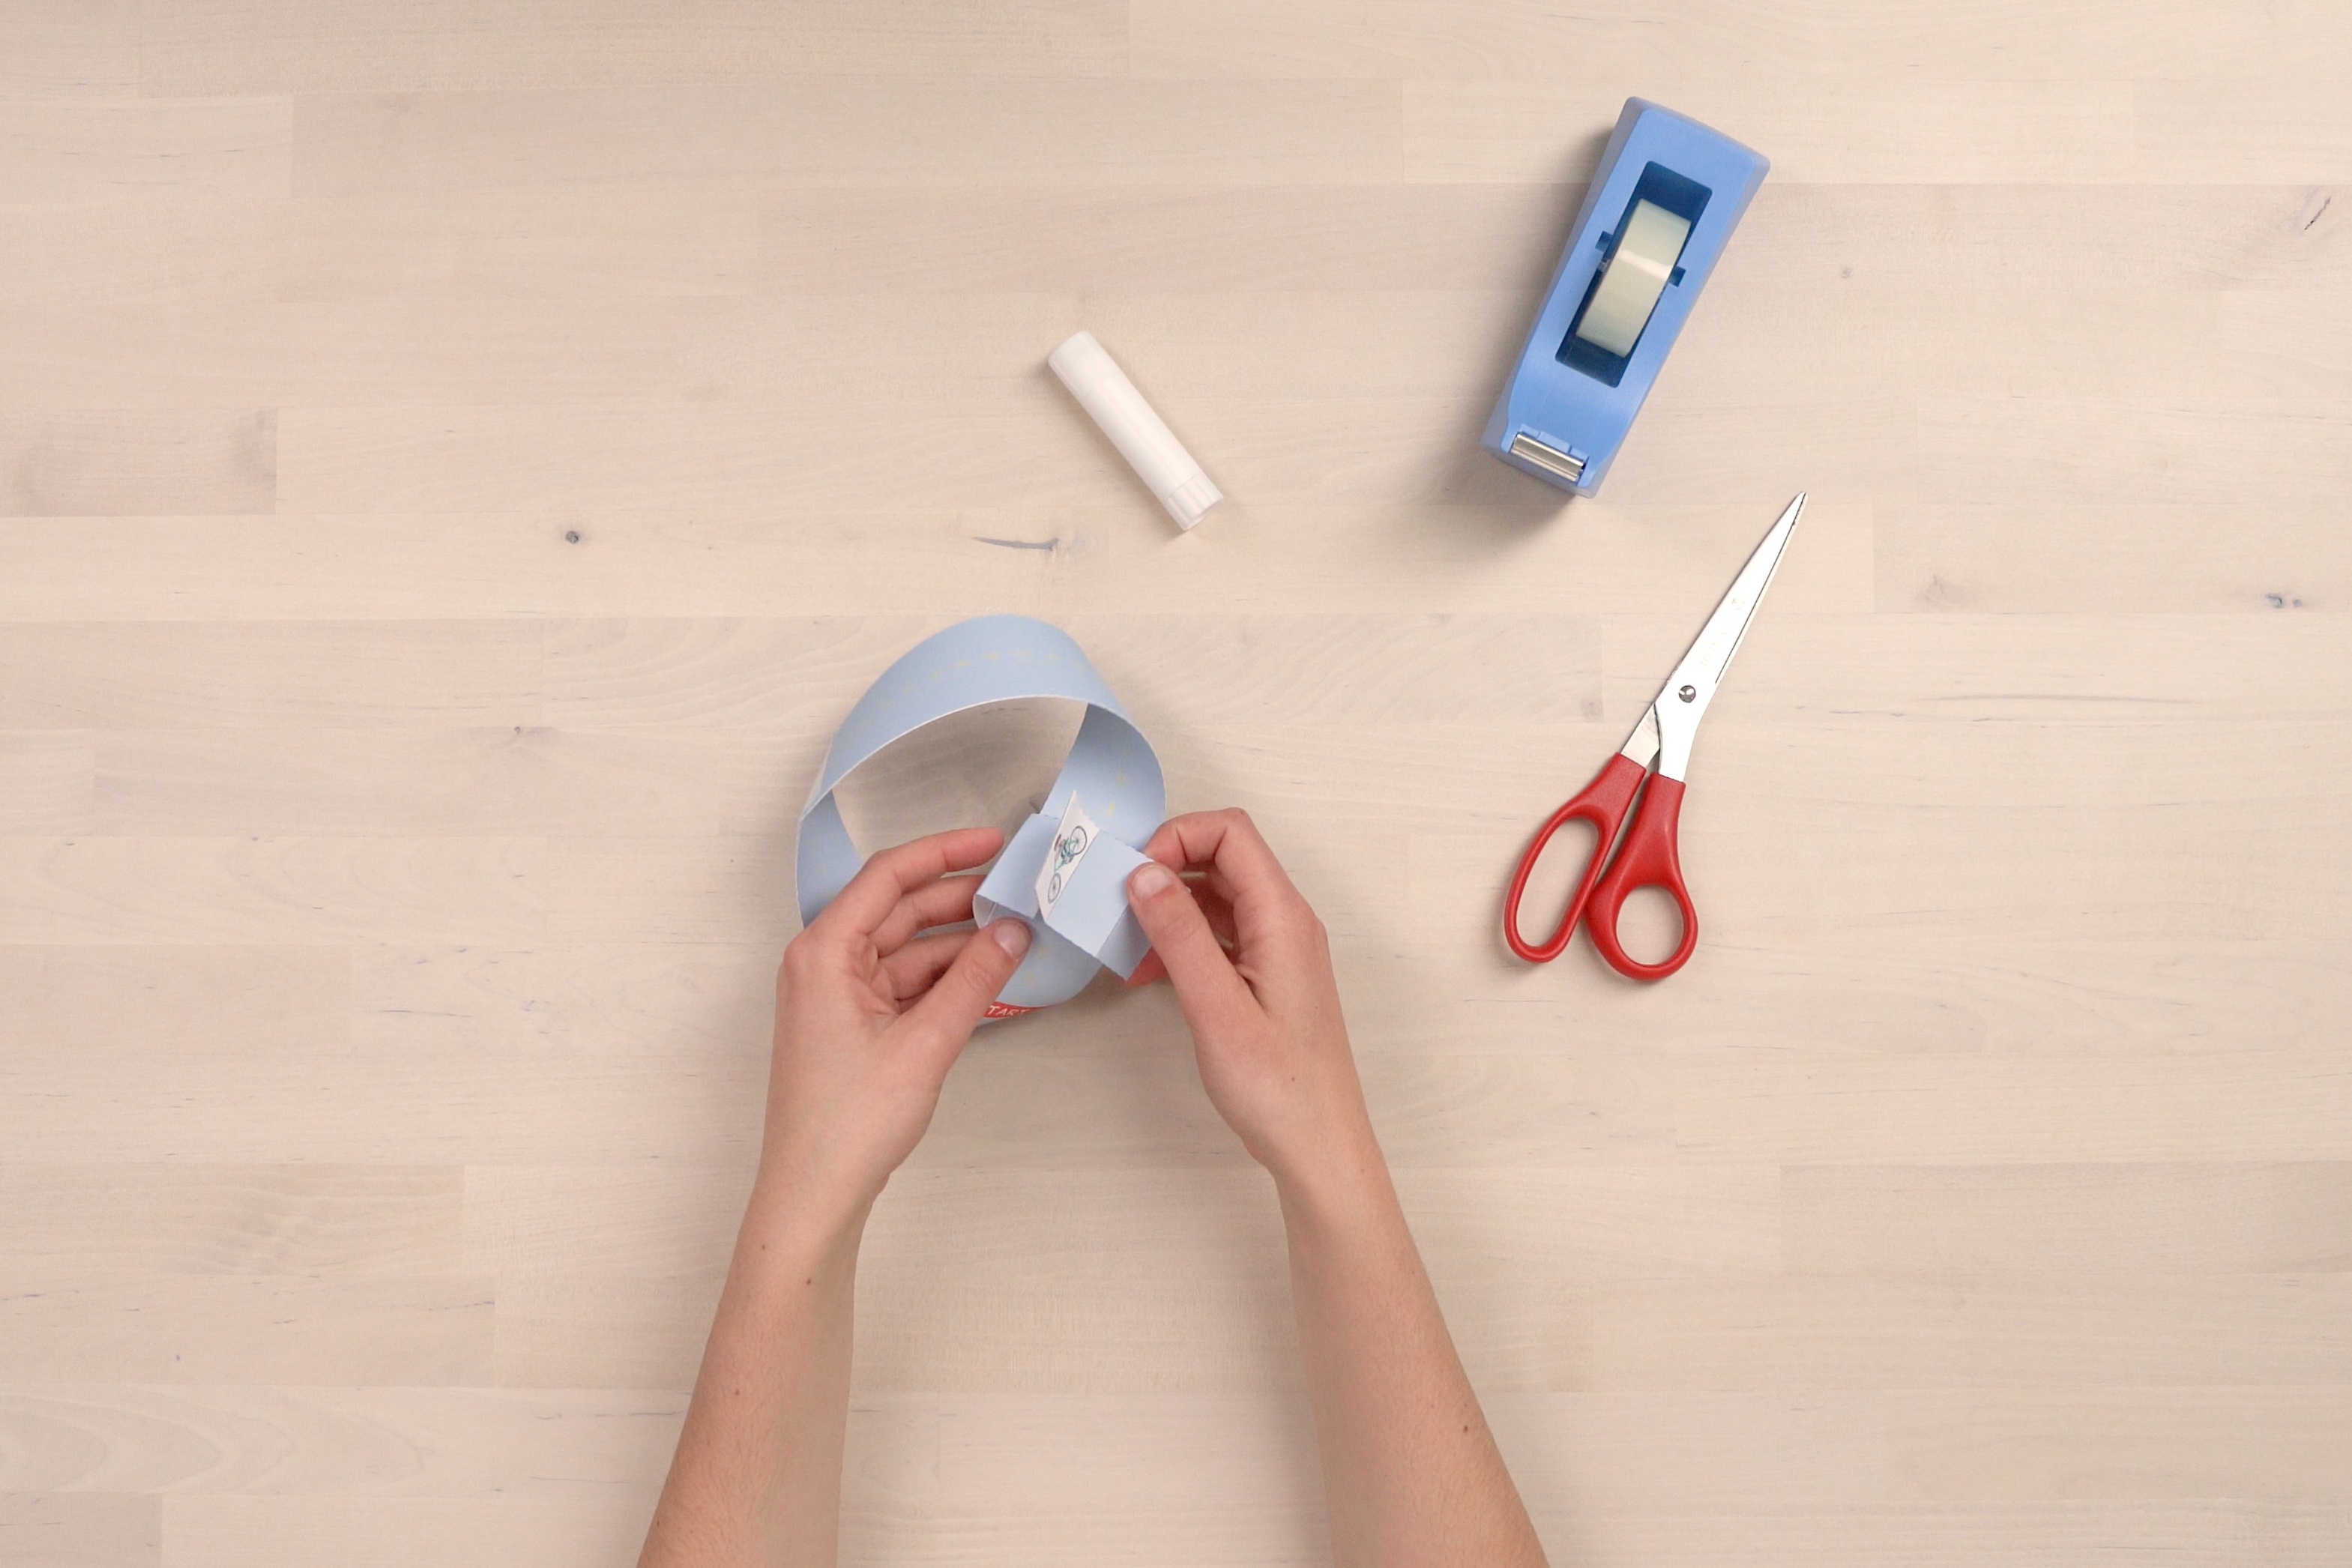
Step 7
Tape the bicyclist around the loop and push him to the start line.
Step 8
Start the bicyclist at the start line and guide him around the loop. Where does he finish?

Learn more

The amazing thing about a möbius loop is that it’s one-sided. The strip of paper, before you folded it, had a clear top and bottom side. But with the möbius loop, those sides are combined into one. If you put a pencil anywhere on it and draw a line following the middle , you’d be able to write on the top and bottom of the strip, without ever picking up your pencil or going over an edge. And finally you’d end up back where you started, to keep looping endlessly.
The study of shapes like this is called topology. You can study the topology of your loop by trying out a few other things:
- Take a marker and draw along one of the edges of the loop. Where do you end up? (Spoiler: Yes, you end up back where you started. Not only is there just one side to a möbius loop, there’s also only one edge!)
- Cut the loop in half down the center of the road (you can always print and make a new one after!). How does cutting it in half change the loop?
- Twist the strip twice to make your loop. How does that change the bike’s journey, or your other explorations?
- What else can you discover about your möbius loop?Fact
You can sometimes see the möbius loop in magic shows under the alias of “Afghan Bands!”


