
Step-by-step tutorial
Step 1
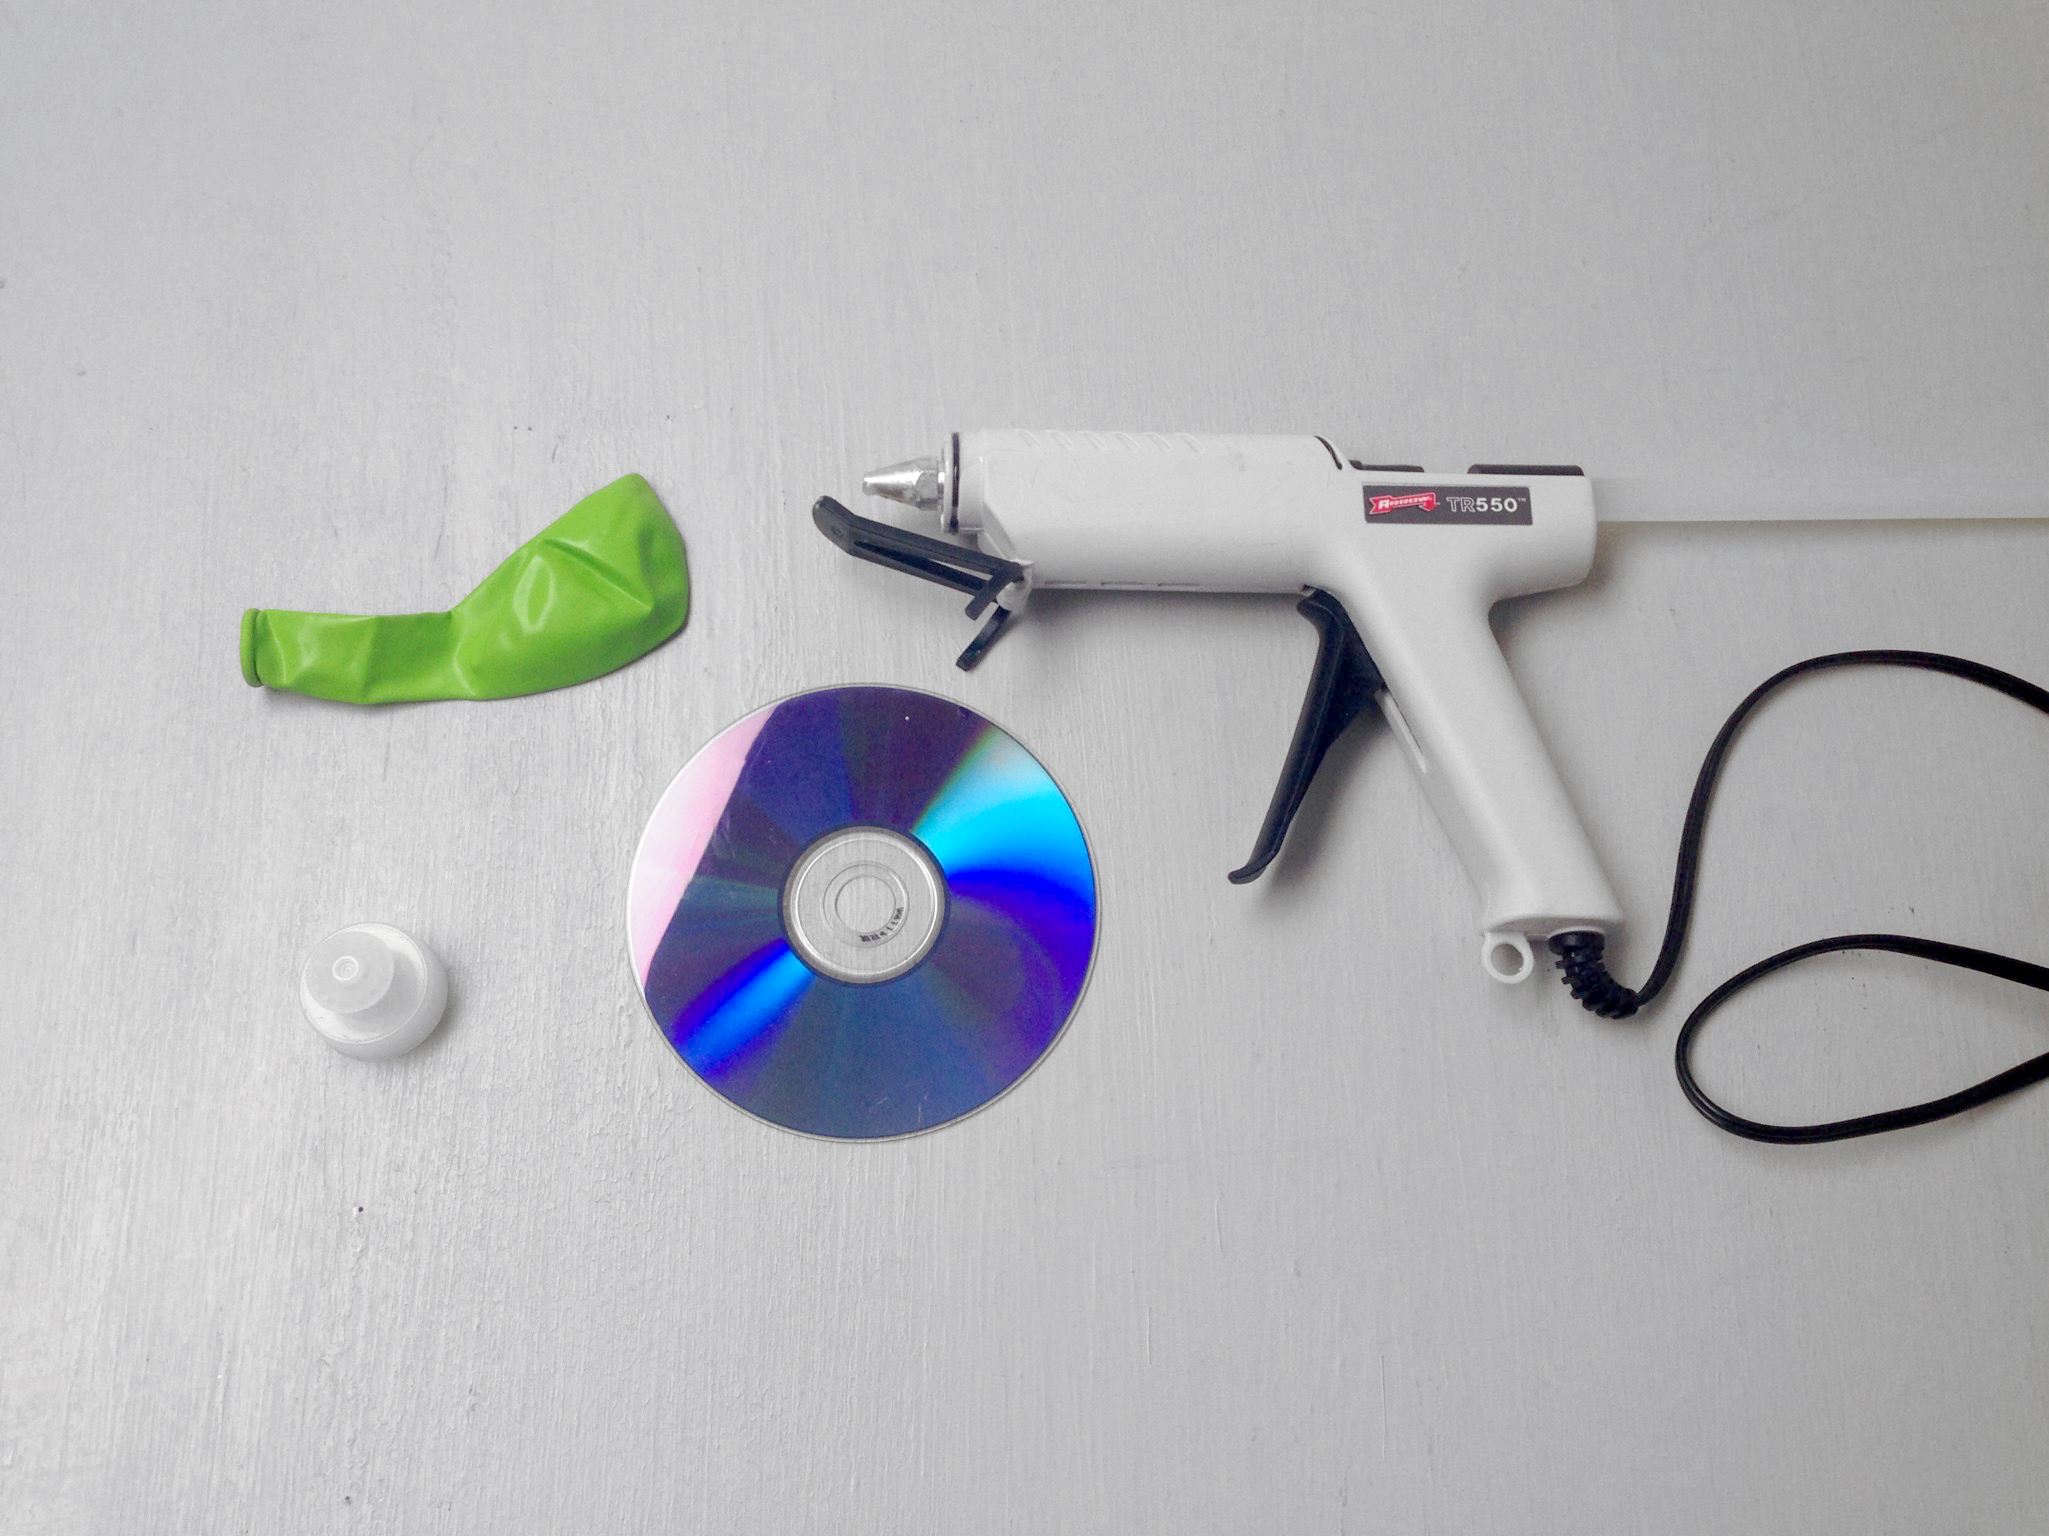
Gather your materials!

Step 2
This step will require some adult help!
Open the bottle cap. Glue the mouth of the bottle cap onto the middle of the CD. If you use hot glue, ask an adult to help you out. Make sure there' glue all the way around the cap. You don't want to have any gaps where air could leak out.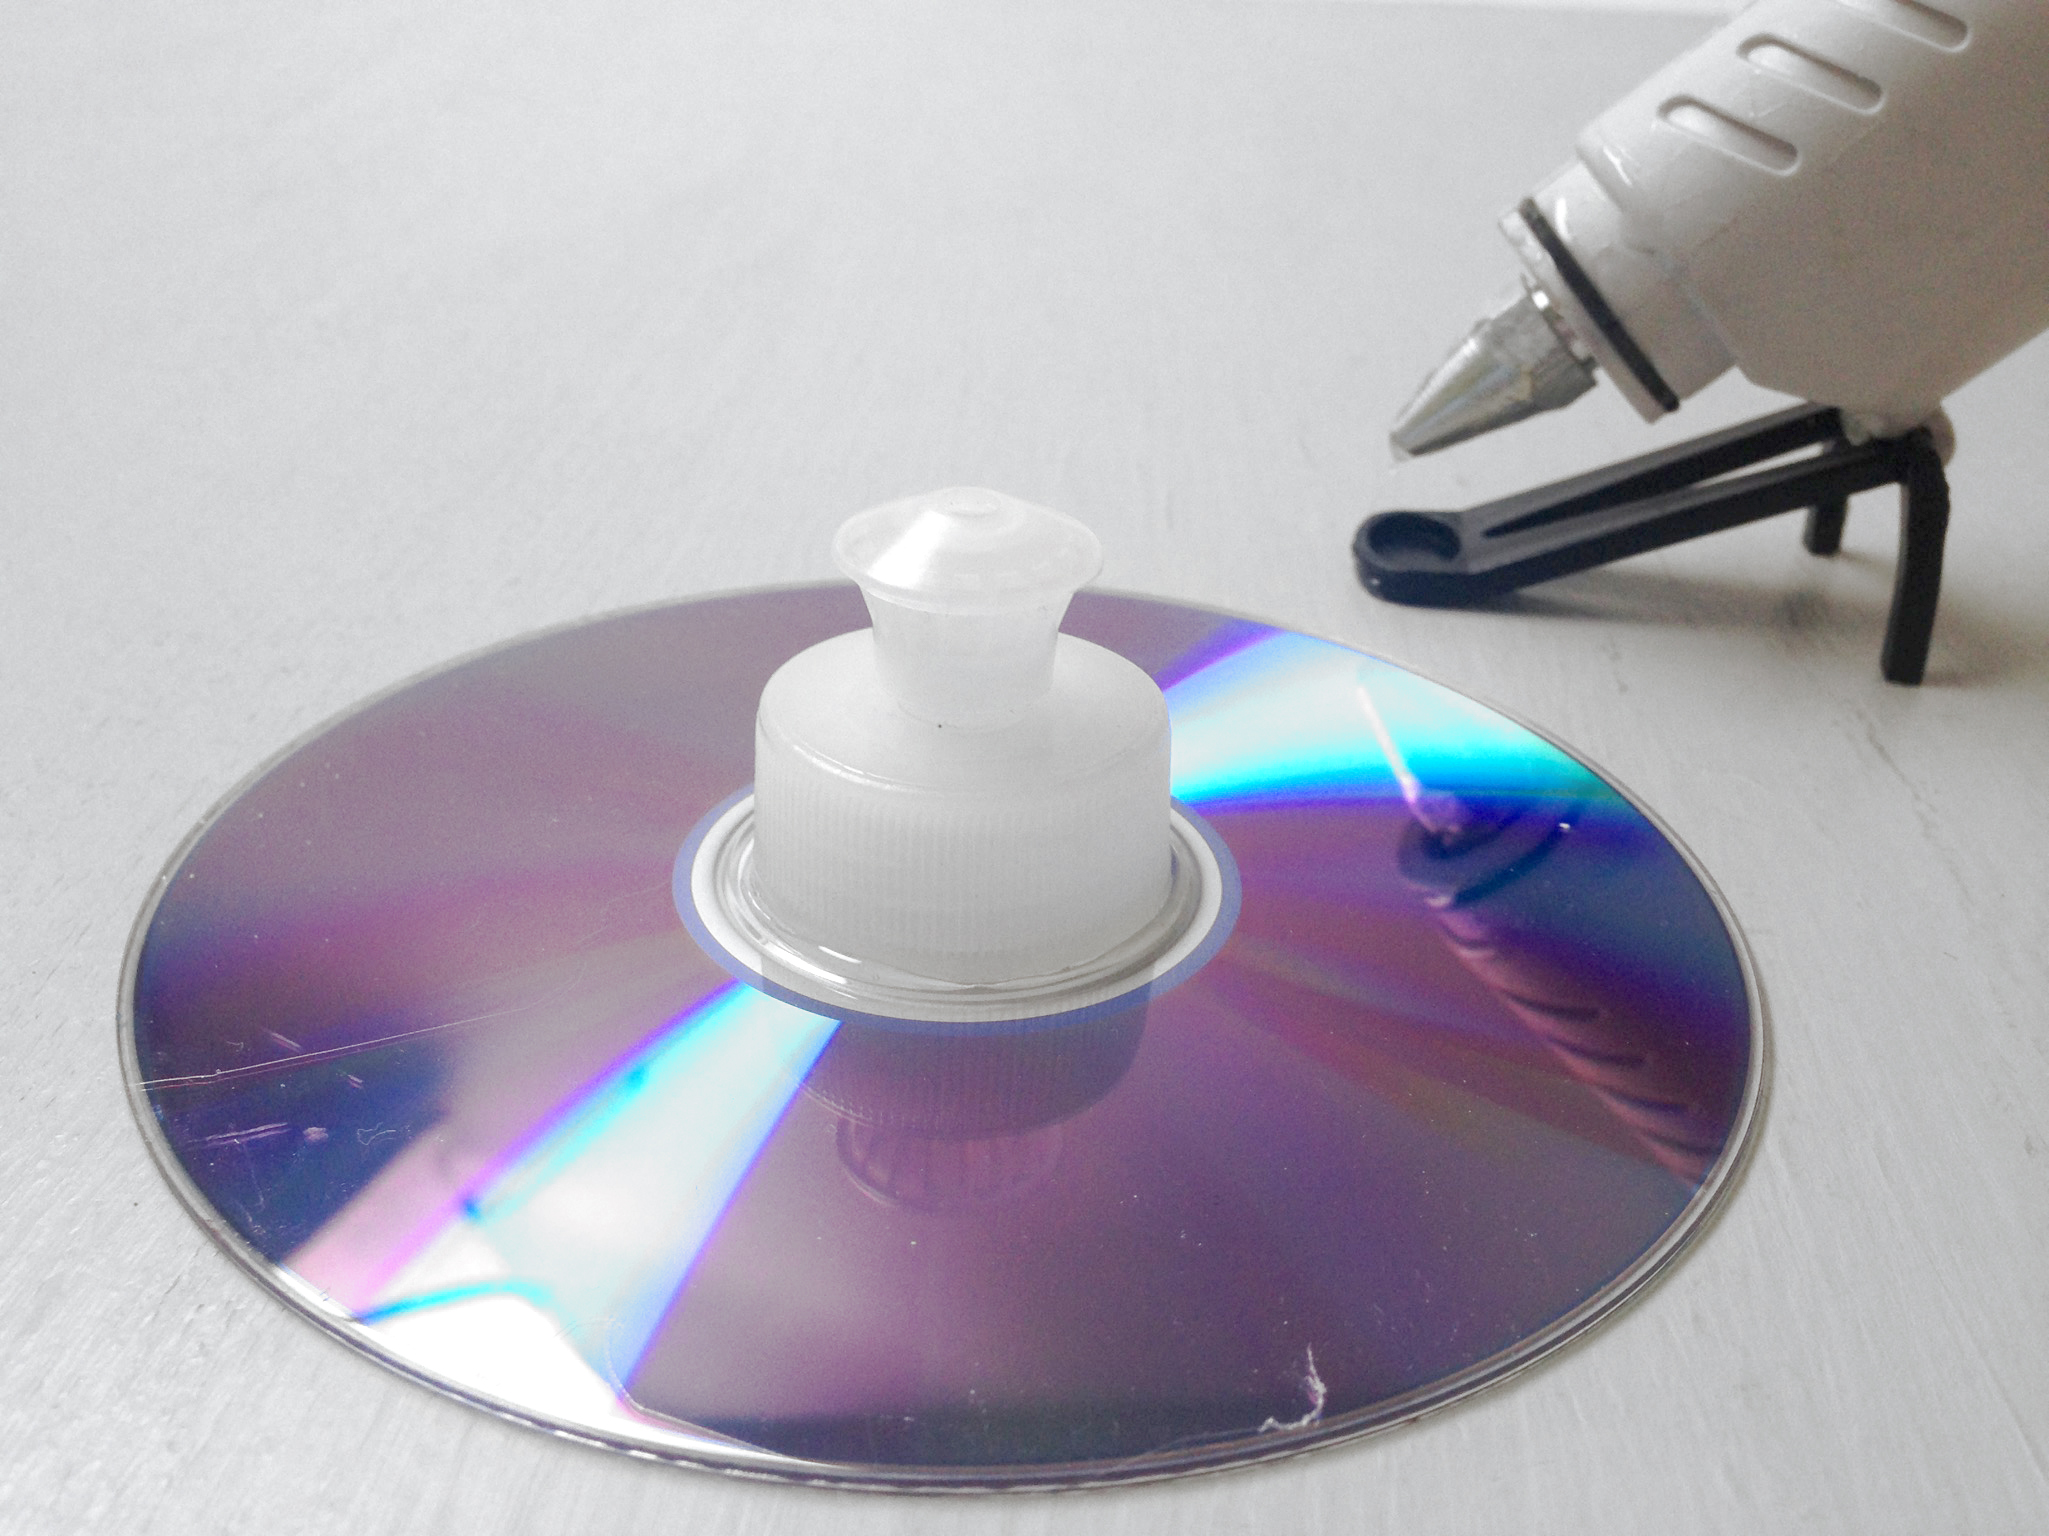
Step 3
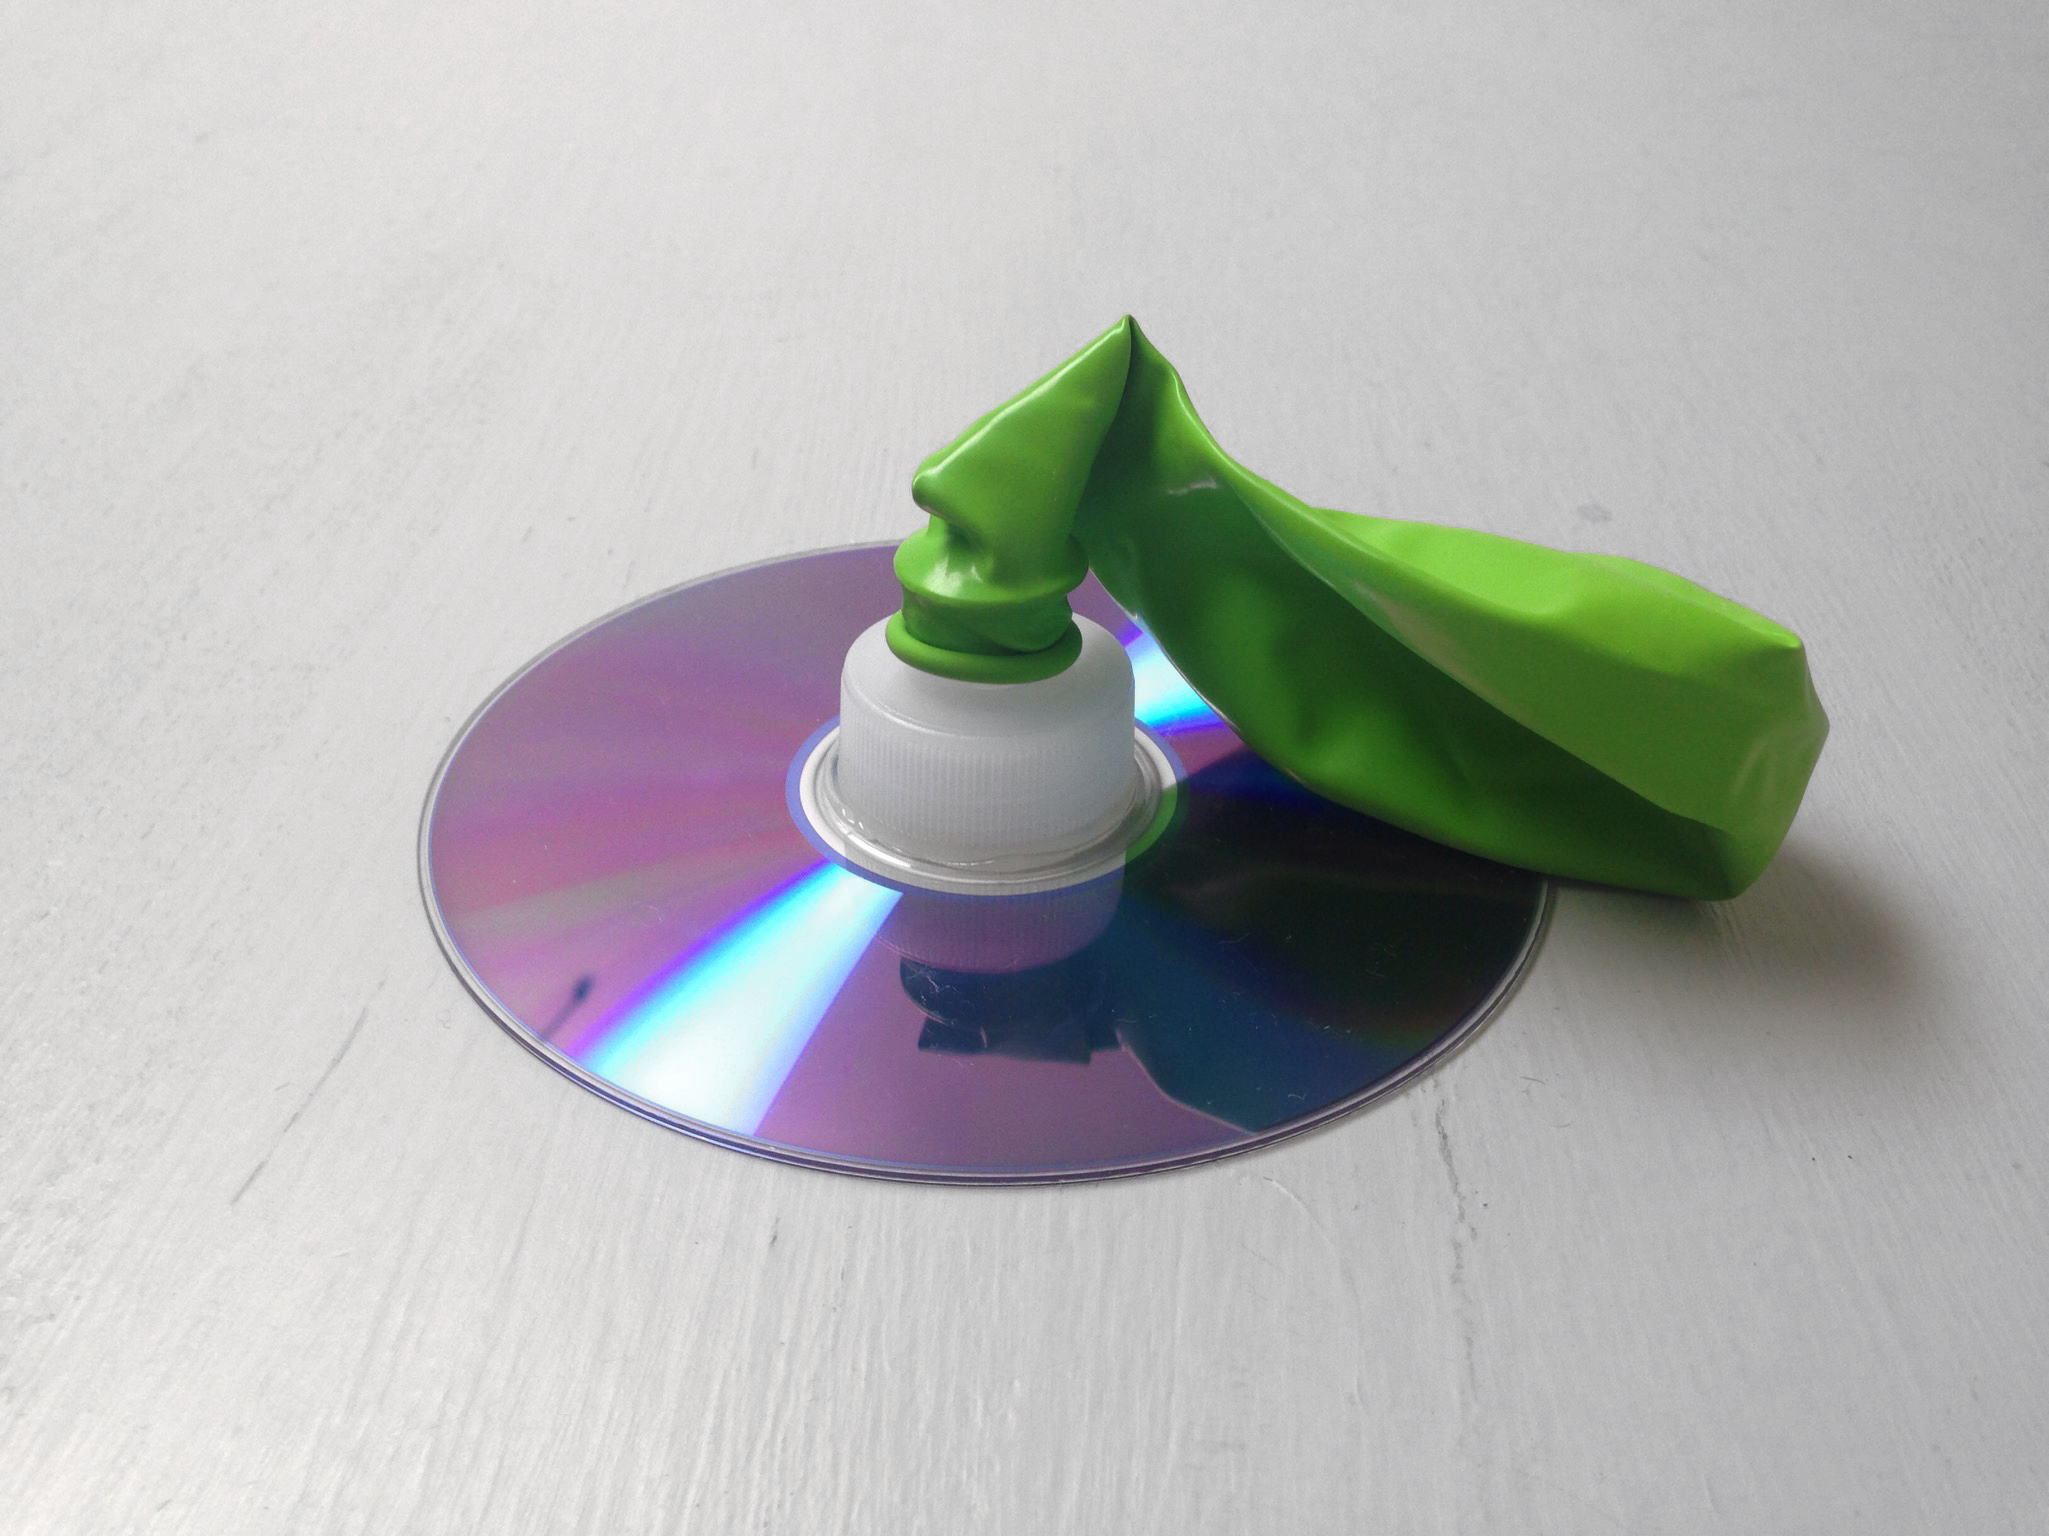
Once the glue has dried, stretch the end of the balloon over the bottle cap.
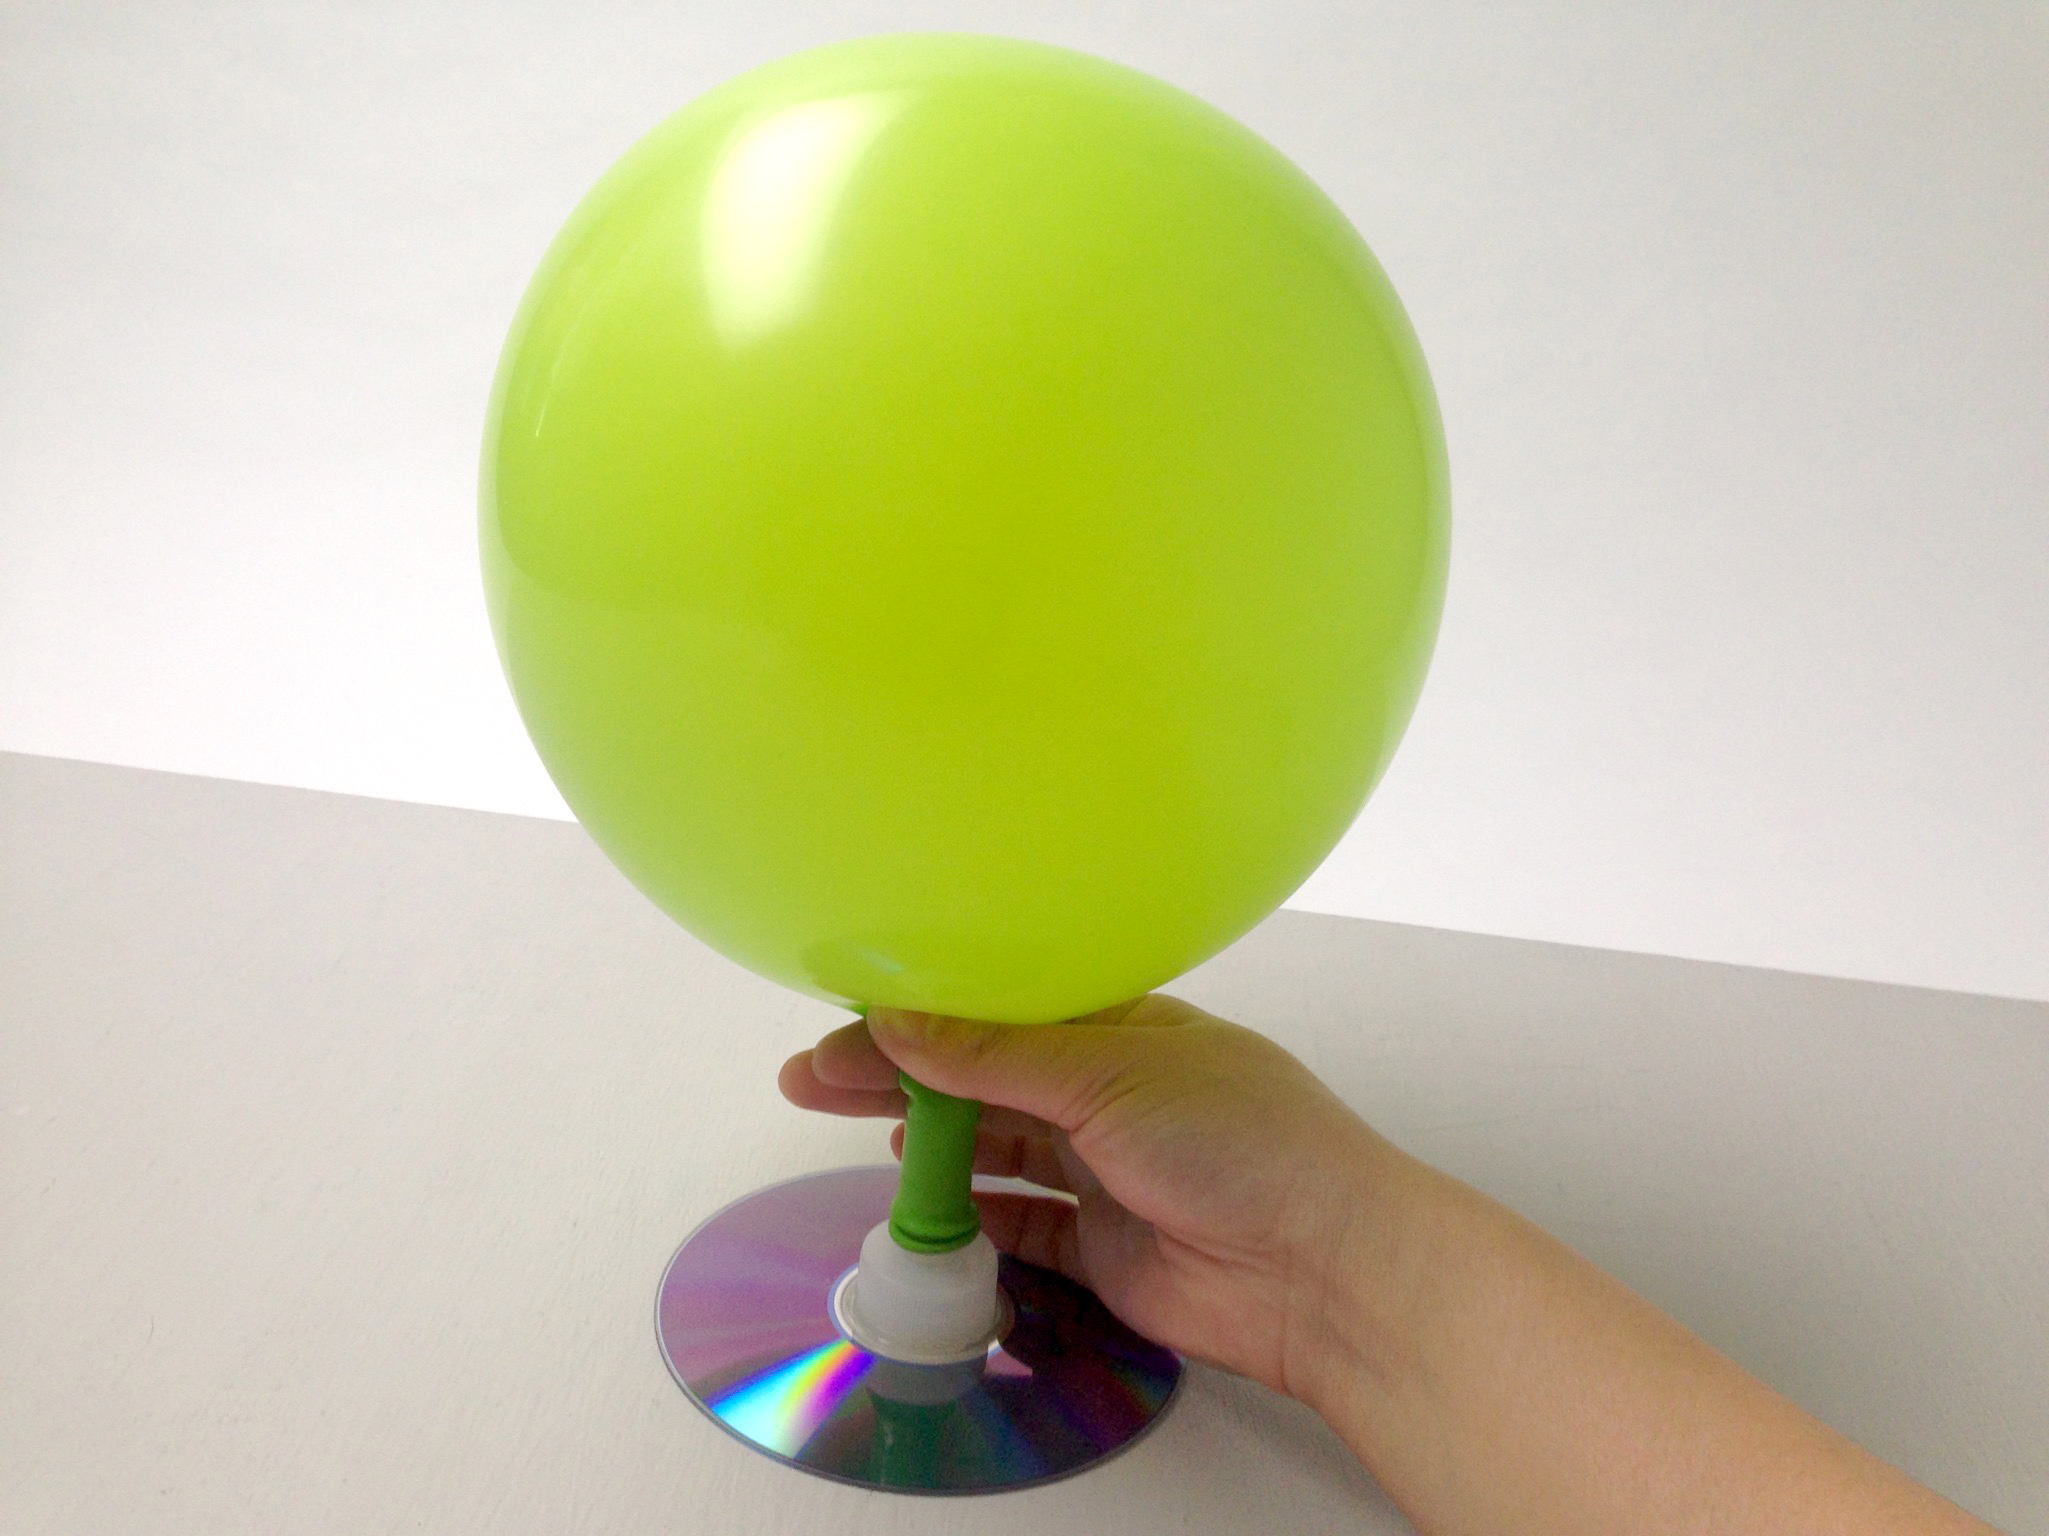
Step 4
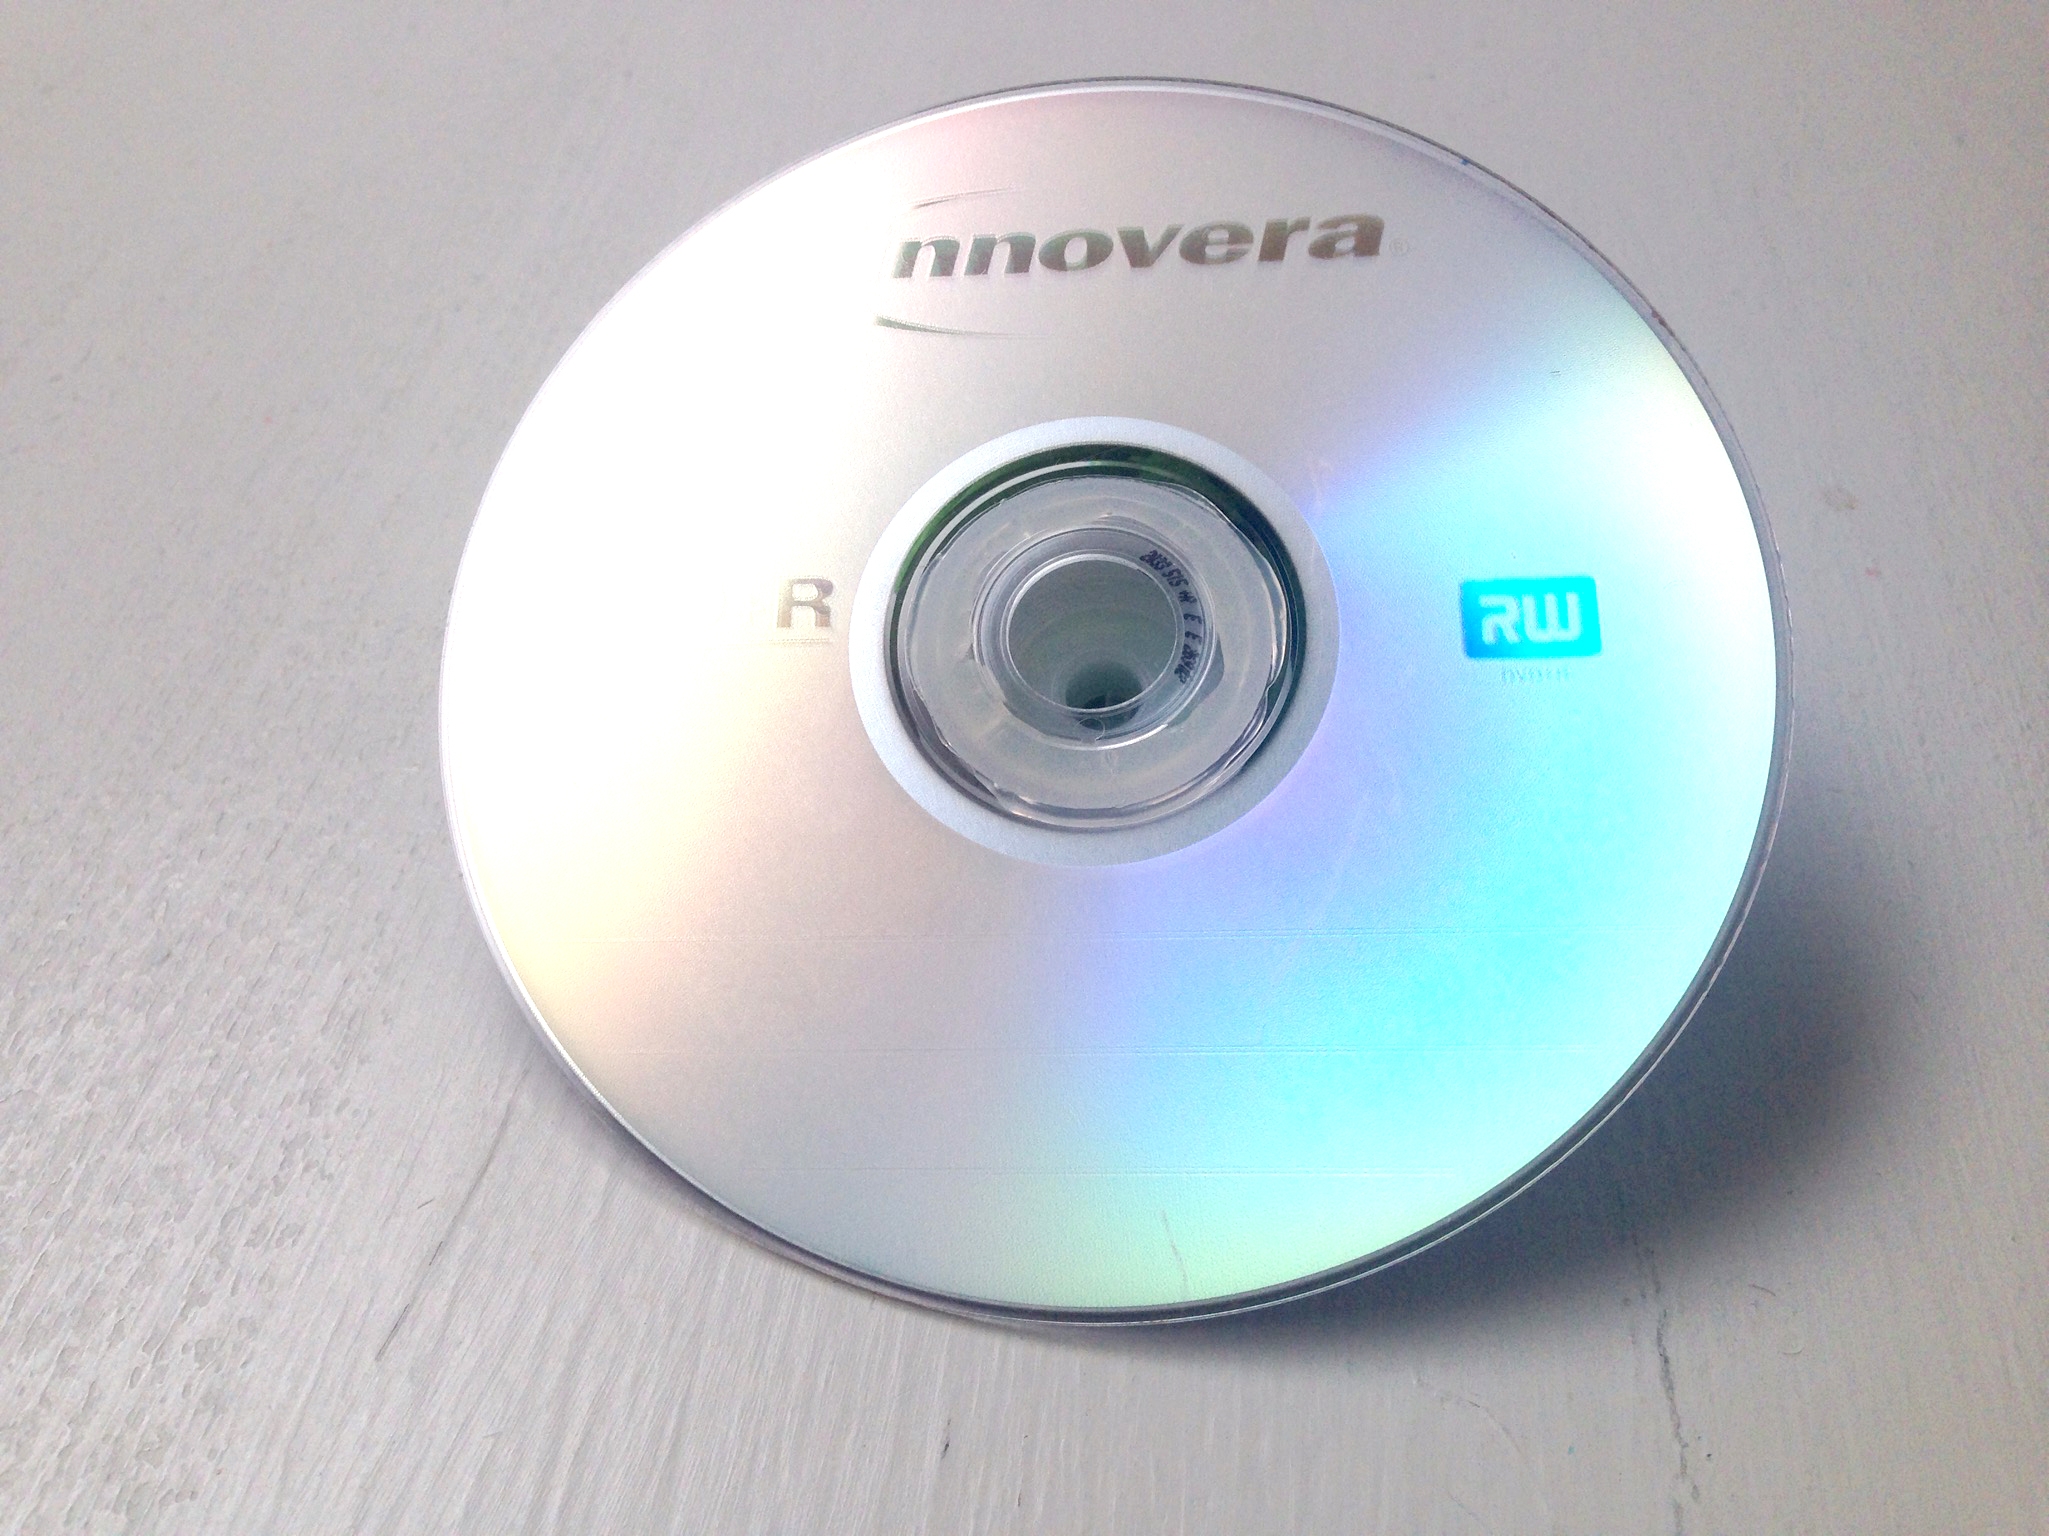
Inflate the balloon by blowing into the hole on the other side of the CD. Quickly close the nozzle once you are done.
Tip
If you have trouble with this step, try out step 5 instead. Otherwise, skip to step 6.
Step 5
Take off the balloon and close the cap nozzle. Inflate the balloon to your desired size, then pinch the base about 1 inch (2.5 cm)above the tip and stretch it over the bottle cap.
Step 6
Set the hovercraft down on a flat, smooth surface. Twist or pull the nozzle cap open without removing the balloon. As air flows out of the balloon, it'll start to hover! Try giving it a push and watch it slide around.
This activity is a great way for kids to experiment with friction. As long as the balloon is still filled with air, you can easily push the hovercraft across a smooth tabletop. But as soon as the air runs out, it quickly comes to a stop. The cushion of air reduces the friction between the CD and the tabletop, allowing your hovercraft to fly, just like the puck on an air hockey table.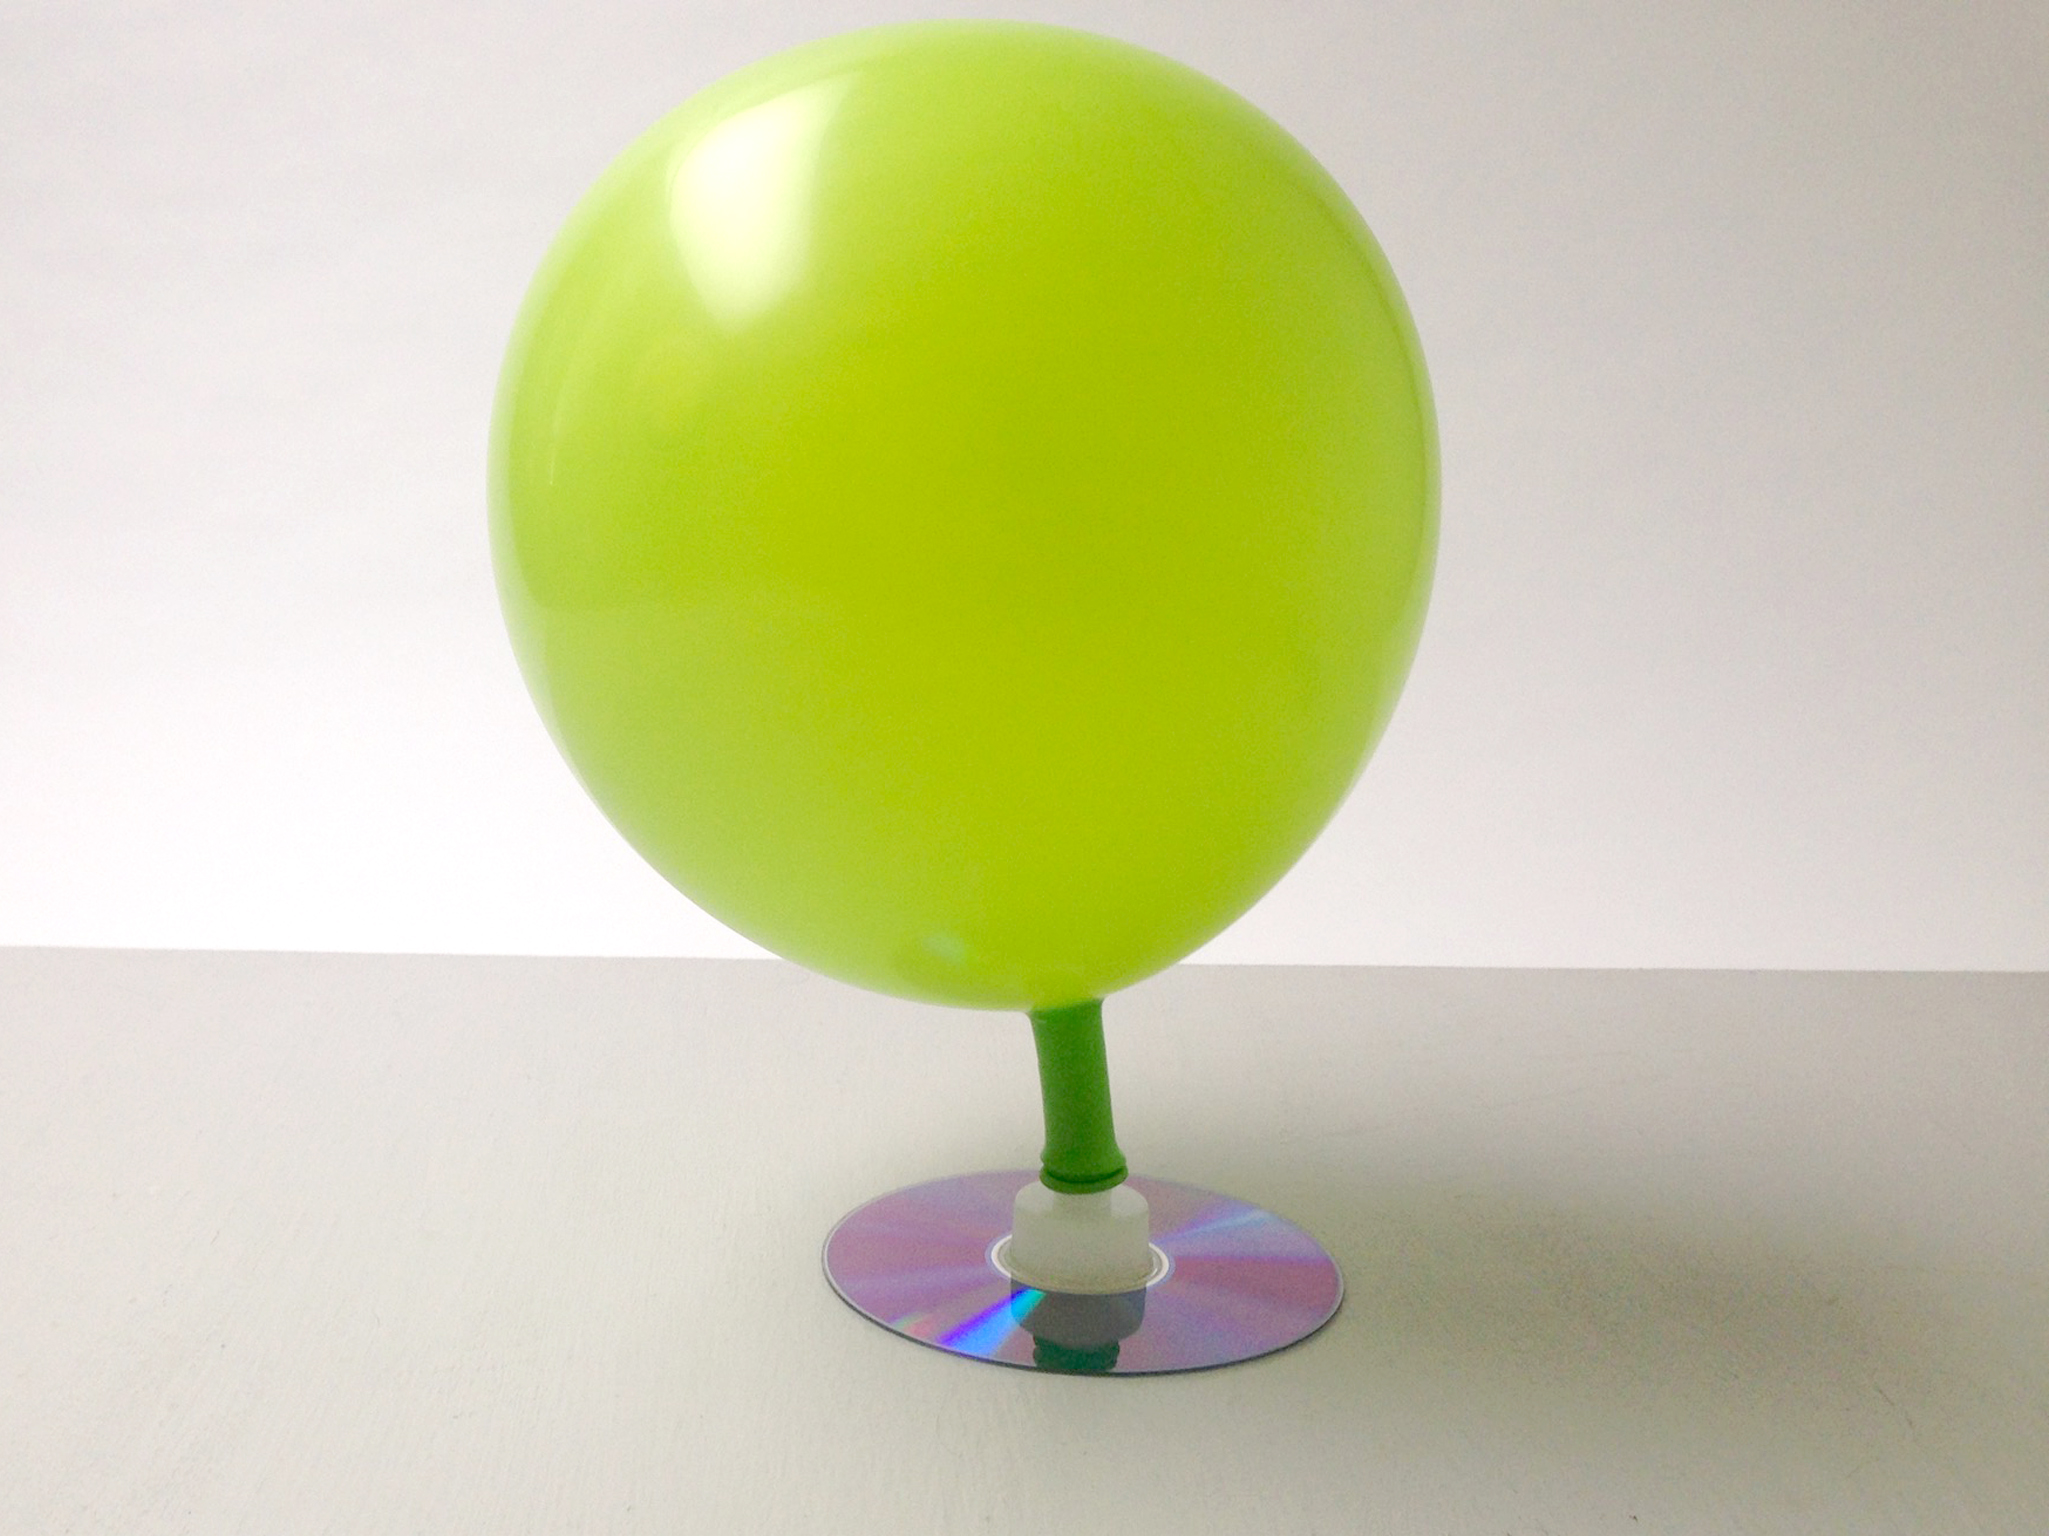
Done!


