Step-by-step tutorial
Step 1
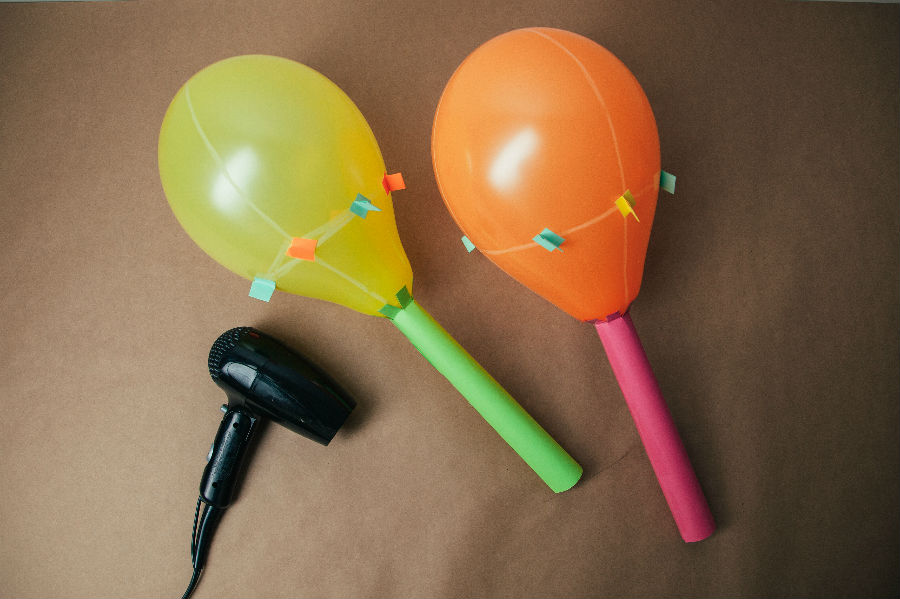
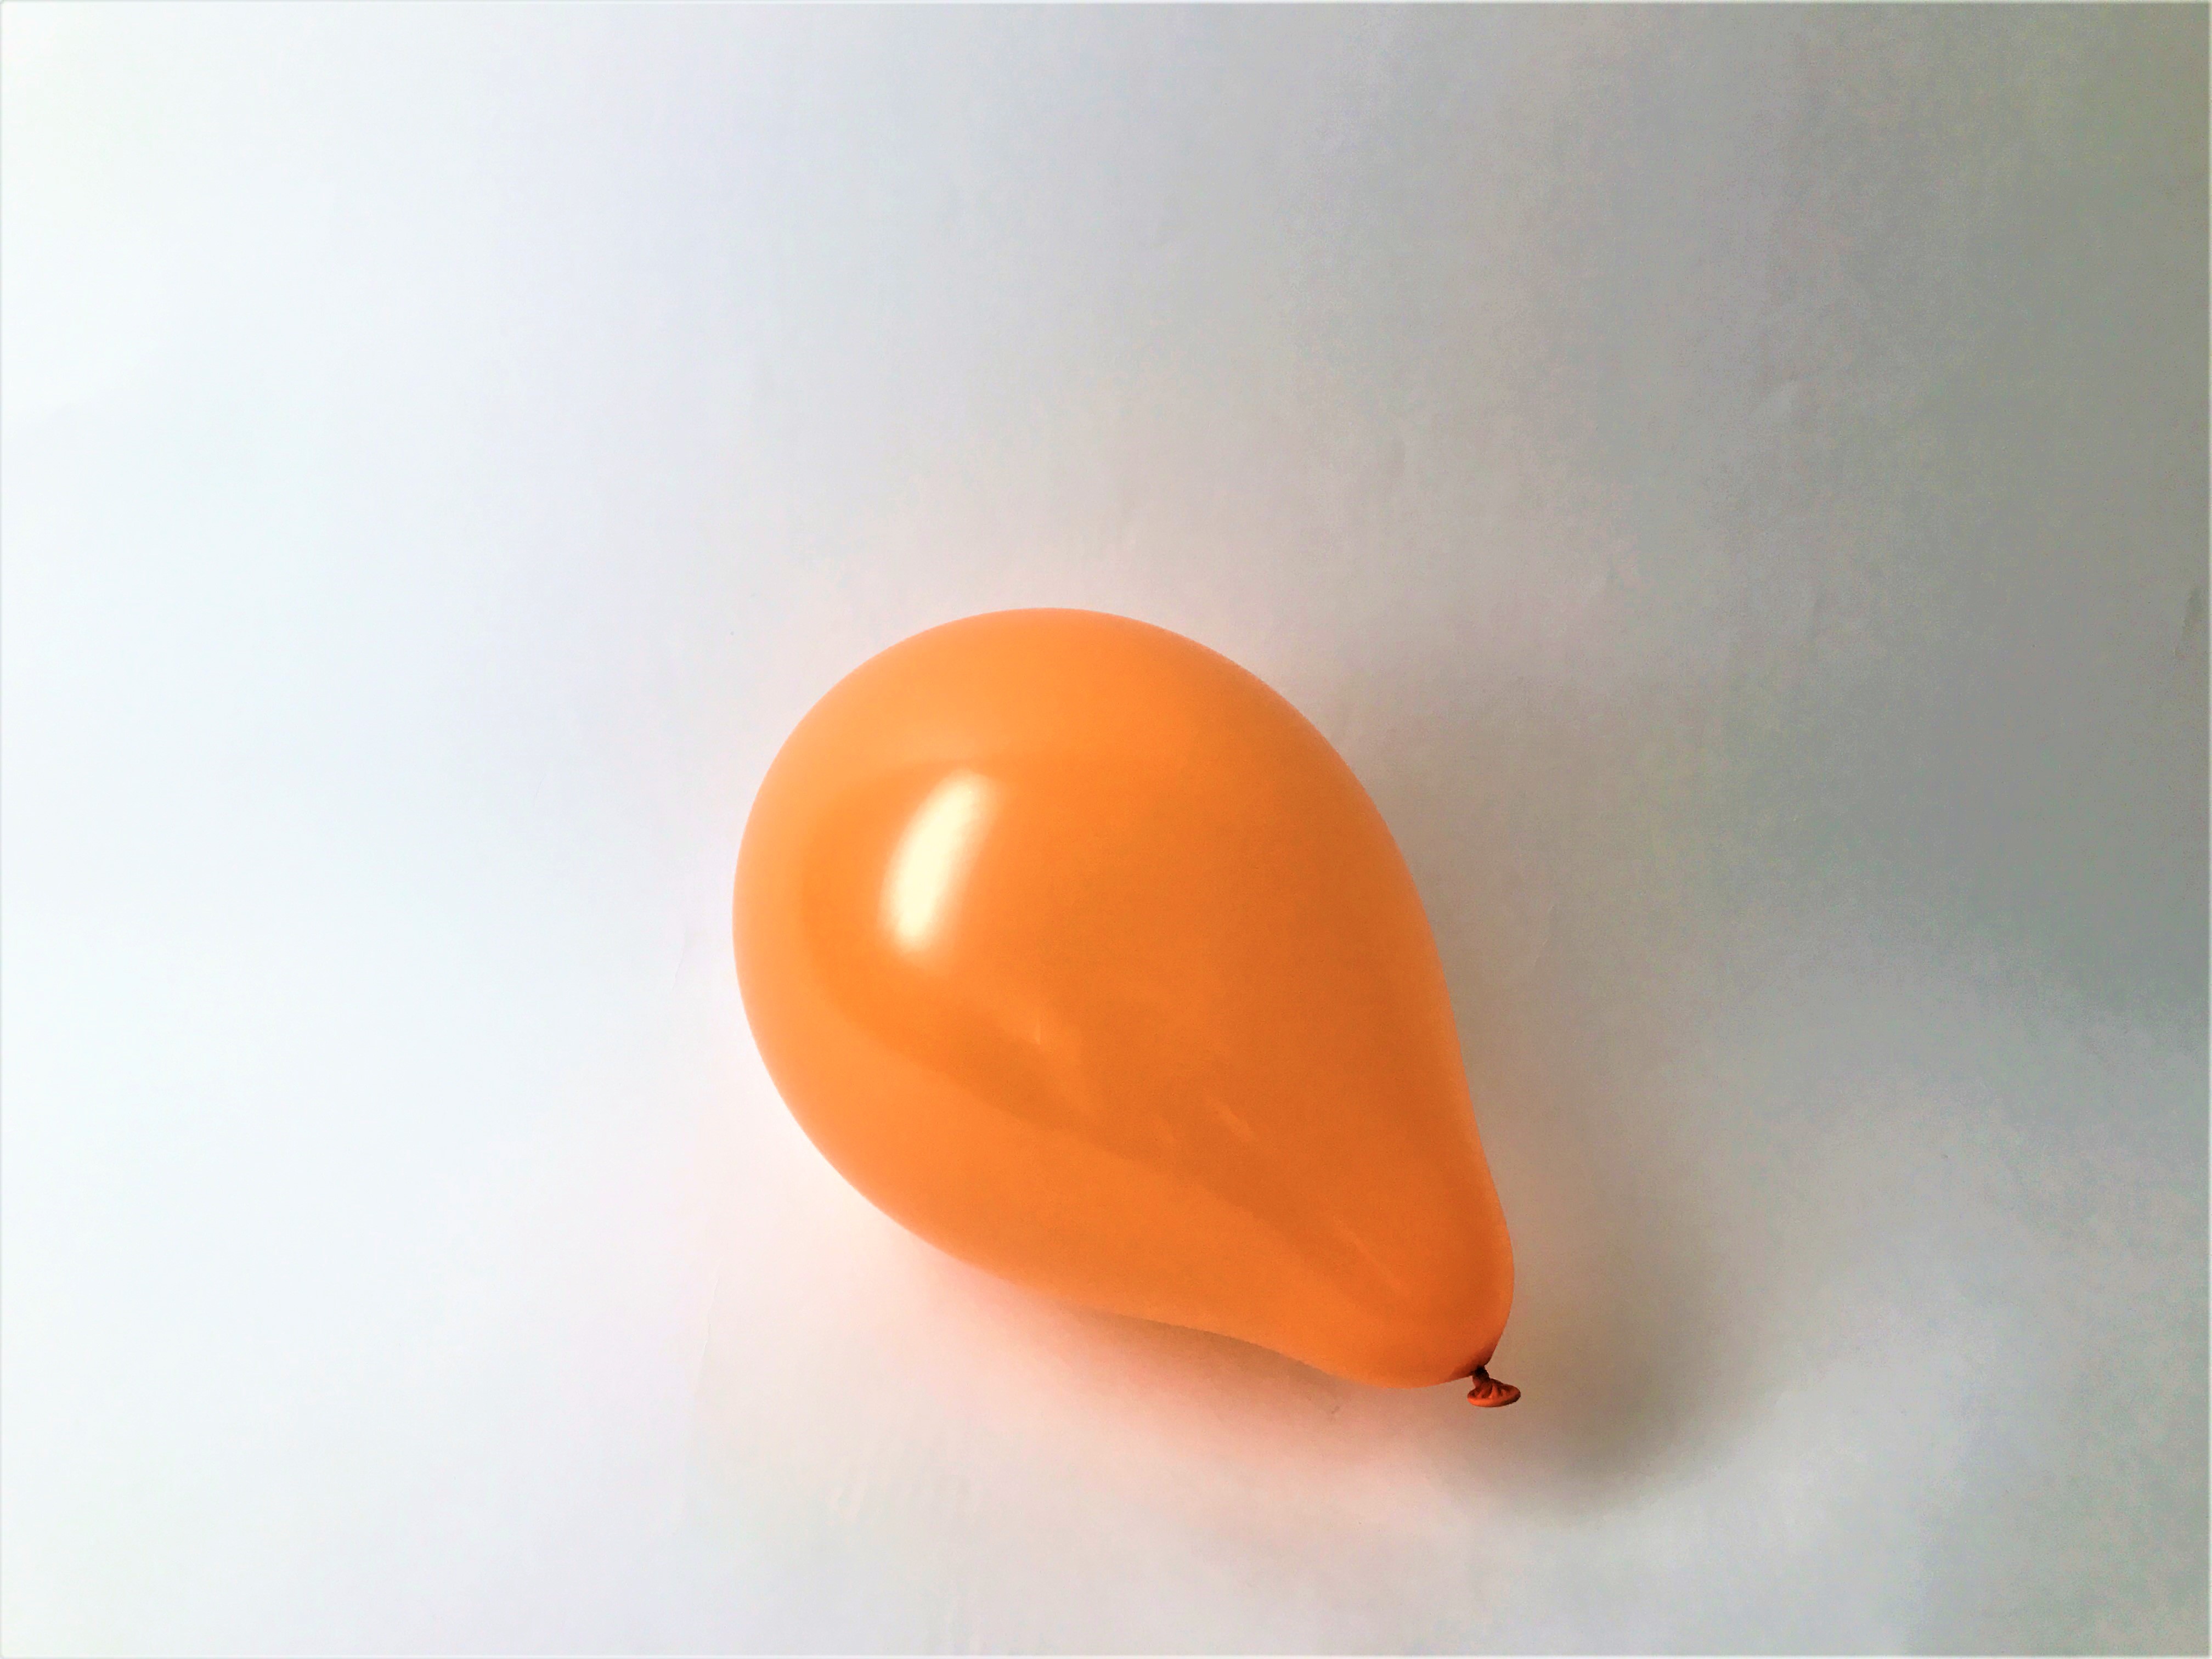
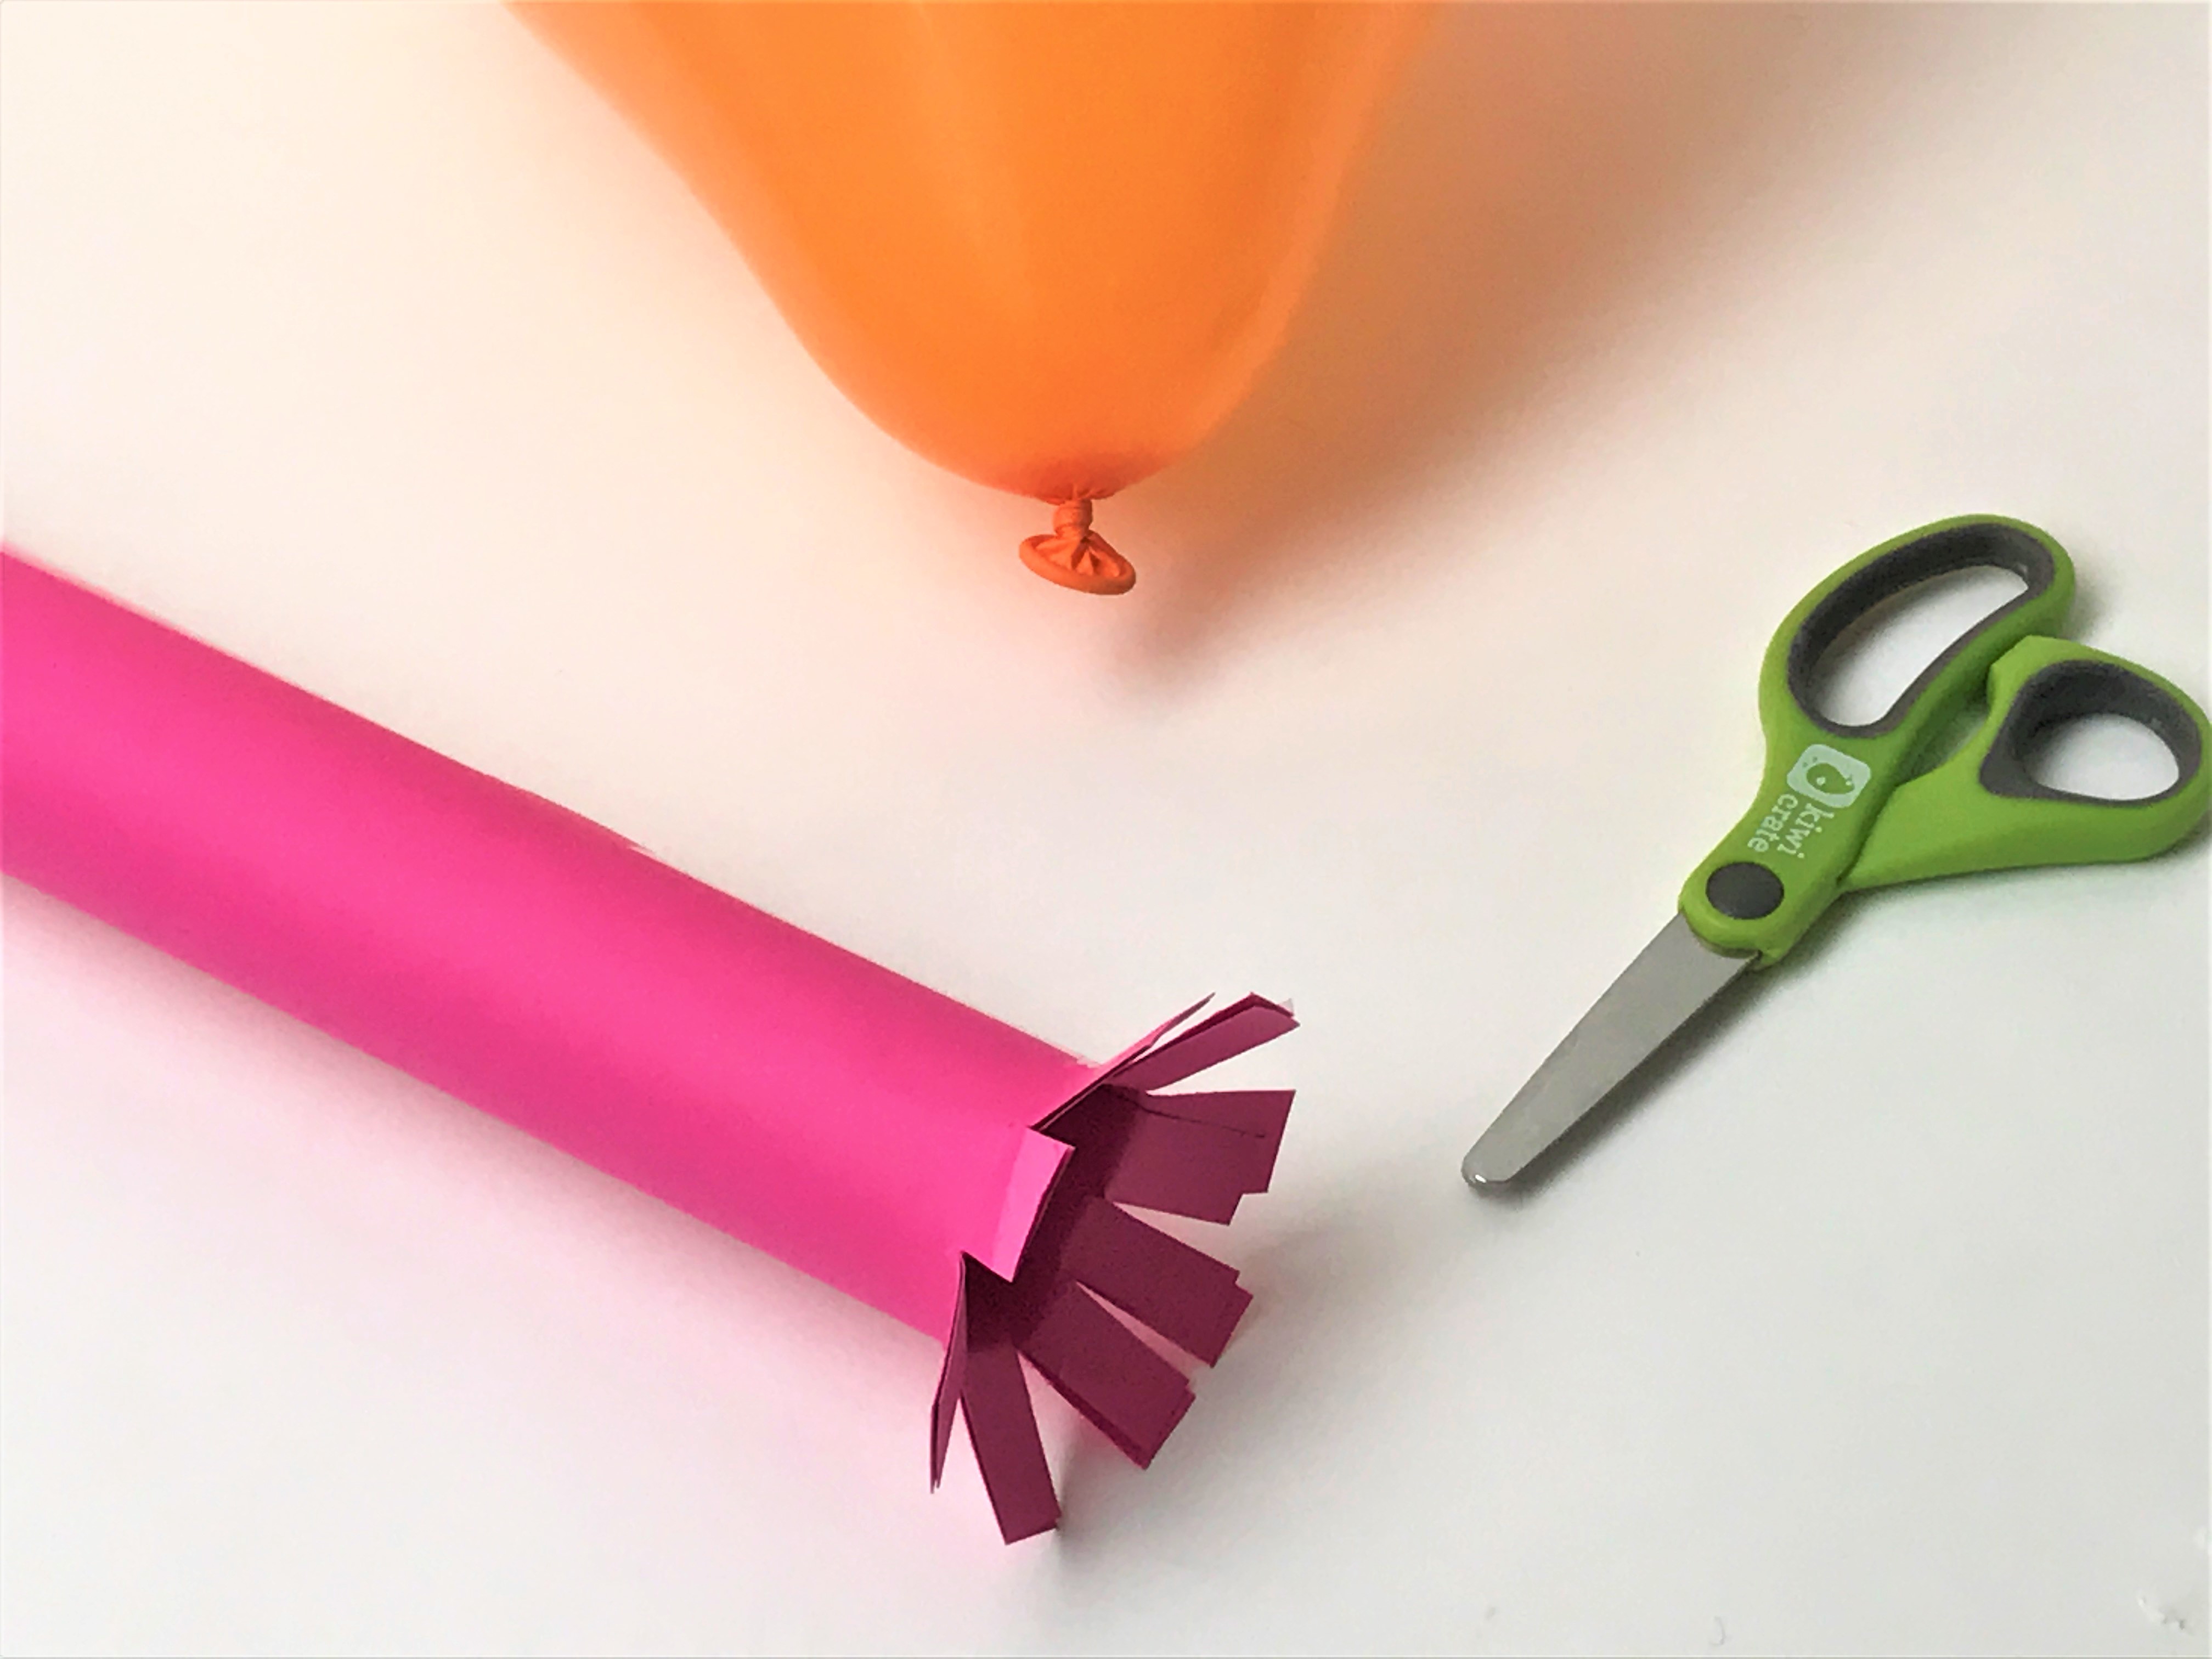
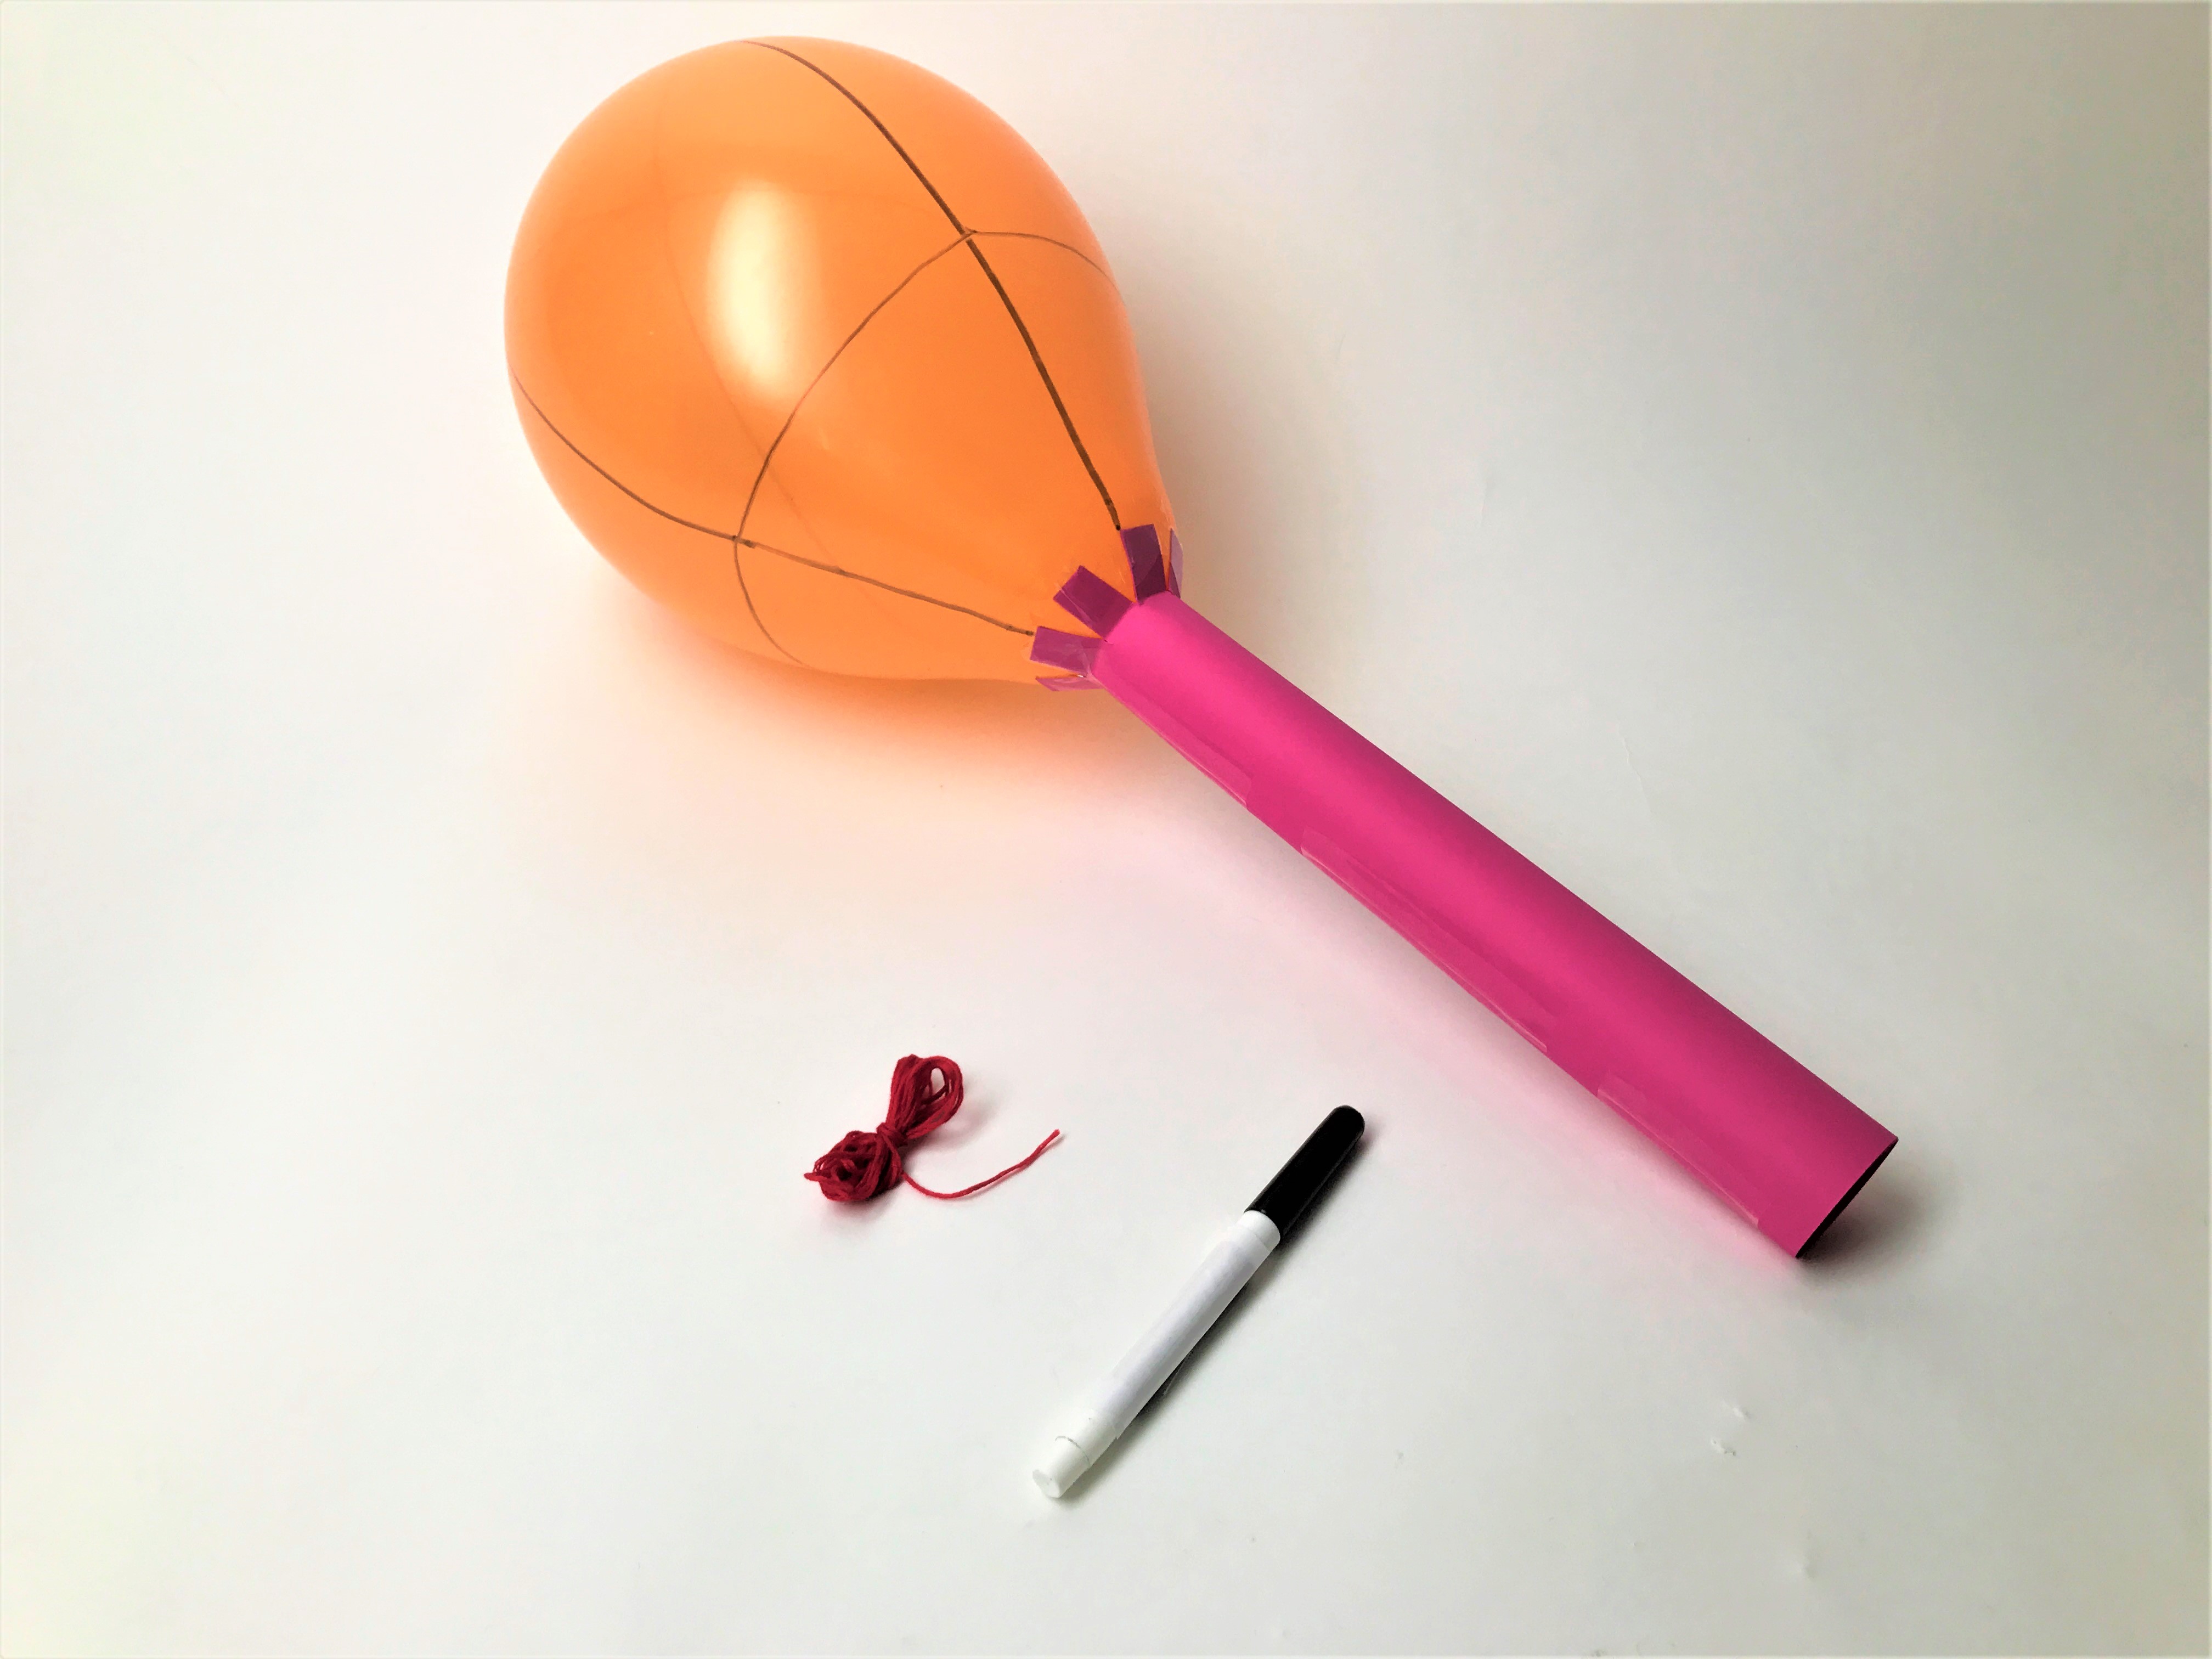
Blow up a large round balloon and tie off the end.

Step 2
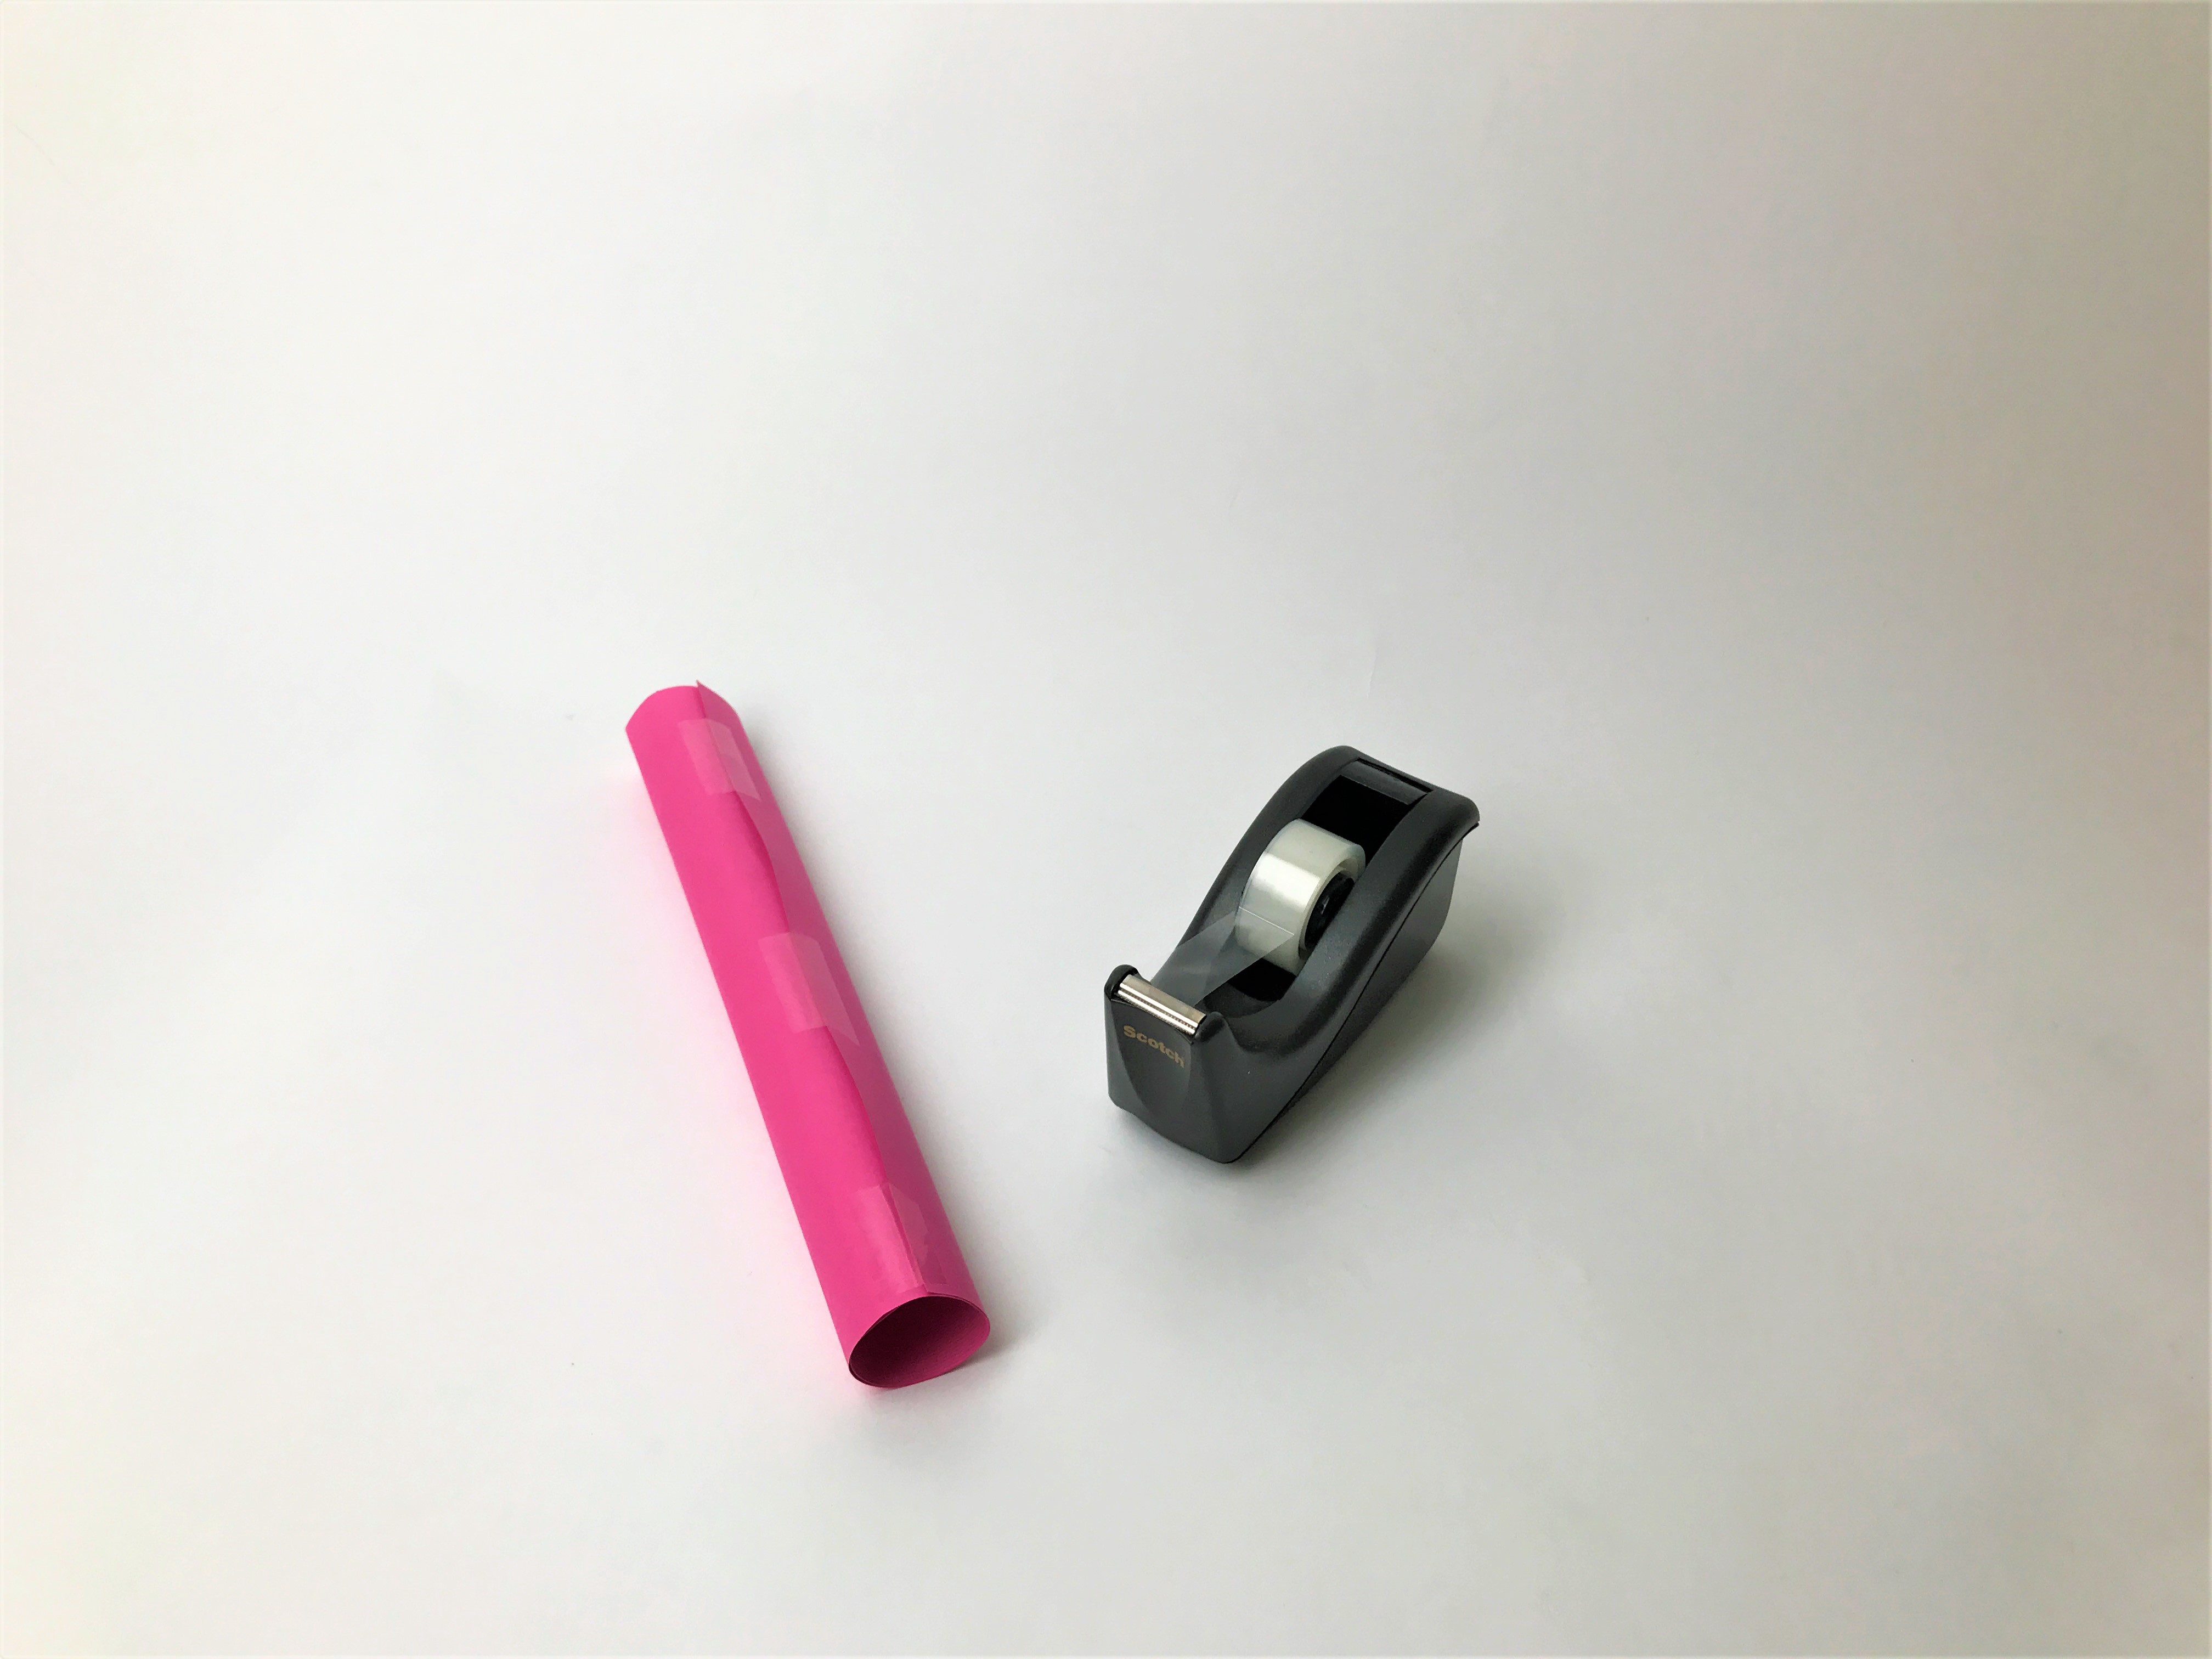
Make a light weight for your balloon by rolling a piece of copy paper into a tube that is 11 inches long. Tightly roll the tube so that the walls are two layers thick with an approximate diameter of 1.25 inches. Use tape to keep the tube from unrolling.
Step 3
Use scissors to make a few 0.5 inch deep slits around one end of the tube. Fold out these tabs, place the tube end over the balloon knot, and use tape to secure the tube to the base of the balloon.
Step 4
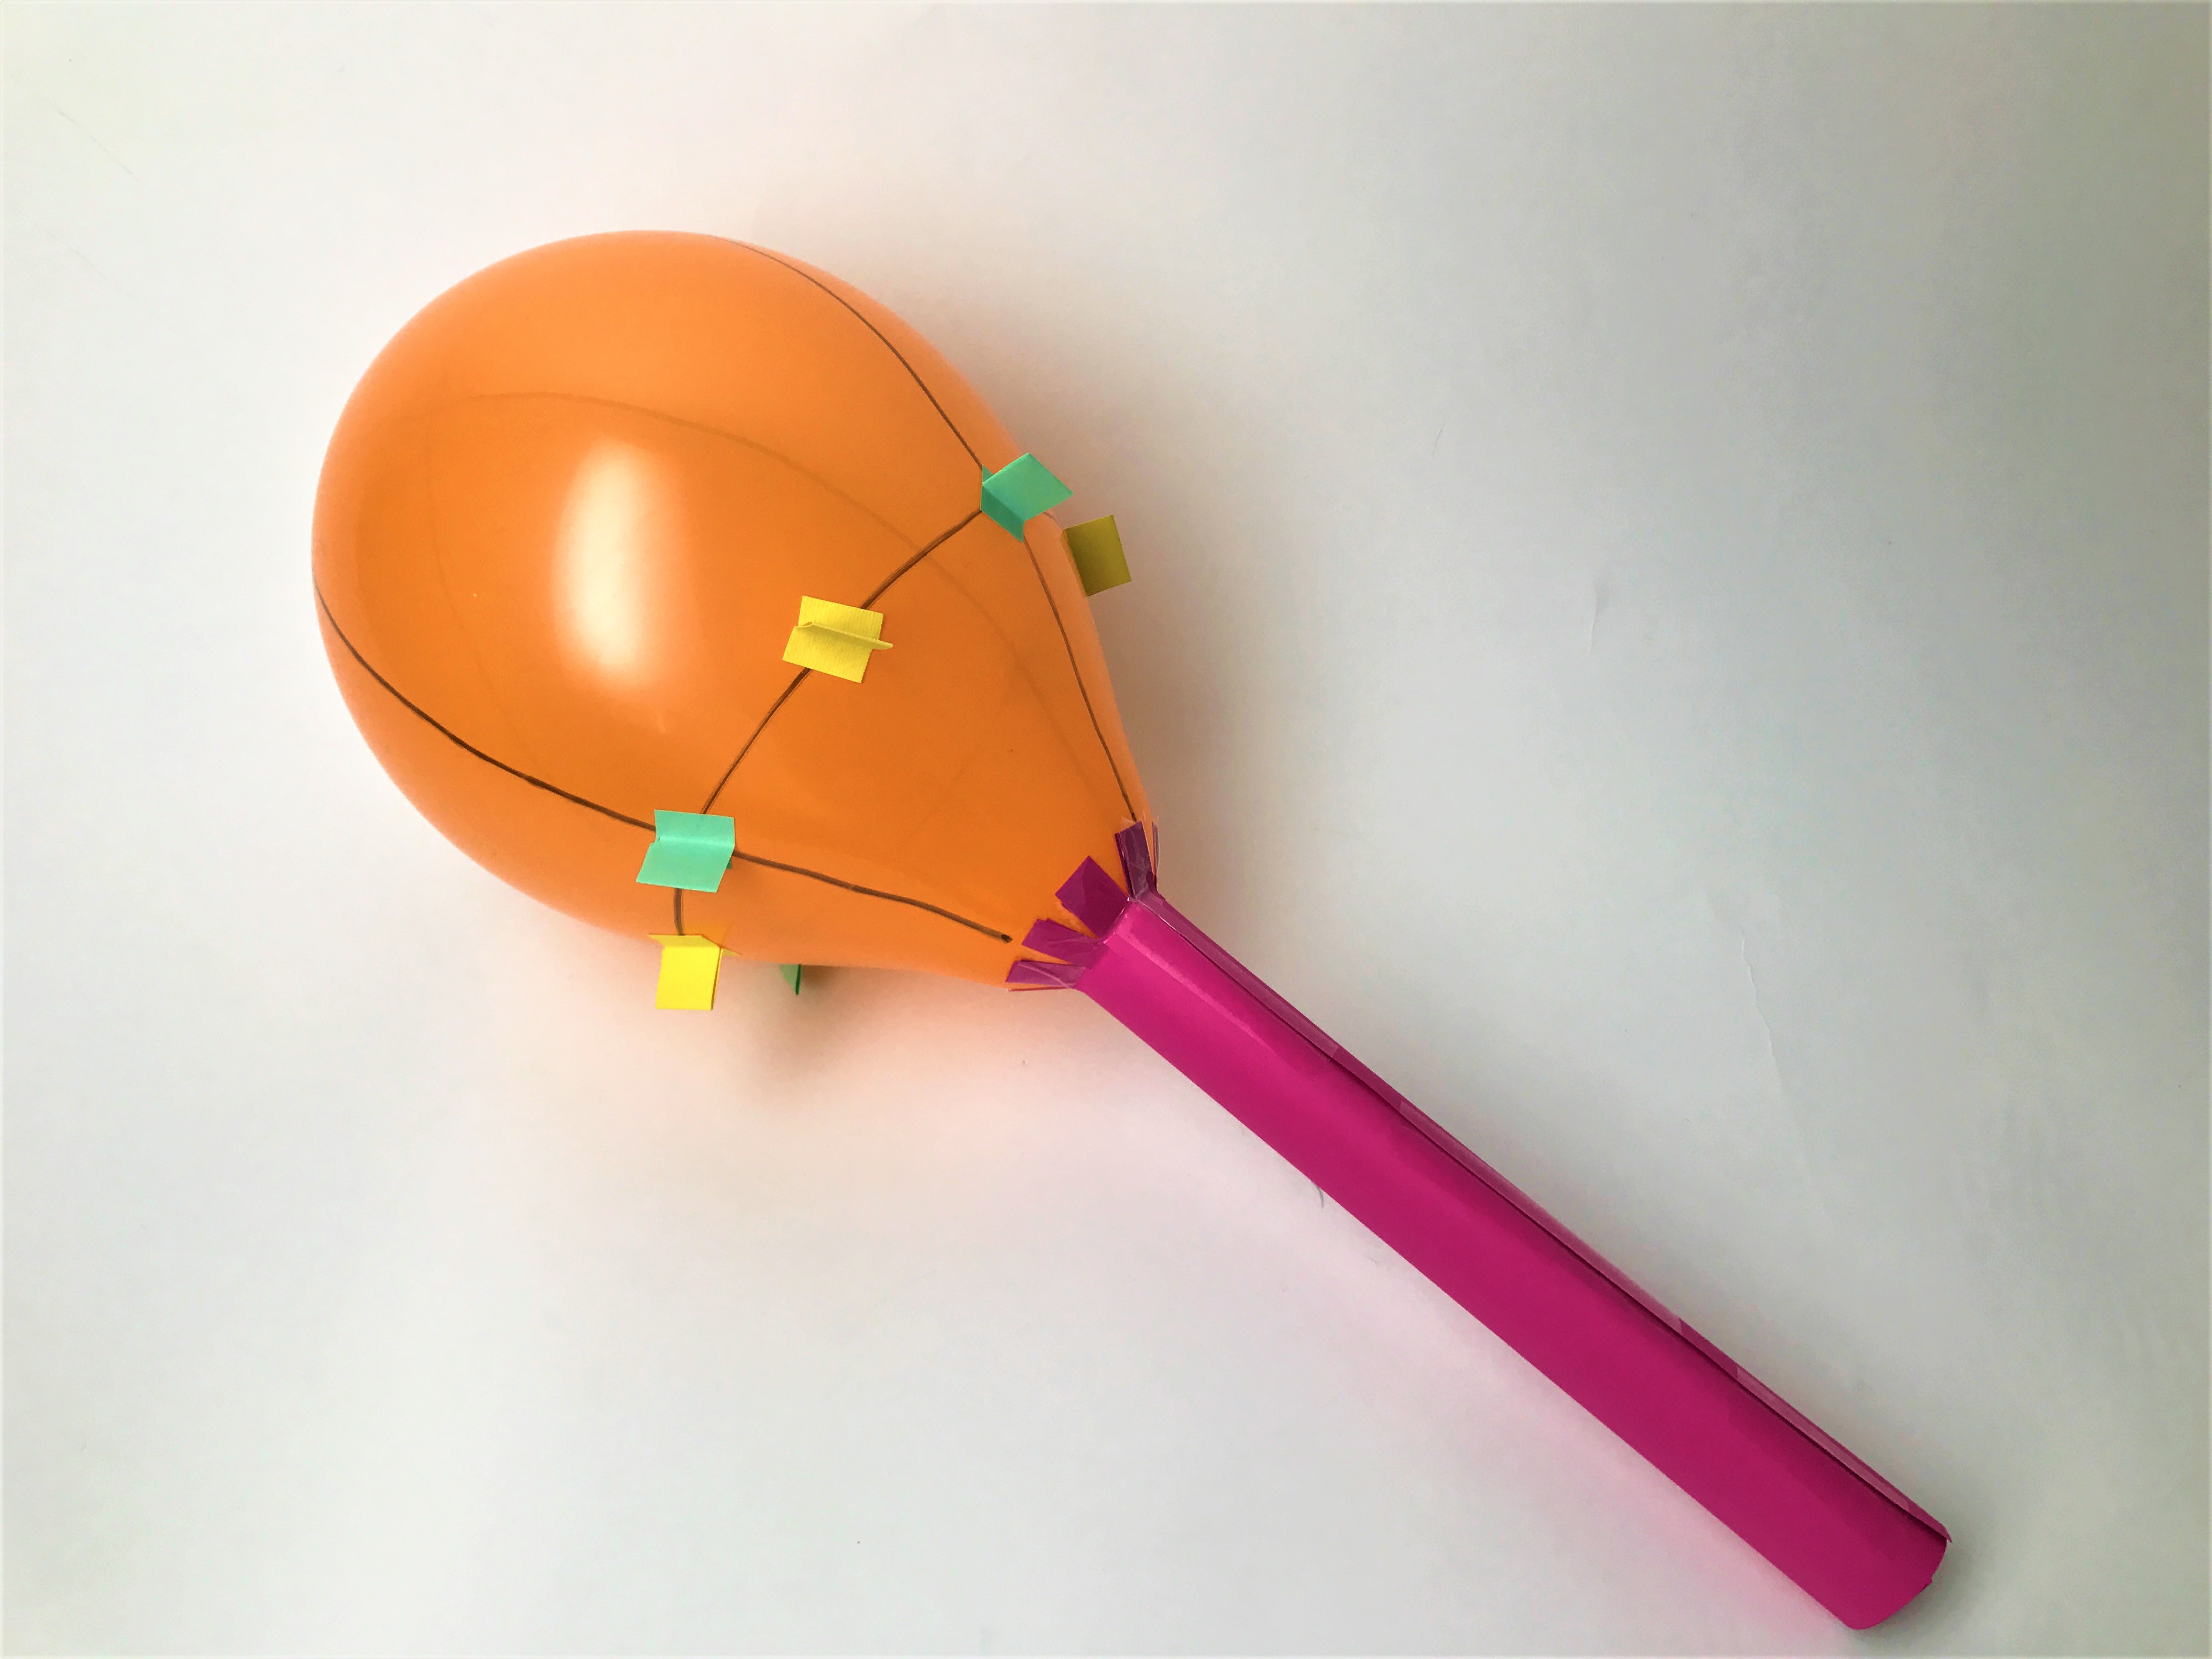
You can make your balloon spin by adding fins, but first you need to map out where to put the fins. Draw an equator around the balloon with a permanent marker. You can tape a piece of string or paper around the equator and trace it with the marker to help achieve a straight line. Remove the string or paper once youre done drawing. You will also need to draw two meridian lines on your balloon with the permanent marker. These lines are perpendicular to each other and to the equator you previously drew. You can use the same string or paper technique to get a straight line.
Step 5
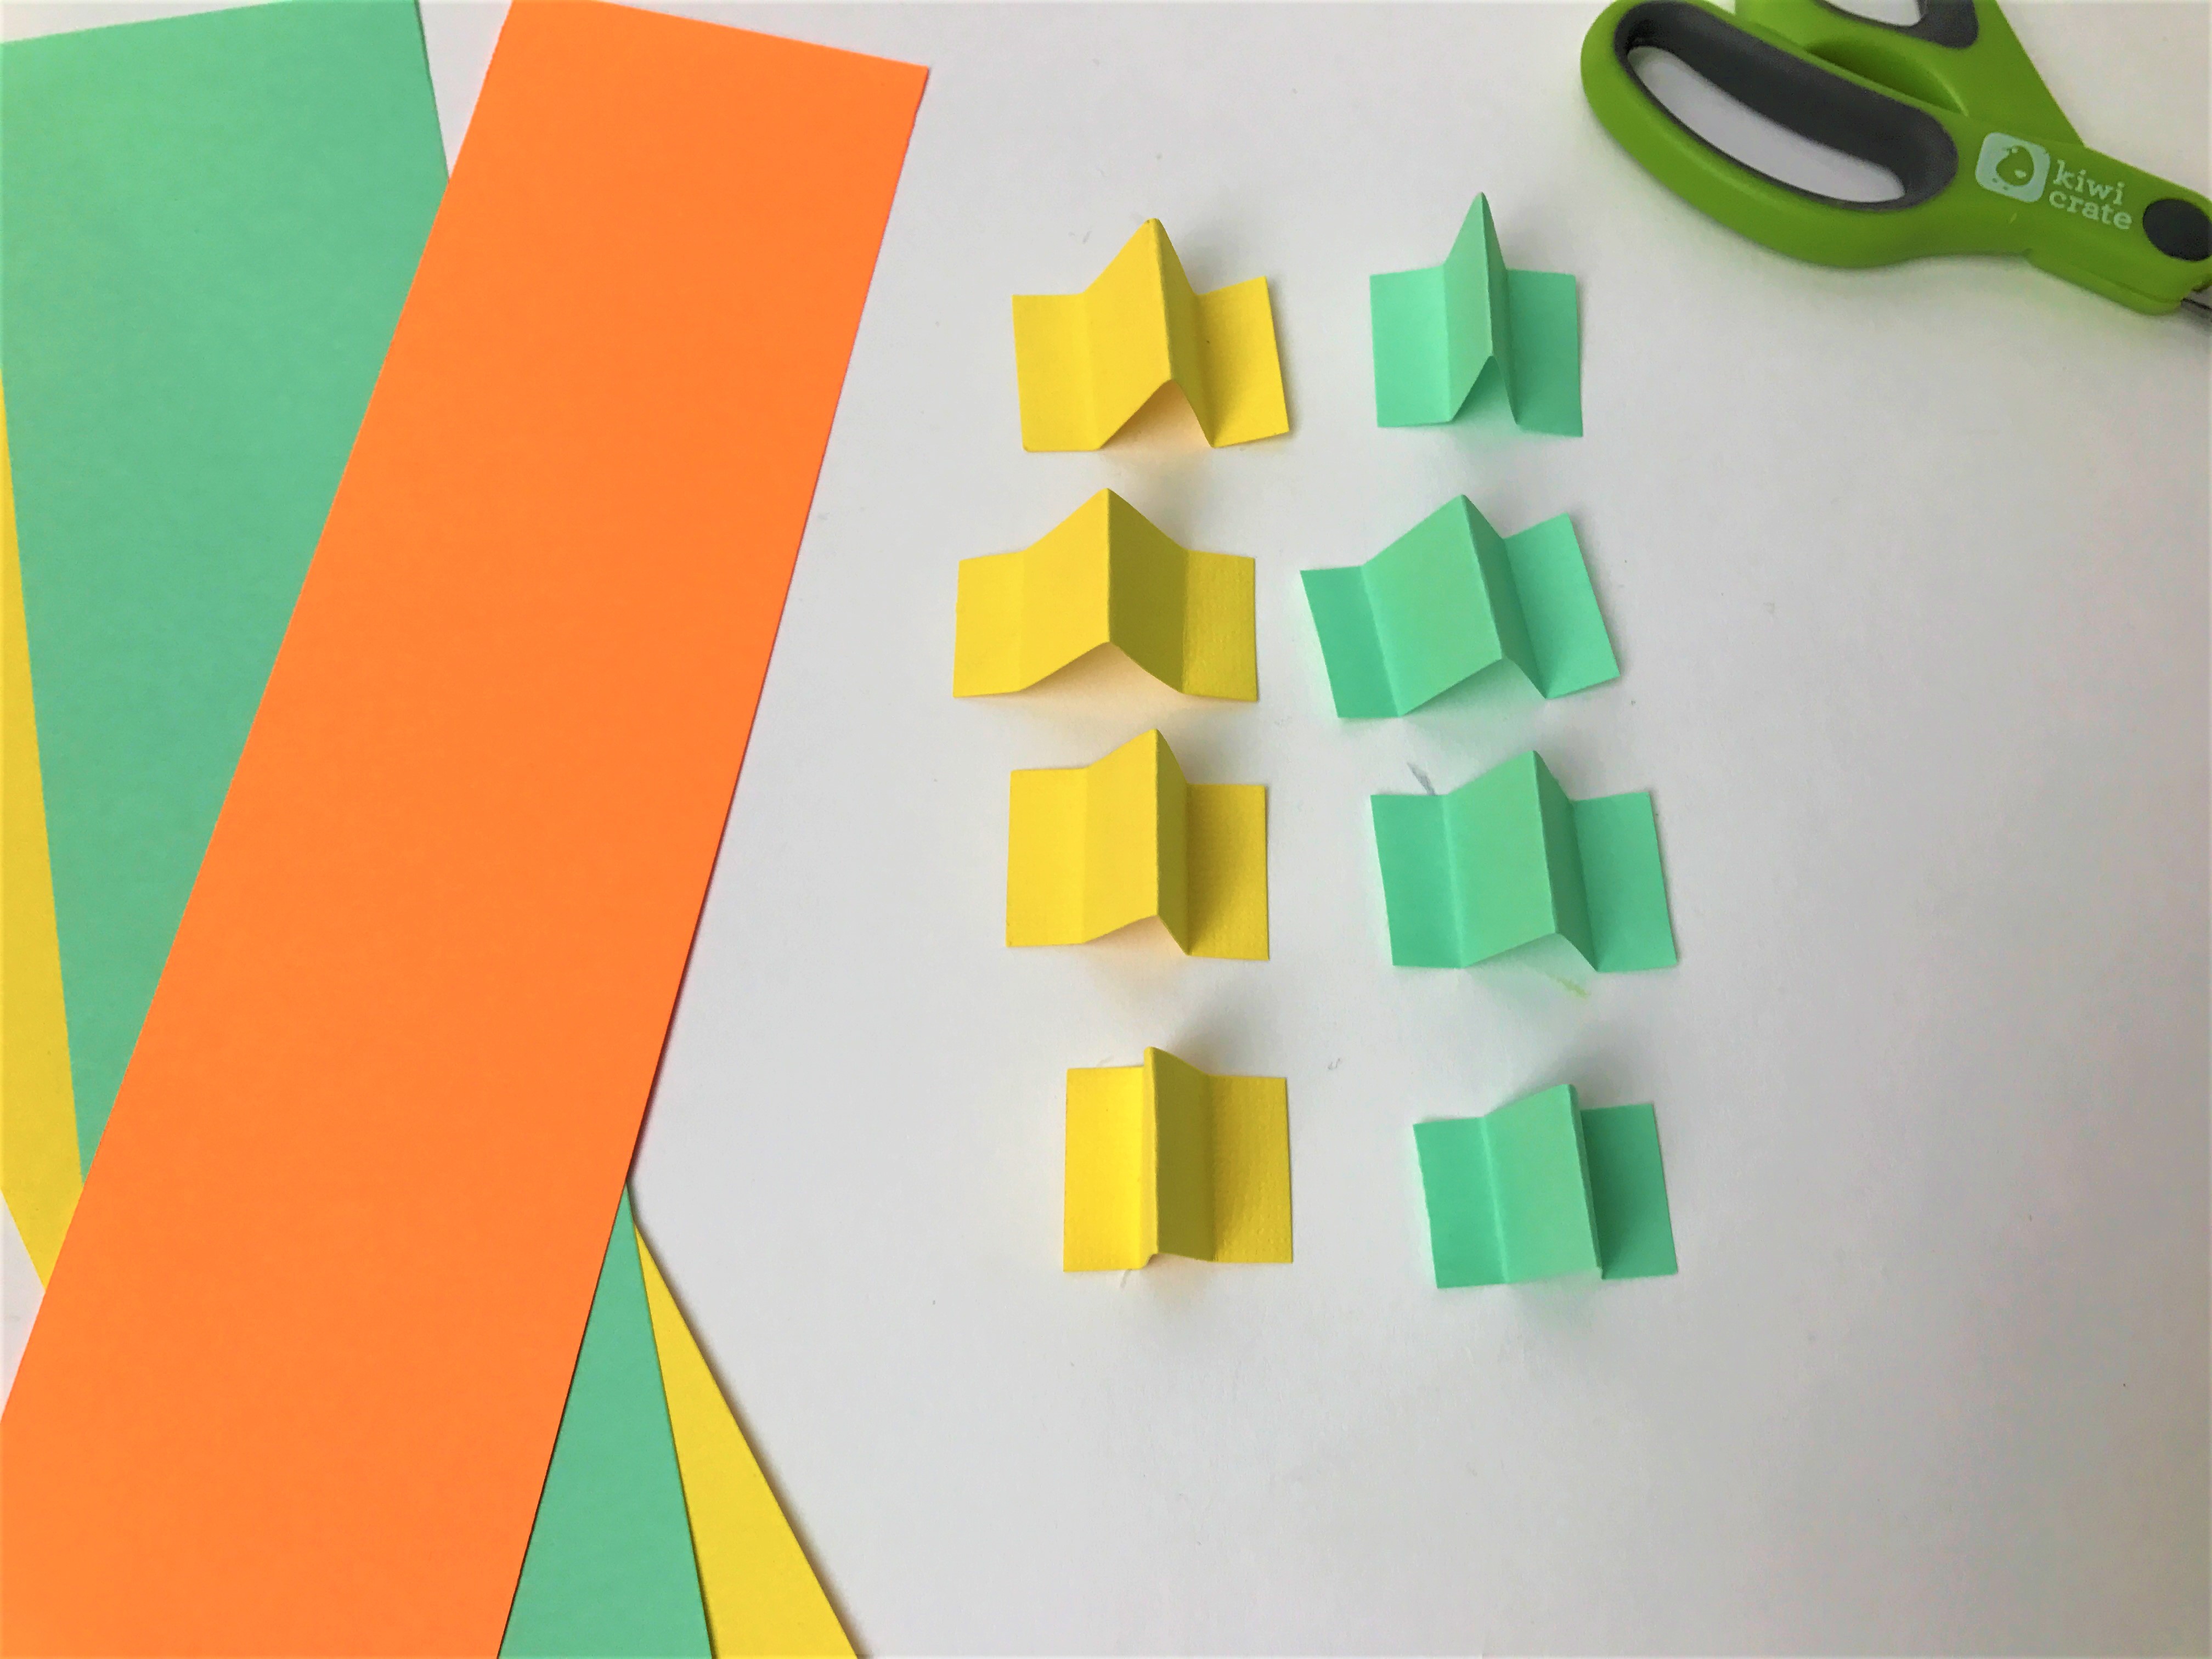
To make some fins, cut eight rectangles of paper. Fold the strips in half and then fold out little tabs on each end like the picture.
Step 6
You can use tape or a glue stick to adhere these to your balloon. Place these at a 45 degree angle on your balloon at the four points where the meridians you drew meet the equator (see green fins.) Make sure all of the fins slant in the same direction.
Step 7
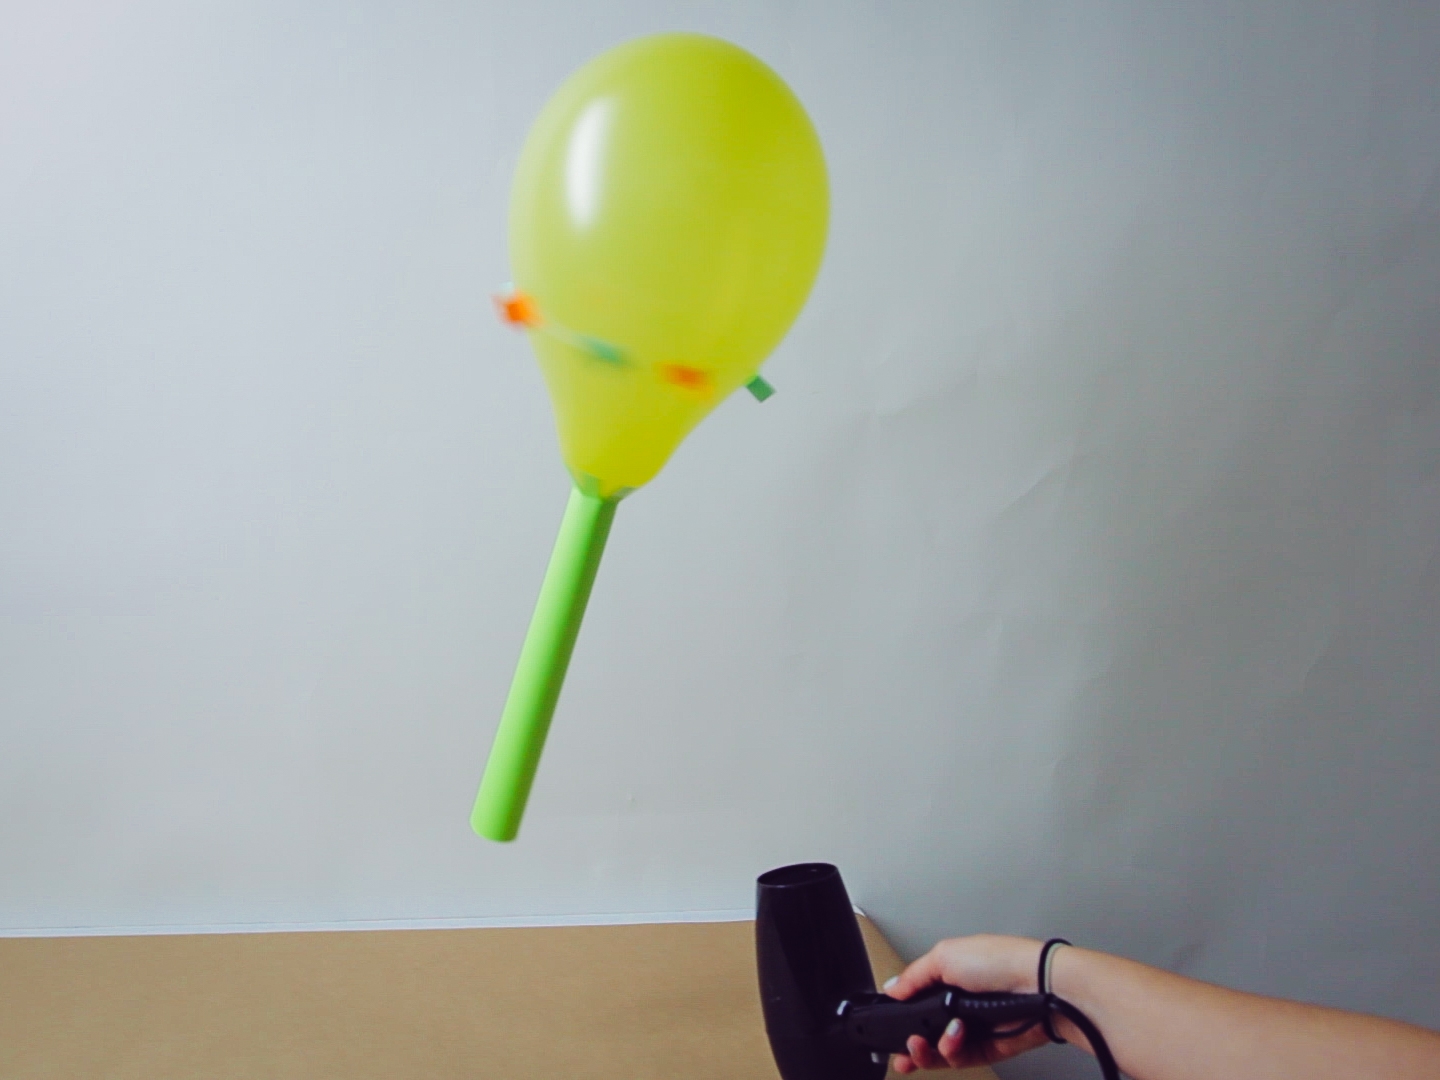
Turn on the hair dryer and point it up towards the ceiling. Gently place the balloon into the stream of air and adjust it until it hovers in the stream of air when you let go. The fins will cause the balloon to spin as it floats. Try tilting the hair dryer a little bit to either side, and see if you can keep the balloon hovering within the stream of air. Can you walk with the hair dryer and keep the balloon stuck within the stream of air?

Step 8
If you want the balloon to spin faster, stick the remaining four fins along the equator between the fins you already placed. Like before, make sure all the fins are at the same angle and slanted in the same direction.
Learn more

Whats Going On?
The balloon perform three tricks in this experiment: it hovers, it spins, and it stays stuck within the airflow from the hair dryer (unless you move it too suddenly or too much). The hovering is thanks to the push the balloon is getting from the moving air. The spinning is due to the fins, which catch the moving air and cause the balloon to spin like a fan. But where it gets really interesting is in the stickiness of the airflow.
The stream of air from the hair dryer really does stick to the balloon, so that the air curves around the balloon like a river flows around a rock. This curved airflow tends to push the balloon into the center of the stream of air, keeping the balloon nice and stable within it. This is what makes it possible to move the hair dryer without dropping the balloon.


