Step-by-step tutorial
Step 1
Gather your materials!


Step 2
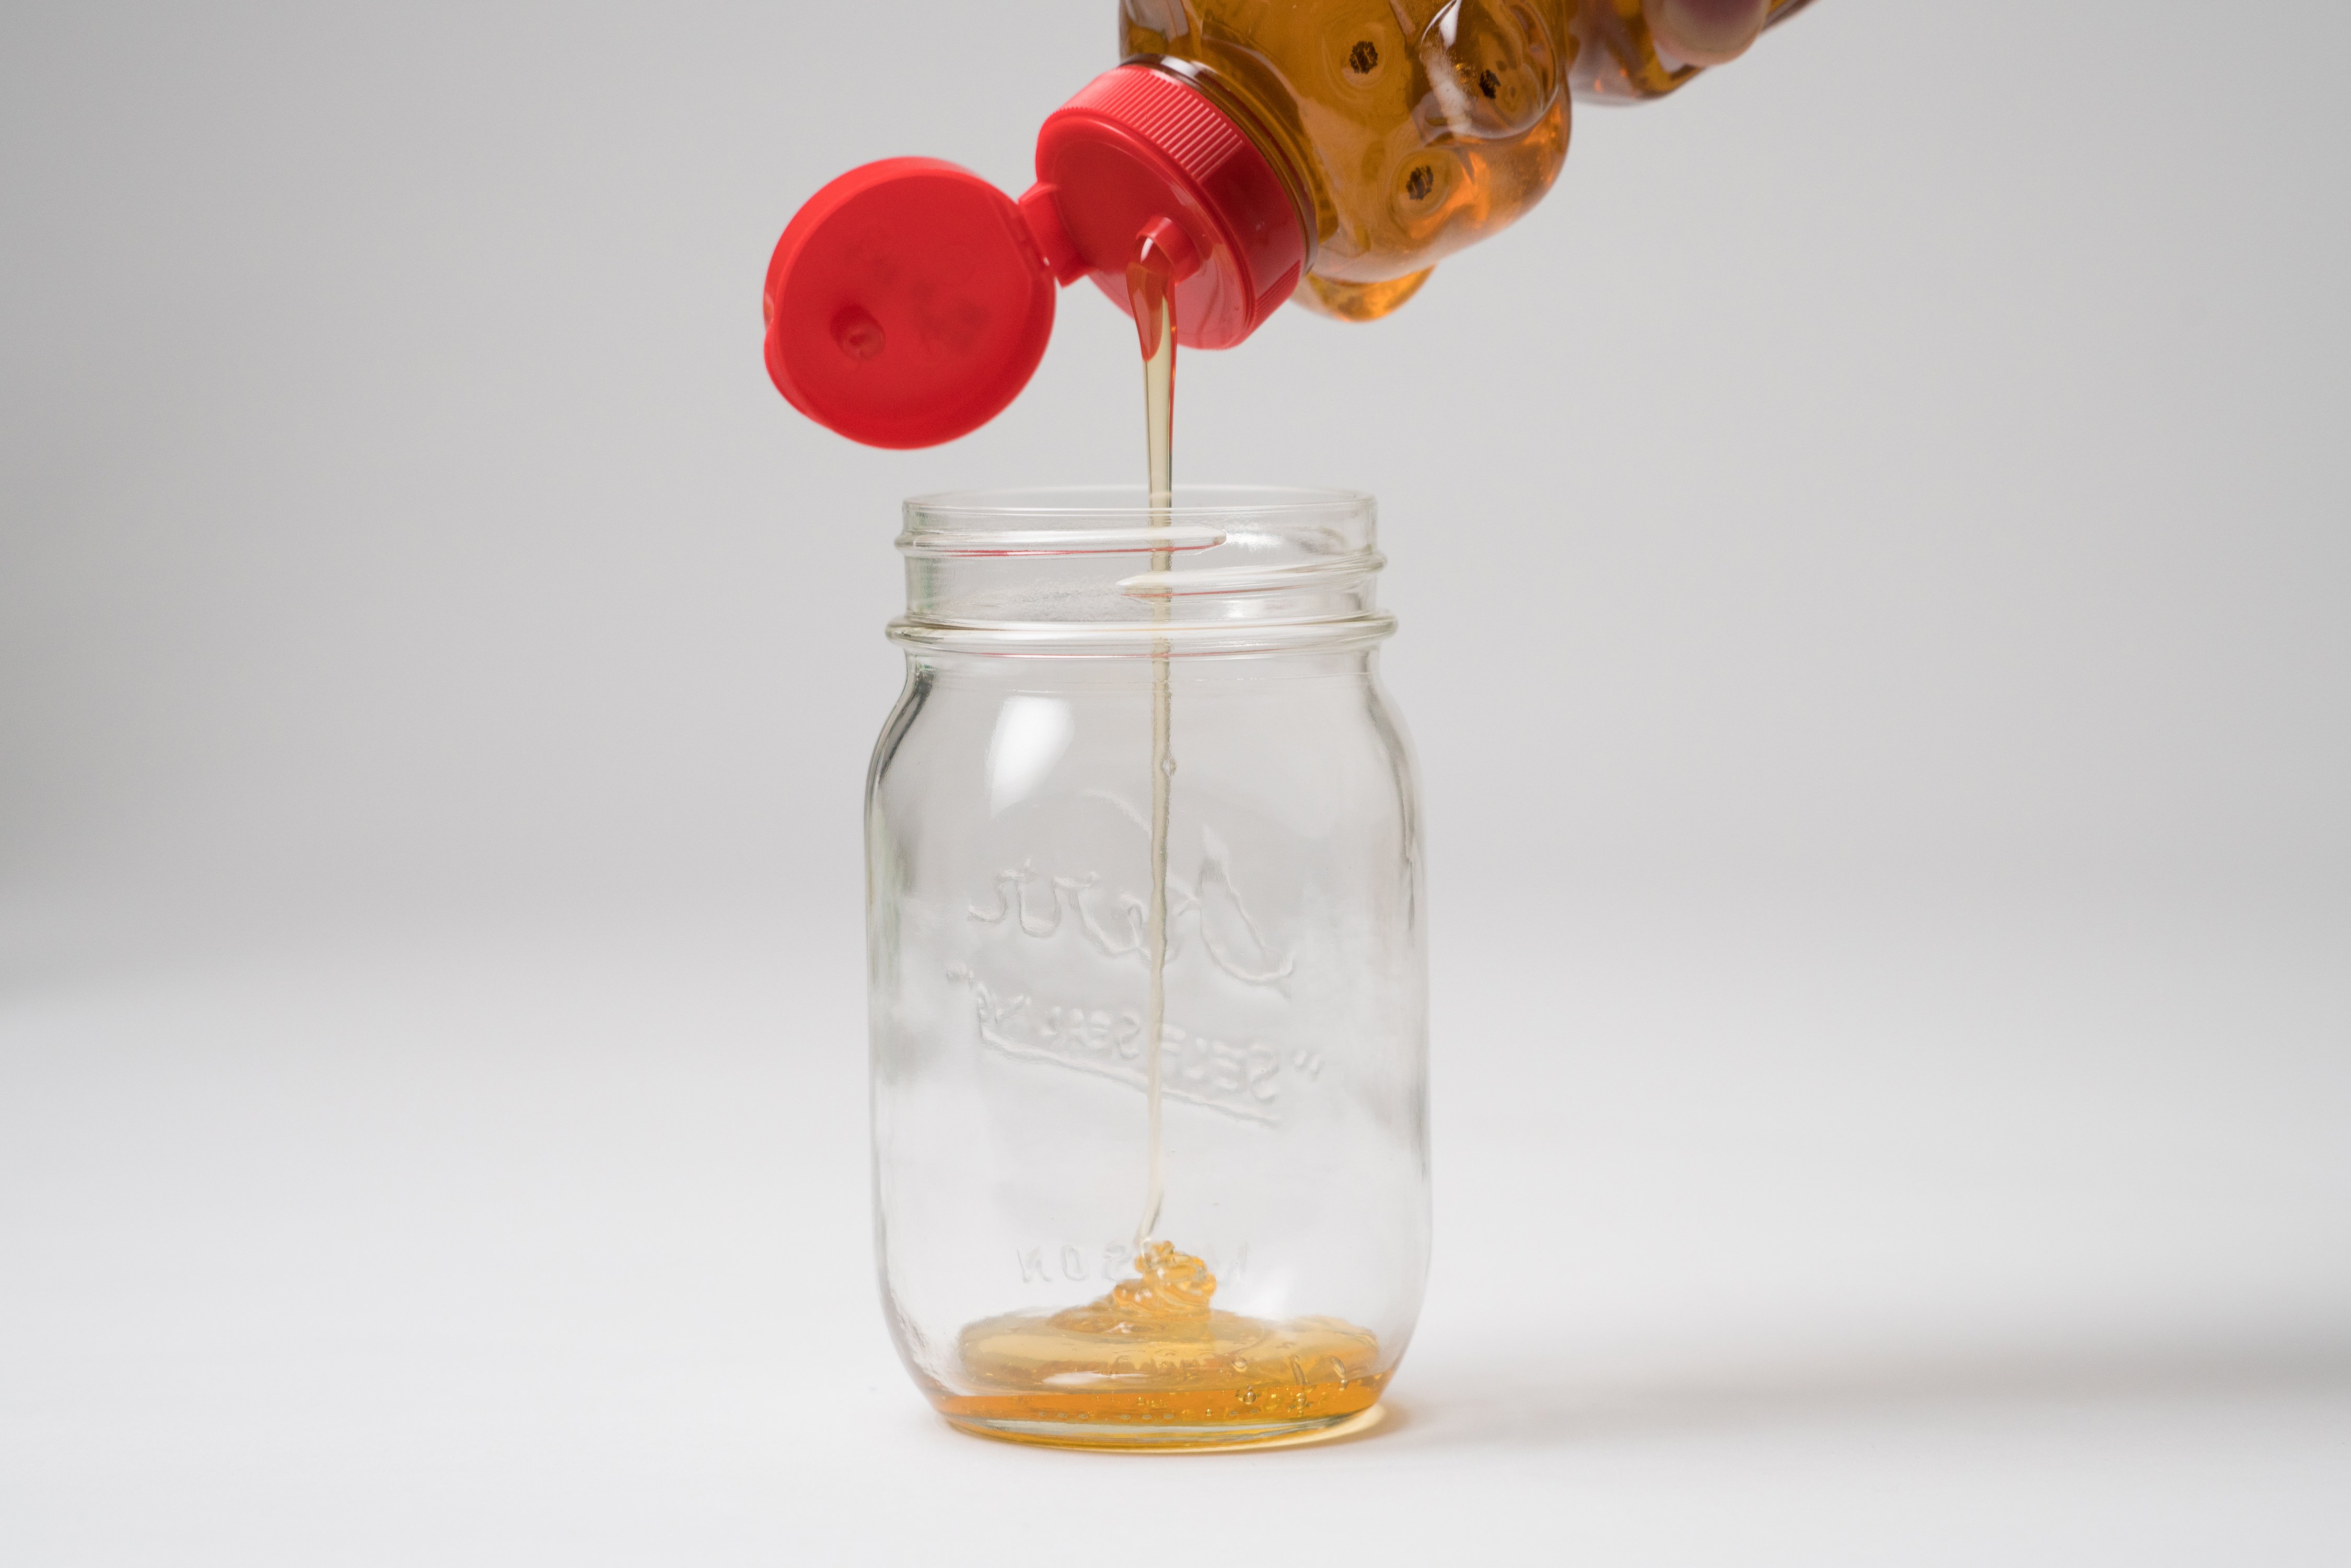
Arrange your materials from most dense to least dense: honey, corn syrup, maple syrup, milk, soap, water, oil, and then rubbing alcohol. Begin by pouring a centimeter or so of the most dense material, honey, into your jar. Try to avoid the walls of the jar.
Step 3
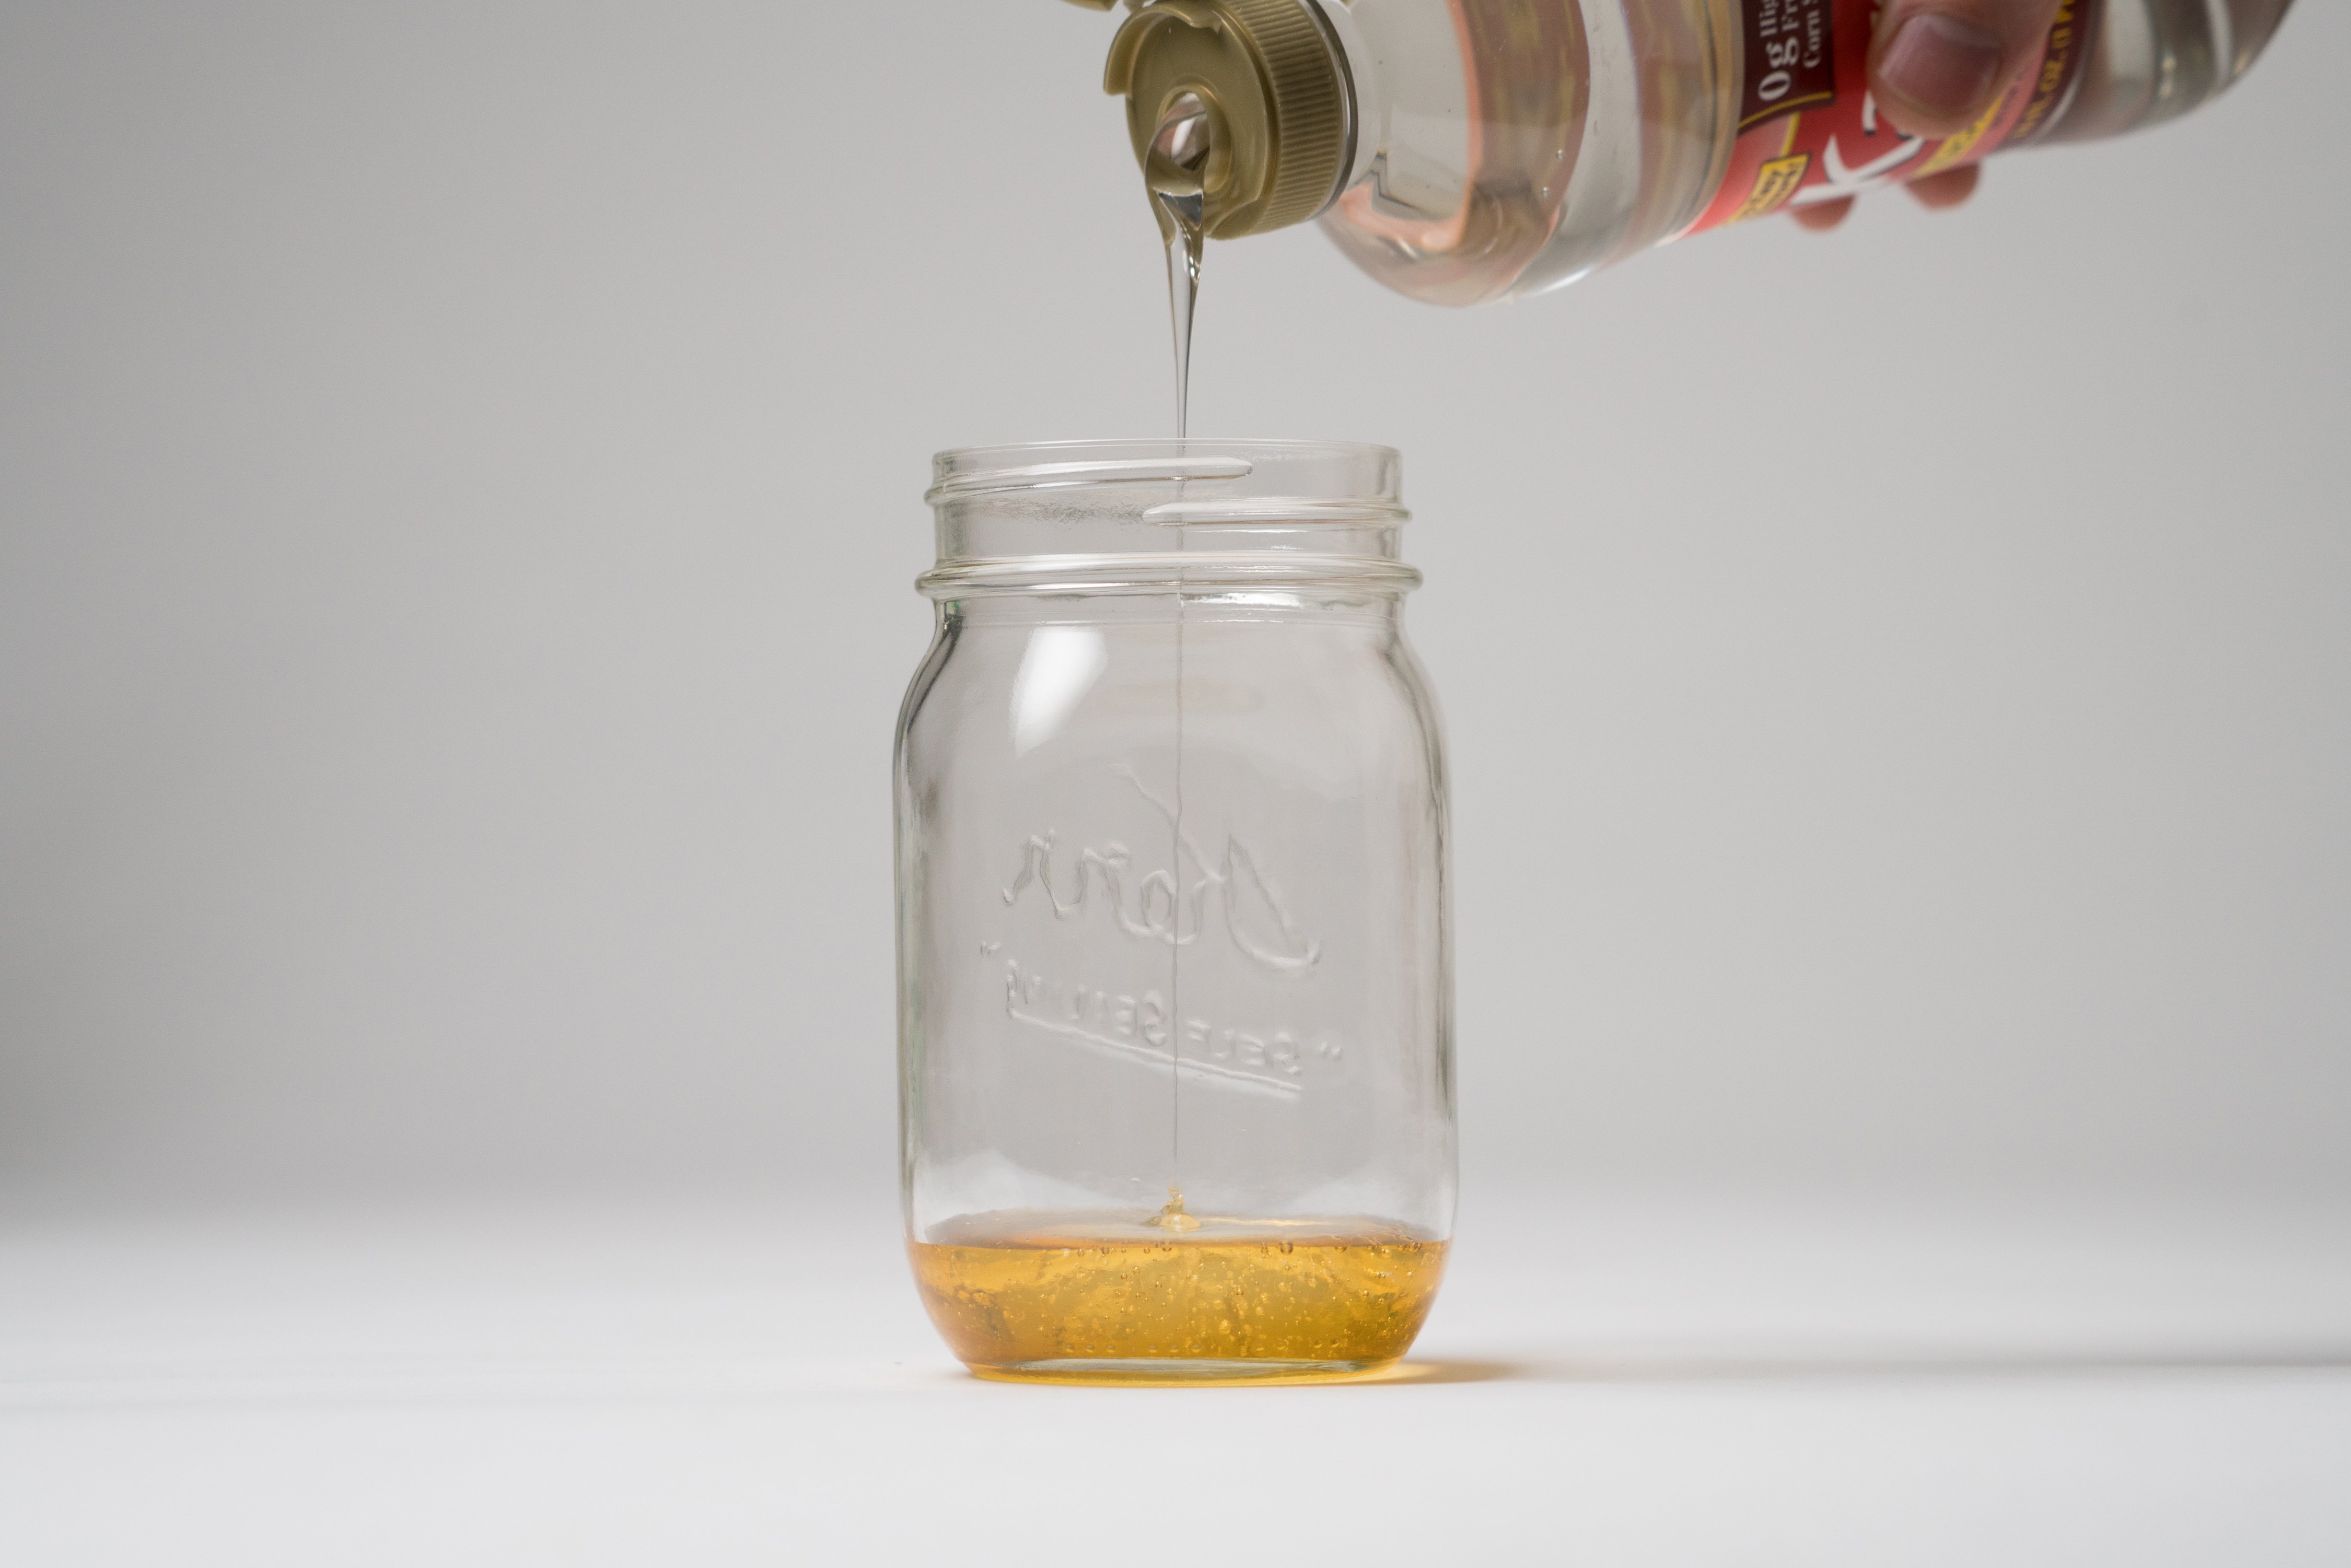
Next, pour about a centimeter of corn syrup in. Wait a few minutes for the honey and corn syrup to separate.
Step 4
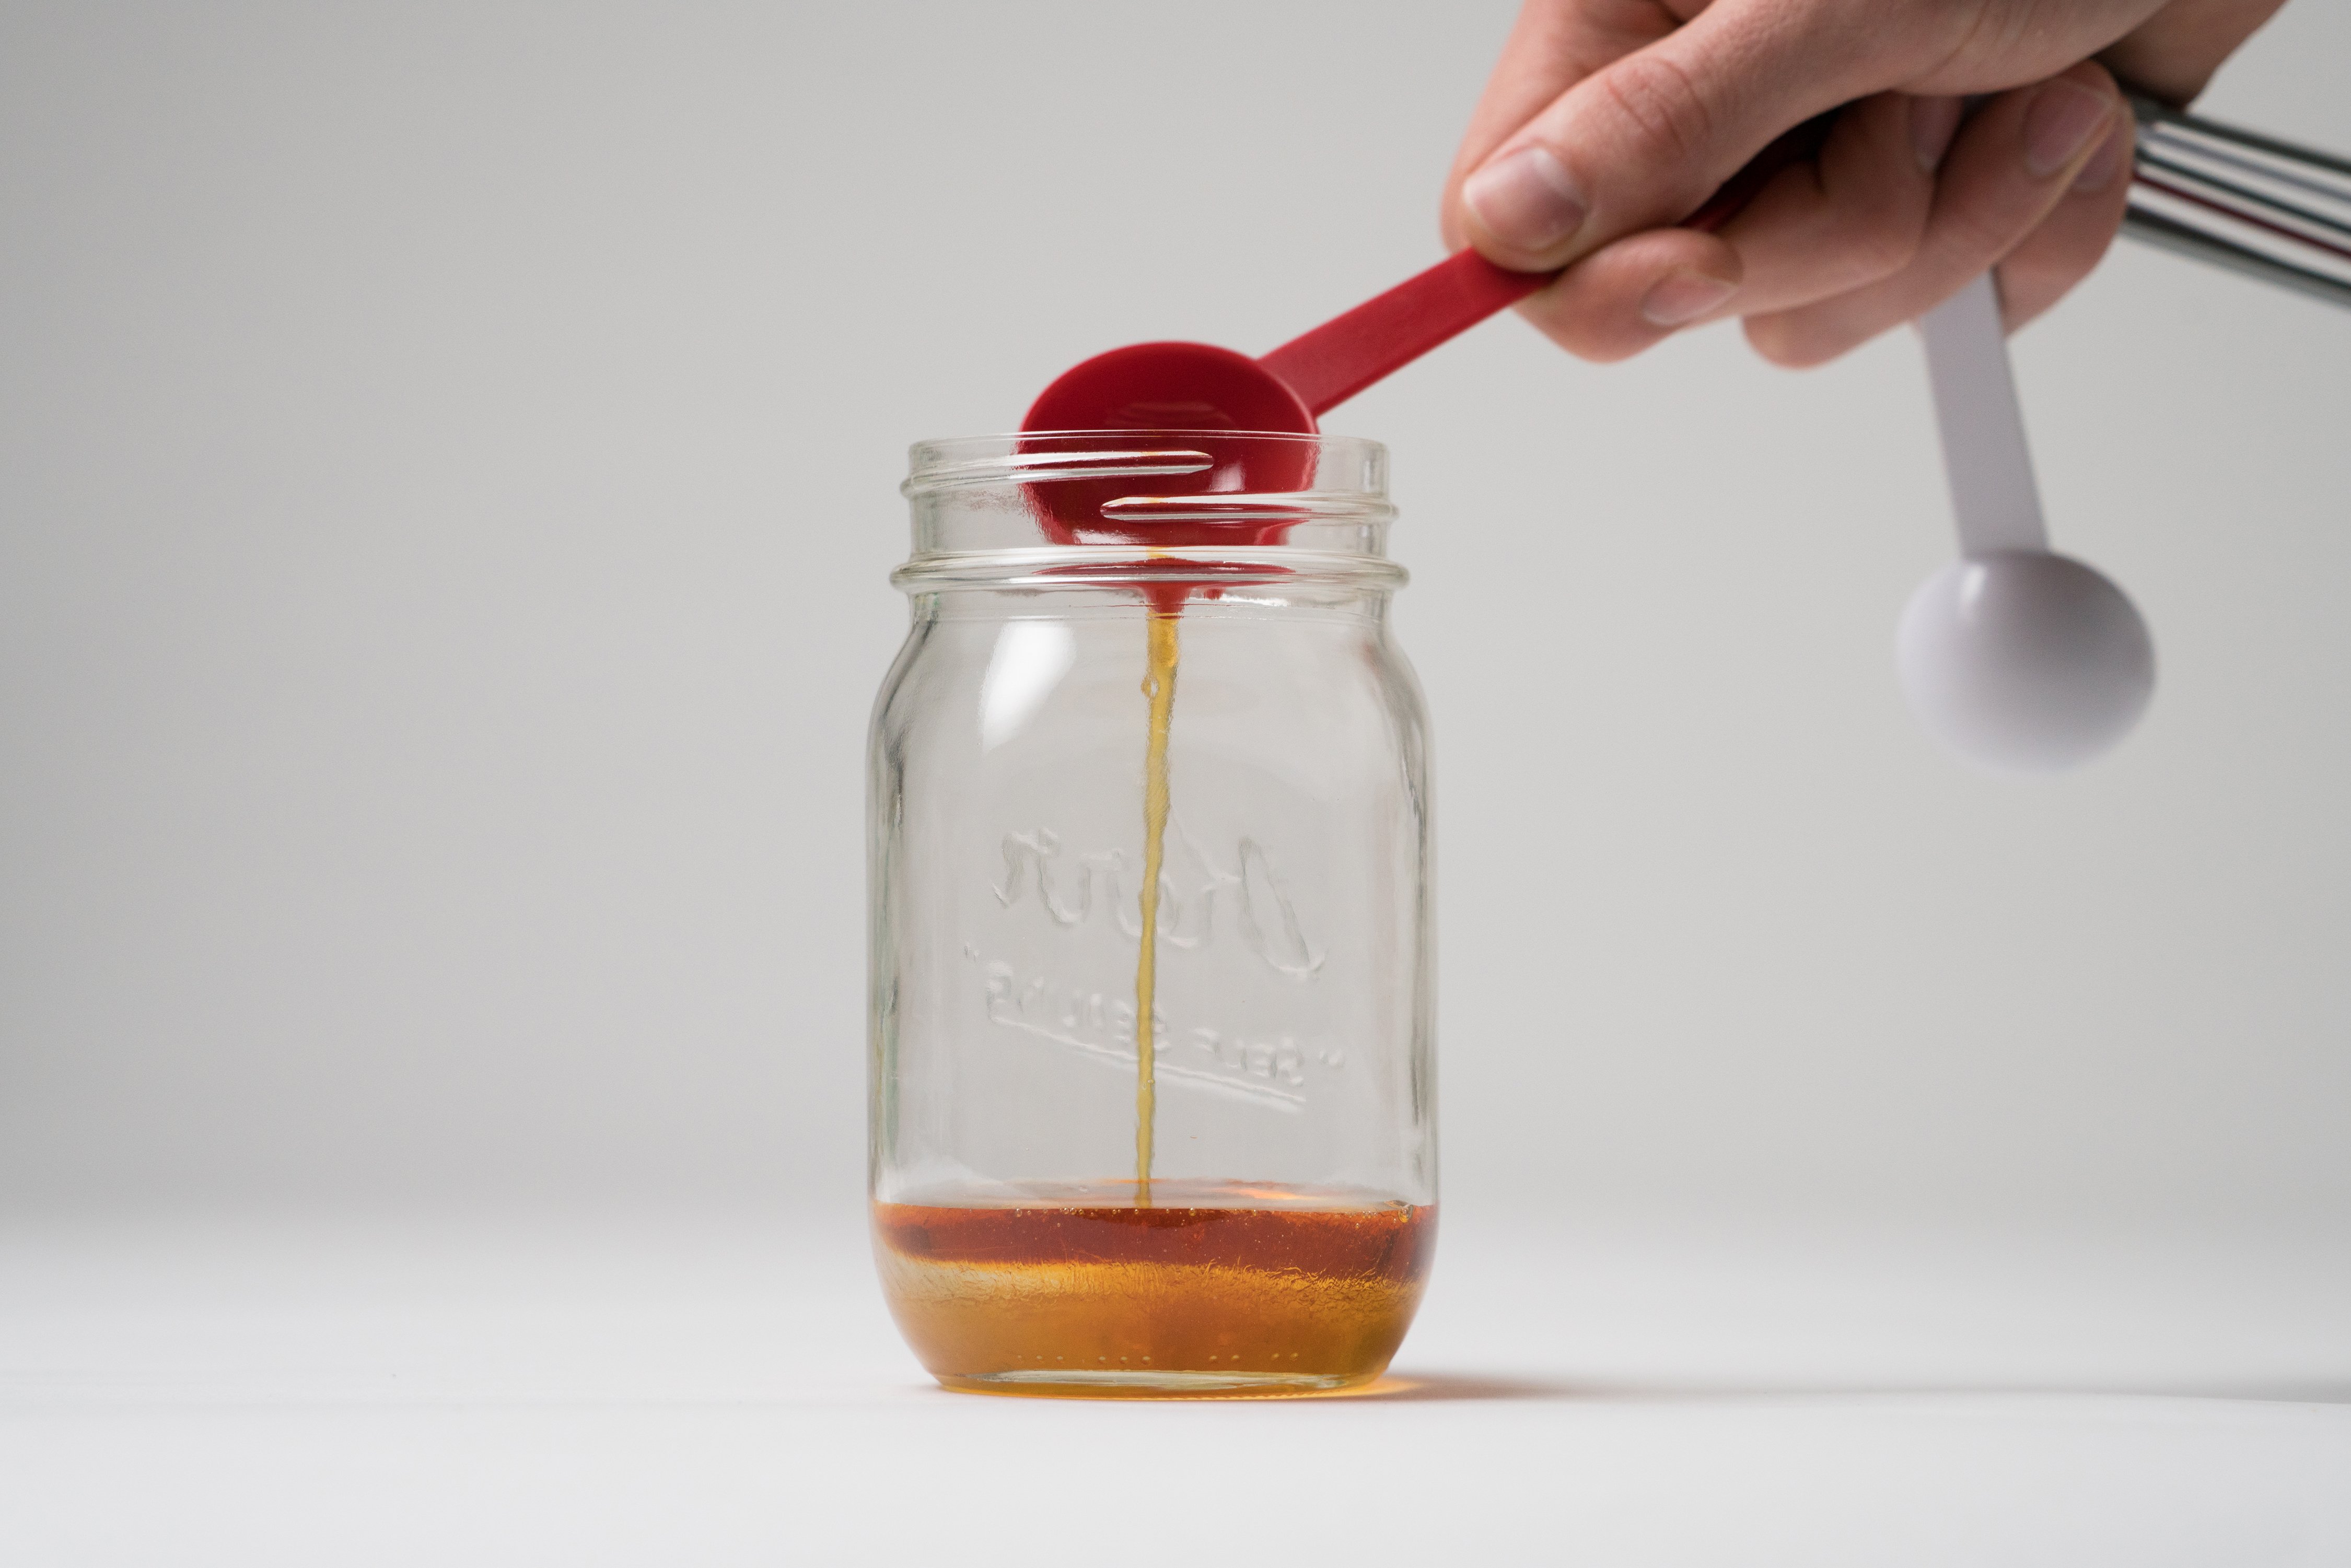
Continue pouring liquids in from most dense to least dense. Starting with the maple syrup, we used a spoon to help us gently pour the liquid and prevent mixing between layers.
Step 5
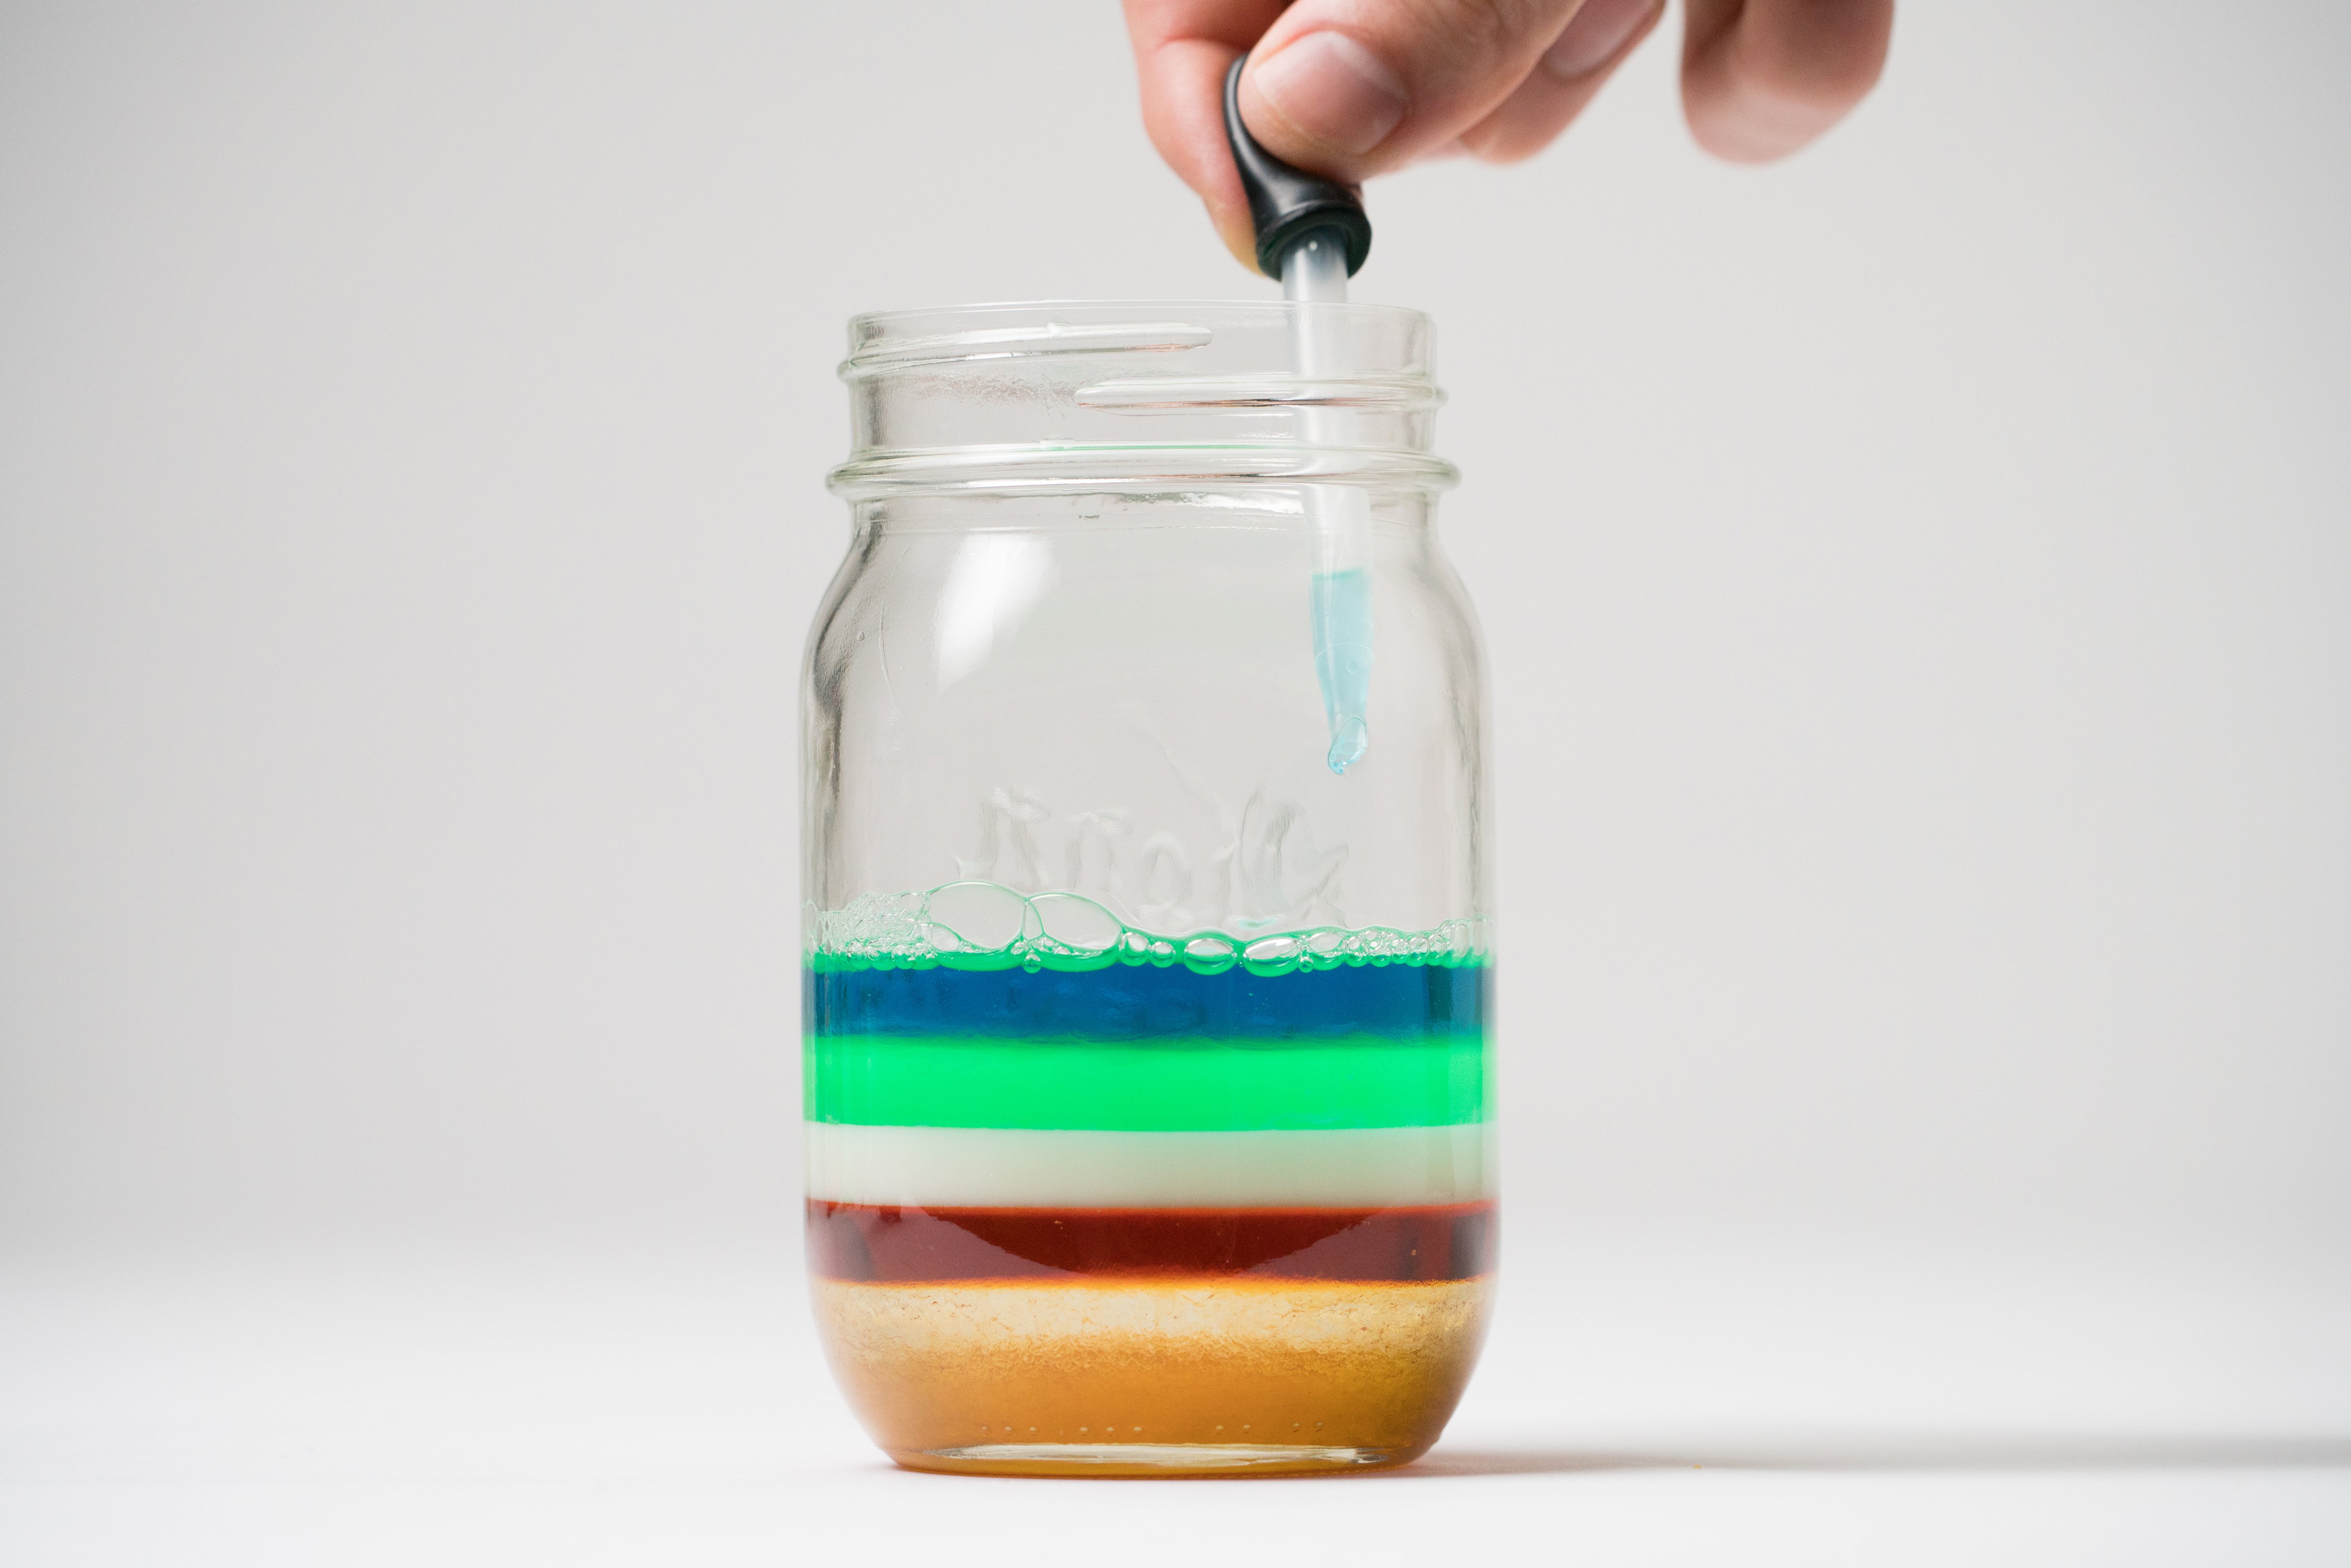
Starting with the soap layer, we used a dropper to gently place the next layer on top of the previous to prevent mixing. We dyed our water blue so it was more visible.
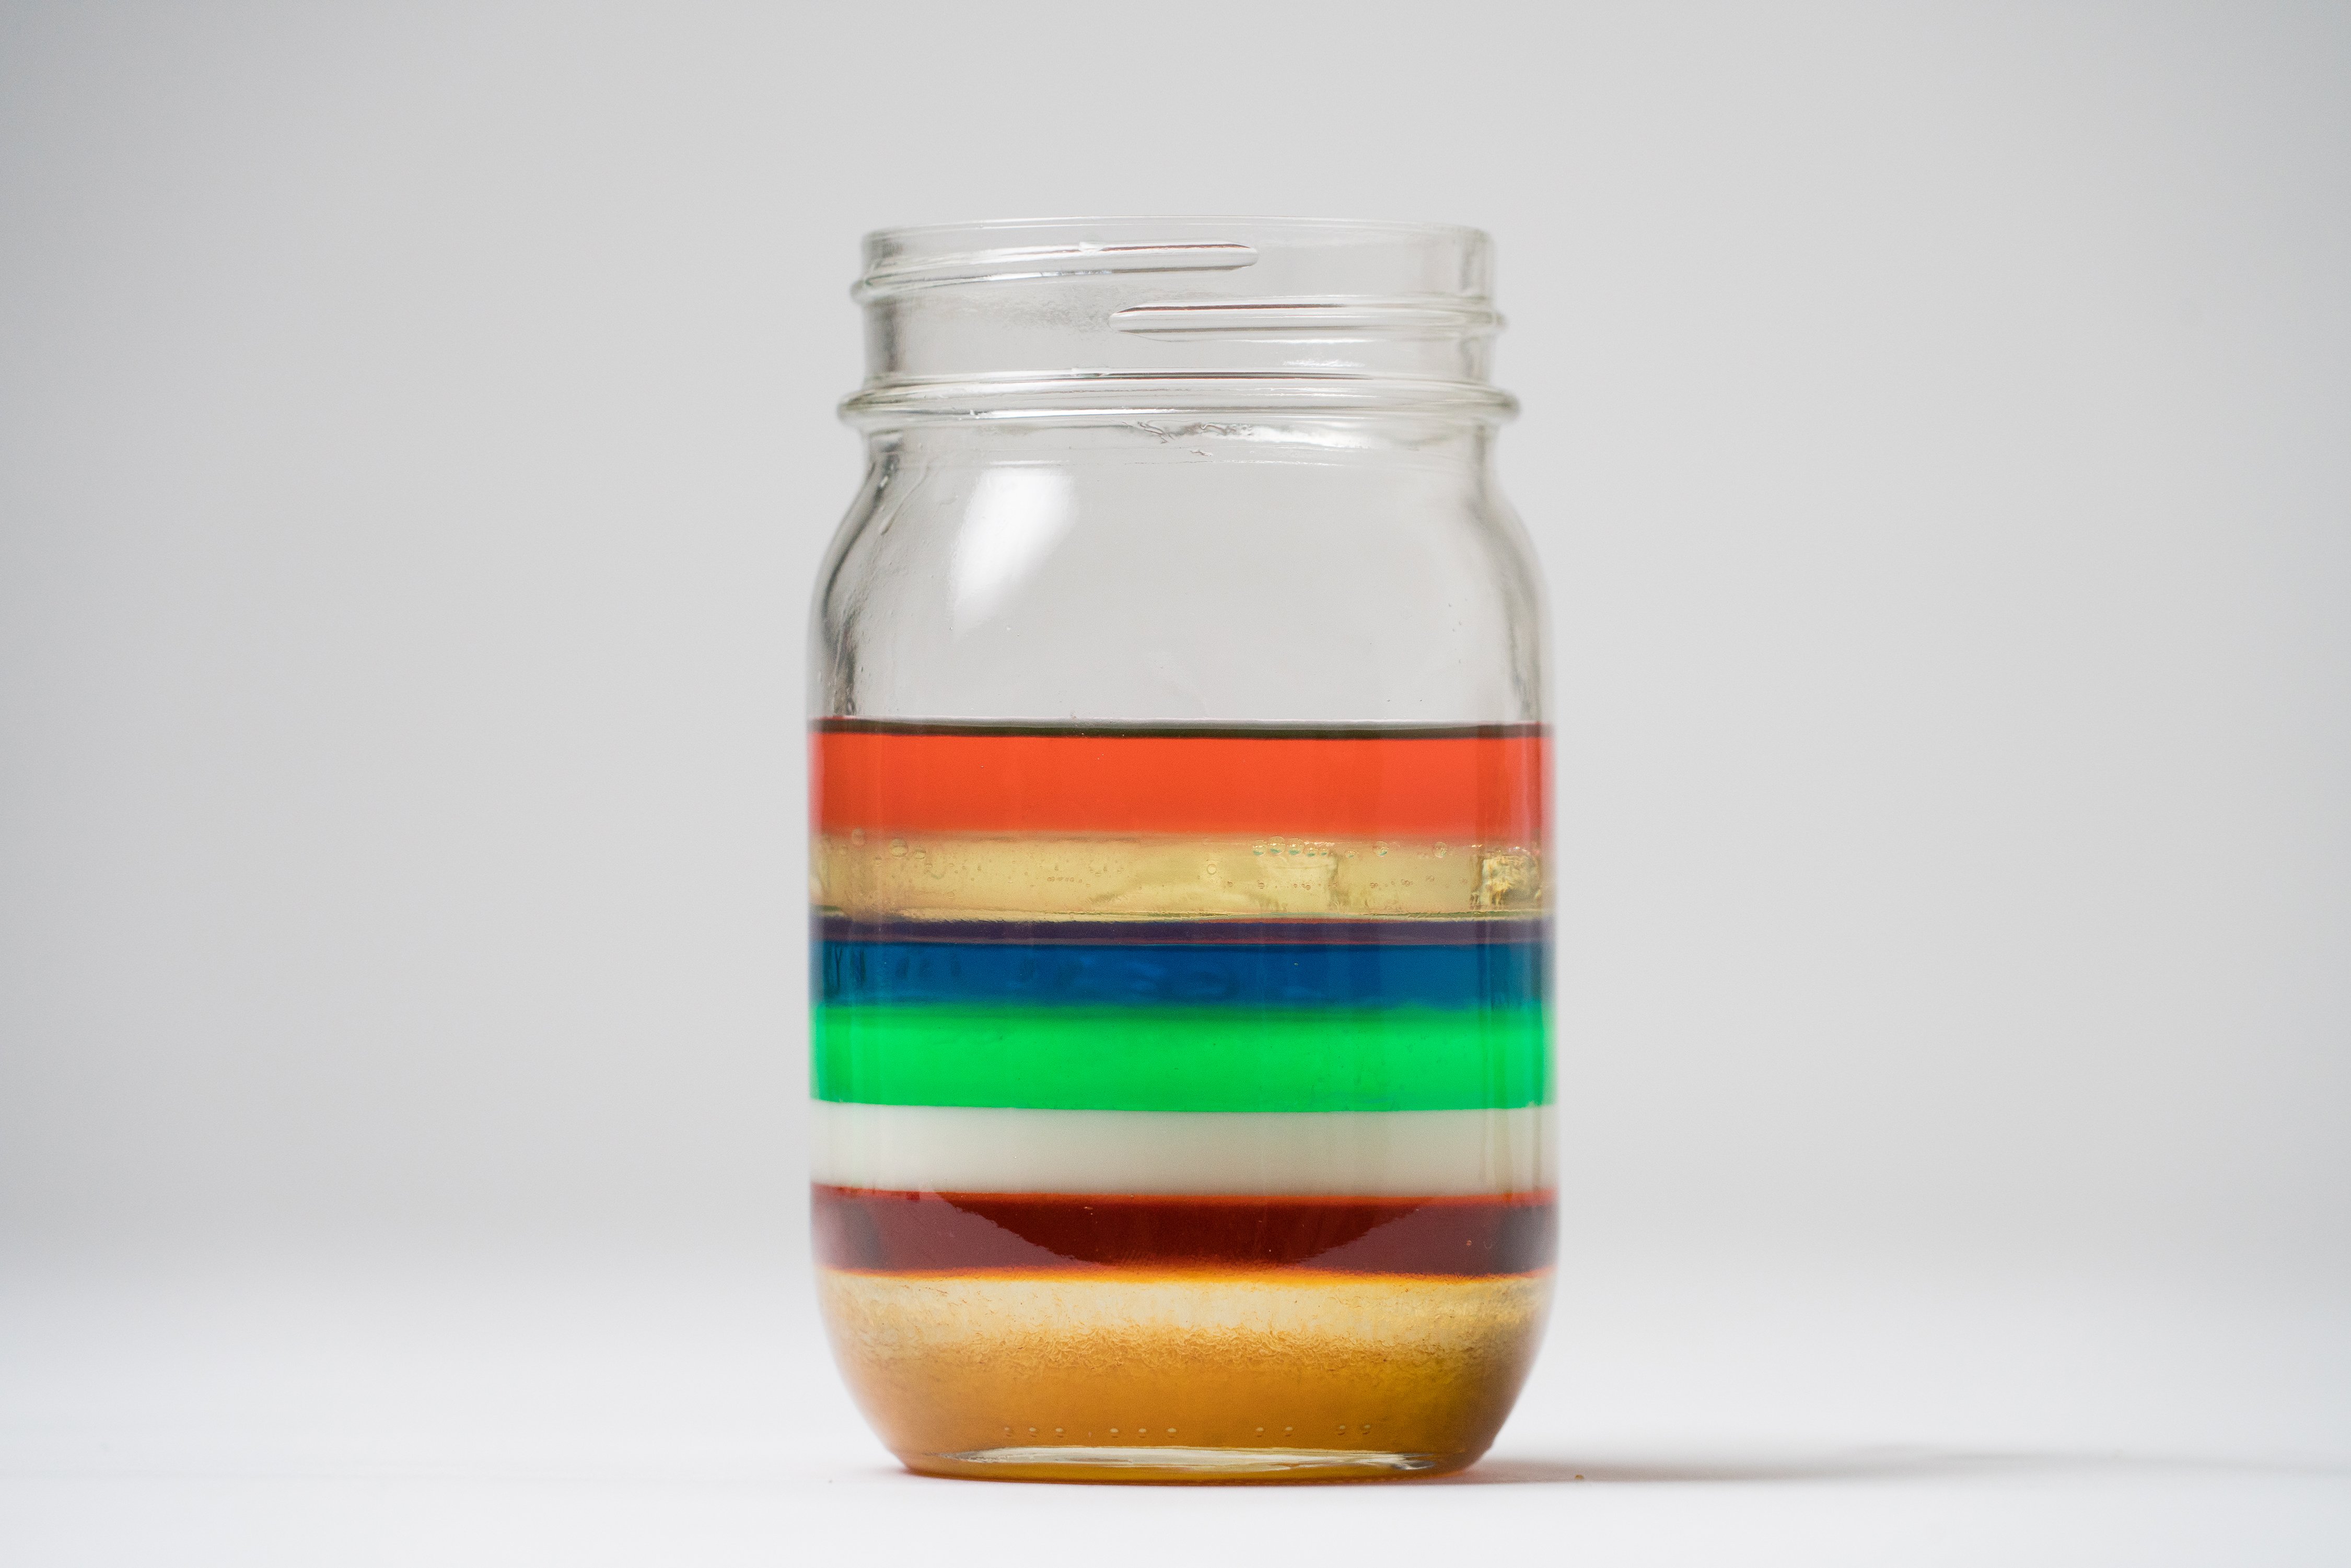
Done!
Once you've added the rubbing alcohol, you've completed your density column! If you'd like, you can now test the density of a variety of other materials by seeing how far they sink! How far does a peanut sink? How about a cherry tomato, grape, or raisin? Feel free to vary the individual layers as well! How does vinegar, or molasses compare to your other liquids?
How it works:
Density is defined as an object's mass, per unit volume, or, more generally, how compact a material is. An anchor is more dense than water, which is why it sinks. An air bubble is less dense than water, which is why it rises to the surface. And a balloon filled with Helium is less dense than air, which is why it will float away! Each layer in your column contains a liquid with a different density, which gives you the cool layered effect you observed!