Step-by-step tutorial
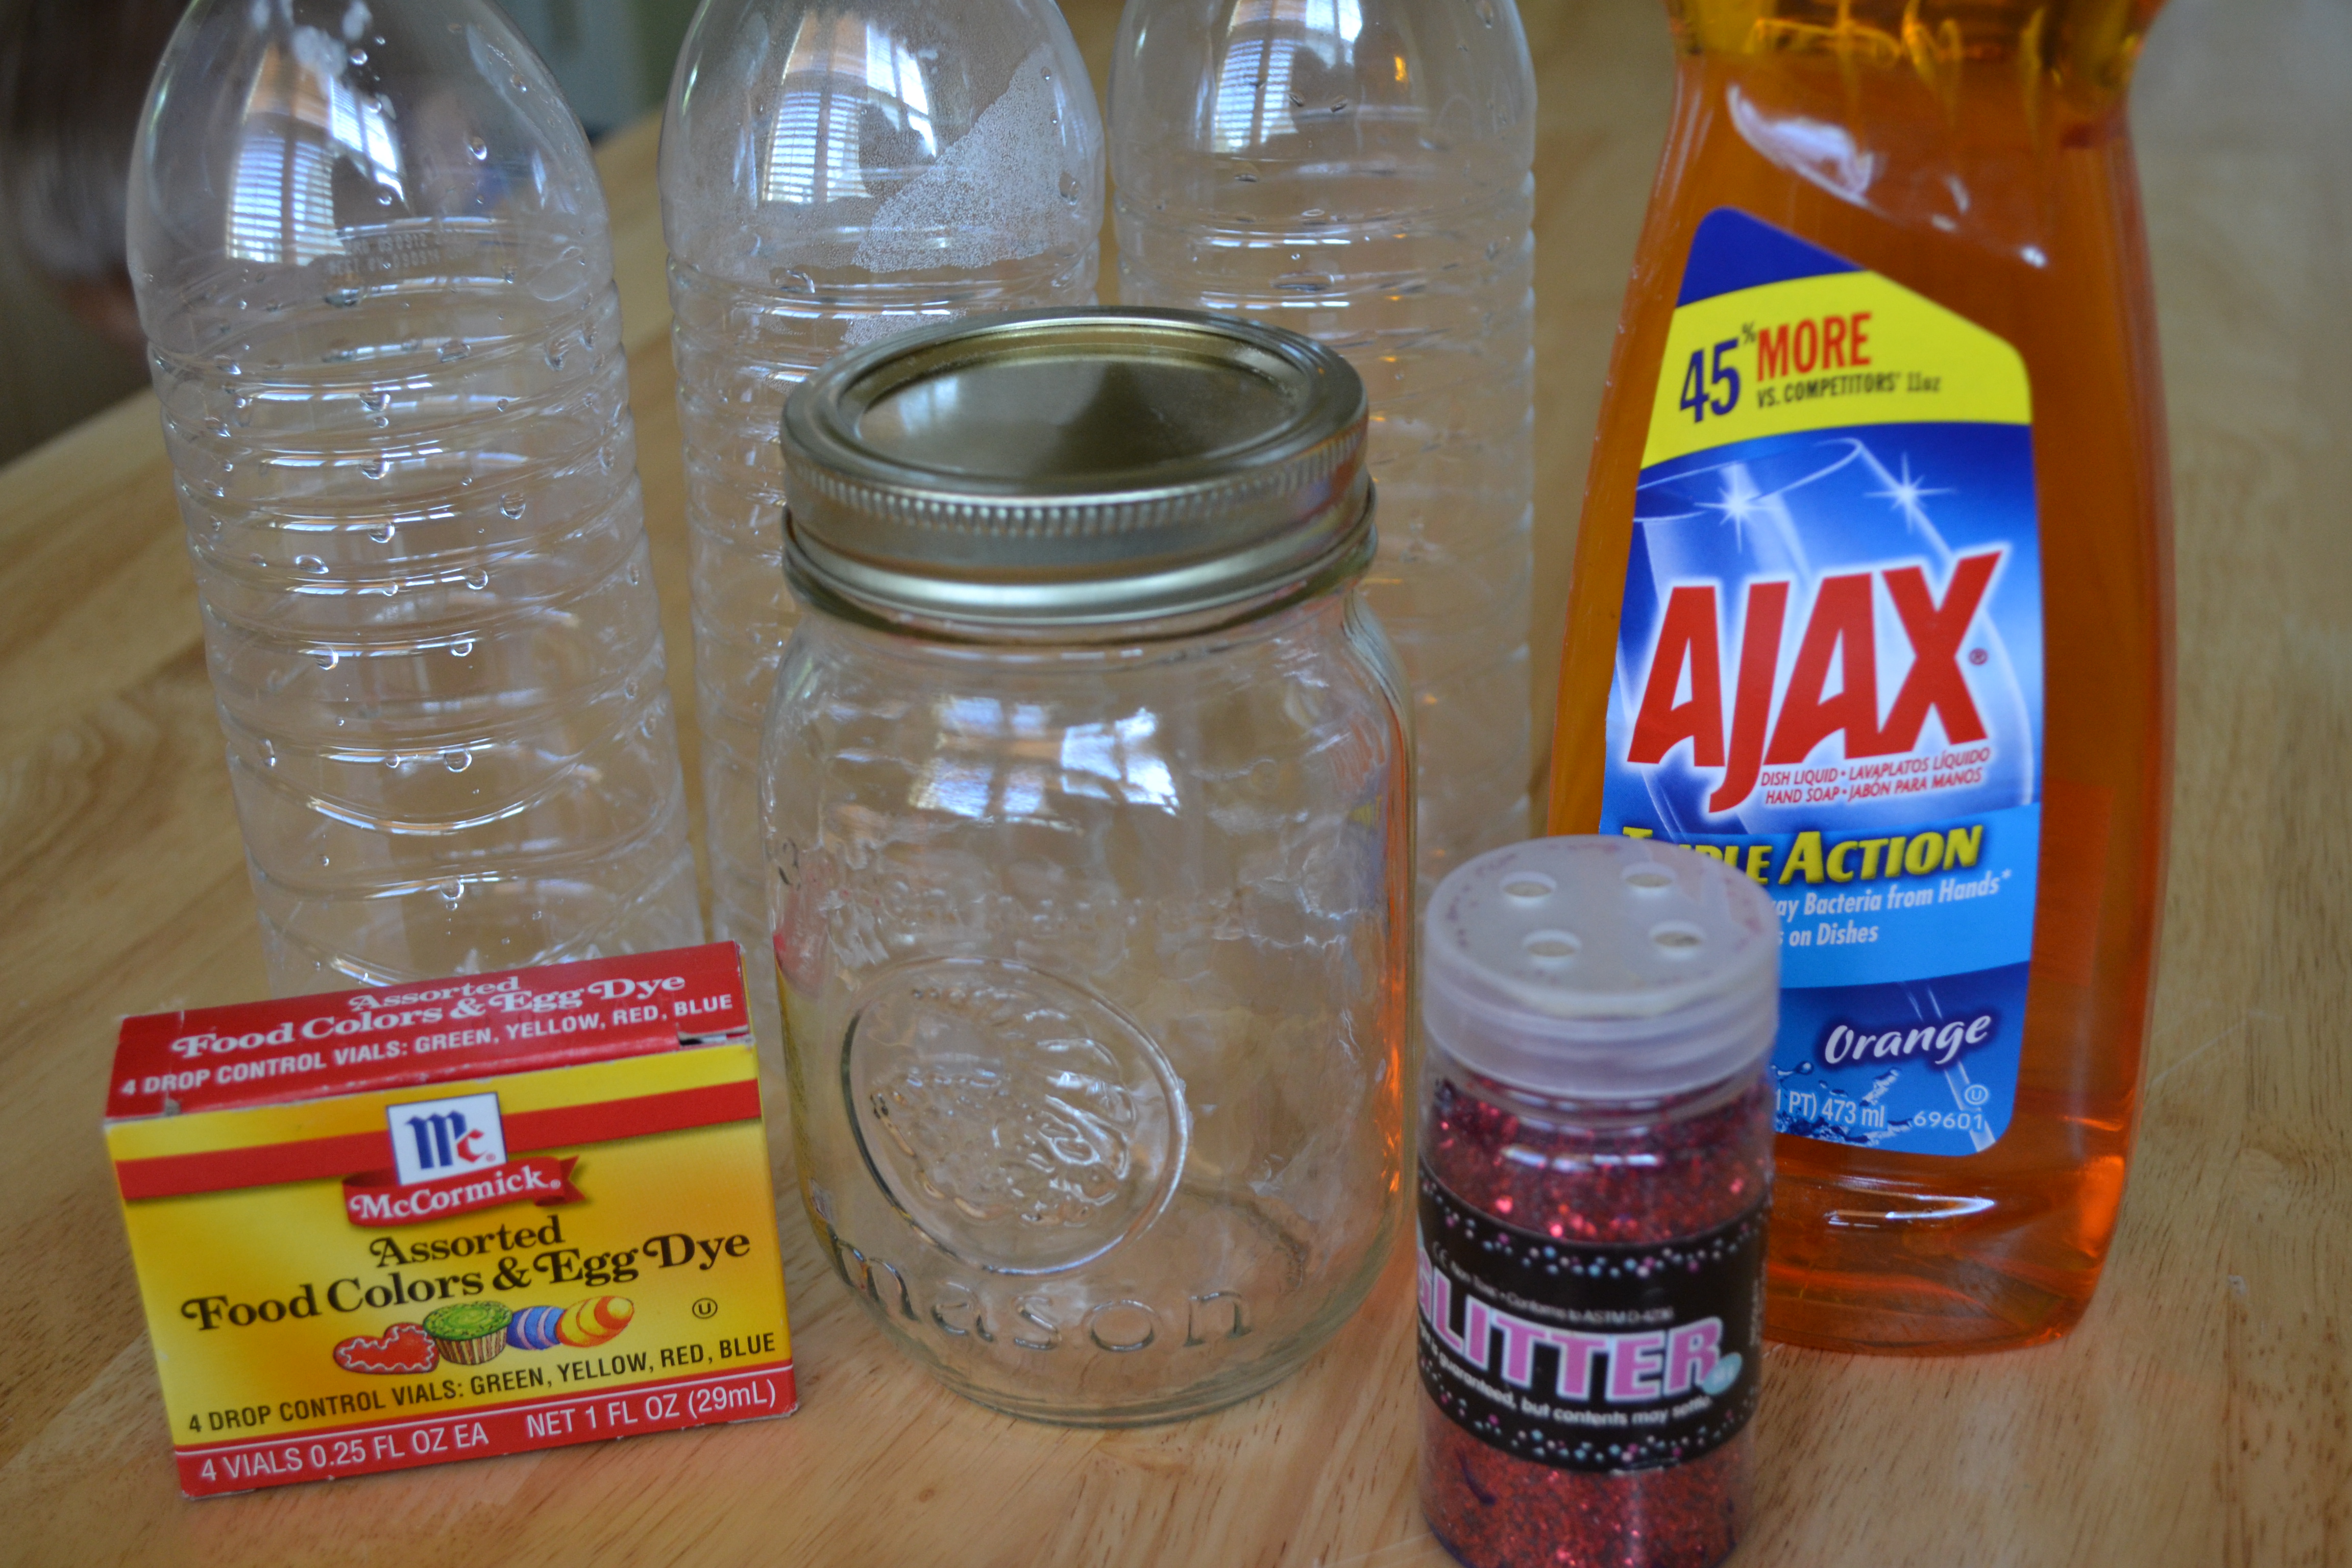
Step 1
Gather all materials. The funnel is optional, but it made it much easier for my kids to pour in the water and add the other materials without making a big mess. We made one tornado in a mason jar and then made the others in water bottles so the kids could take them home. I'd also recommend plastic jars/bottles for little ones in case they drop their tornadoes.

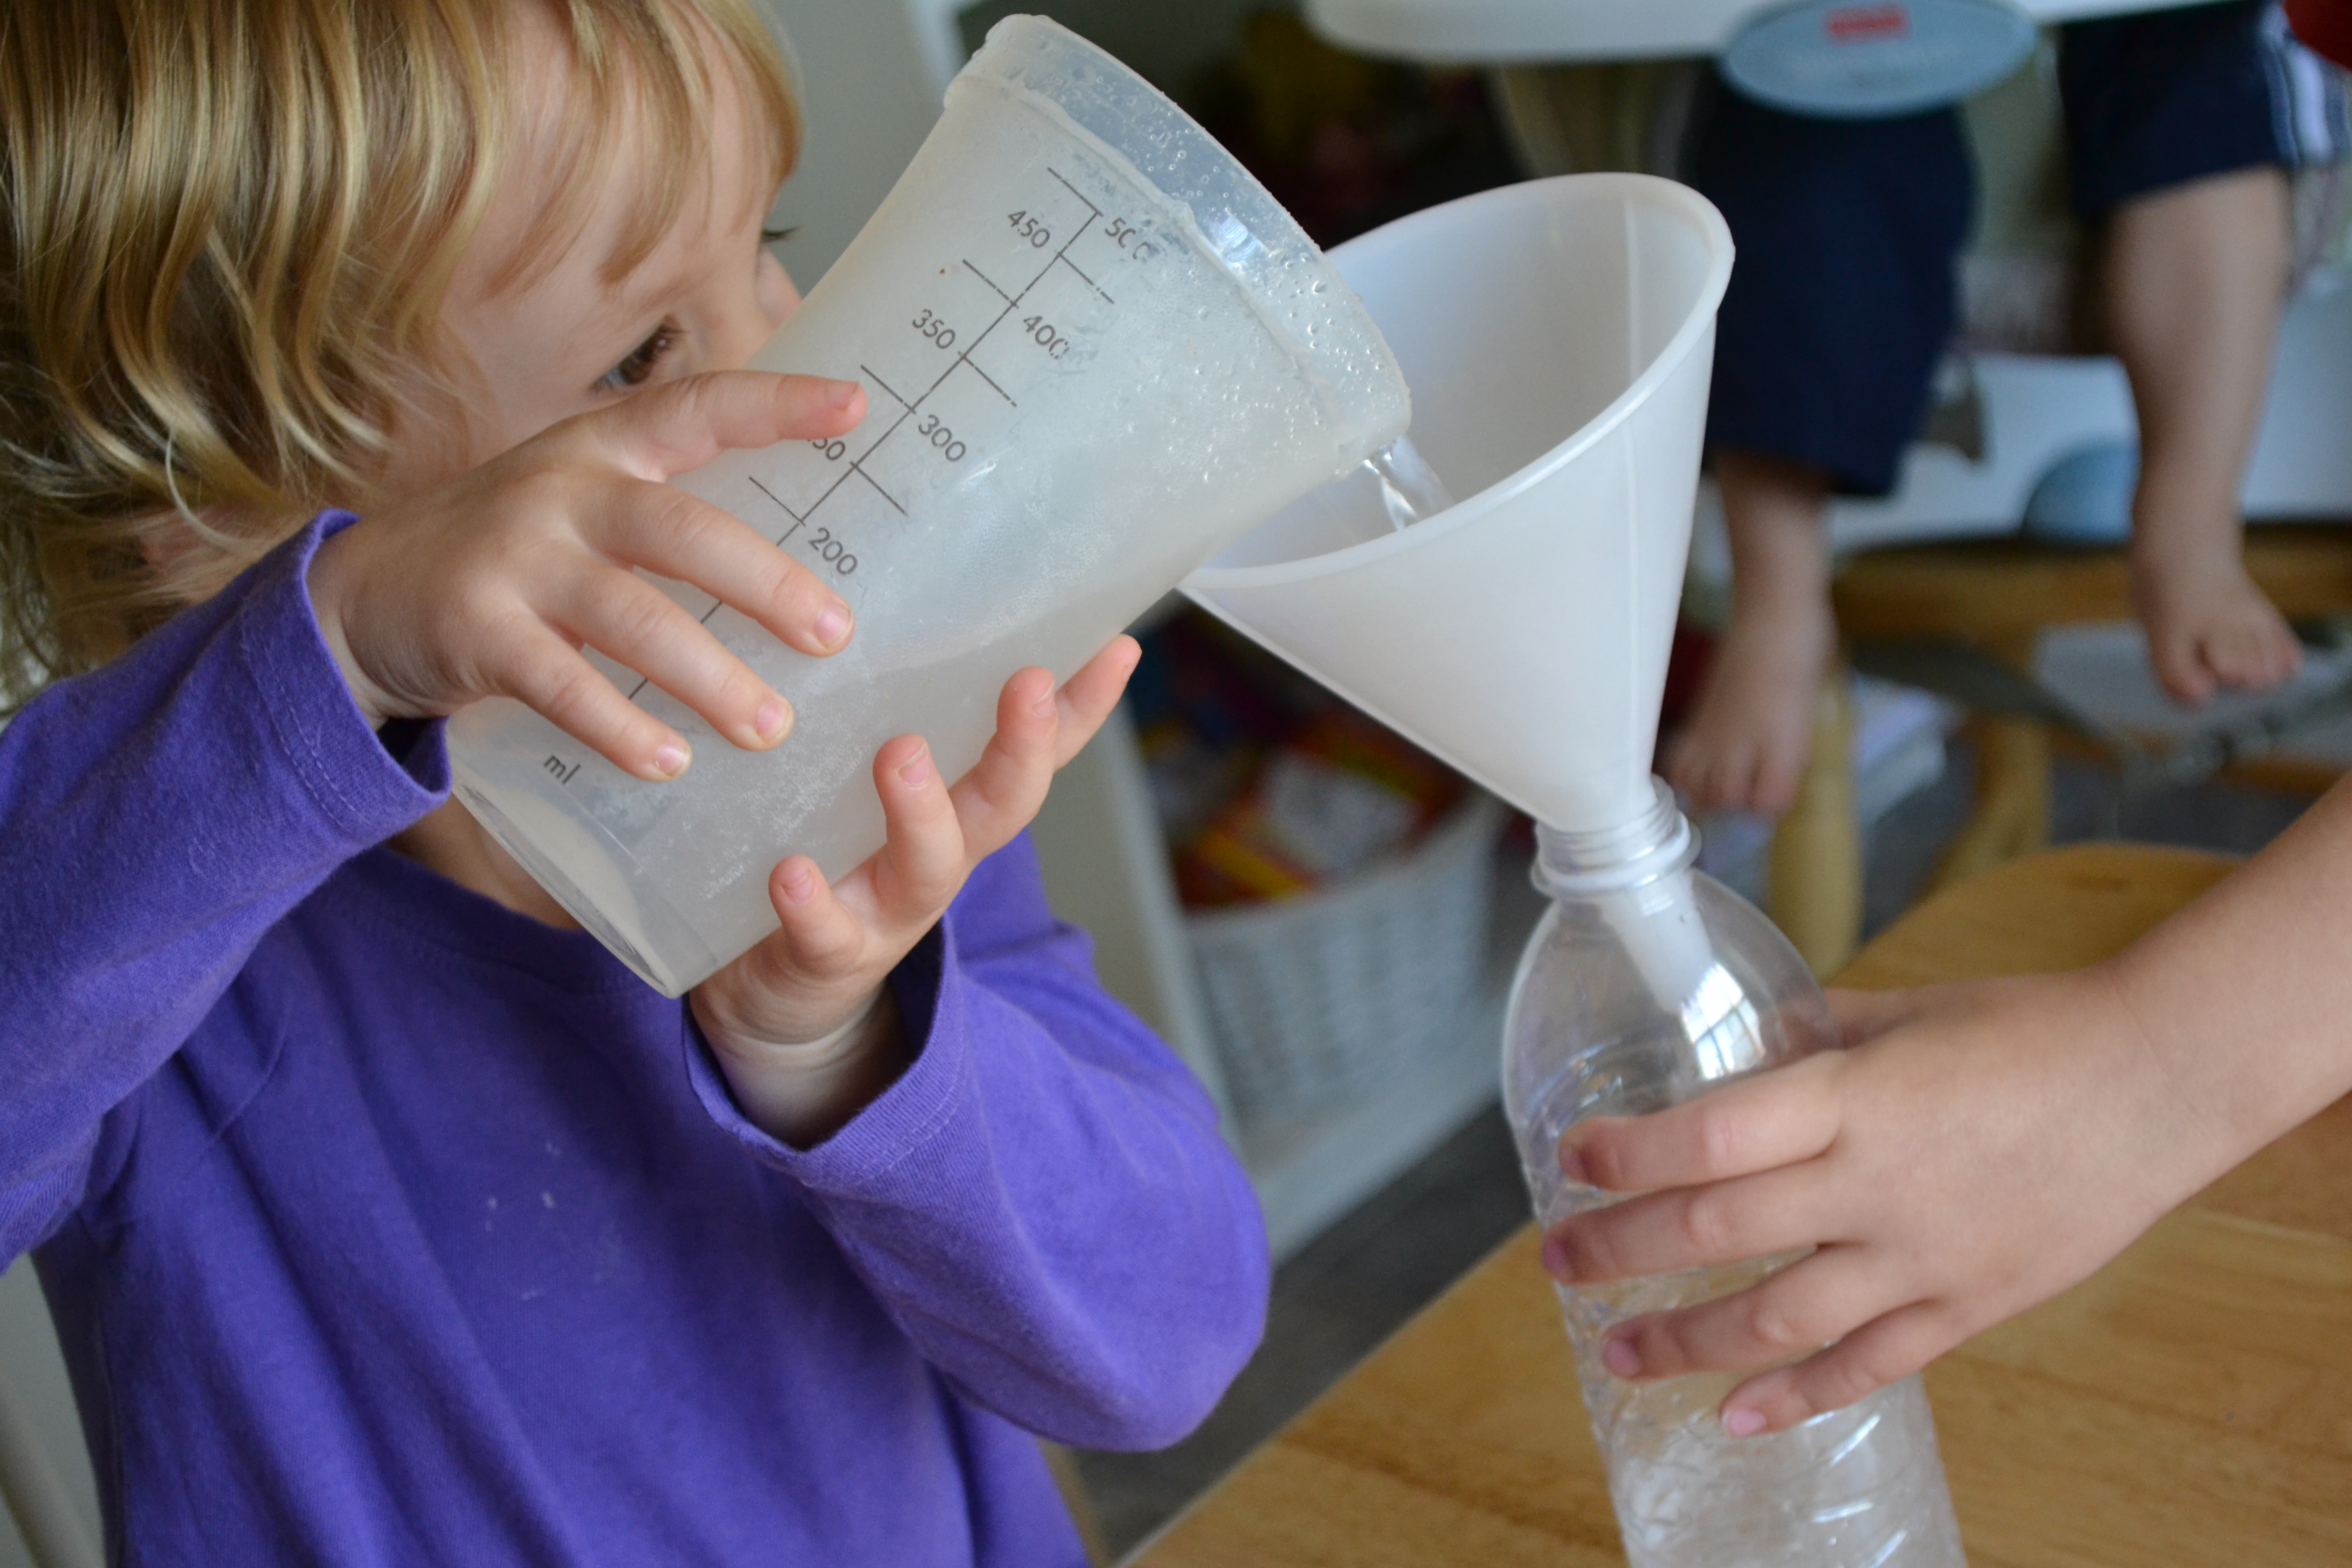
Step 2
First we poured water into our containers until they were about 3/4 full. It was neat to see the teamwork during this part. One of the kids would hold the bottle, while someone else poured the water in.
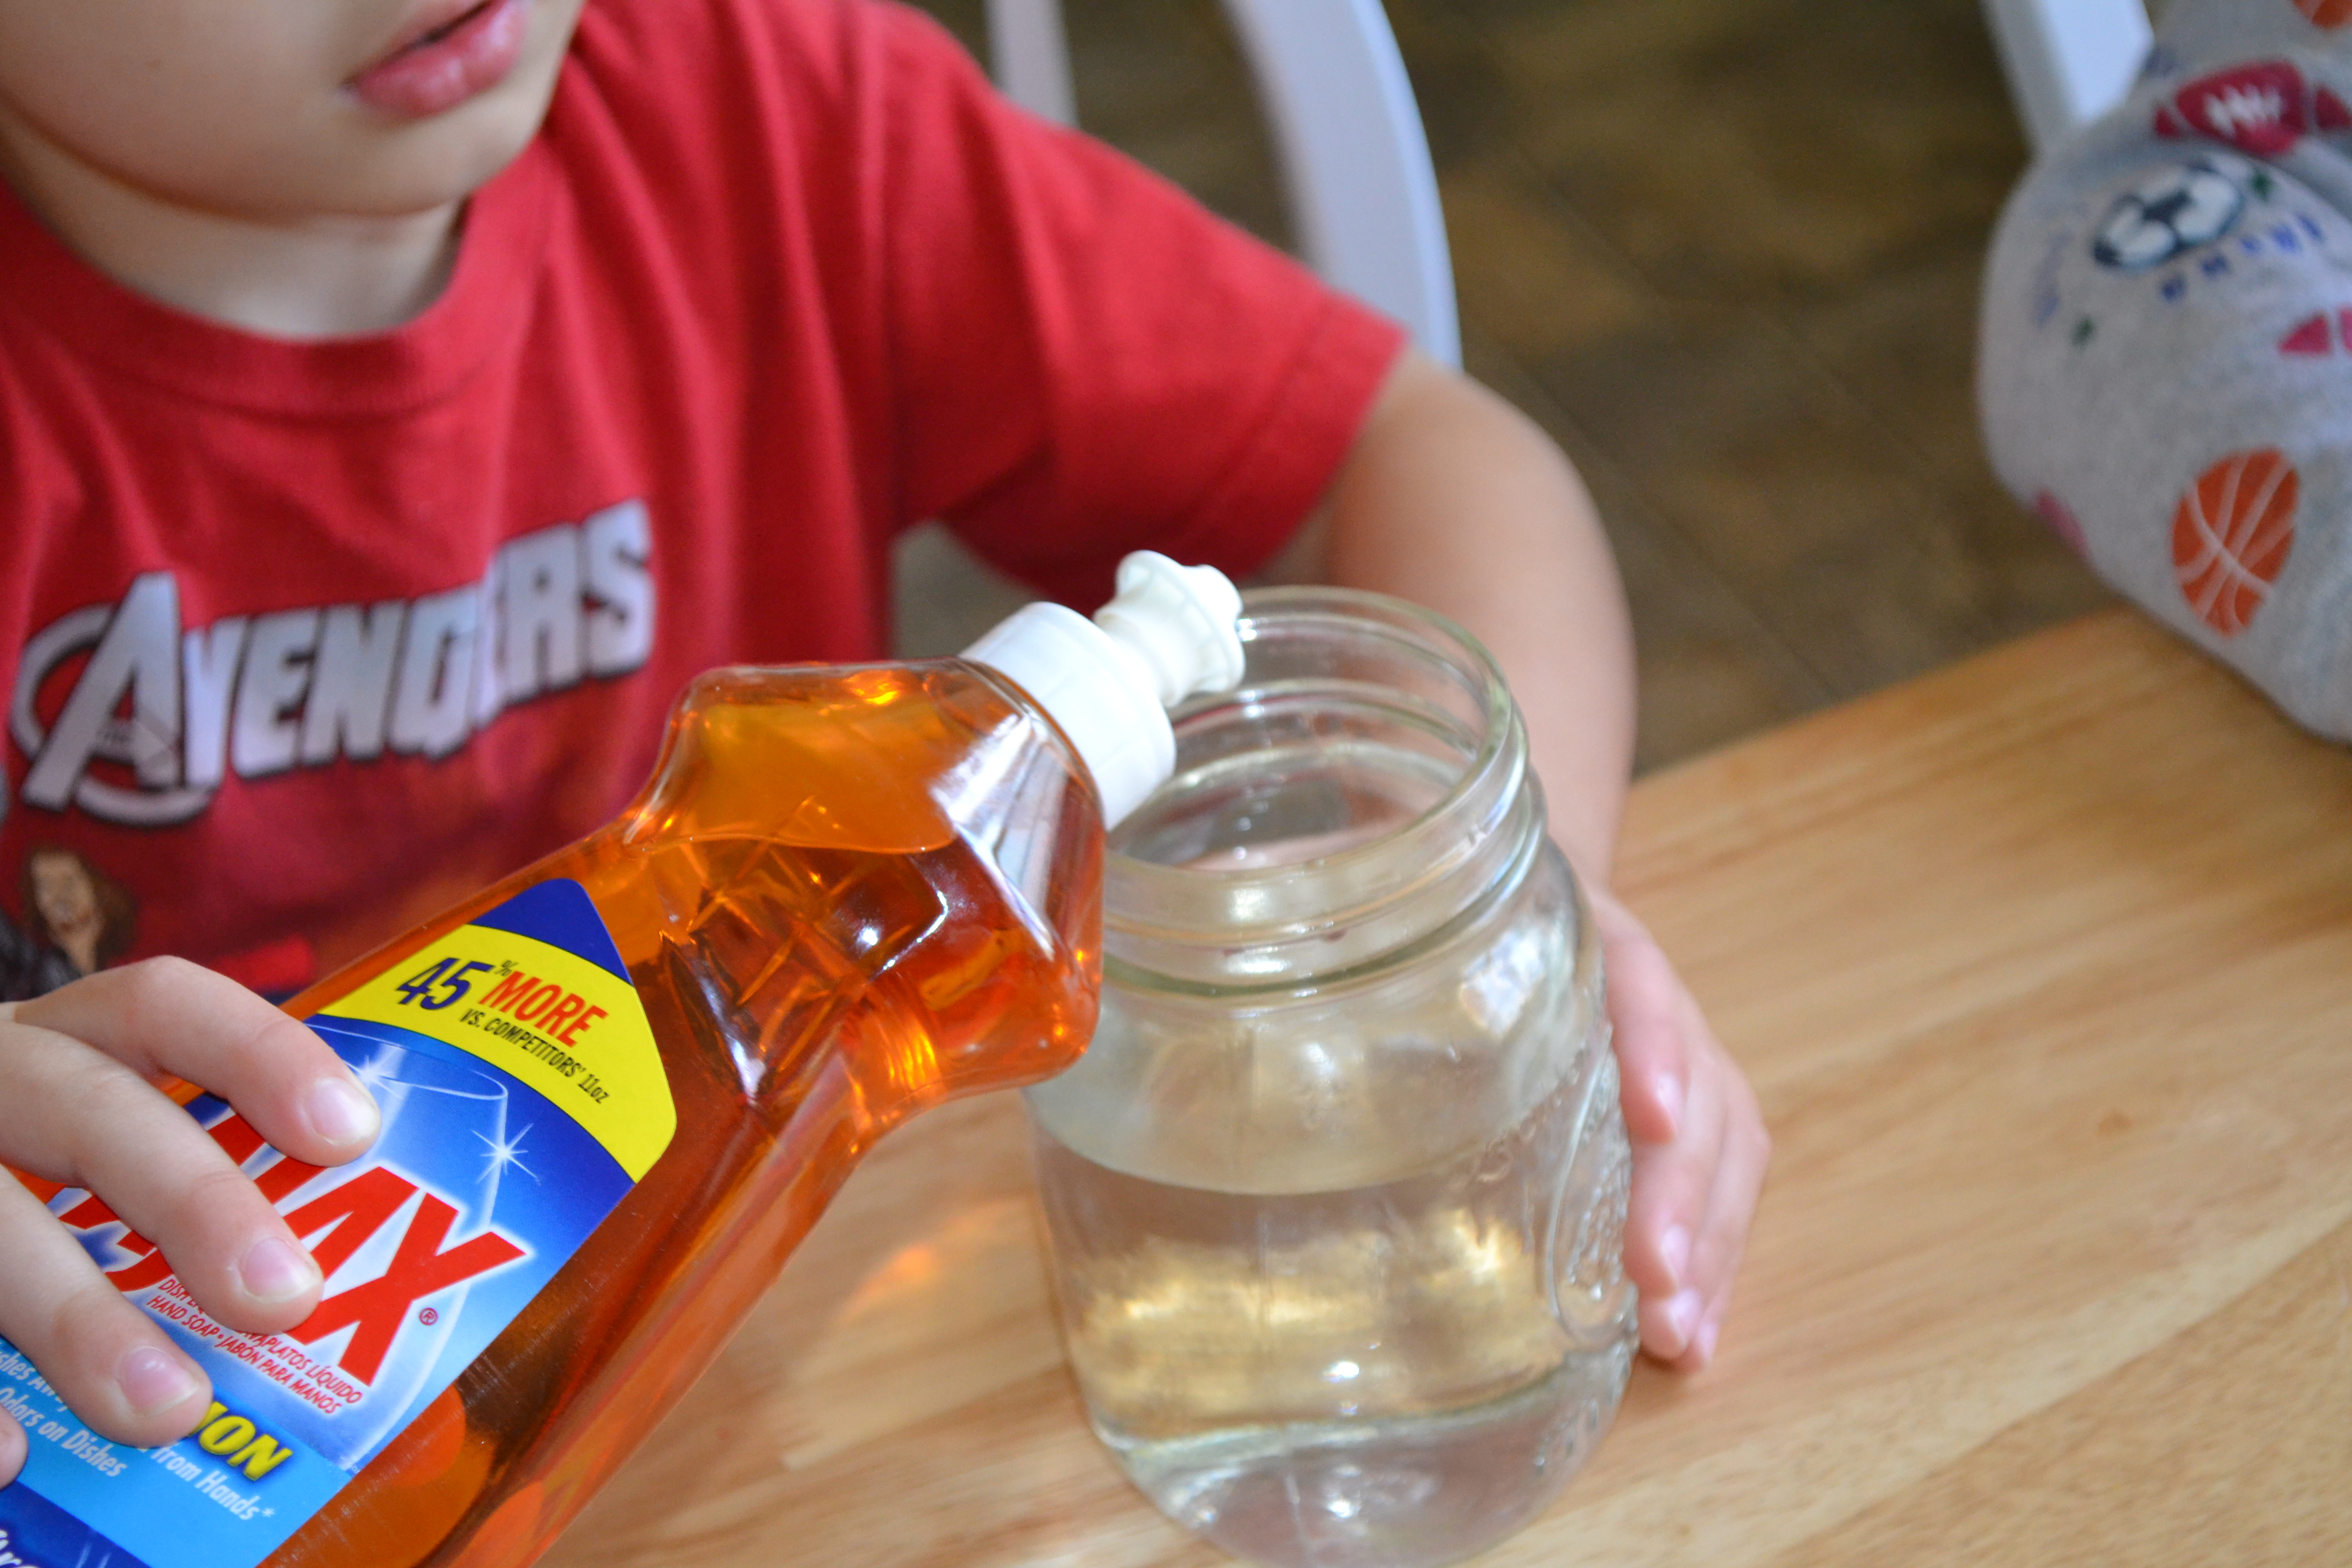
Step 3
Then we added a few squirts of dish soap. It really didn't take much and we took the funnel off for this part so we wouldn't have to wait for it to drip through the funnel.
Step 4
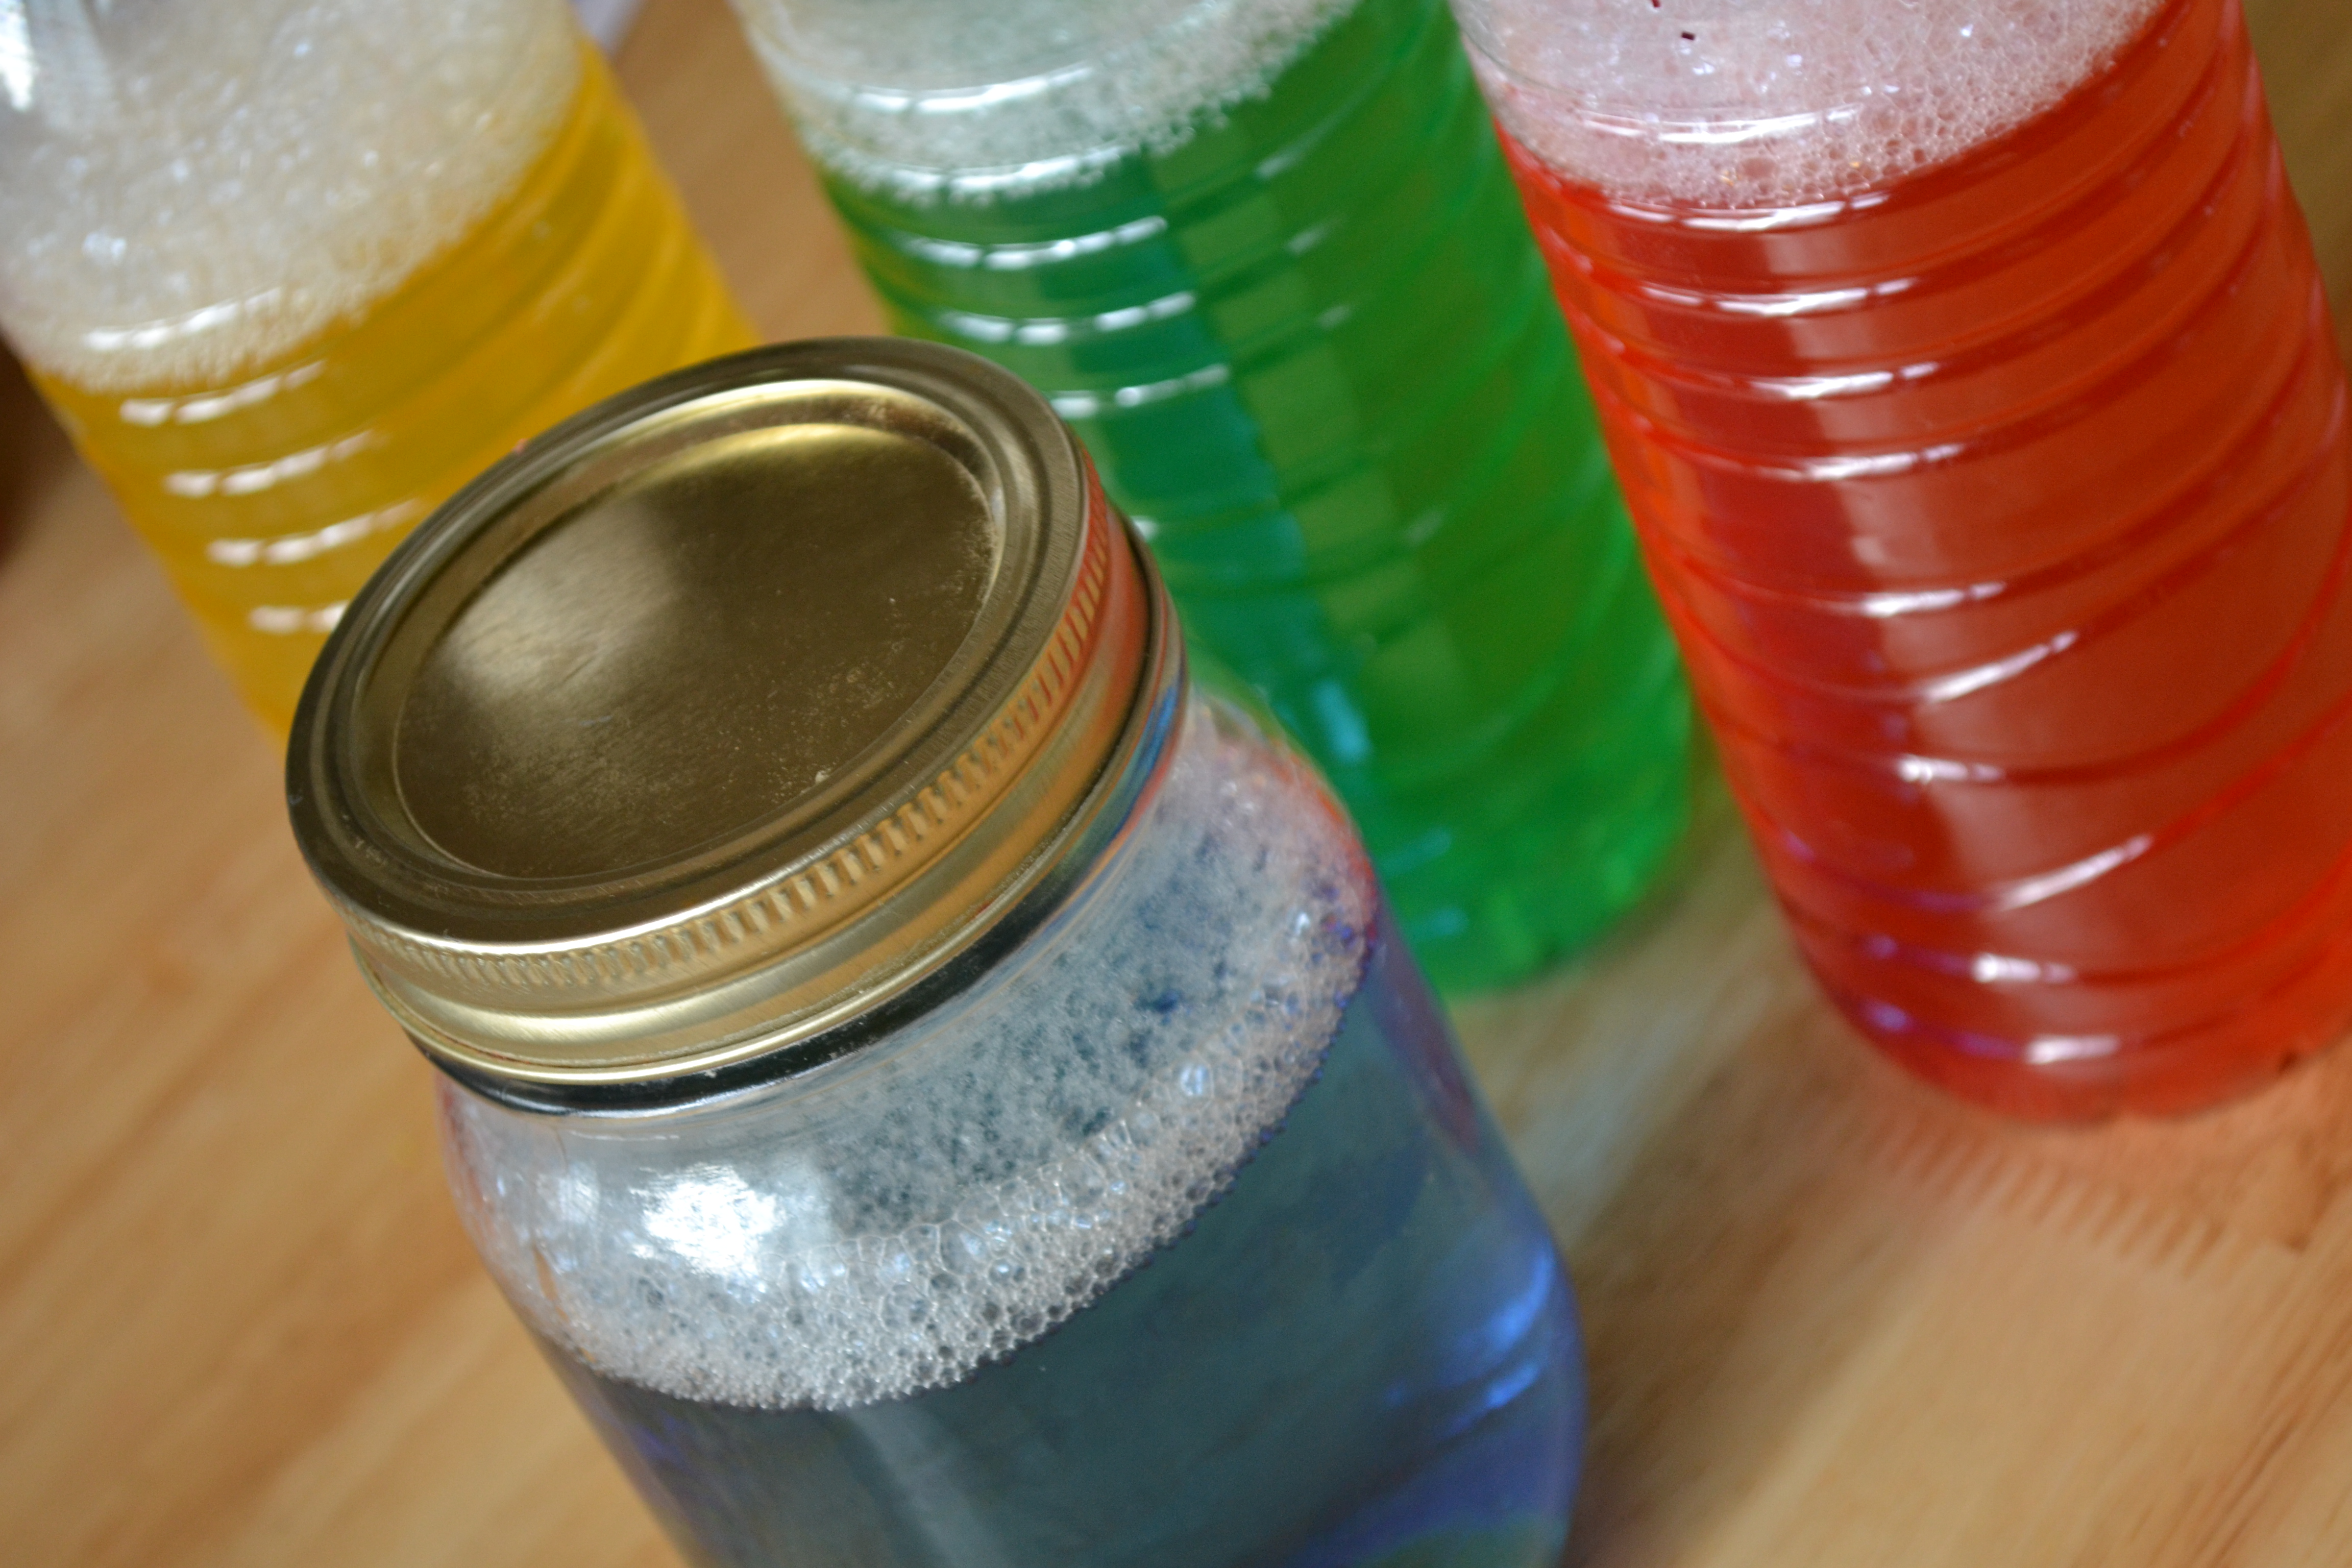
Then we added two drops of food coloring--partly to make the tornadoes easier to see and partly because everything is more fun in color! Each of the kids picked a different color to help us tell their projects apart.

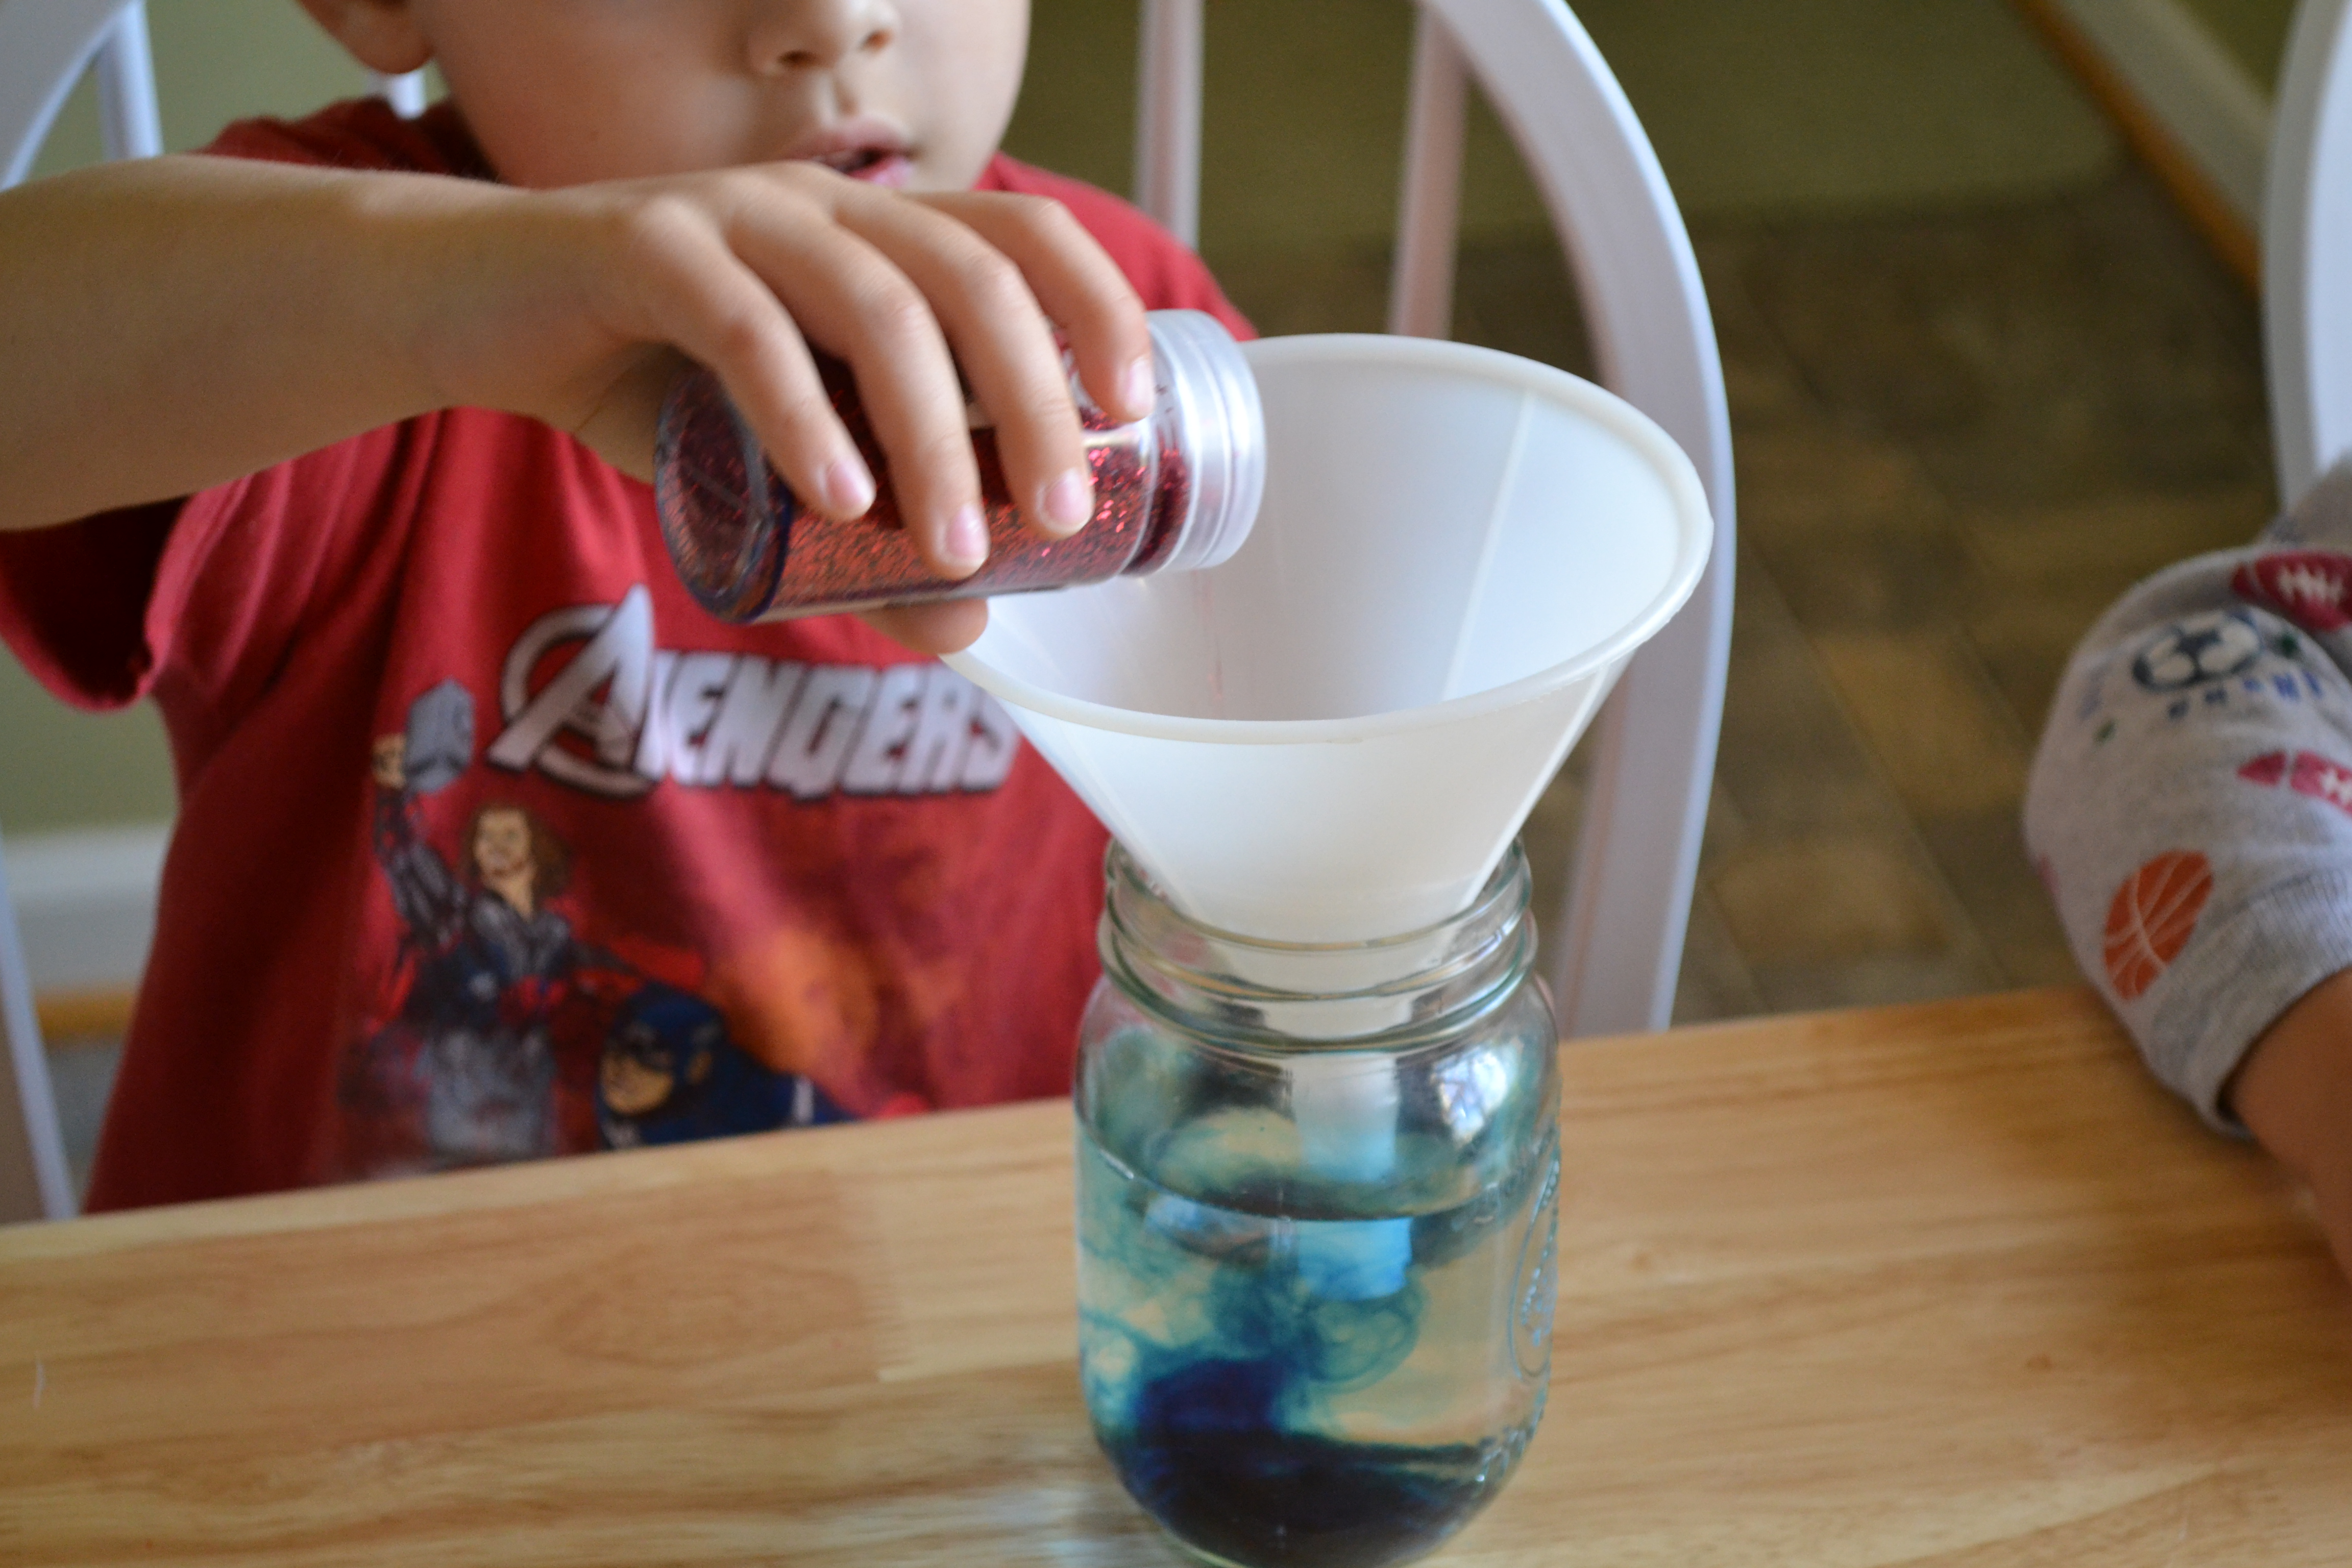
Step 5
Next, we put the funnel back on to add in some glitter. This makes the tornado easier to see. We talked about "debris" and how tornadoes have high winds that can break things apart and carry "debris" to other places. I had to laugh later that day when my four-year-old was complaining about the "debris" all over the living room floor!
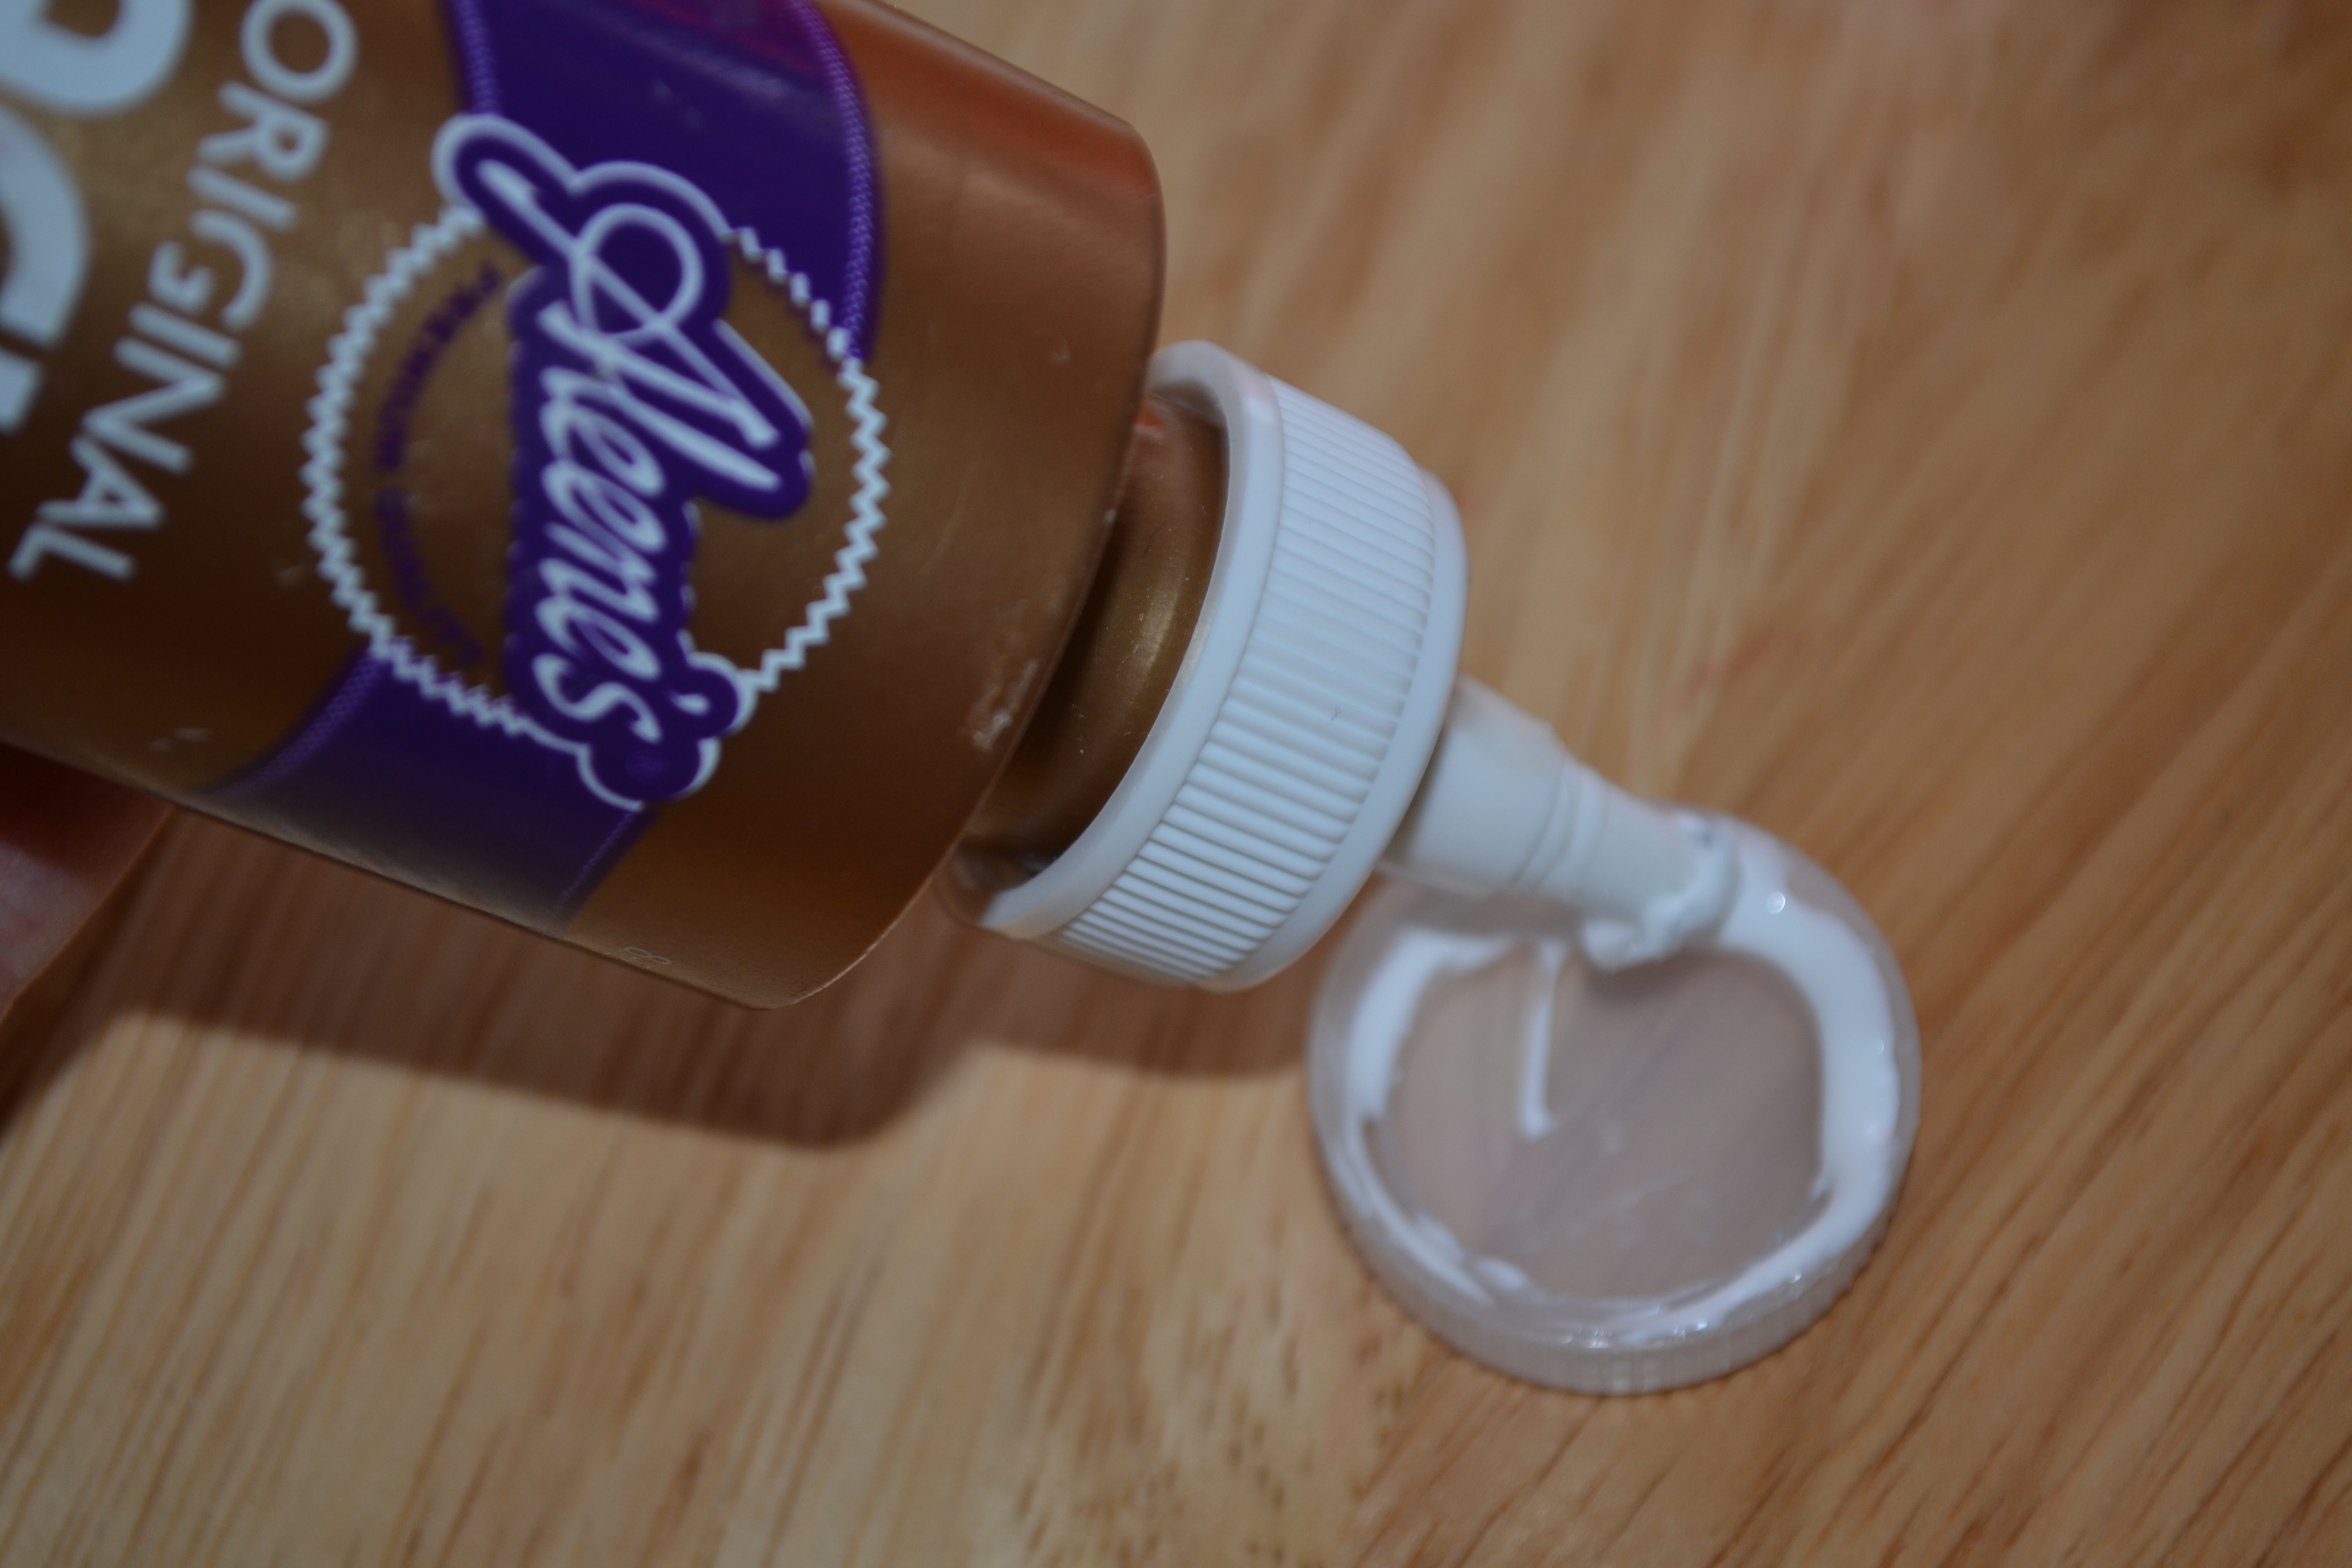
Step 6
To try and make sure the little ones didn't open up their bottles, we put a ring of tacky glue inside the bottle caps and screwed them on tightly.
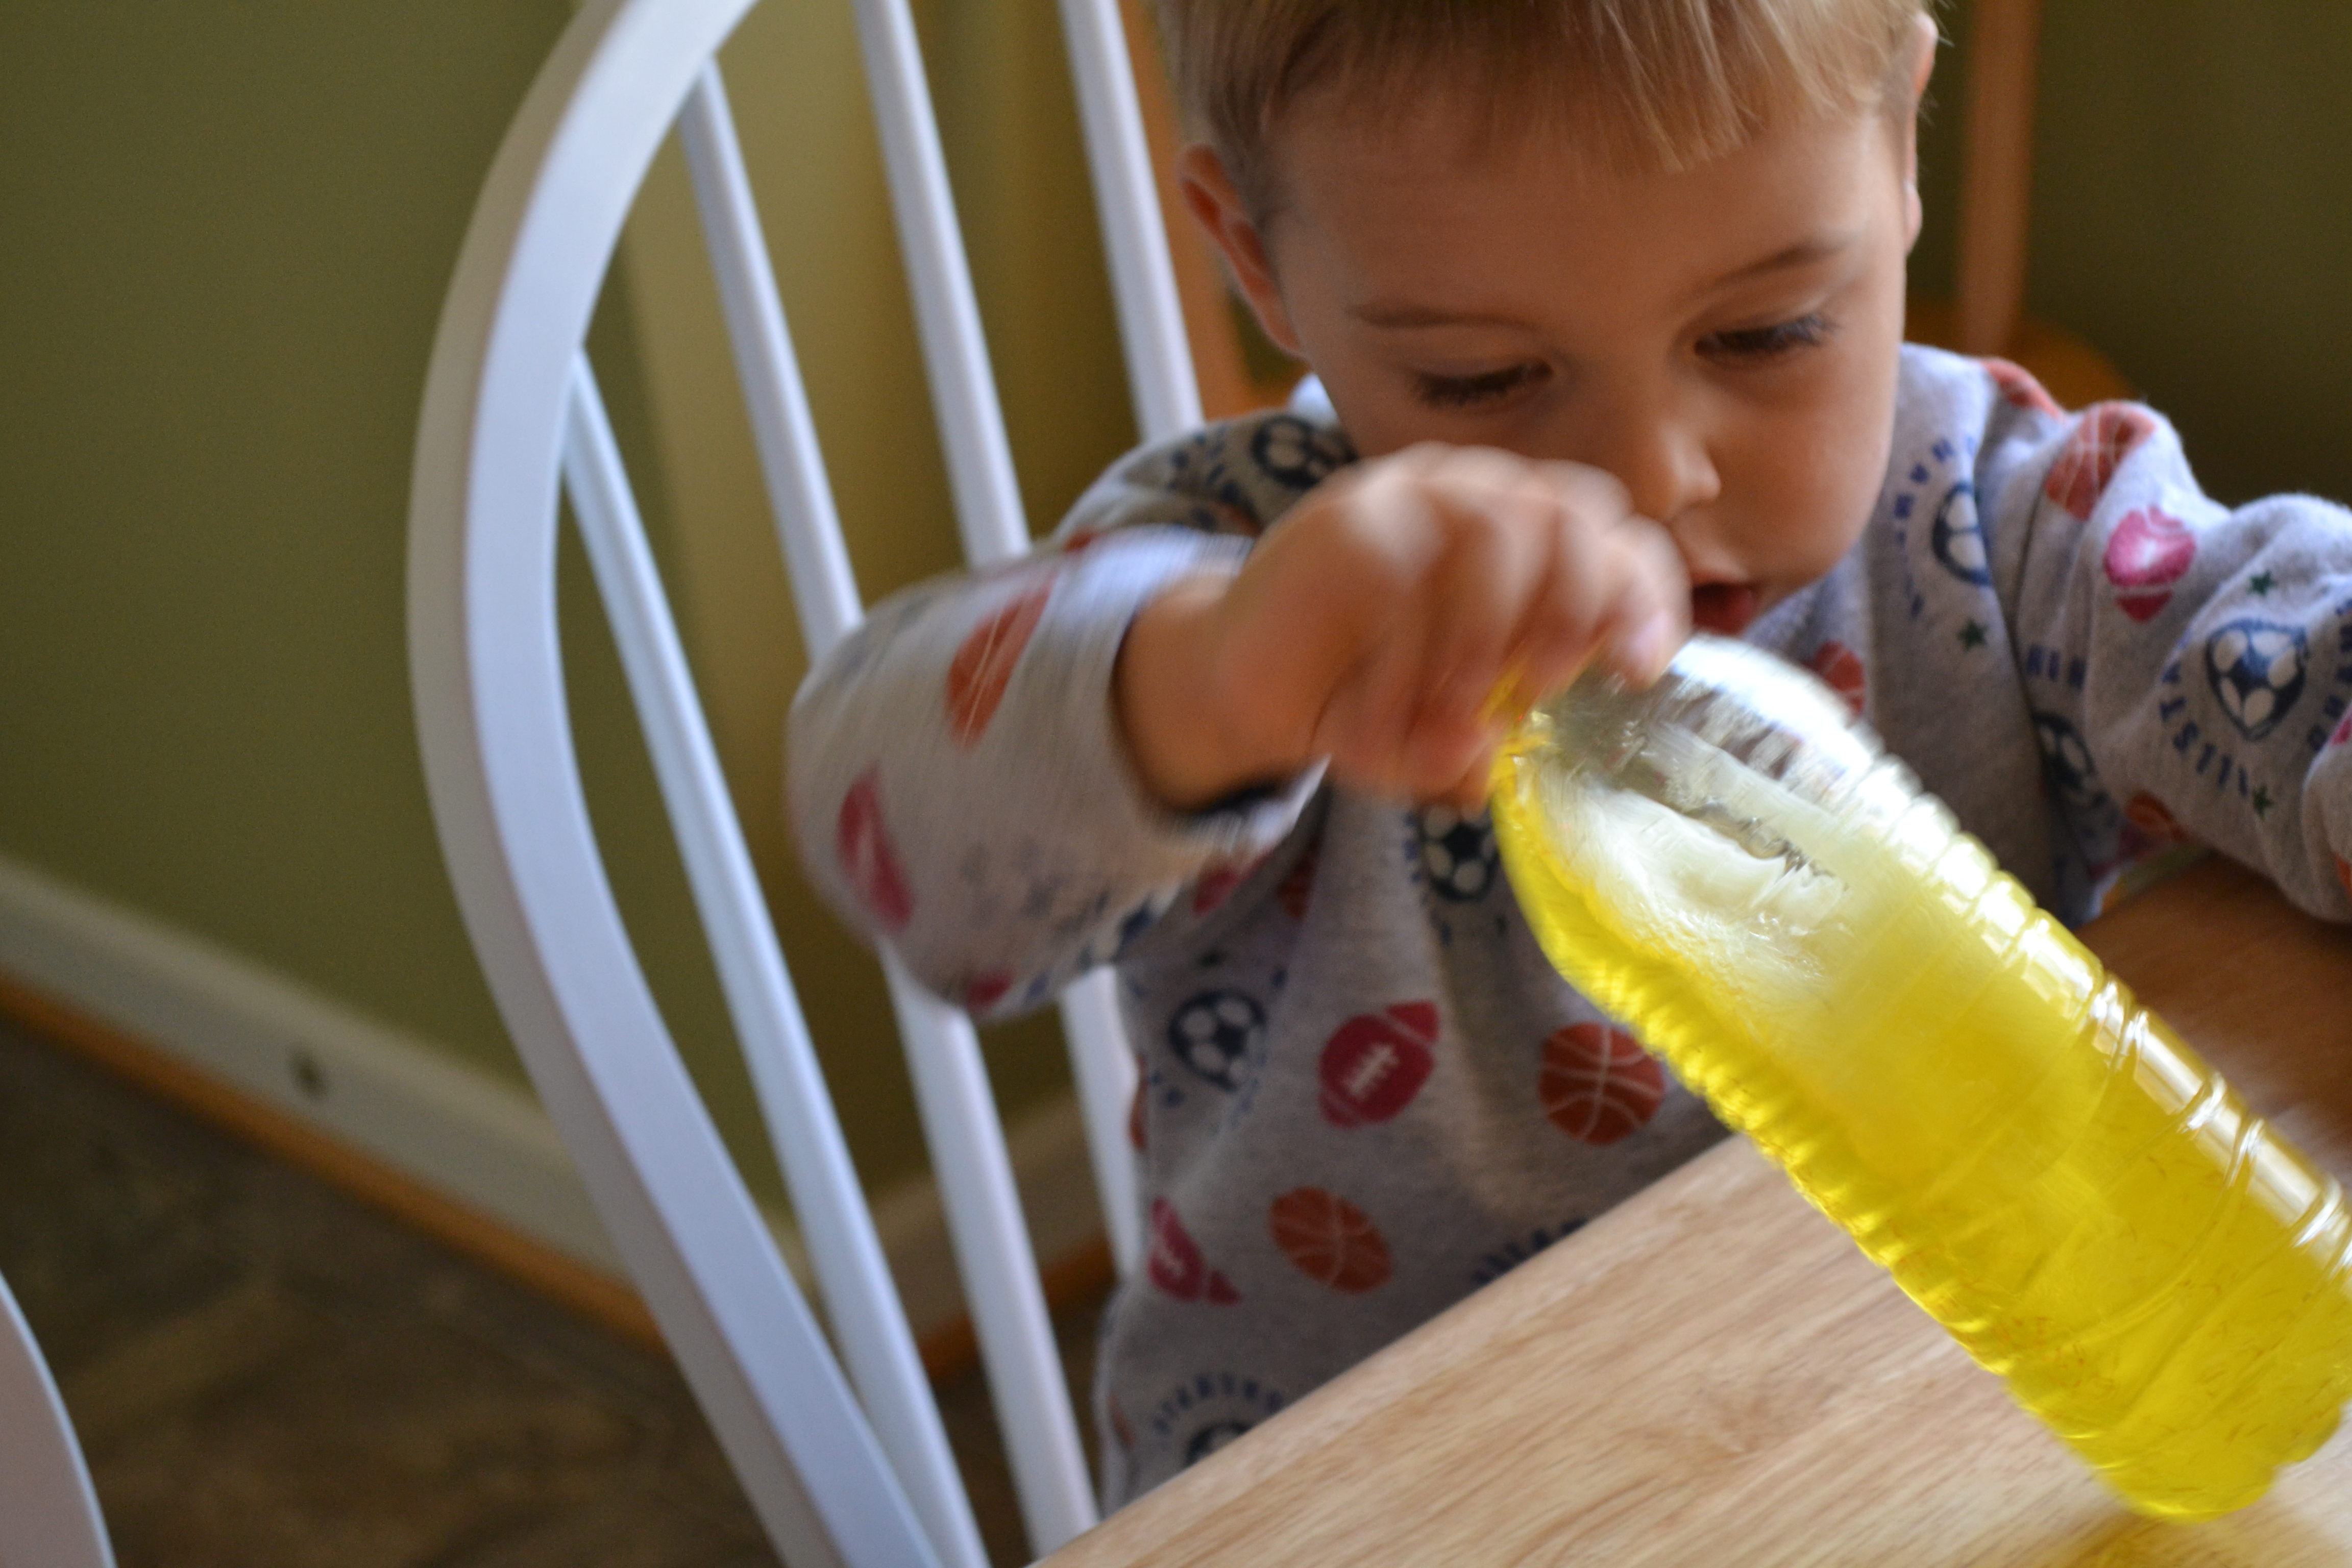
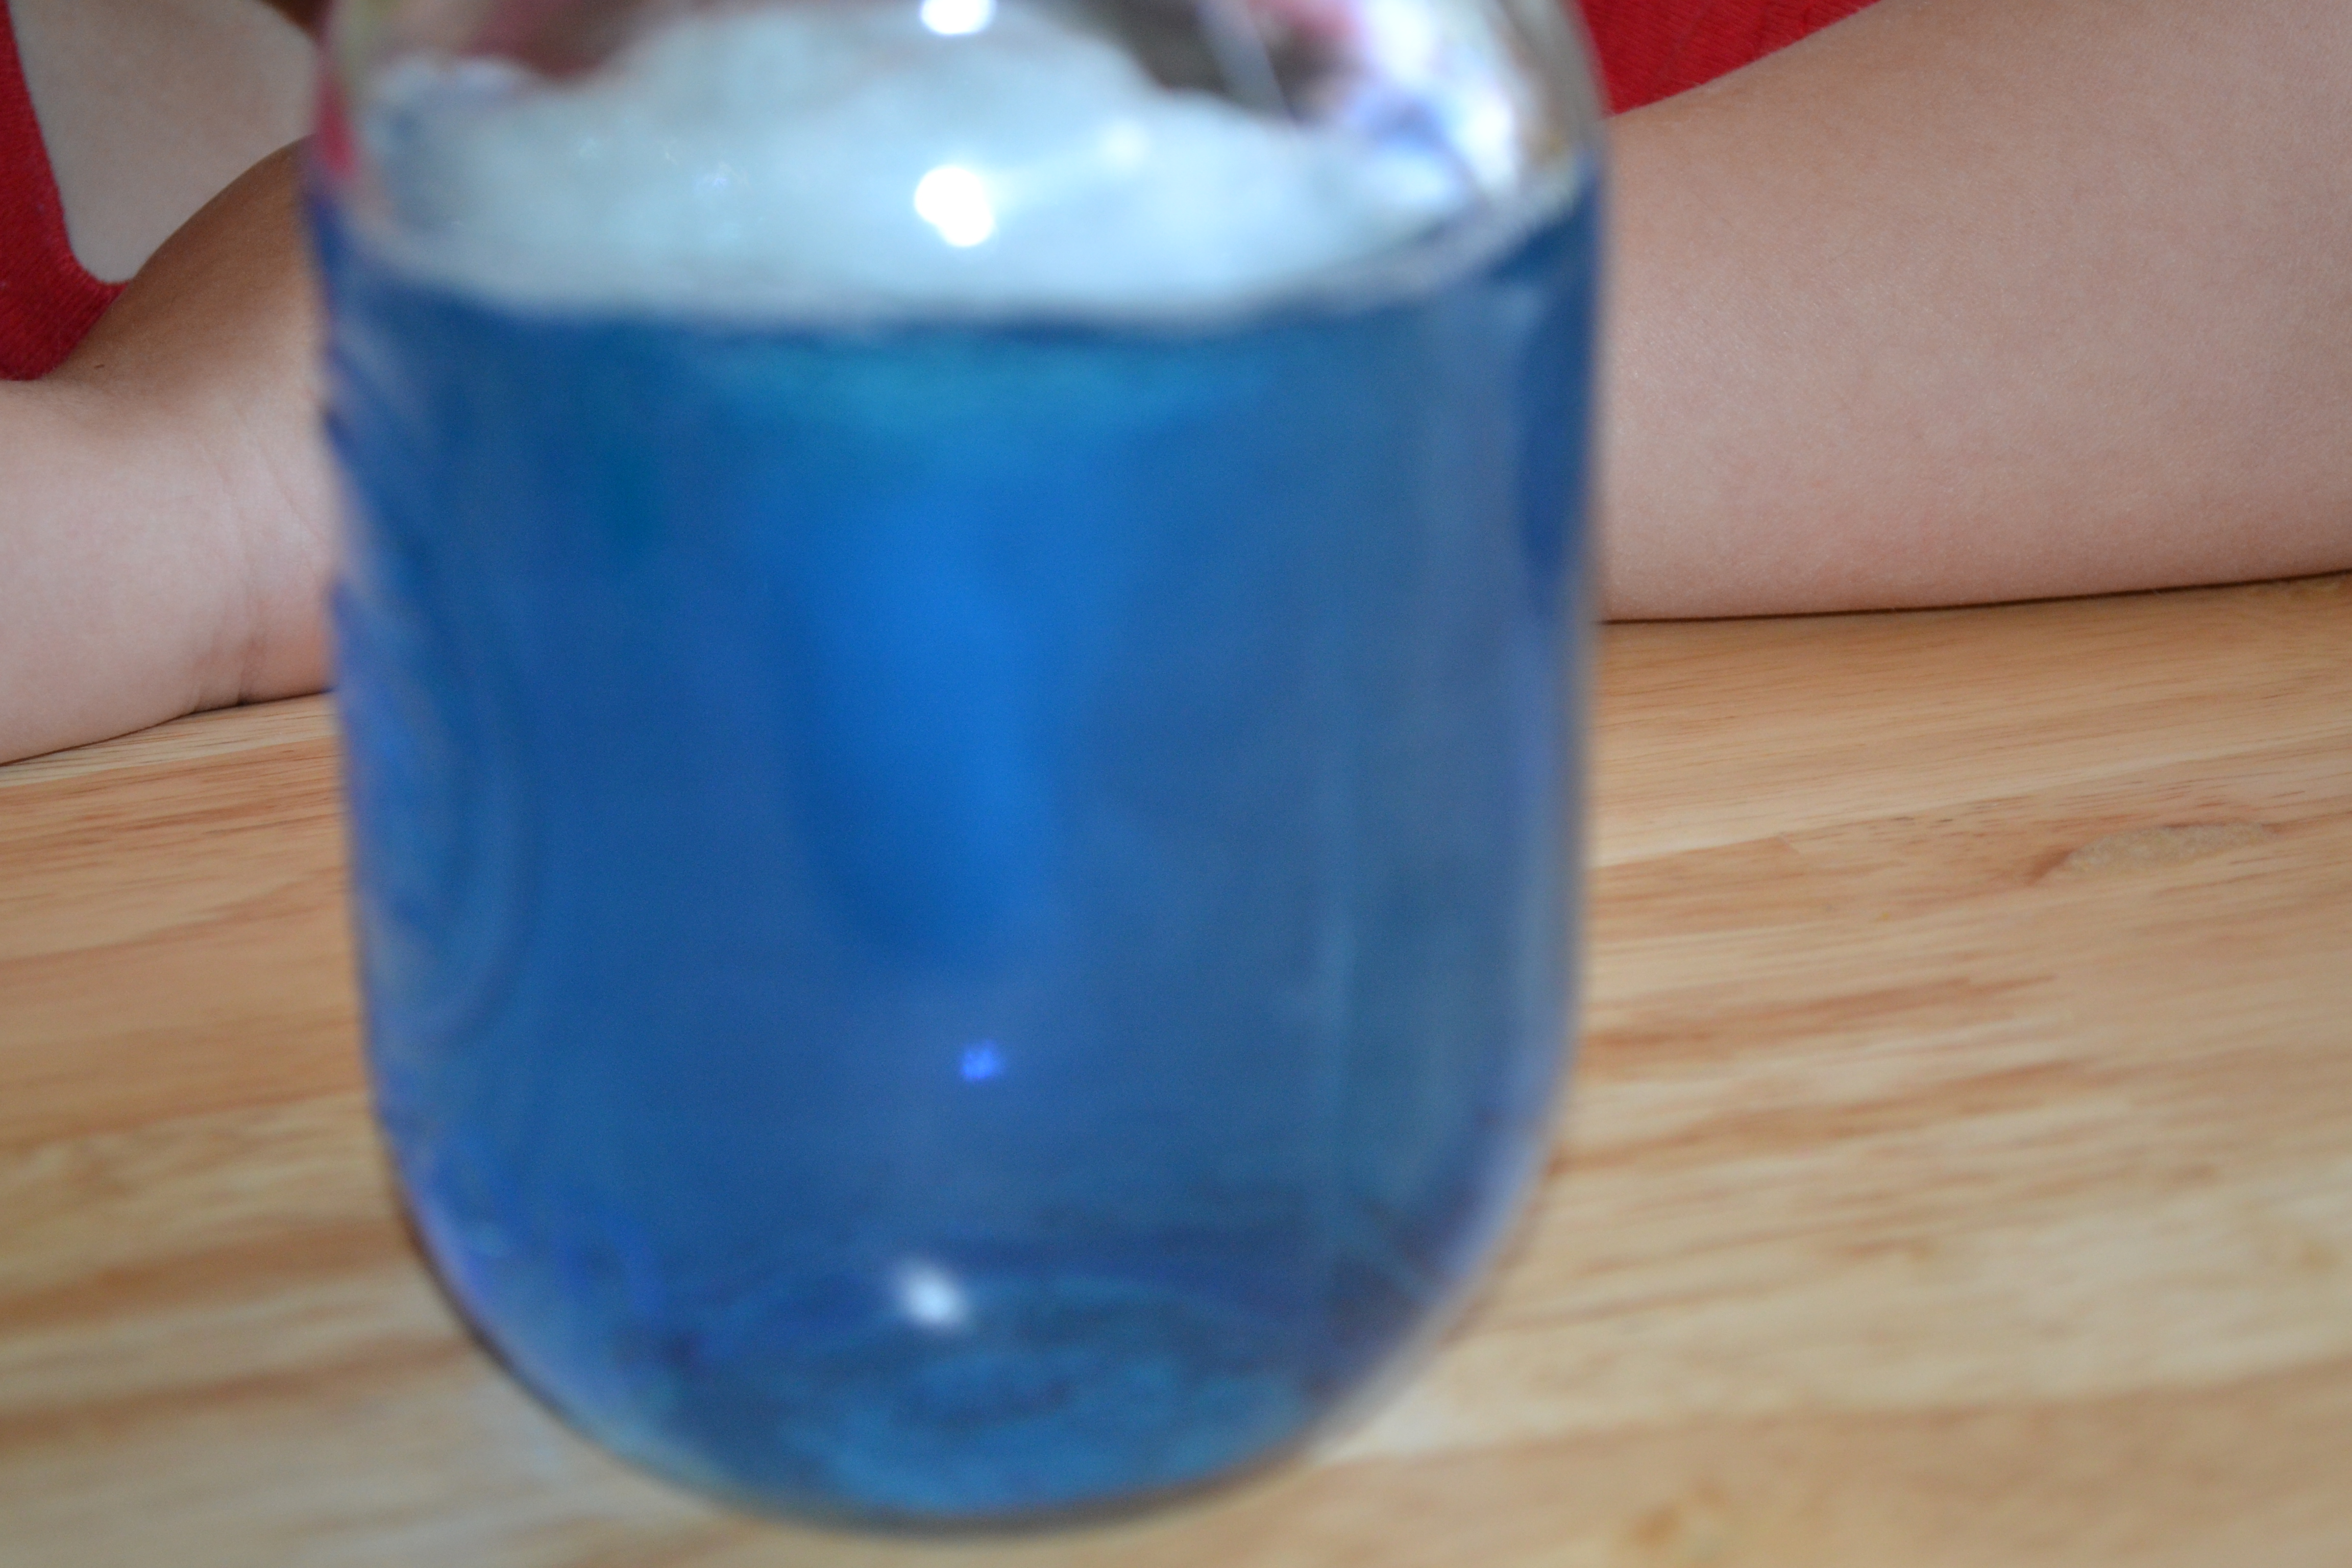
Step 7
To make our tornadoes, the kids turned their bottle upside down and held it by the neck. Then they quickly spun the bottle in a circular motion for a few seconds. When they stopped, they were able to see a mini tornado forming in the water. A few of them had to try a few times before they could get the bottle to spin fast enough. We were able to see the tornado best in the mason jar, but it almost looked like the tornadoes started forming in the bottles as soon as they turned them upside down.
Done!
An added bonus to this activity was that the bottles fascinated my toddler and kept him occupied for the rest of the afternoon. He loved shaking up the bottles and then watching the glitter fall and the bubbles pop. I've heard some people use these as "calming bottles" and I can definitely see the appeal!