Step-by-step tutorial
Step 1
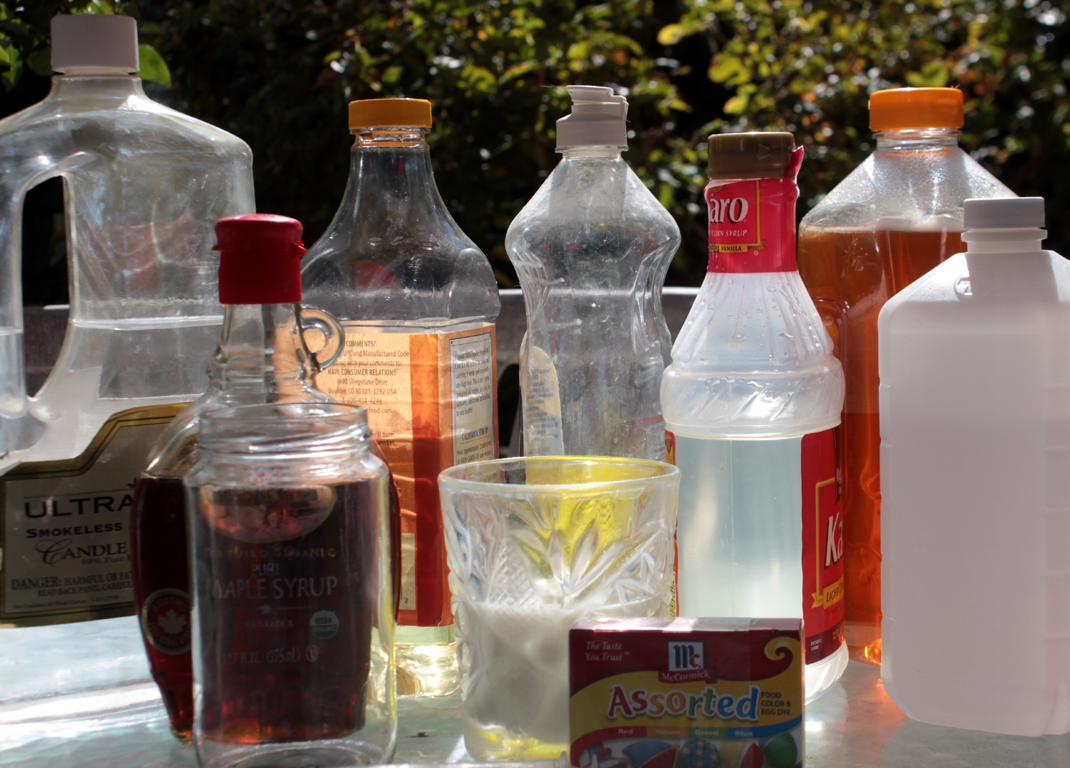
This demonstration can be as simple or involved as you like... my two are pretty familiar with density, so we went all out today! Parents of younger children may want to stick with simple ingredients like water, light corn syrup, and vegetable oil.

Step 2
Step 3
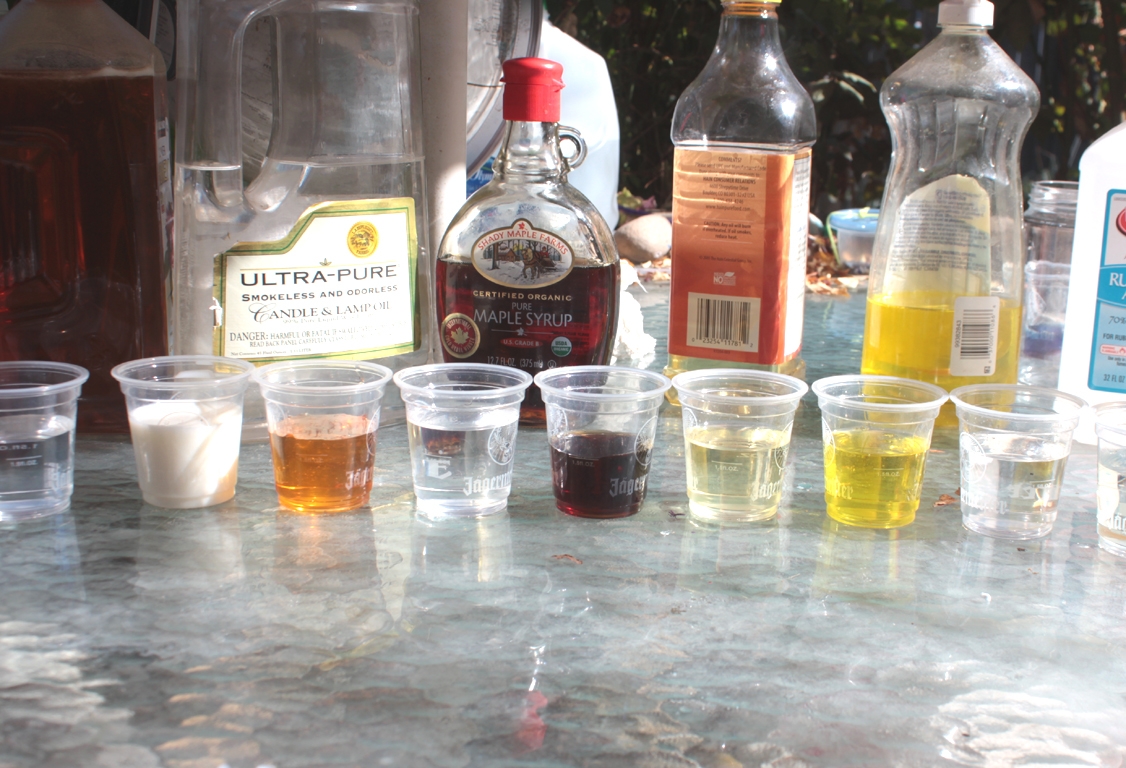
We happened to have little plastic cups in our craft cupboard, so we filled them a little over halfway full of our liquids.
Step 4
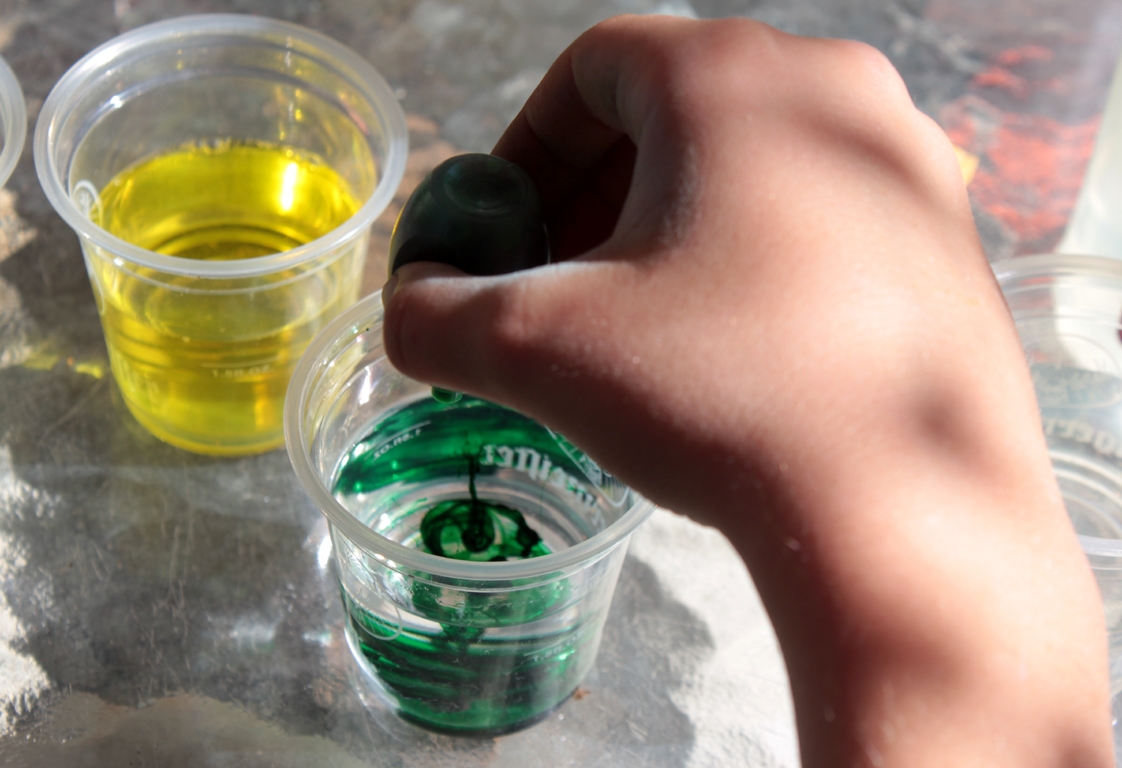
The kids used food coloring to color the water...
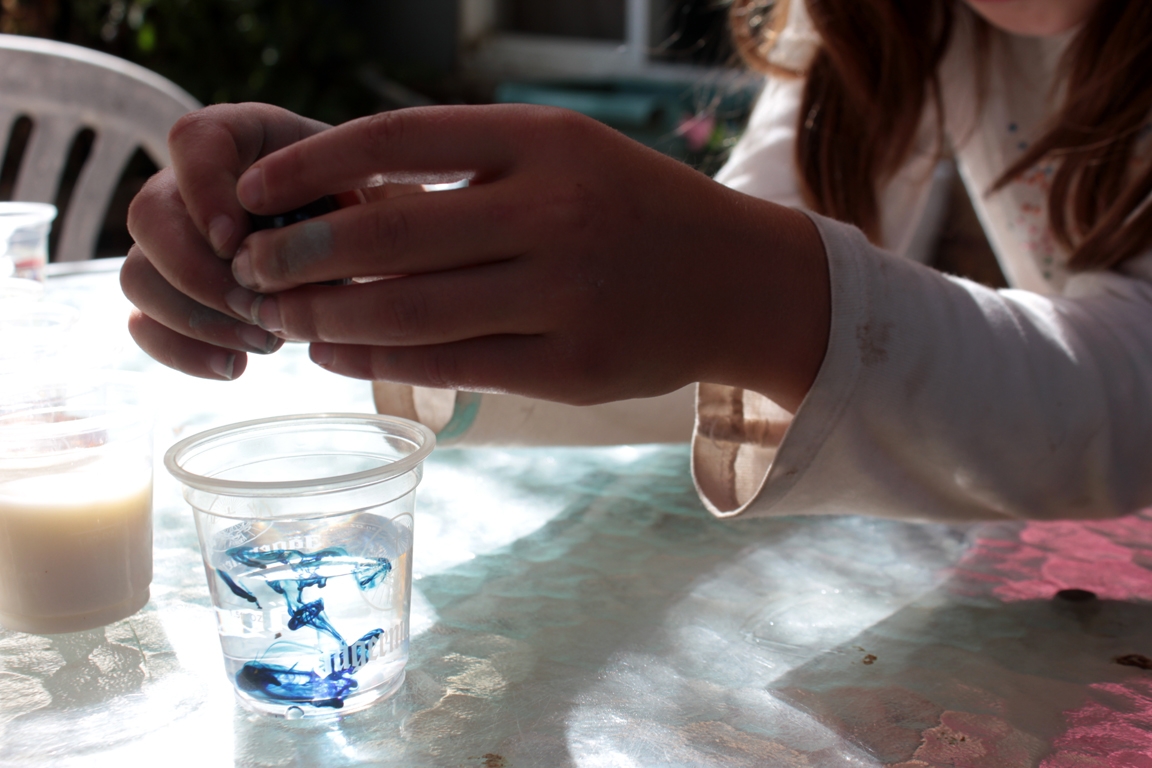
Step 5
...corn syrup...
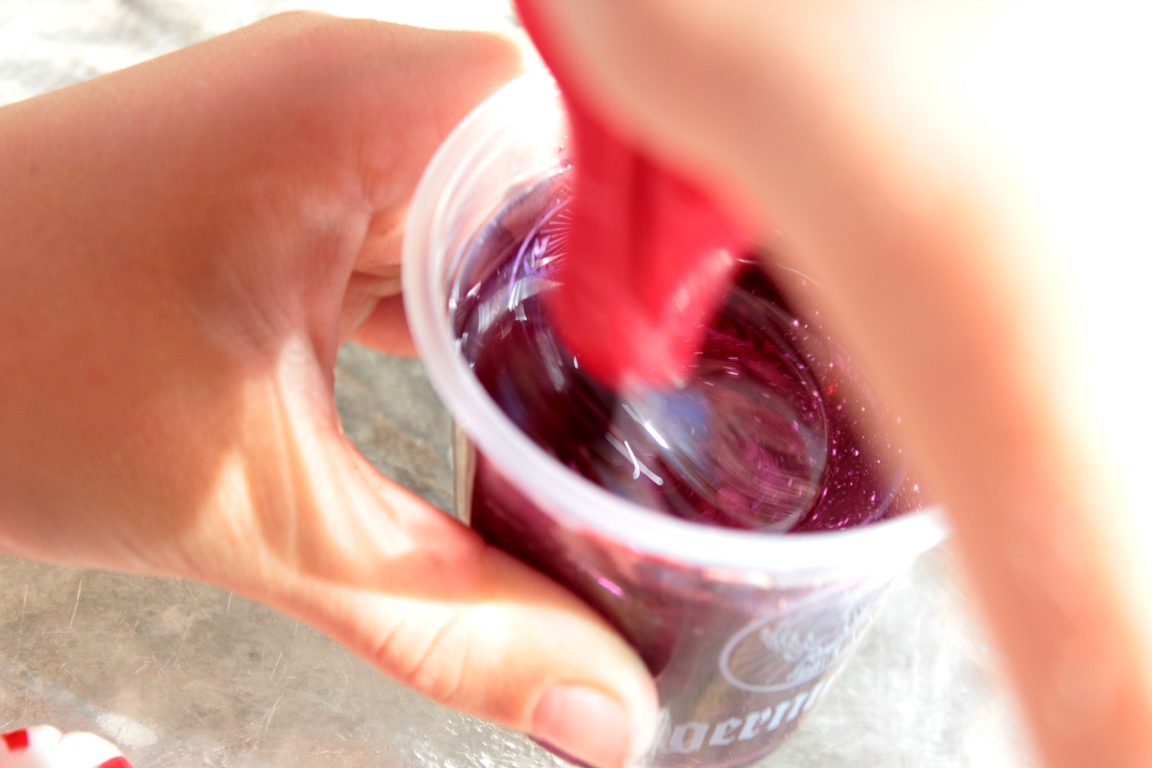
Step 6
...and the rubbing alcohol.
Step 7
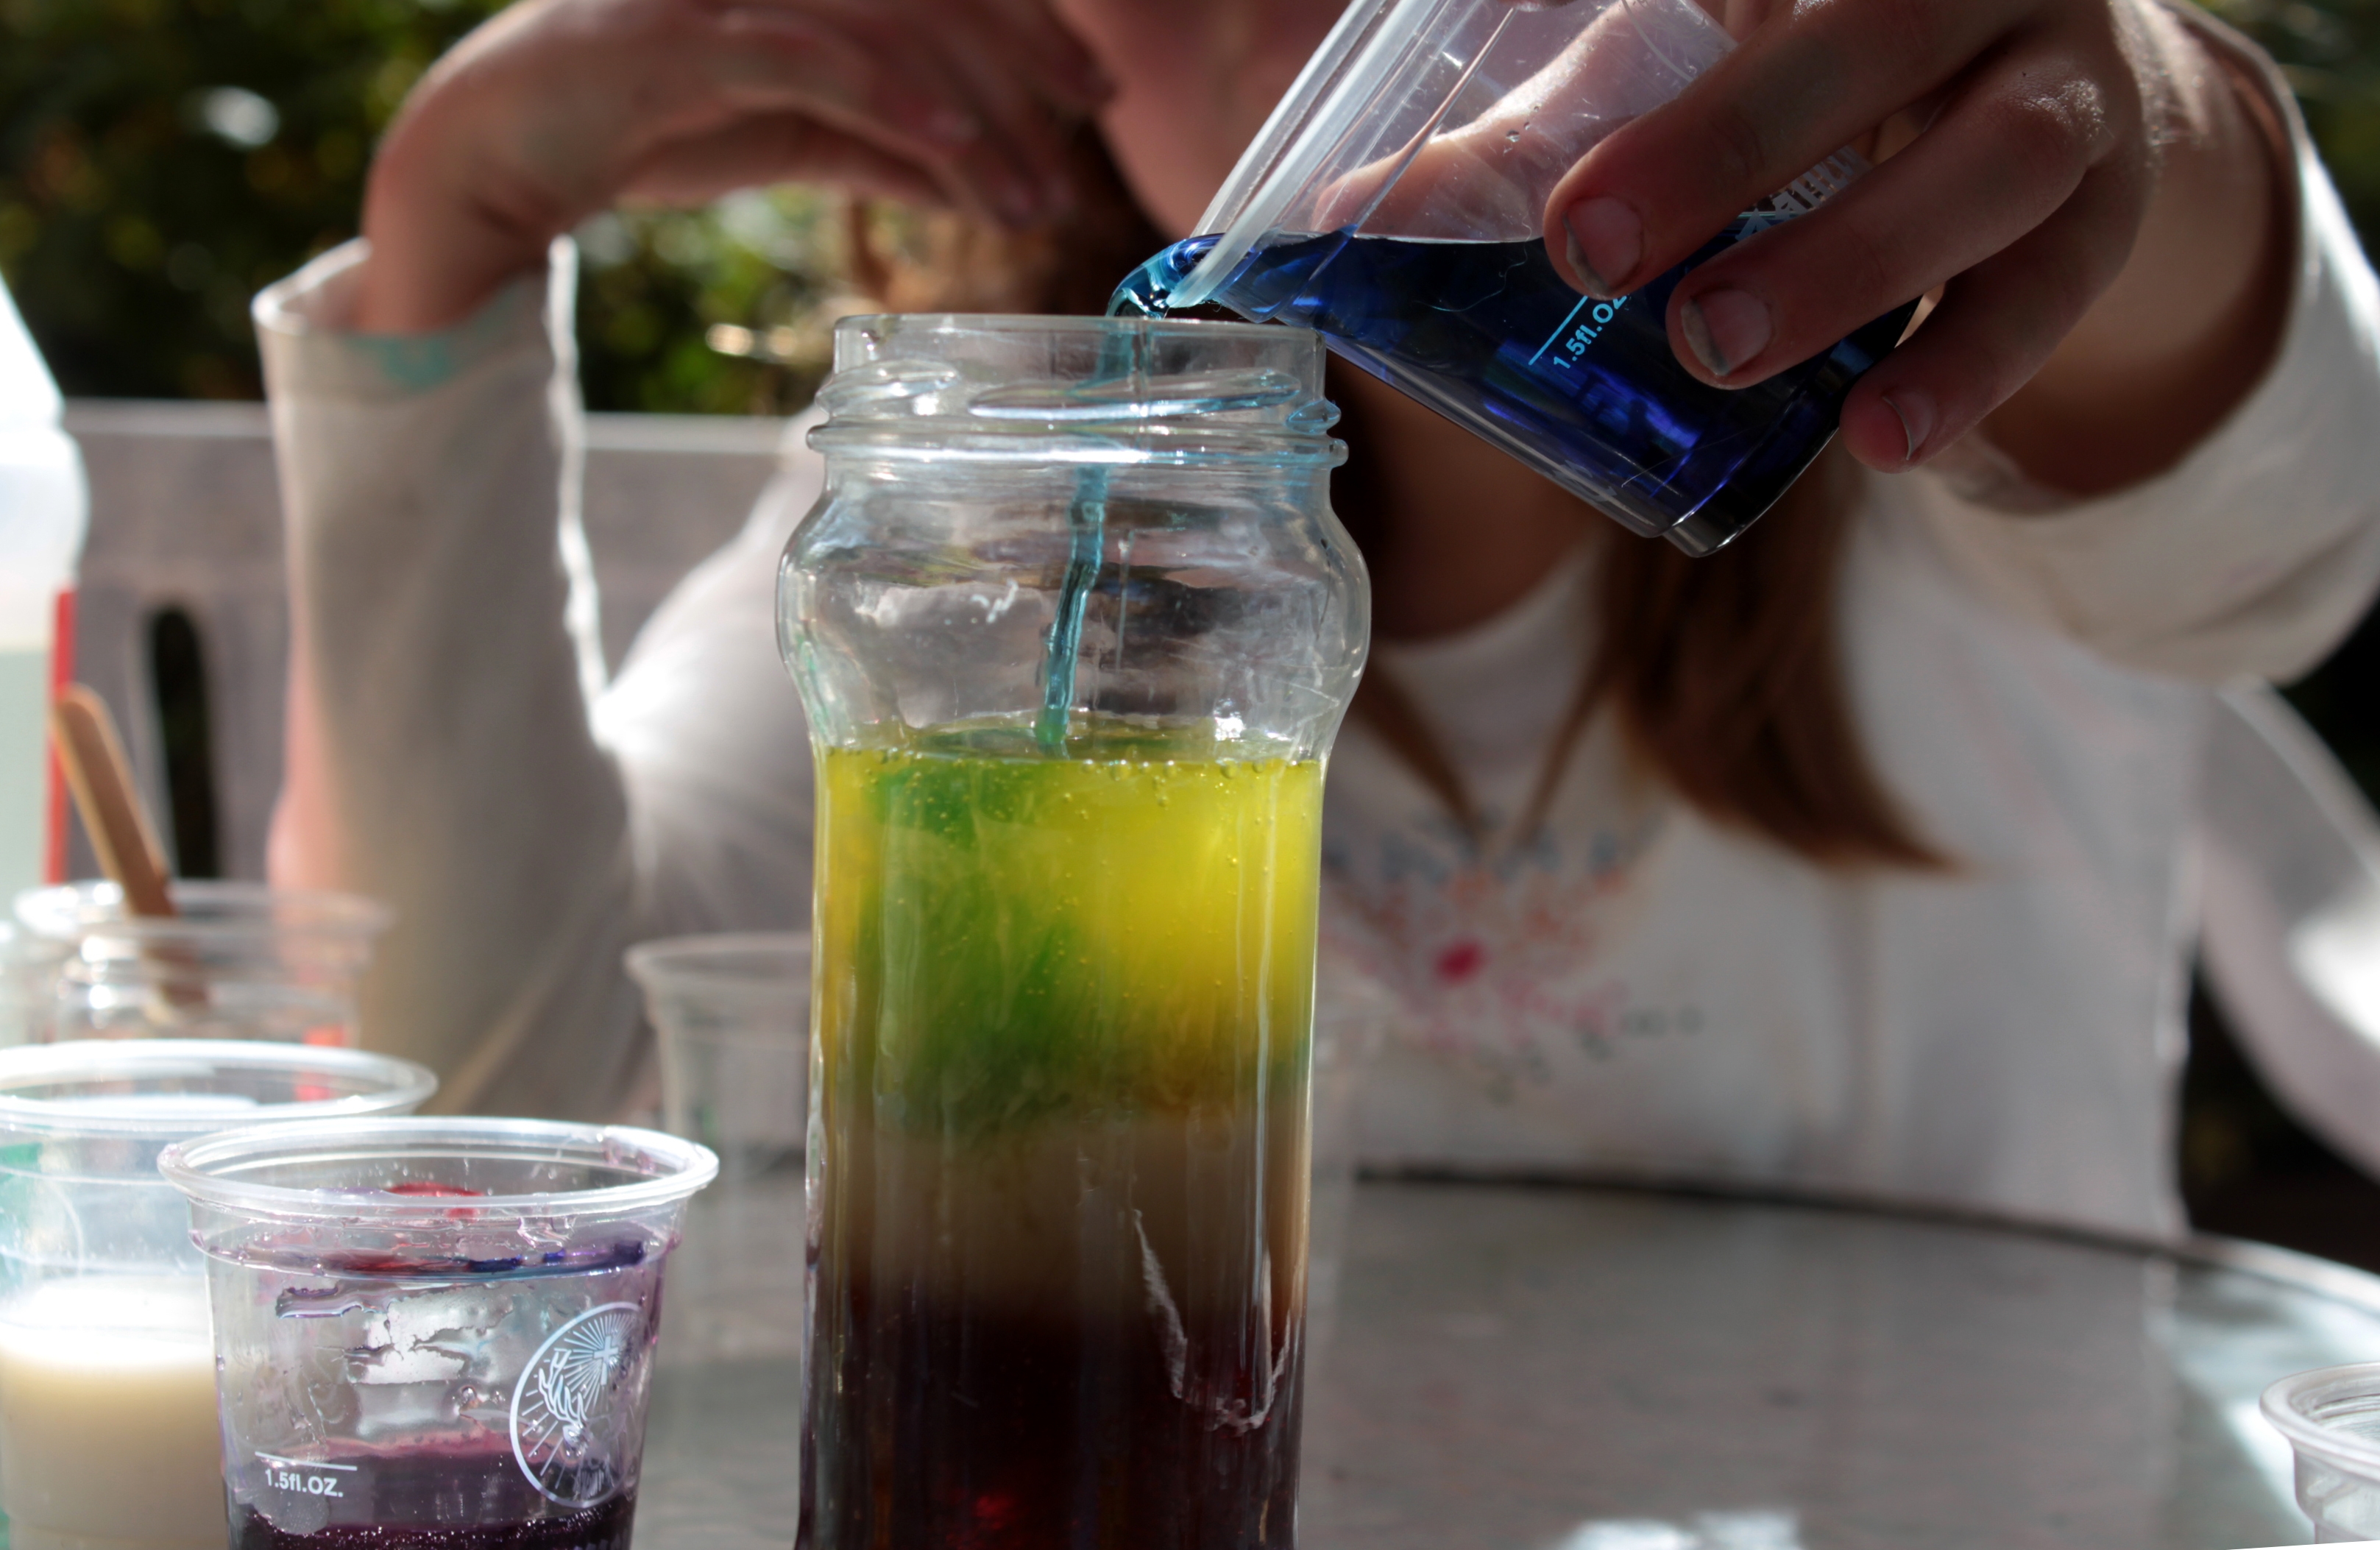
Now we were ready to assemble! We added the ingredients according to their density. Density is determined by mass: the structure and elements of the molecules that make up the liquid. So some of the liquids are light (and have less density), and some are heavy. Honey (the densest liquid) went in first. We added the liquids to the center of the glass, not against the edge.
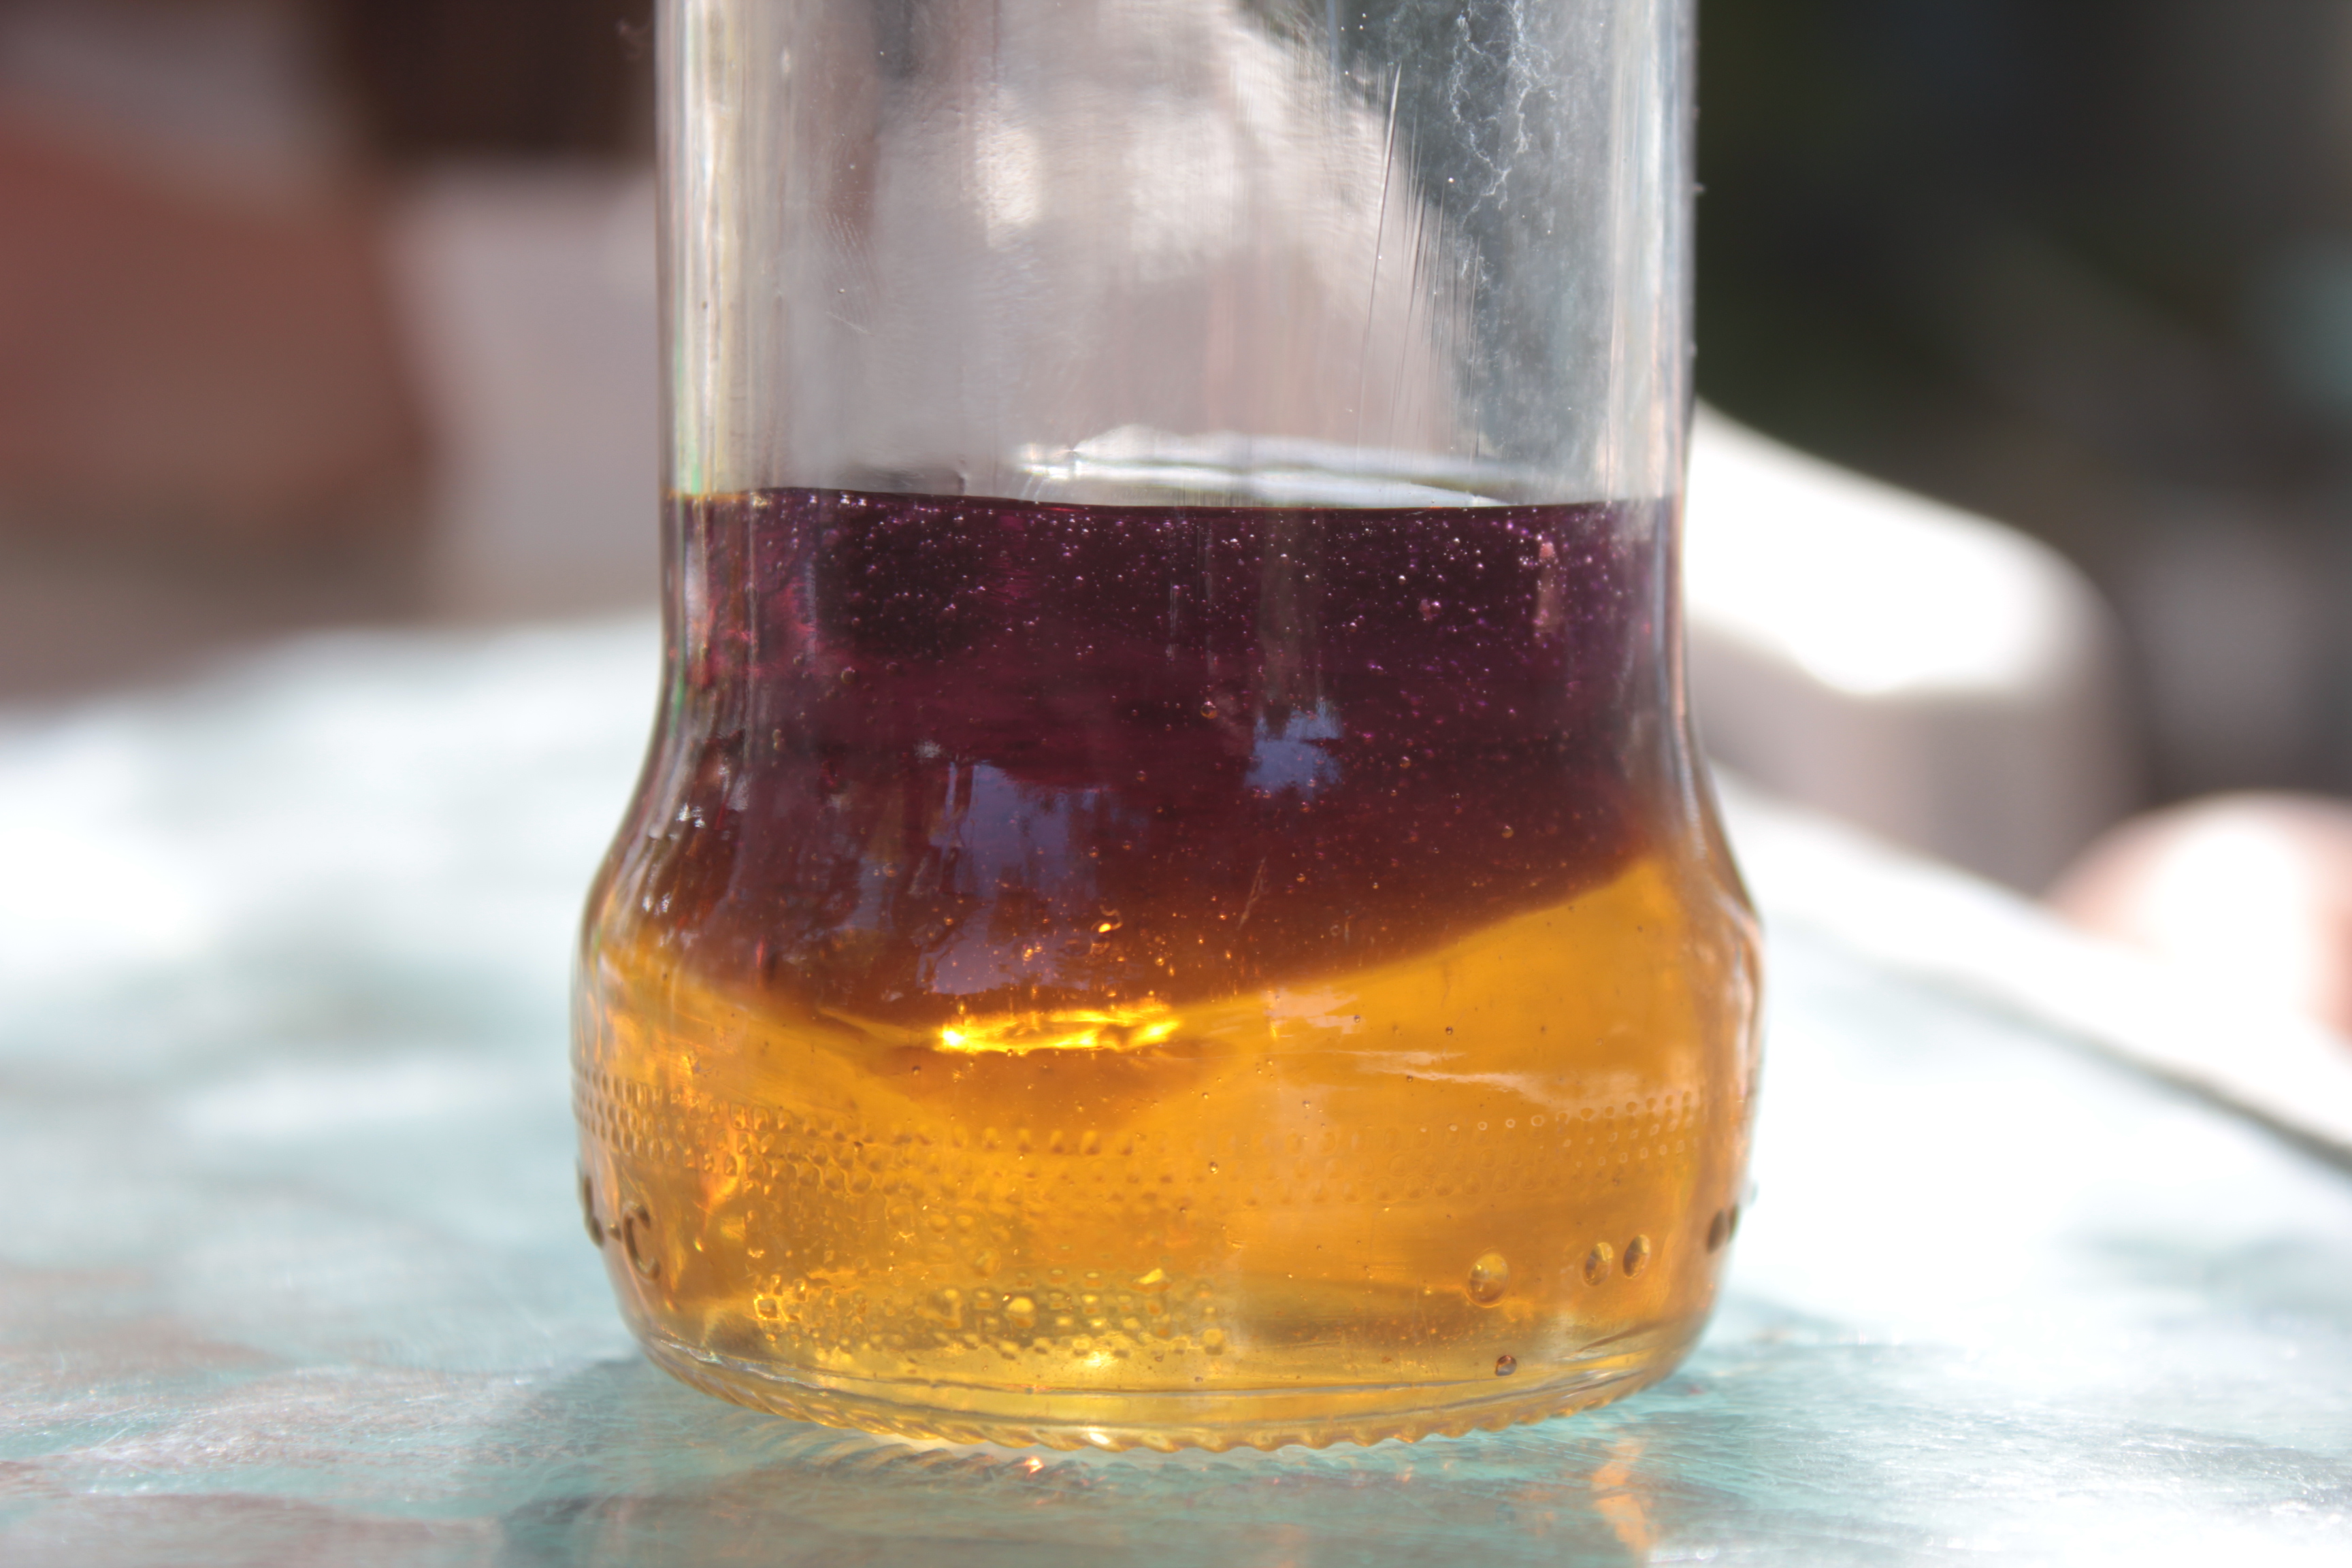
Step 8
Next, we added our corn syrup. We'd colored ours purple, but we should have chosen a different color - one that contrasted nicely with the maple syrup on top of it! Bright green would have been a good one!
Step 9
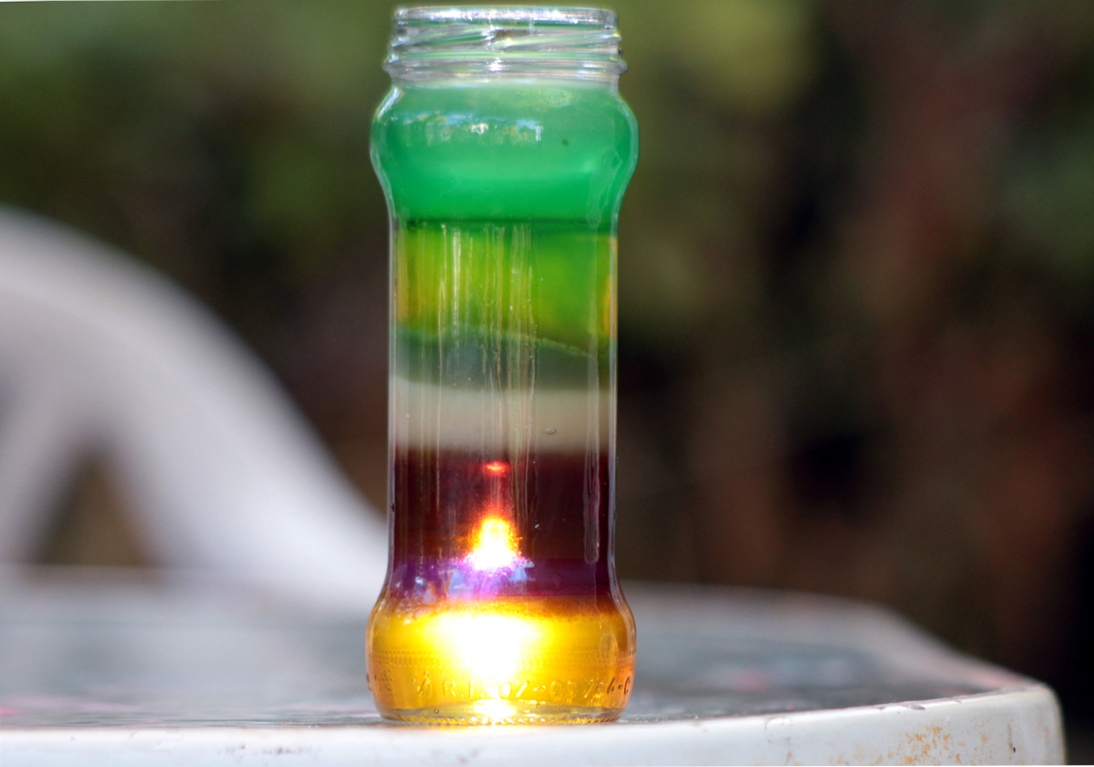
We continuing layering our liquids. (If your colors mix a little, don't worry! They'll separate again.)Here's the order of how the liquids went in:
honey
corn syrup
maple syrup
milk
dish soap
water
vegetable oil
rubbing alcohol
lamp oil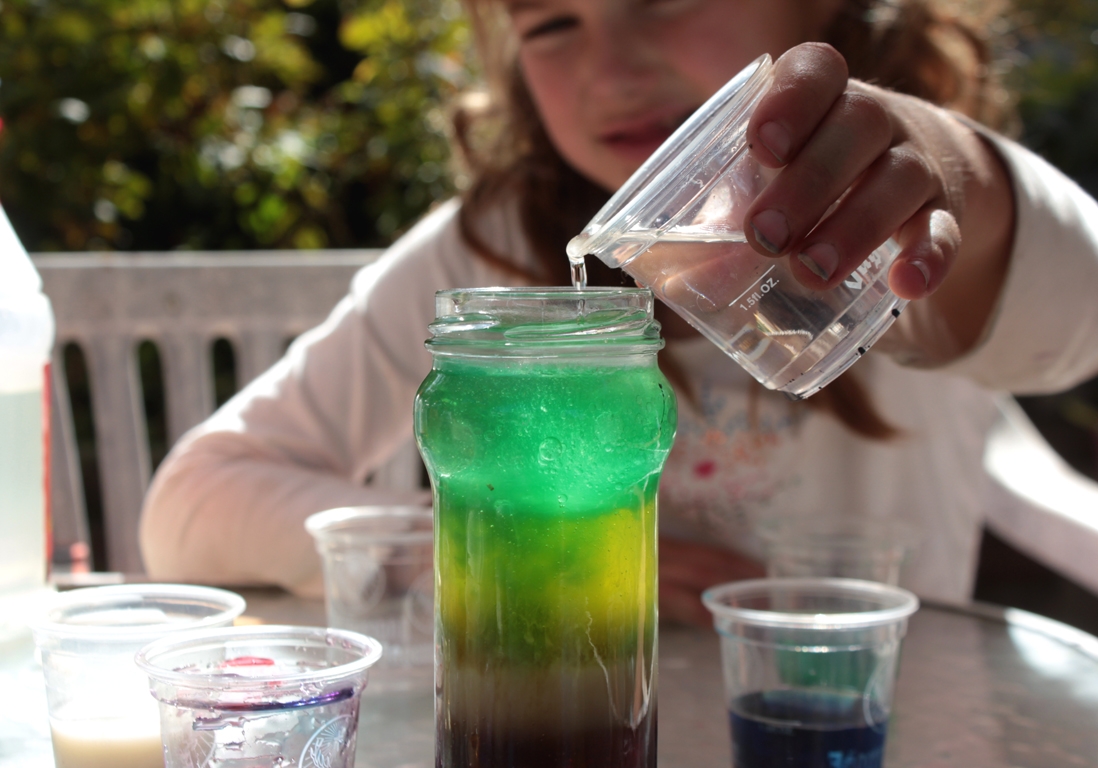
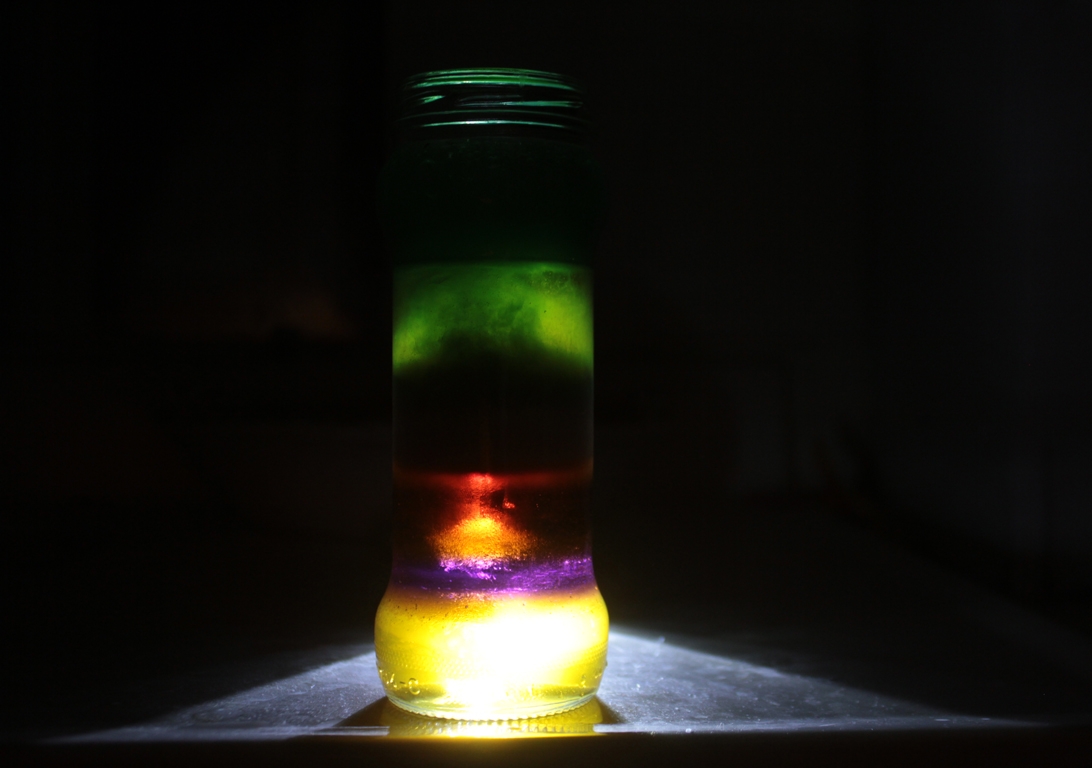
Done!
Now isn't that interesting! Of course, my children had to do this again with their own ideas...stirring, learning what could be colored and what couldn't, what could be mixed and what couldn't... Have fun experimenting!