Step-by-step tutorial
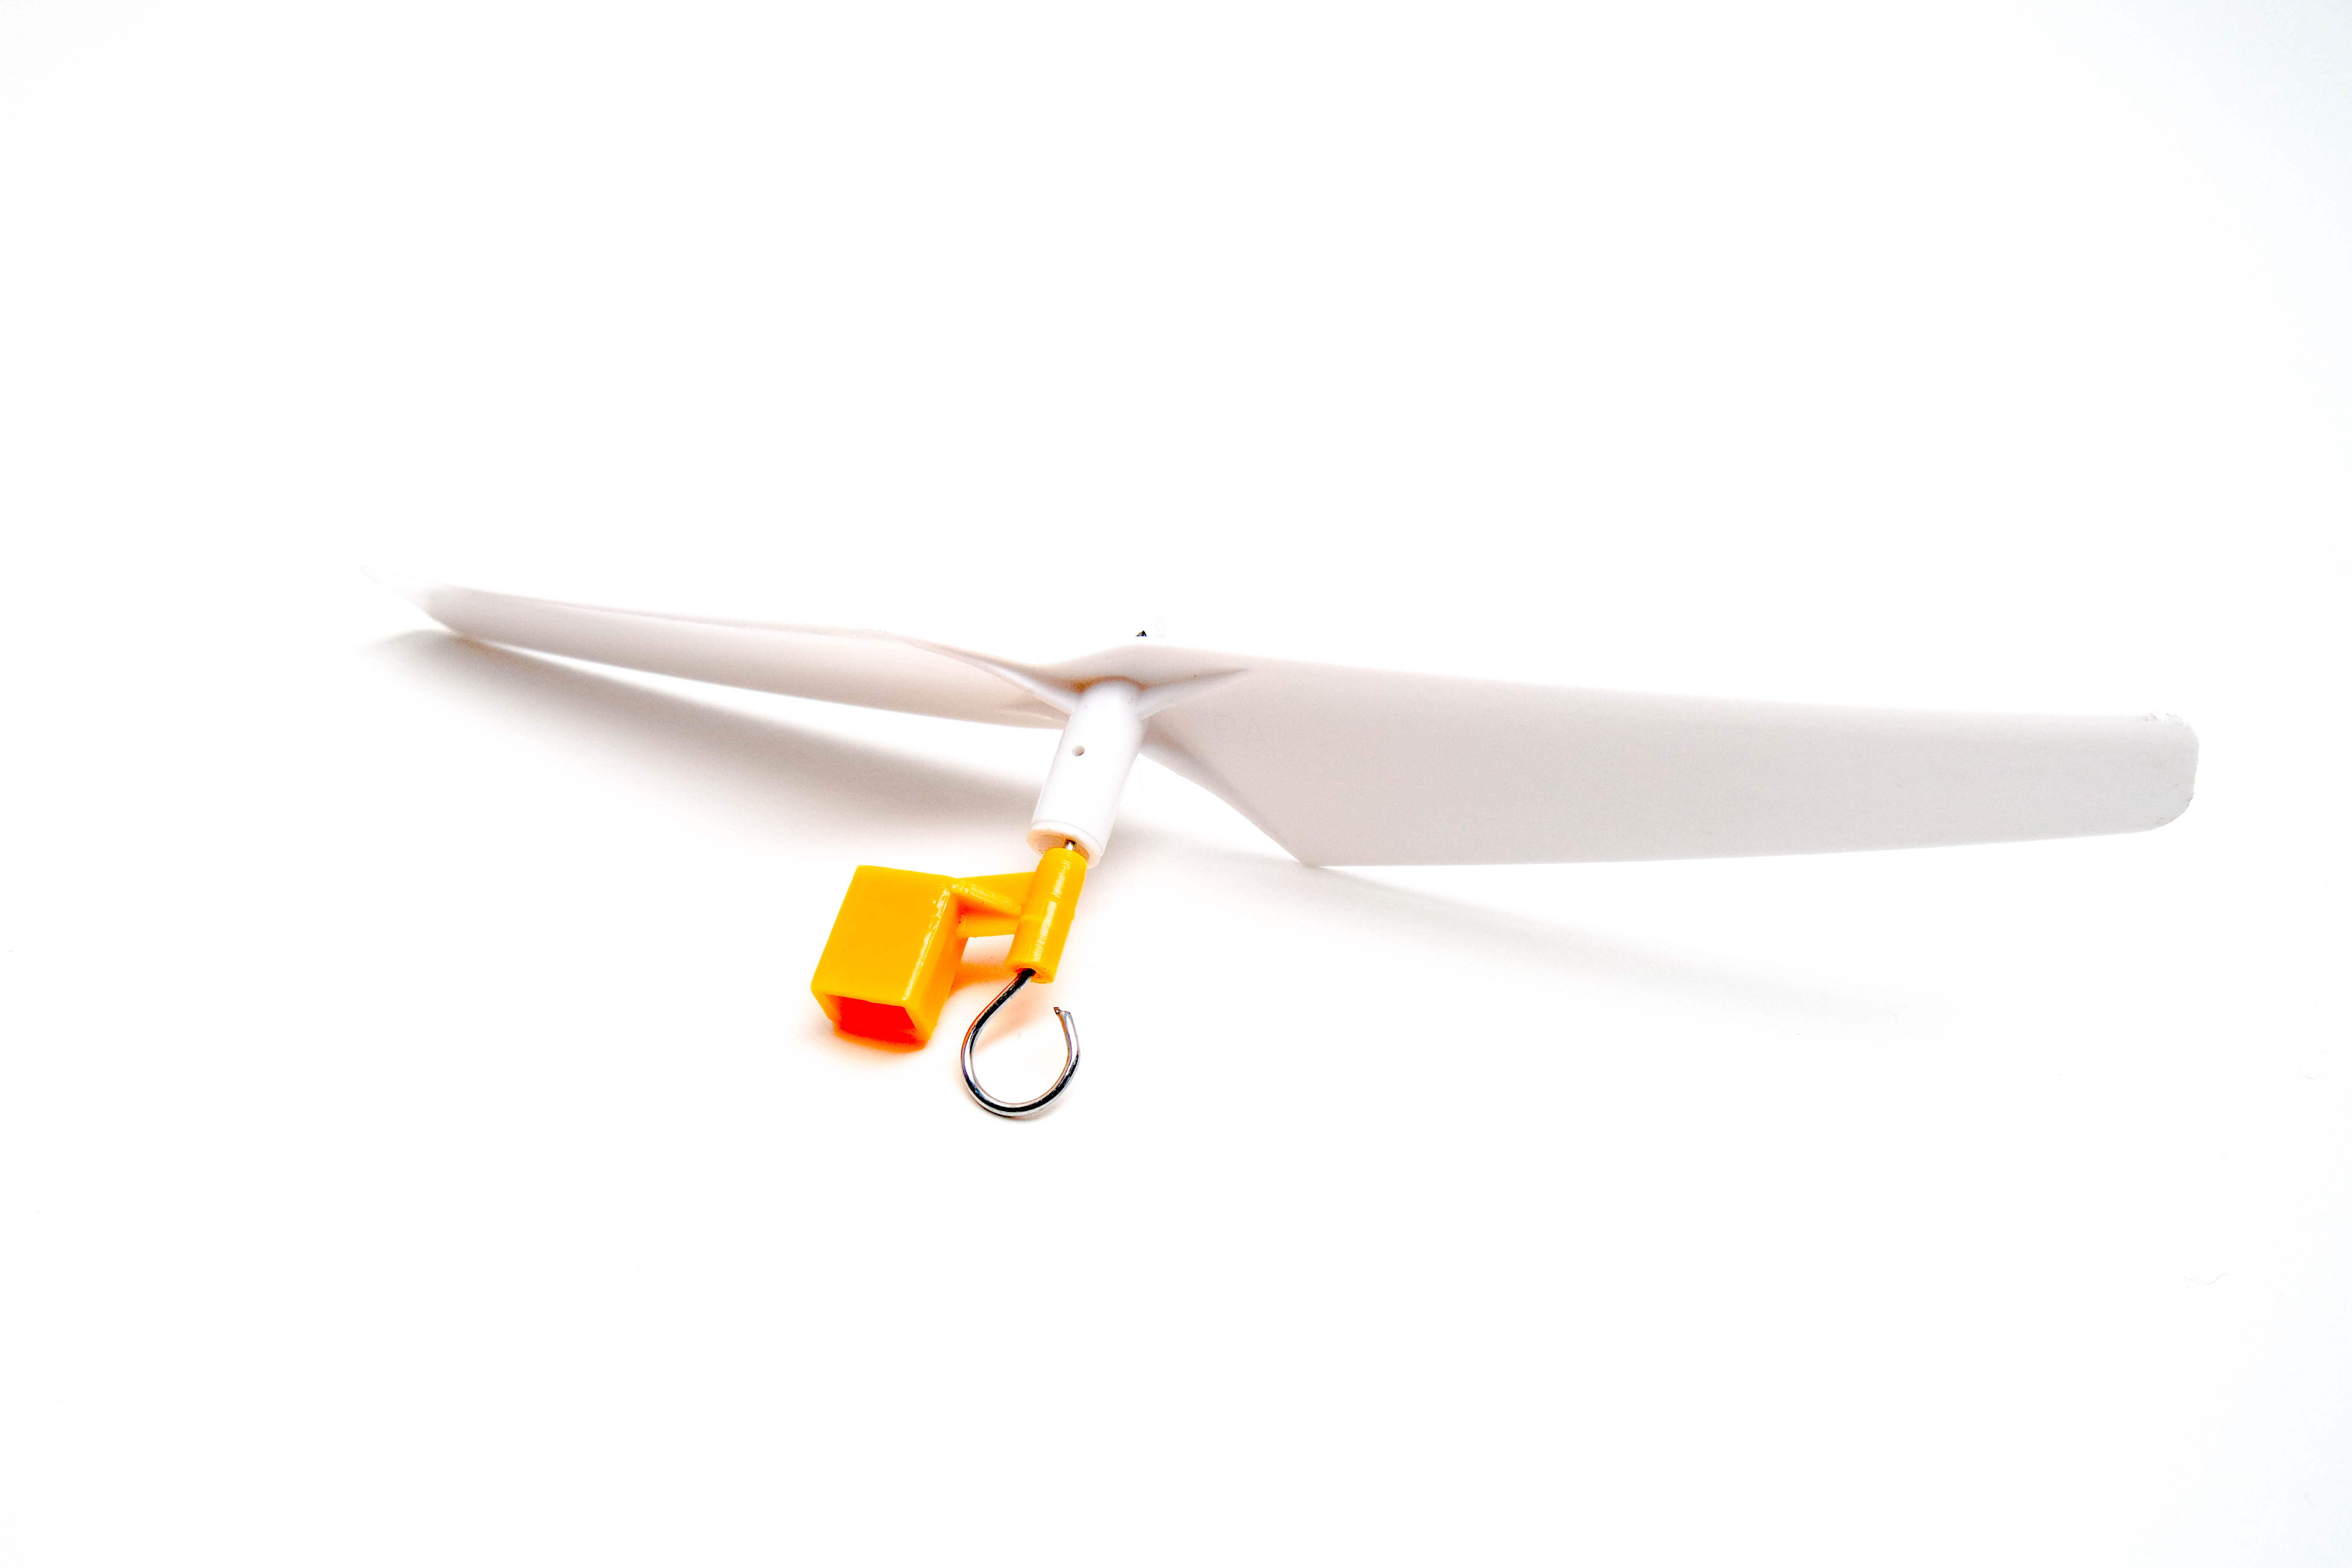
Step 1
Insert the shaft into the clockwise (white) propeller so that the hook is on the underside of the propeller. Use needlenose pliers to bend the shaft, securing the propeller. Then, hot glue the bent end of the shaft to the propeller so that they move as one.

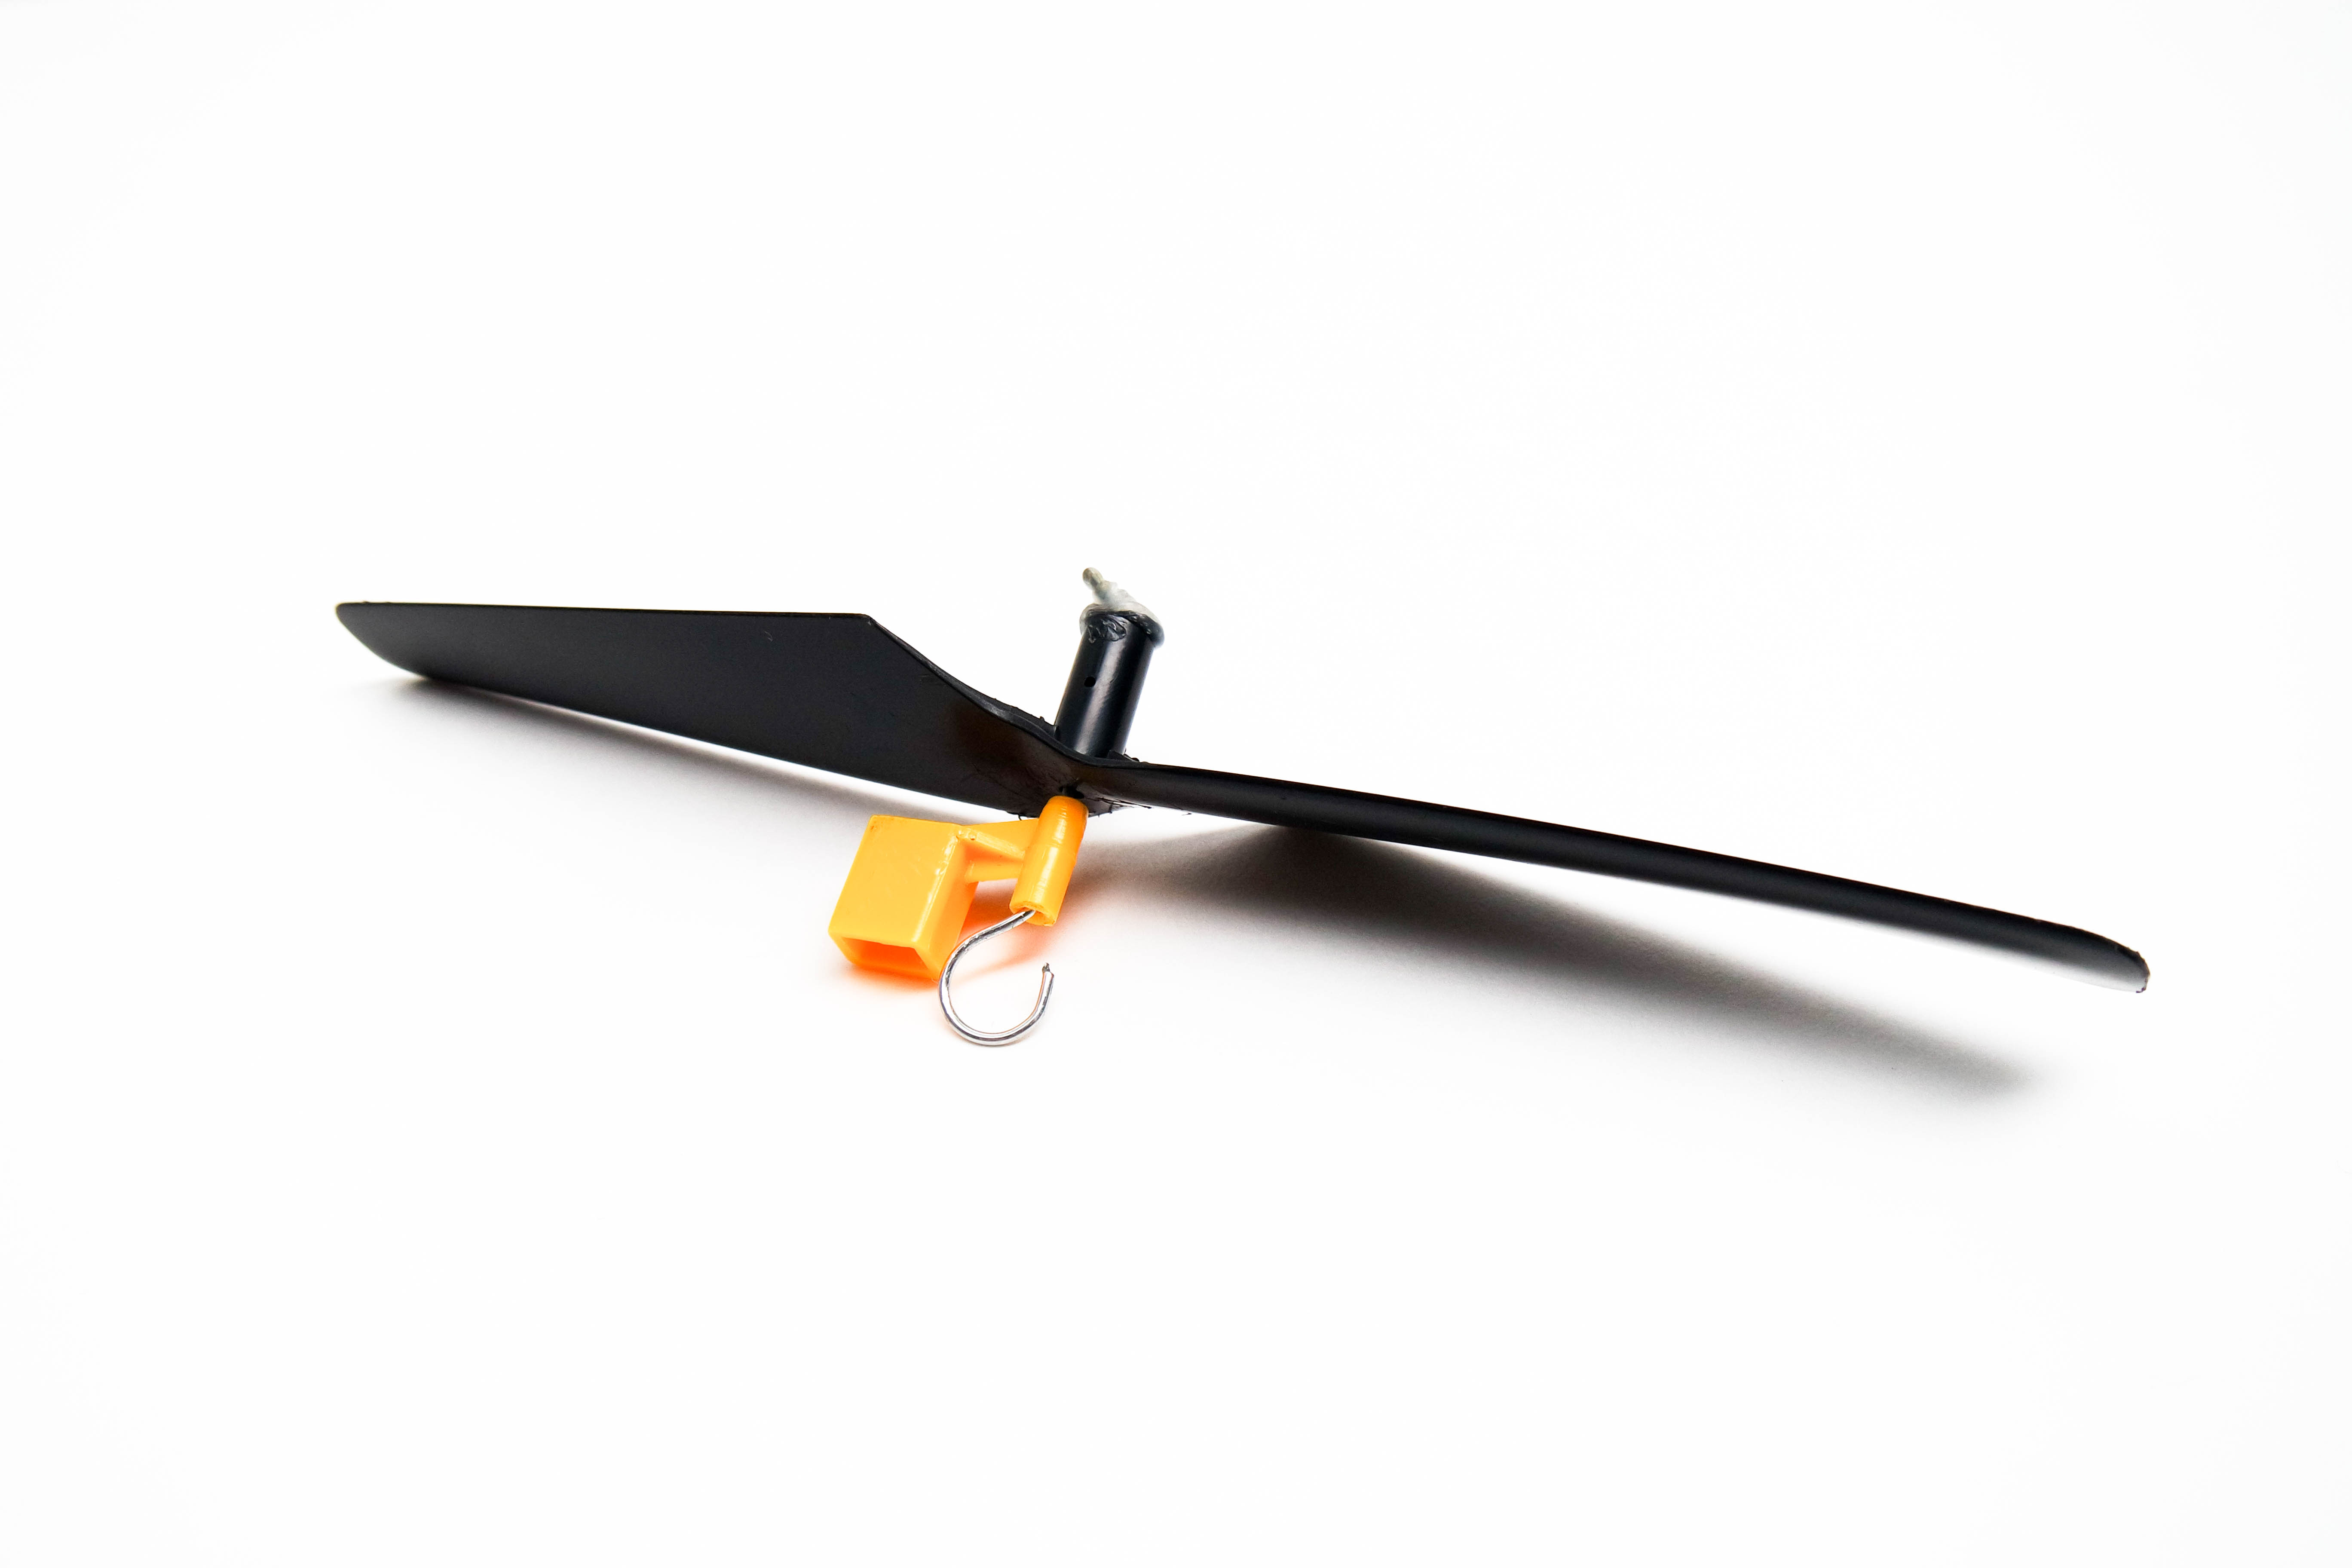
Step 2
Insert the shaft into the counterclockwise (black) propeller so that the hook is on the topside of the propeller. Use needlenose pliers to bend the shaft, securing the propeller. Then, hot glue the bent end of the shaft to the propeller so that they move as one.
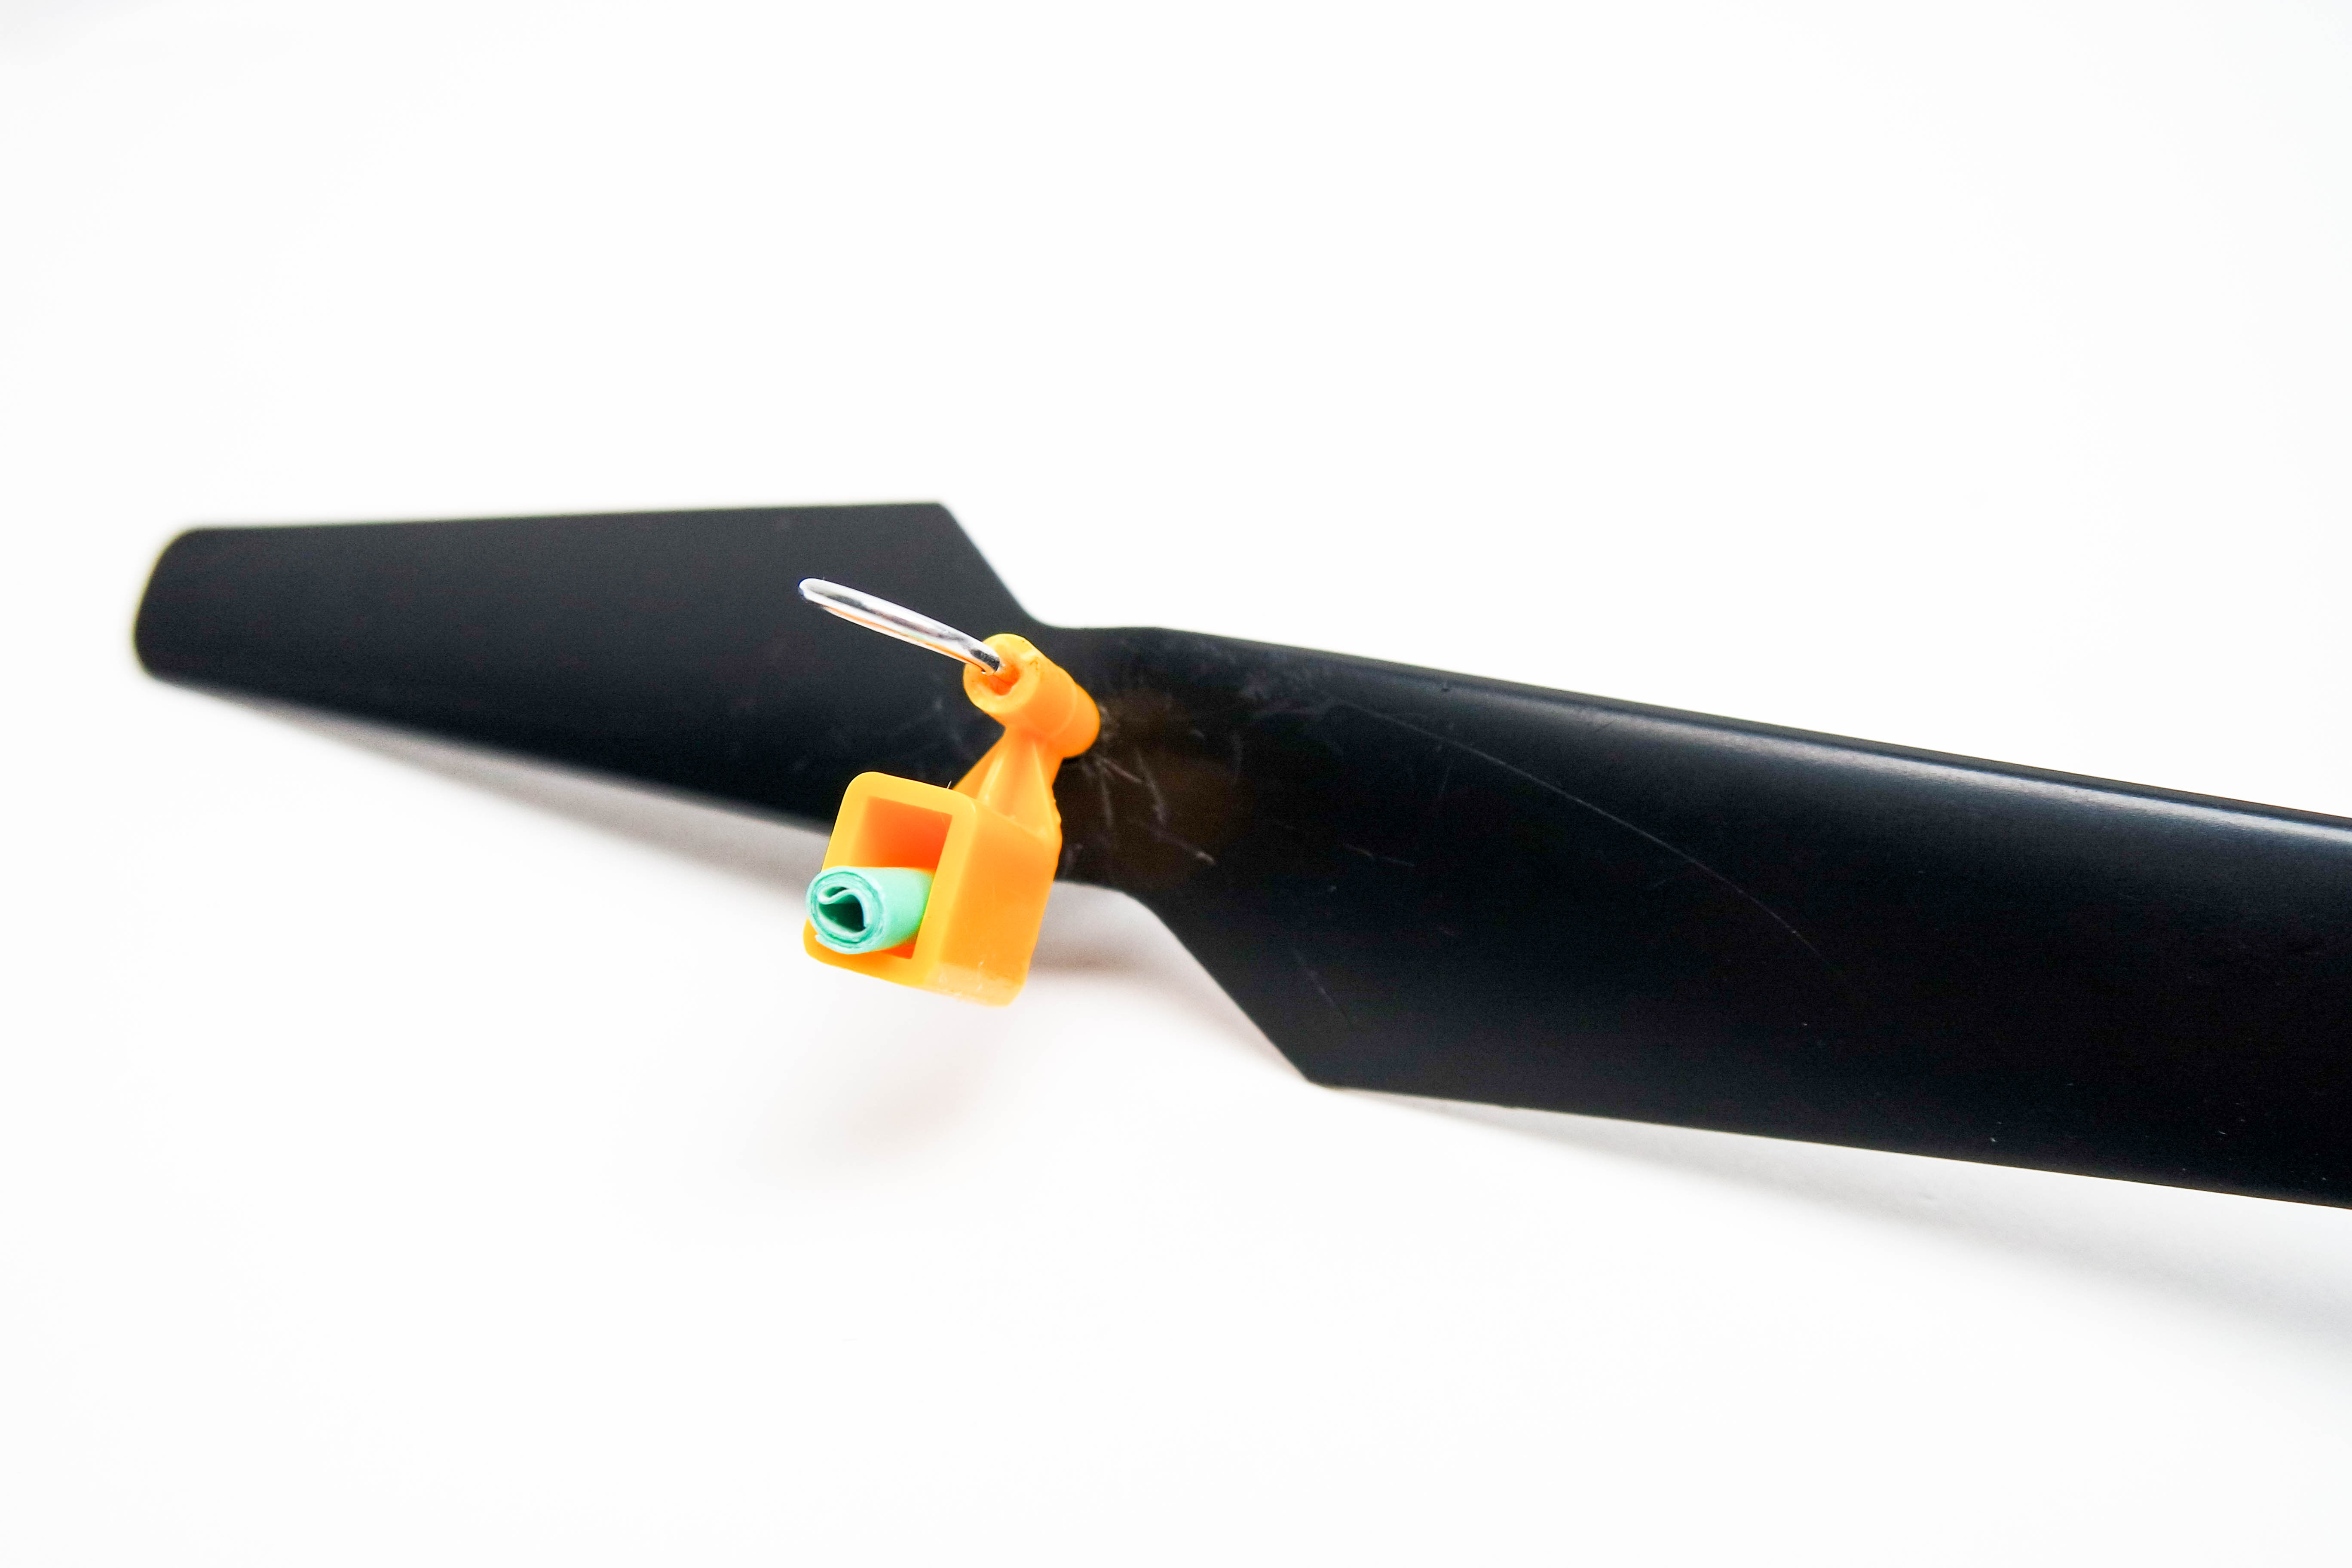
Step 3
Tightly roll about 2” (5.1 cm) of tape and stuff it towards one side of the plastic mount. Do this twice, once for each plastic mount.
Step 4
Connect the propellers with the lollipop stick by inserting each end of the stick into each of the plastic mounts.
Note: This should be a tight fit. If it isn’t, go back to step 3 and use more tape.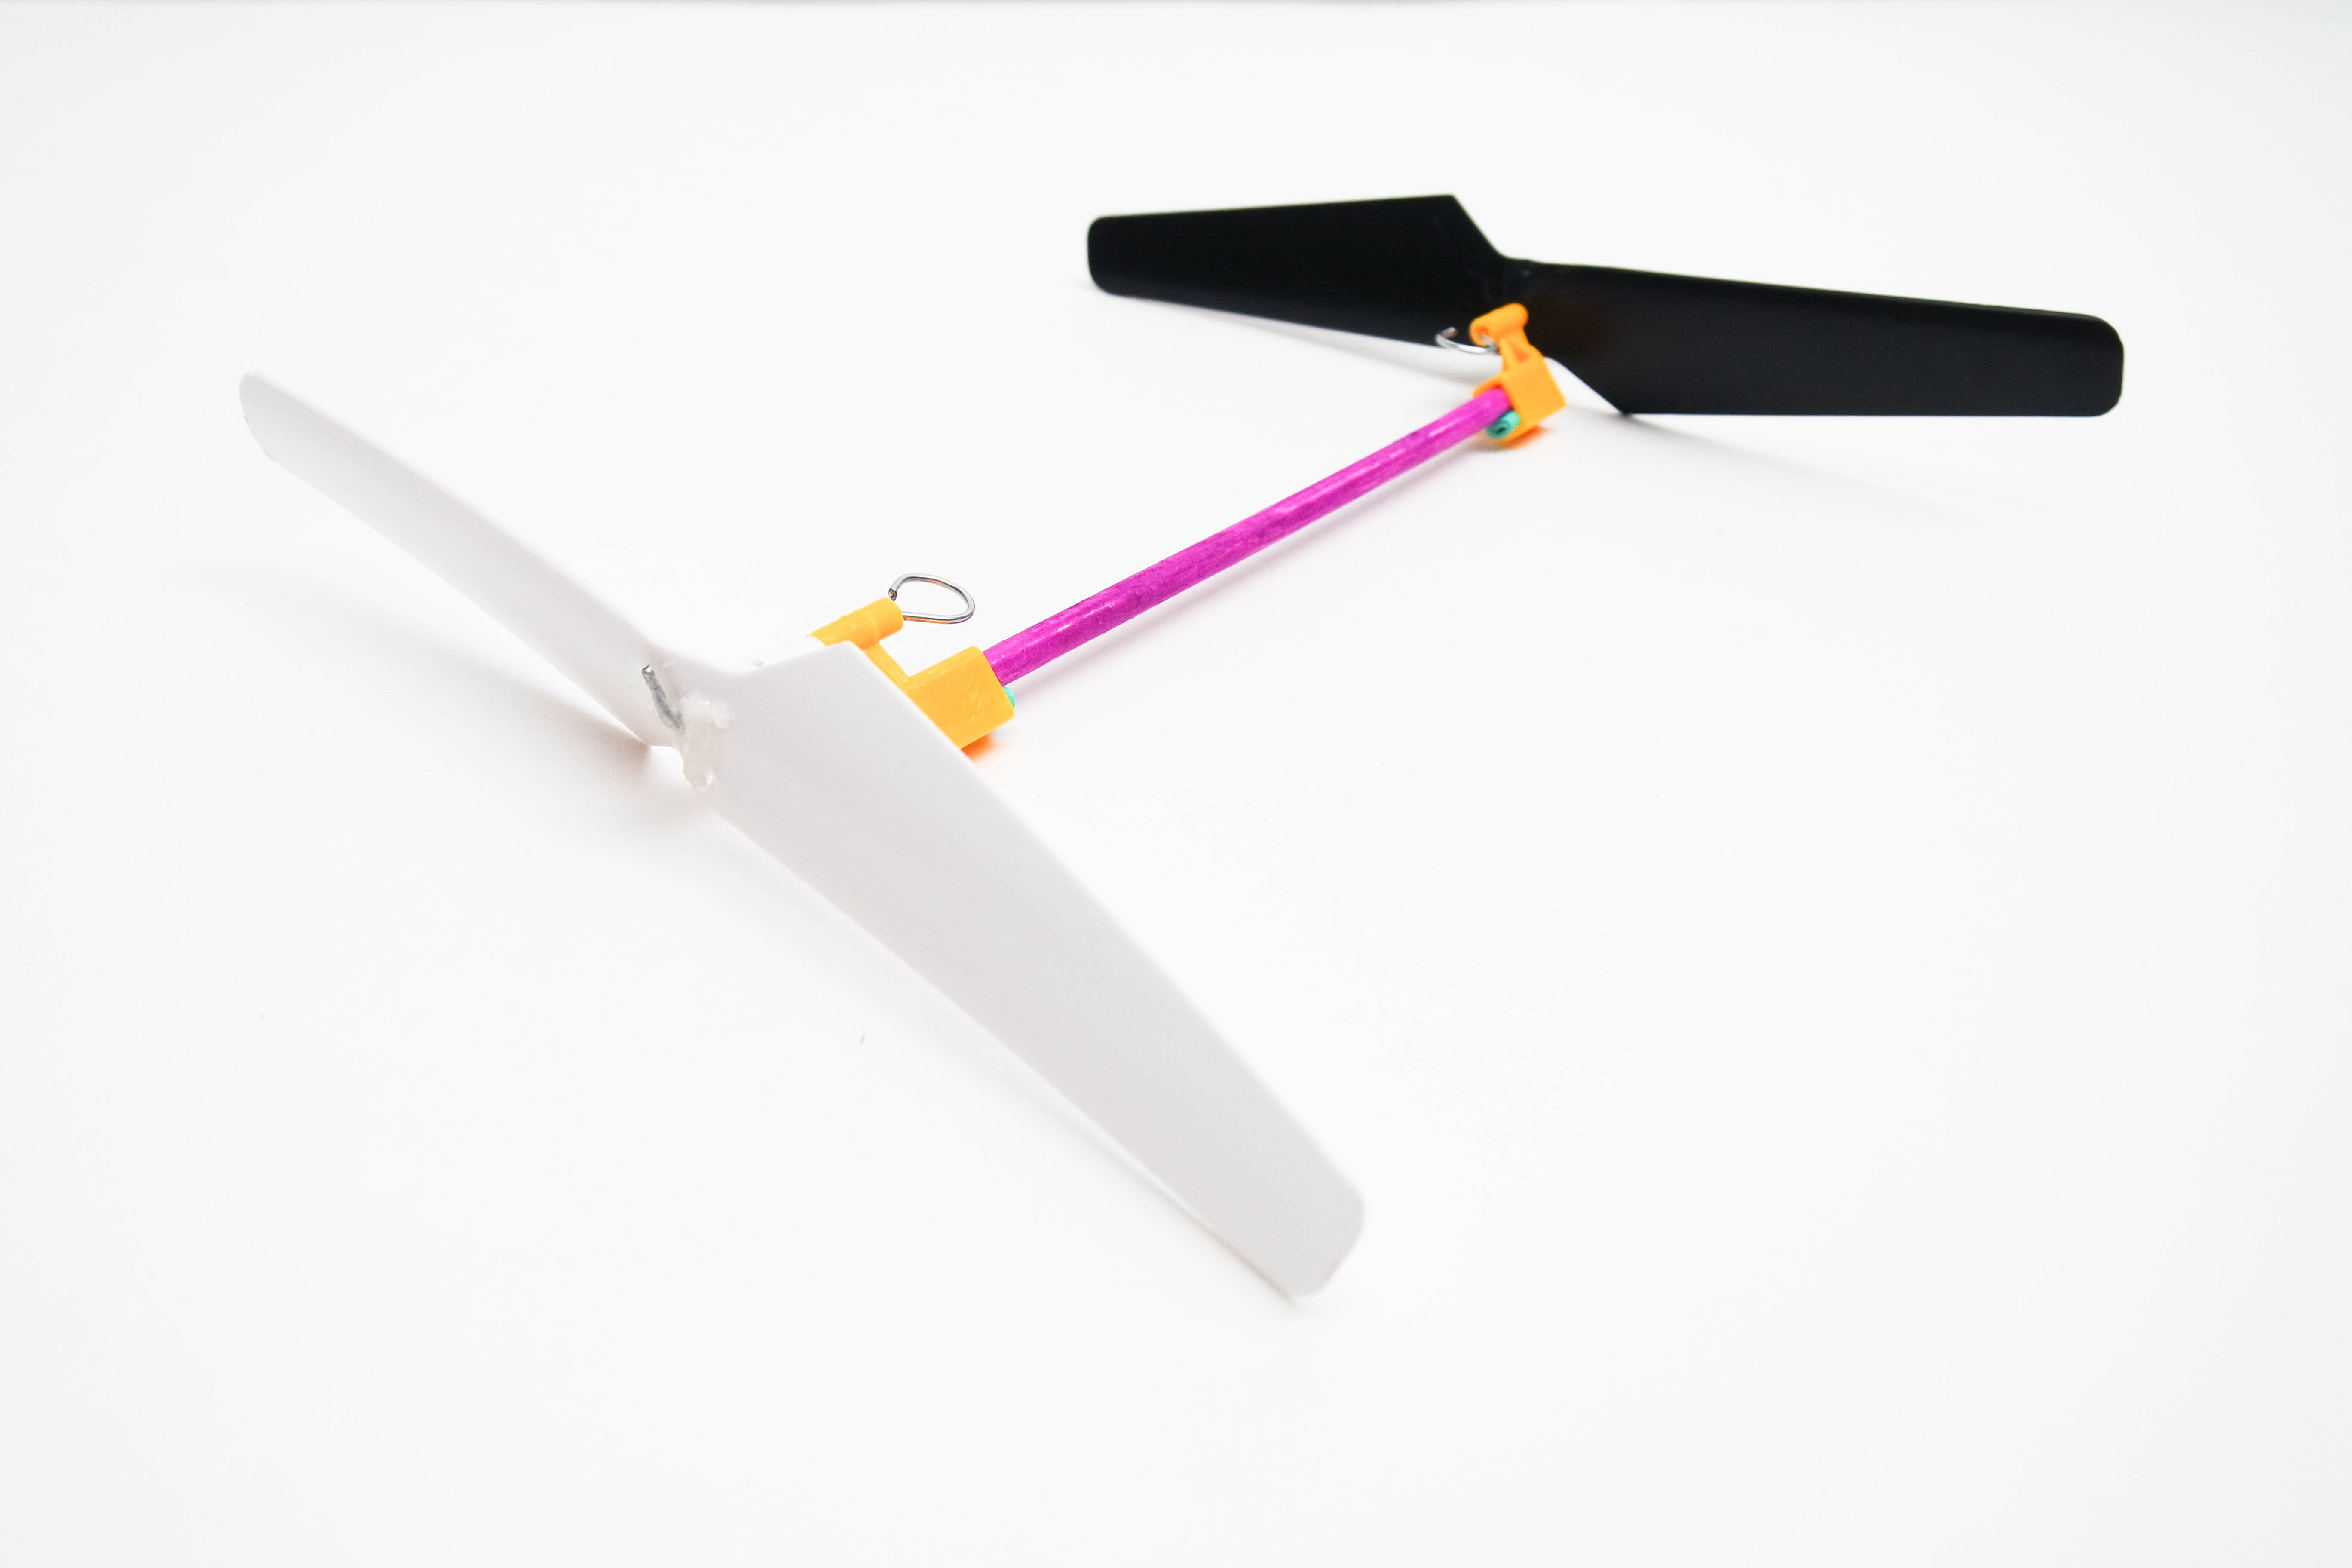
Step 5
Stretch the rubber band between the hook ends of each shaft.
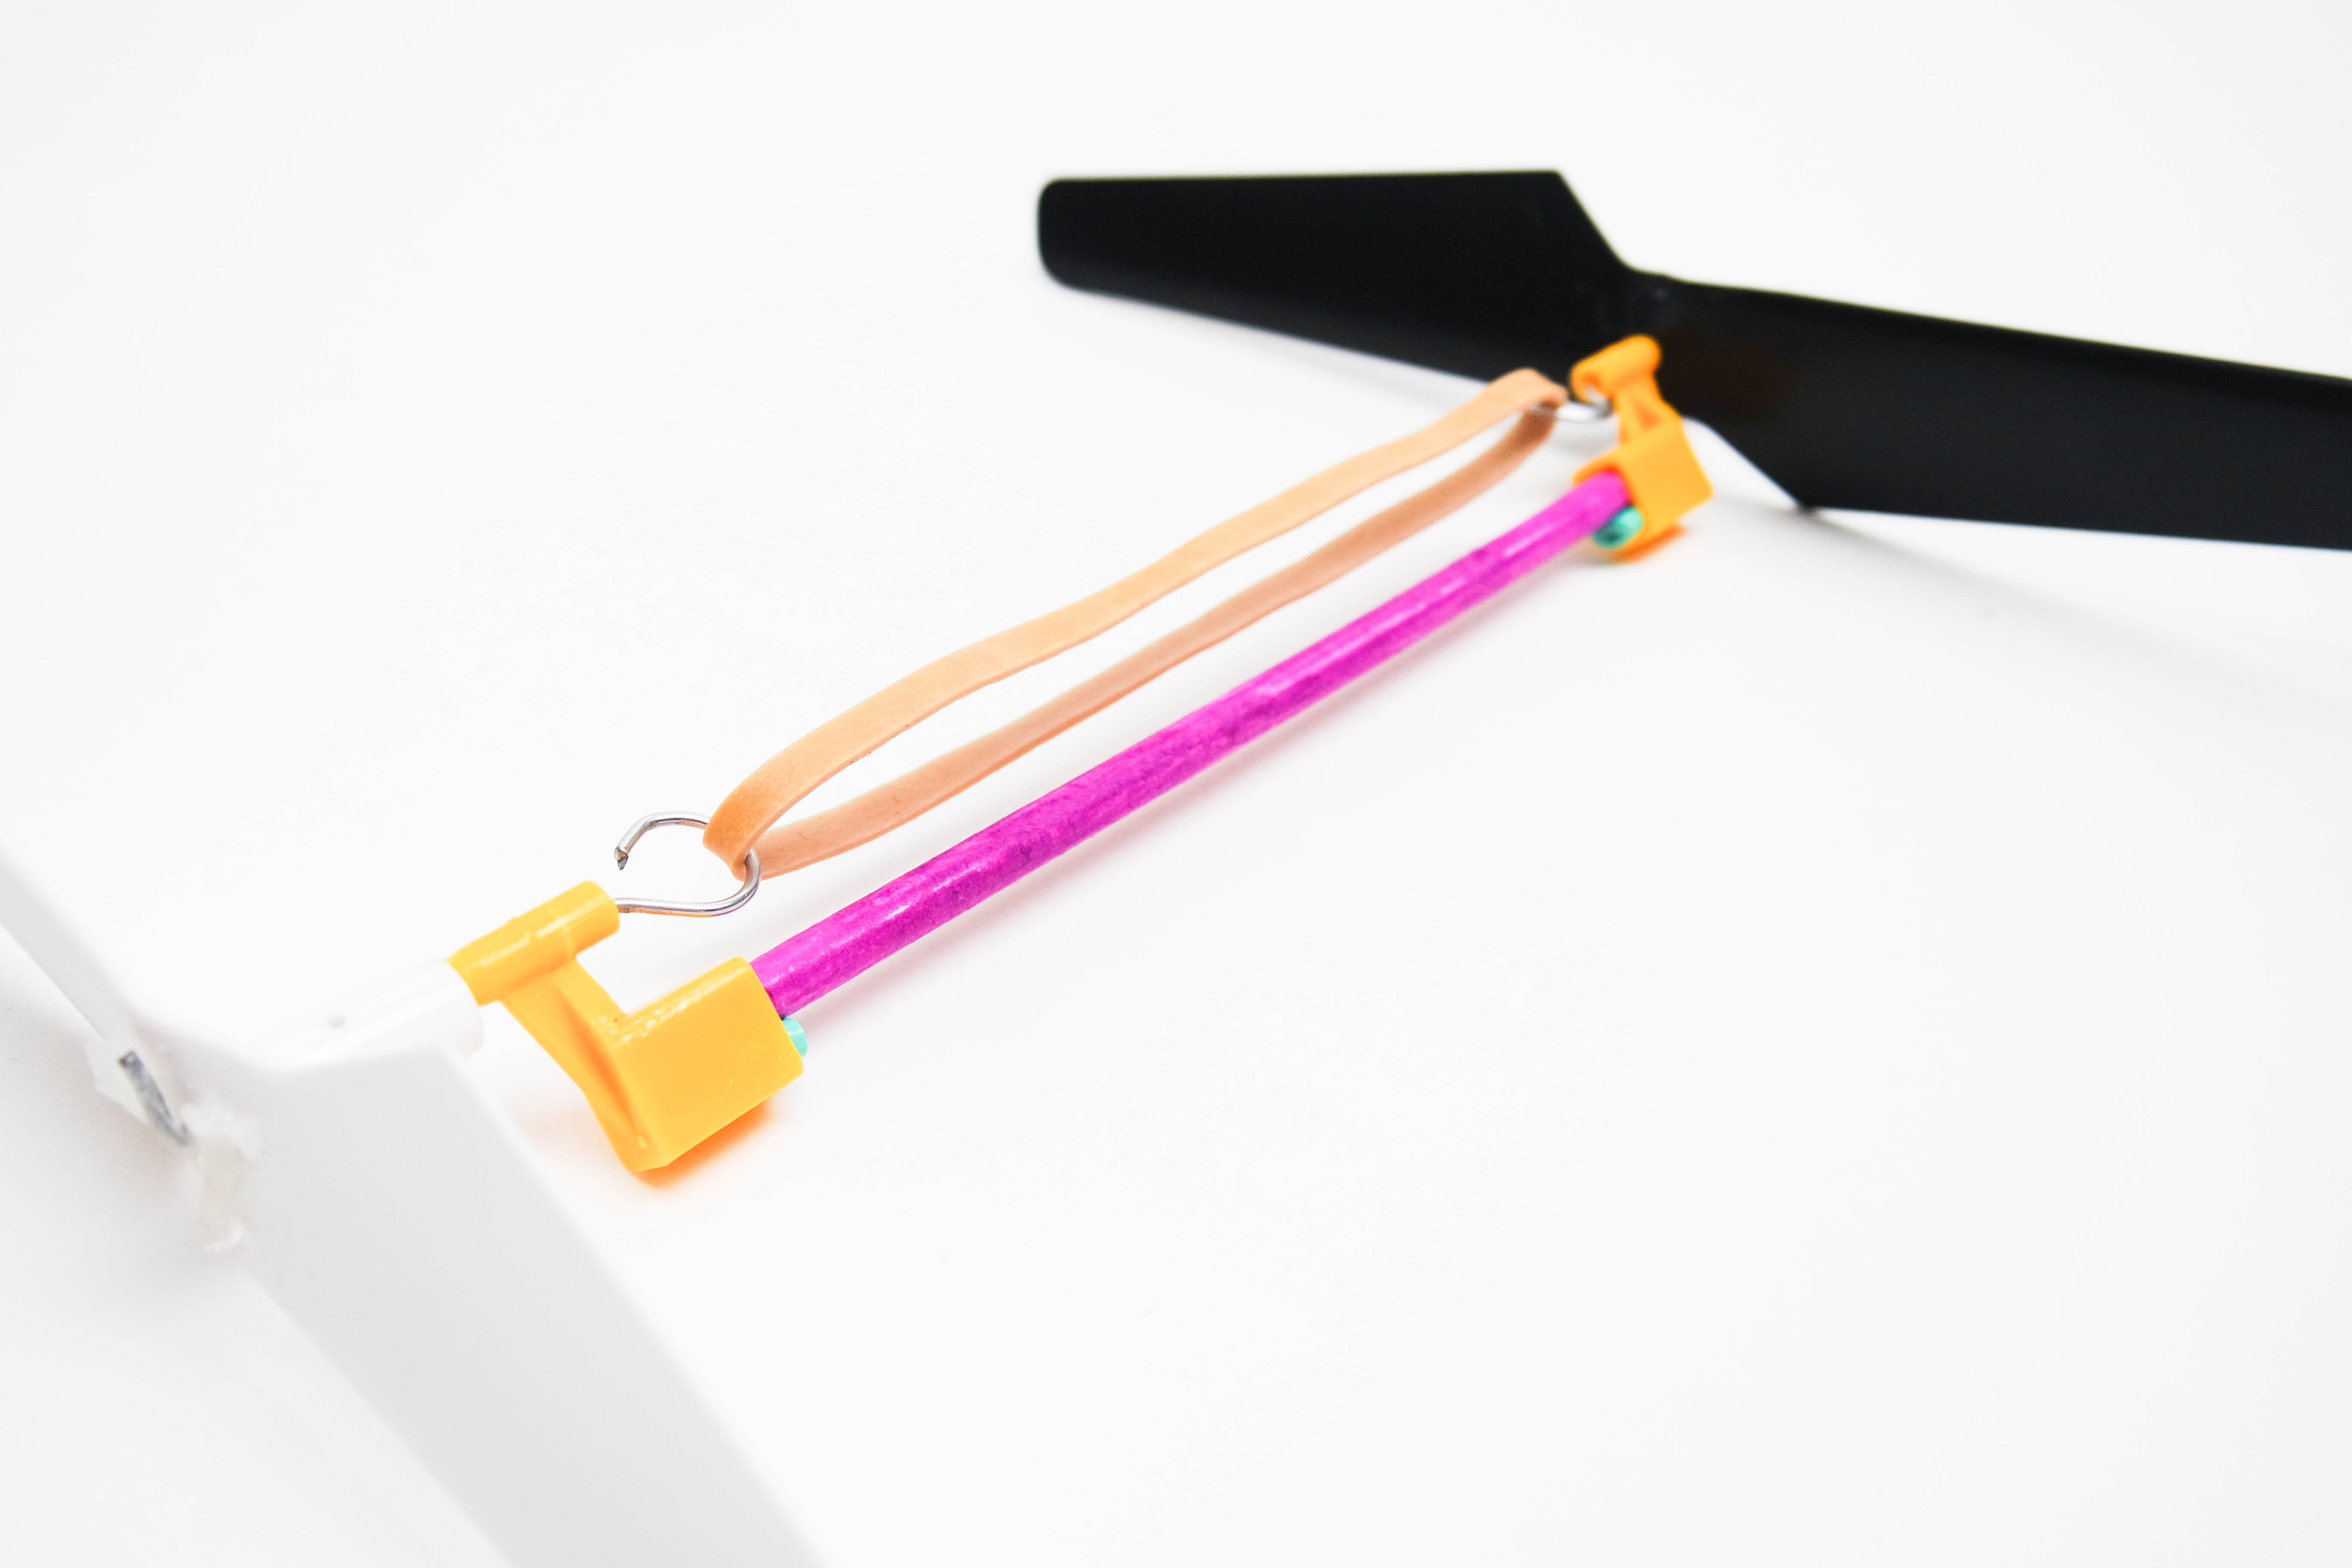
Step 6
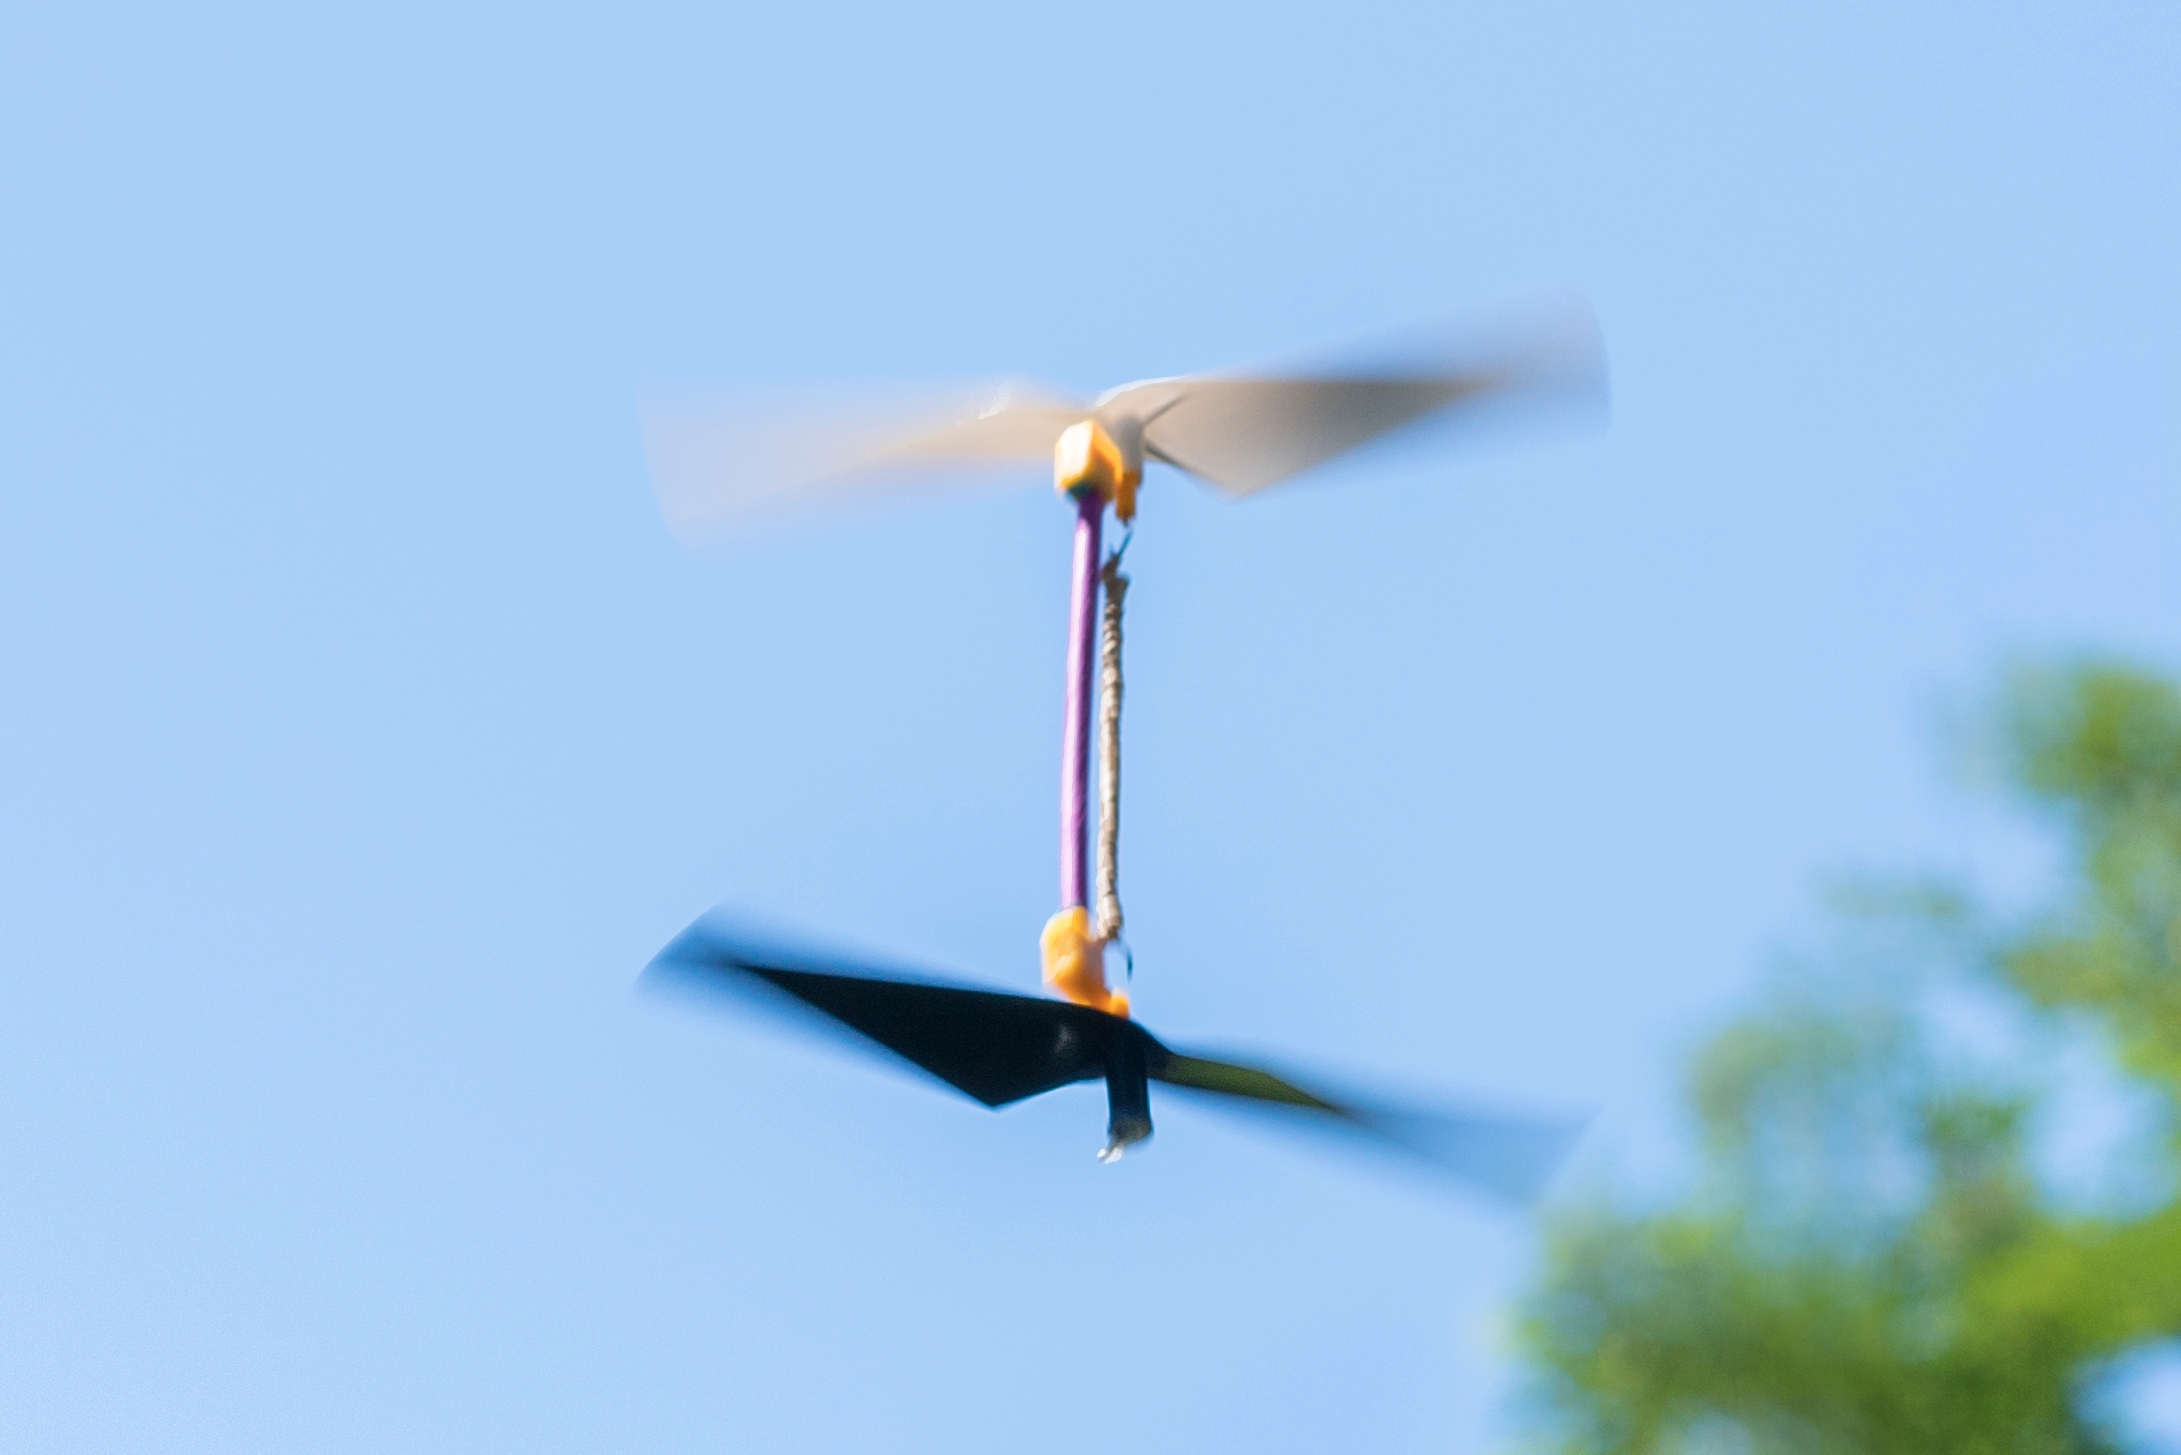
Holding the clockwise (white) propeller in place, spin the counterclockwise (black) propeller about 60 times counterclockwise. Then let go of the propellers and watch your helicopter fly away! What happens if you spin the propeller clockwise? What if you add a weight or a wing to it?

Learn more

What's going on?
The two propellers on your rubber band helicopter are able to fly thanks to the same principles that keep real helicopters aloft. The angled blades of the propellers act like fans when they spin, pulling air from above and blowing the air downwards. This creates enough lift to counter the effect of gravity on the helicopter, pushing it higher and higher into the sky. If you set up your propellers correctly, with opposite blade orientations for each propeller, they should both blow air in the same direction, even though they are spinning in opposite directions... double the propellers means double the lift, and double the flying power!


