Step-by-step tutorial
Step 1
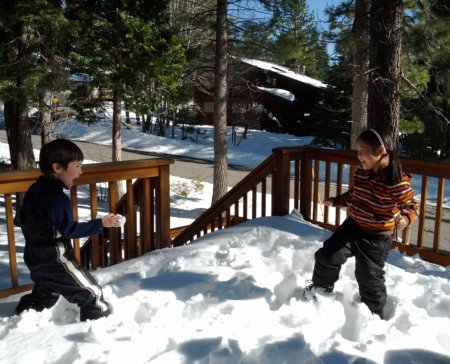
We built up mounds of snow outside and tried melting them with the water, but the results weren't really camera ready. Our melted snow mounds didn't look much different than any other pile of snow around. The kids soon lost interest and shifted back to romping and snow ball fights.

Step 2
The next day my mom buddy, whose idea this was in the first place, suggested we bring the snow inside on a baking pan and use hotter water. I was hoping too the isolation from the rest of the snow would help my guy focus.
Step 3
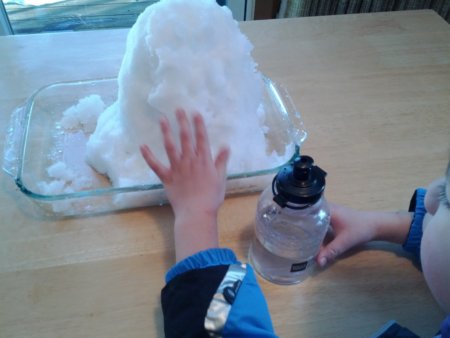
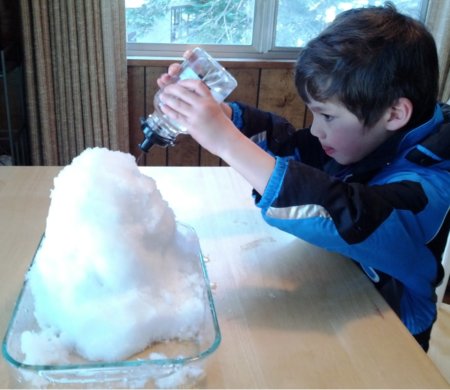
Inside was where it was at! He was immediately curious about what would happen, and intently squirted hot water on the snow for a few minutes. The first thing he noticed was that even though he was adding lots of water, the bottom of the pan still contained only frozen snow. He hadn't expected the snow to seemingly absorb the water. So his first mission was to see how much water he could squirt into the snow before pools of water finally formed in the pan. The amount of water it took surprised me too! When I asked him what the water was doing to the snow, he said, "The hot water is making the cold snow vibrate! When it vibrates, it gets hotter and melts!" Wow. That was quite more of a specific answer than I expected to get!
Step 4
His final product was a shell of snow with a completely hollow, melted out middle. Of course, he called it a volcano.
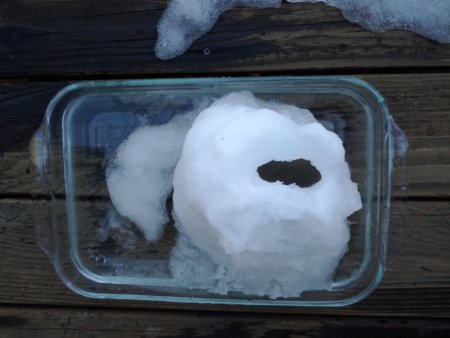
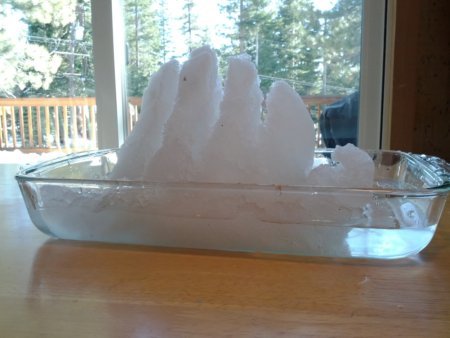
Final result!
Our next experiment with snow melting produced something that looked a bit more like an ice sculpture. It reminded us of a pirate ship, and along those lines I was seeing hints of the Sydney Opera House. What do you see? Well, as I'm sure you've already noticed, the best part of this project wasn't the end product. This was the first time my guy had really focused on what happens when snow melts. He was able to experience it in a new way. He ended up intentionally melting snow for a good while, and I really hadn't expected just how much he would get into it.
