Step-by-step tutorial
Step 1
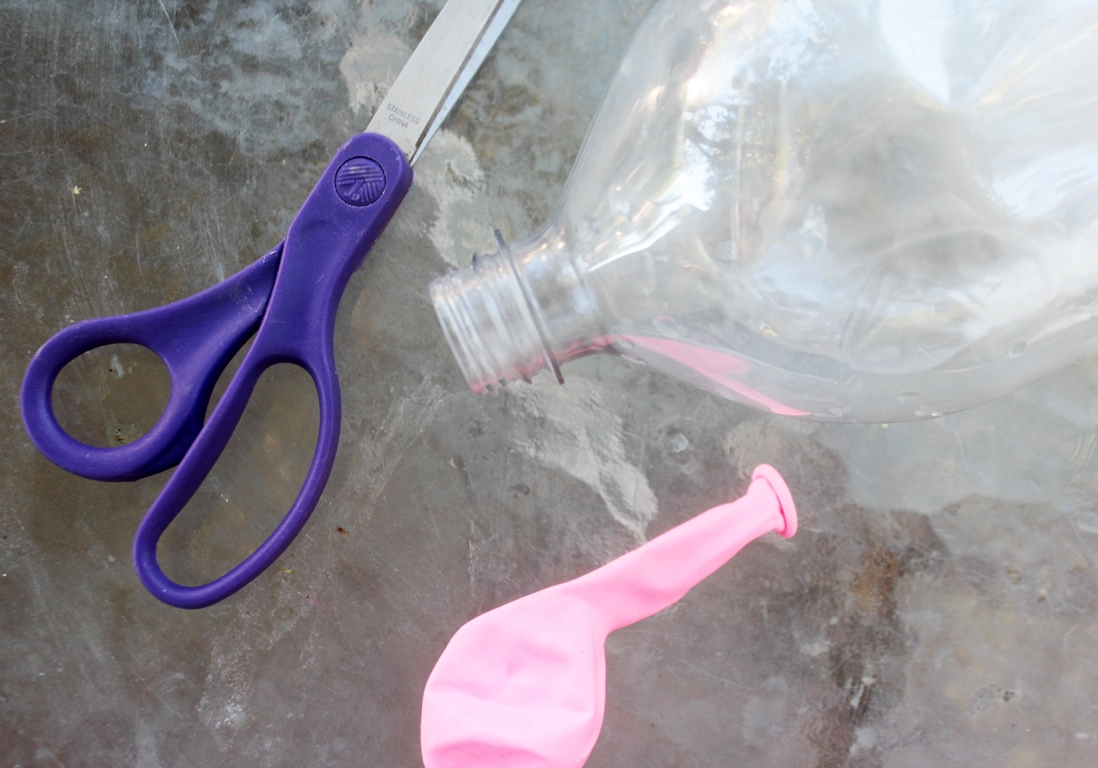
This is one of my favorites. It's interesting, lively...and makes the children squeal with delight! The ingredients are simple, too!

Step 2
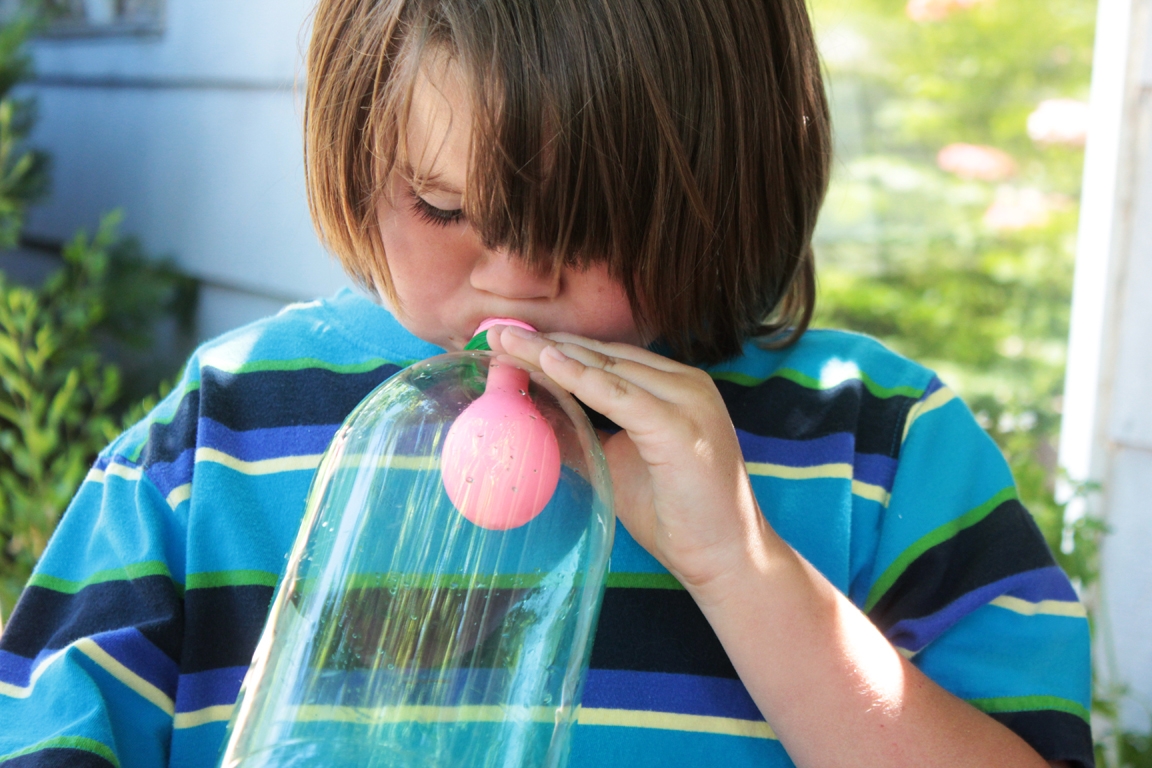
First I just put the balloon inside the bottle, and stretched the opening over the end of the bottle. I handed it to our friend Kyan, and said, "Here...can you blow up this balloon?" "He won't be able to do it!" said Maddie. (Clearly, she's done this experiment before.)We passed it on to another little friend. "Here... you try!"
Step 3
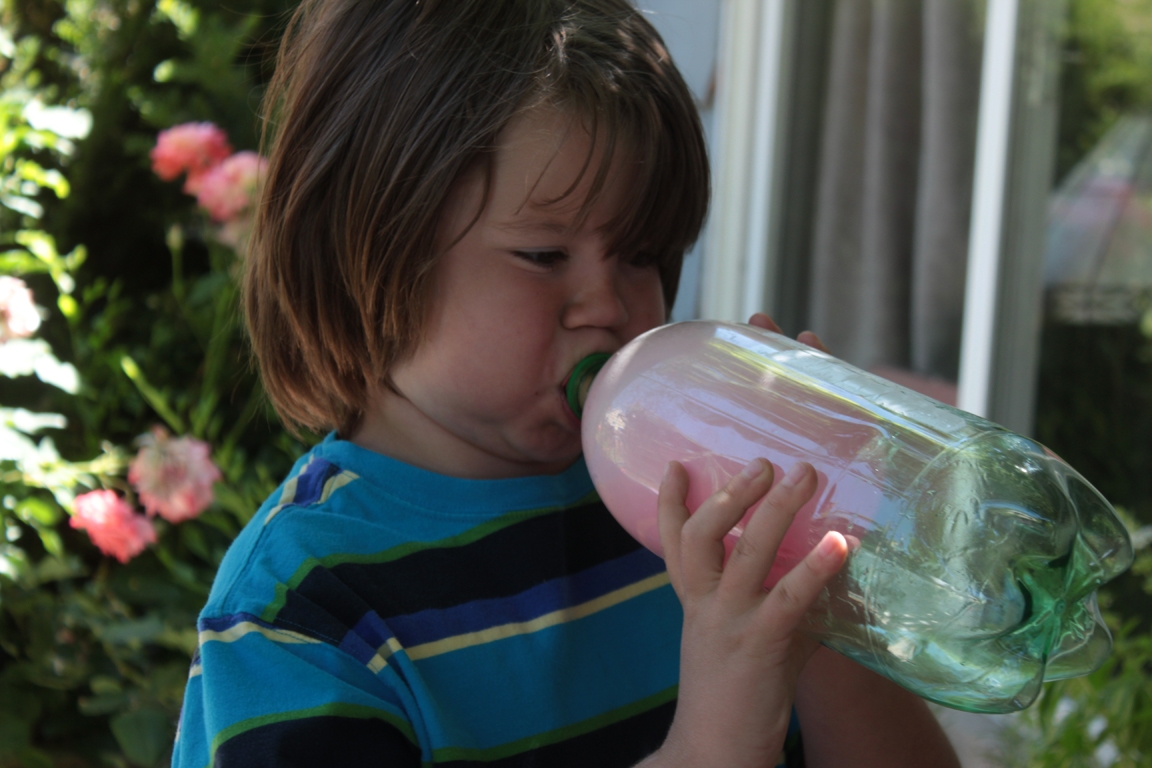
"There's nowhere for the air to go... because of the pressure!" said Maddie. "Right! You remember!" I took a pair of pointy scissors, and cut a little 1/4 inch round hole on the side of the bottle, near the bottom. "Here, try now!" I said as I handed it back to Kyan. Success! The air can easily flow out of the hole in the side!
Step 4
We showed him how to put his finger on the hole, and lock the pressure...keeping the balloon blown up inside the bottle.
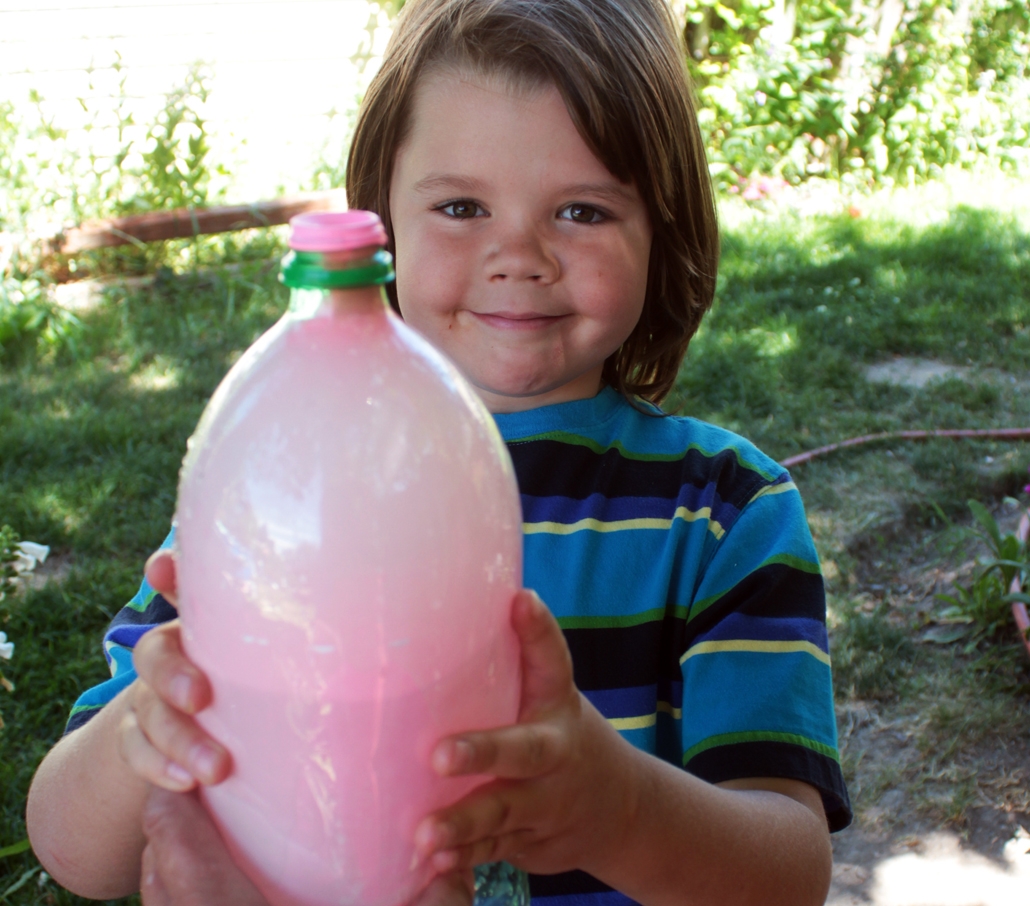
Done!
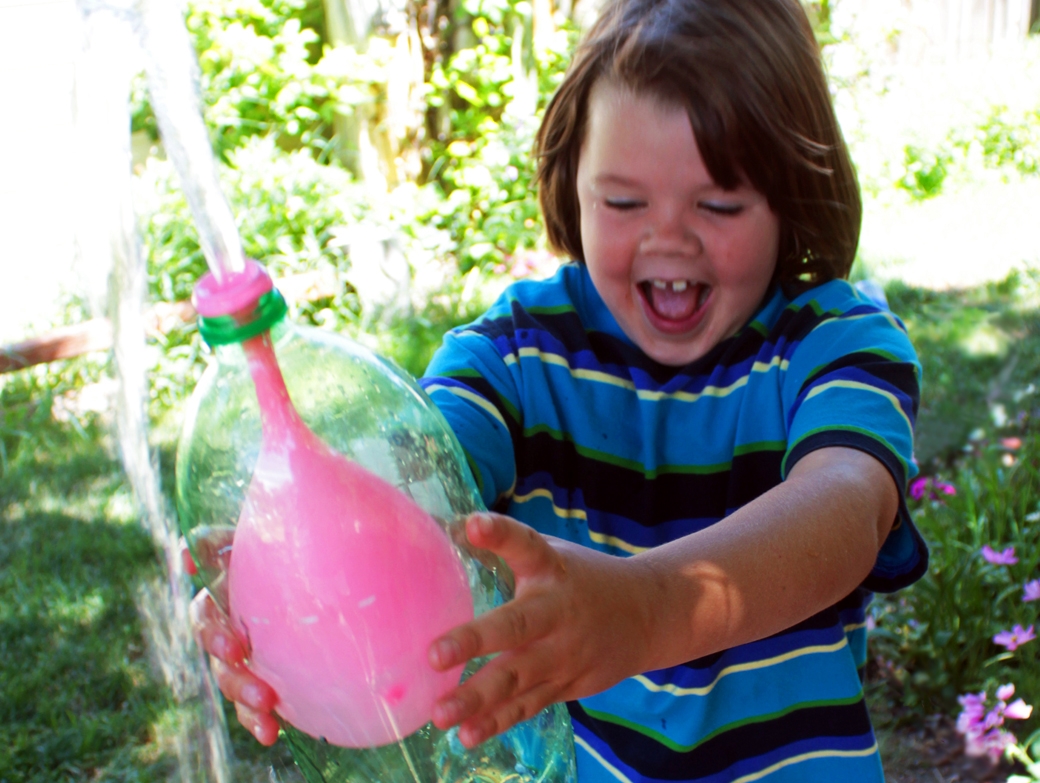
Now for the most exciting part of all! I took it into the kitchen, and while it was blown up inside the bottle, with my finger locking the air pressure, I filled it up with water. I took it back outside, and said "Now there's water in it.... who wants it?" Madeleine merrily danced away, and said "Not me!" while Kyan said he was game..... as I passed it to him, I let go of the hole, releasing the lock of the pressure. So fun. A water volcano!


