Moon Crater Experiment

When you look up at the moon at night, it often looks like there are some grey areas and some white areas on the surface. The grey areas are called craters. Have you ever wondered how the moon's craters are formed? If the answer is yes, then this experiment is just right for you. Make your own moon surface with flour and oil and then drop meteorites (small rocks and pebbles) from varying heights to create your own craters!

  1. Ages: 5 - 10

  2. 30 minutes - 1 hour

  3. Messy

Tags:

Materials you'll need

Step-by-step tutorial

  • Step 1

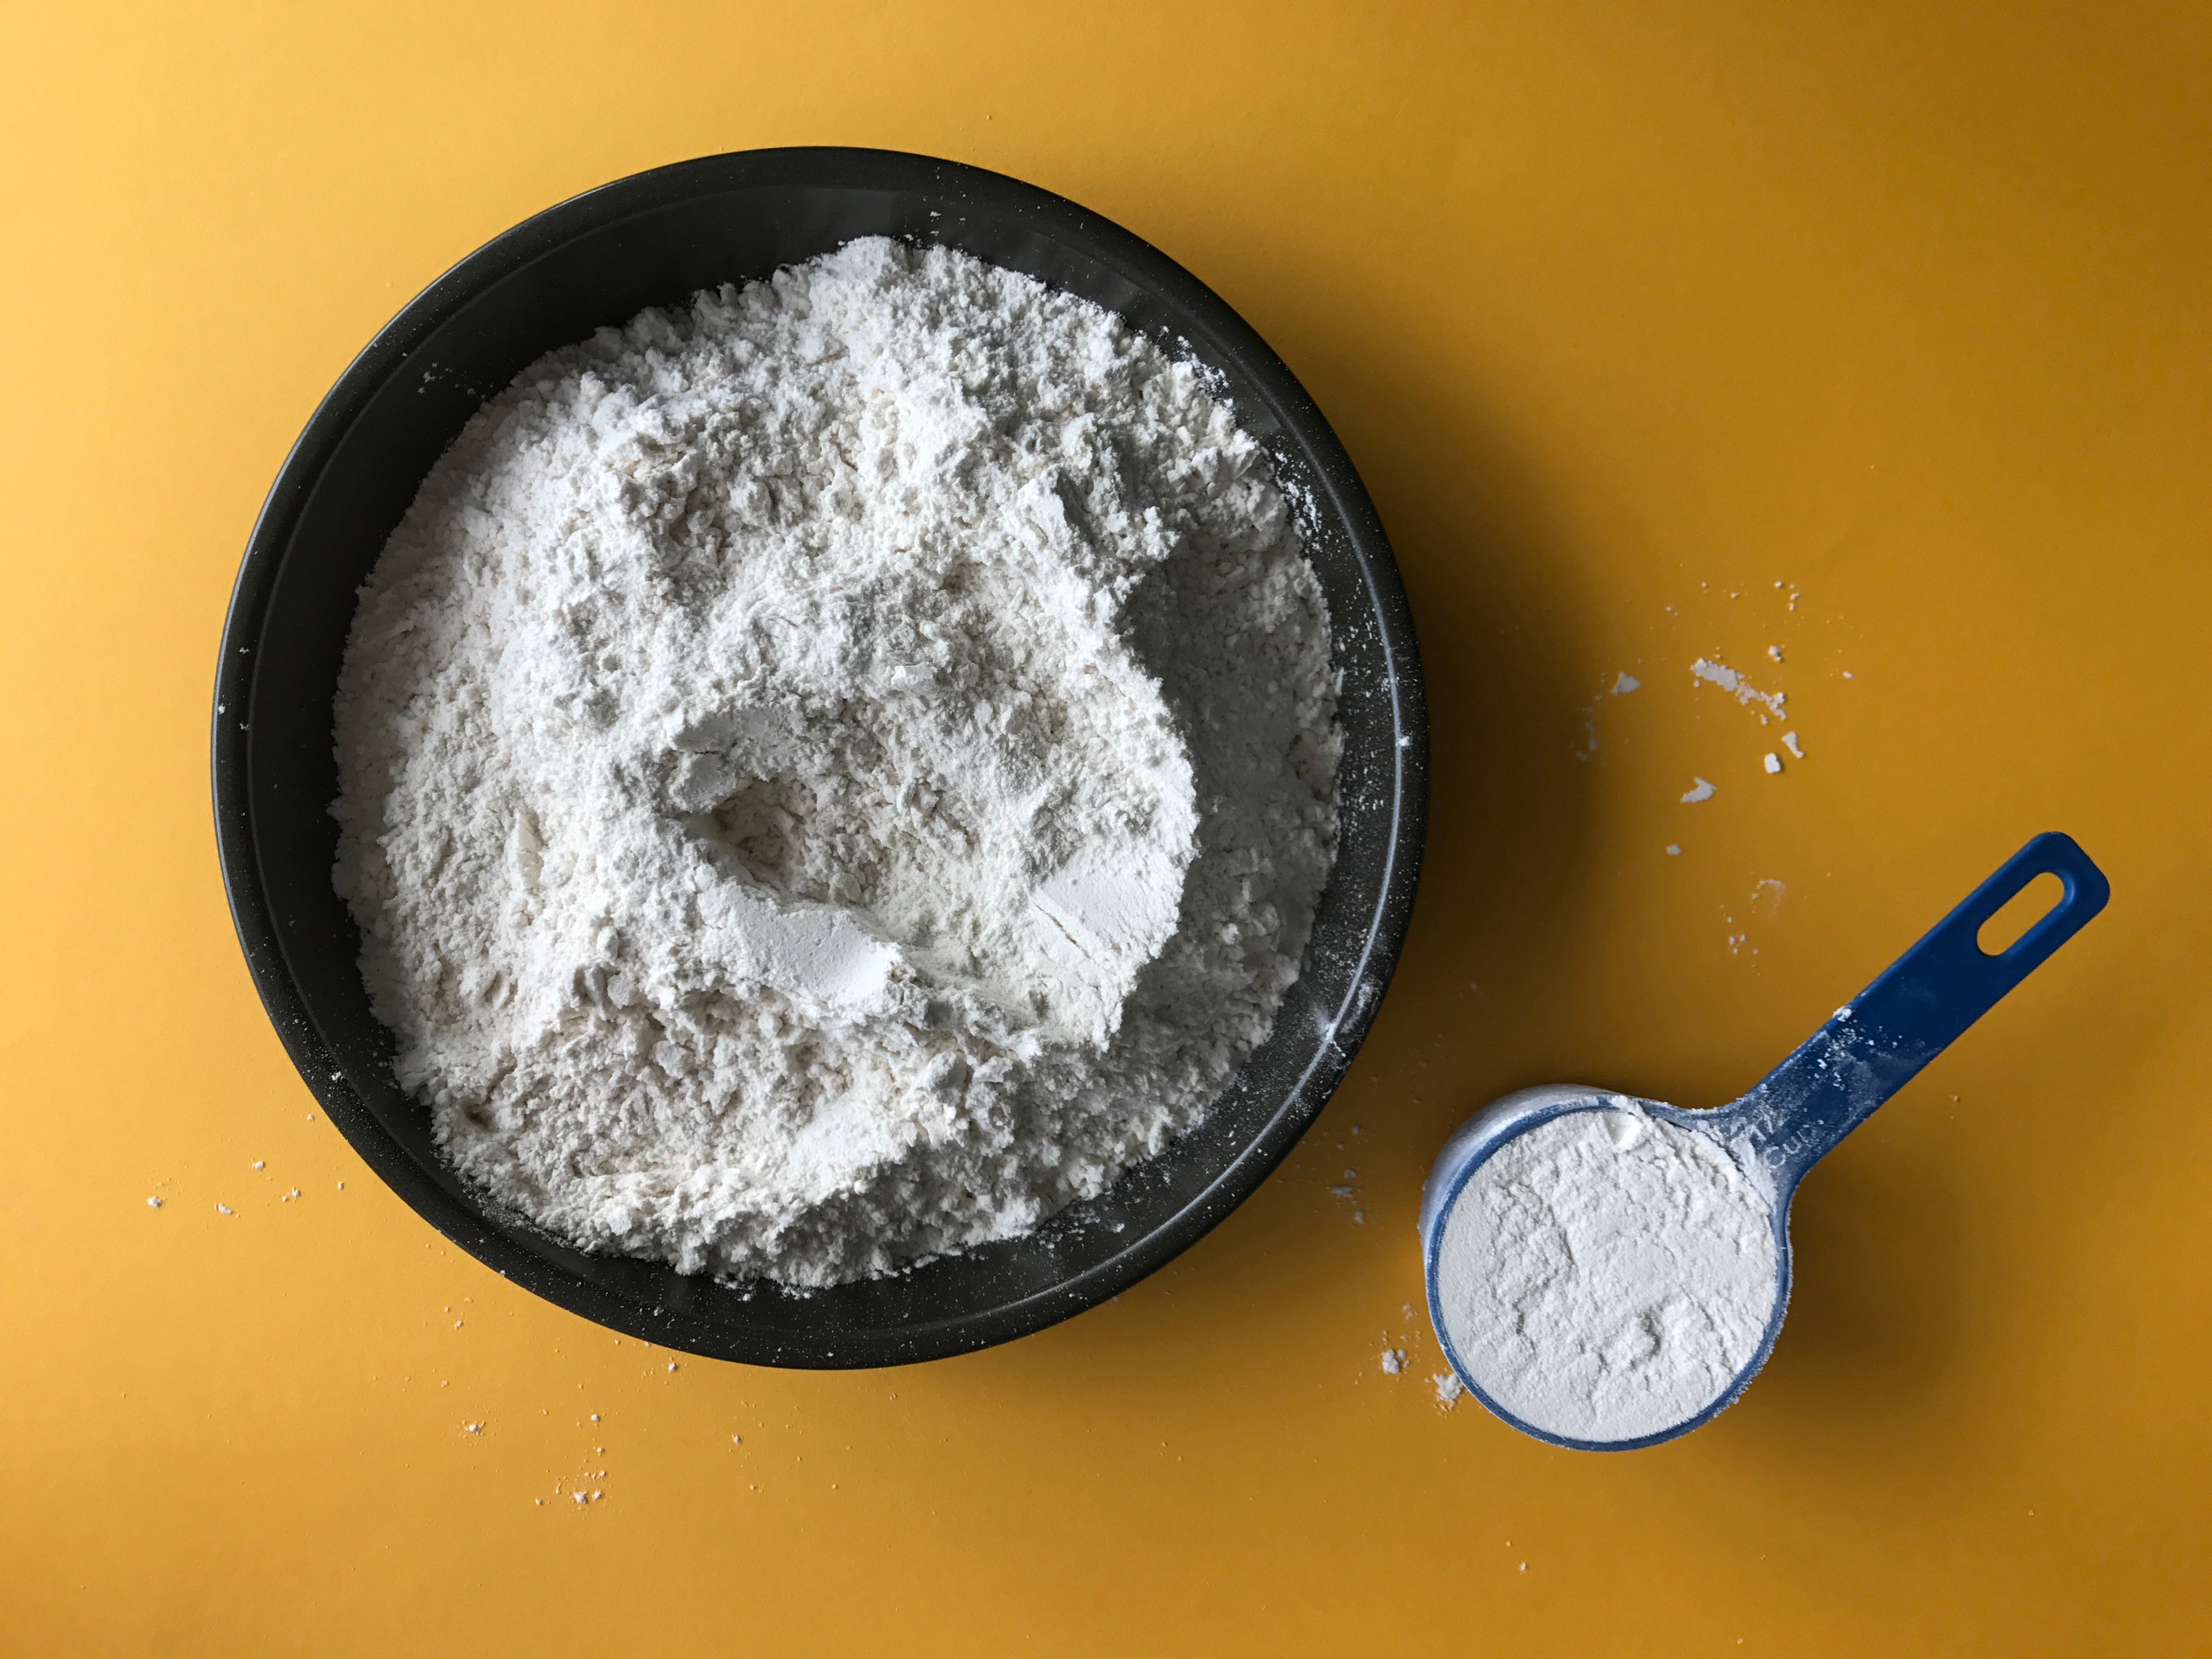
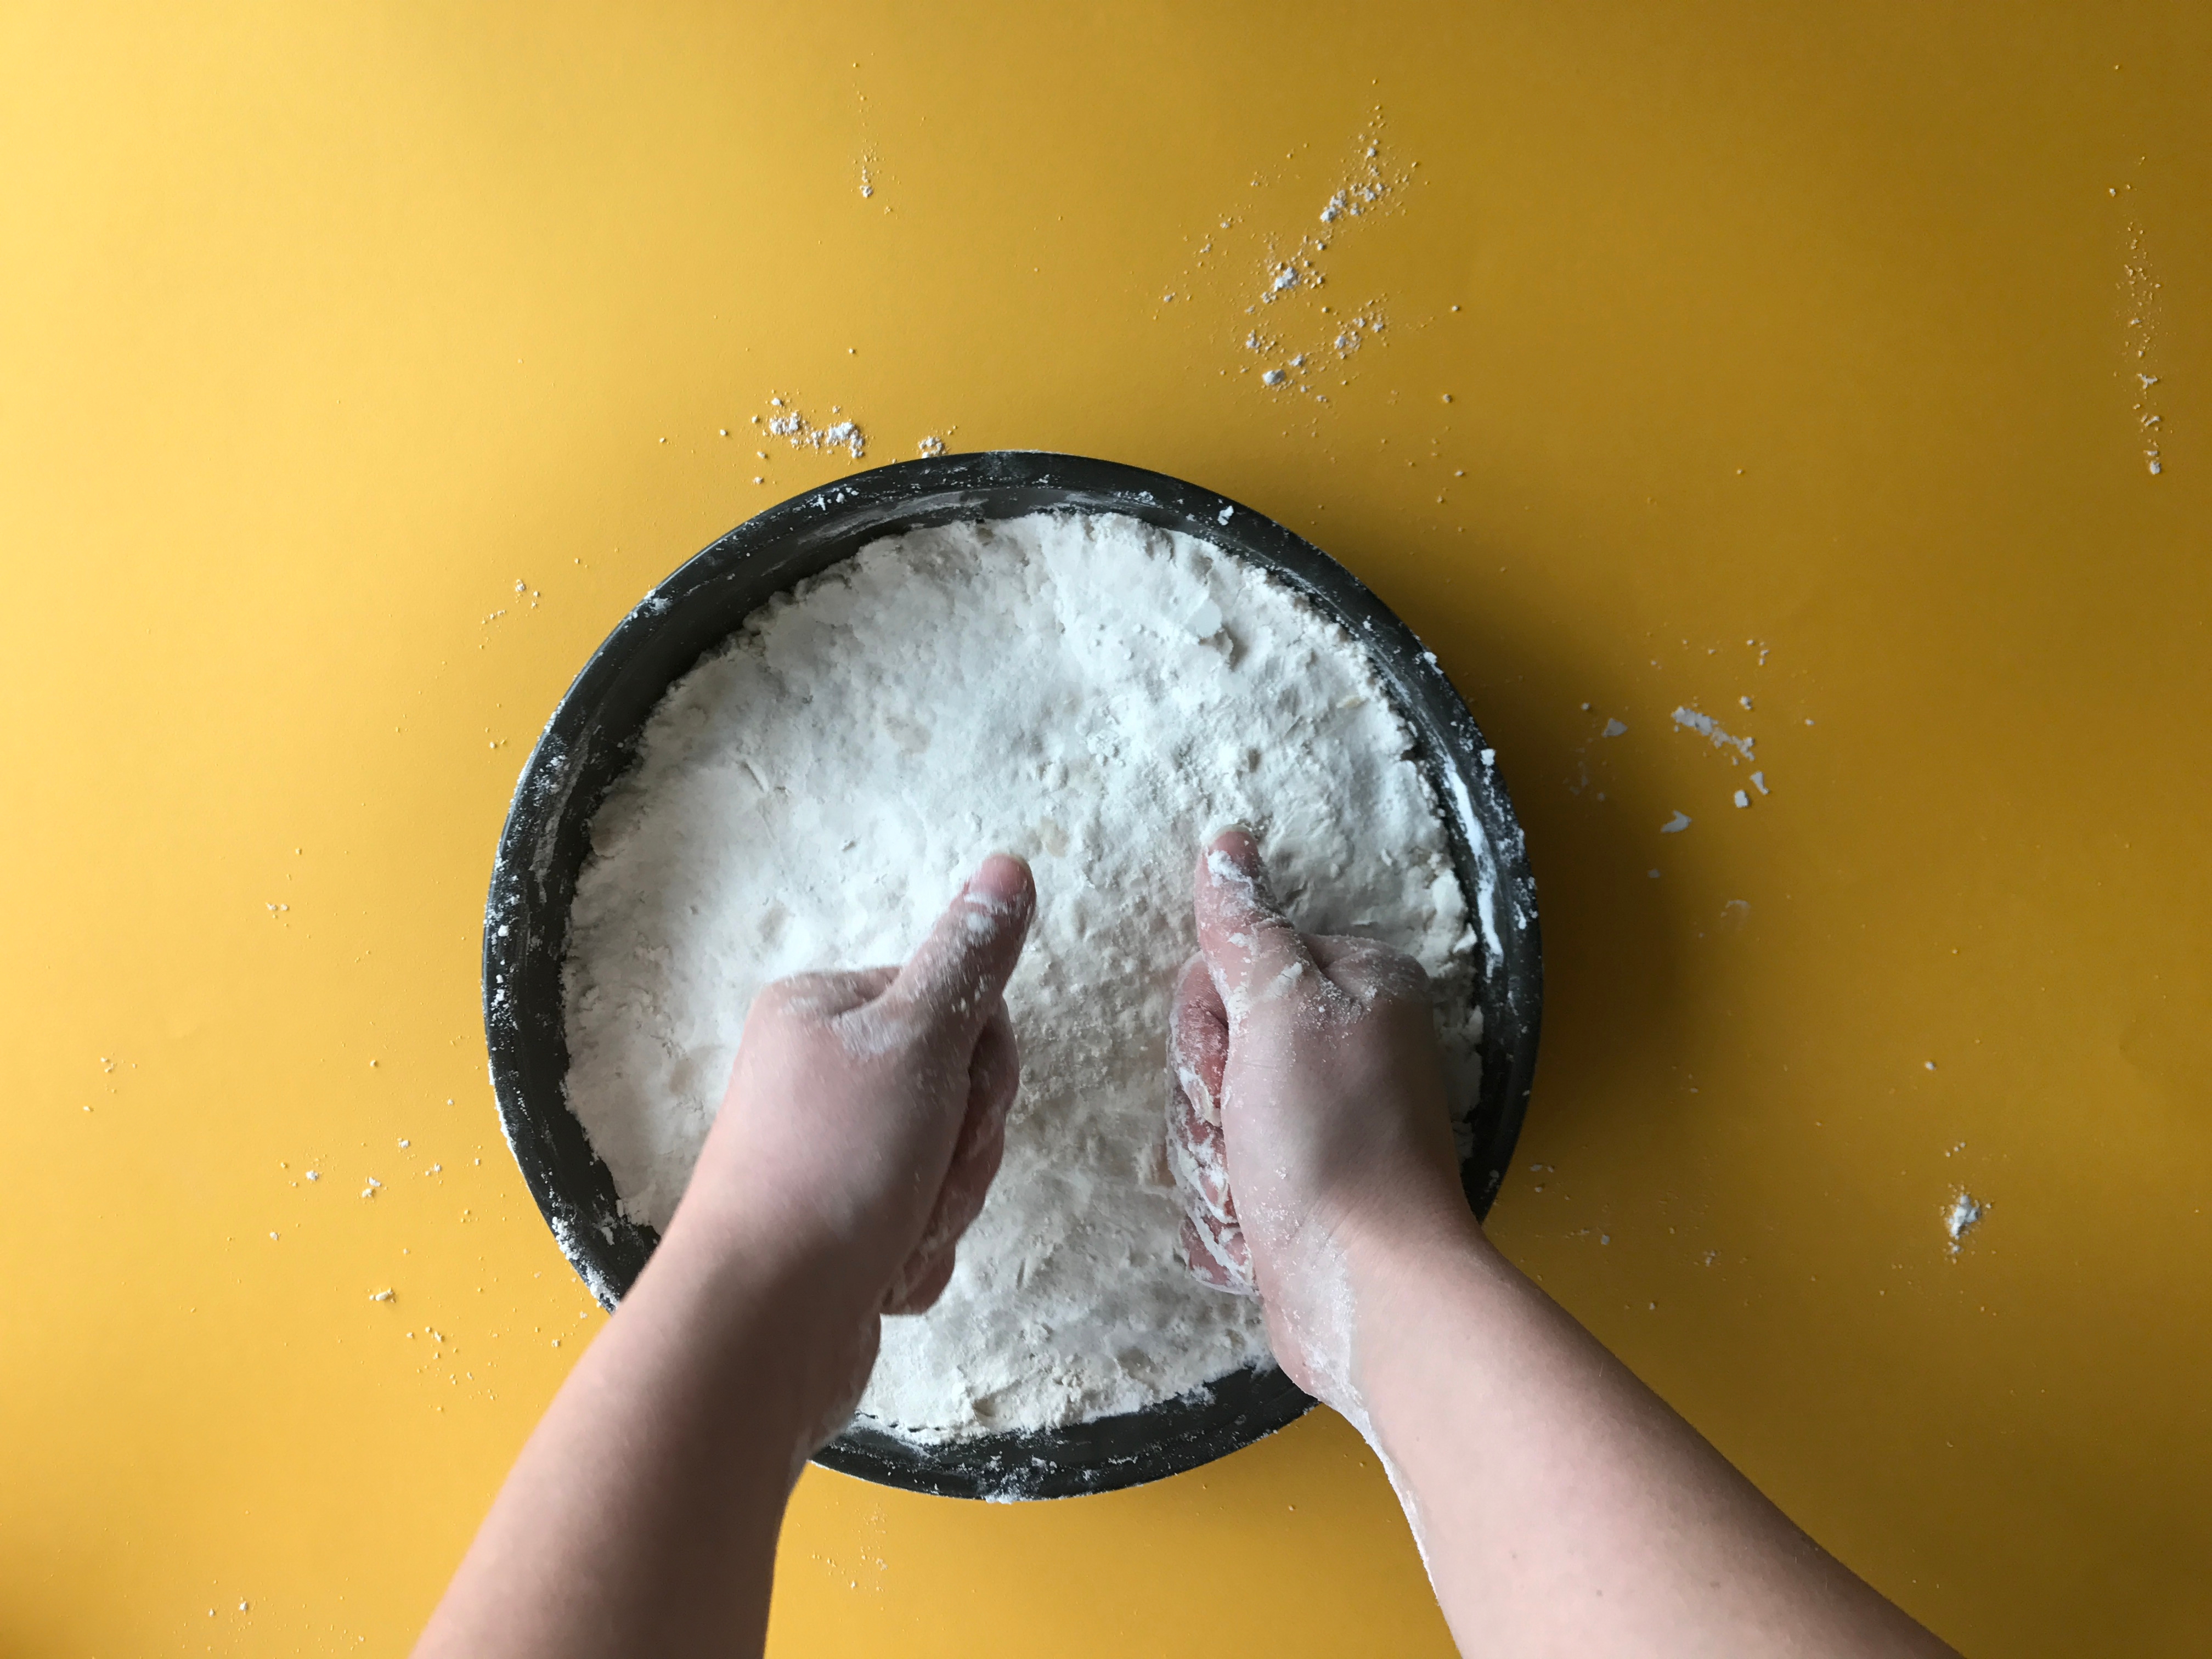
    First, add 4 cups of flour to your round cake pan.

    Photo reference of how to complete step 1

  • Tip

    Adding the dry ingredients first and then the wet ones minimizes the mess!

  • Step 2

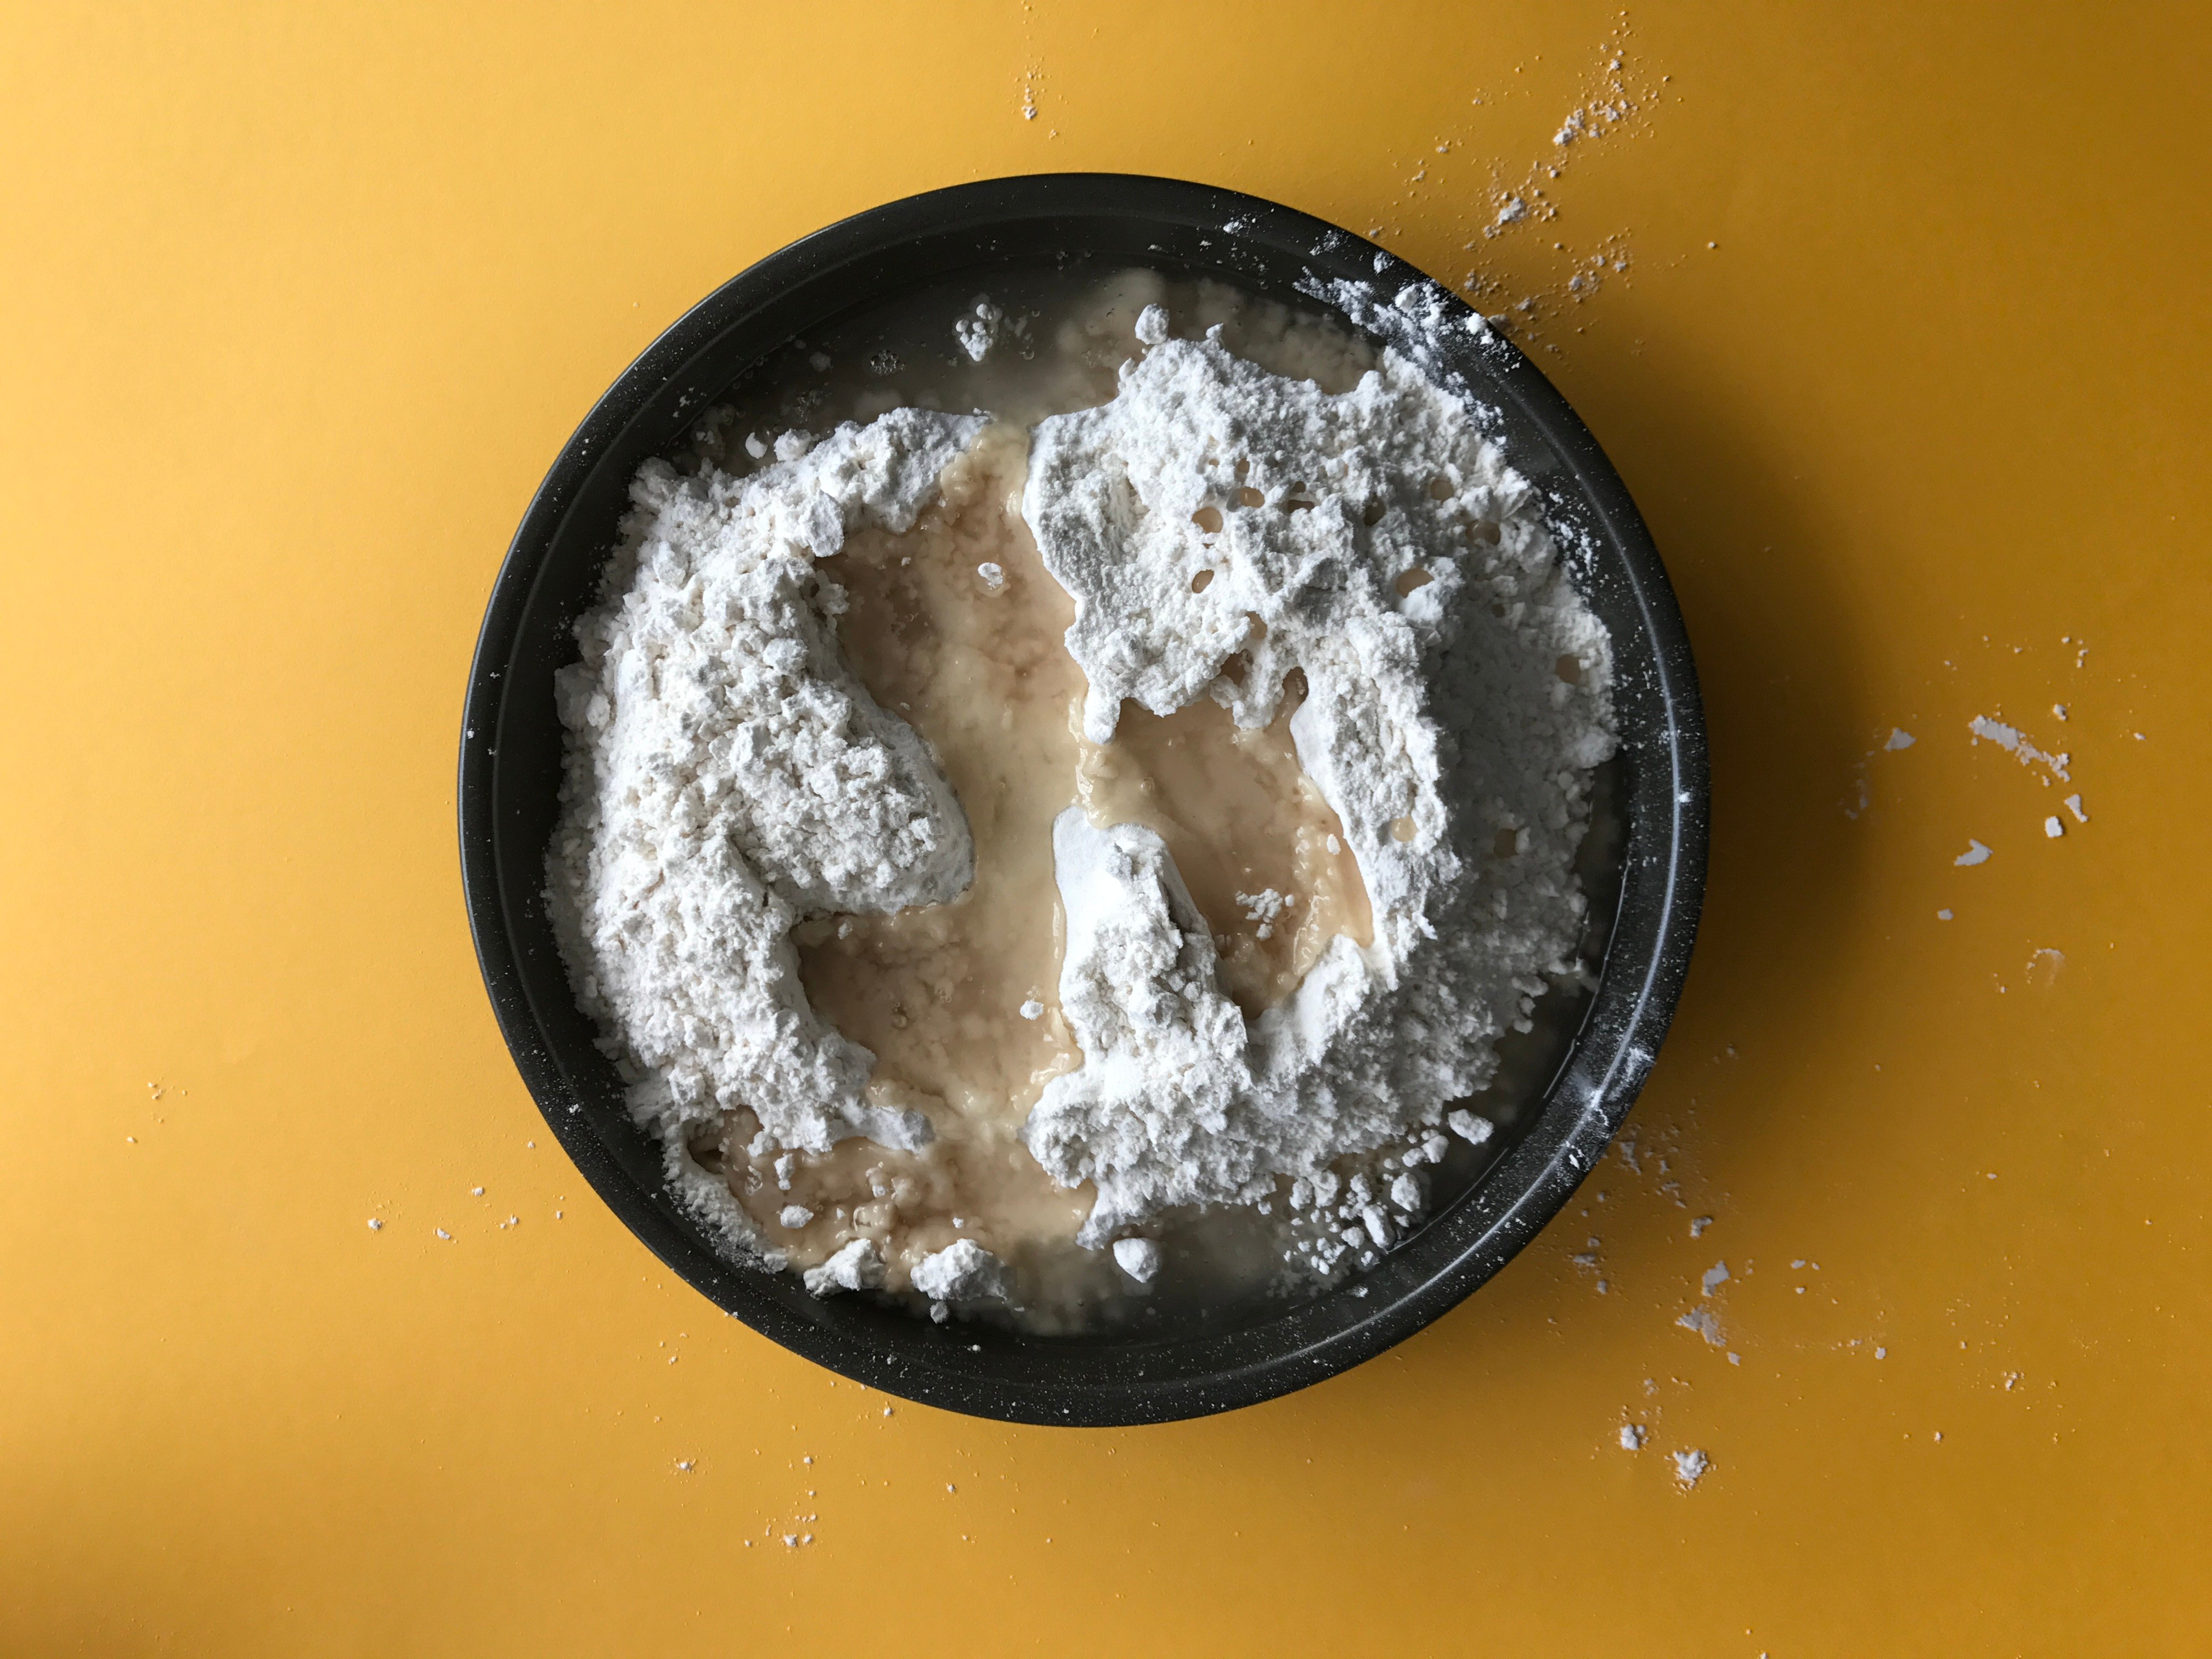
    Then add one half cup of oil.

    Photo reference of how to complete step 2

  • Step 3

    Mix the ingredients. You can mix it with a spoon or a spatula but mixing with your hands works just as well. Pat the mixture down flat with your hands. Try to make it as smooth as possible. Now you have your moon surface!
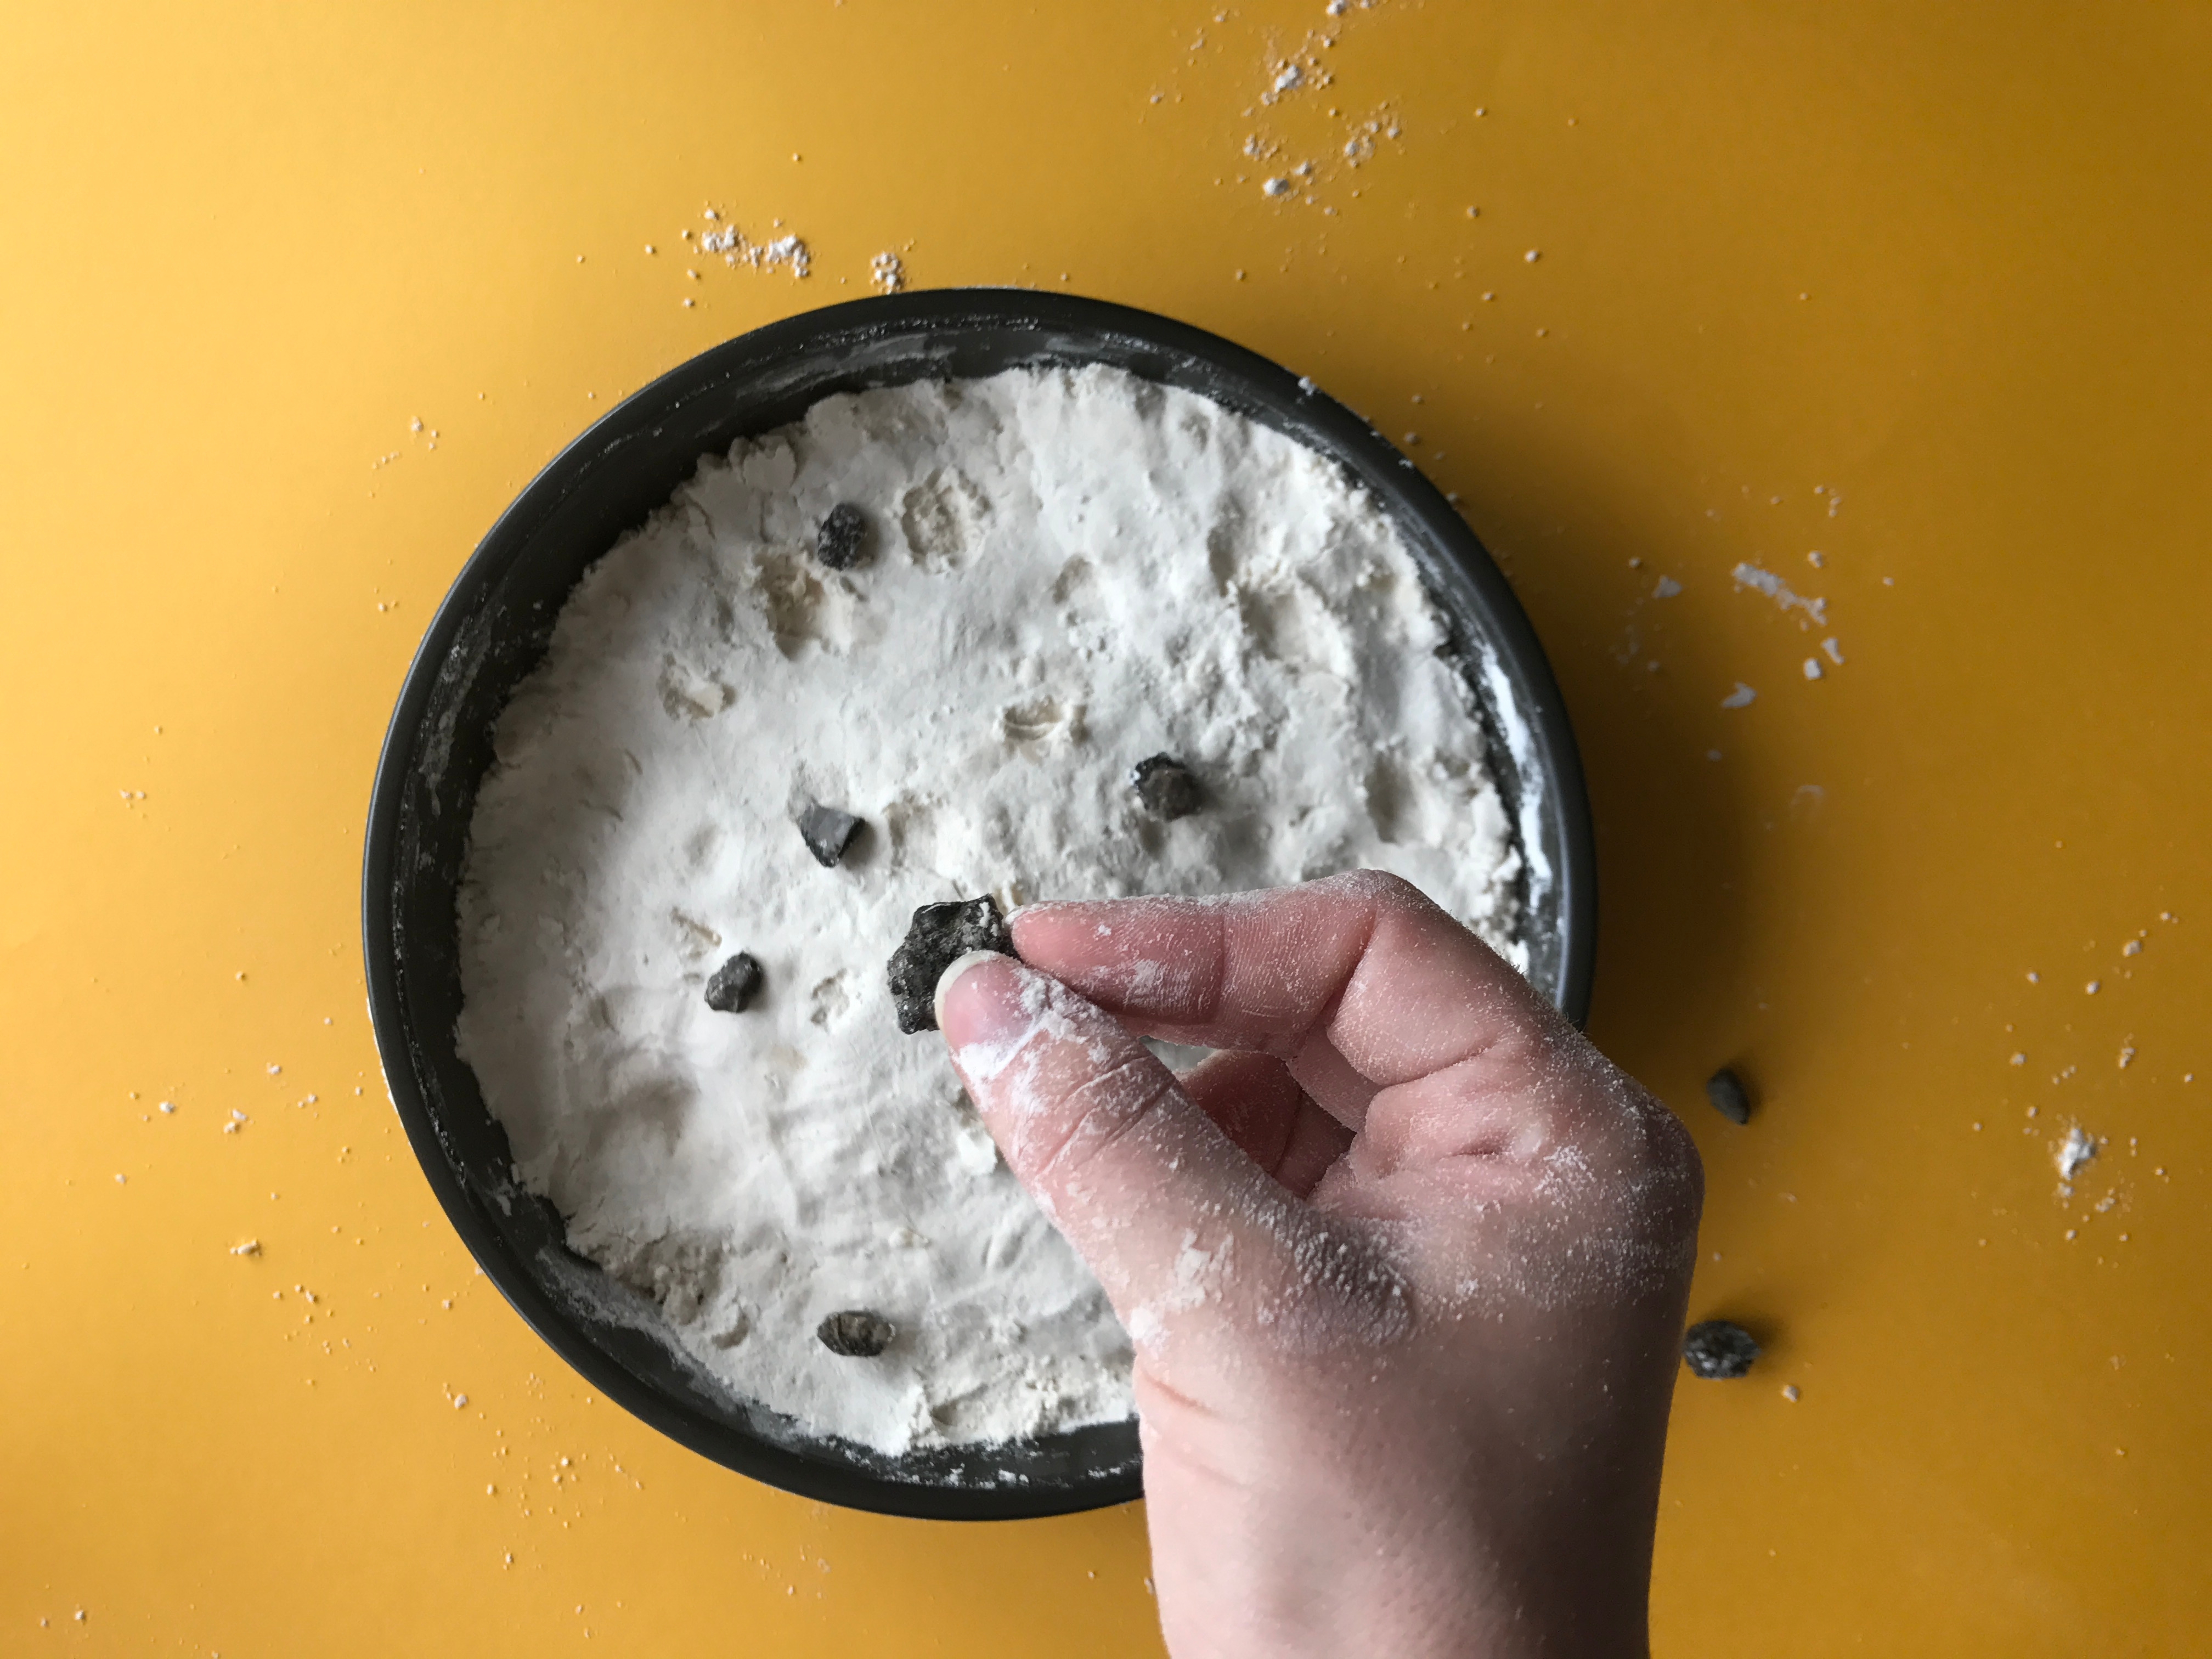
    Photo reference of how to complete step 3

  • Step 4

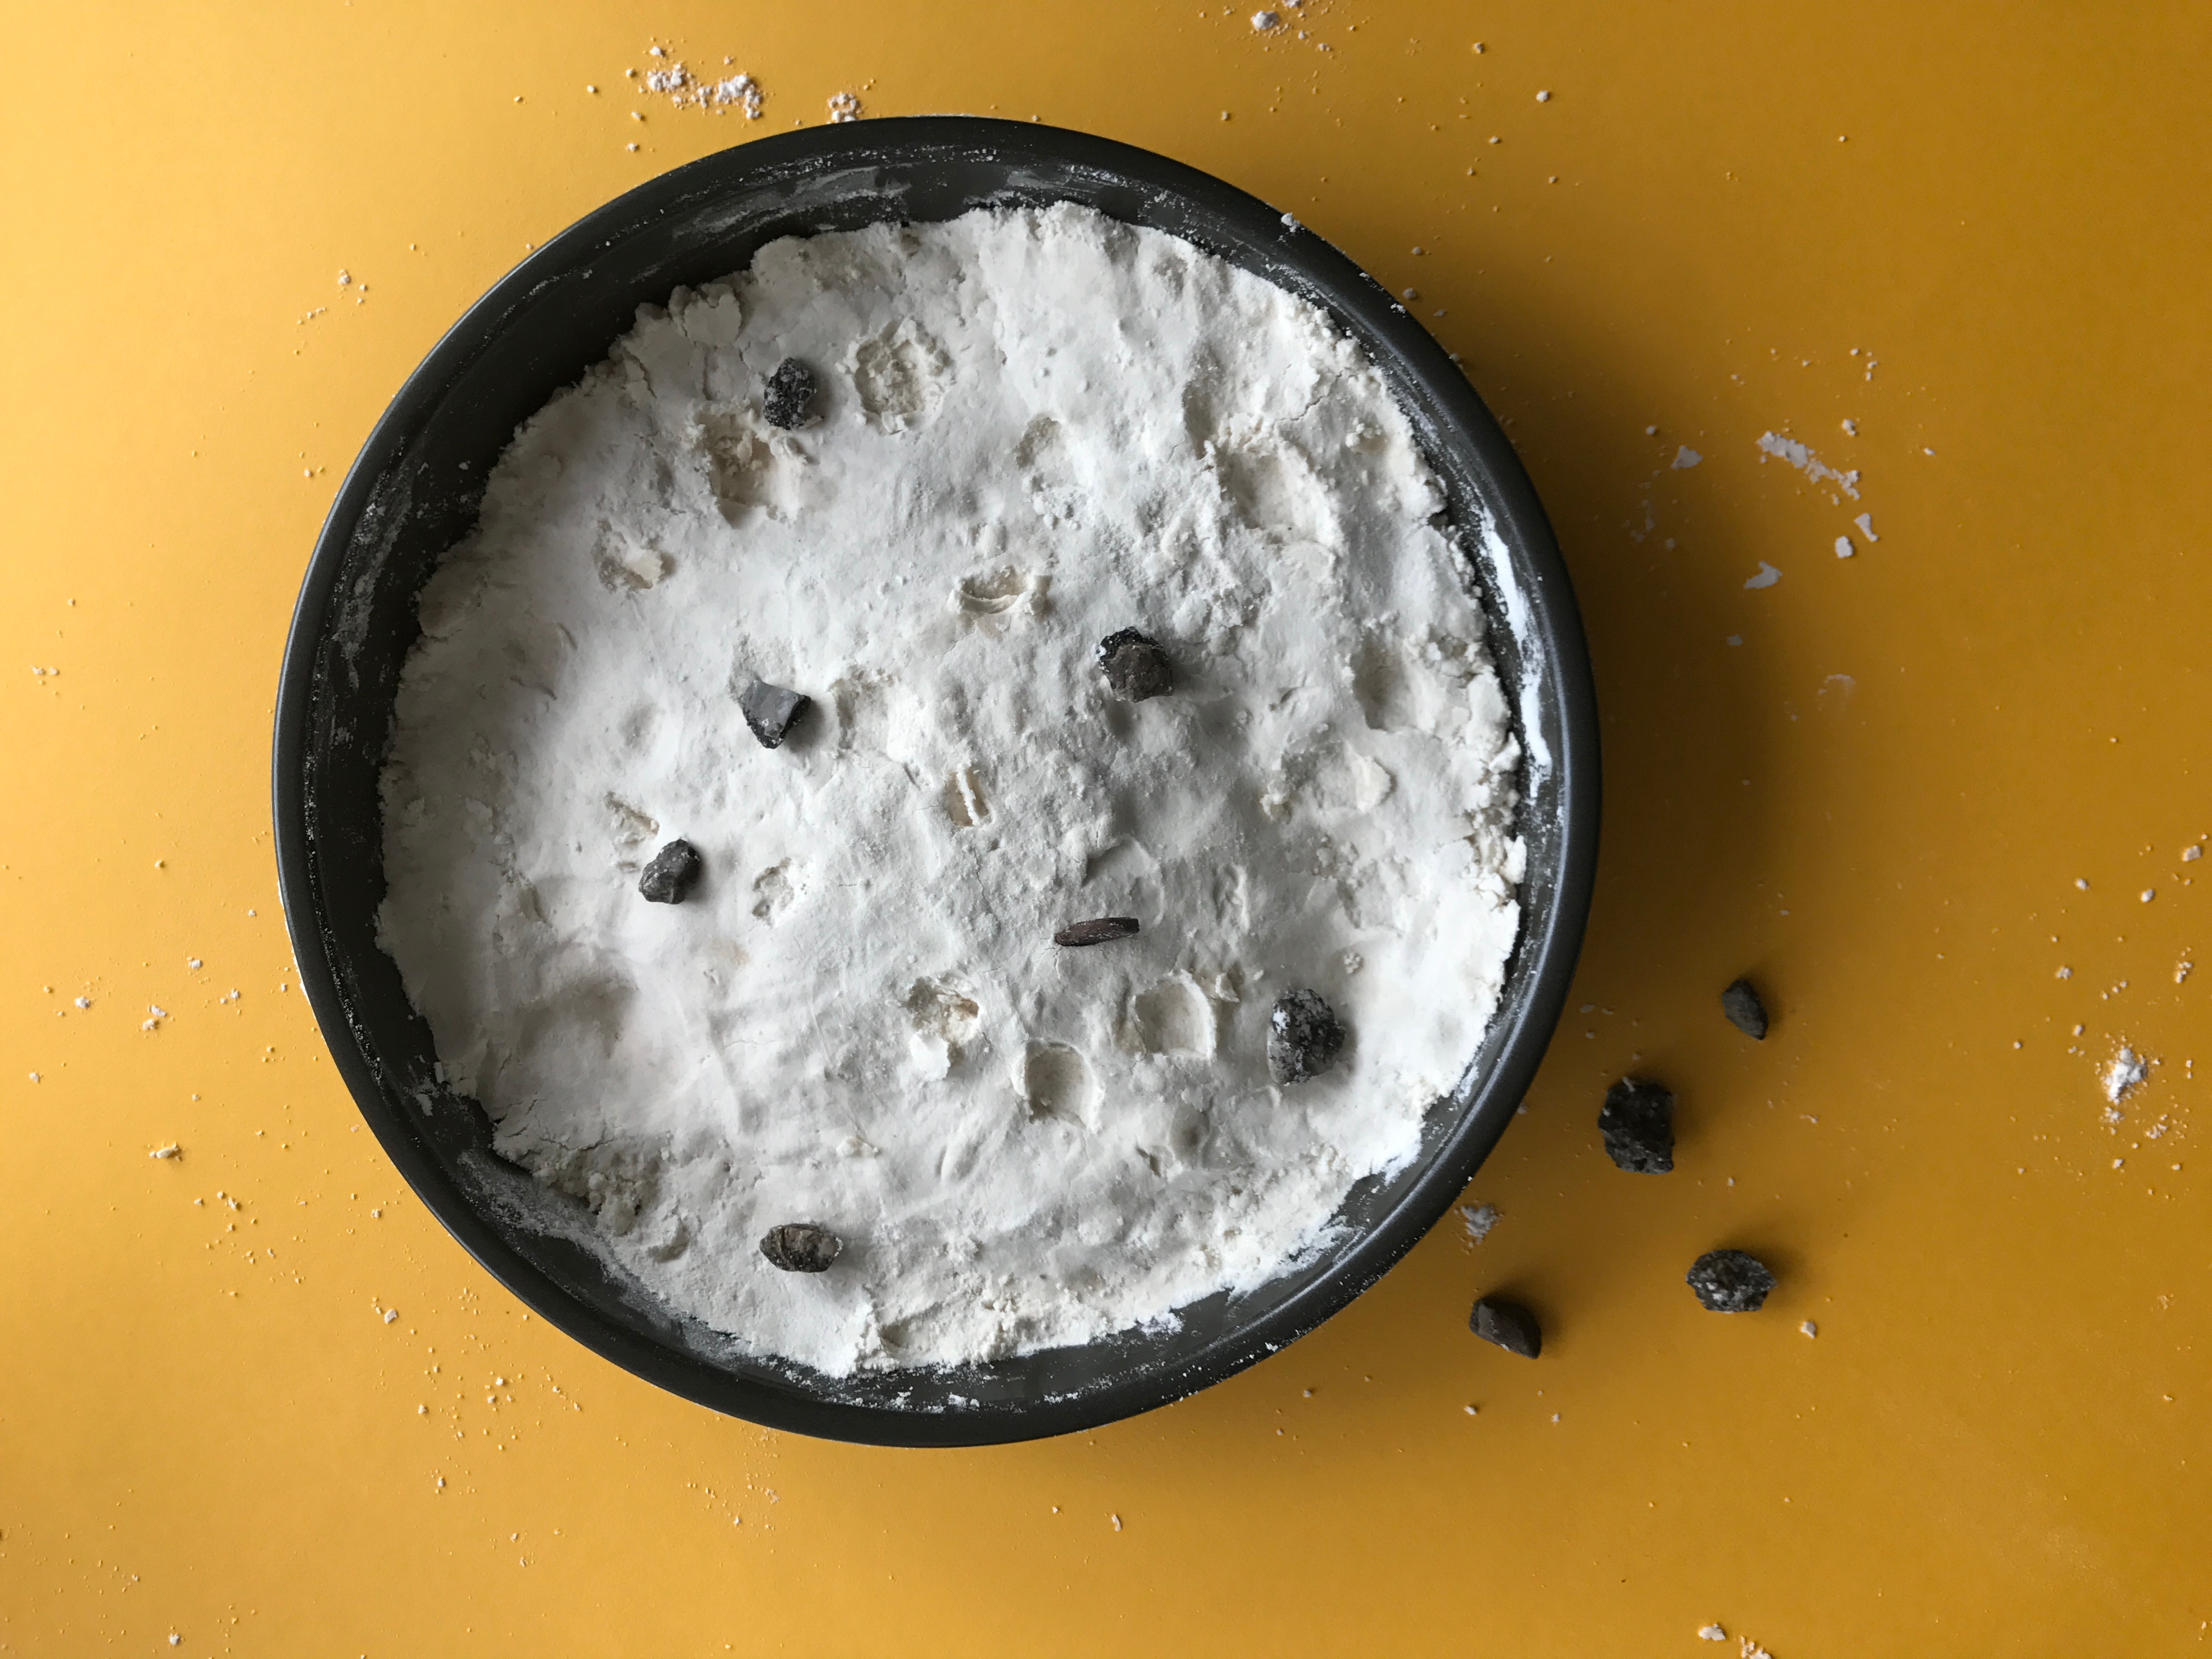
    You might want to lay a few paper towels down; this step might get a little messy. Put your pan down on a flat surface like a table or the floor and drop your small rocks or pebbles onto the surface. Take a closer look - what kind of craters are created?
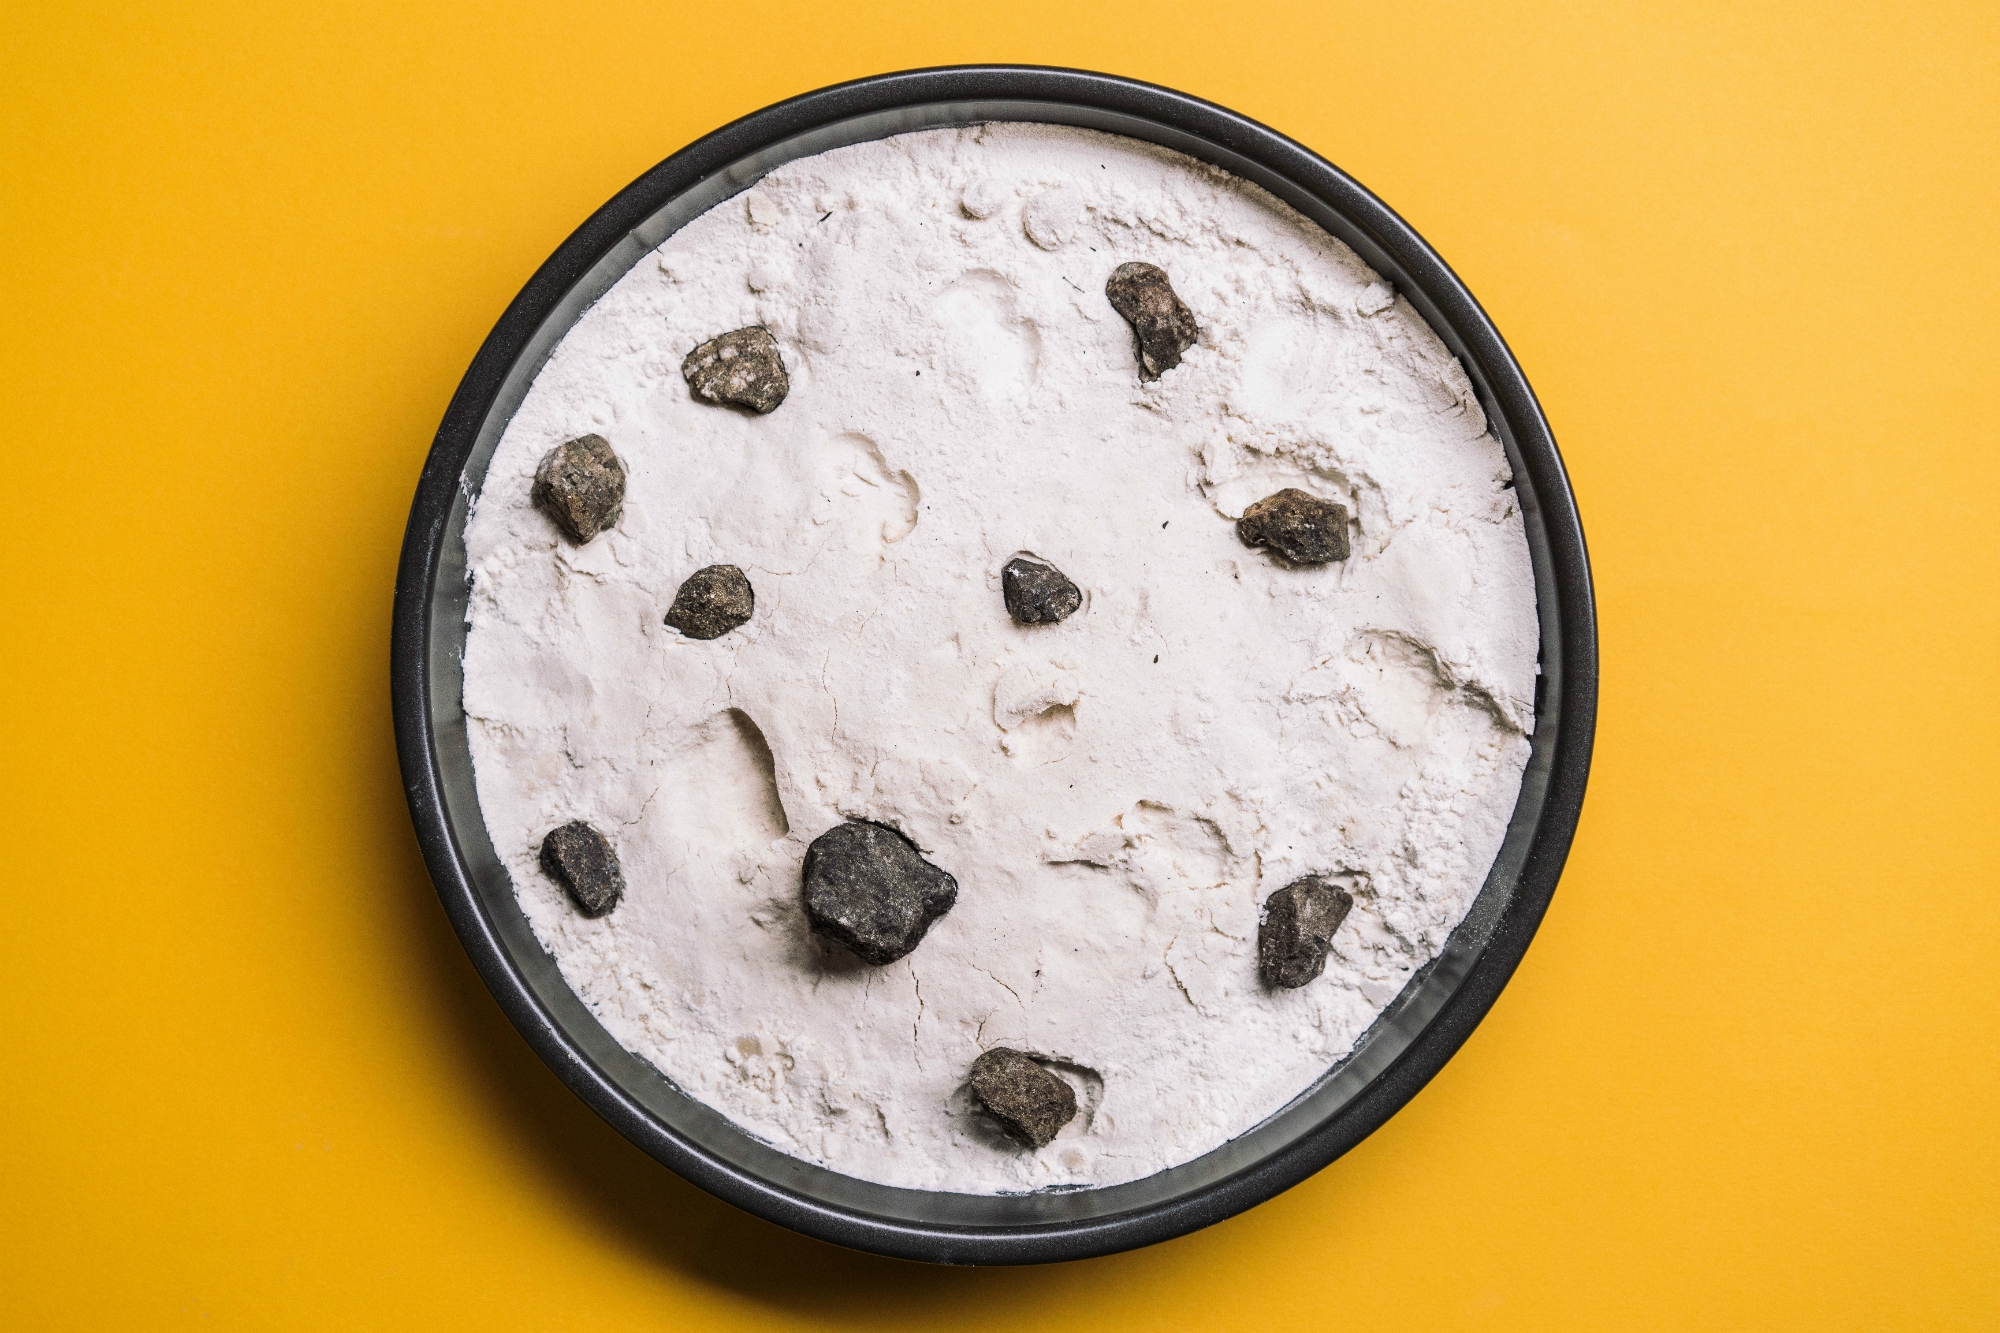
    Photo reference of how to complete step 4

  • Final result!

    Try changing up the height of the drop. How do the craters change? Look up a picture of the moon. Does your home-made moon surface look similar?

    Photo reference of how to complete step 5

You might also like

Top categoriesBurst graphic

Share what you made & tag us at!

;