Step-by-step tutorial
Step 1
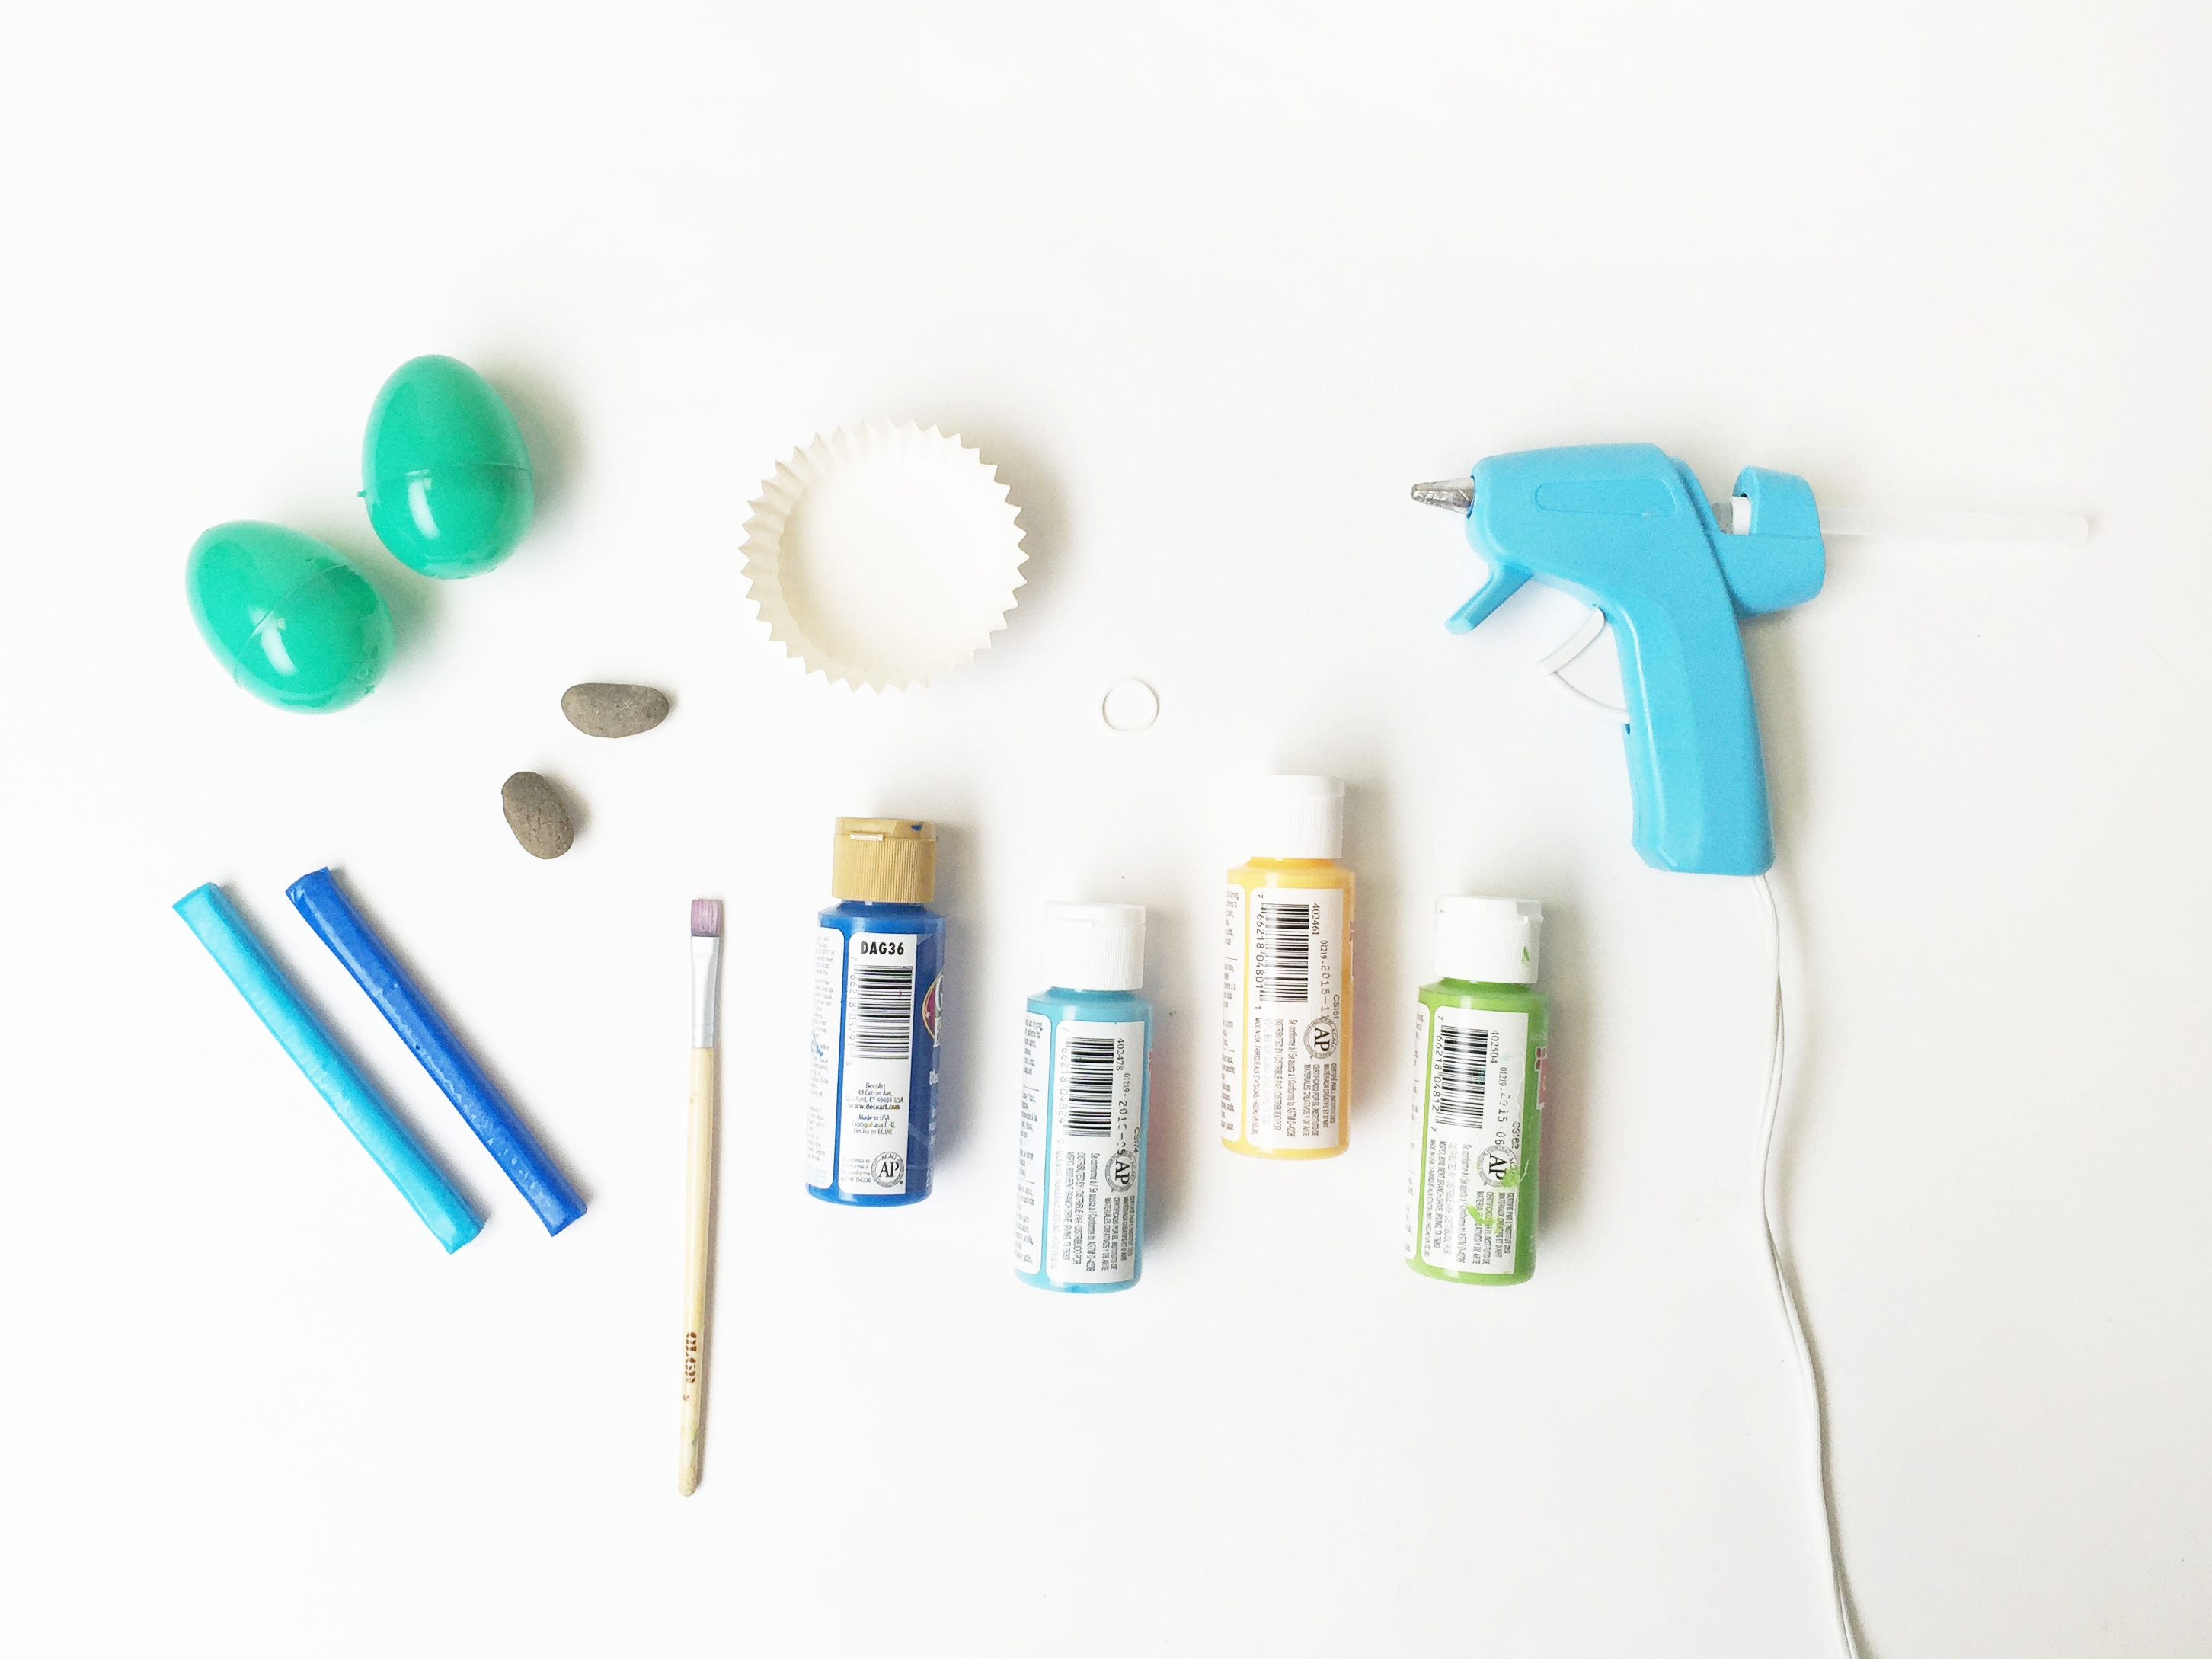
Gather the materials you need to make your egg toy.

Step 2
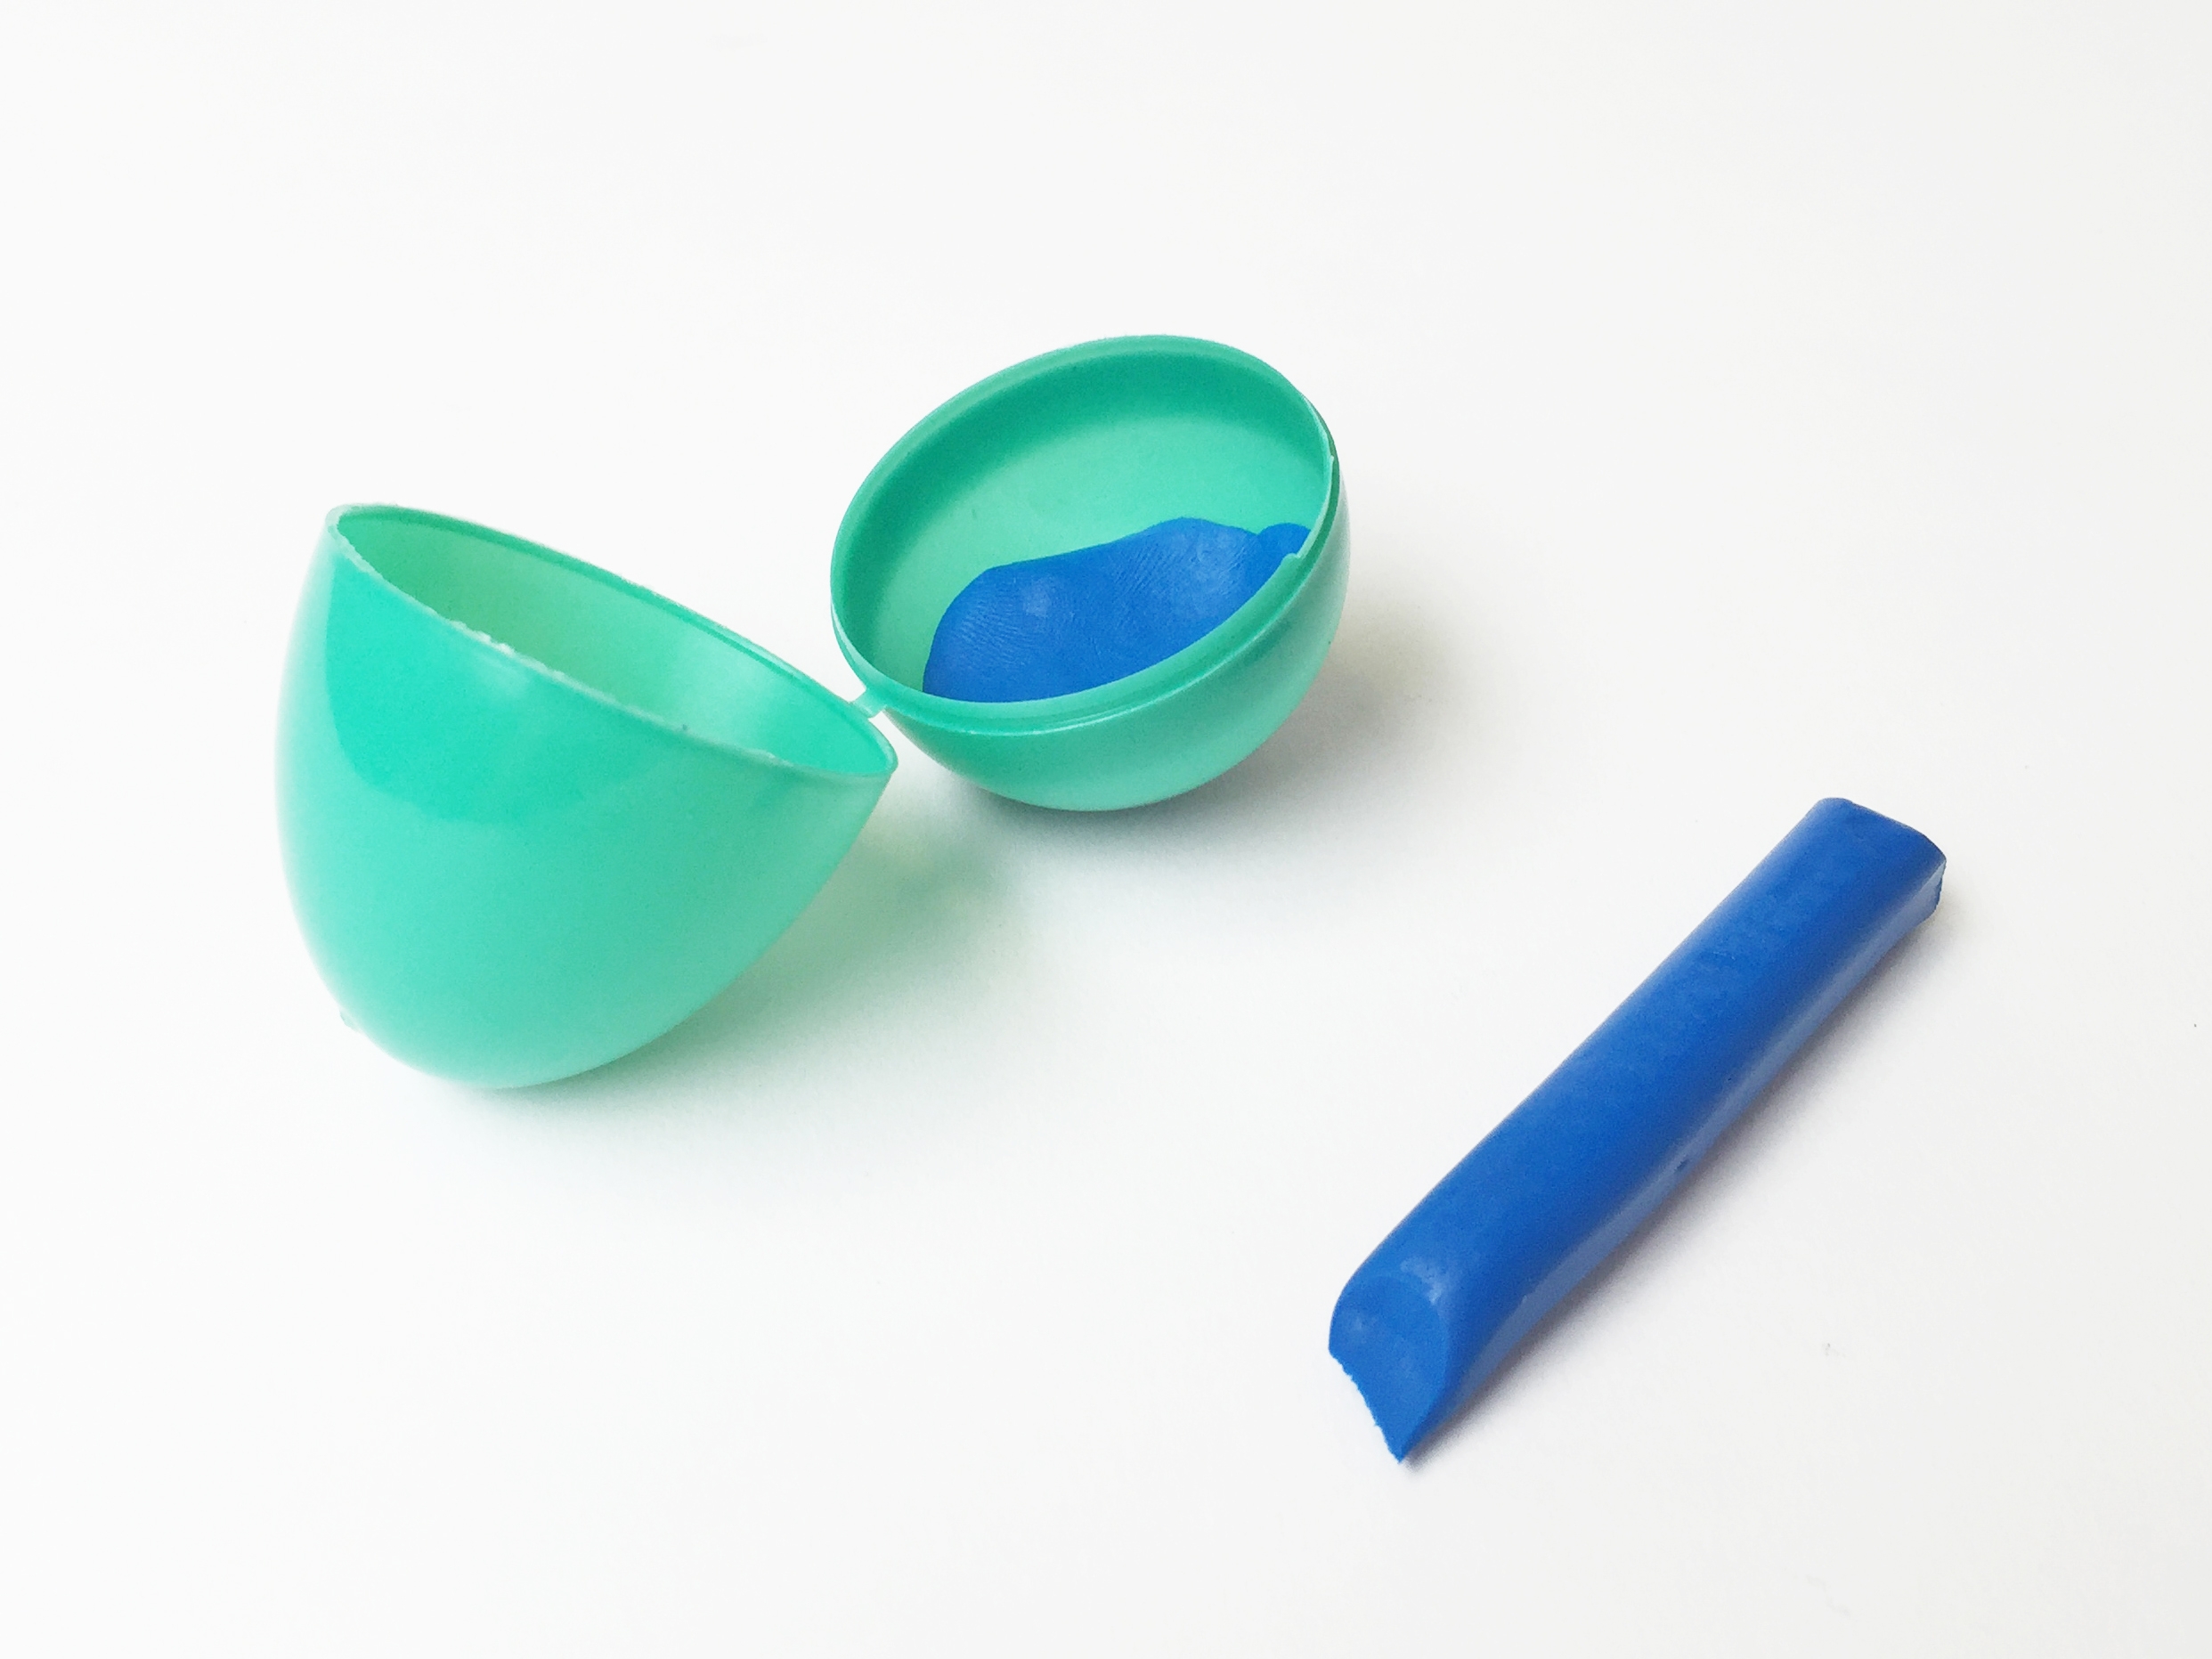
Collect some different weights to put inside the egg shells. Look for a variety of objects, different materials will make the egg wobble differently. I used a clay for one and a marble for the other. Open the egg and use hot glue to secure the weight at the bottom of the shell. Note: If you use clay, you can just press it into the base of the egg instead of gluing it into the bottom.
Step 3
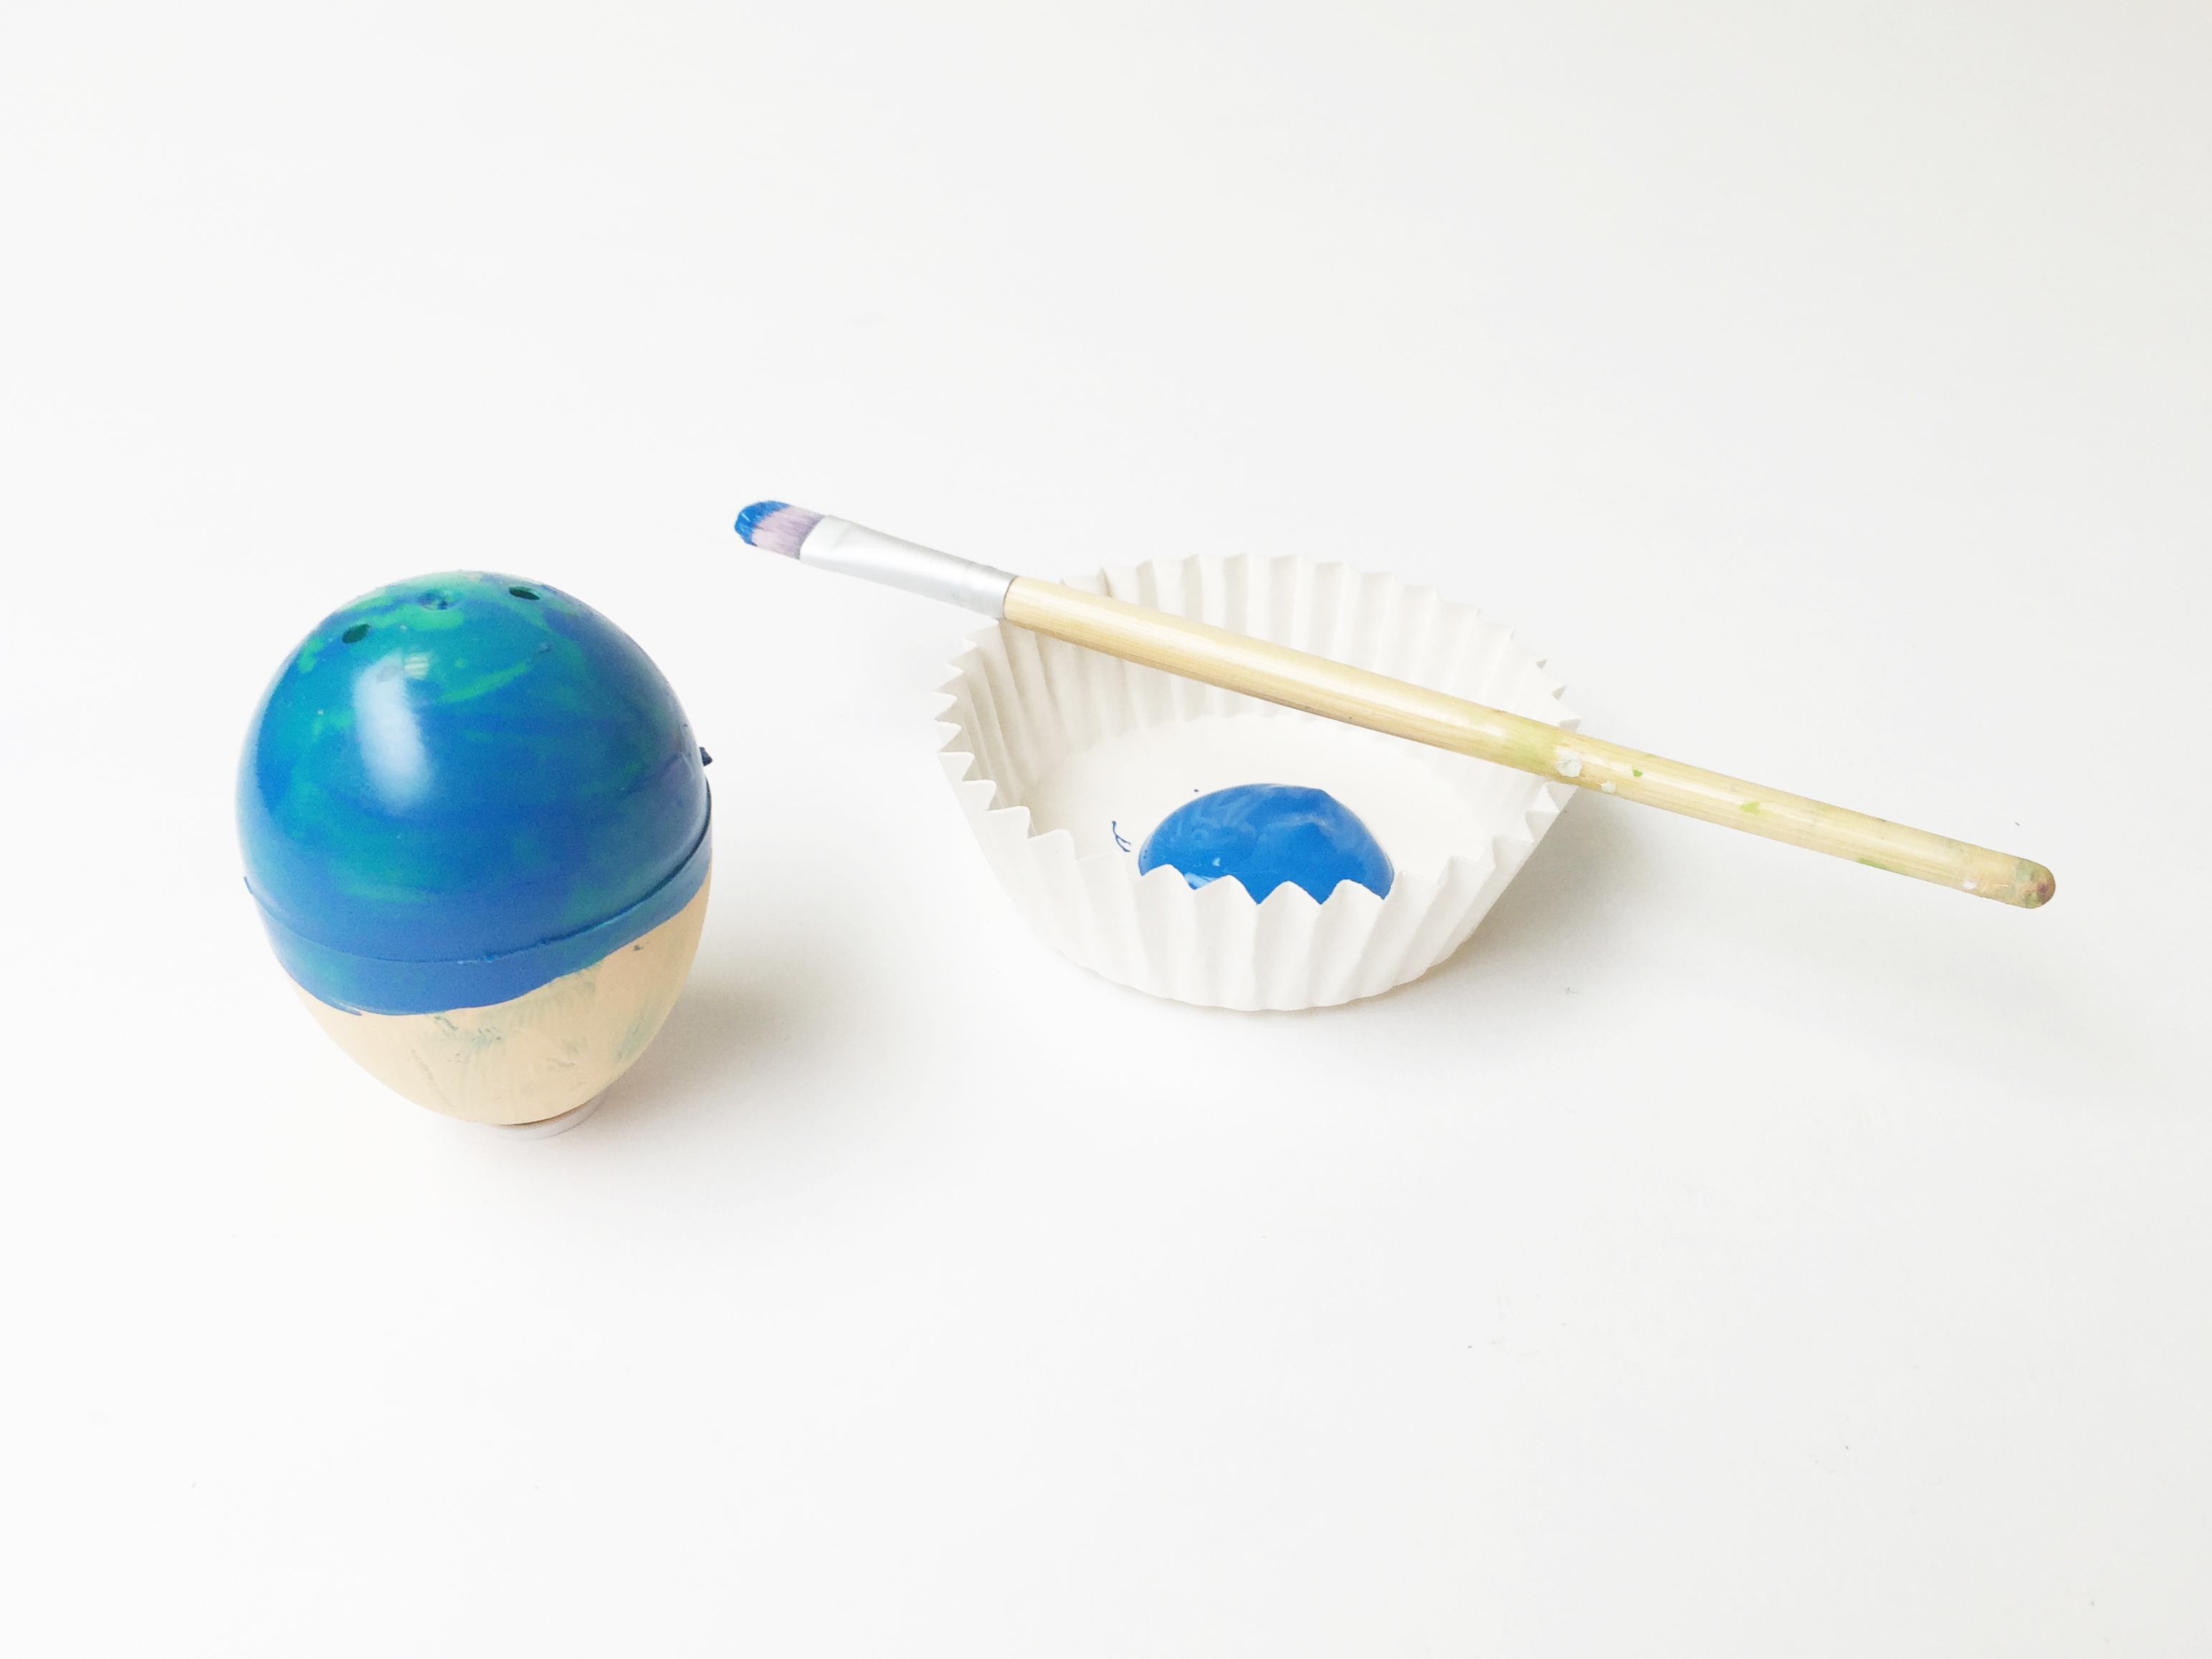
You may want to cover your work surface for the next two steps.Close the egg back up and paint the basic colors on the shells. I painted half of the shell first, and then waited for it to dry before painting the second half. Tip: Sit an egg on top of a small rubber band to hold your eggs upright as they dry. This stops them from rolling around. For a more mess-free decorating method, use permanent markers to draw on the plastic eggs instead of paint.
Step 4
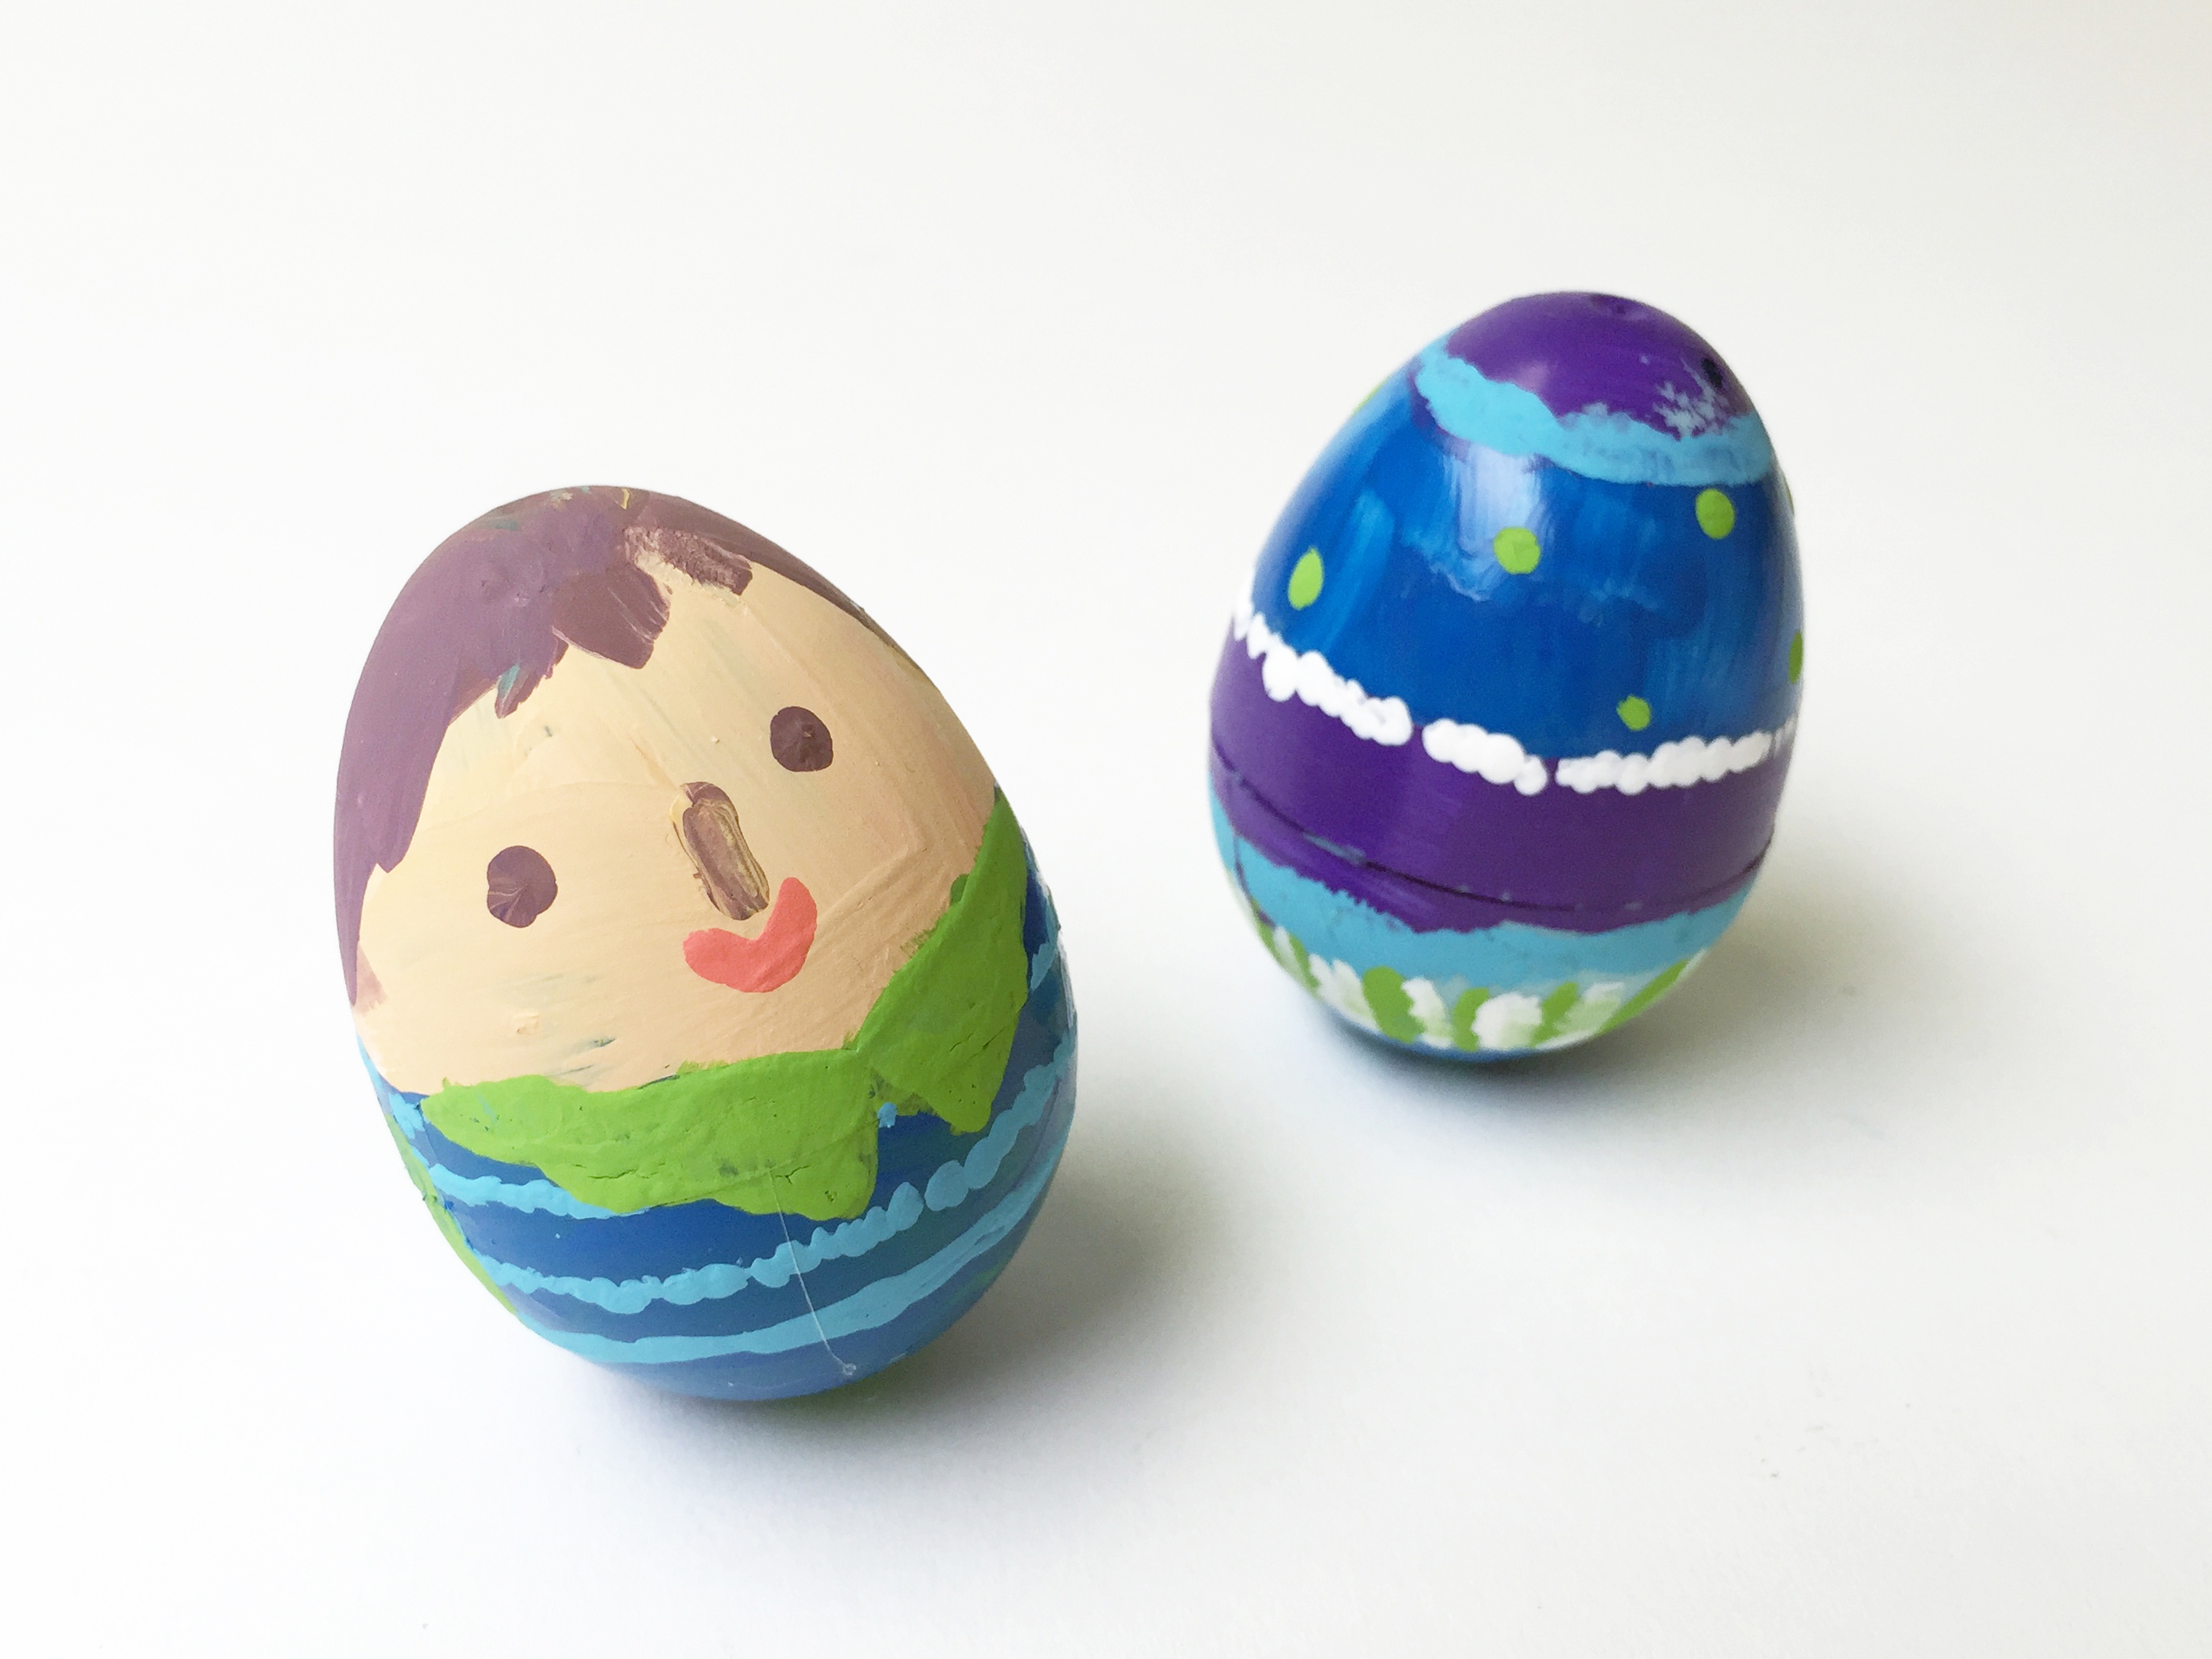
Once the first layer of color paint is dry, add details onto the egg shells. You may have to use the same technique of letting it dry between layers so it doesn't smudge.

Step 5
Once they are dry, take your eggs to a flat table and give them a slight push. Watch what happens!
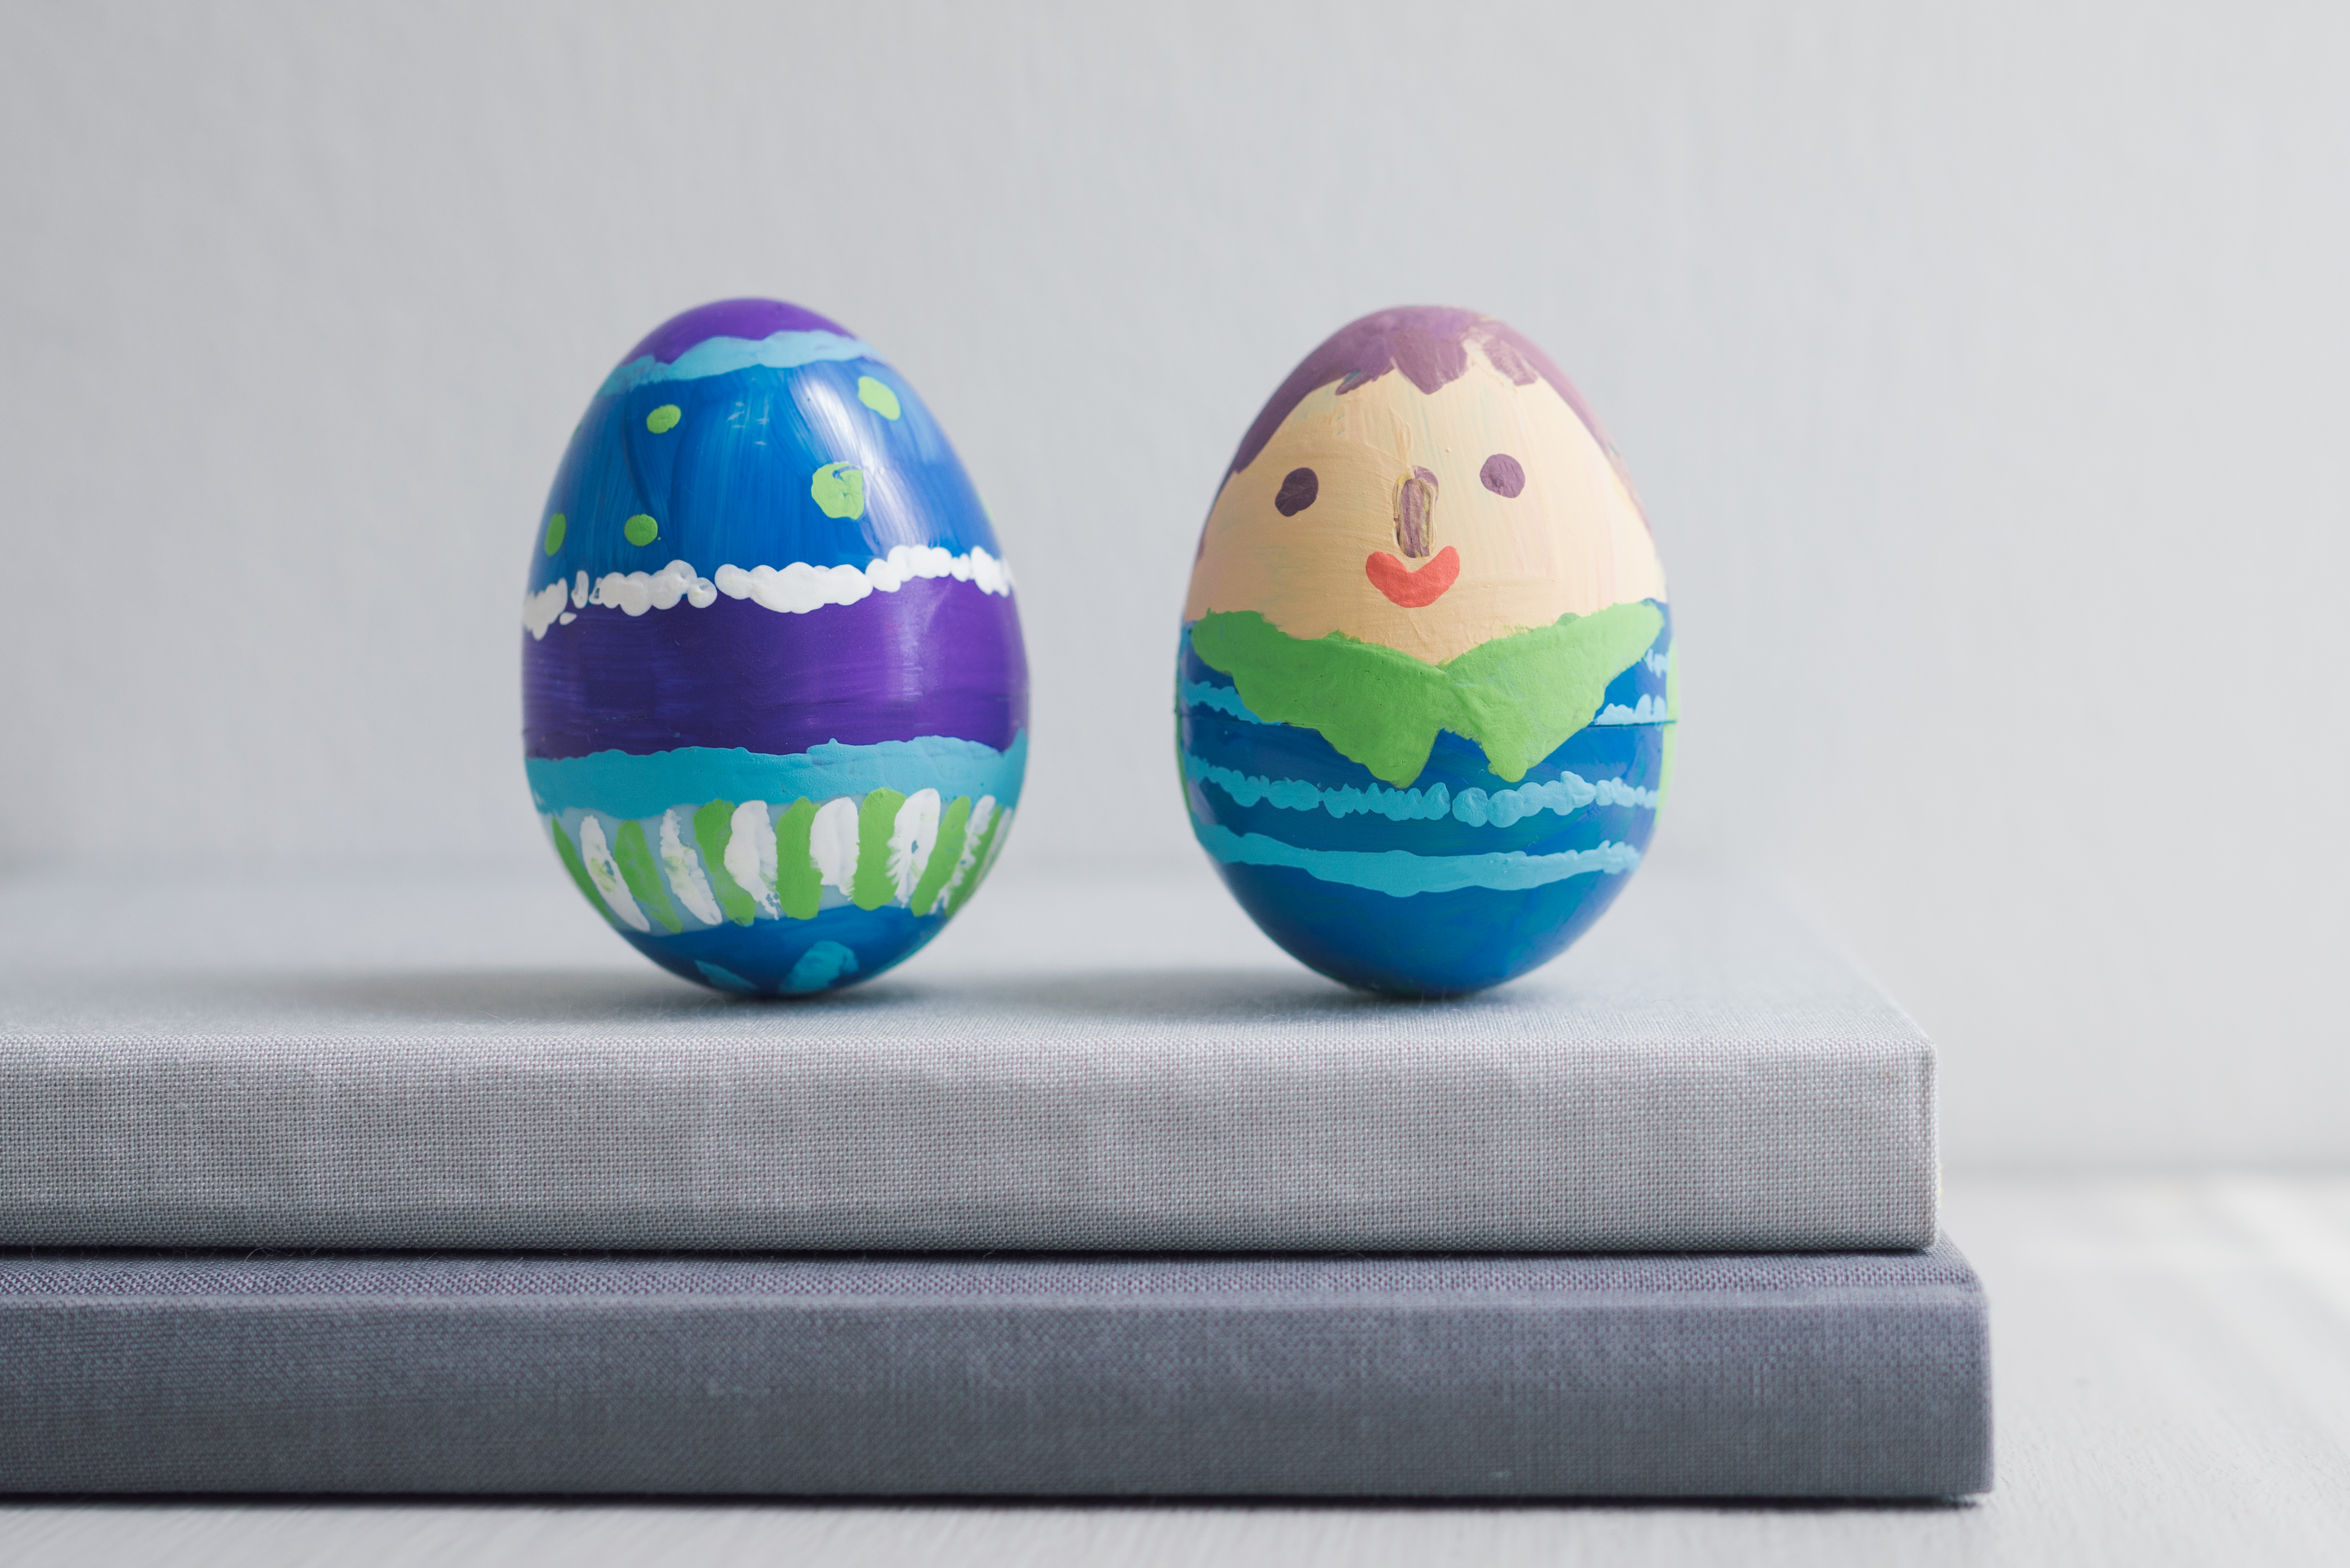
Done!
What’s going on? The tipping egg toy will always roll back to an upright position because it has a low center of gravity, created by the weights at the bottom of the egg. The center of gravity of an object is the point in the object that balances all of its weight. When the tipping egg toy is tipped to the side, gravity tries to pull the egg’s center of gravity as close to the ground (or table) as possible, which pulls the egg back into an upright position. If you secure the weights onto the side or top of the egg, the egg will now tip so that its new center of gravity is lowest to the ground.


