Step-by-step tutorial
Step 1
It was so fun deciding what animals we were going to make. We played around on scratch paper, thinking about all the possibilities.

Step 2
Maddie decided to make a lion!
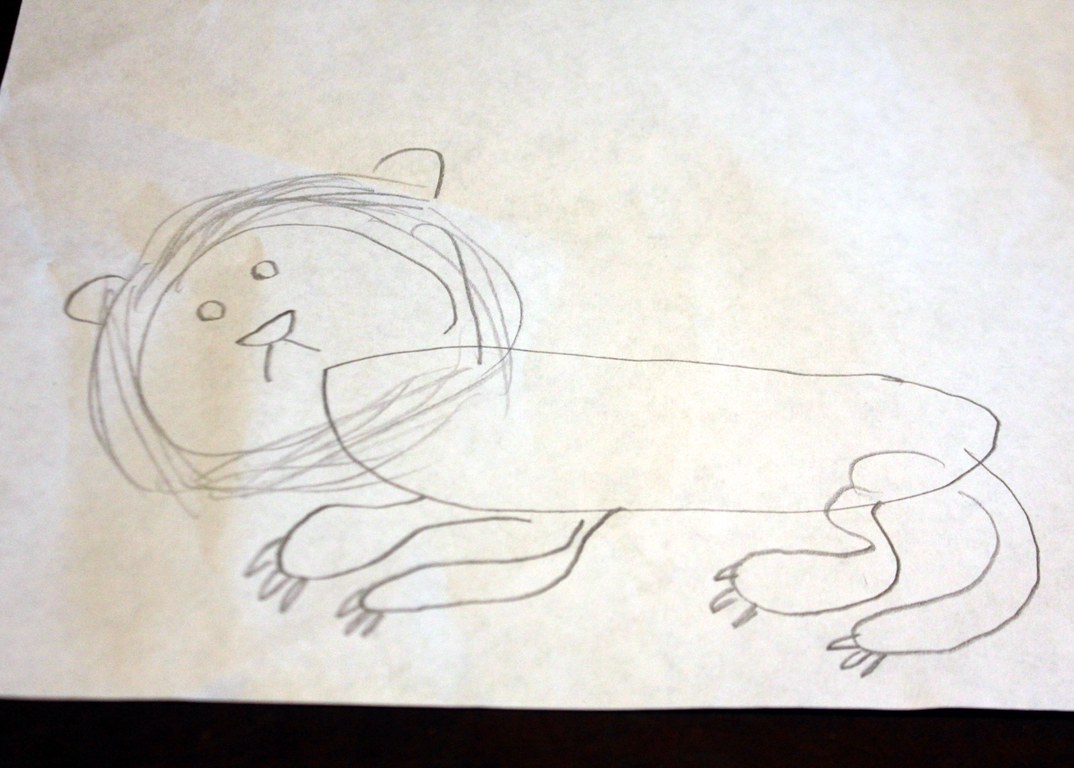
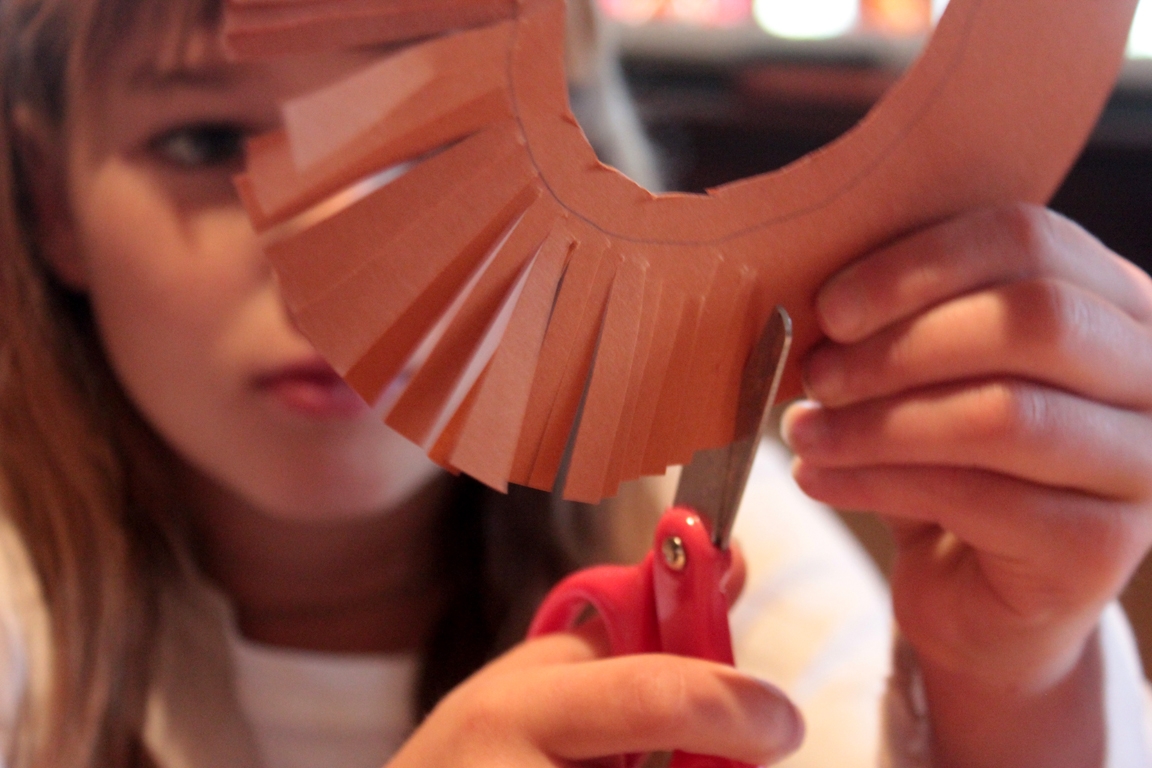
Step 3
She wanted an oval for the body, a circle for the face, and a large circle for the mane. We made two ovals for the body (one for the backside) and two circles for the mane. Maddie wanted the face on one side only, so that's the way she did it.
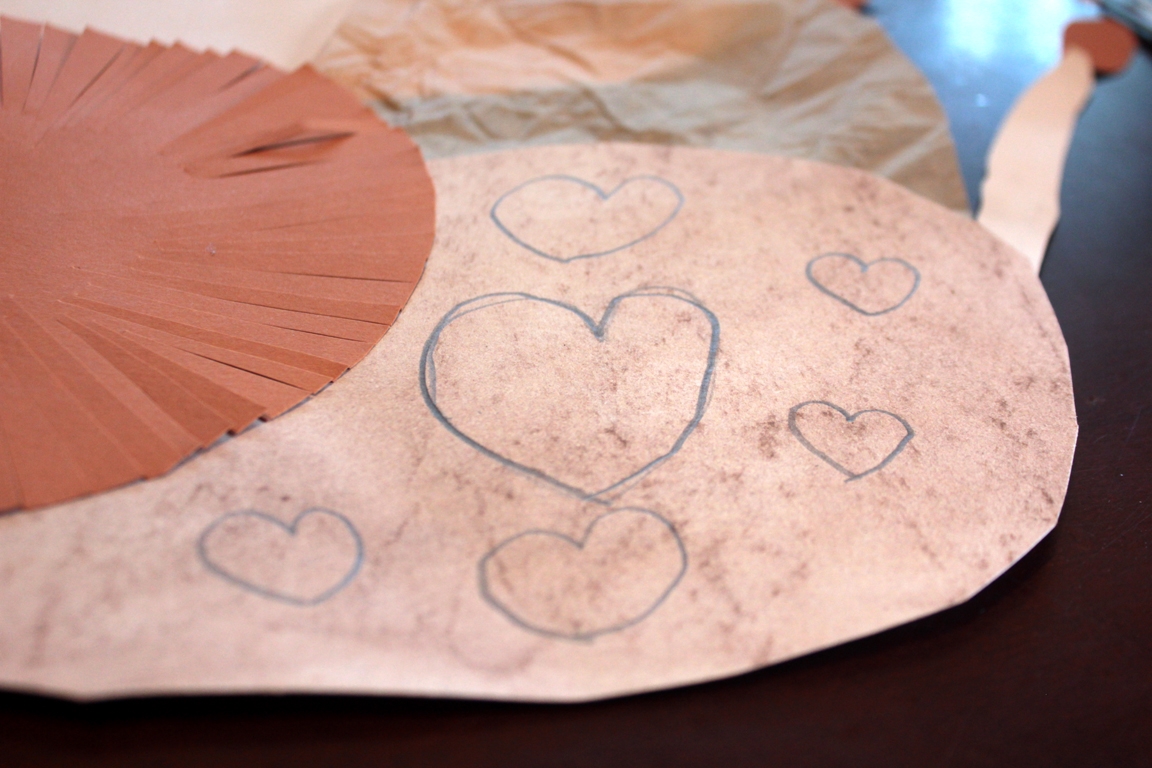
Step 4
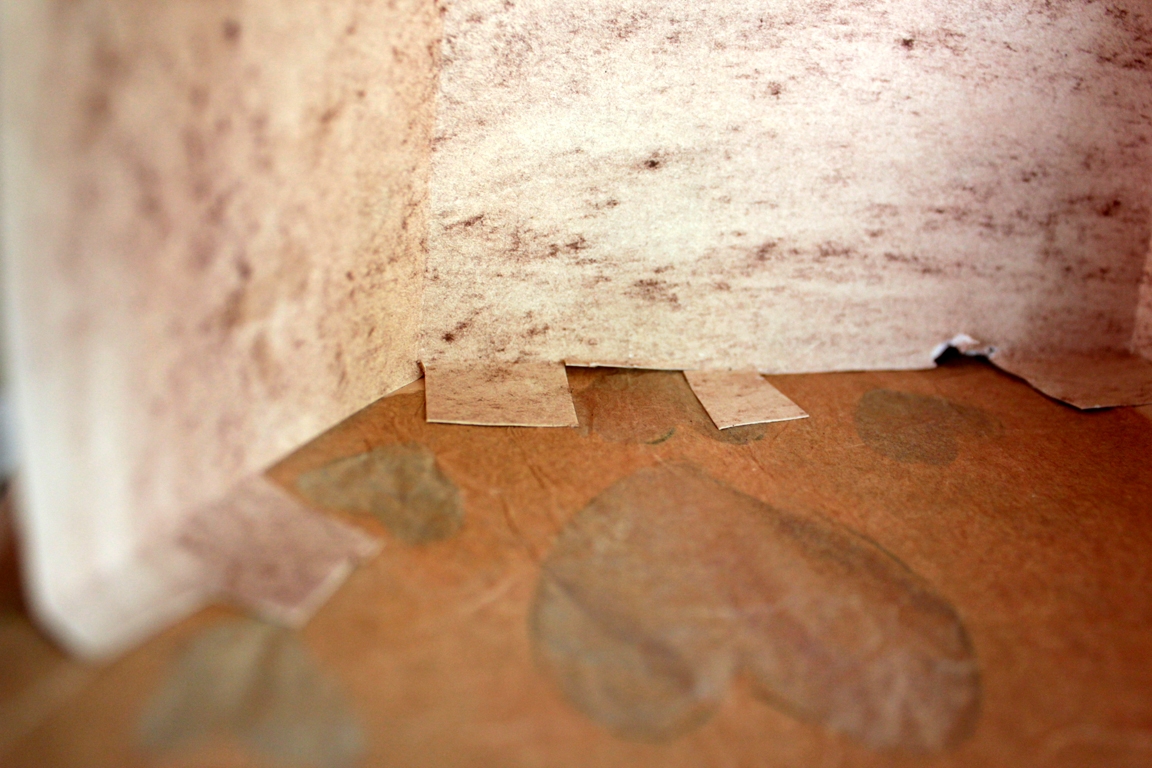
She glued the pieces together, arranging them as she liked. Since we needed holes for the light to shine through from the lion's body, Madeleine drew in a few shapes. (She chose hearts, naturally.)
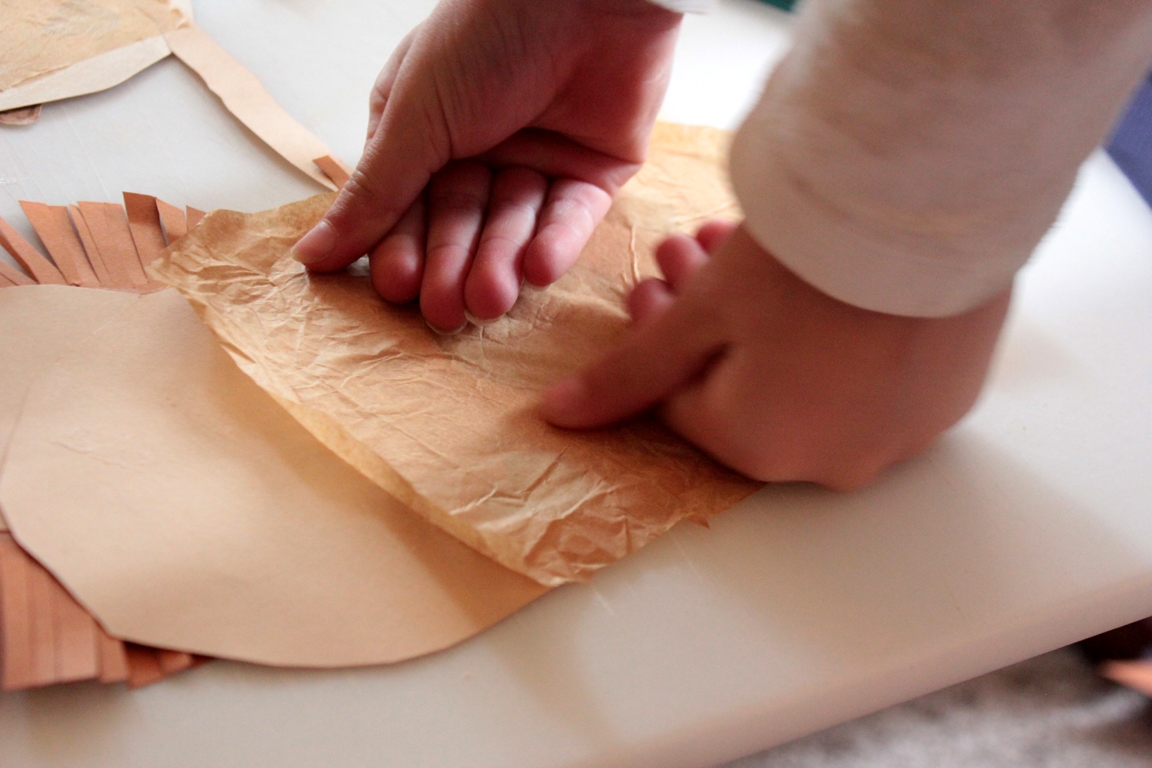
Step 5
I cut the heart shapes from both pieces of the lion's body, then Maddie glued tissue paper over the backs.
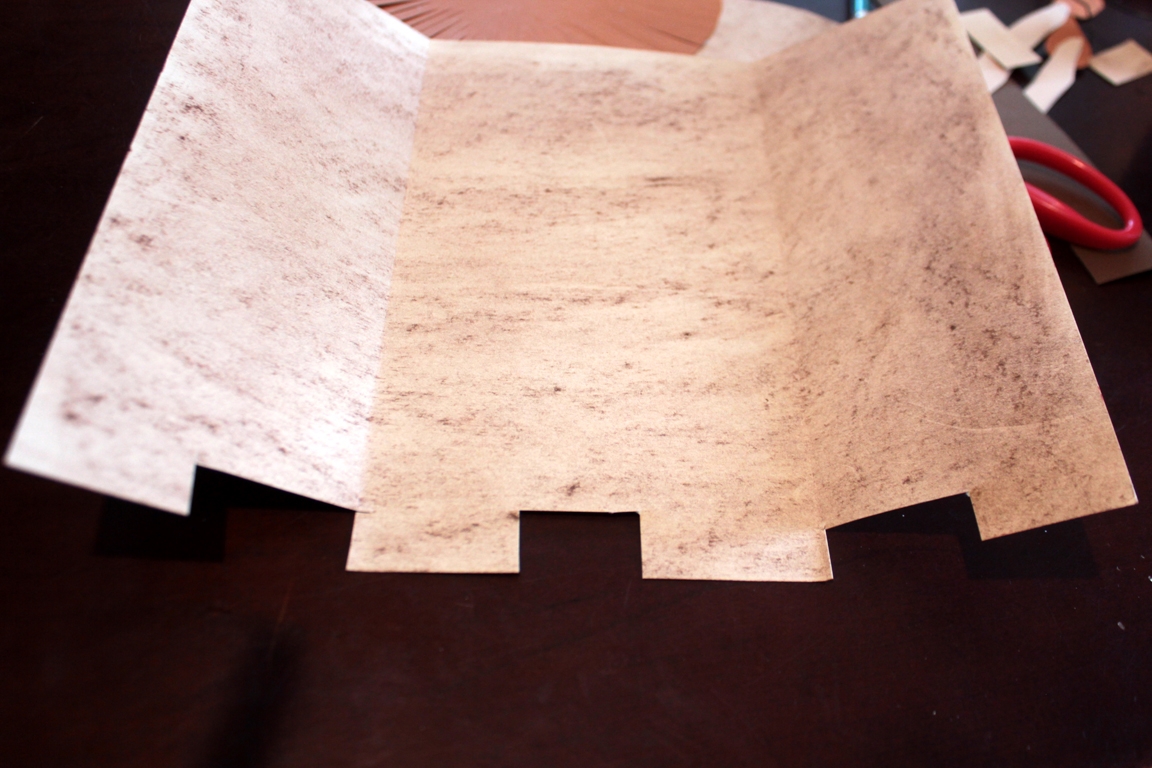
Step 6
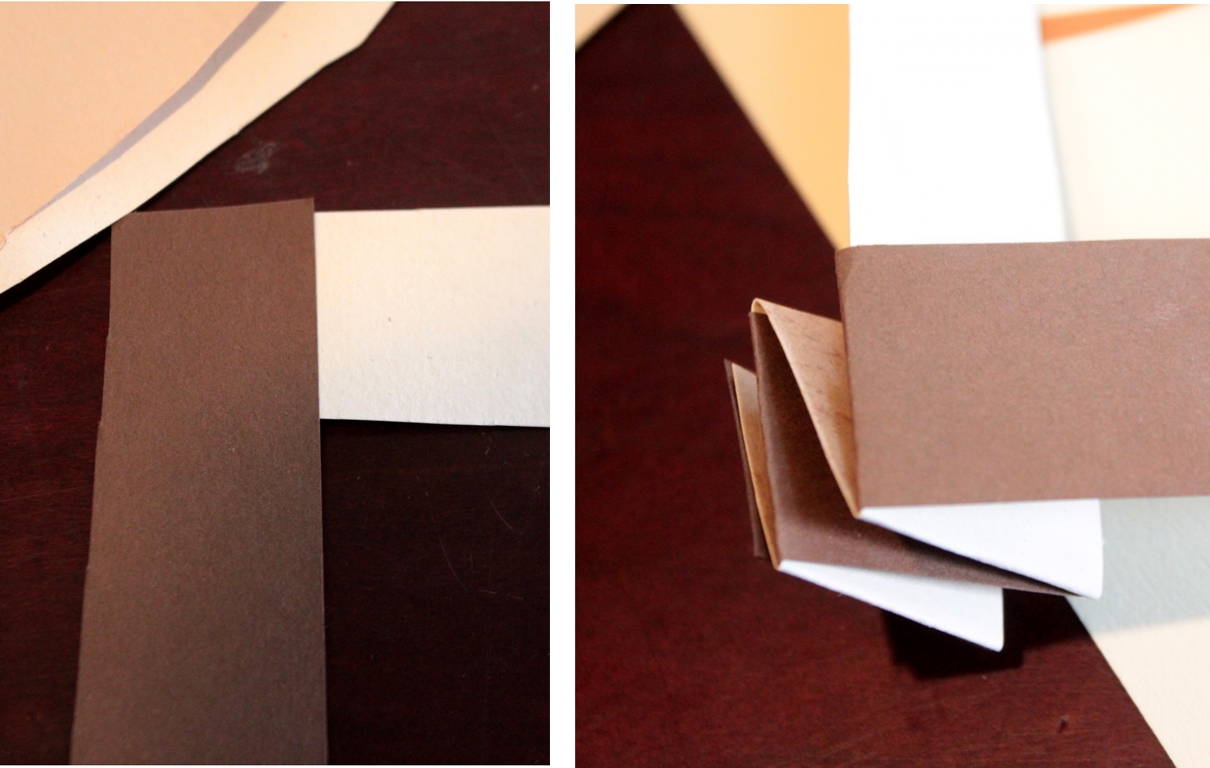
Next, we needed to create a bucket/insert of sorts between the front and back pieces. This insert is to hold the front and back pieces together, as well as to create a shelf for the candle.I folded a sheet of paper into thirds (each third was about 5" wide), and created foldable tabs along one side.
Step 7
Then Maddie glued the (folded) tabs to the insides of her lantern.
Step 8
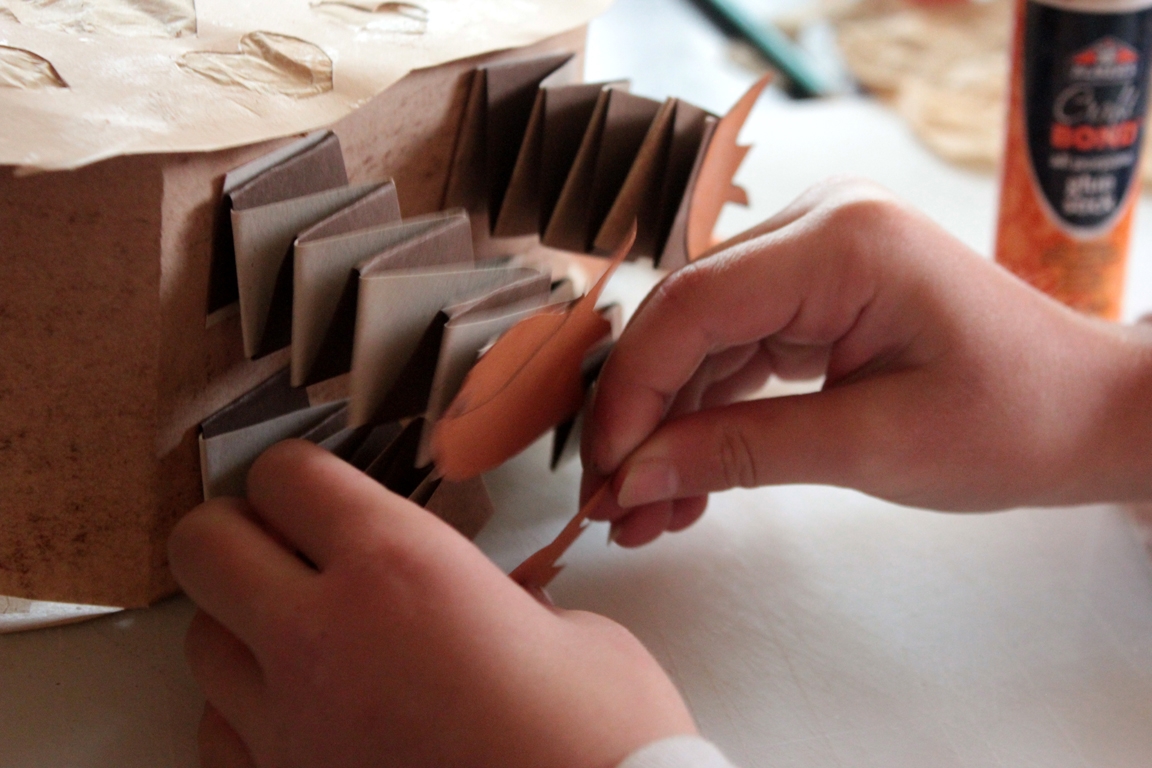
Now to finish it up! She wanted folded legs, so she chose two different colors of paper that we'd blend together. She glued one strip over the other, going cross wise, back and forth.
Step 9
She just kept bending the bottom paper over the top paper. This was one of Madeleine's favorite parts!

Step 10
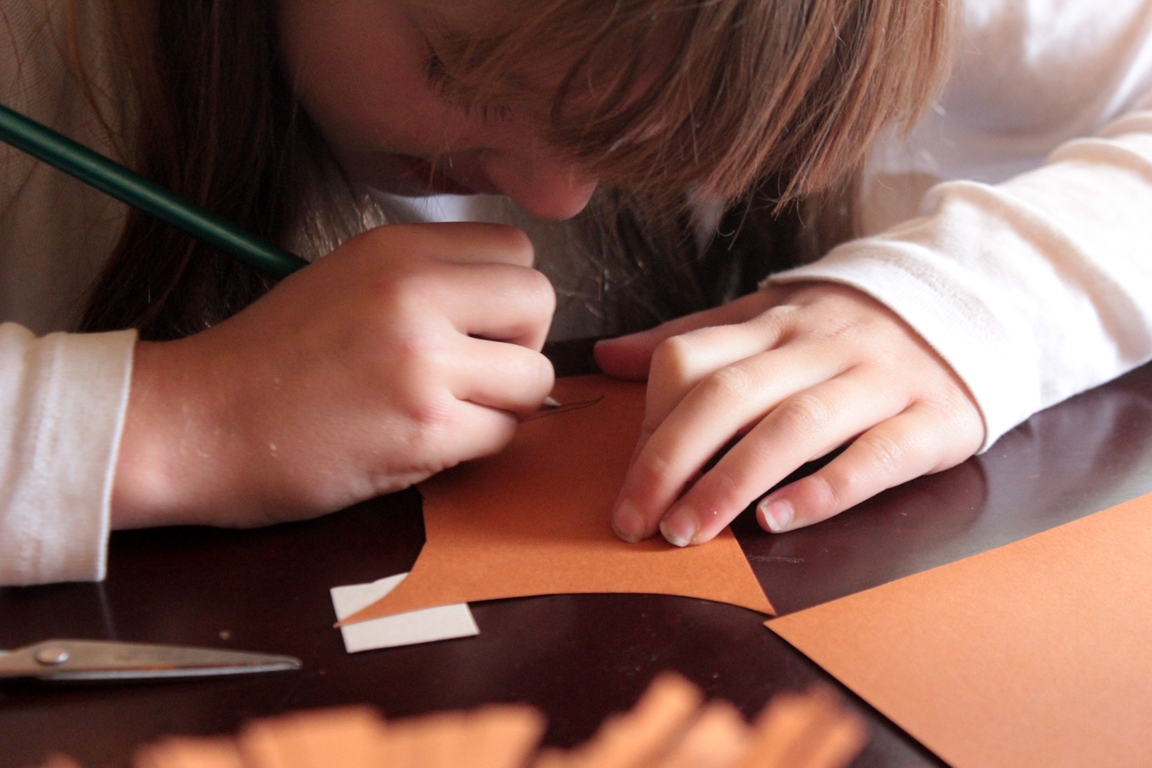
She glued the last "bend" to the one underneath it, to keep the folds together. Next Madeleine cut out claws ("Rawr!") and feet for her lion. She glued the legs to the bottom (the insert we had made)...
Step 11
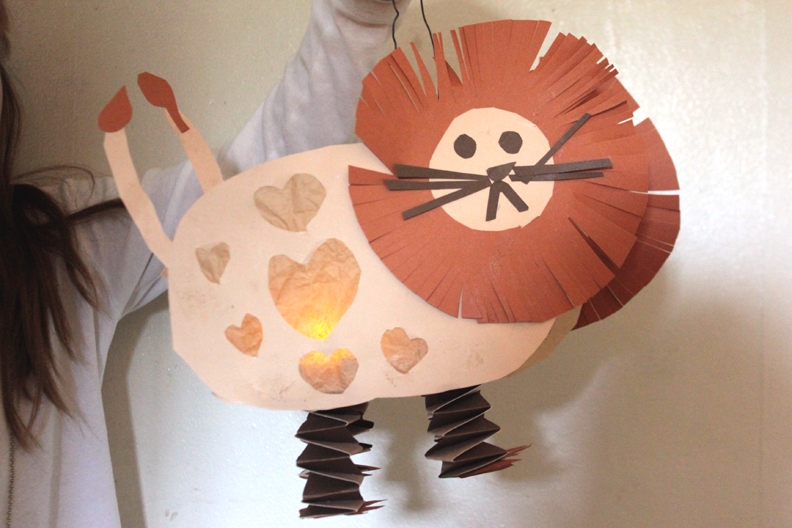
...then she made eyes, whiskers, and a tail.
Final result!
Ta-da! Mighty, mighty lion!