Step-by-step tutorial
Step 1
Oh, I surely do love these oh-so-simple yet oh-so-darling projects!

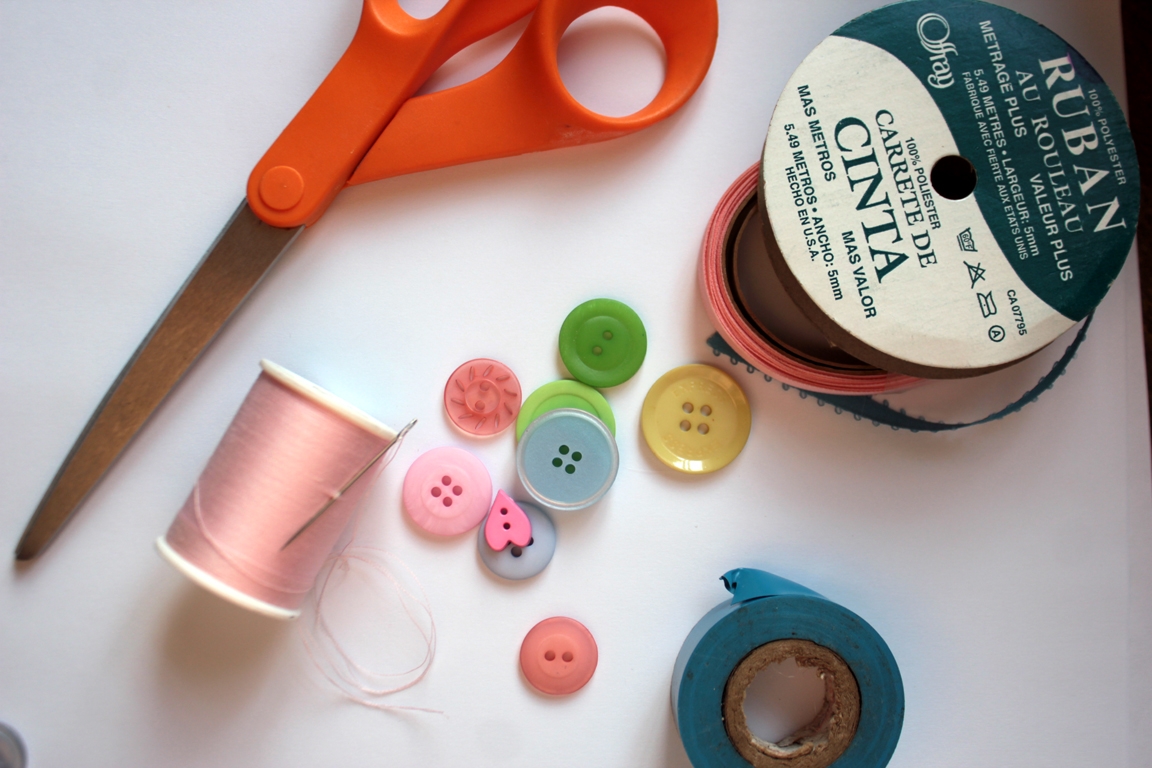
Step 2
First we went downstairs to choose ribbon. We didn't have any fancy wide ribbon, so Madeleine chose a cream-colored inch wide, and a small pretty accent ribbon. Then we found a few pretty buttons to match Maddie's room.

Step 3
She arranged them just so... making her plan....
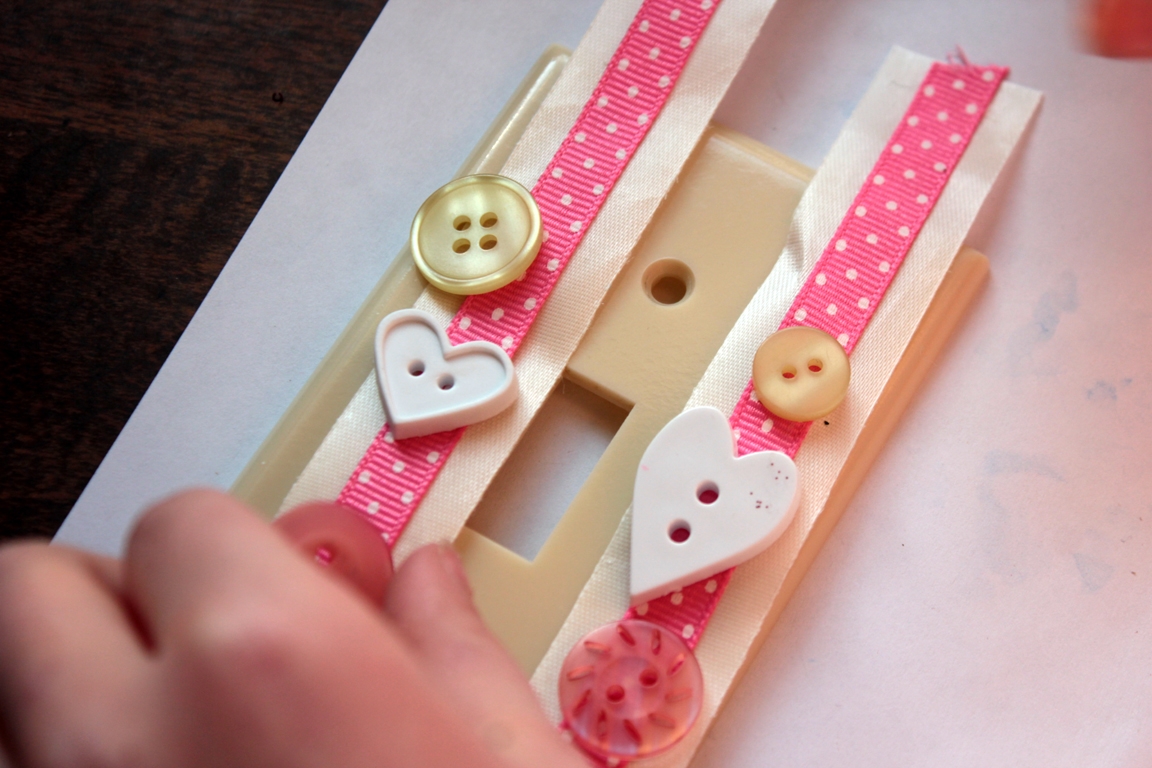
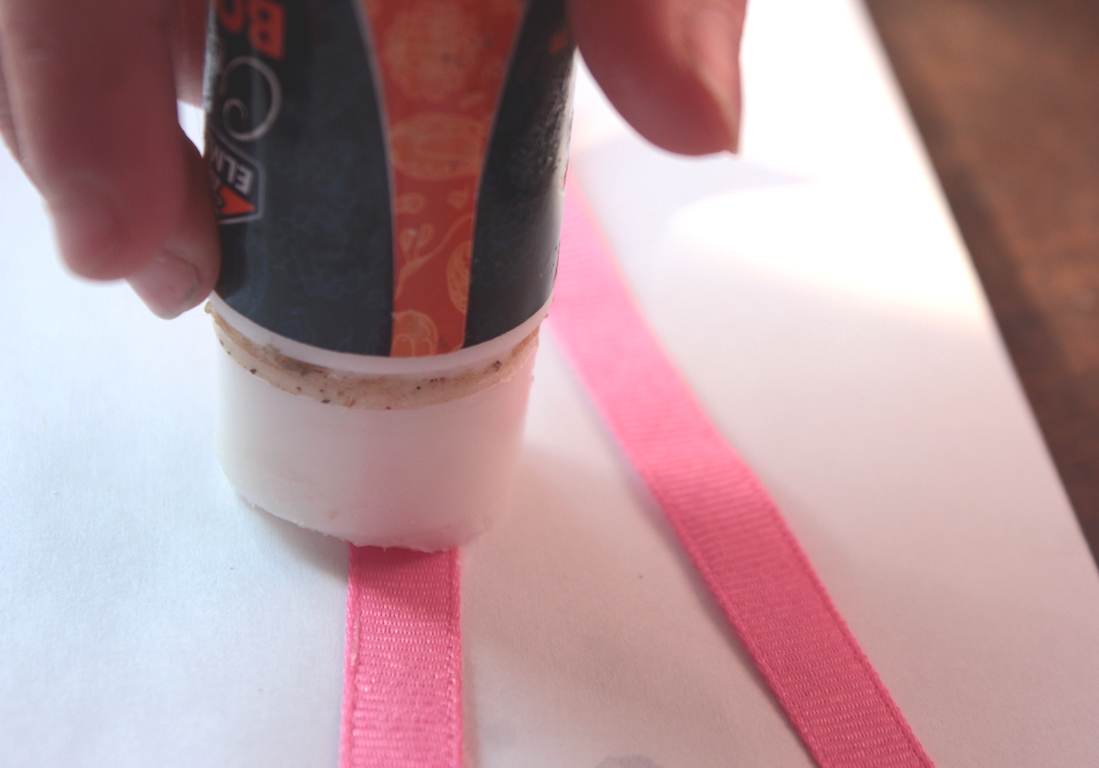
Step 4
...then she glued the smaller ribbon to the wider one to hold it into place.
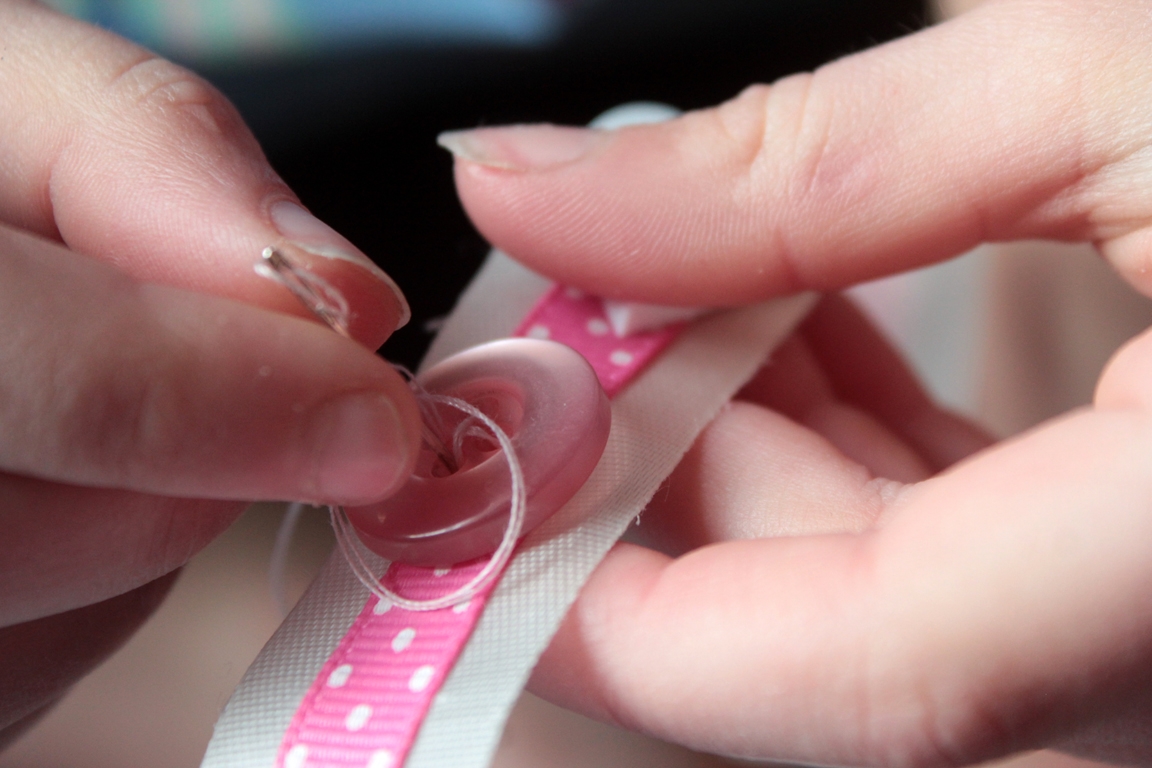
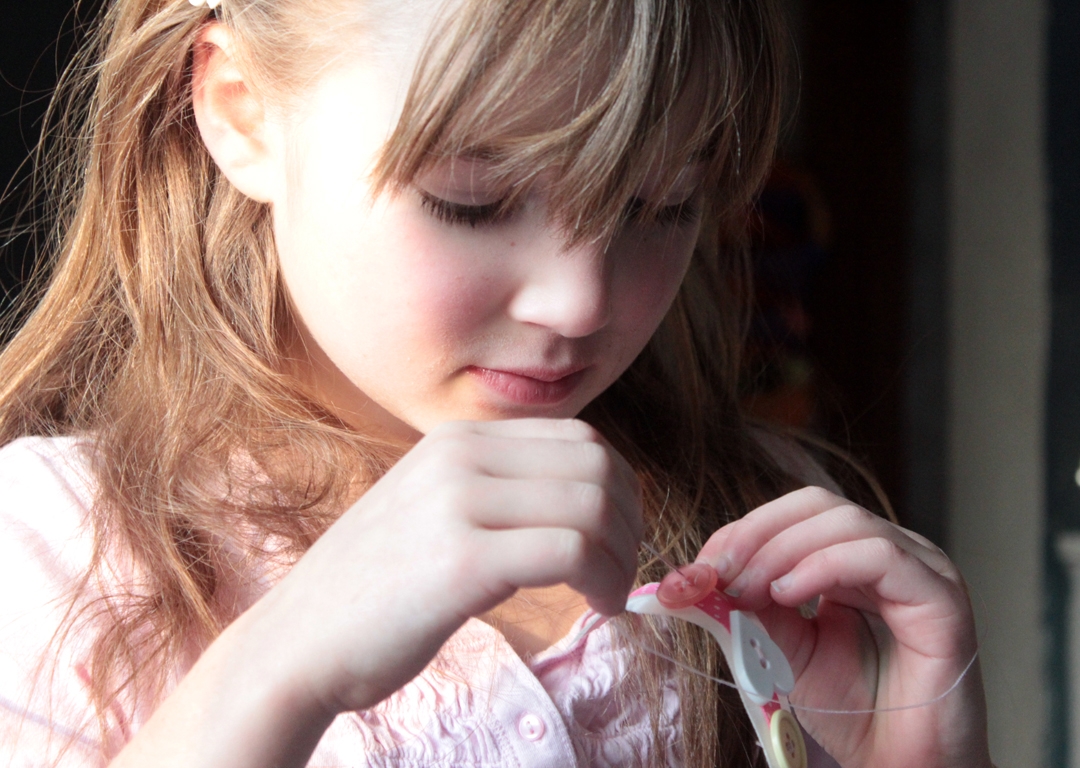
Step 5
Time for sewing! I started each button for her, as she is still pretty new at sewing, and buttons can be a little tricky!
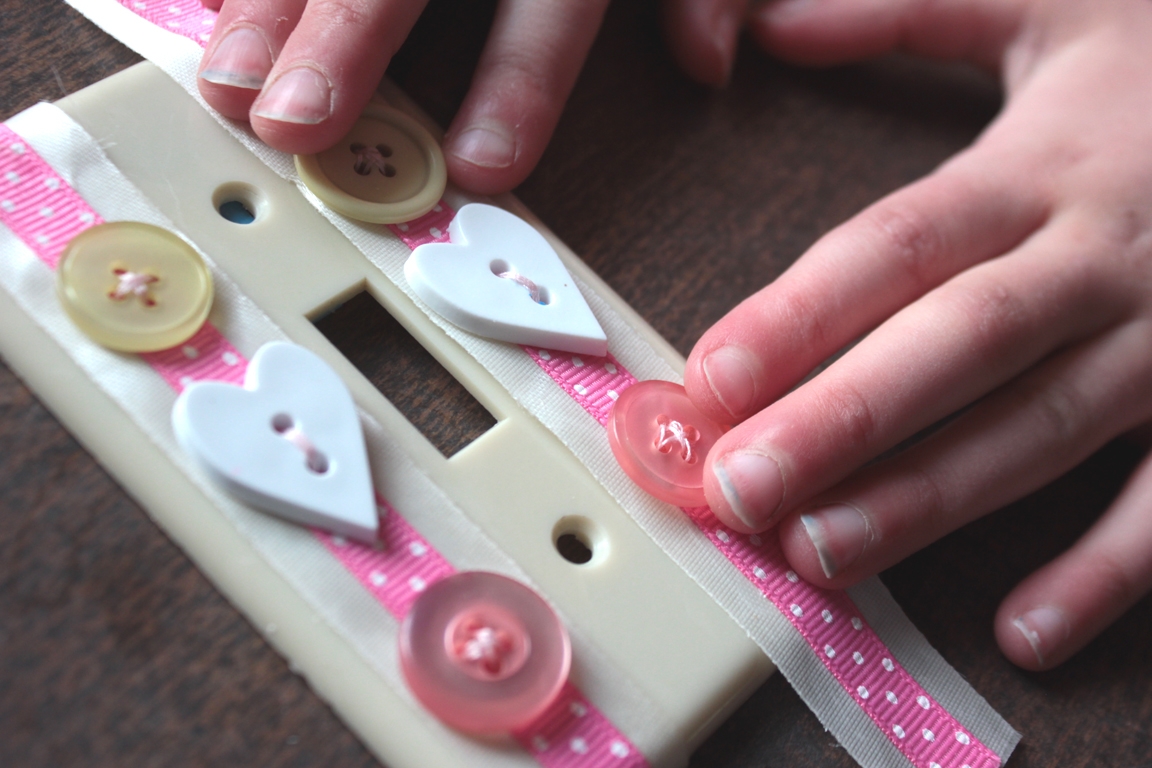
Step 6
First a ribbon for the left side of the switch, then the ribbon for the right side....
Step 7
They were done! We put a small bit of glue on the back of the ribbons to tighten them to the switch plate, and Maddie pressed the ribbons into place-- just so.
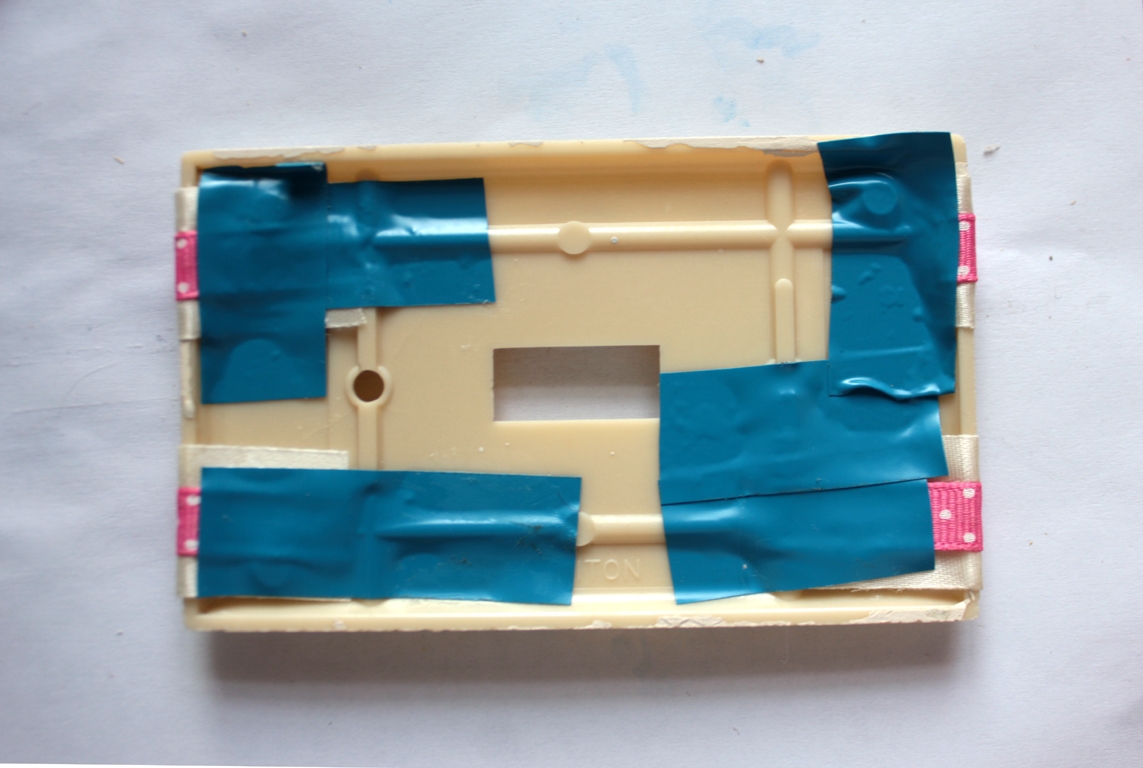
Step 8
I wanted to make sure there were no rogue threads or any danger, so I tacked the ribbons around the back of the switch plate, and secured them down with electrical tape. The tape stuck just fine to the plate as well as the ribbon.
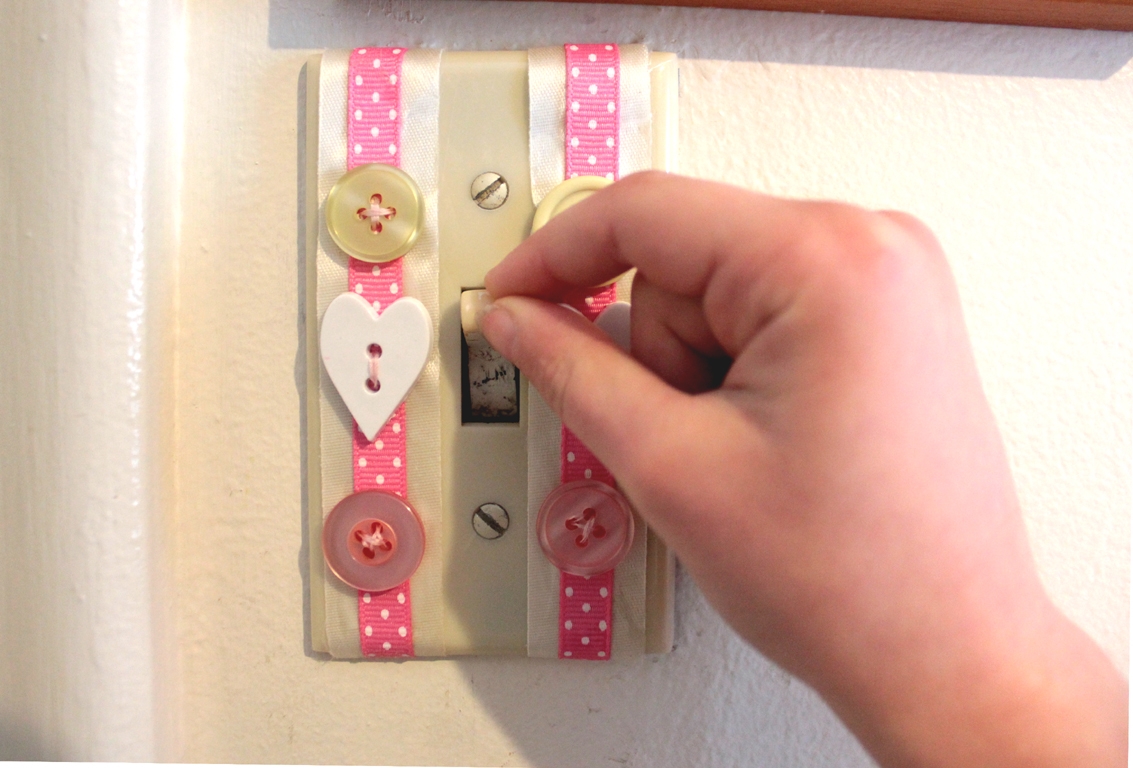
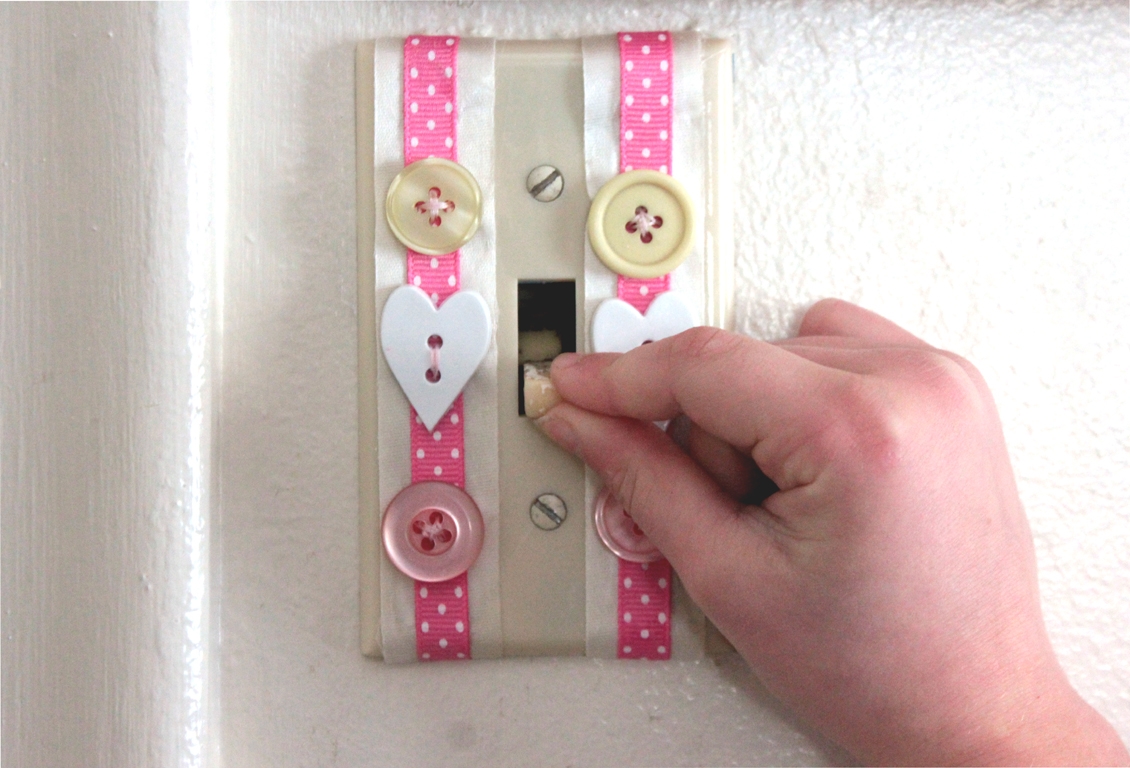
Final result!
It was finished. I asked Madeleine if she wanted to use the screwdriver to put the light switch plate back in place--of course she did! And it's done. Just like that.