Step-by-step tutorial
Step 1
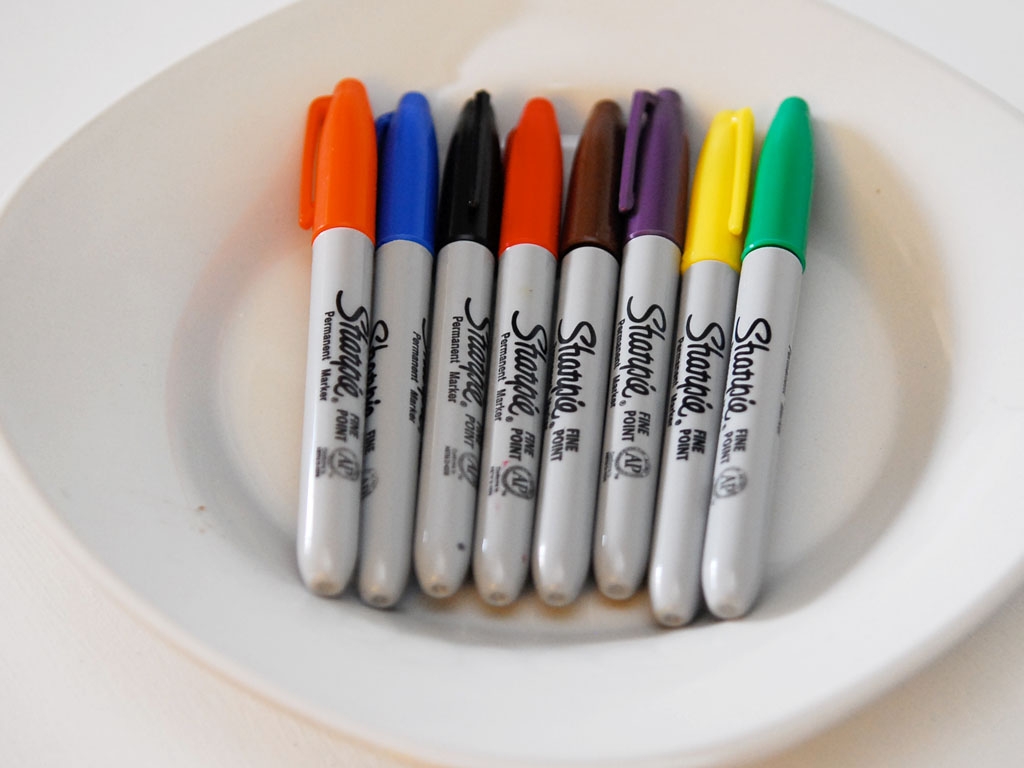
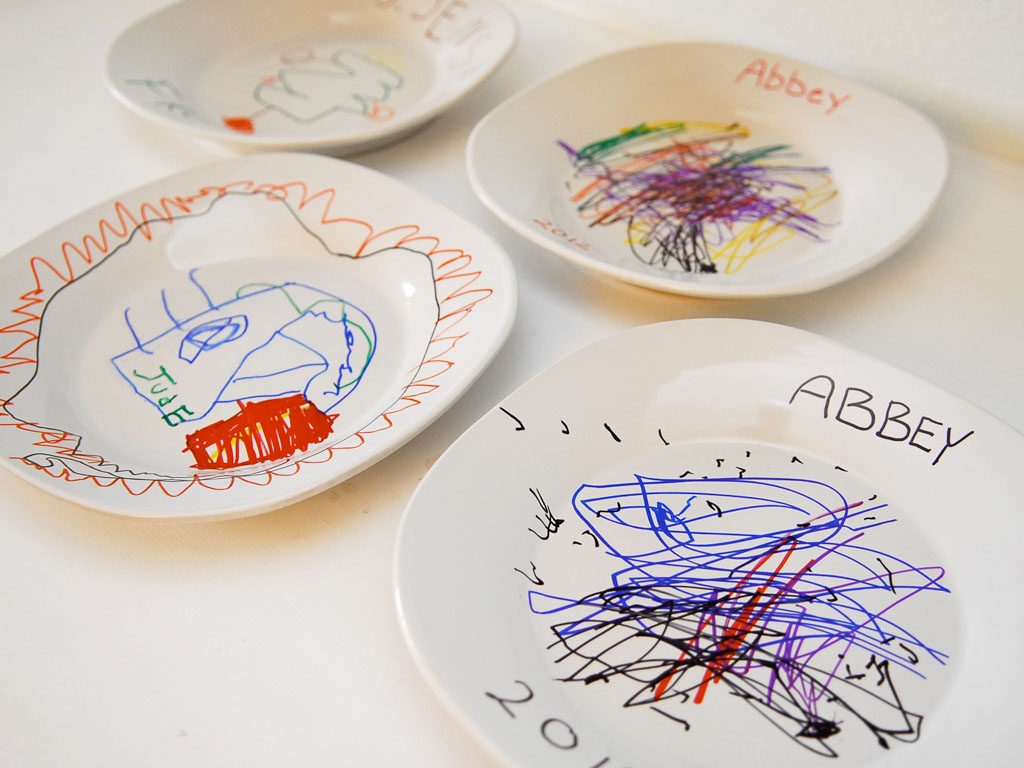
Start by gathering up the supplies. Sharpie markers (permanent markers) come in a million different colors these days so we used an array of colors. We also picked up some (nice and cheap) plates from the dollar store. Any white or light-colored ceramic plate will do.

Step 2
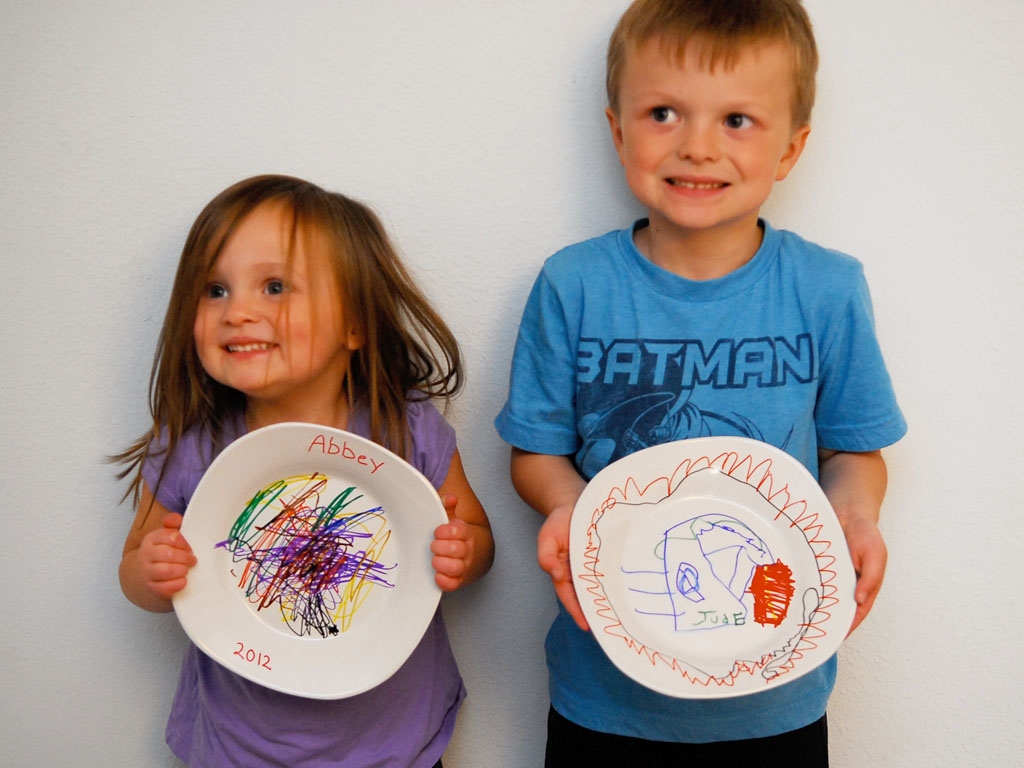
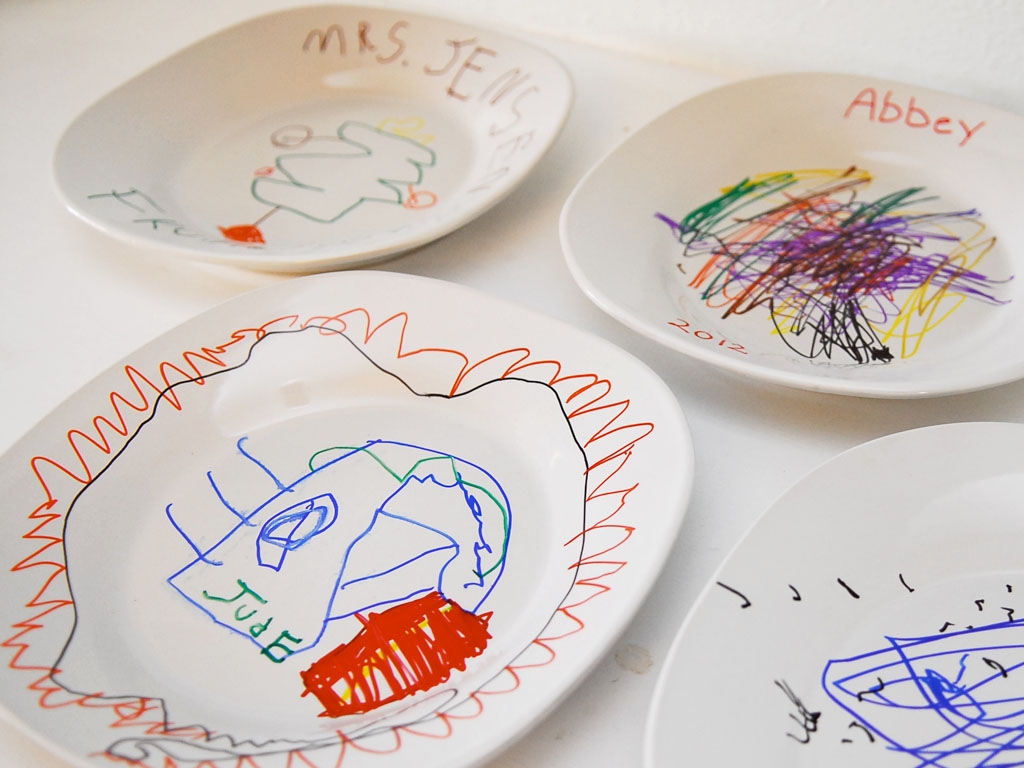
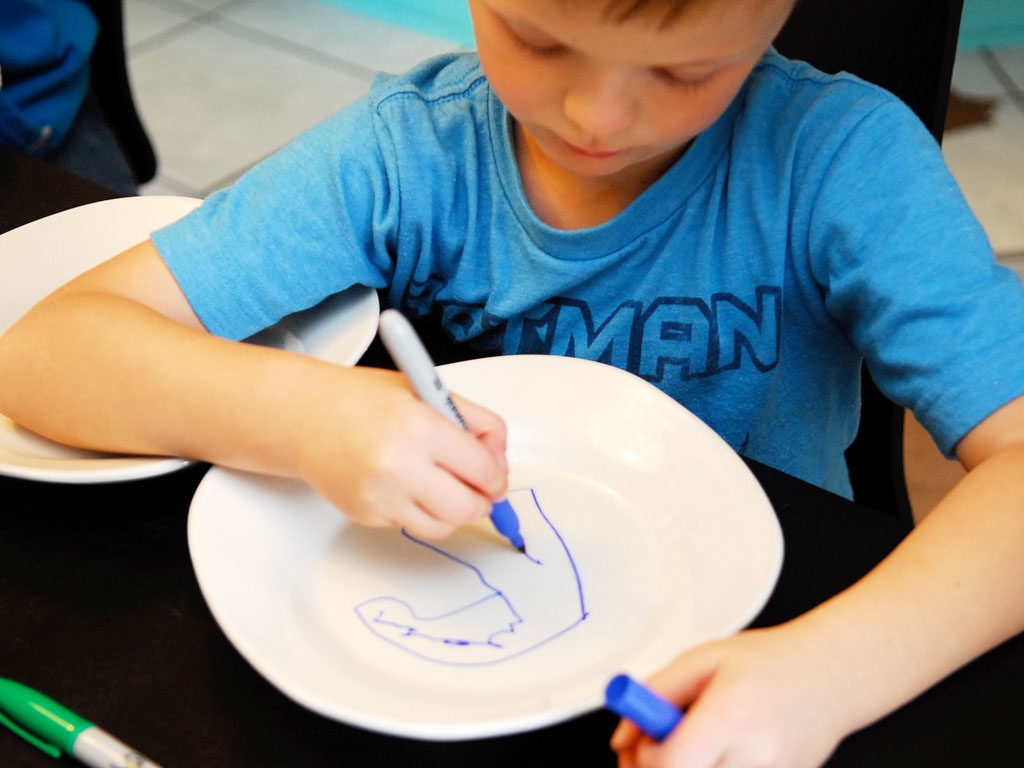
After making sure the kids understood that the plates were the only canvas for using the permanent markers, I let the kids go wild with design. They loved the idea of designing their own plates. My five-year-old made a plate for his teacher's Christmas gift this year. It was fun to see how thoughtful he was with the design. My three-year-old added more abstract scribbles, but both designs captured the stage of life they are in.
Step 3
Then I put the plates in a preheated (350 degree) oven and baked them for 30 minutes. After letting them cool, they were good to go. The plates were dishwasher safe, food safe, and one -of-a-kind.
Done!
This may be the kids' most favorite project to date. They love their new plates and want to make one for everyone else for Christmas now too. Good thing they are cheap and easy to make.