Step-by-step tutorial
Step 1
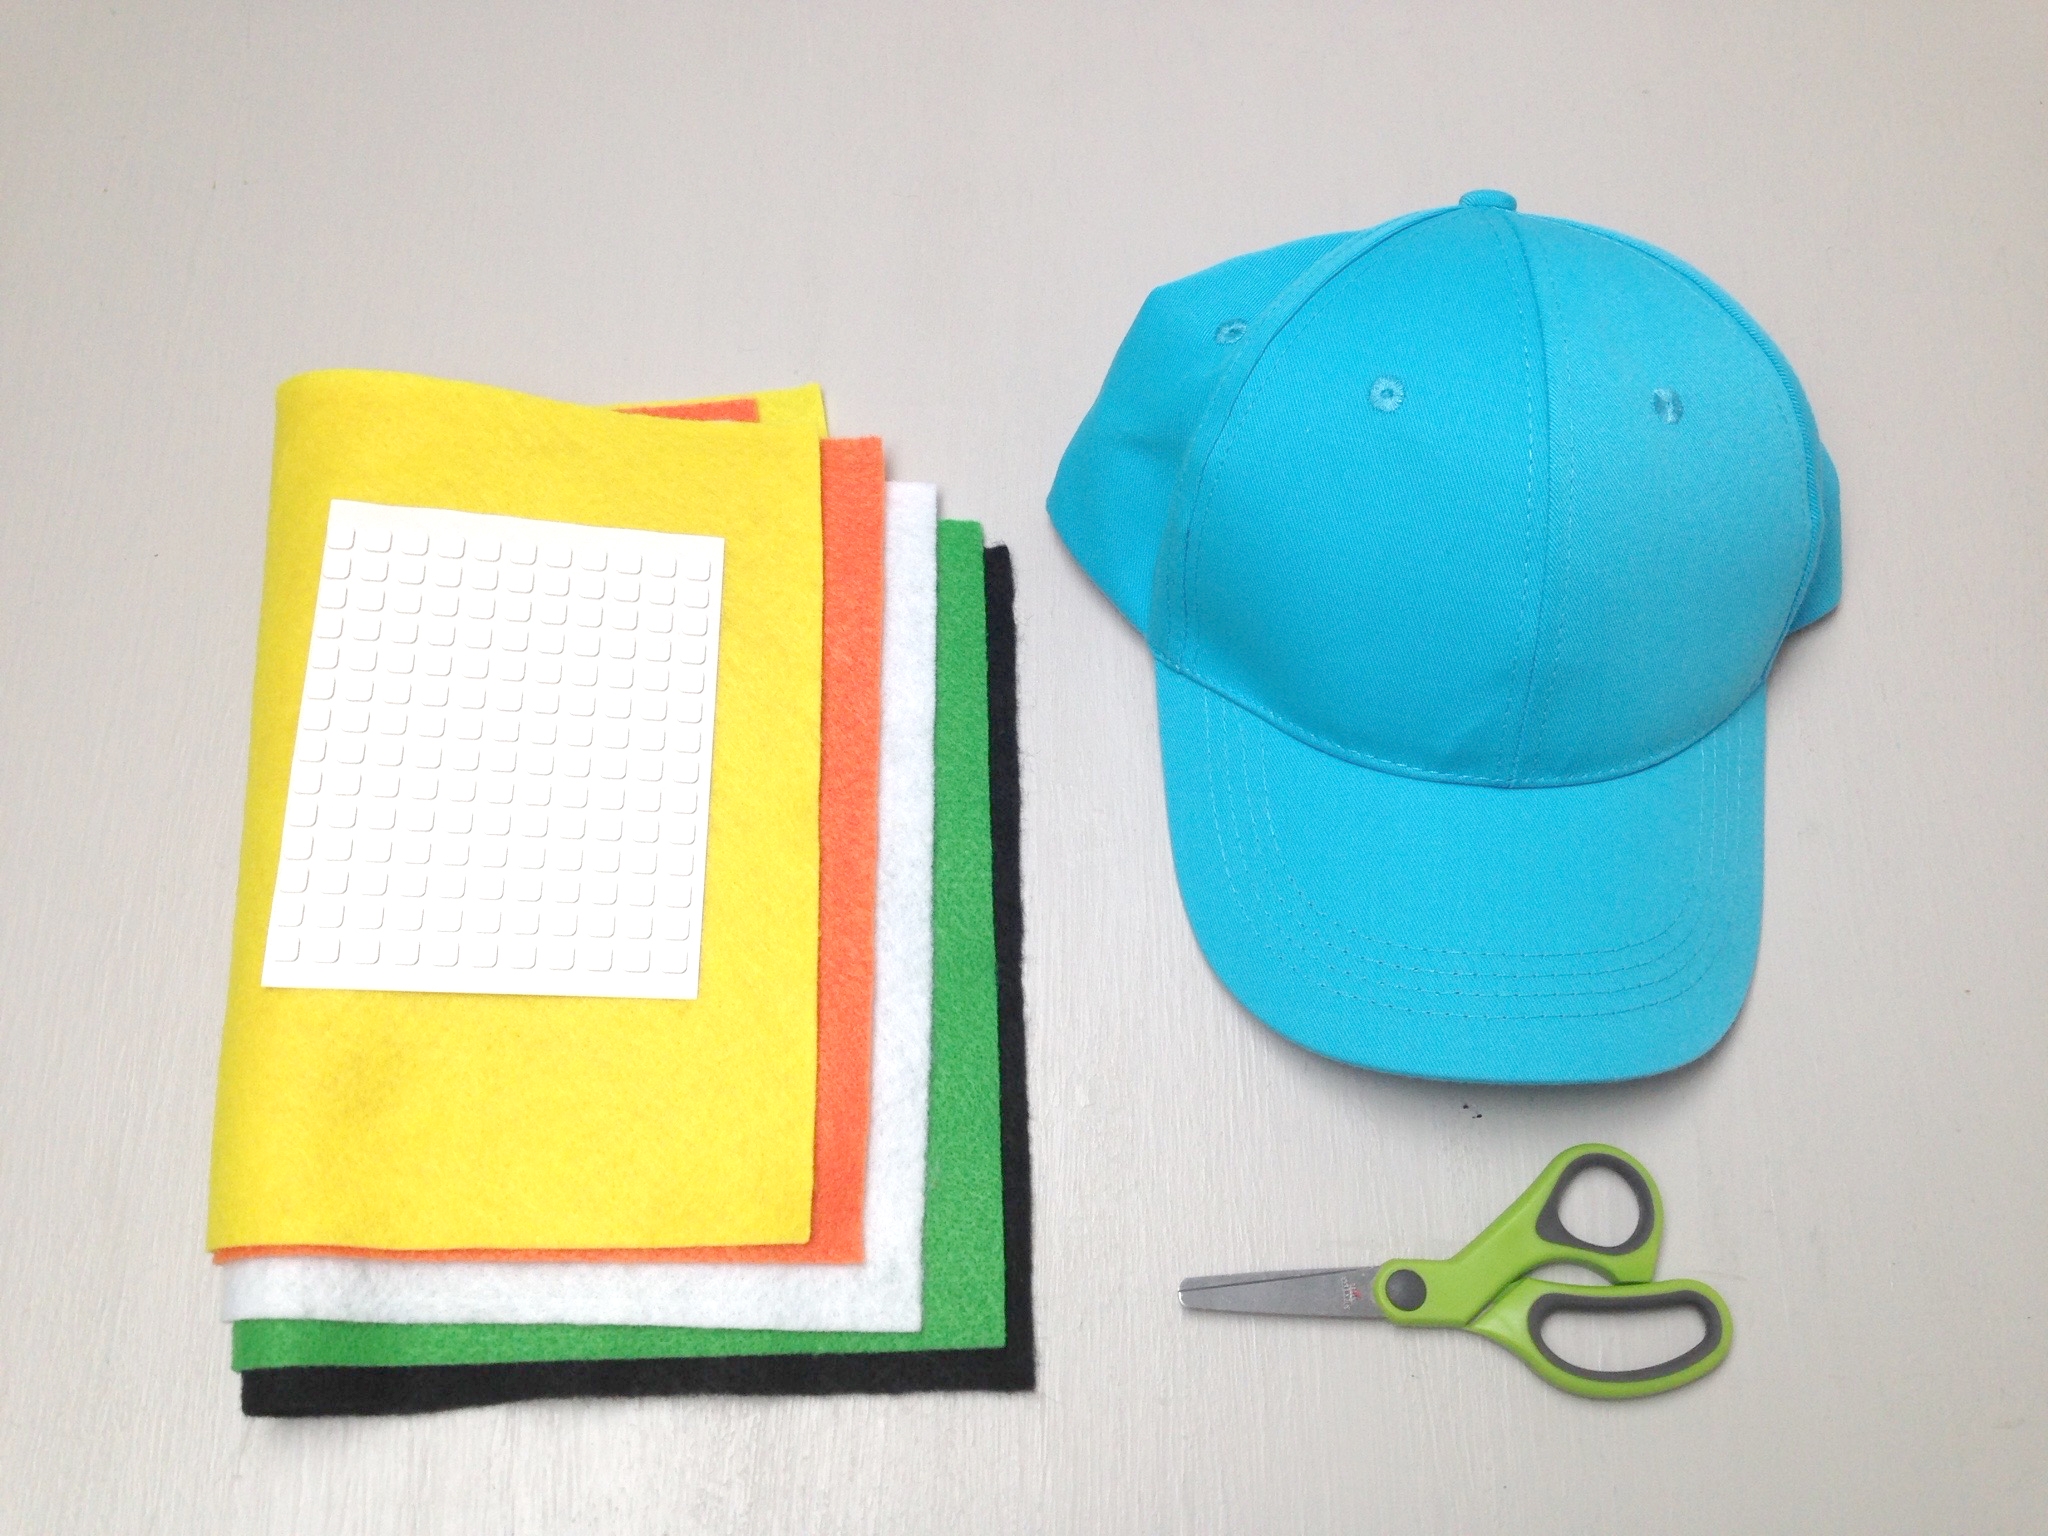
Gather your materials.

Step 2
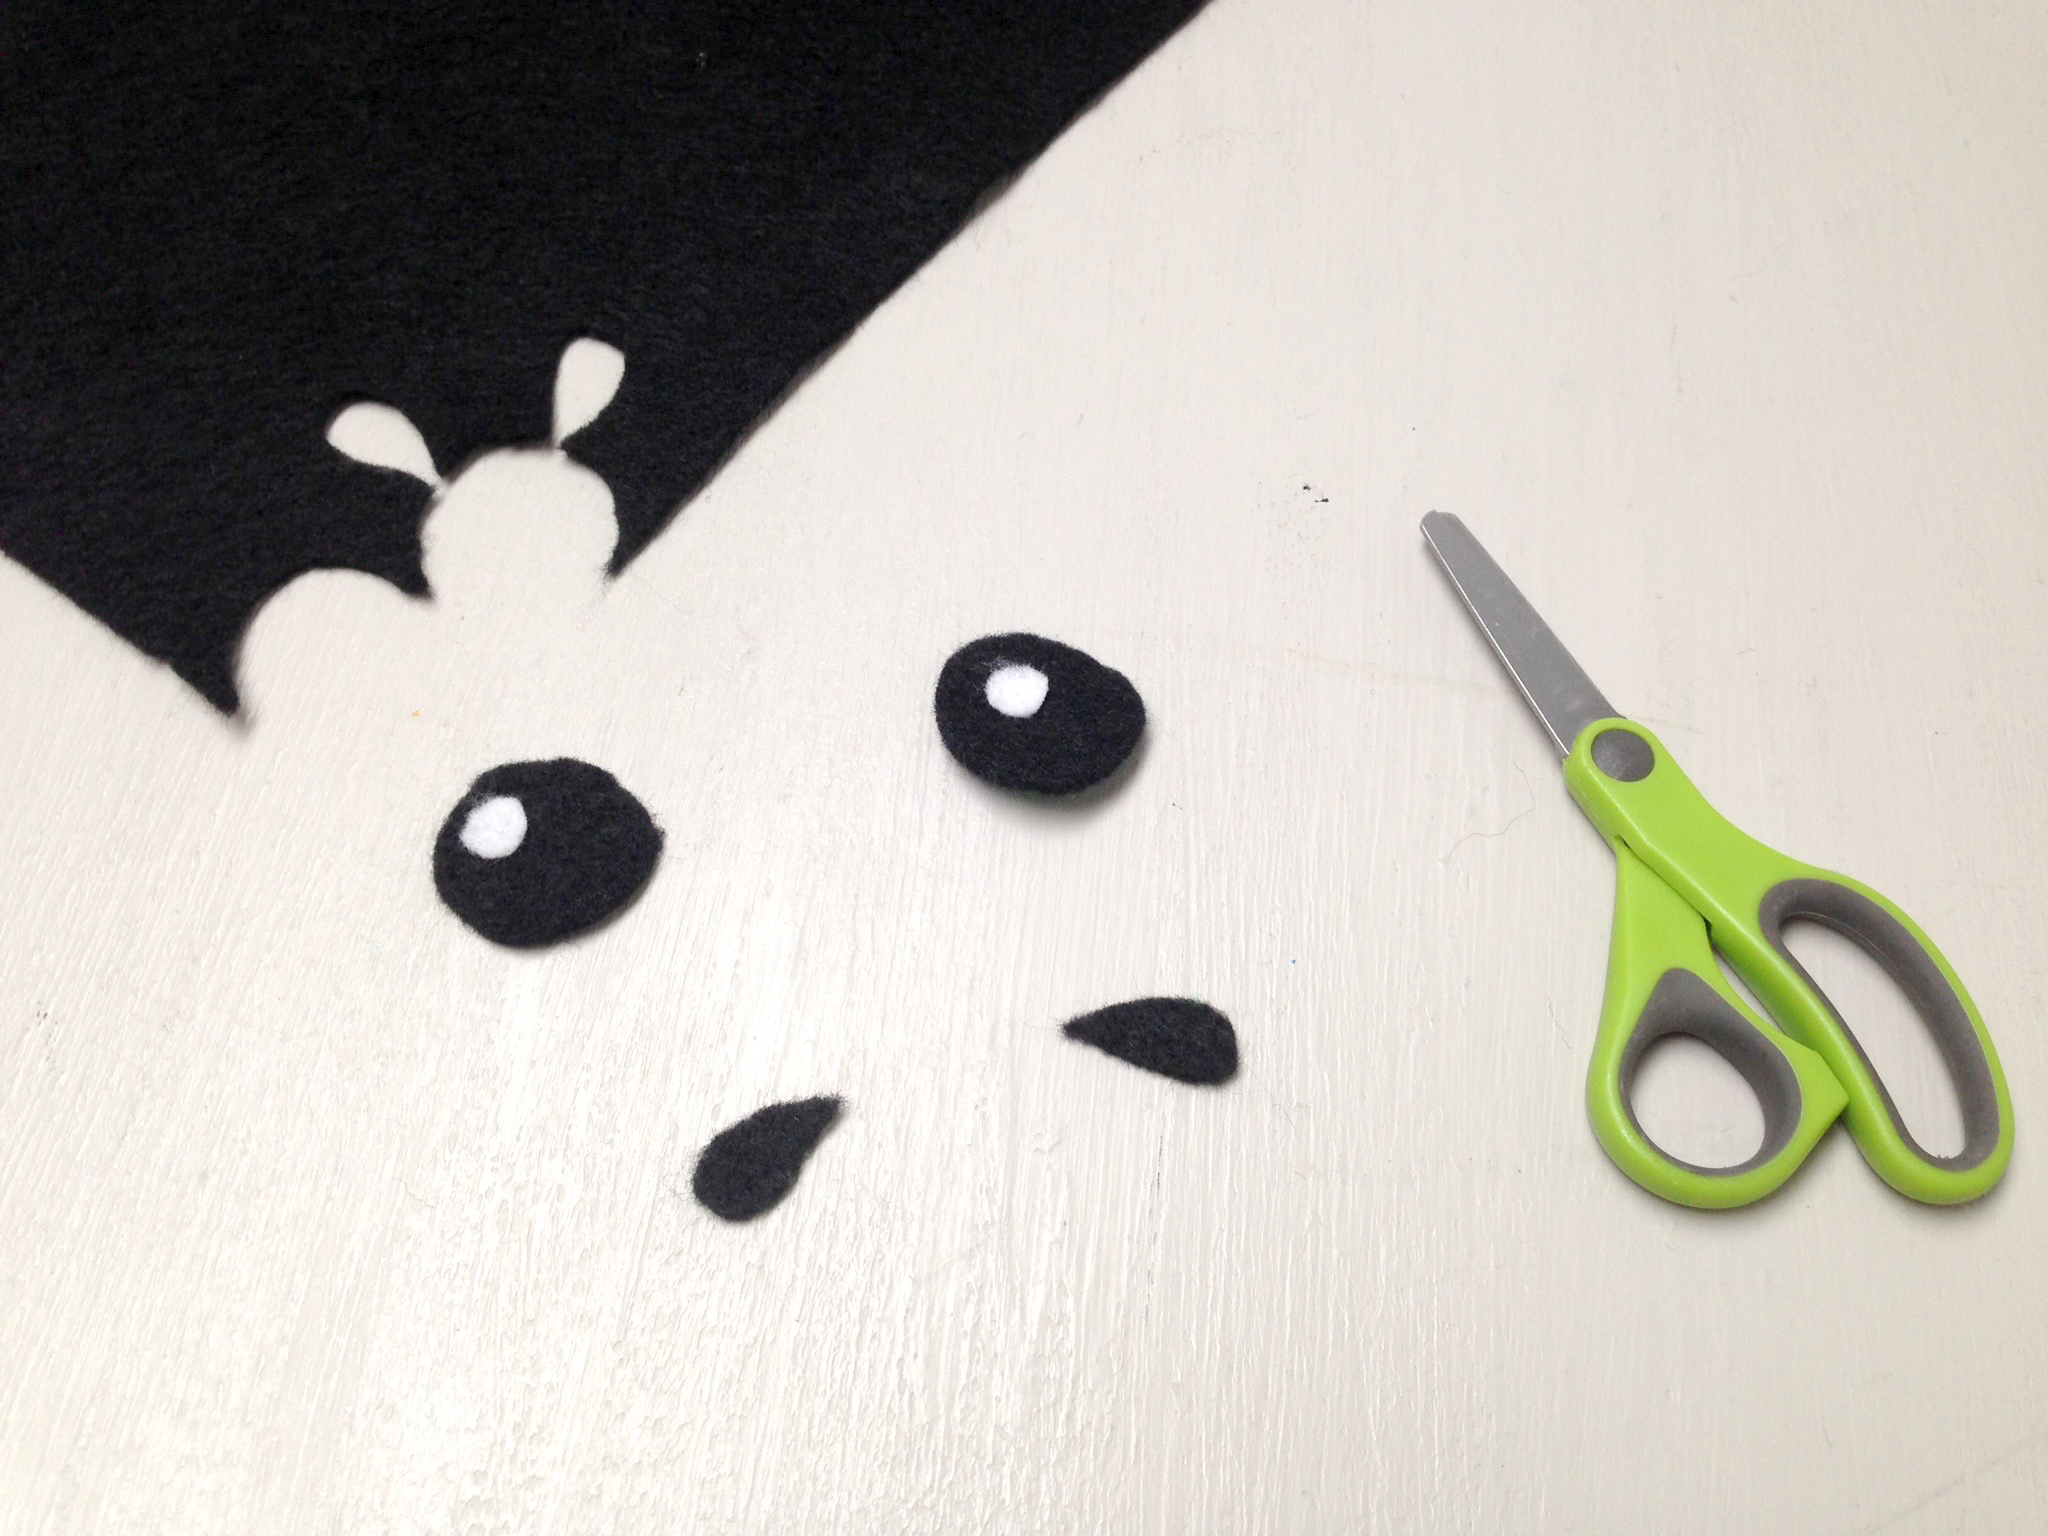
Start by giving the dinosaur a friendly face. Take black felt and cut out circles for the eyes and tear drops for the two nostrils.
Tip
To give your dinosaur extra personality, cut and attach a small white felt circle to each eye to bring them to life.
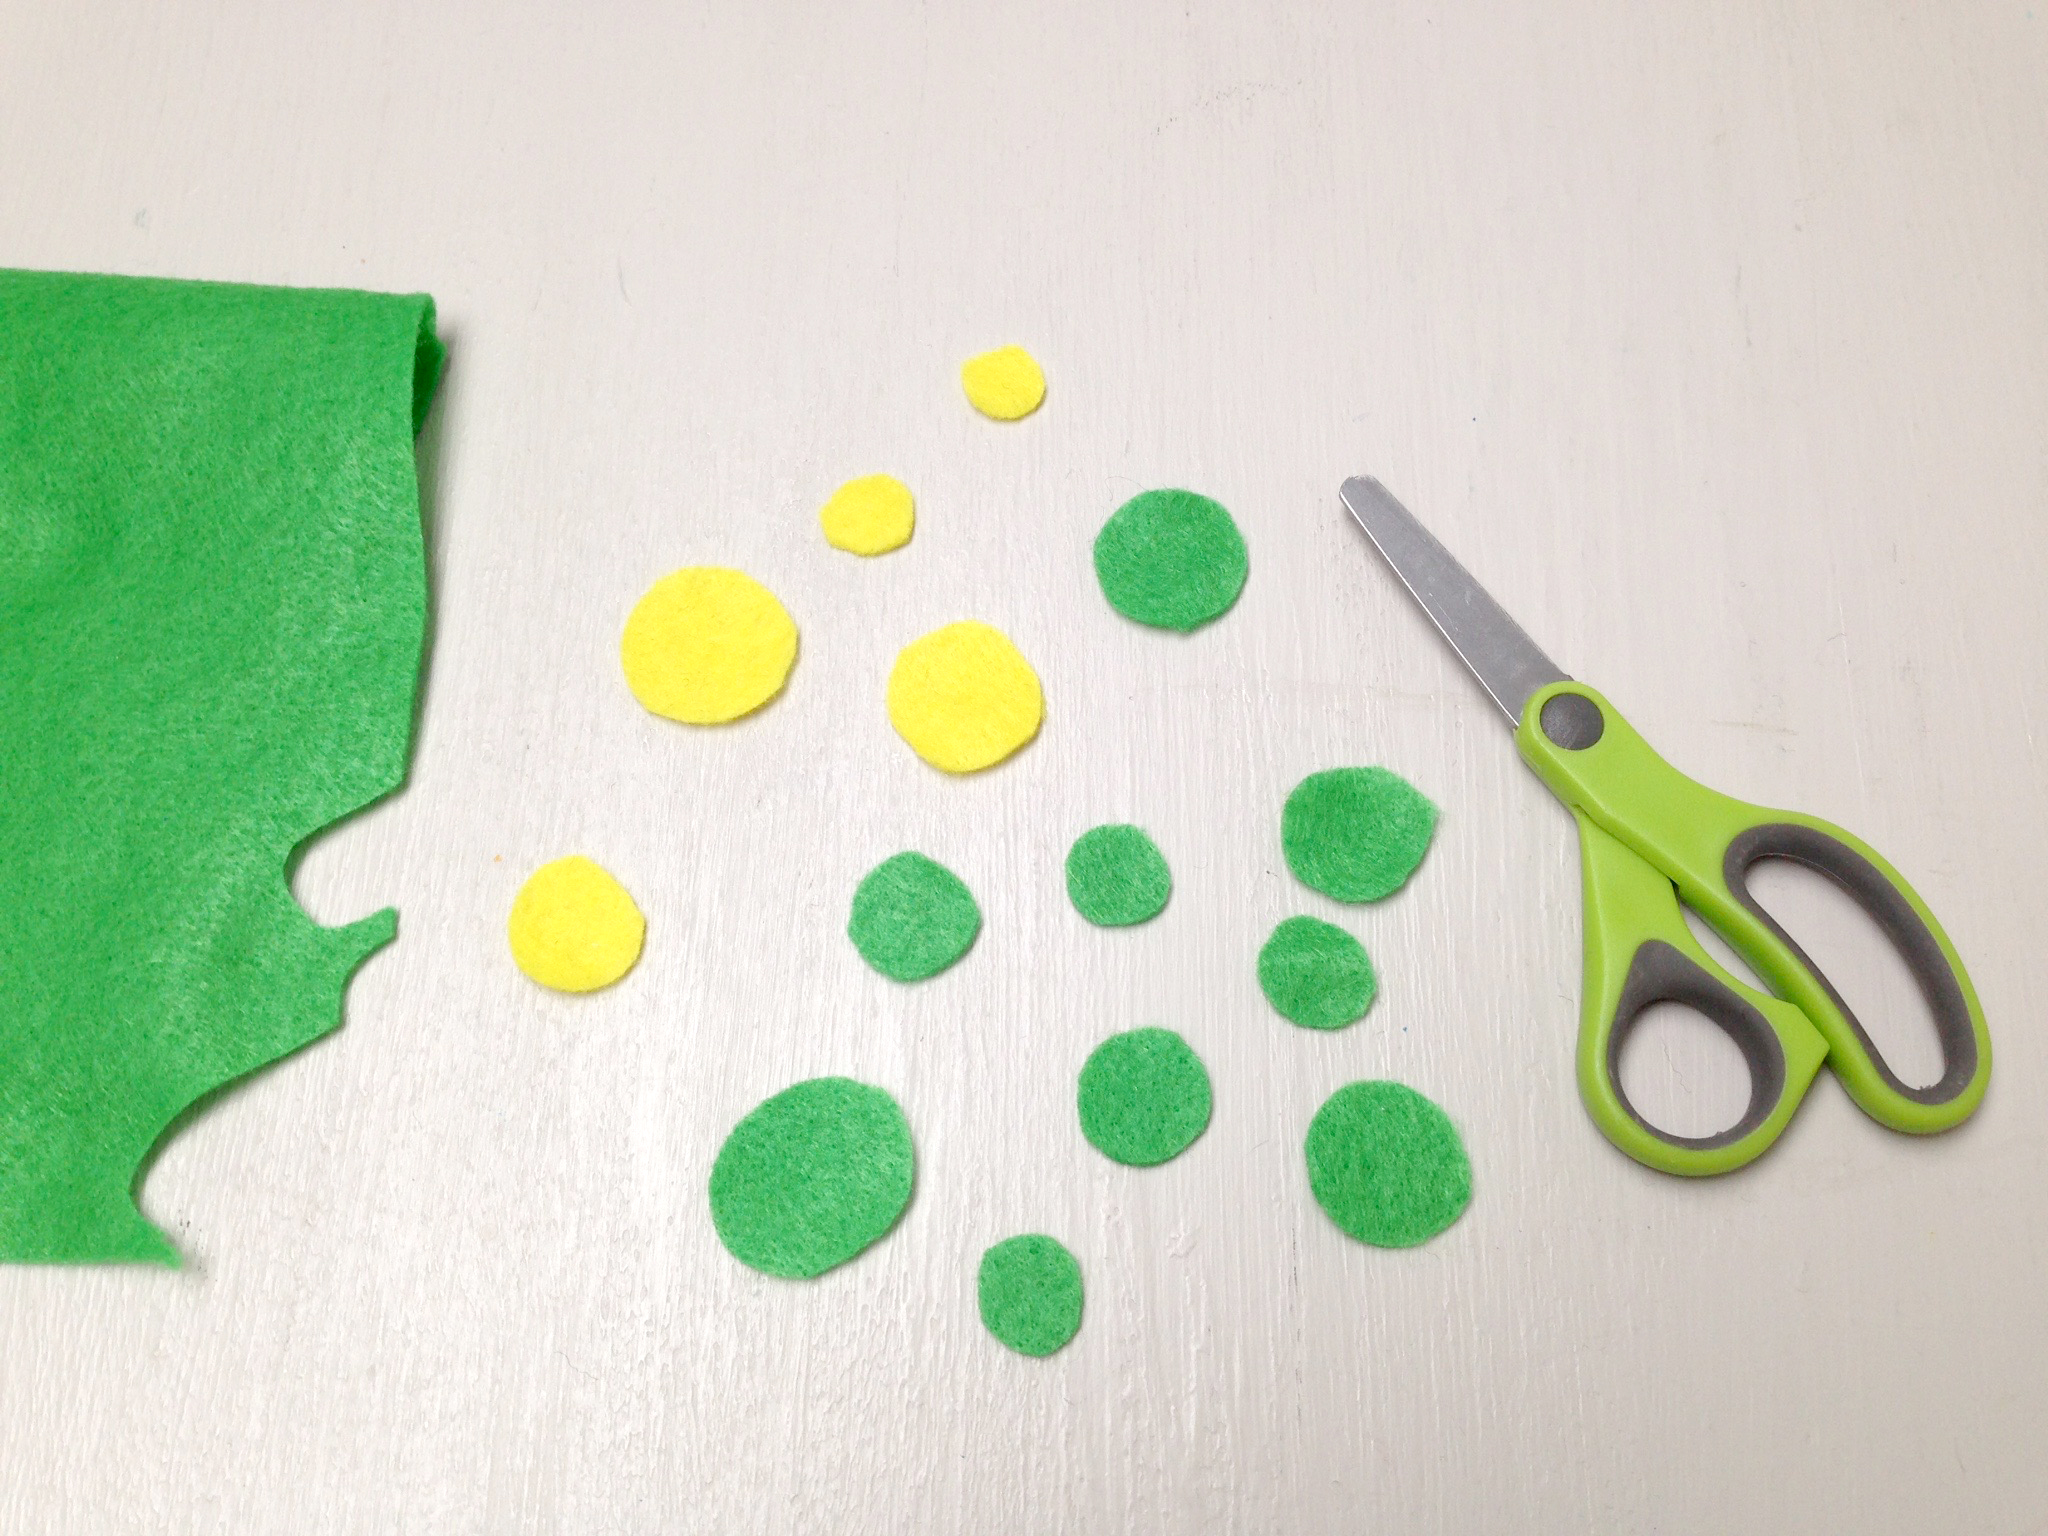
Step 3
Get creative! What kind of pattern does your dinosaur have? We cut out varying colors and shapes of felt to decorate our dinosaur.
Step 4
The next step is to make teeth. We cut out two pieces of white felt and attached them together to make one tooth. You can use sticky foam or tacky glue. Repeat this step to make more teeth.
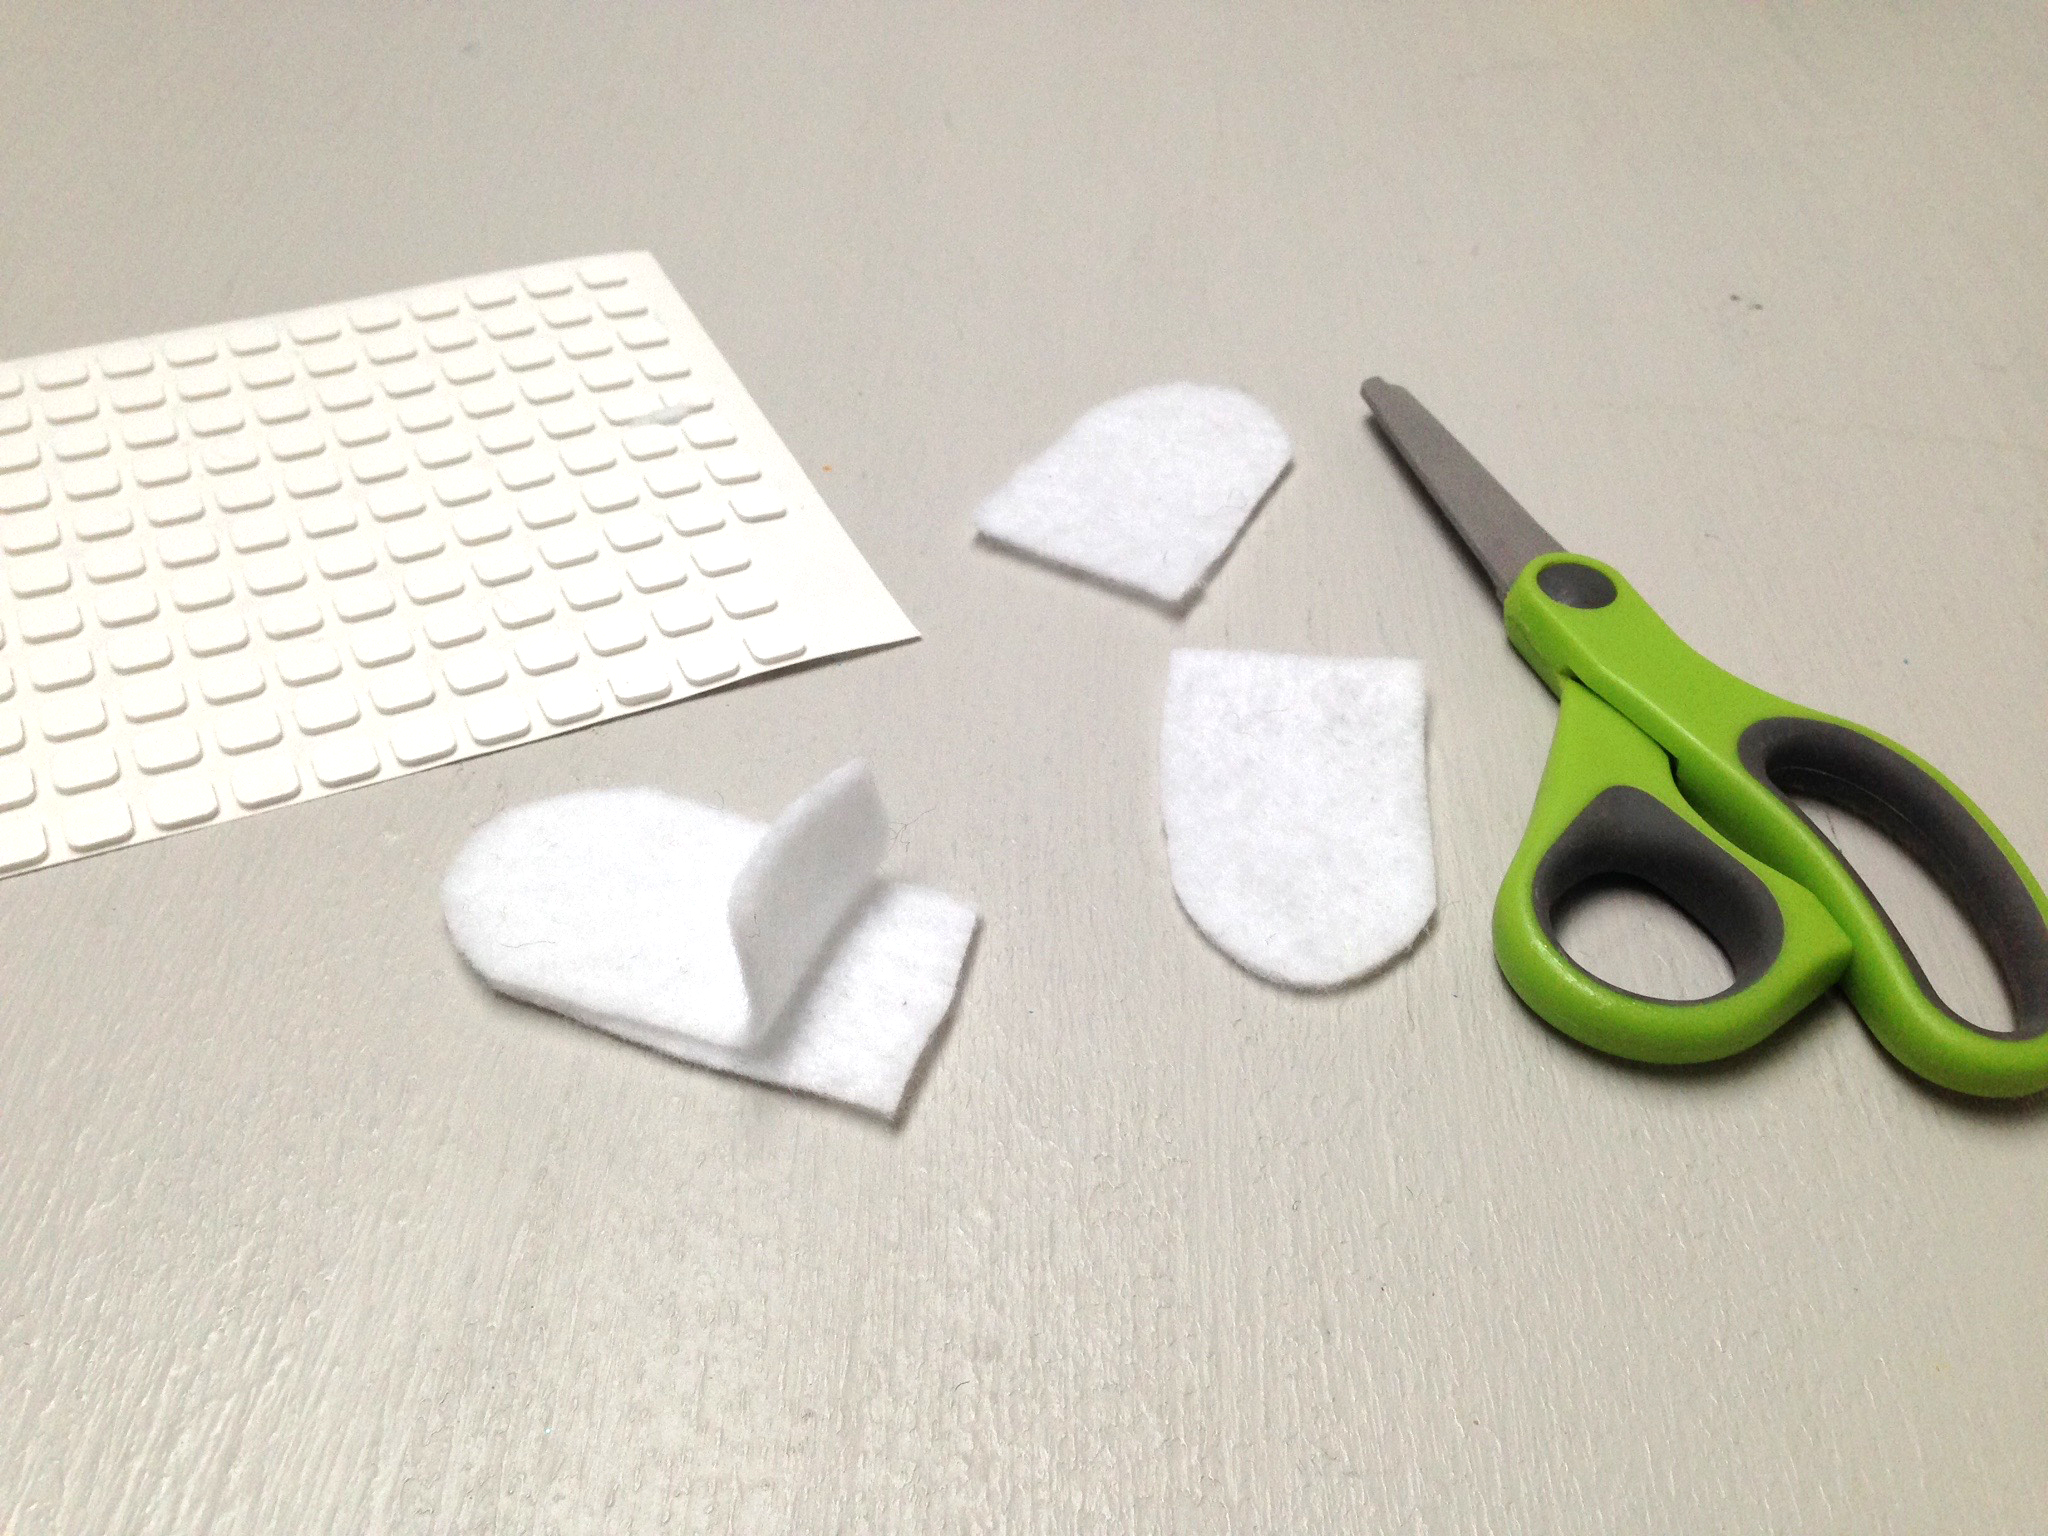
Tip
Leave a small portion on the base of the tooth unglued creating two flaps. These flaps will later be used to attach the teeth.
Step 5
Time to design your spikes. Use your imagination and create felt spikes in different colors and sizes.
We cut out various sizes of orange spikes for our dinosaur. Similar to the teeth in step 4, cut out two spike shapes and attach them together with an exposed flaps.
Step 6
Now it's time for the final hat assembly! We attached the various felt shapes to our hat using sticky foam. We also found that tacky glue or double-sided tape worked well too.
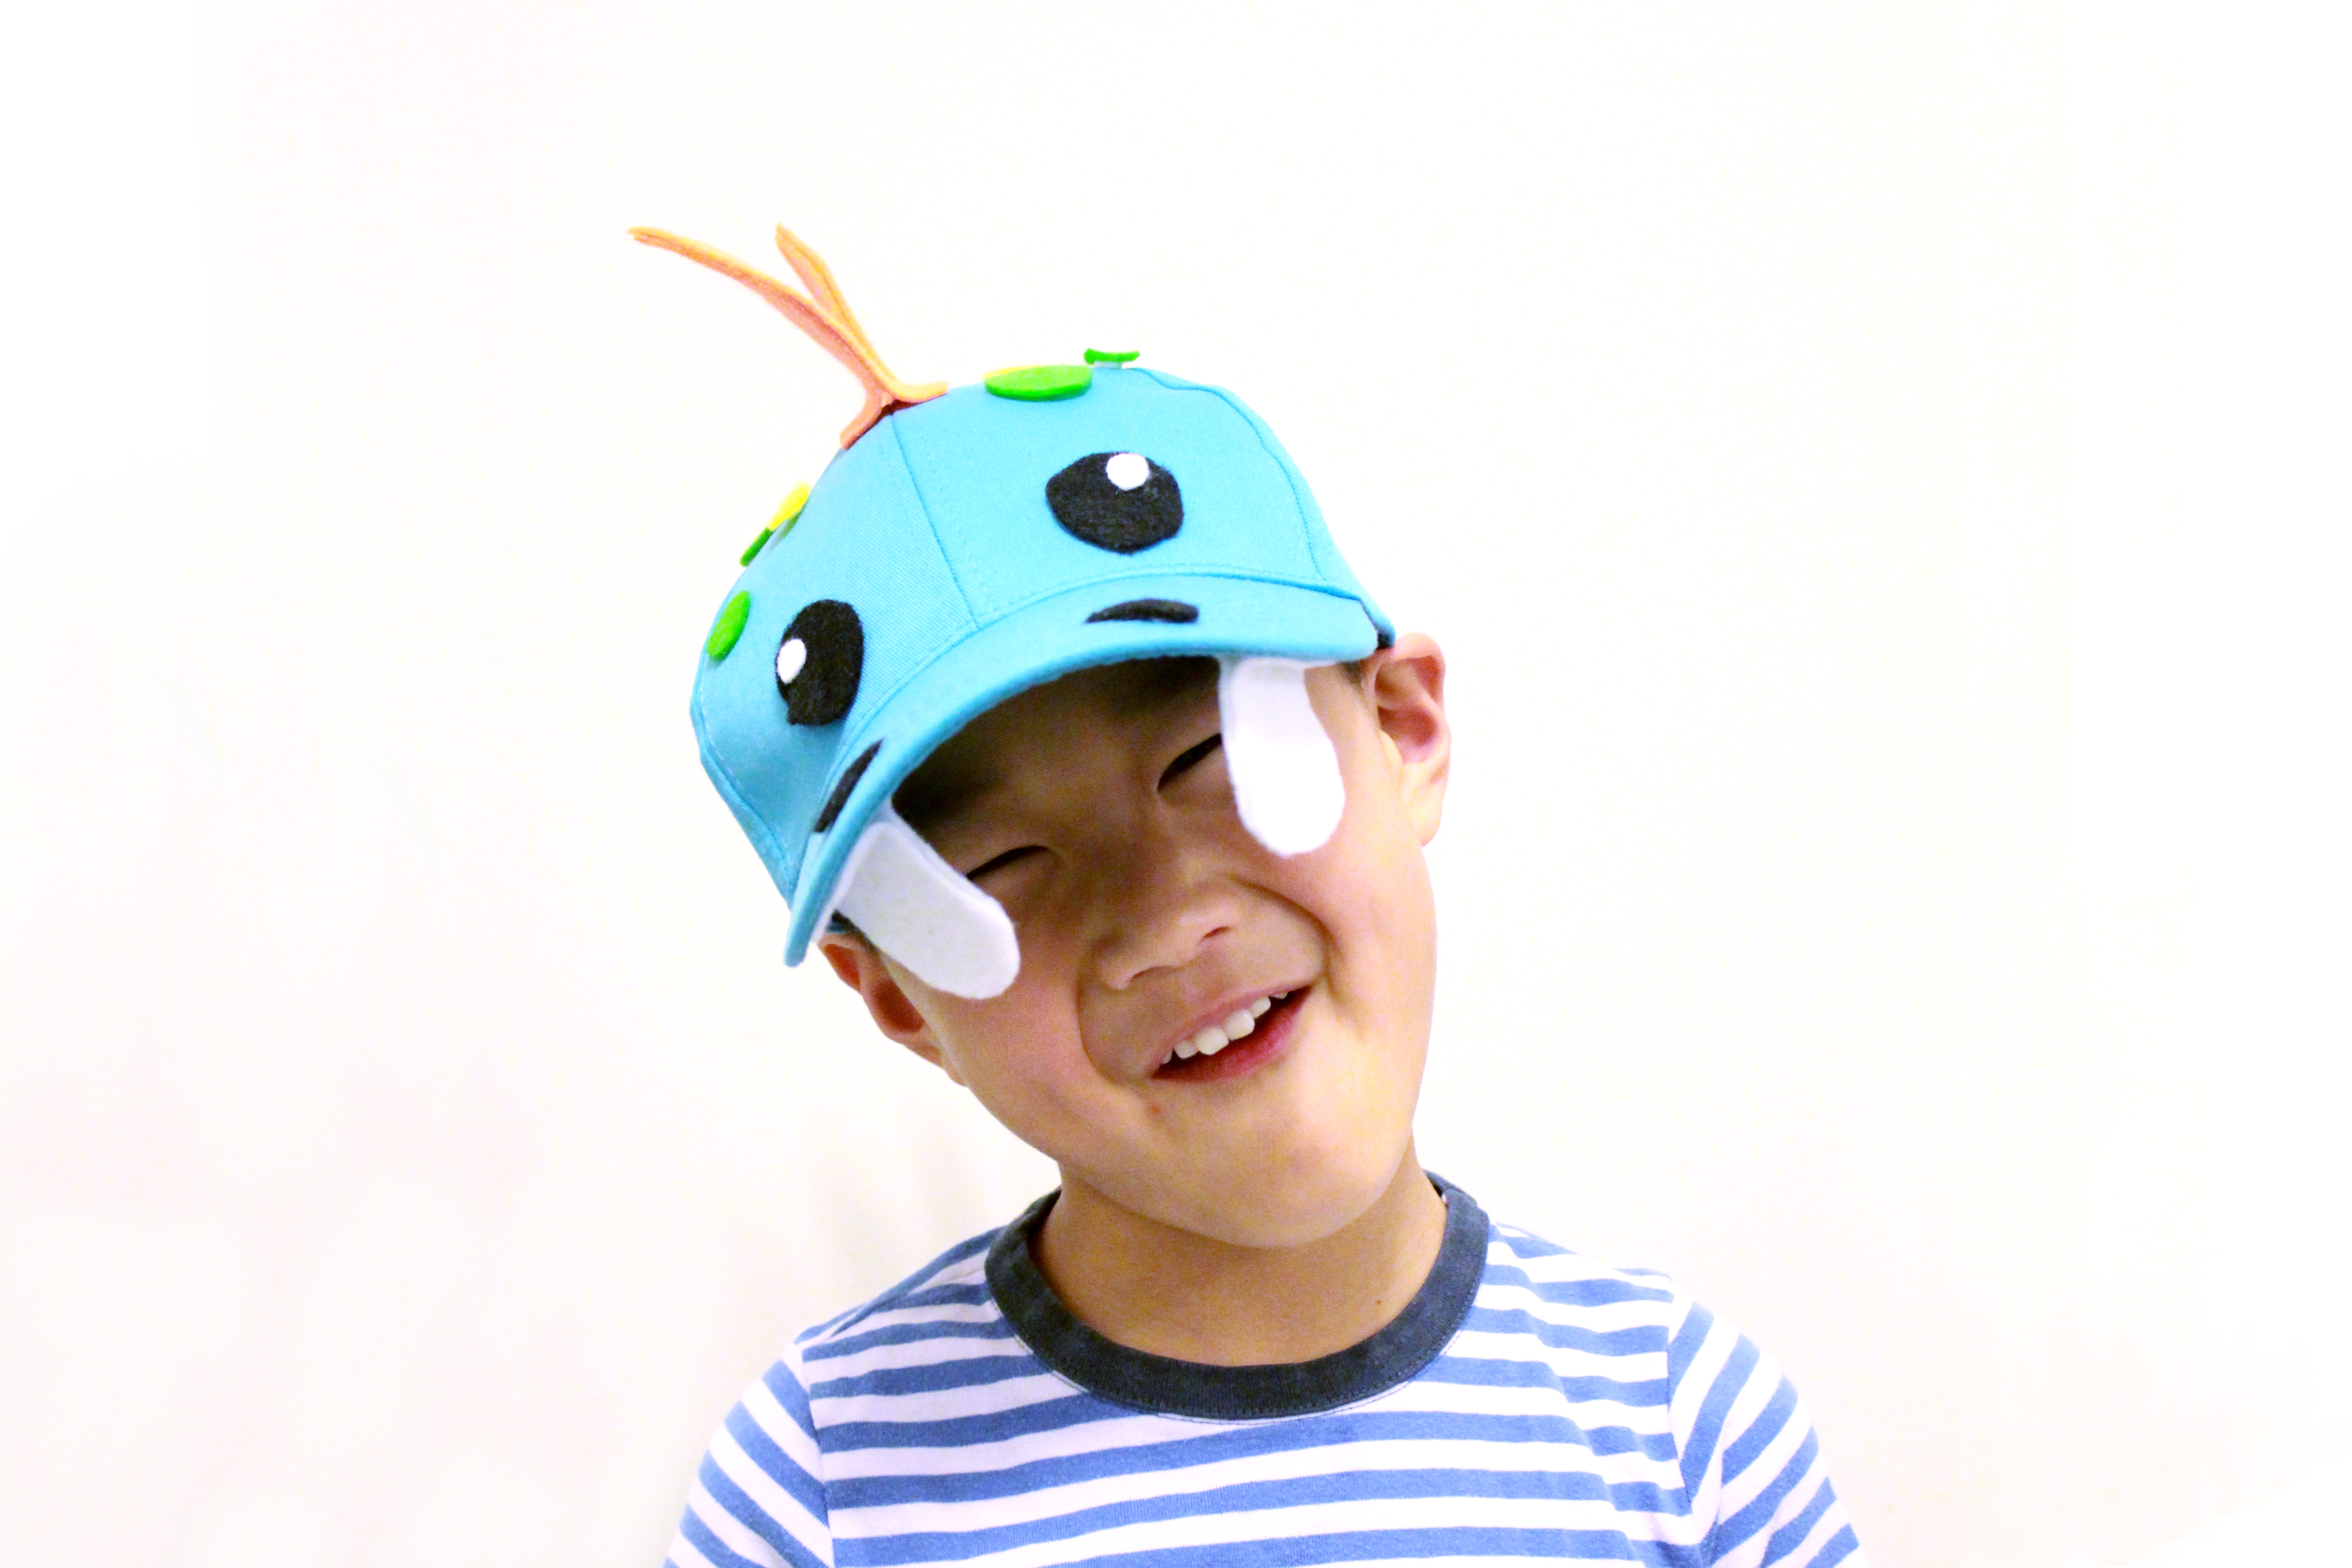
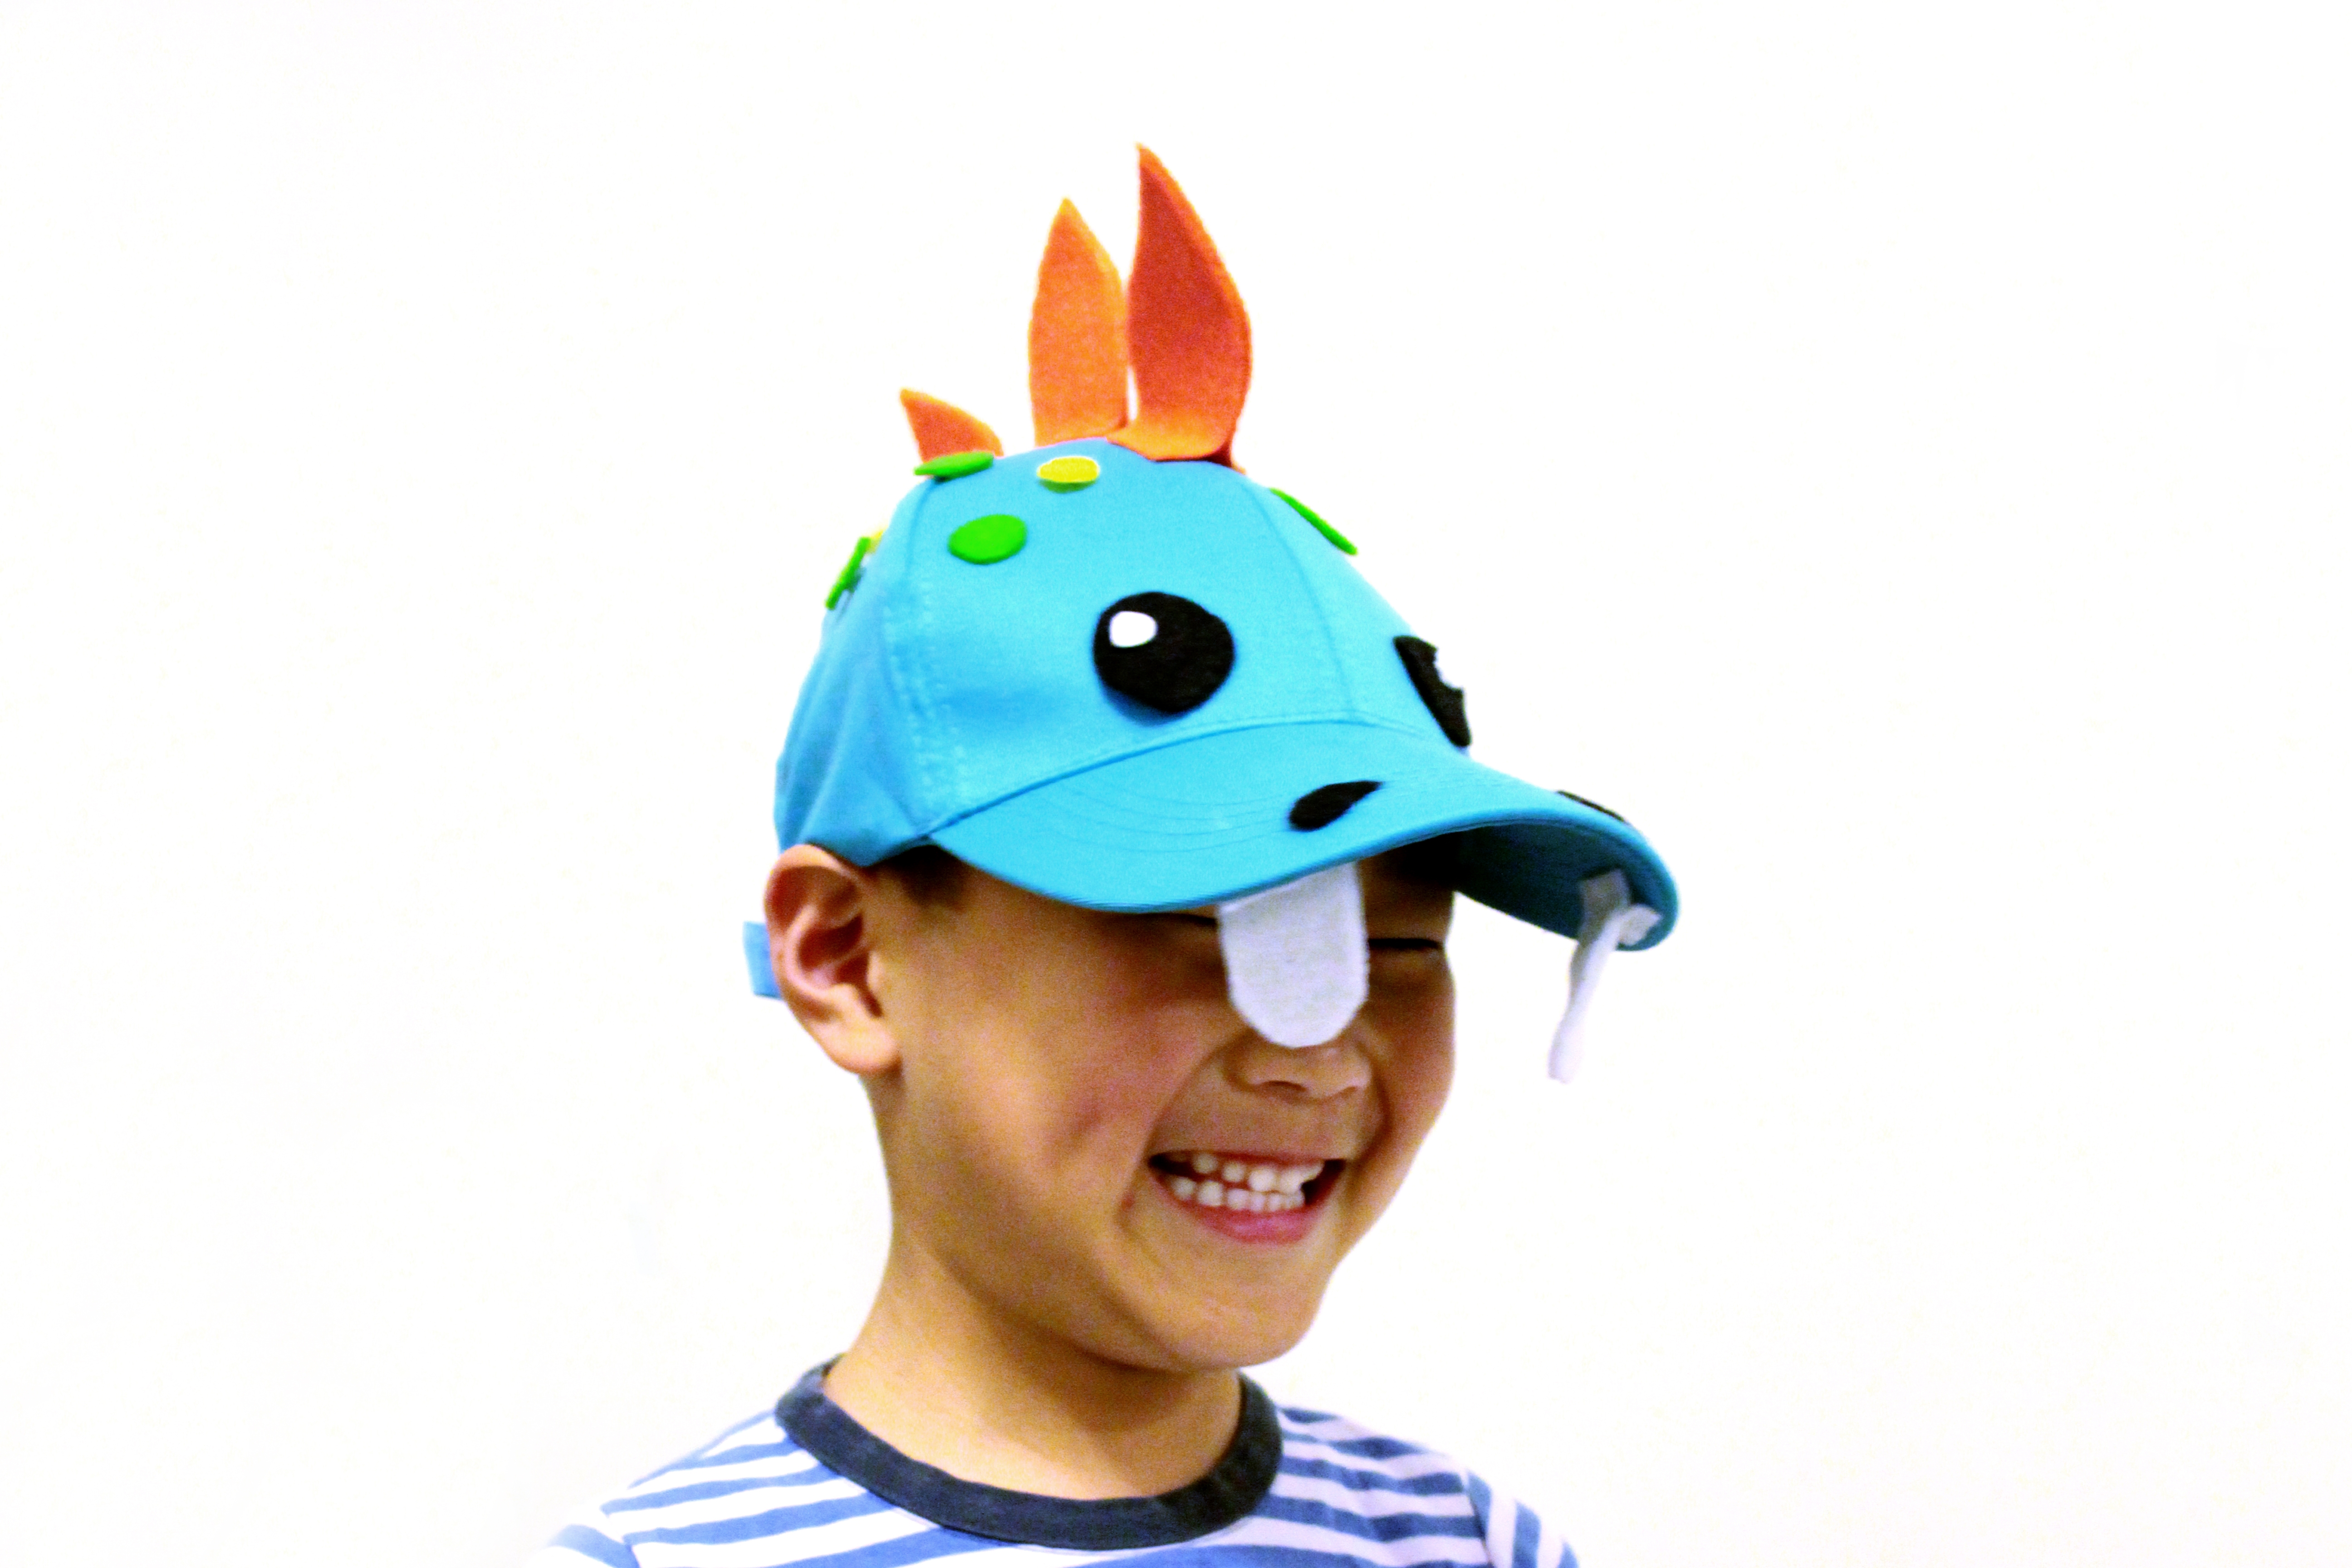
Attach teeth underneath the lid and the nostrils above the lid.
Attach eyes at the front of the cap near your forehead.
Attach spikes so they run down the center of the cap.
Attach spots throughout the hat to create a unique dinosaur pattern.
Done!
Try on the cap and bring your dinosaur creature to life!