Step-by-step tutorial
Step 1
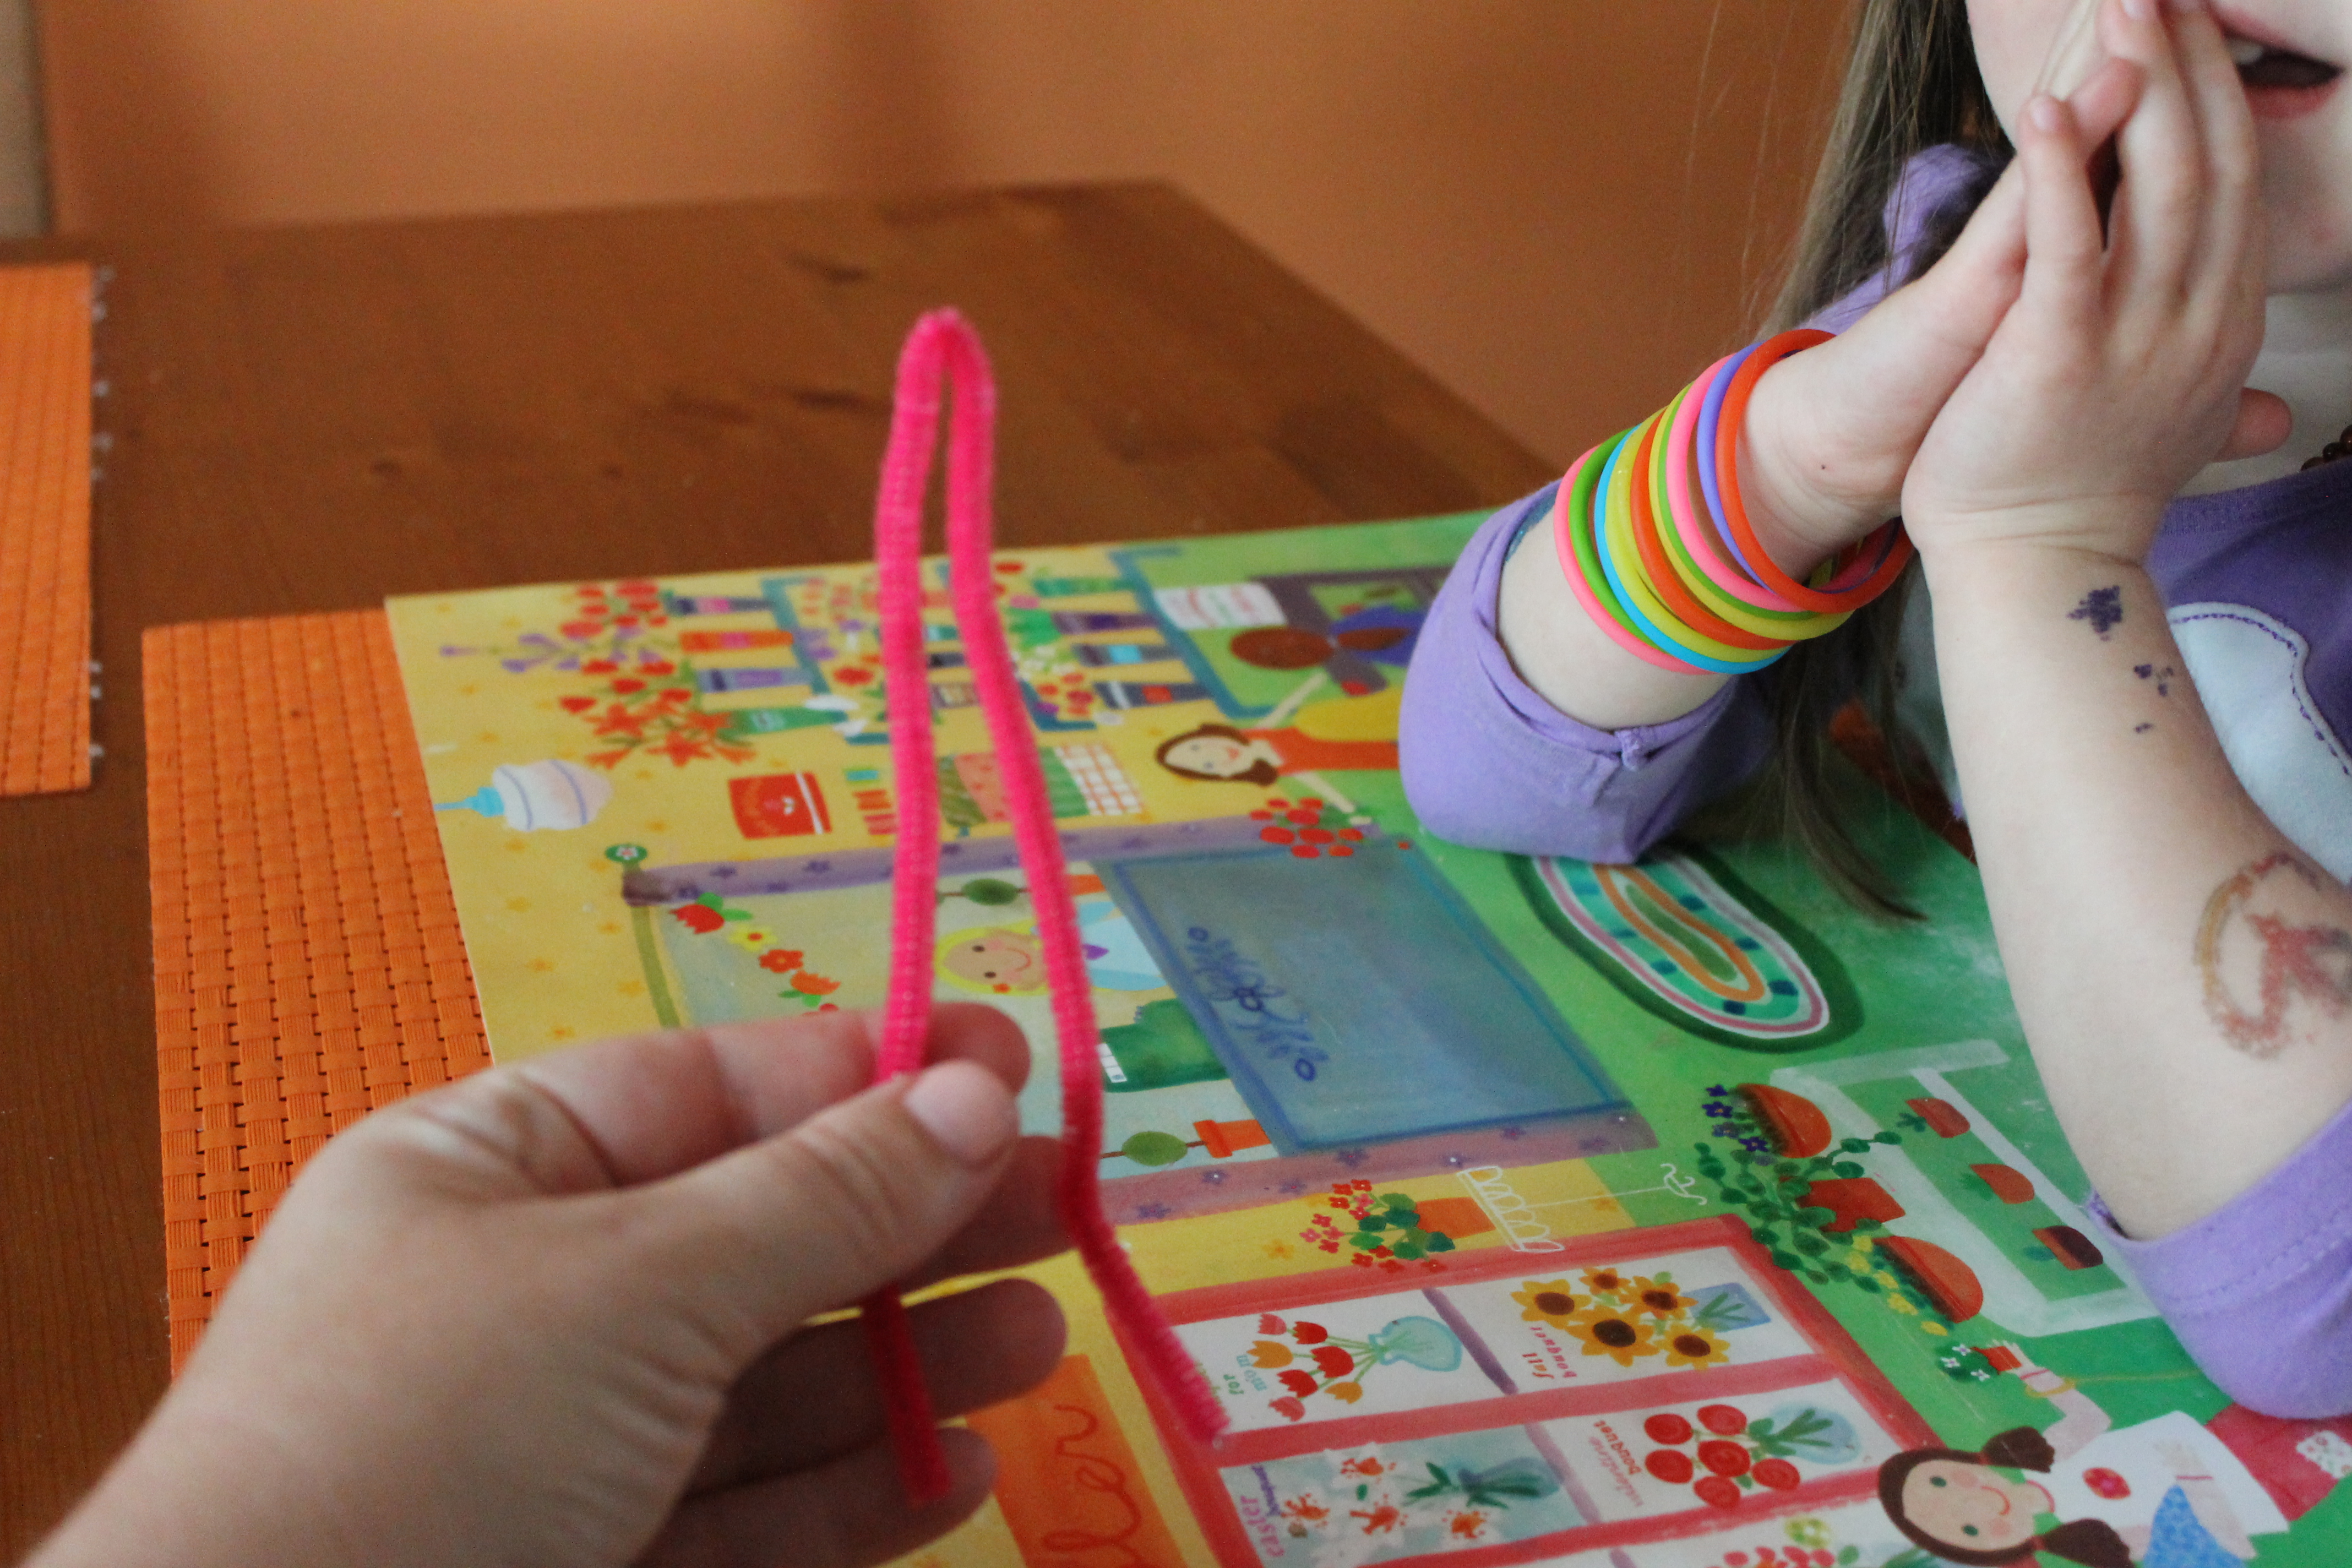
Begin by taking a pipe cleaner and bending it in half. I helped my 3-year old with a few of these steps but older kids can certainly manage them on their own!

Step 2
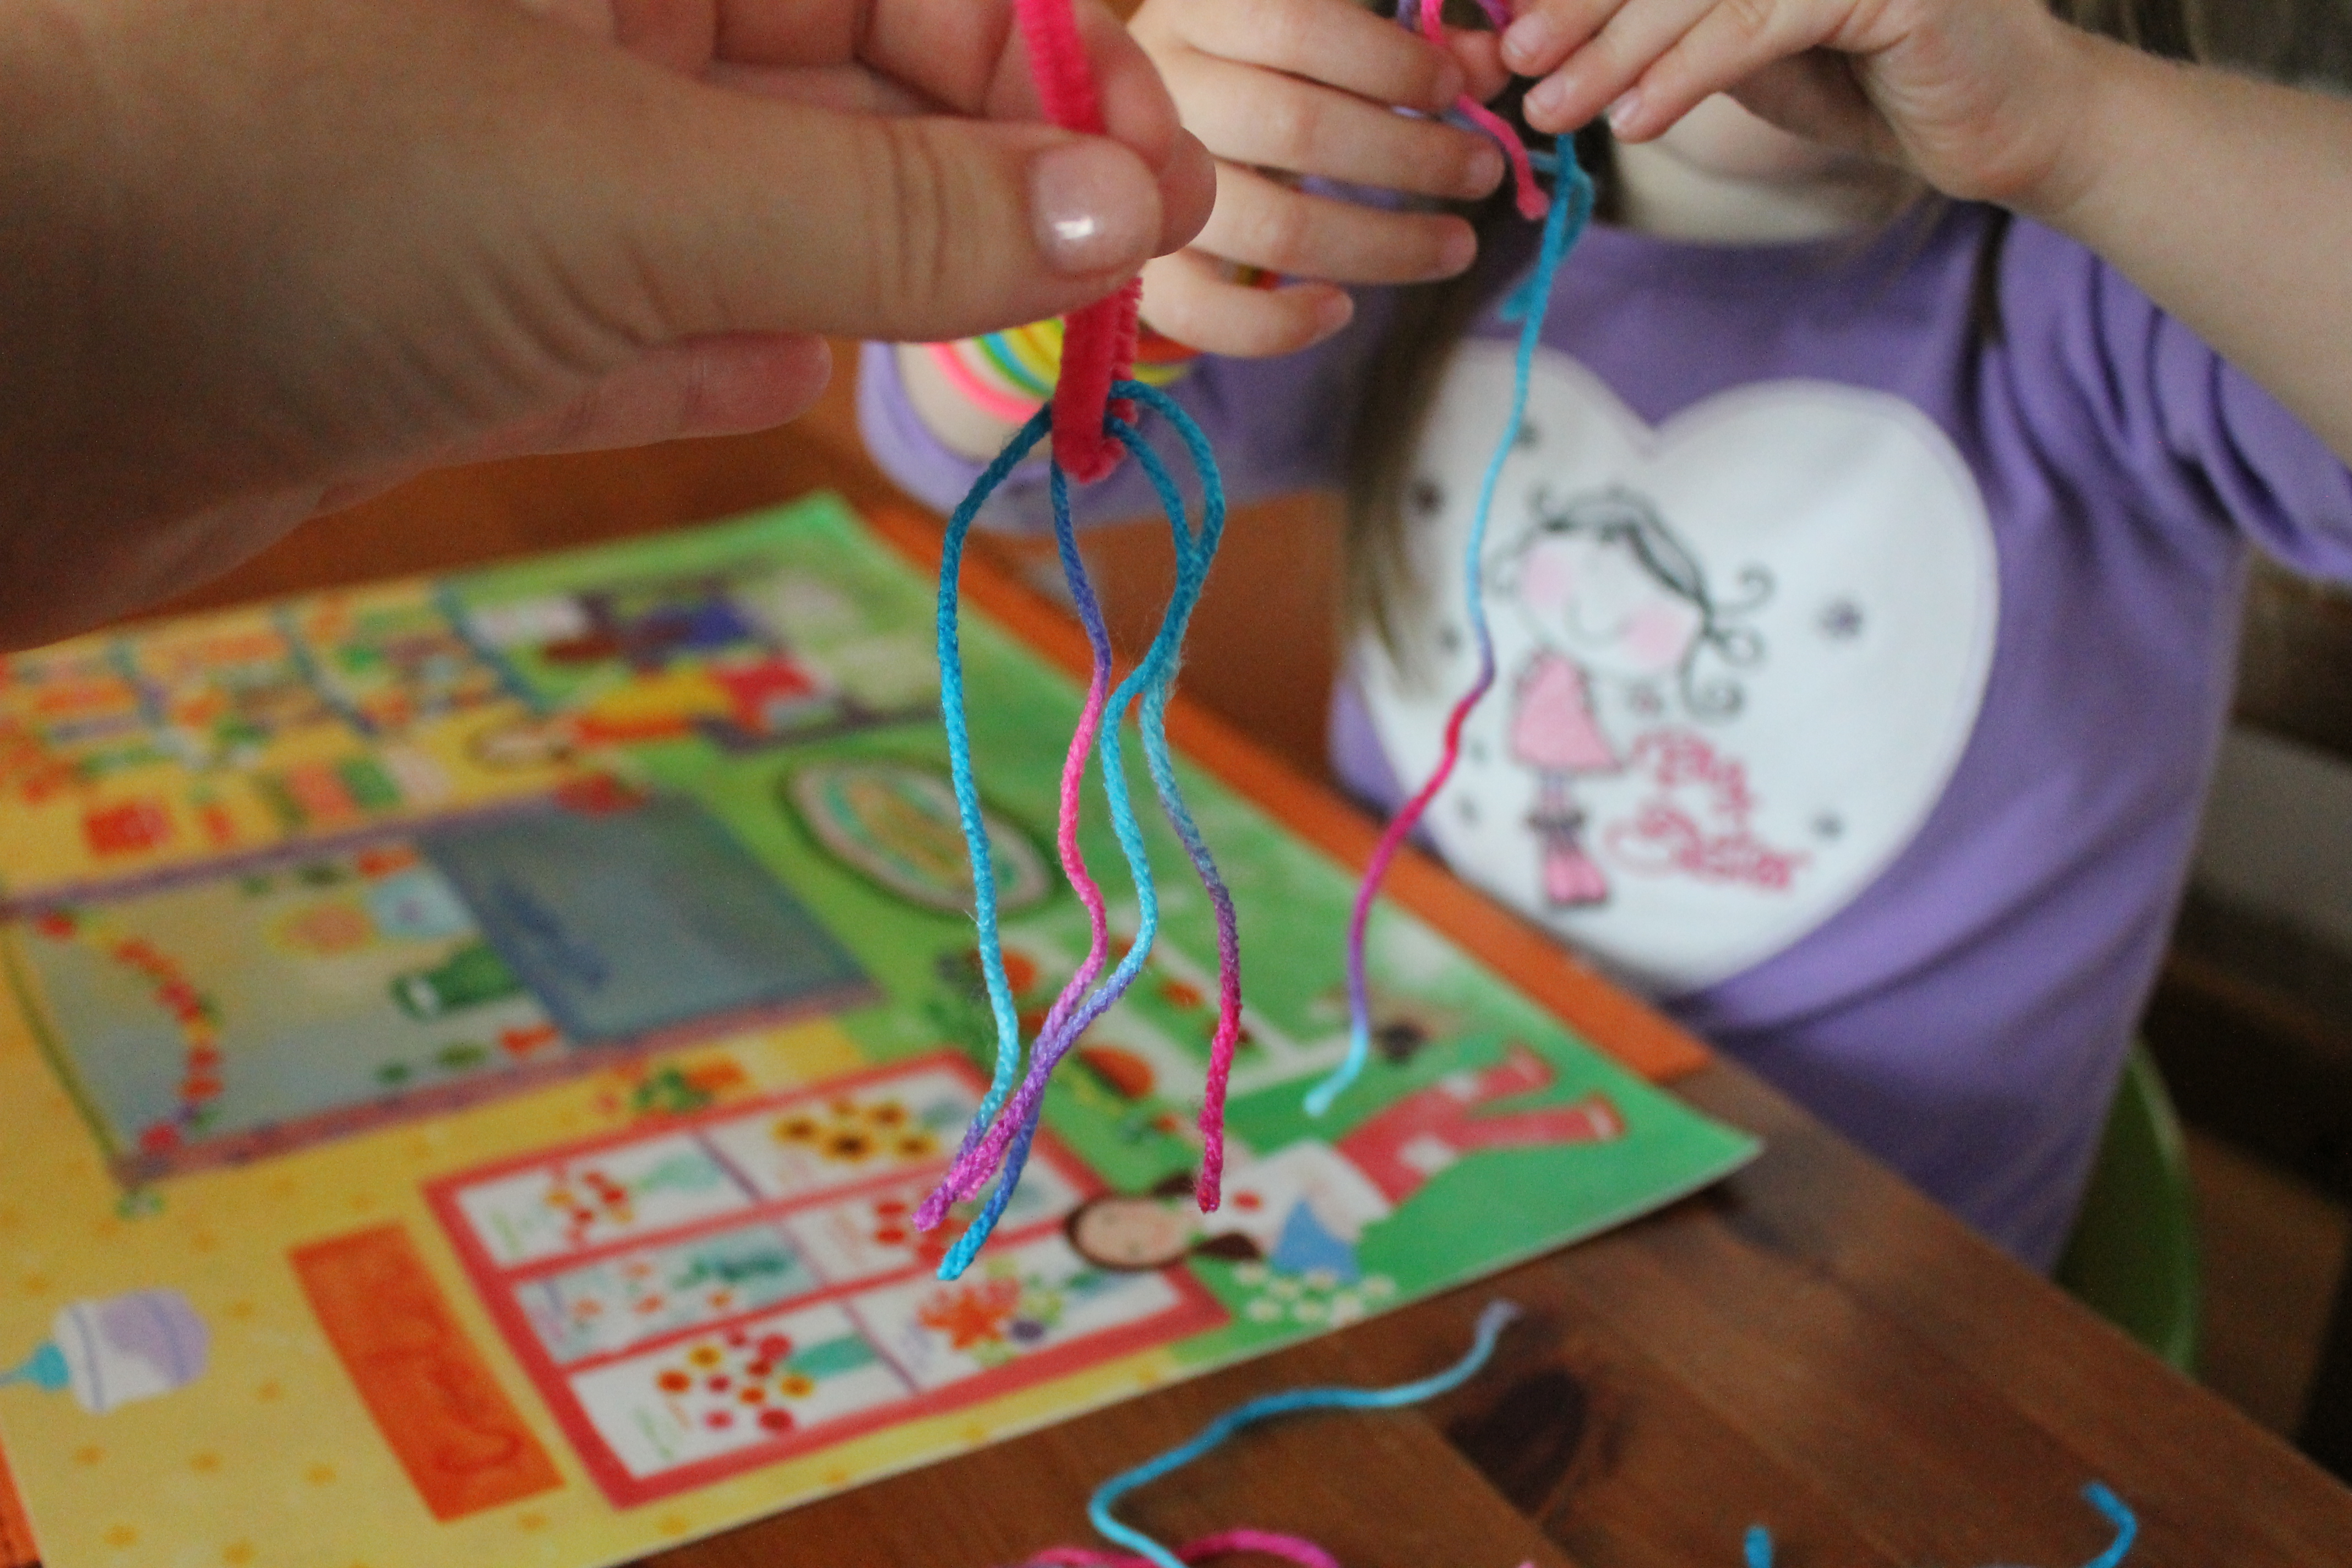
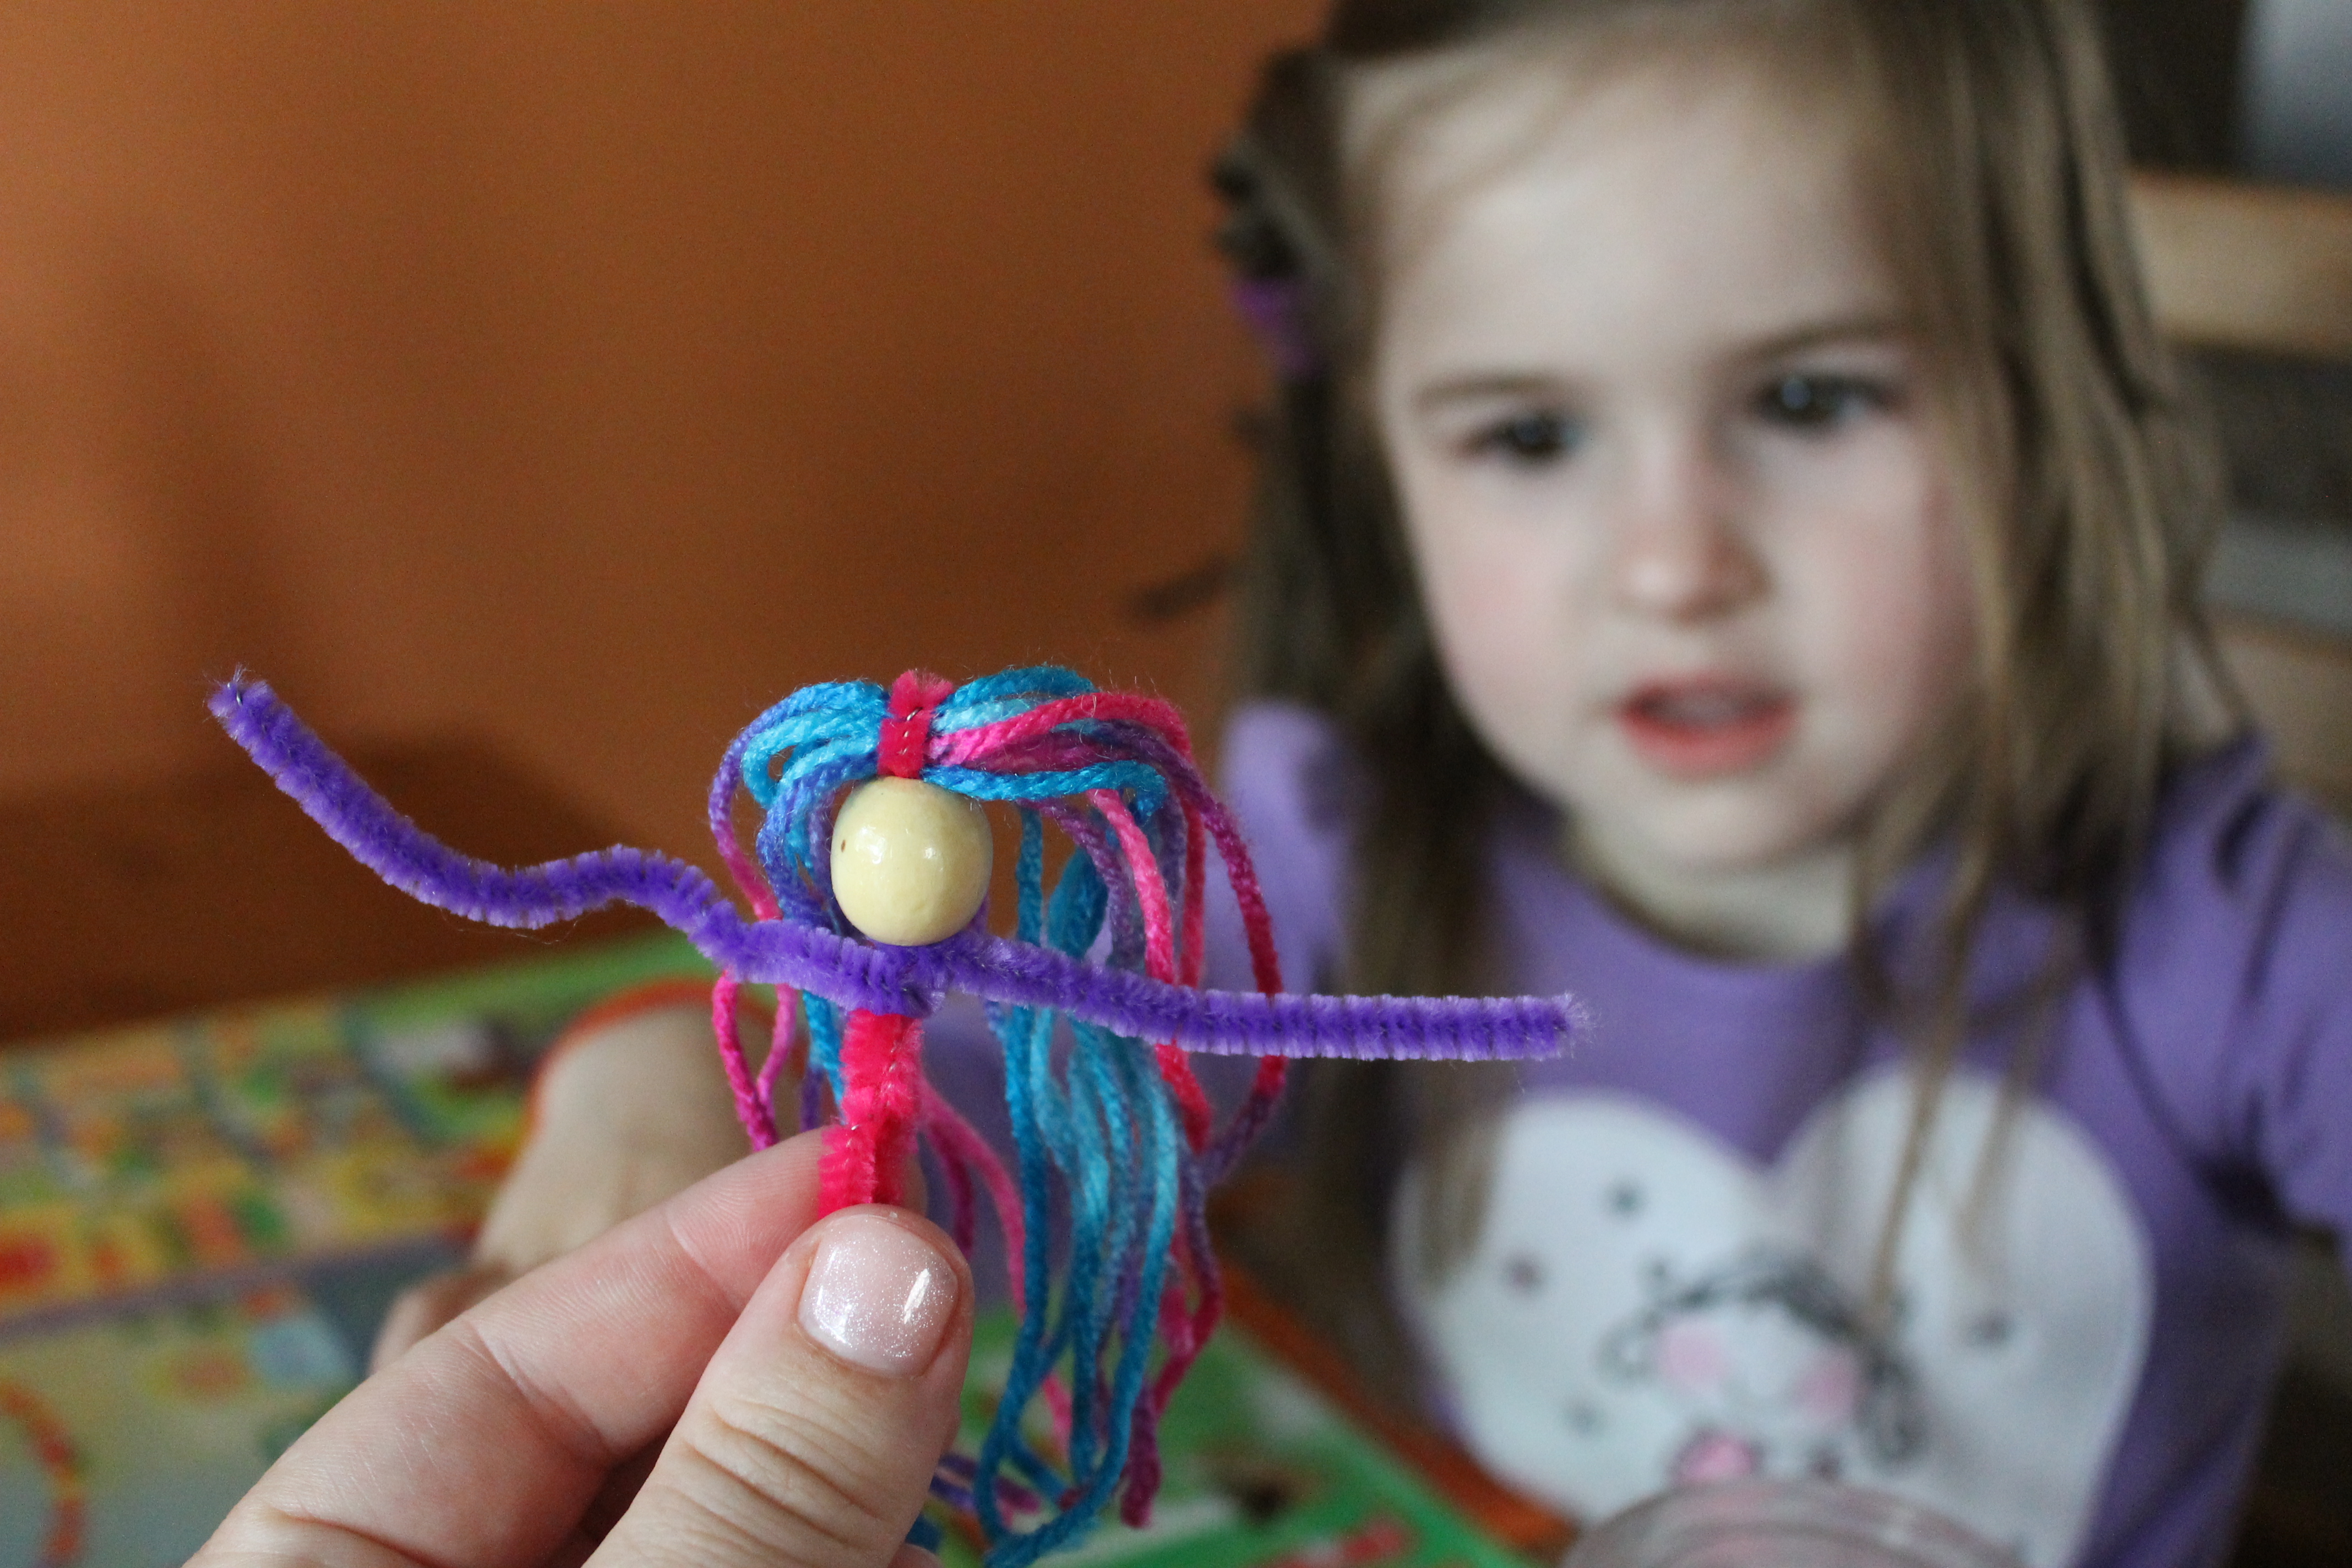
Next, pre-cut about 12 pieces of yarn for the fairy's hair. Pieces should be about 4-5 inches (10.2-12.7 cm) in length. Lay them across the bend in the pipe cleaner.
Step 3
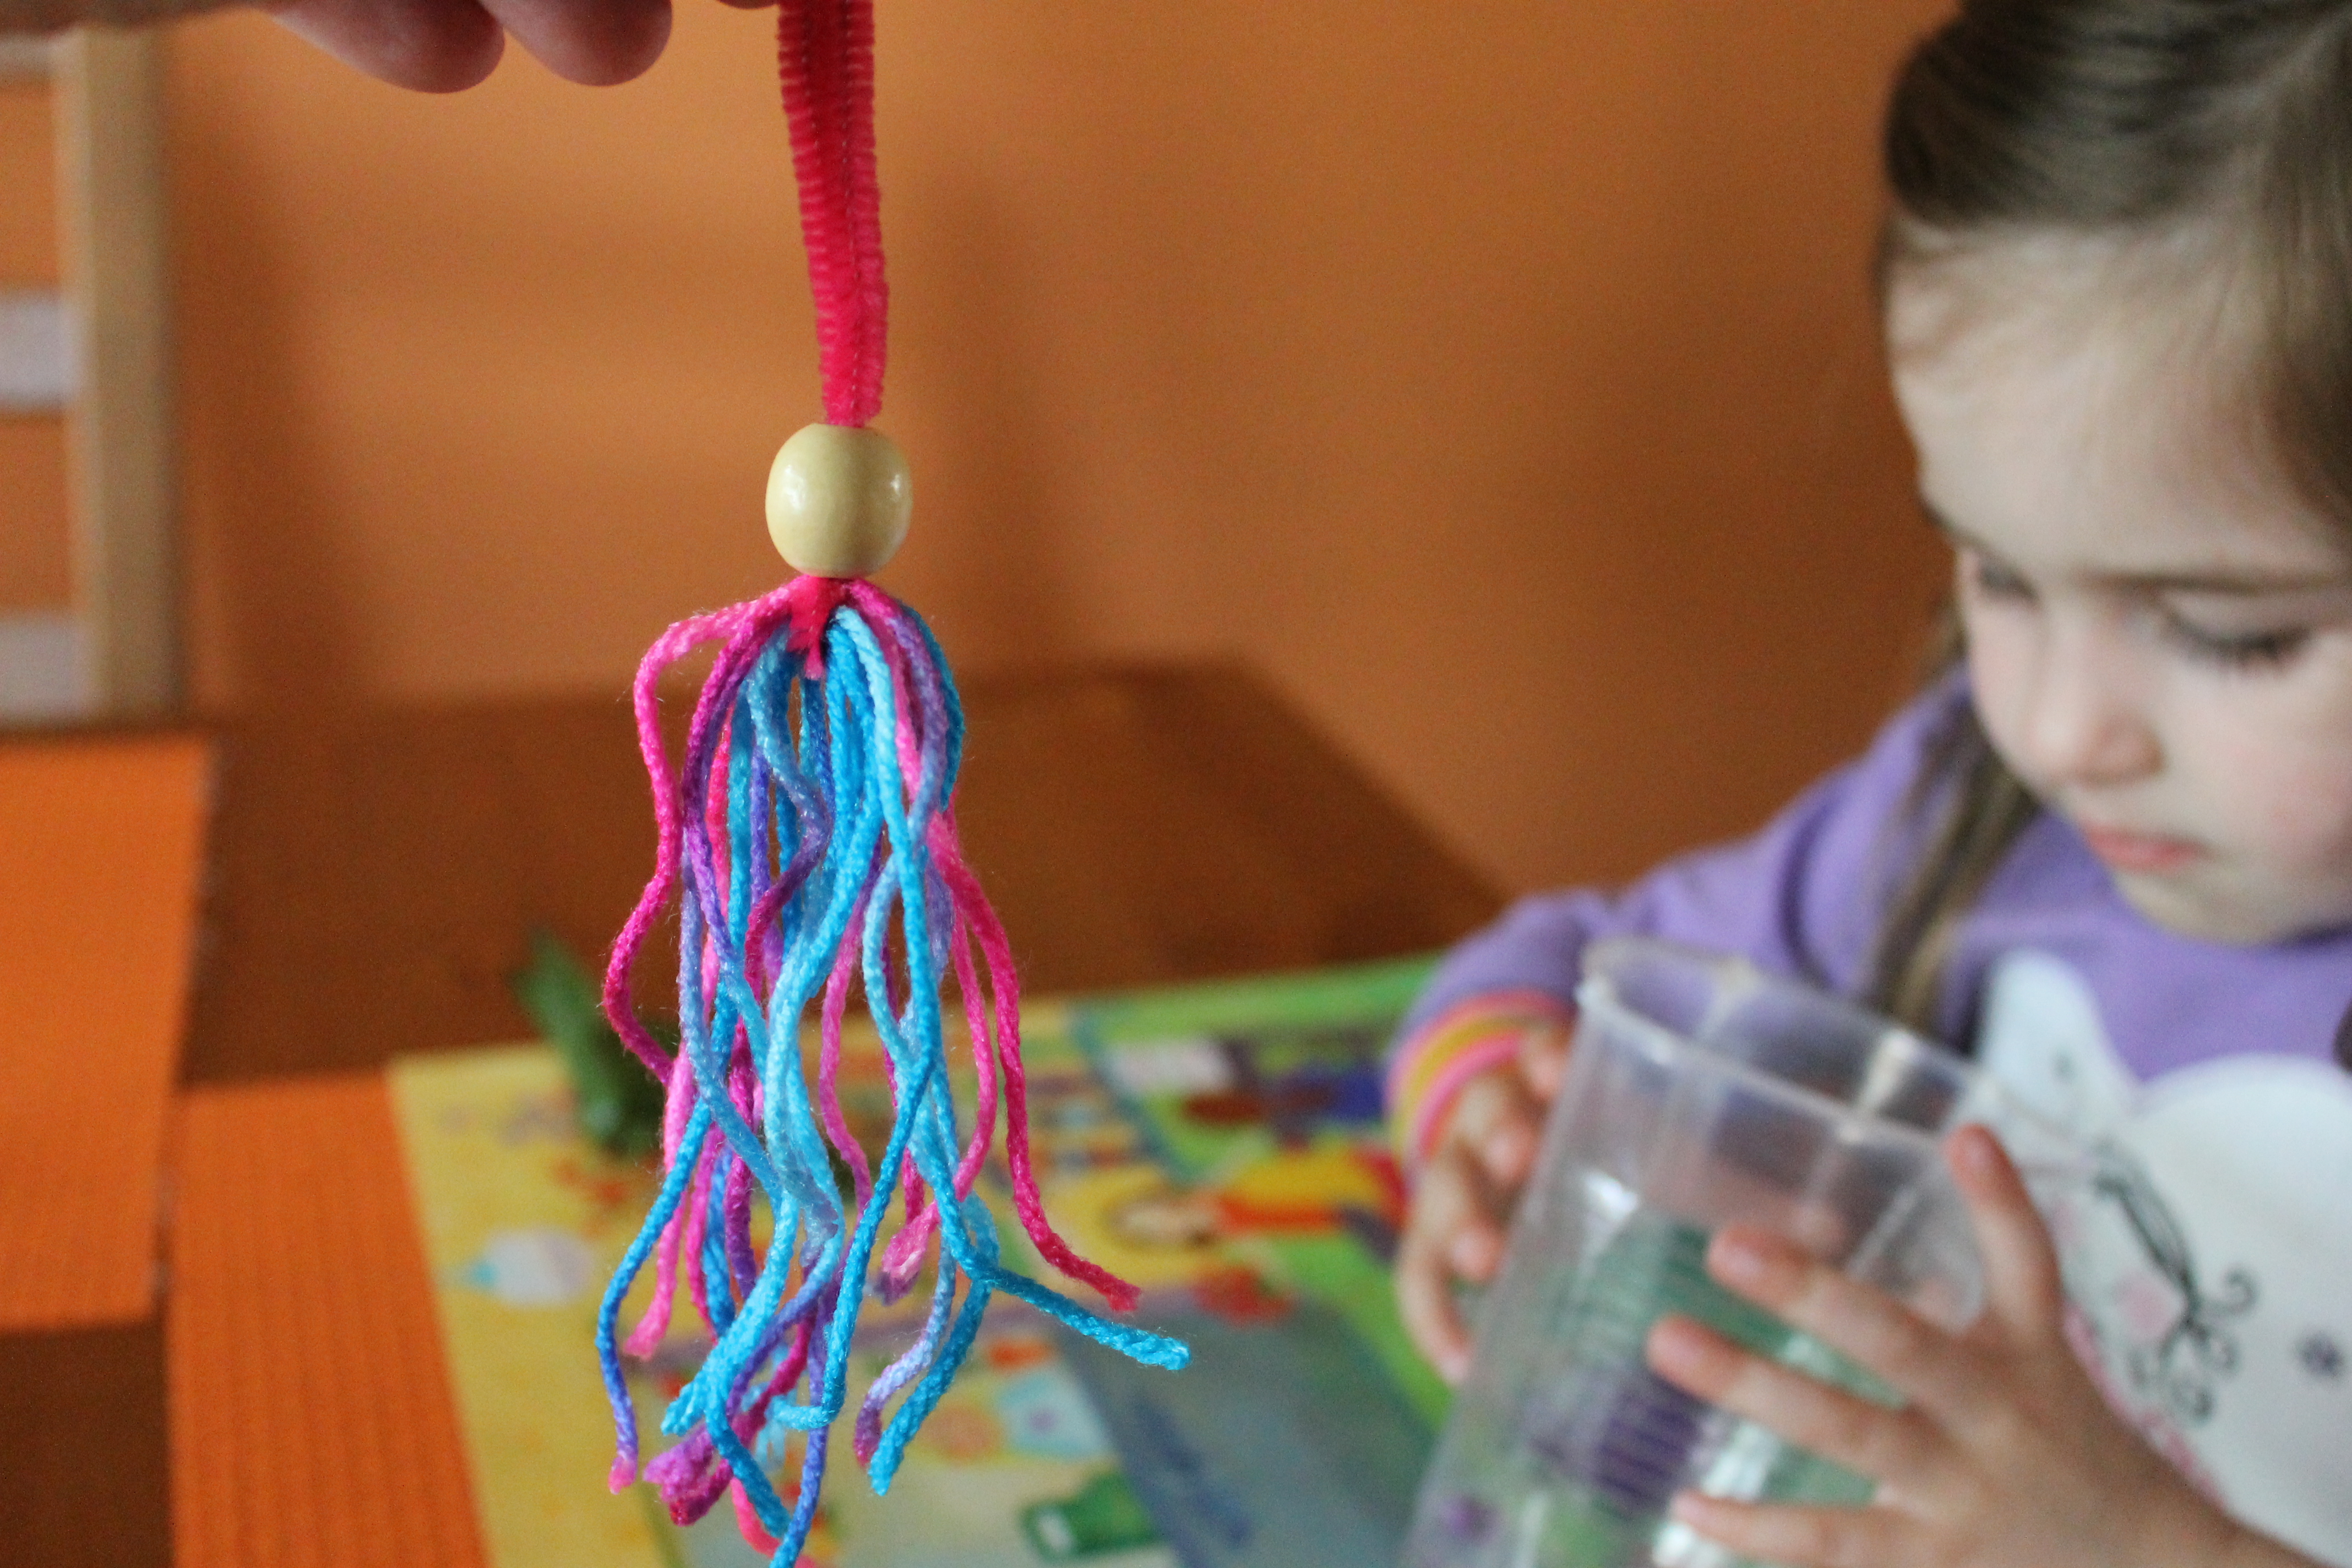
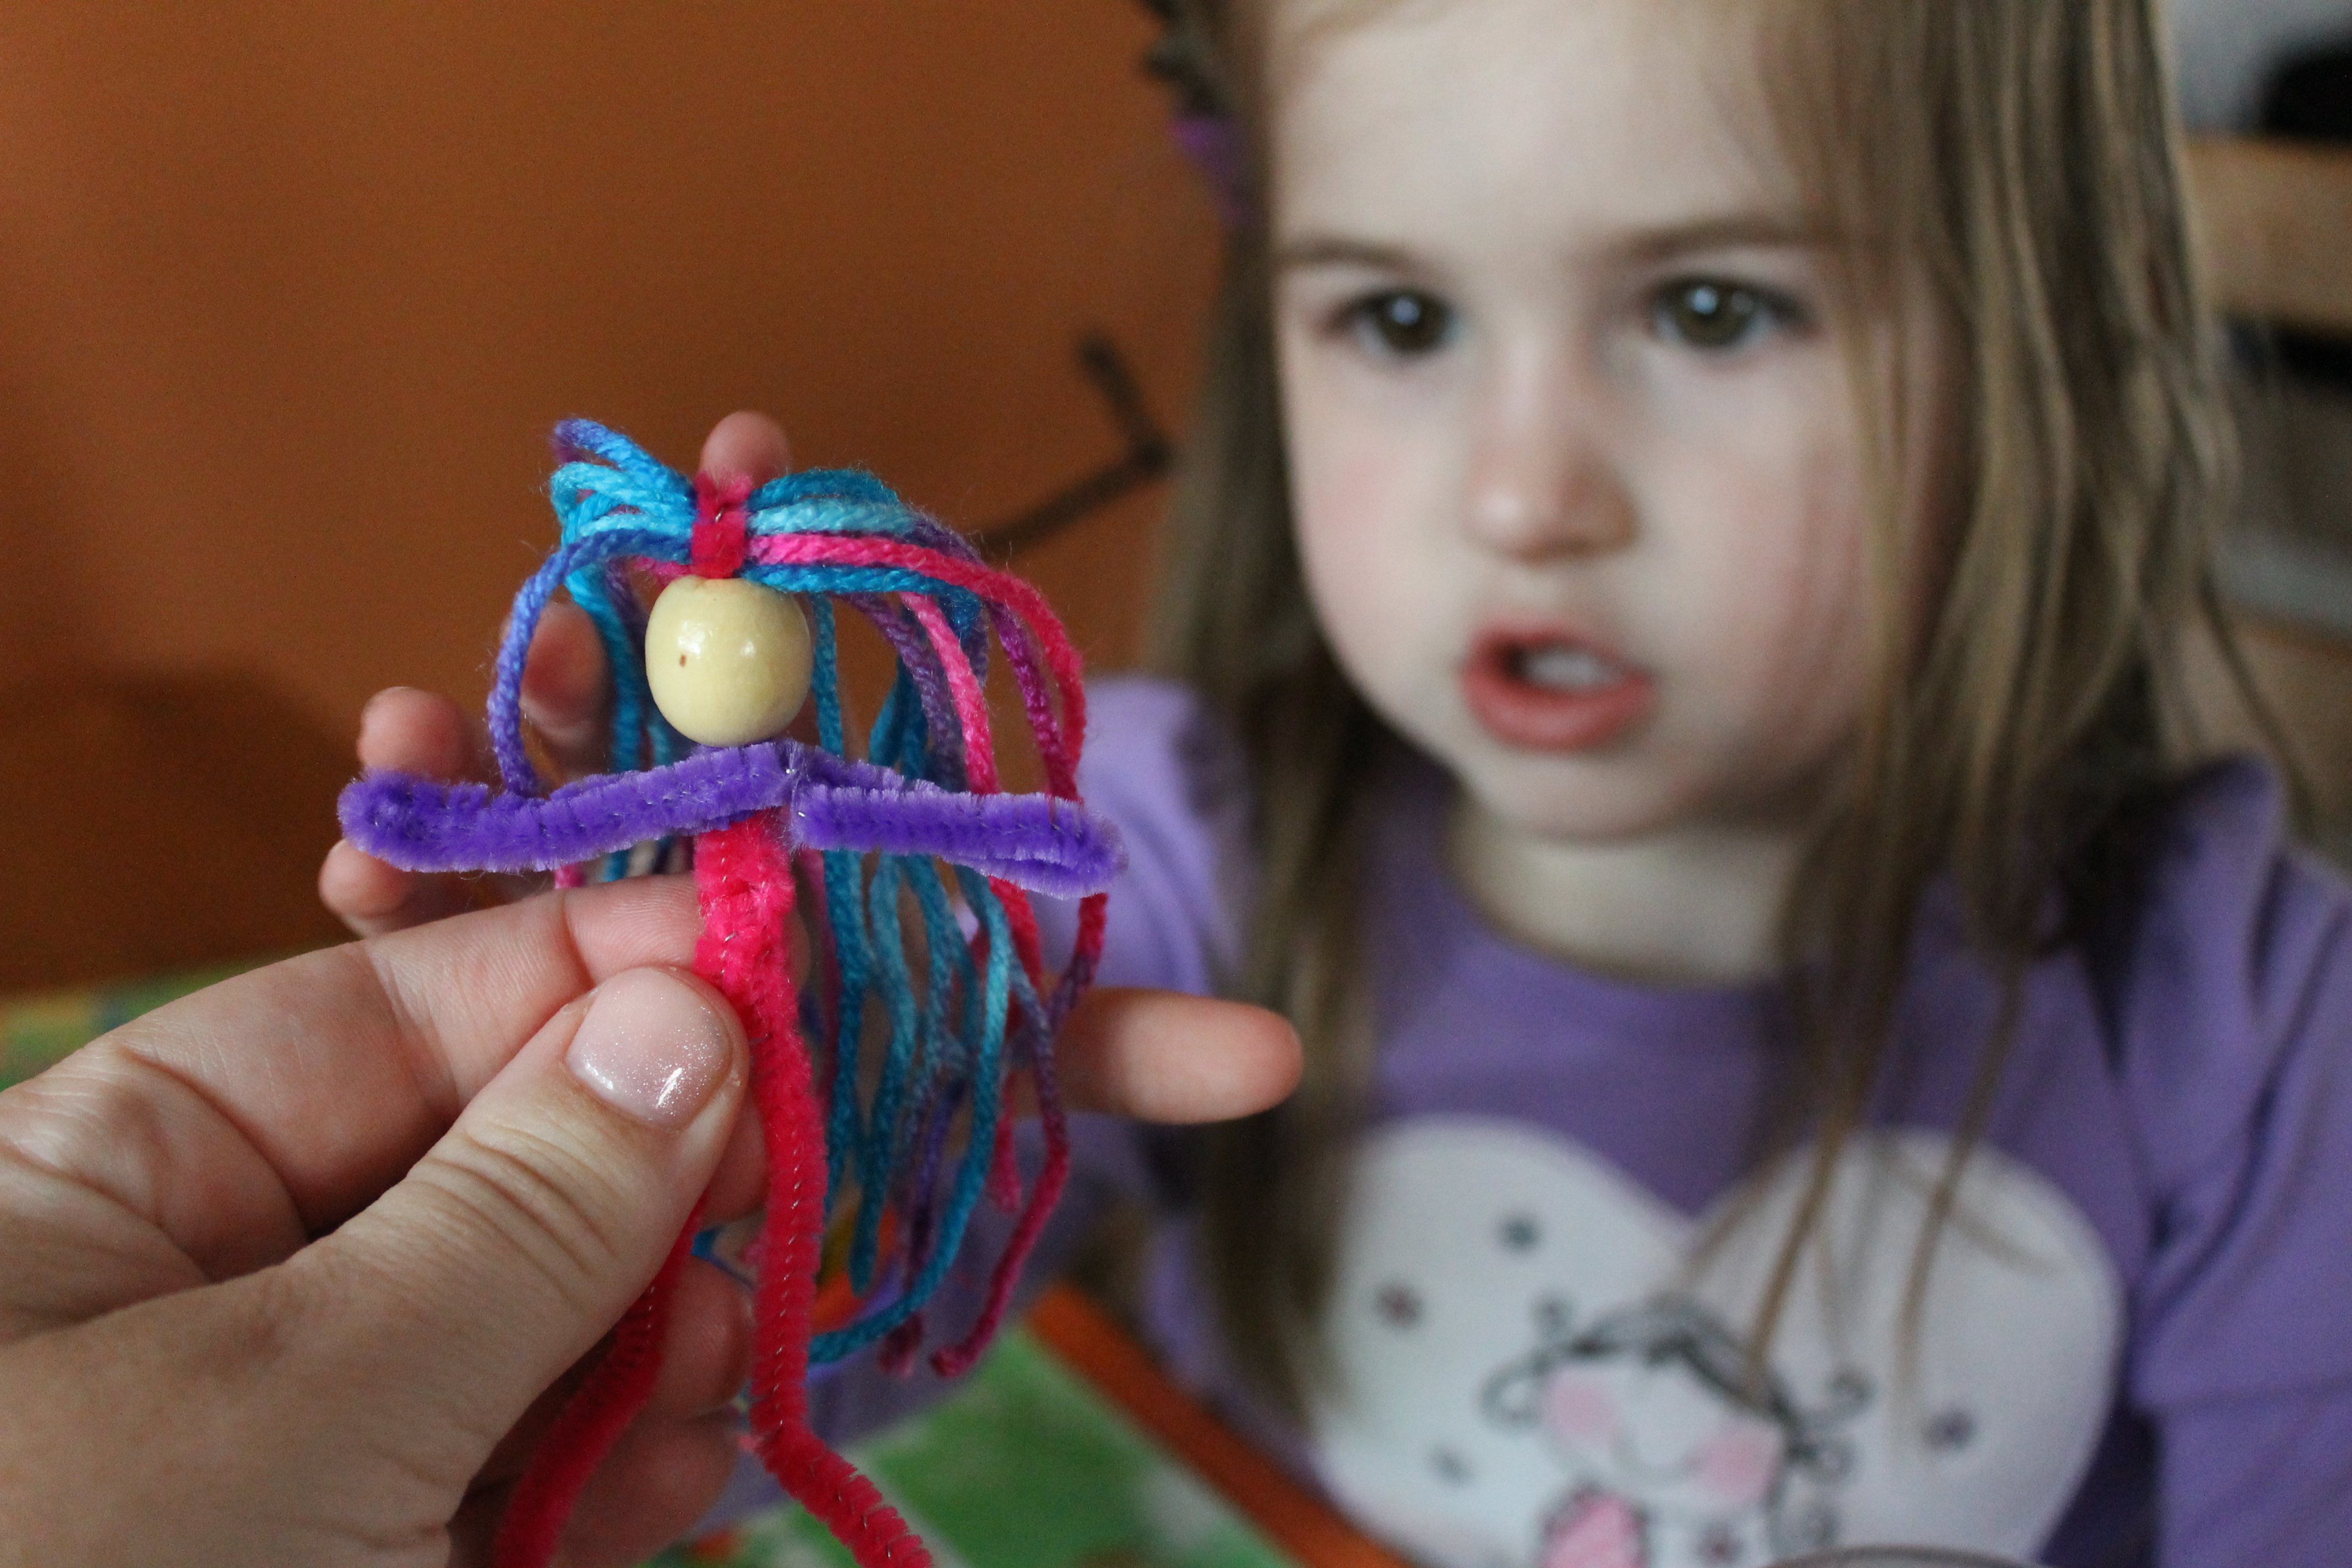
Now, take your bead with a larger hole. We used a wooden one. This is going to be your fairy's head. Thread the bead down both ends of the pipe cleaner until you can't go any further.
Step 4
Now, turn the pipe cleaner over so the head is at the top. Take the pipe cleaner that you cut in half and twist it under the head. This will be your fairy's arms and neck.
Step 5
Bend the arms in (if you like).
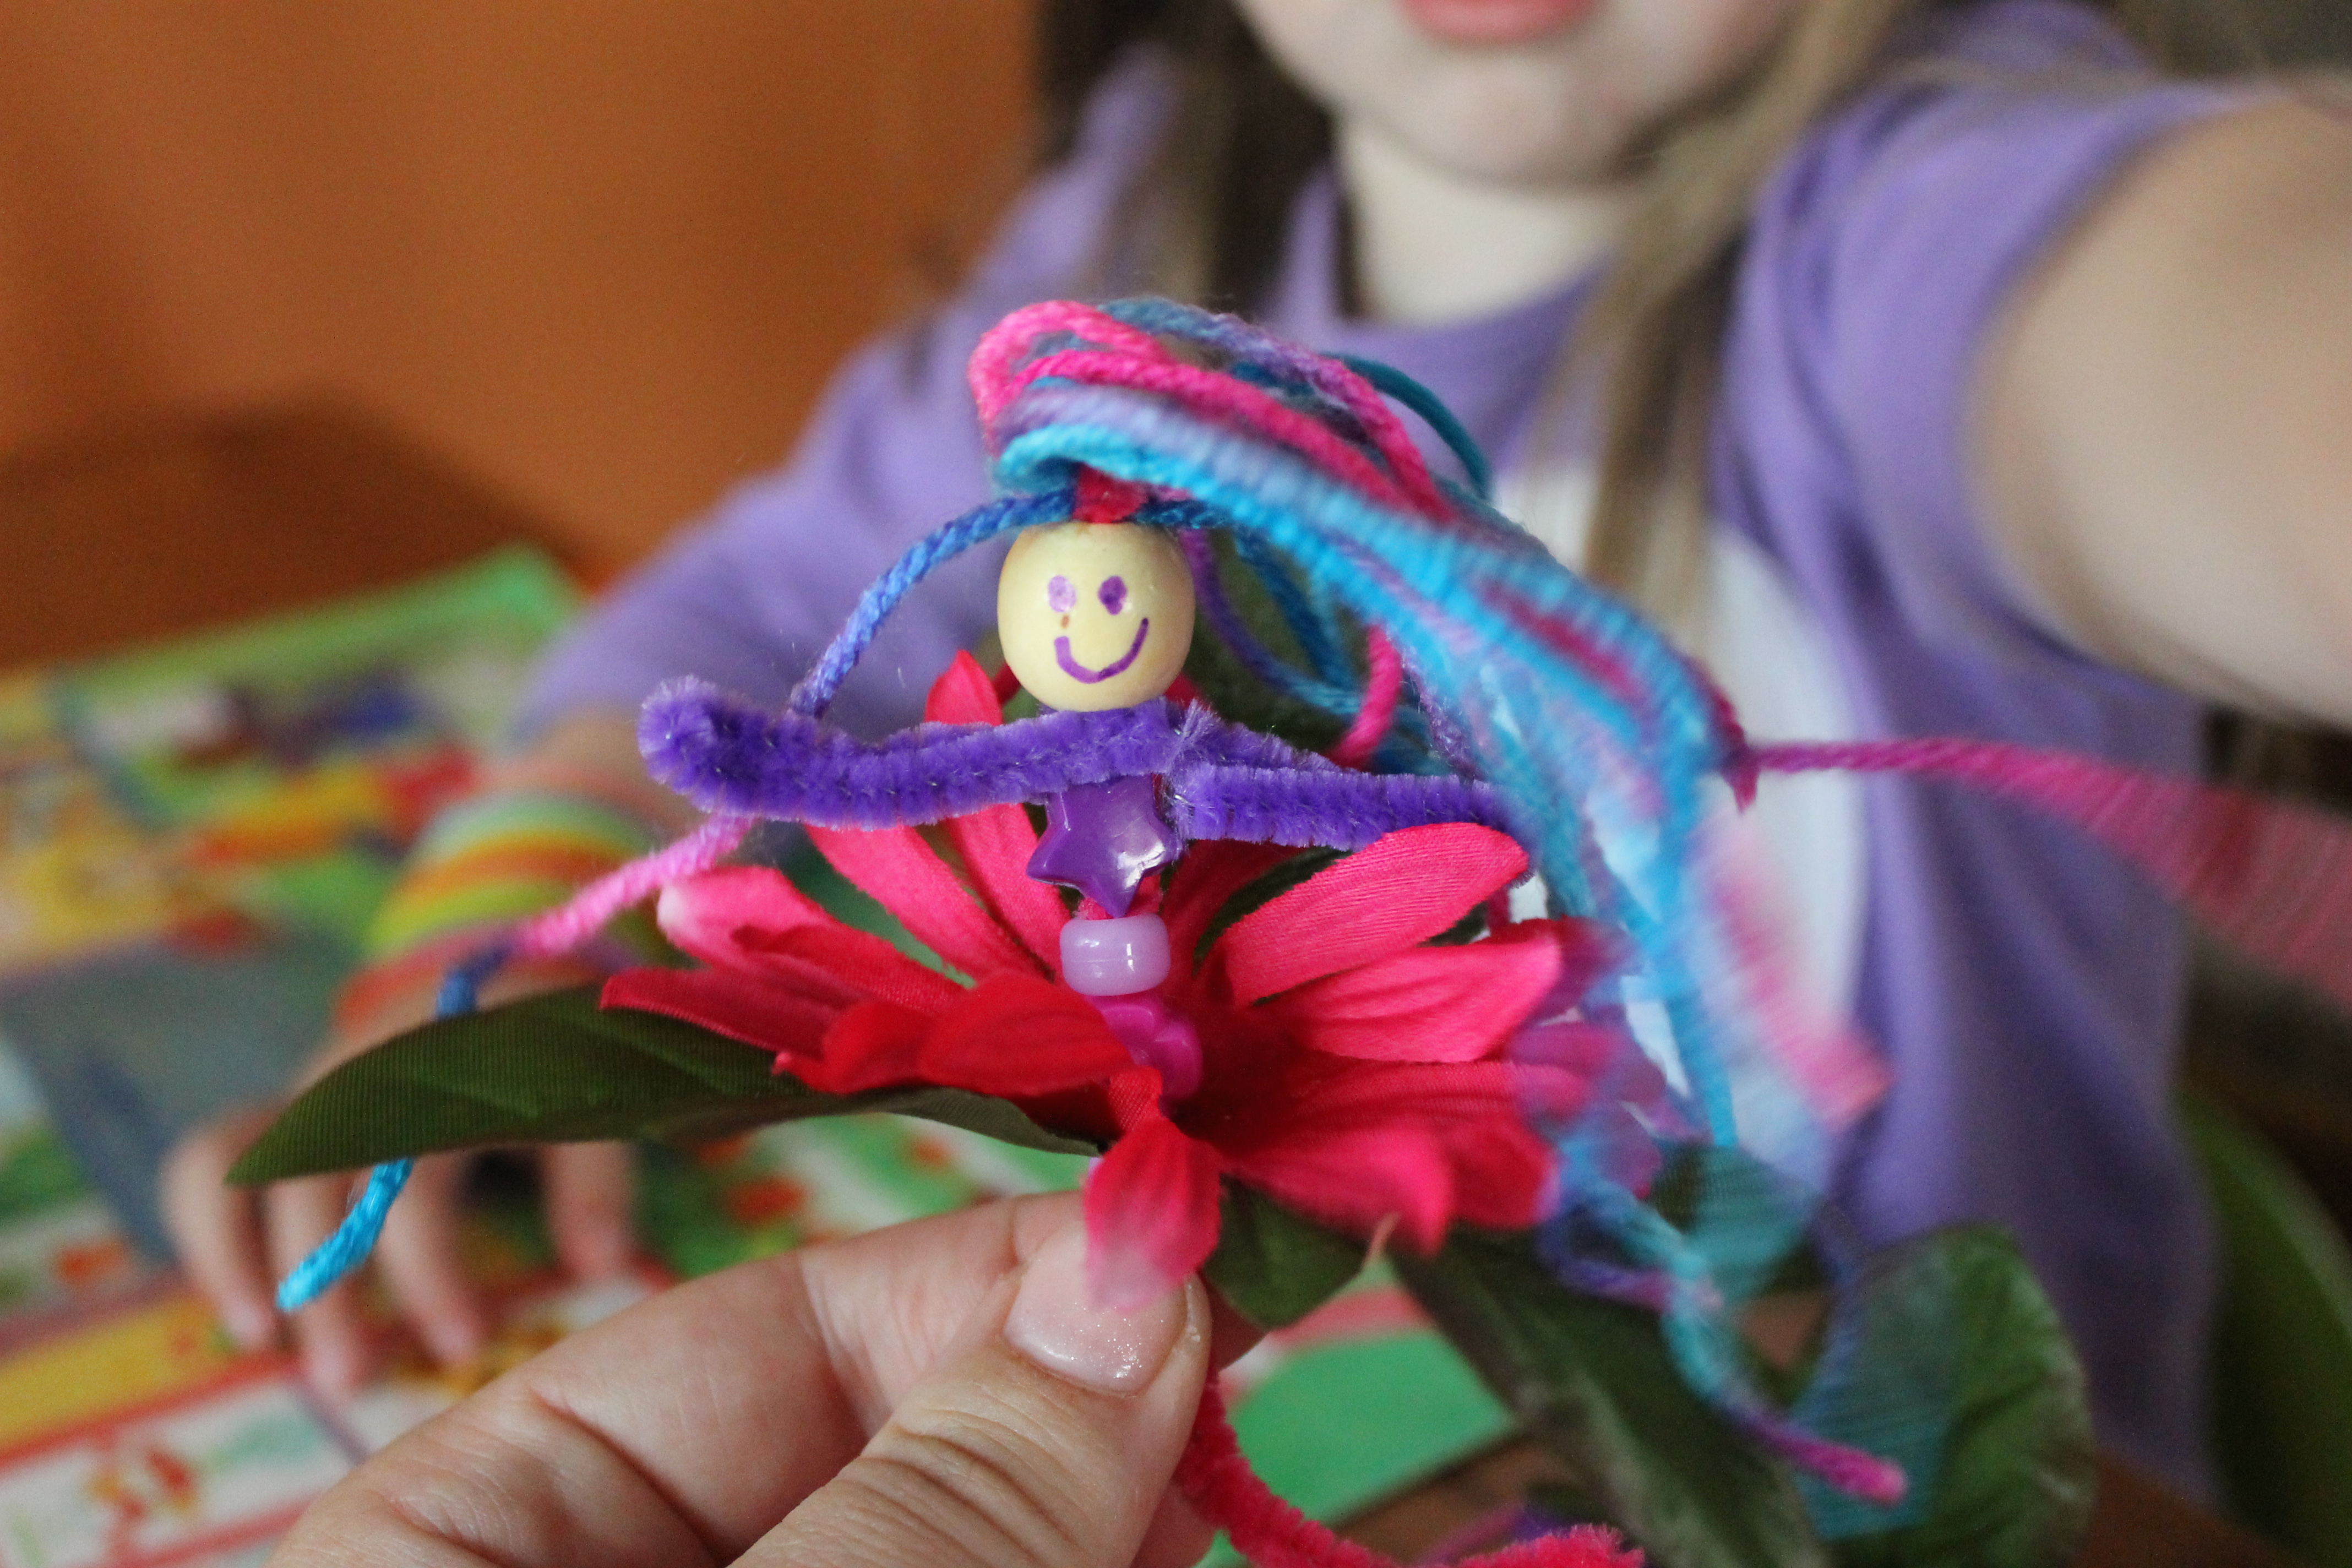
Step 6
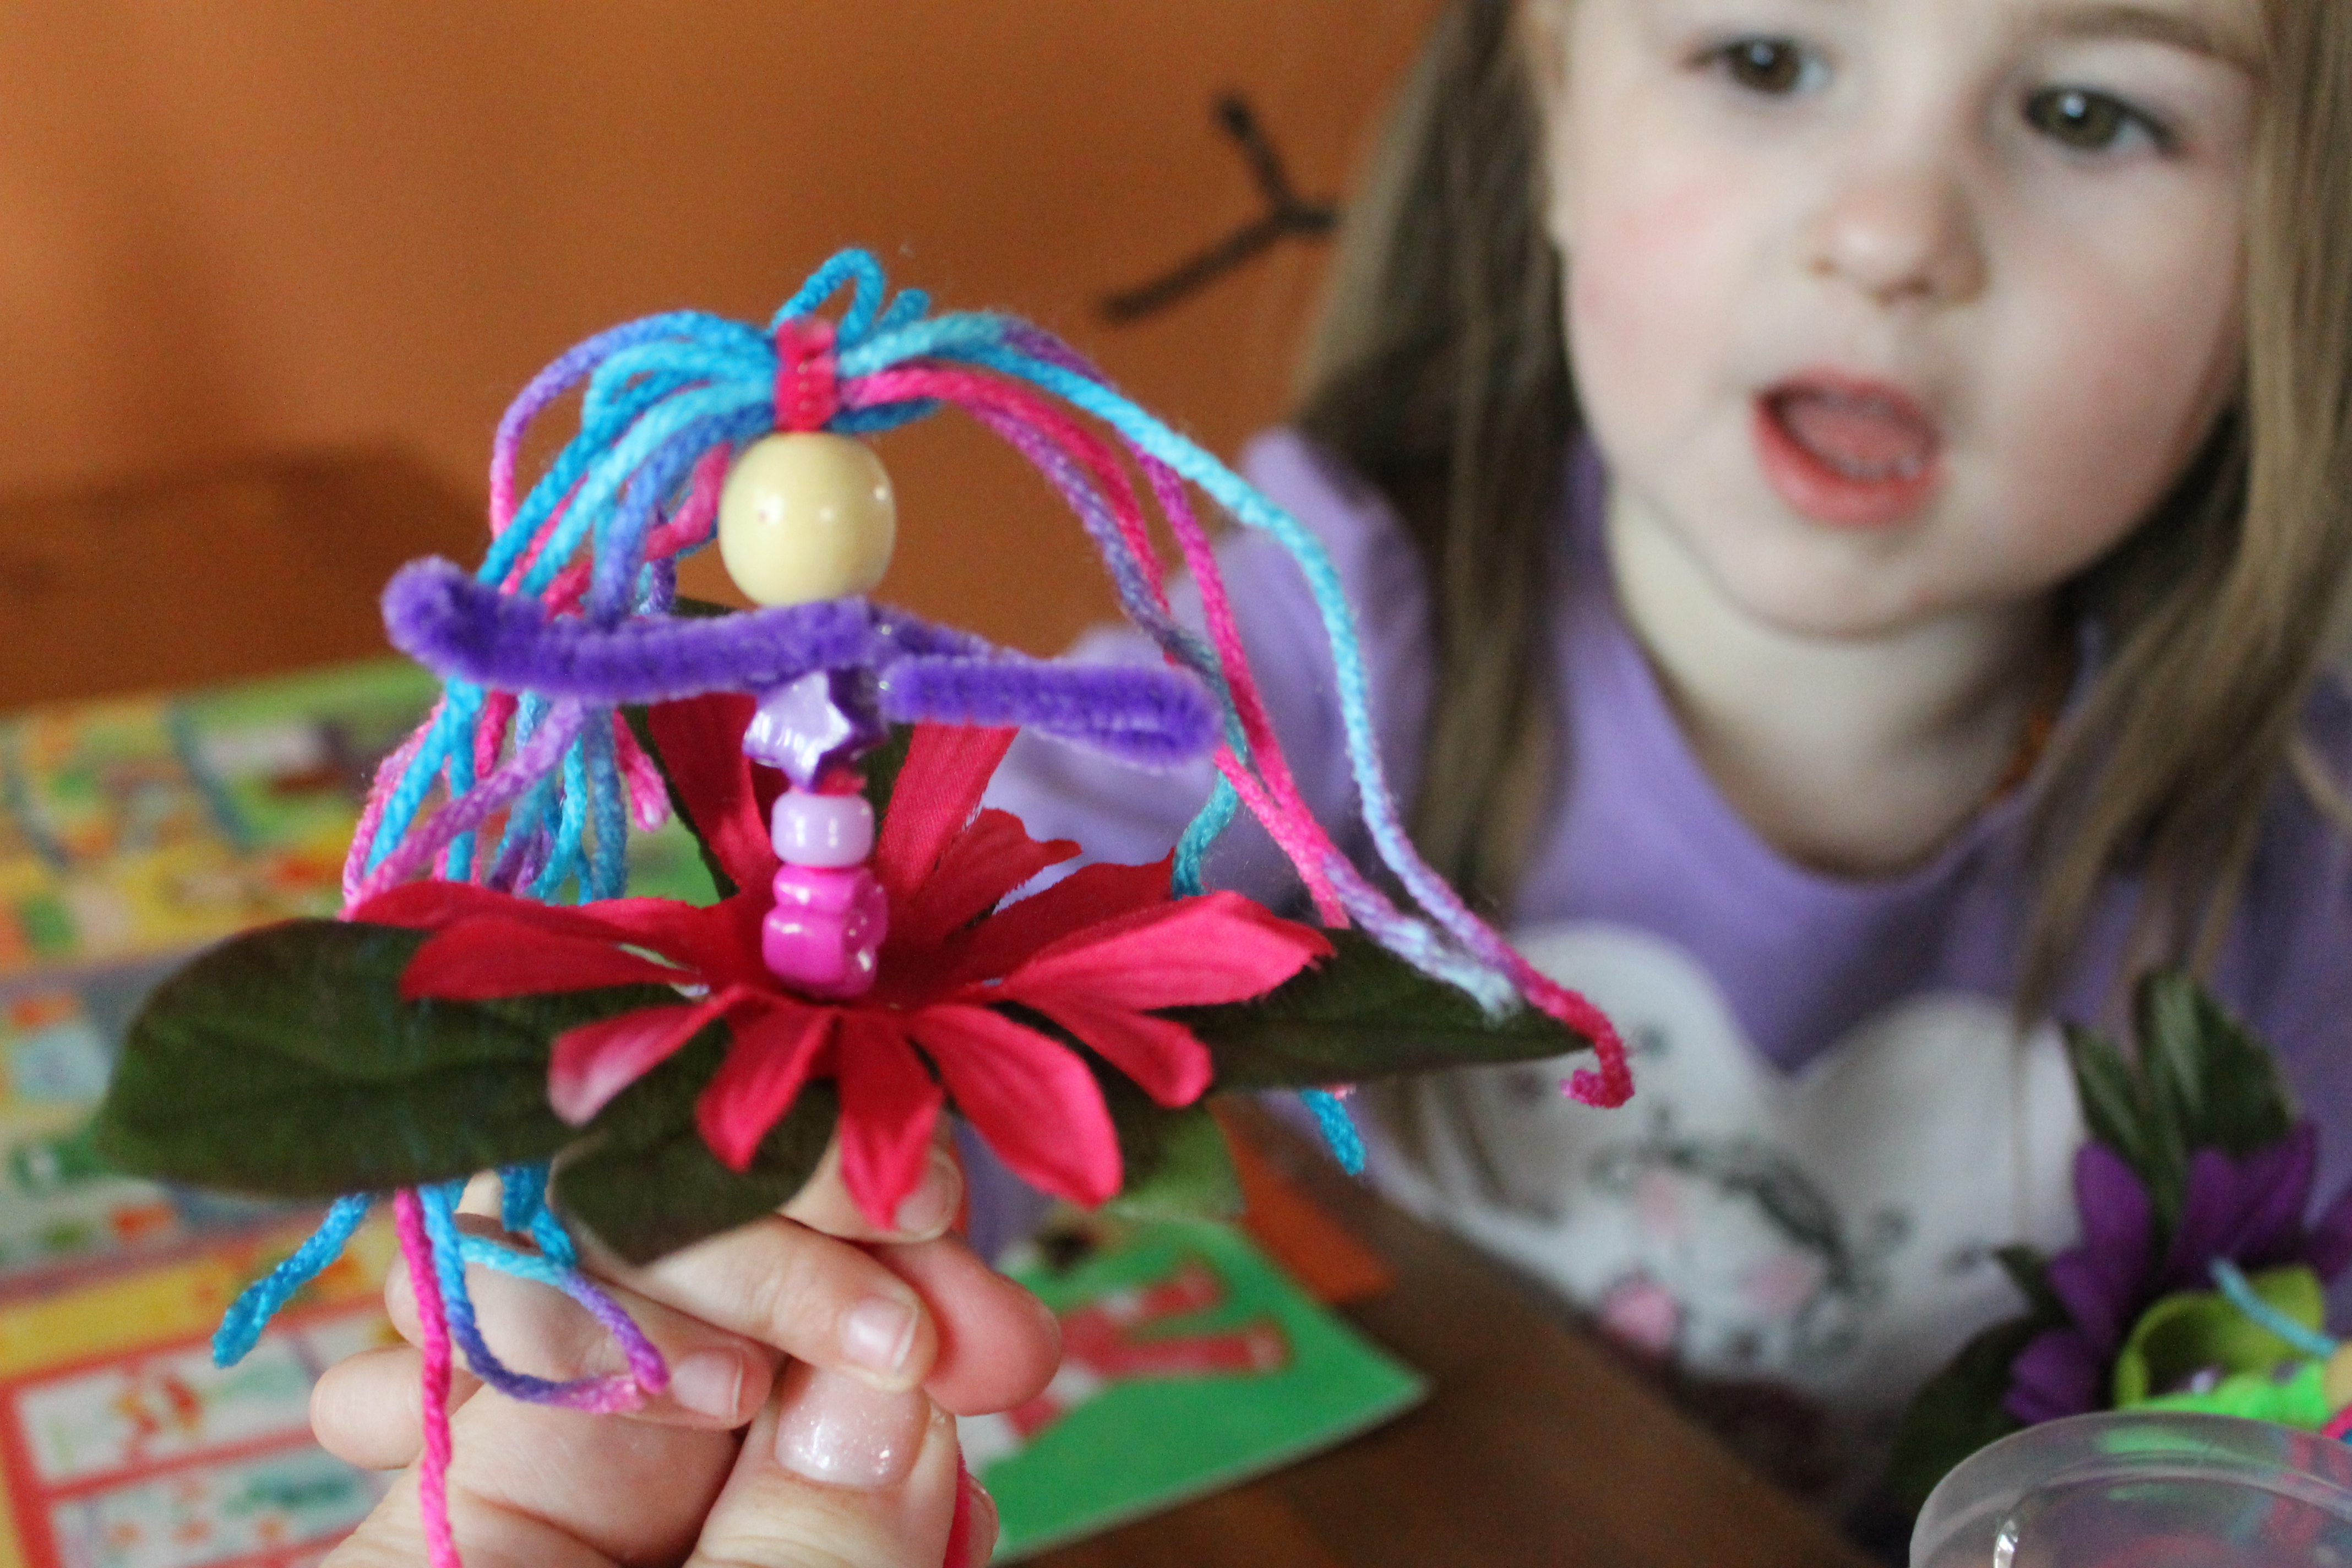
Now, you are going to give your fairy some style. Add 2-3 pony beads to the bottom of the pipe cleaner. My daughter choose 2 regular pony beads and a flowered one.

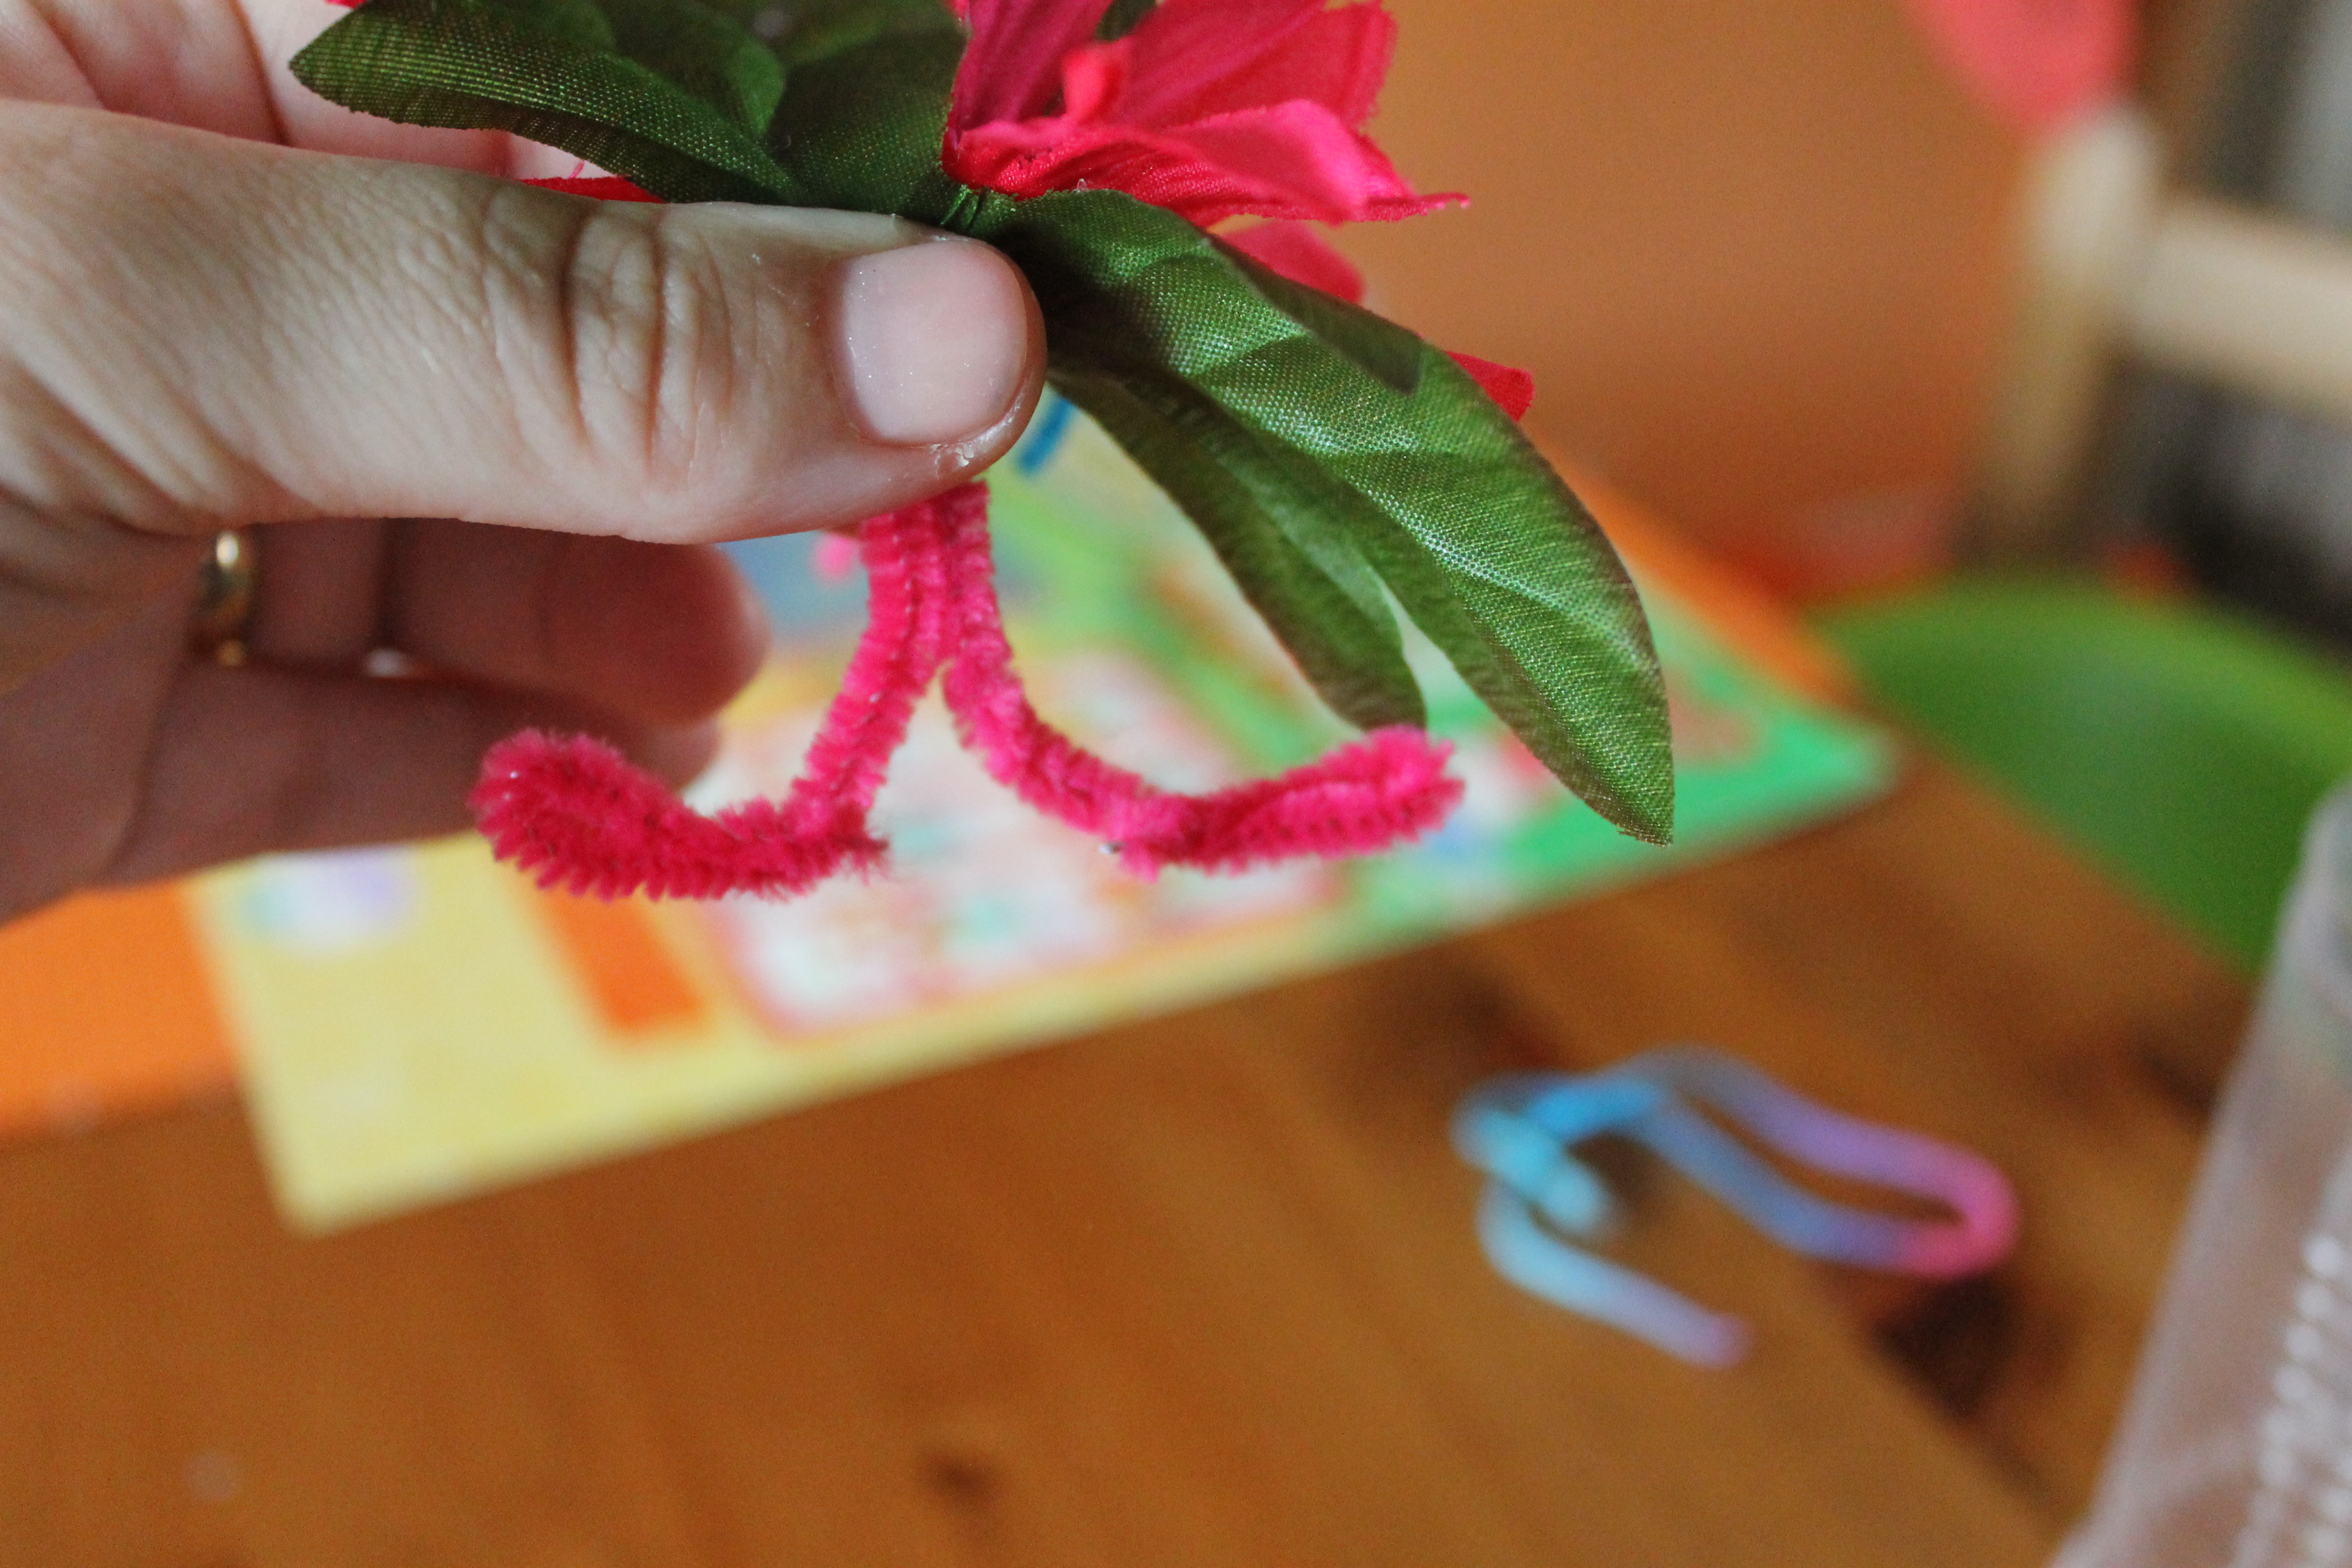
Step 7
Now it's fairy fashion time! Take your silk flowers and clip or cut off the flowers and leaves. Once you do that, there is a hole left in the middle. Feed those up the pipe cleaner for a skirt, dress, and/or petticoat!
Step 8
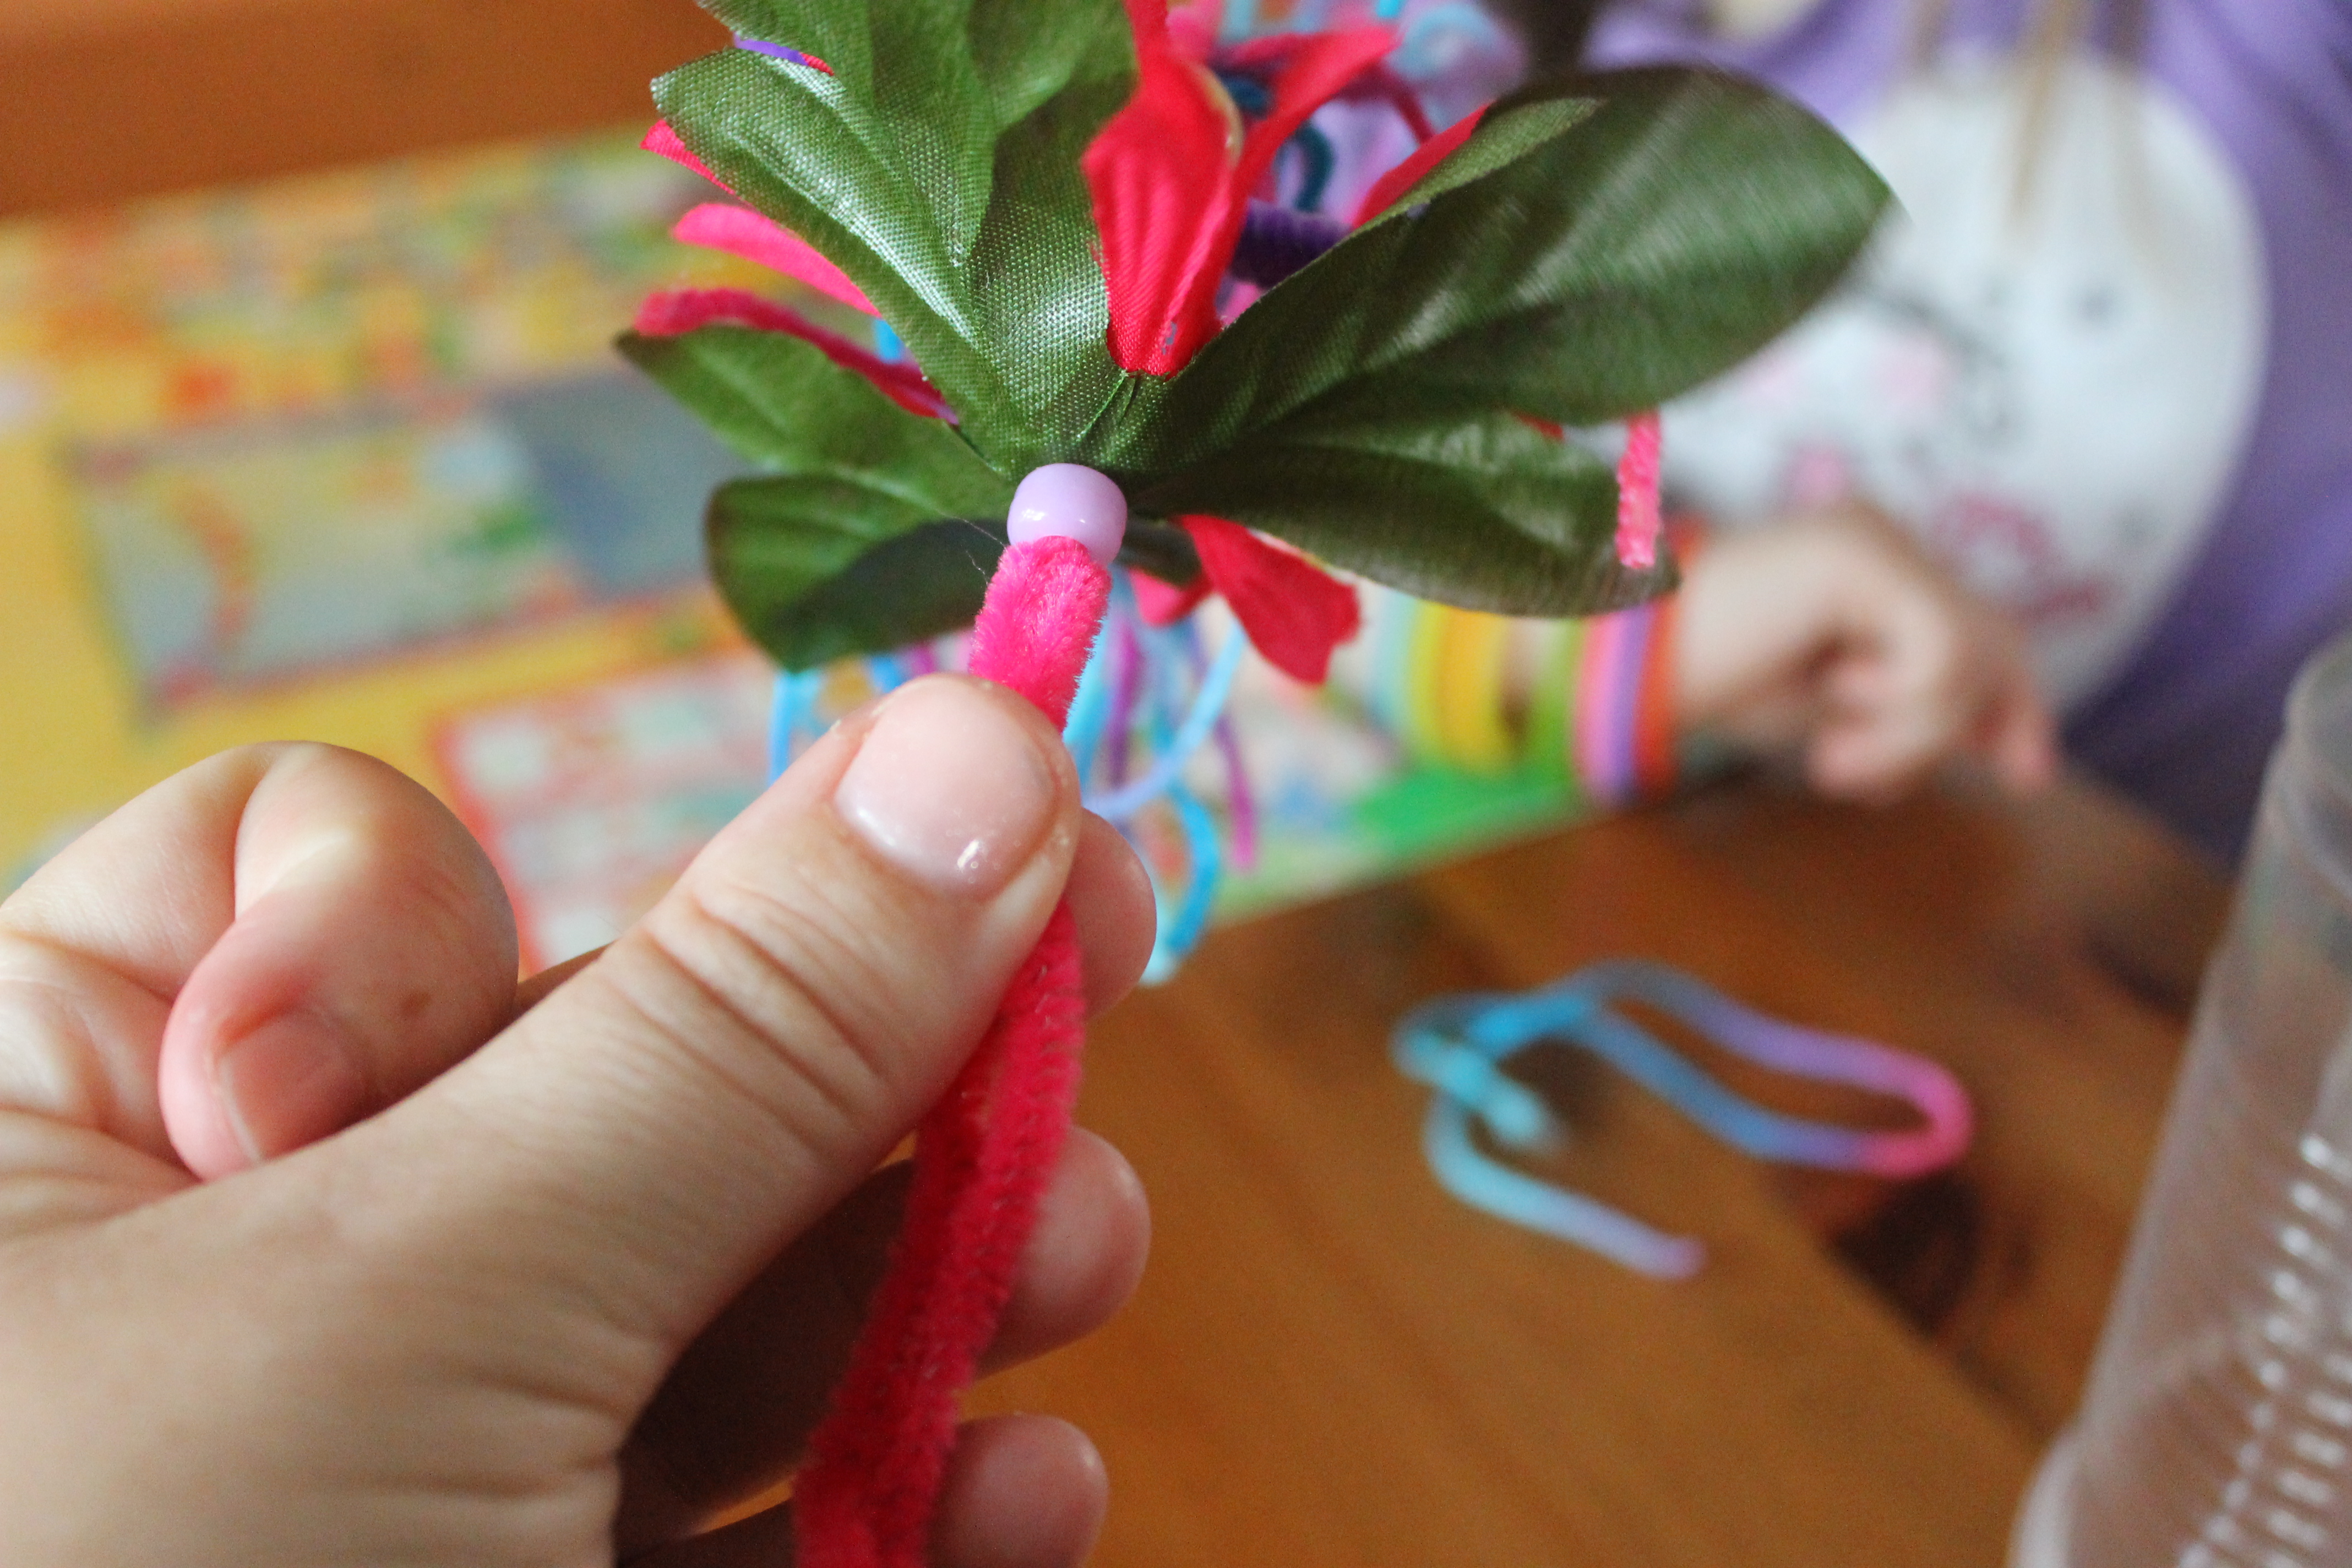
Add one final bead underneath the skirt to secure the clothing in place. My daughter chose and loved this pink and purple combination!
Step 9
Bend the pipe cleaner at the bottom to make feet. If you want your fairy to be shorter just snip the pipe cleaners off. My daughter wanted her fairy to be "tall" as she said.
Step 10
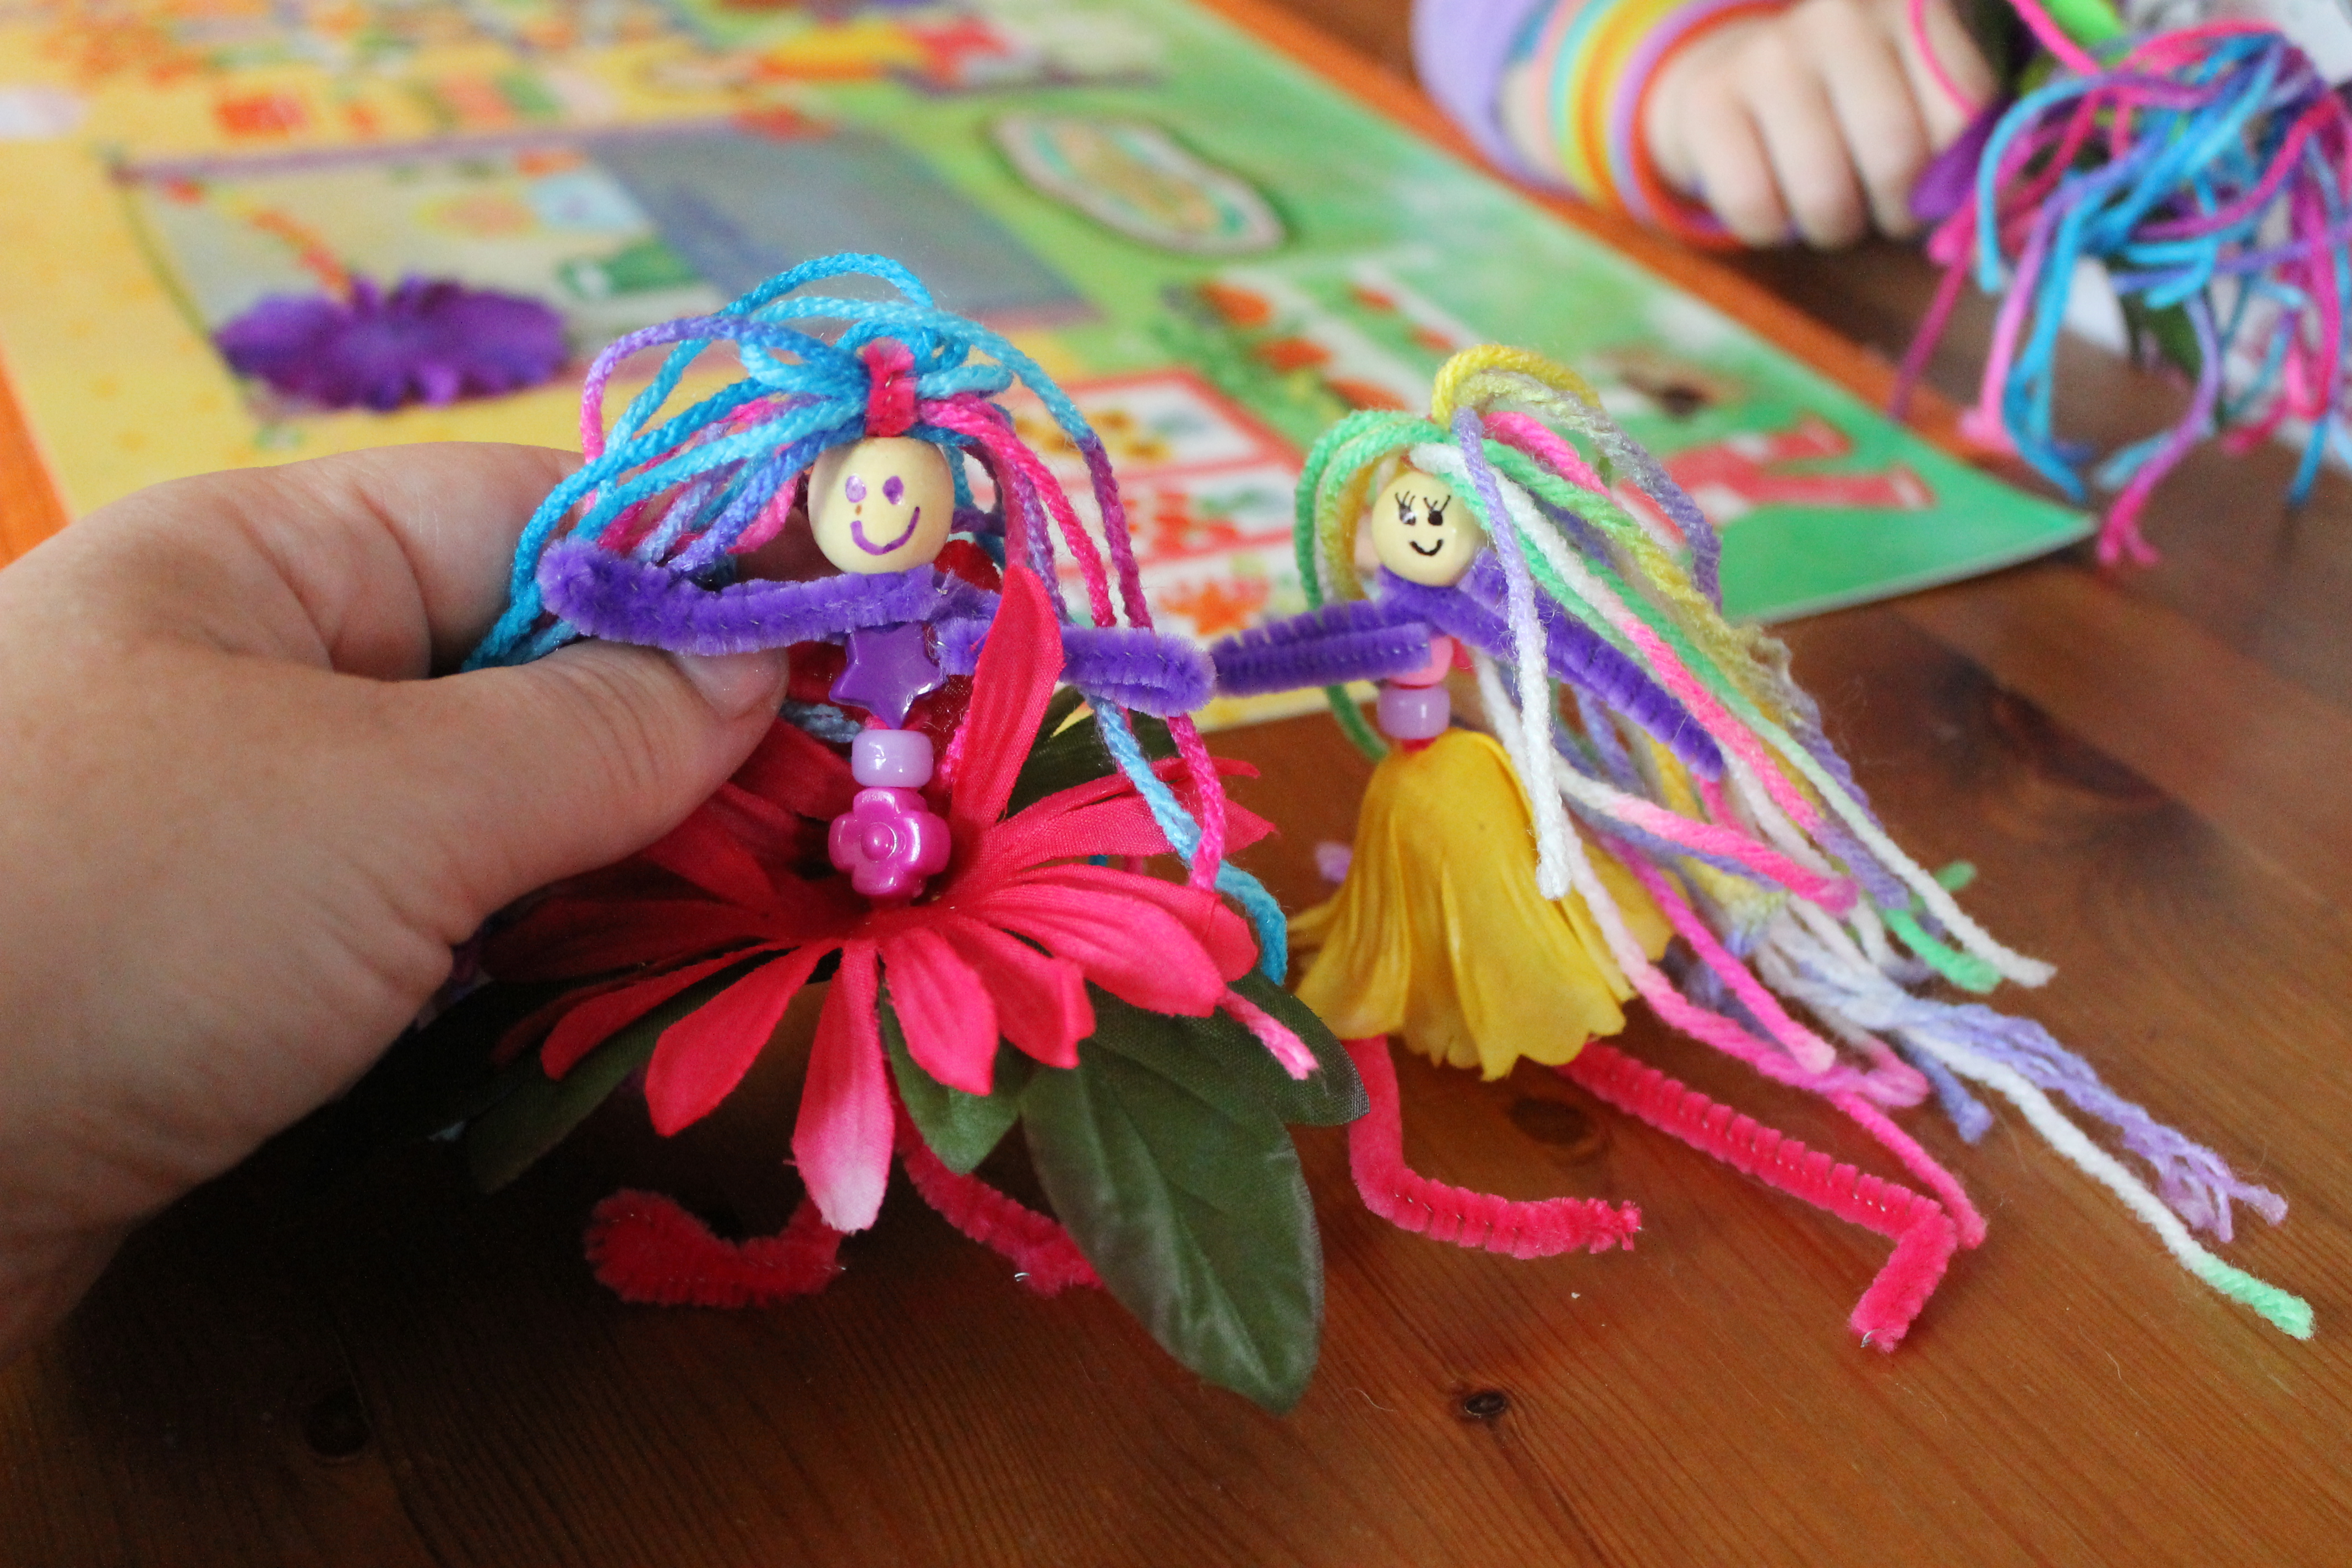
Lastly, take a sharpie and draw a cute fairy face on the wooden bead head. My daughter named her fairy "Lullabelle".
Final result!
Cut your fairy's hair shorter if you like, or leave it wilderness- wild! Make more fairies and have a fairy party!