Step-by-step tutorial
Step 1
First, I cut postcard-sized rectangles out of cardboard. Then the kids covered one side of the cardboard with glue.


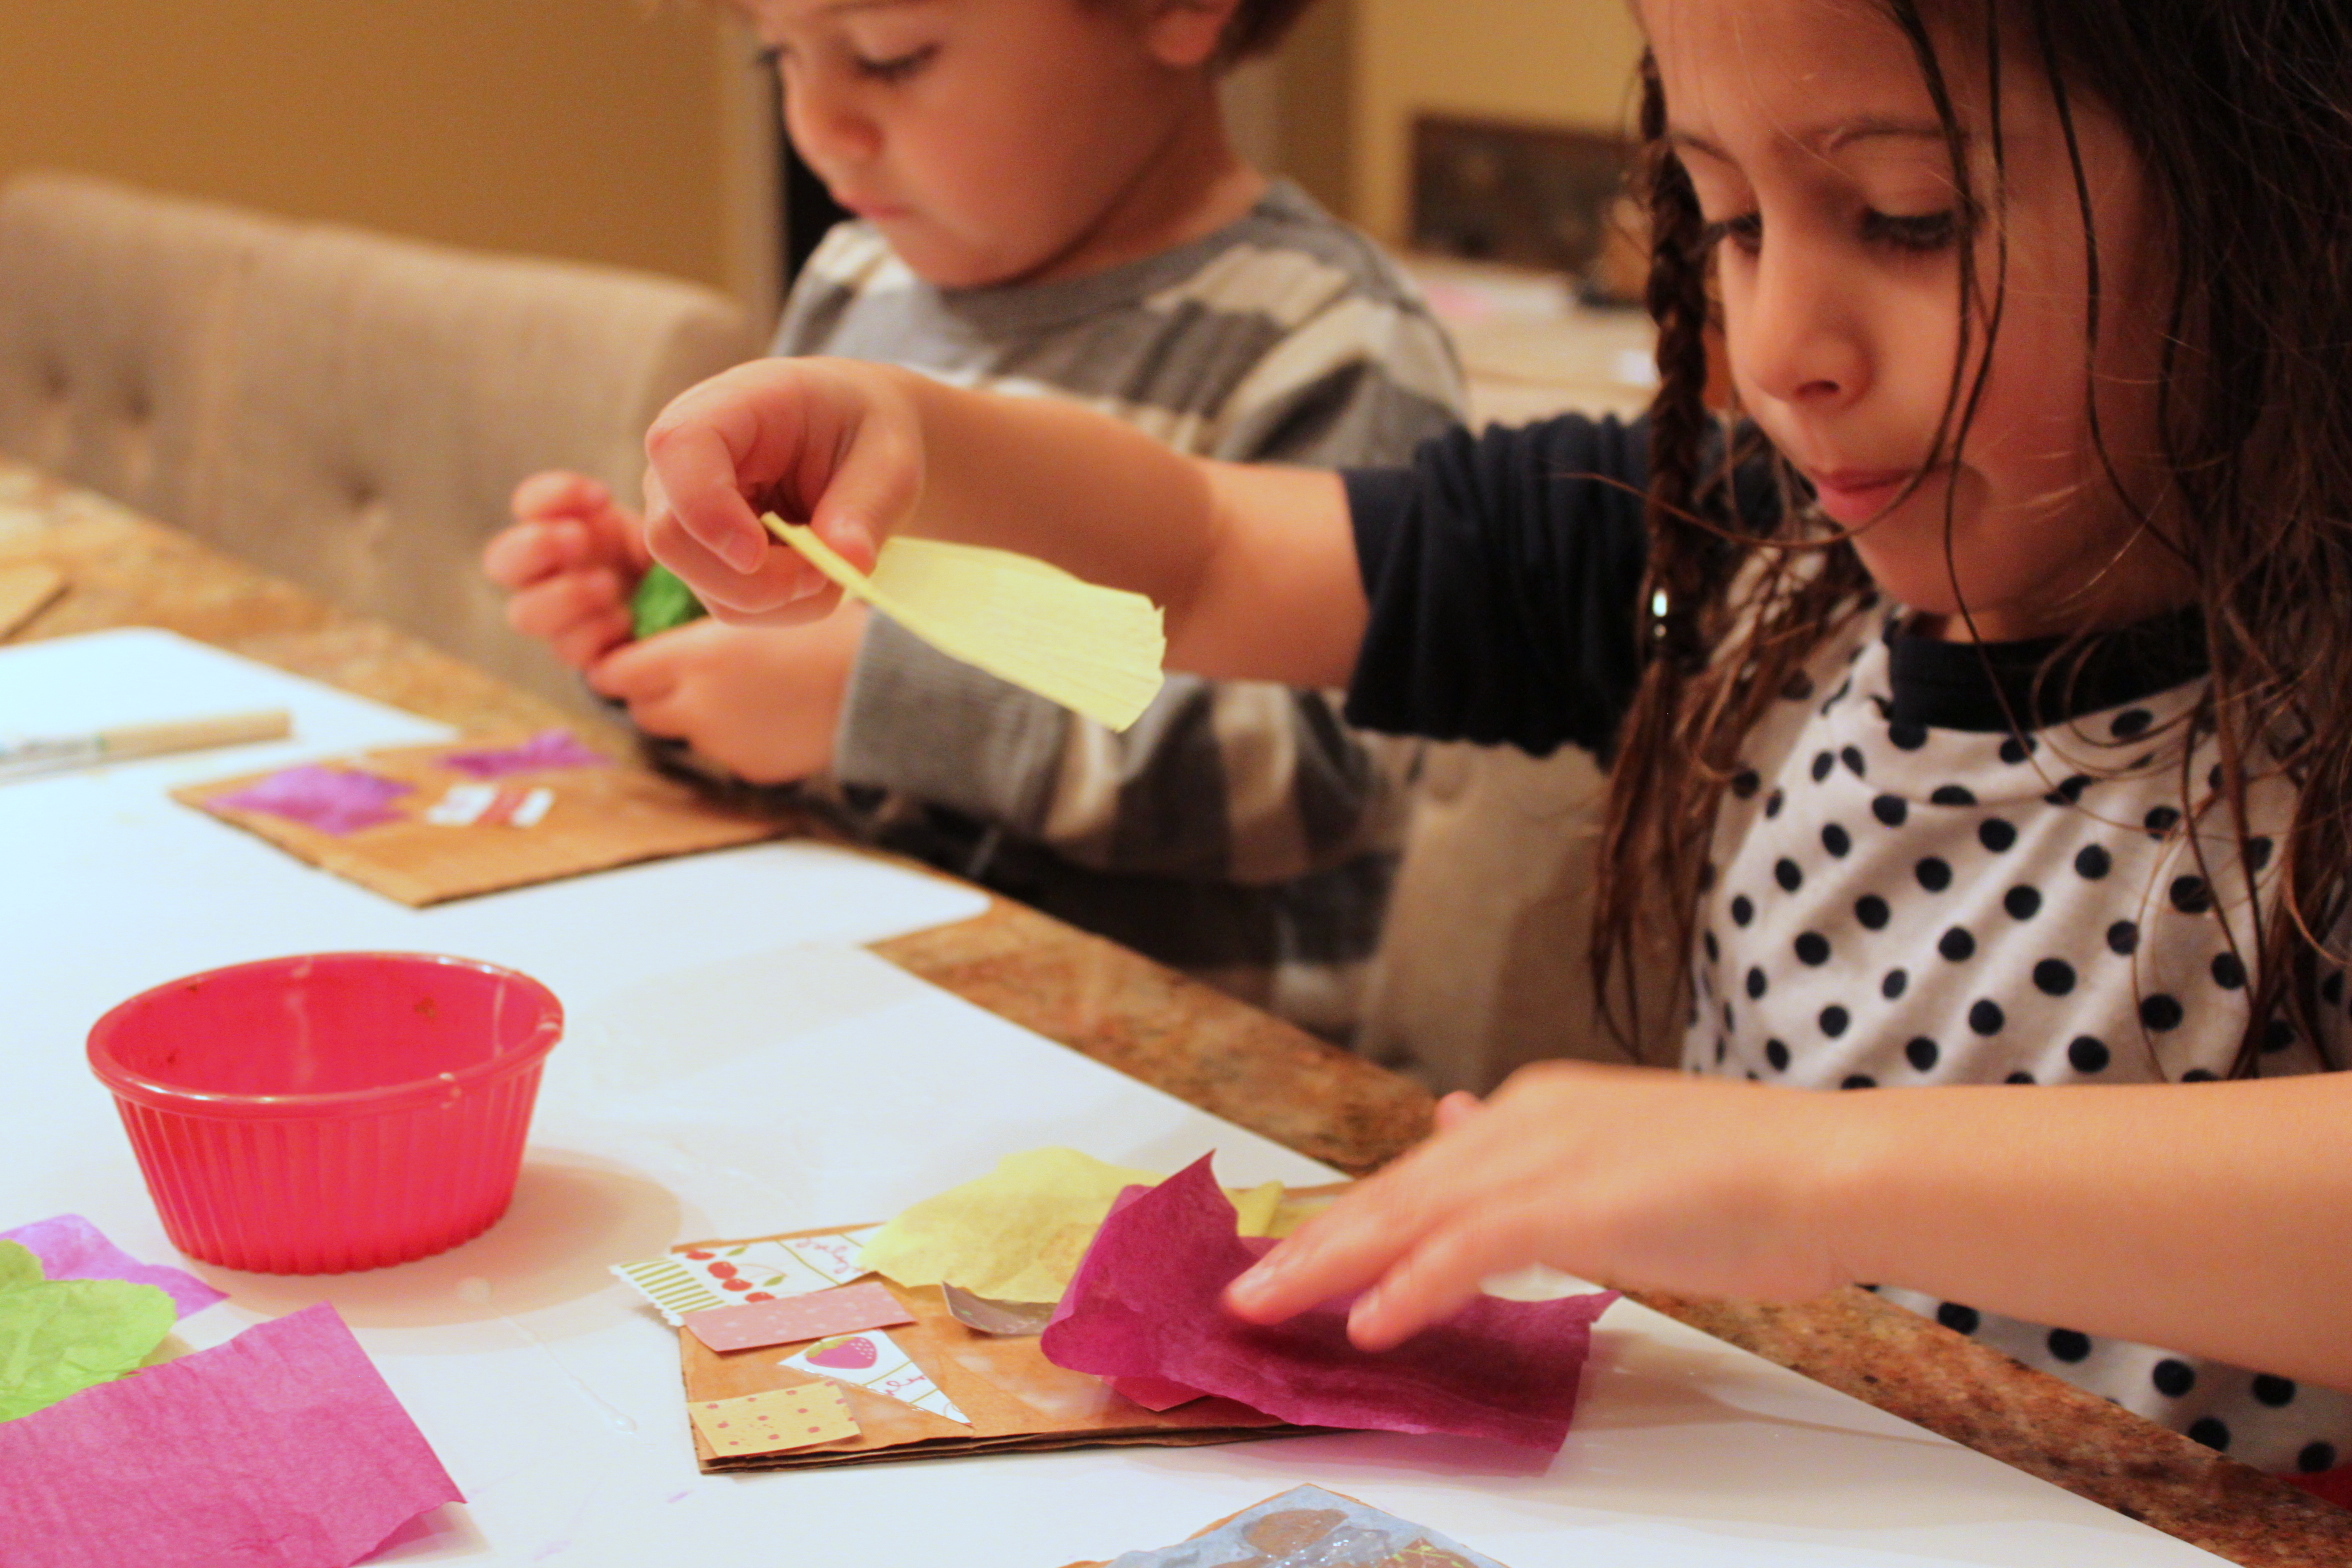
Step 2
Then they covered the glue with squares of paper and tissue paper.
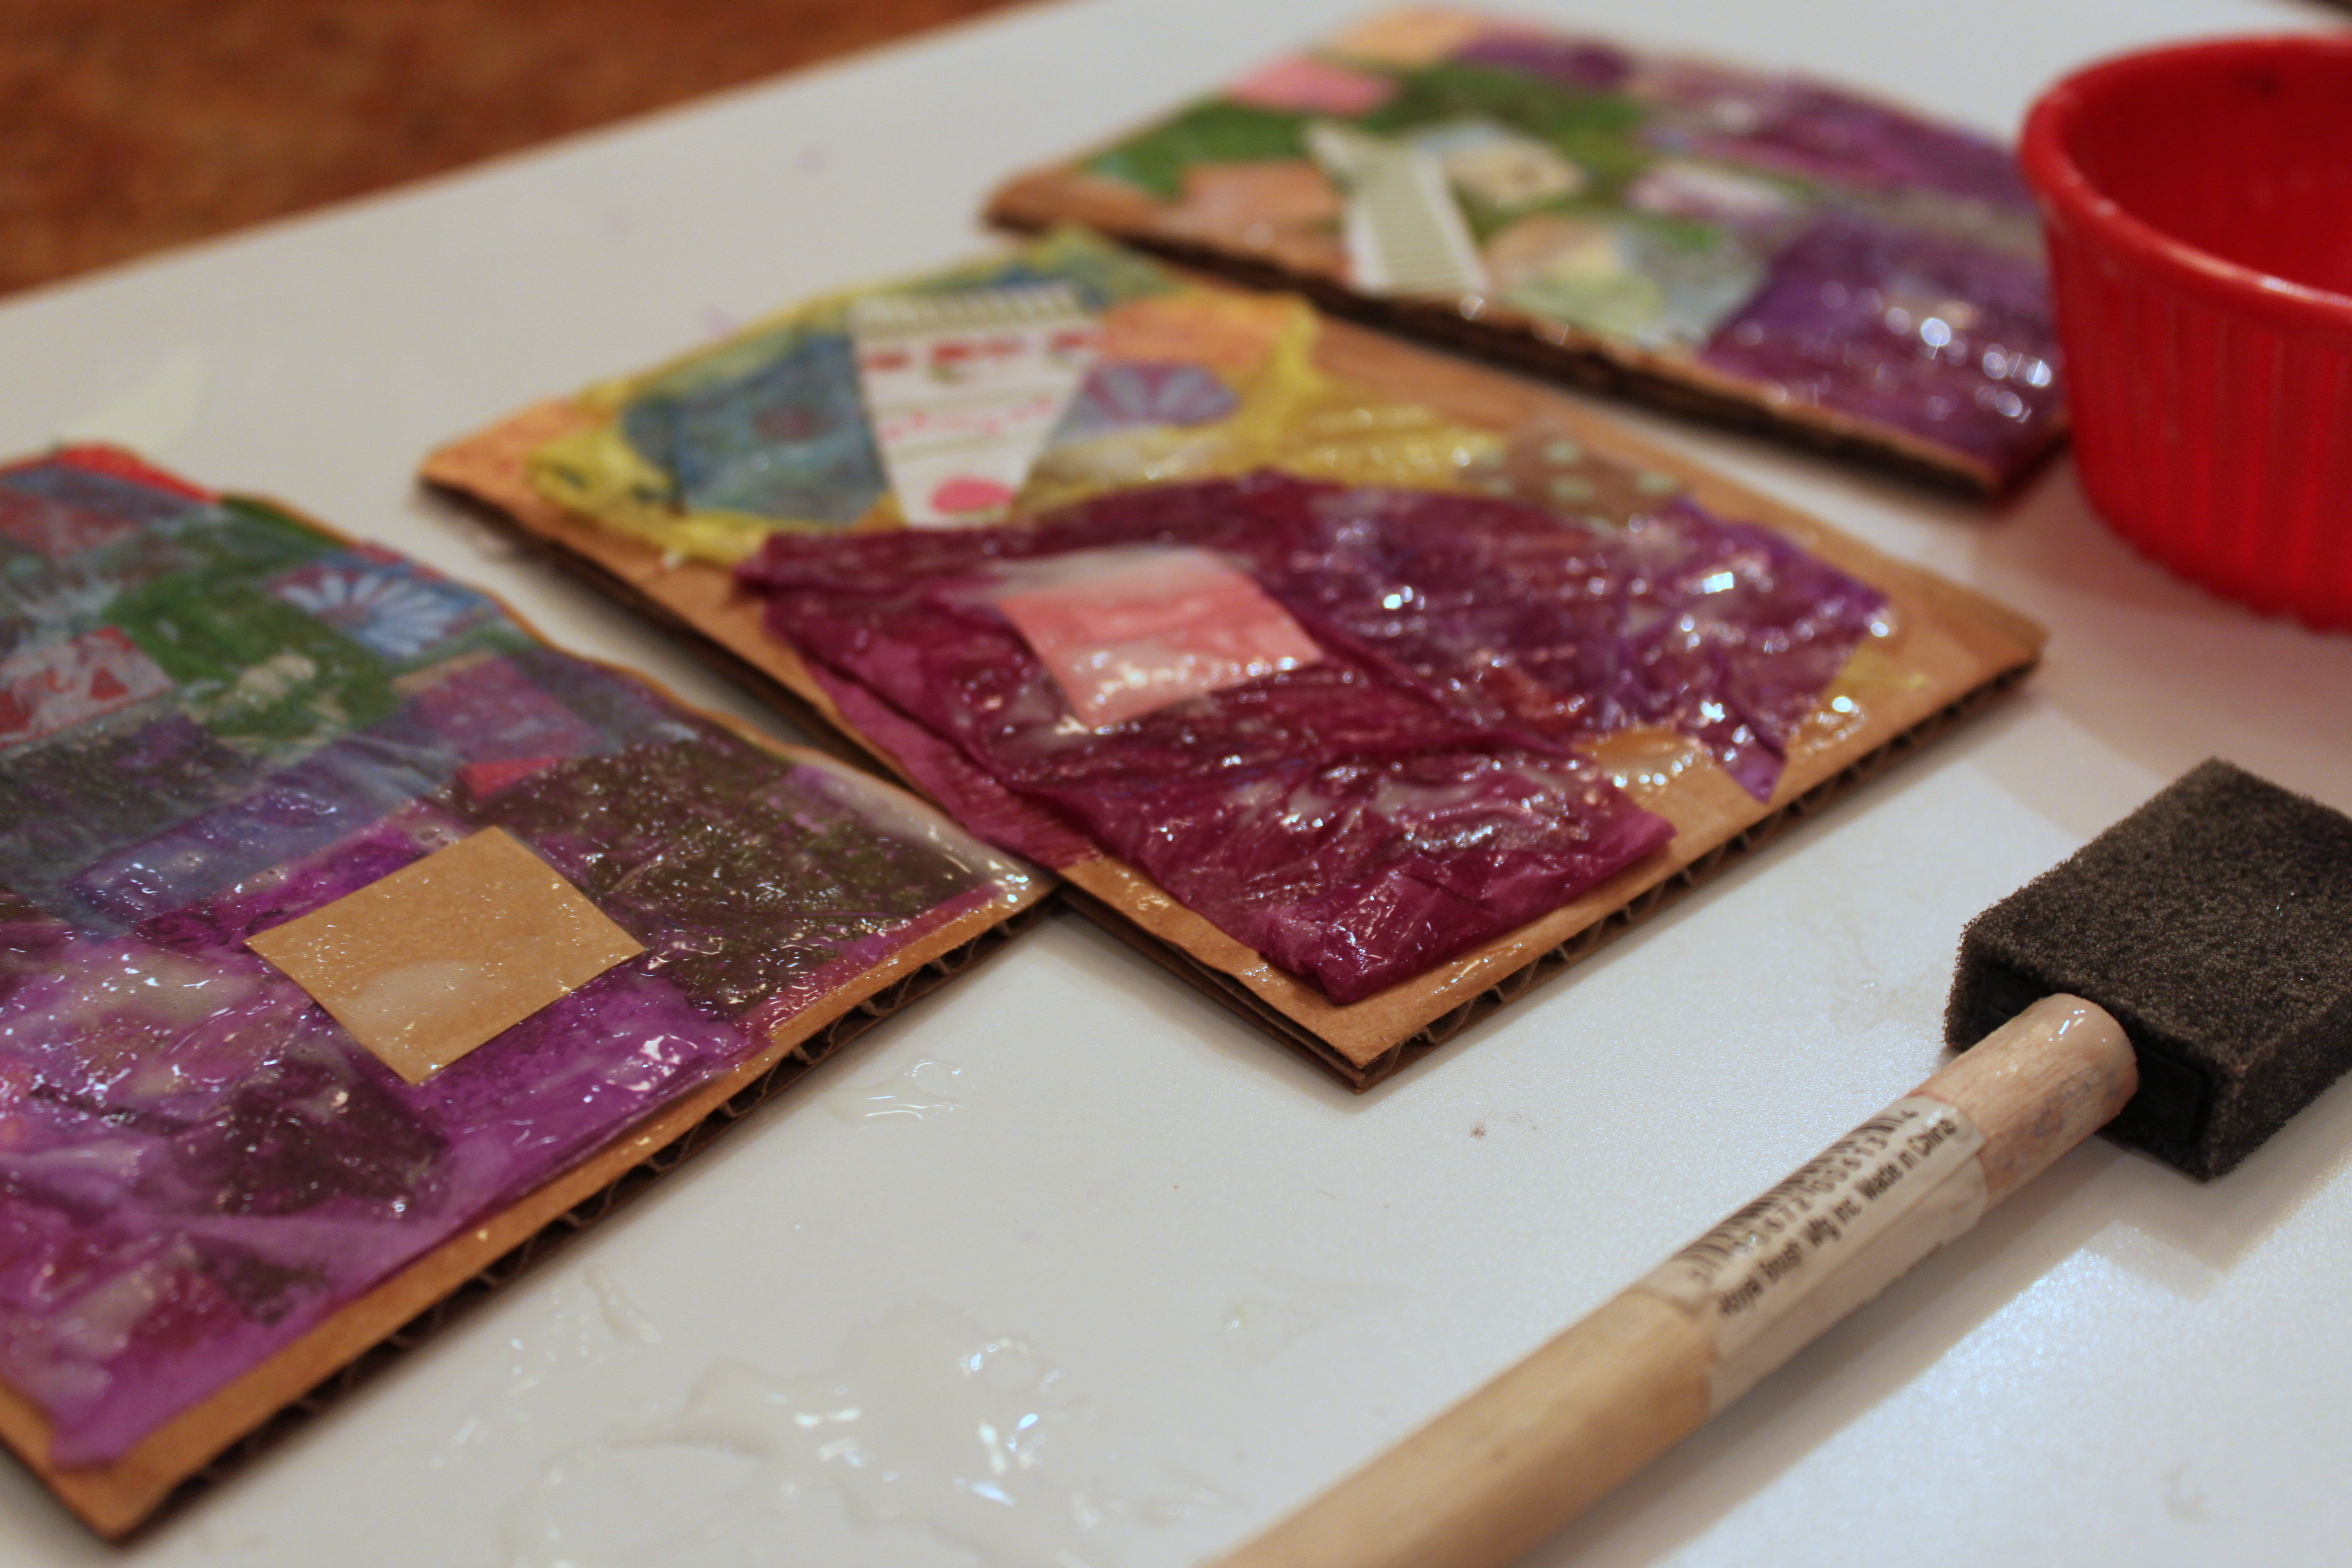
Step 3
Once they were happy with their postcard design, we added one more layer of glue to seal the designs and set aside the postcards to dry.
Step 4
When the postcards were dry we got to sit and chat about how to address a postcard and why we address them. My five-year-old was so interested in this and really enjoyed writing everything herself.
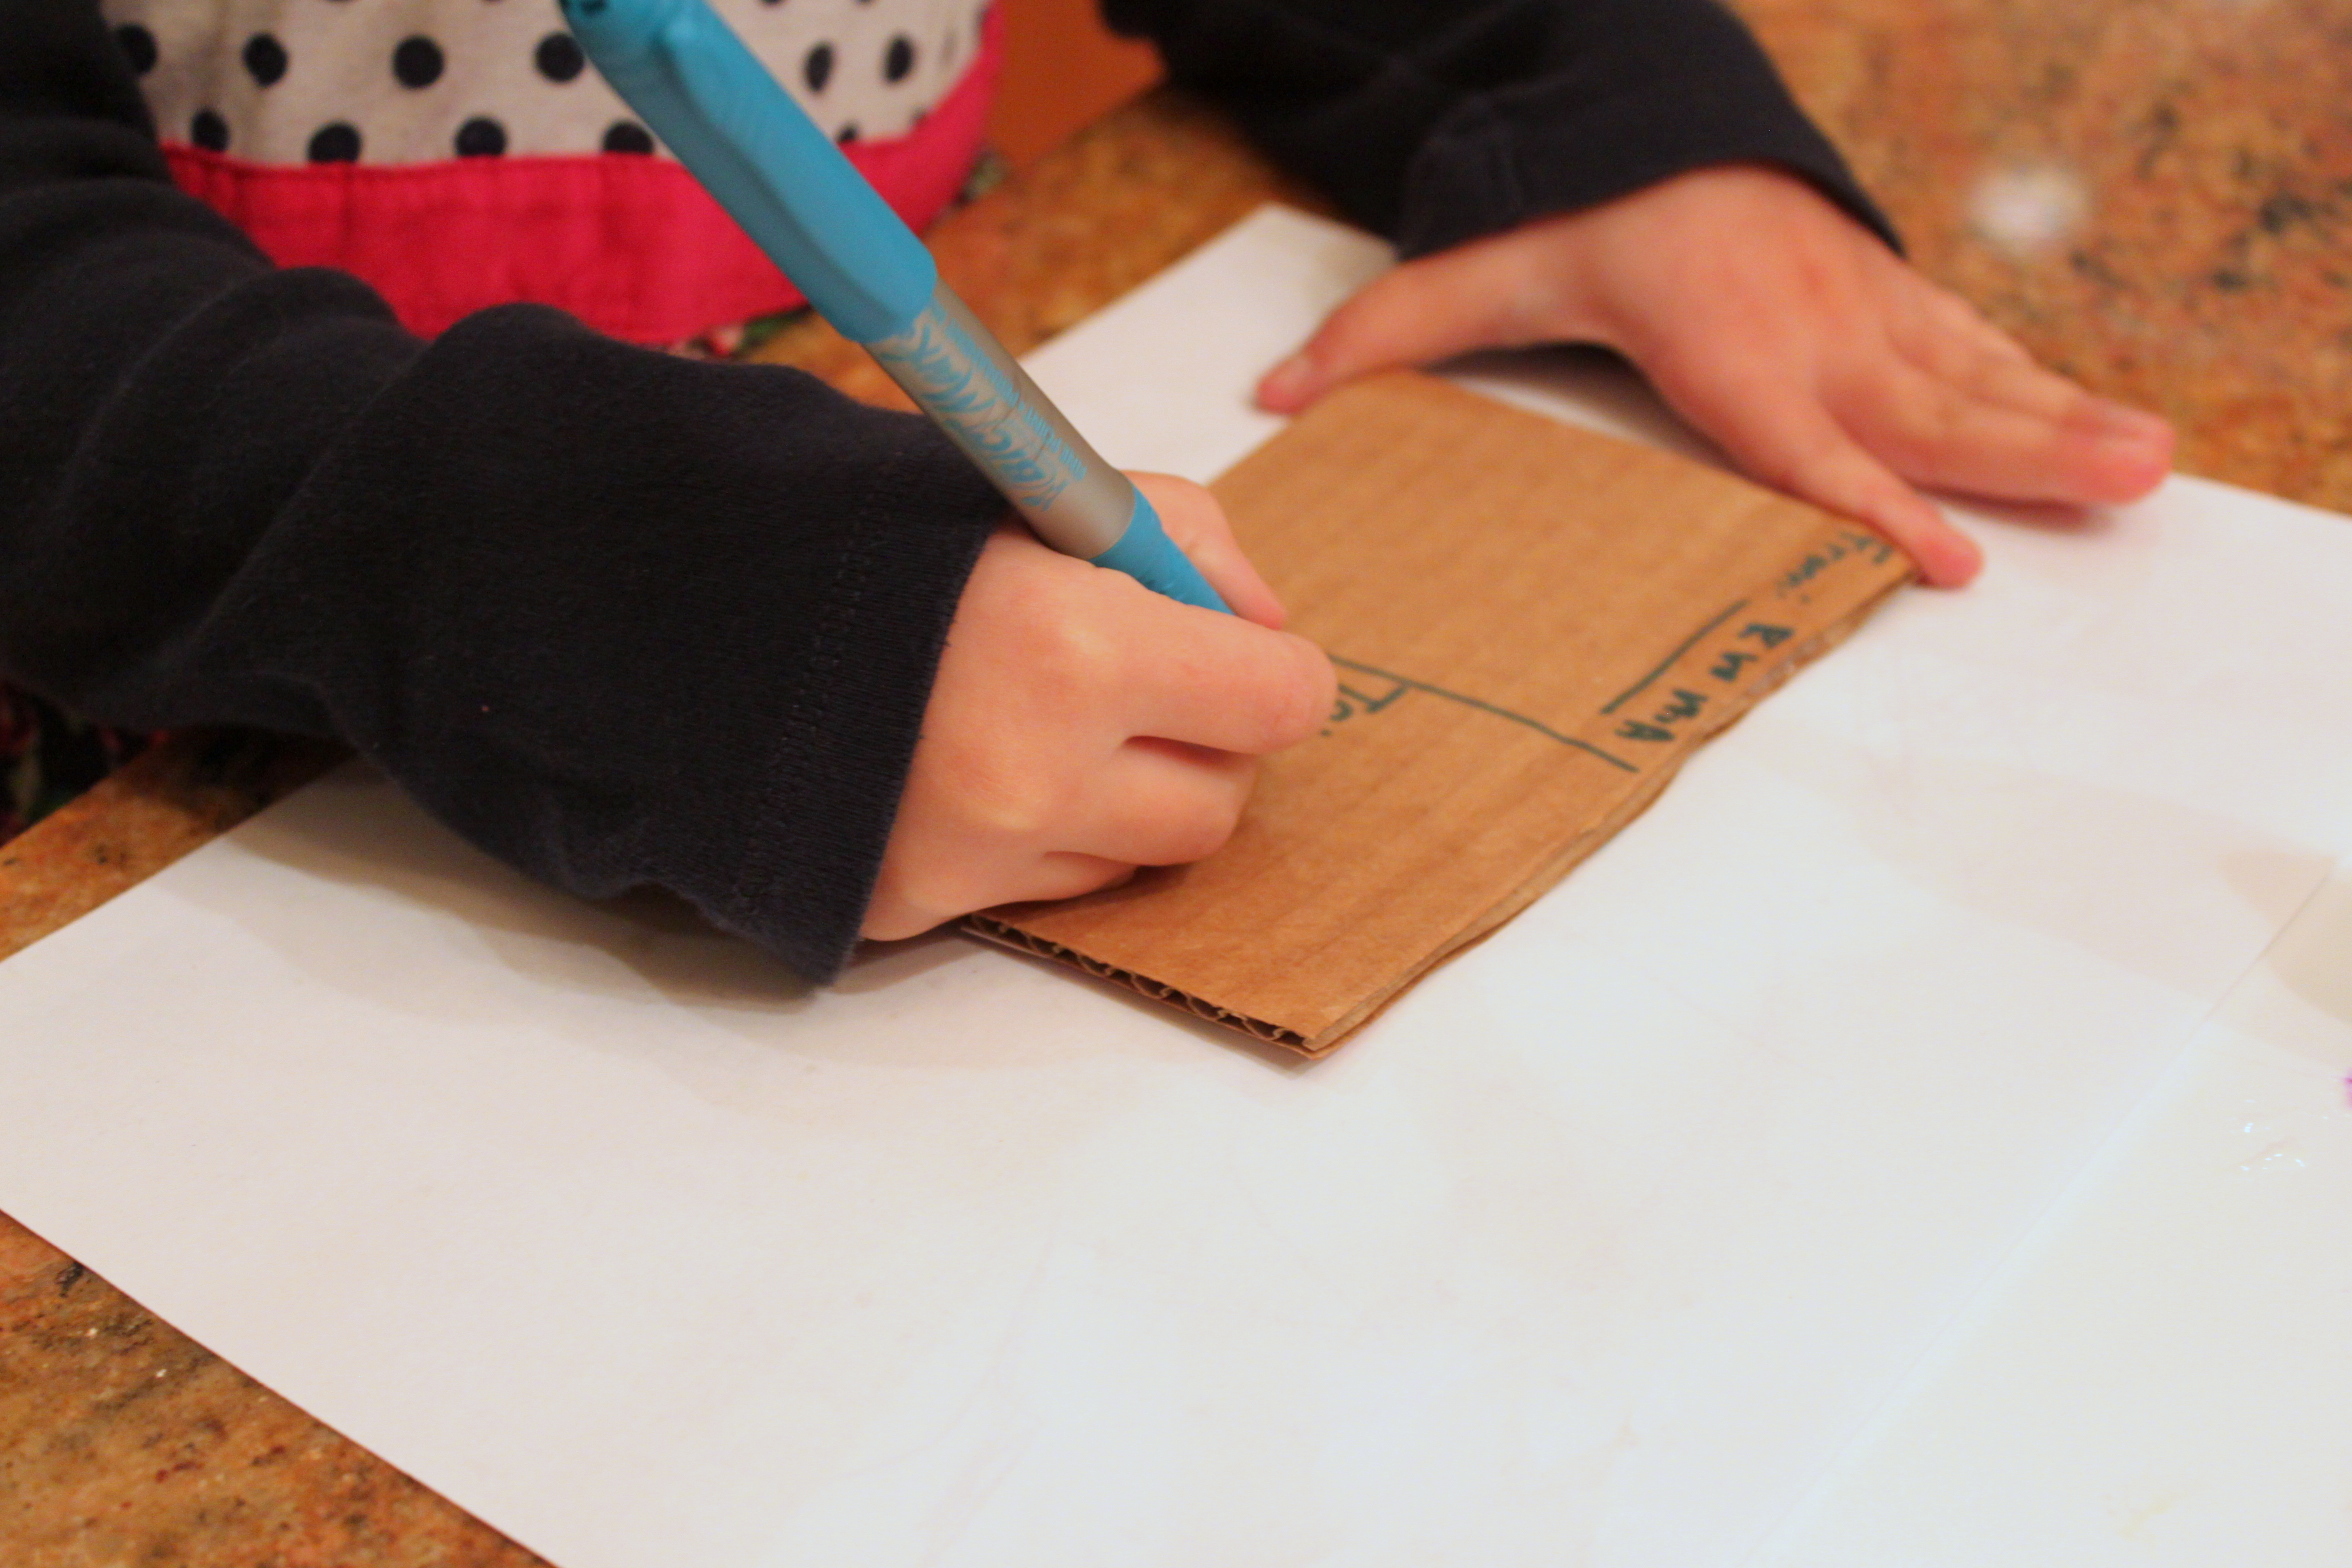
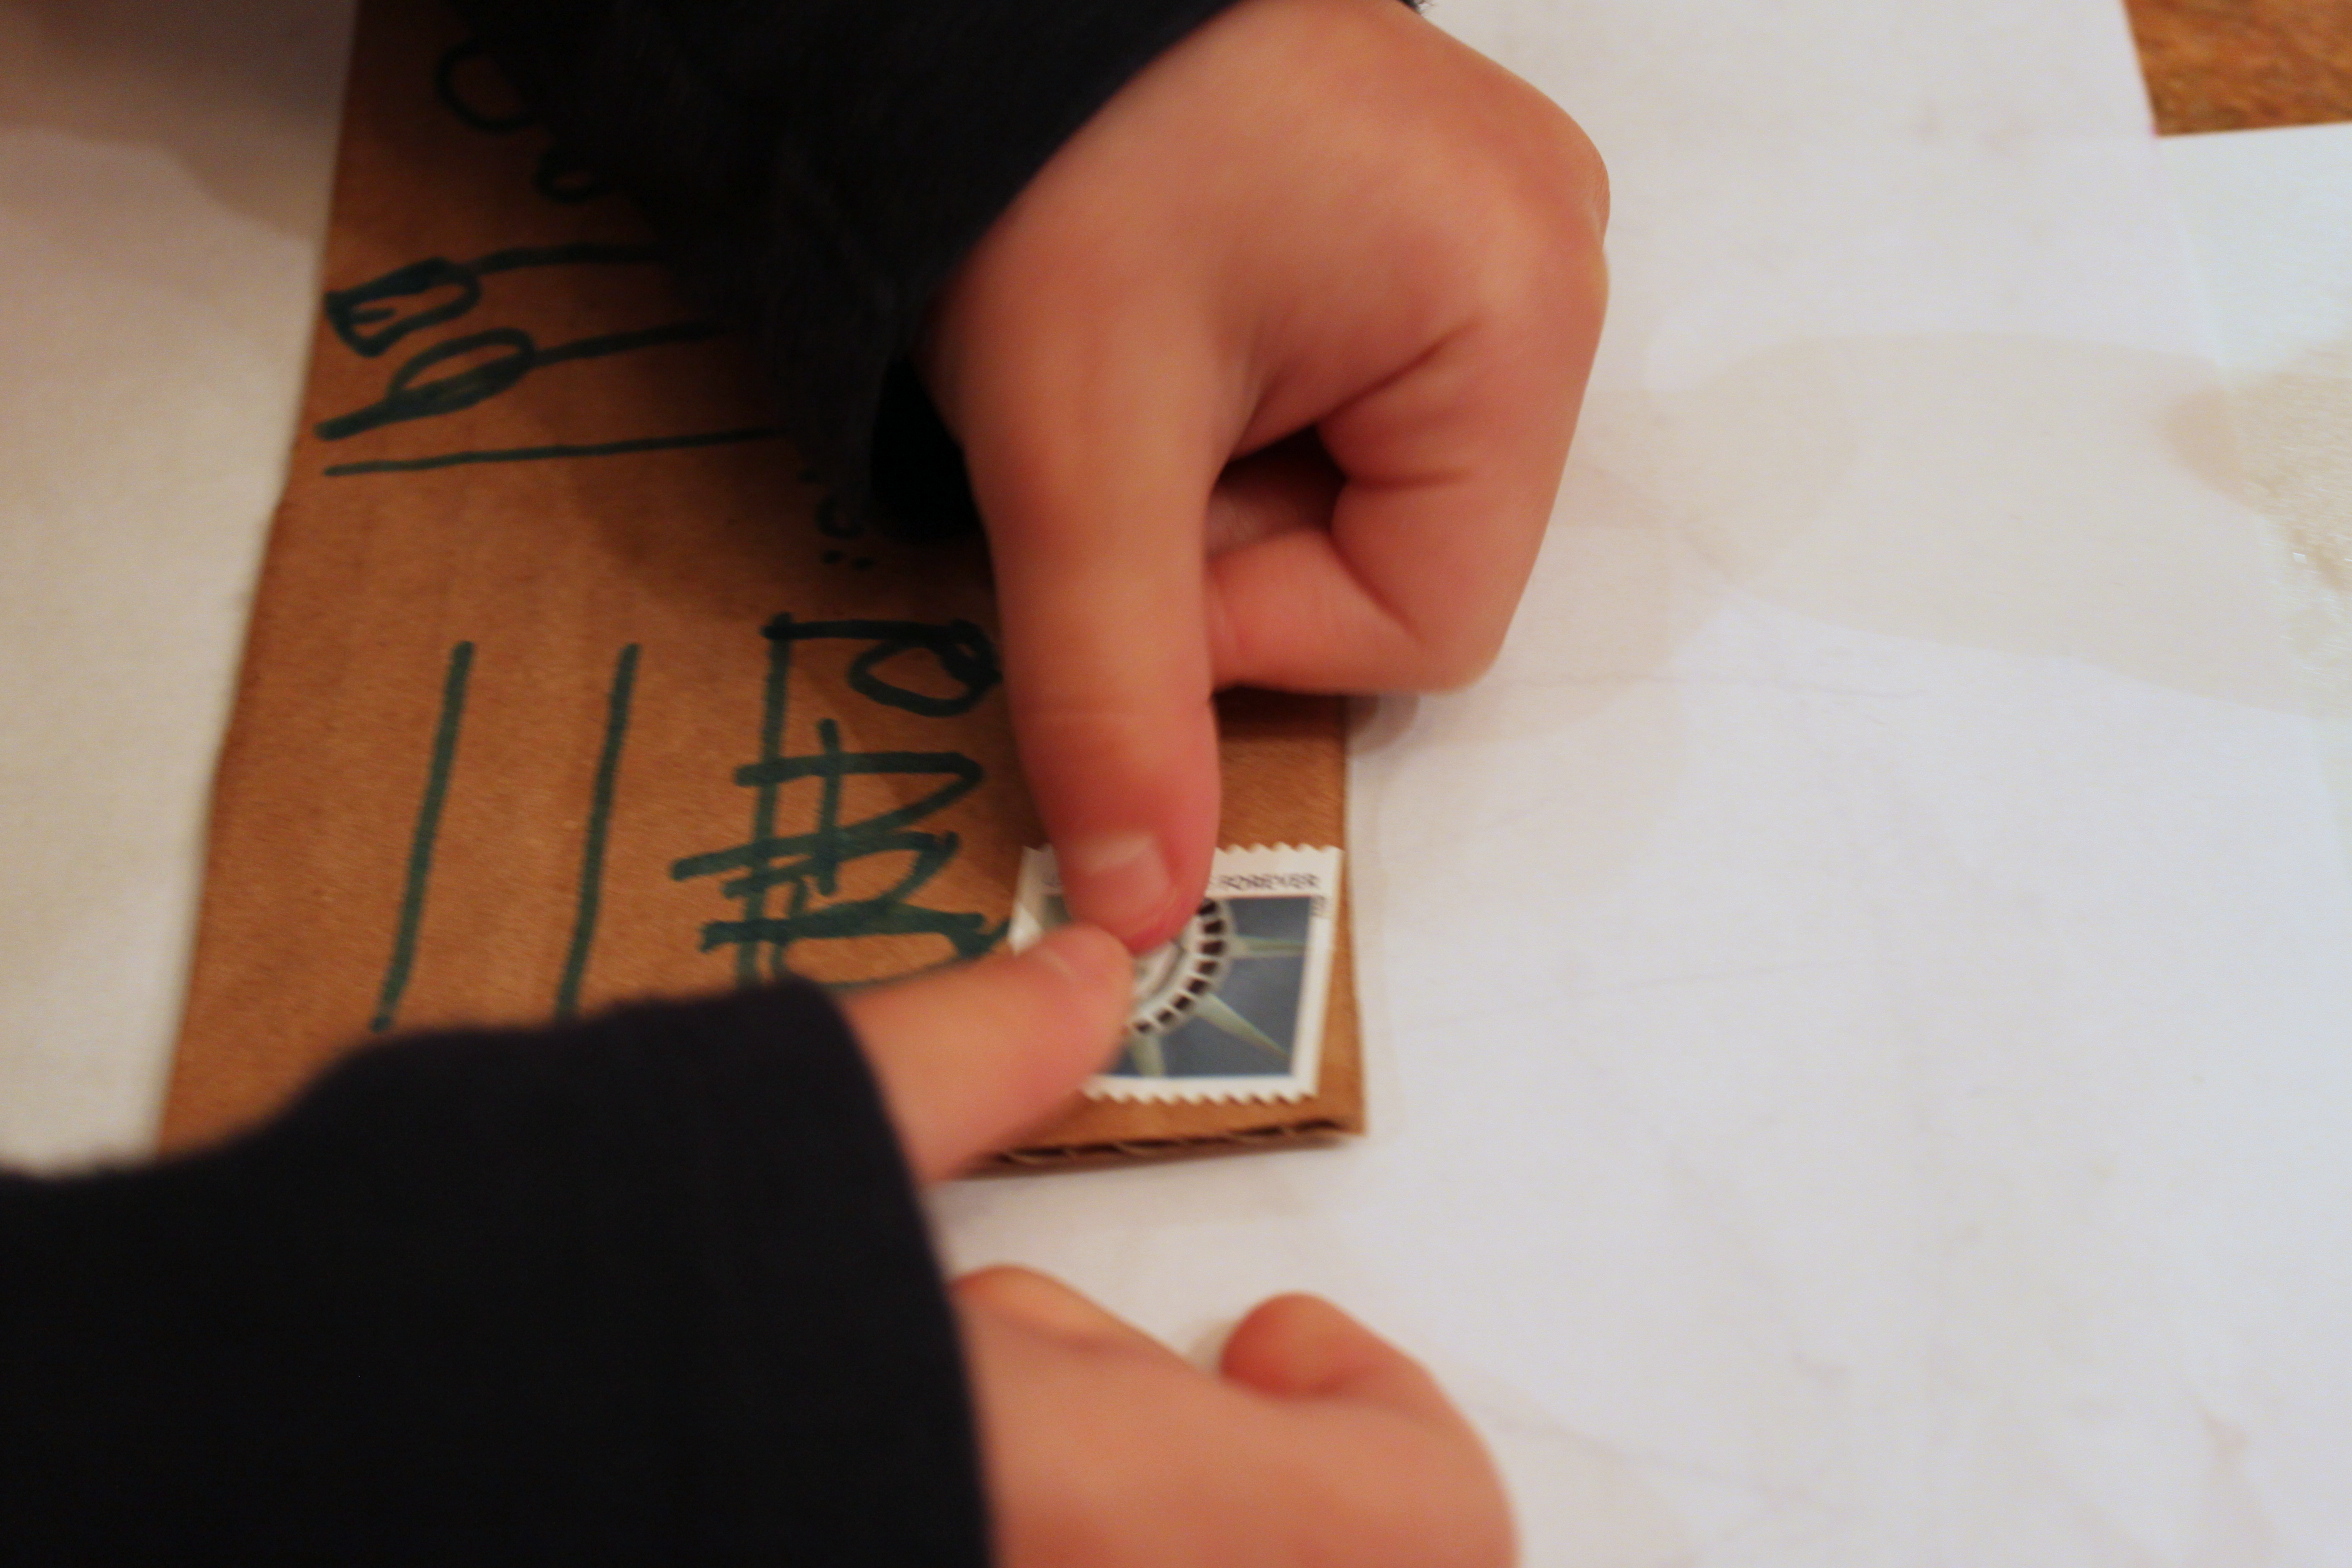
Step 5
She was particularly excited about adding a stamp and finally understood why stamps from her sticker book could not be used to send mail.
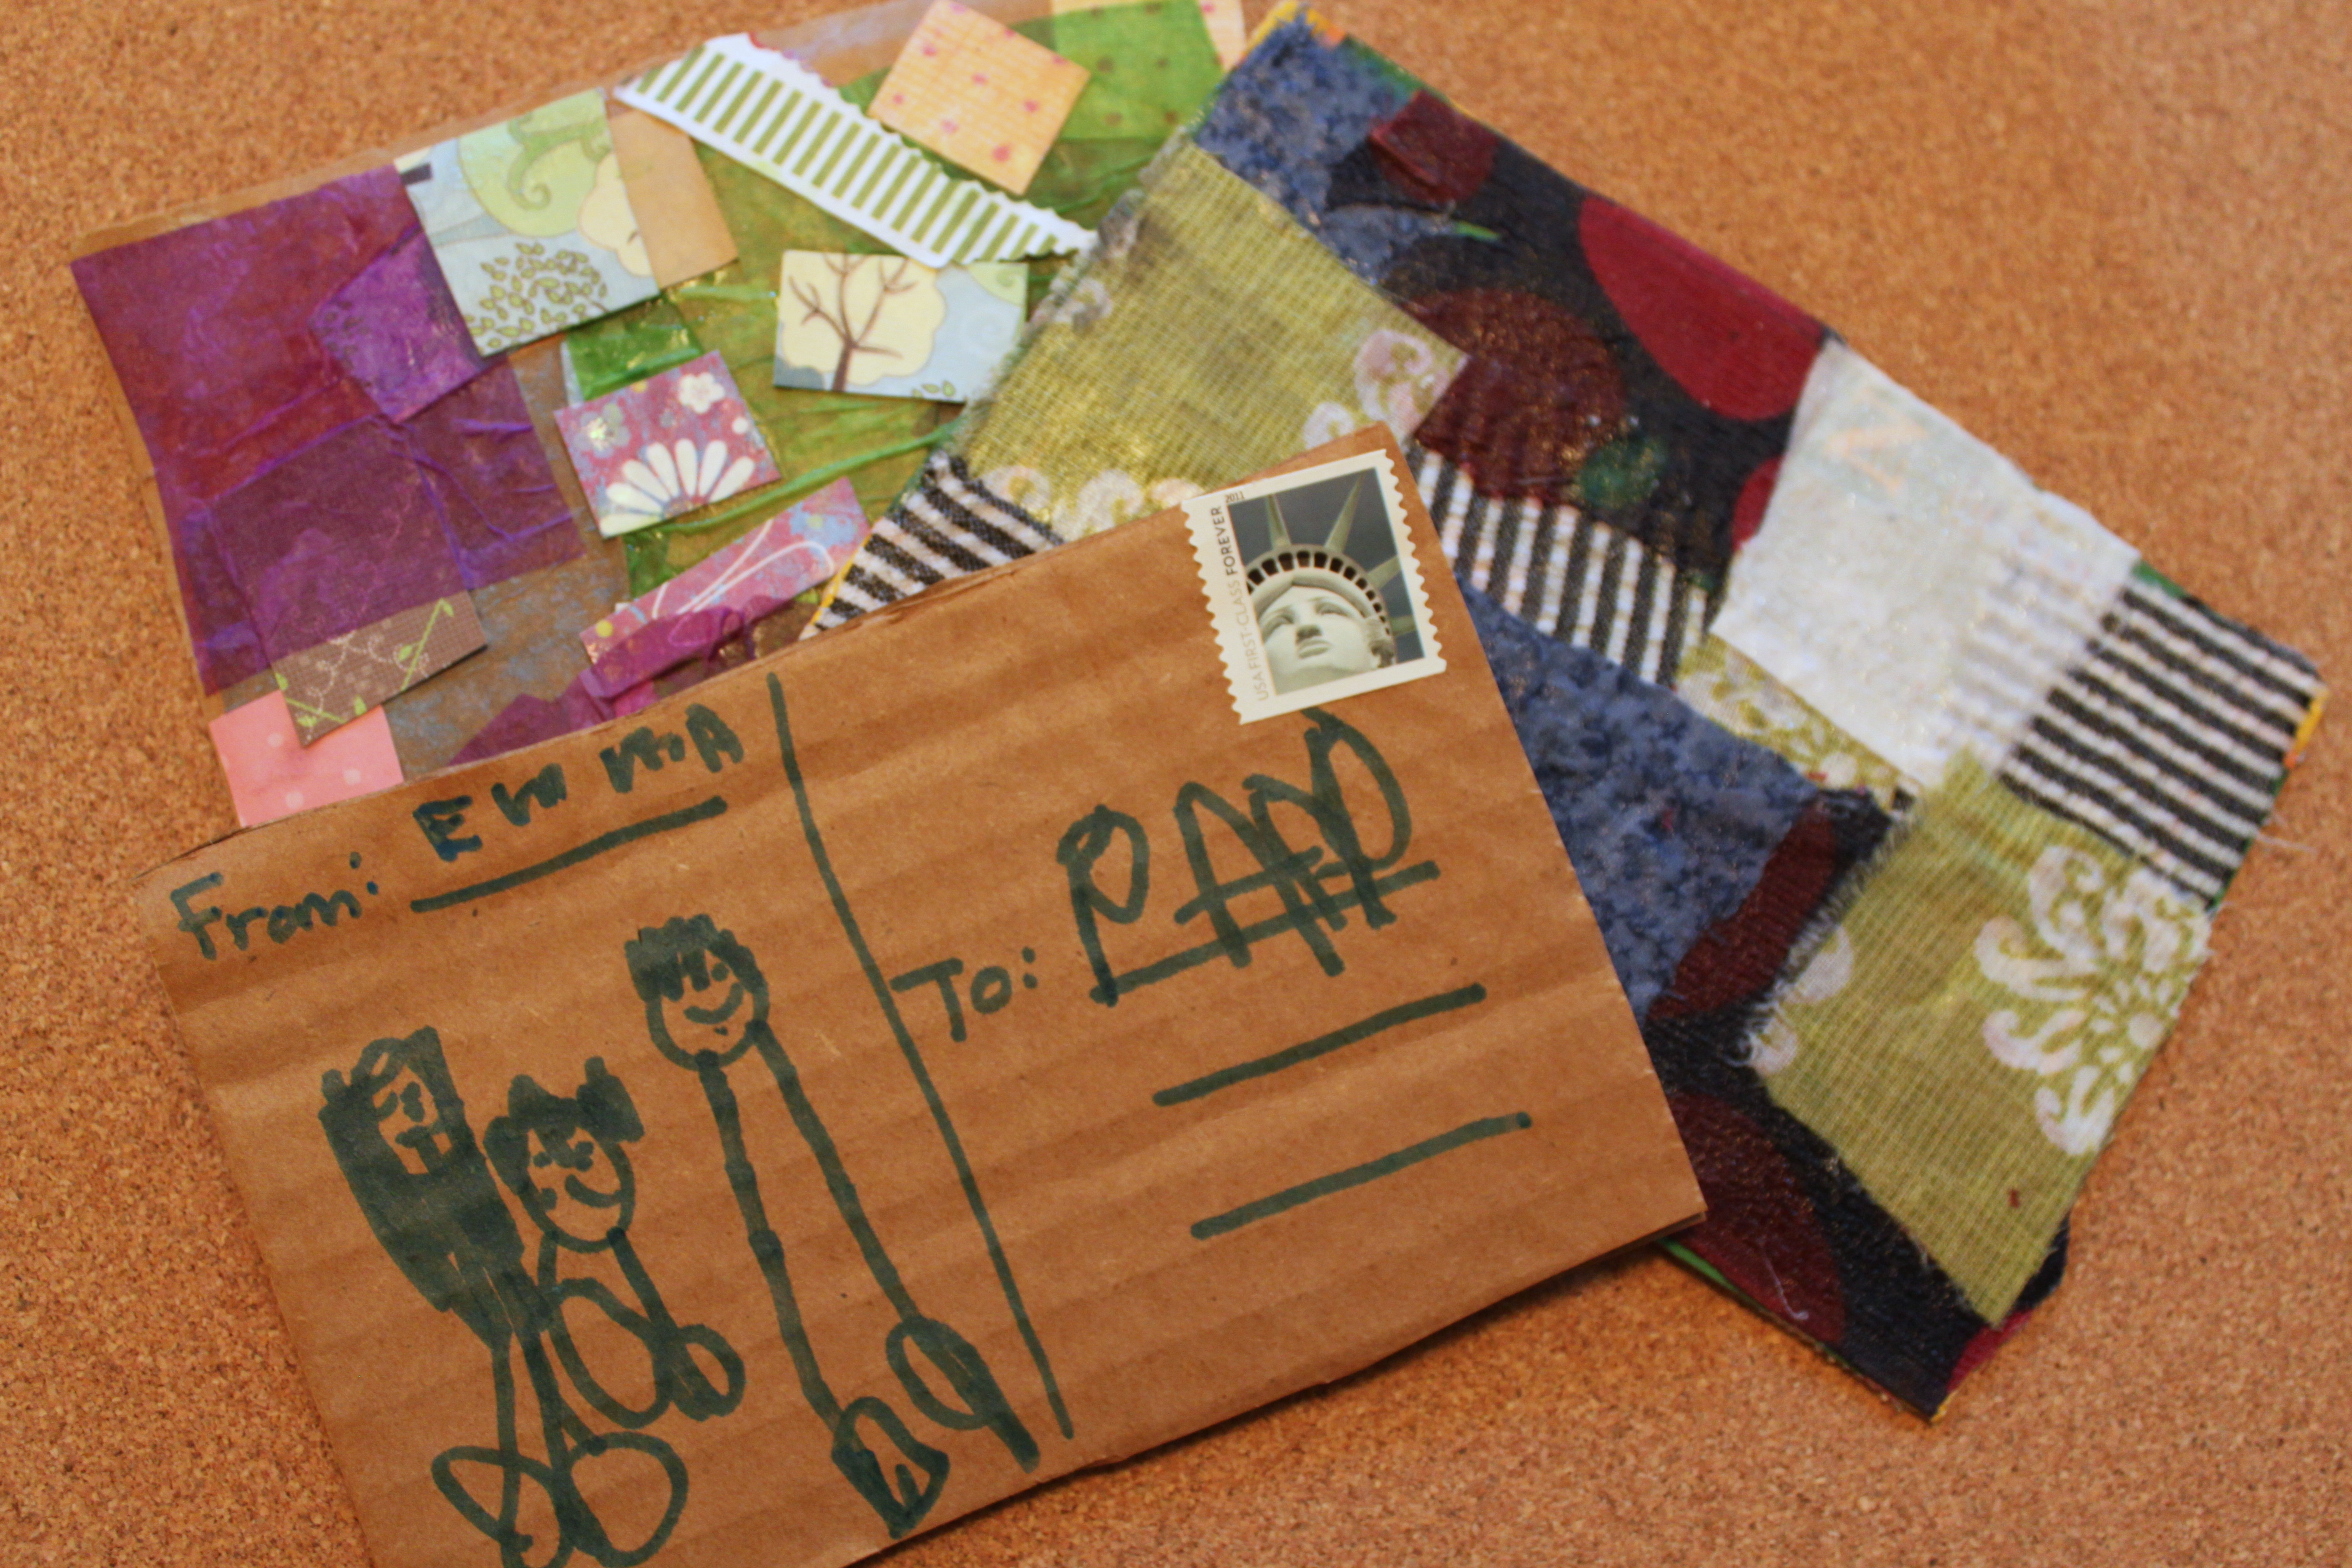
Final result!
Emma drew pictures for family and we sent these off to surprise loved ones. She was learning so much with this craft that I thought a good way to mail these postcards was to take a little trip to the post office and really see where all the mail magic happens!
