Step-by-step tutorial
Step 1
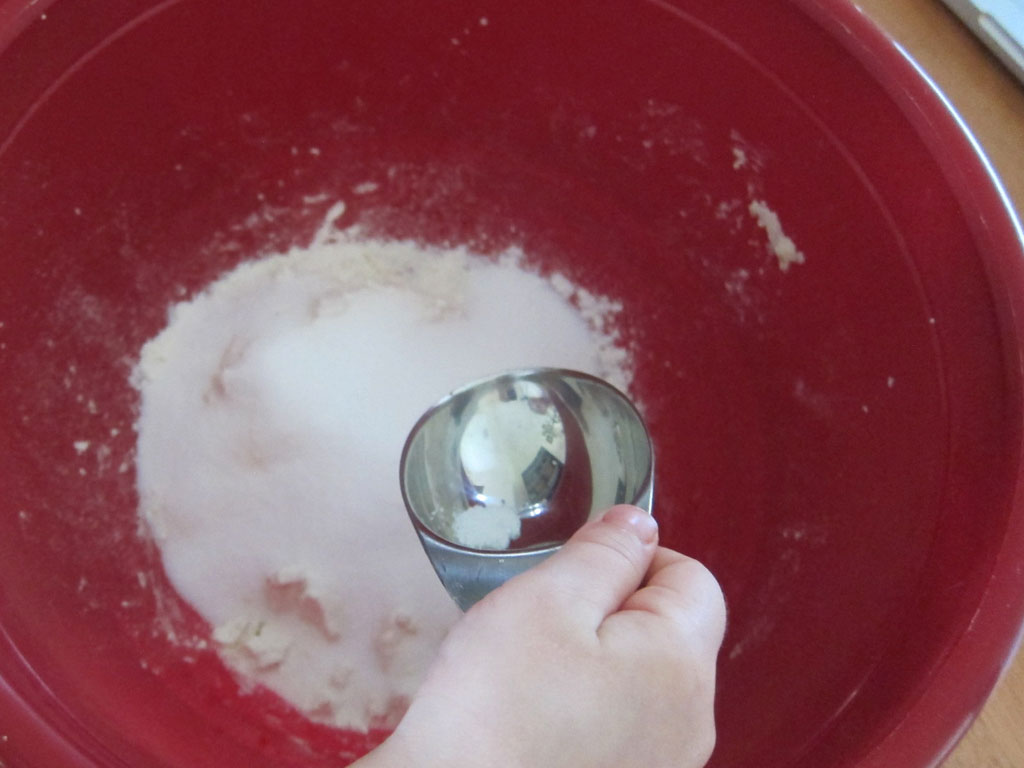
First, we mixed flour, salt, and water in a large bowl.

Step 2
With our hands, we made a ball of dough and kneaded it until it was smooth and firm. It took us five minutes of tag-teaming it to get it smooth.

Step 3
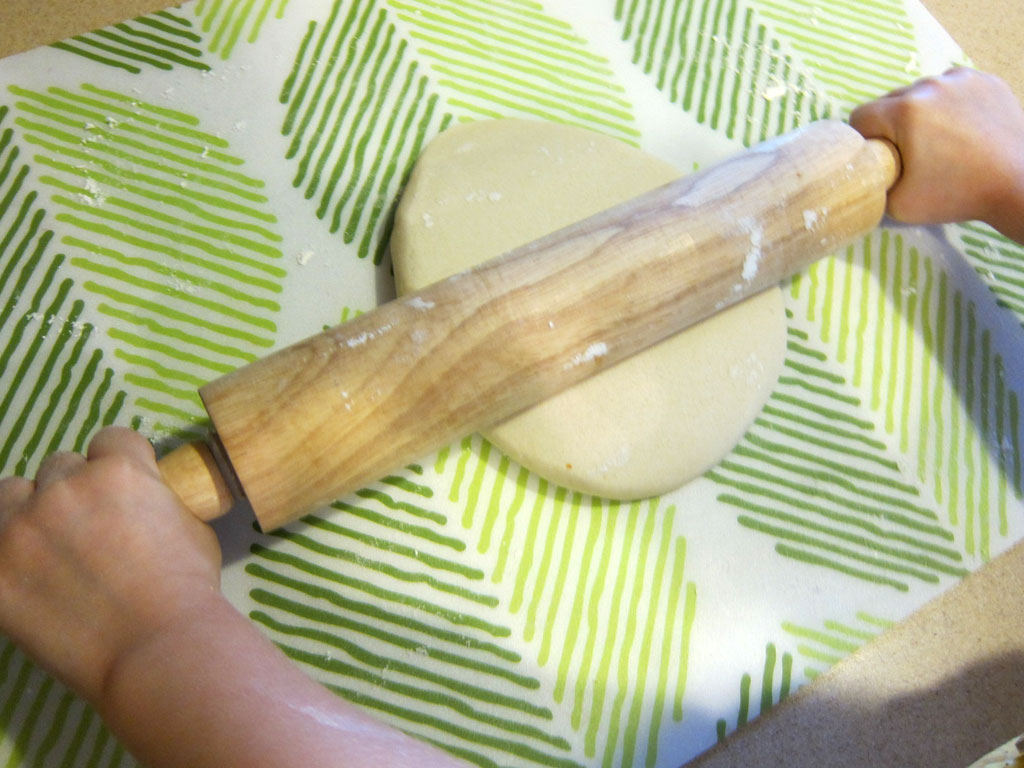
We rolled the ball out with a rolling pin until the dough was about 1/4" (.64cm) thick. My daughter thought this part was fun because it was just like making sugar cookies.
Step 4
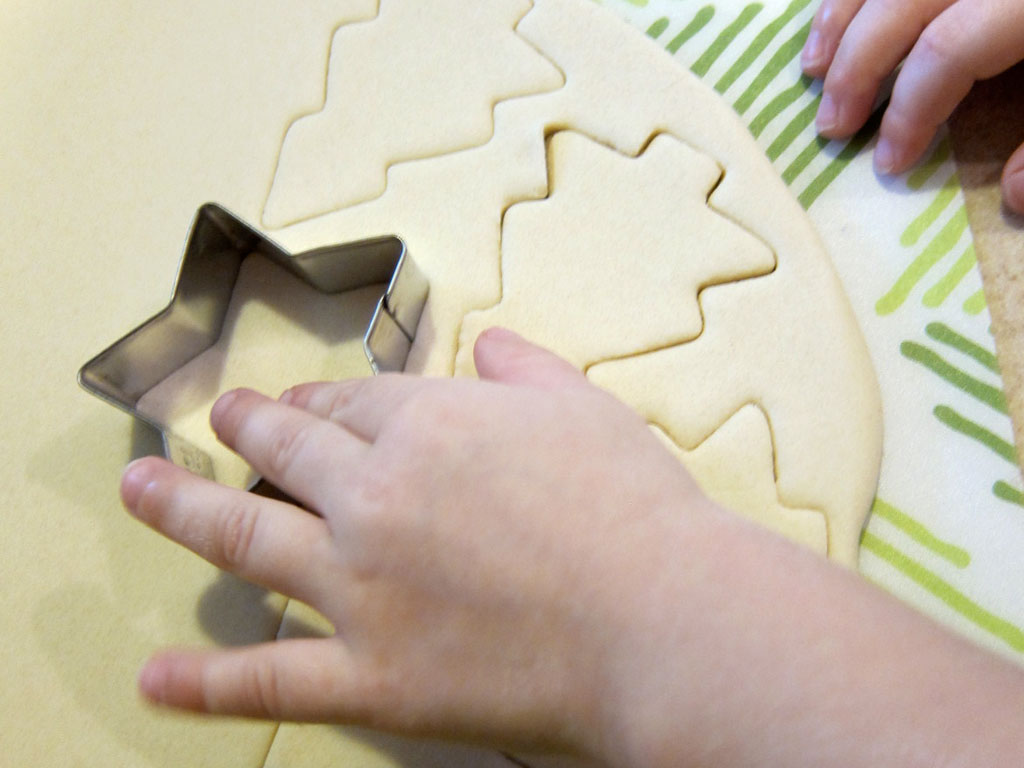
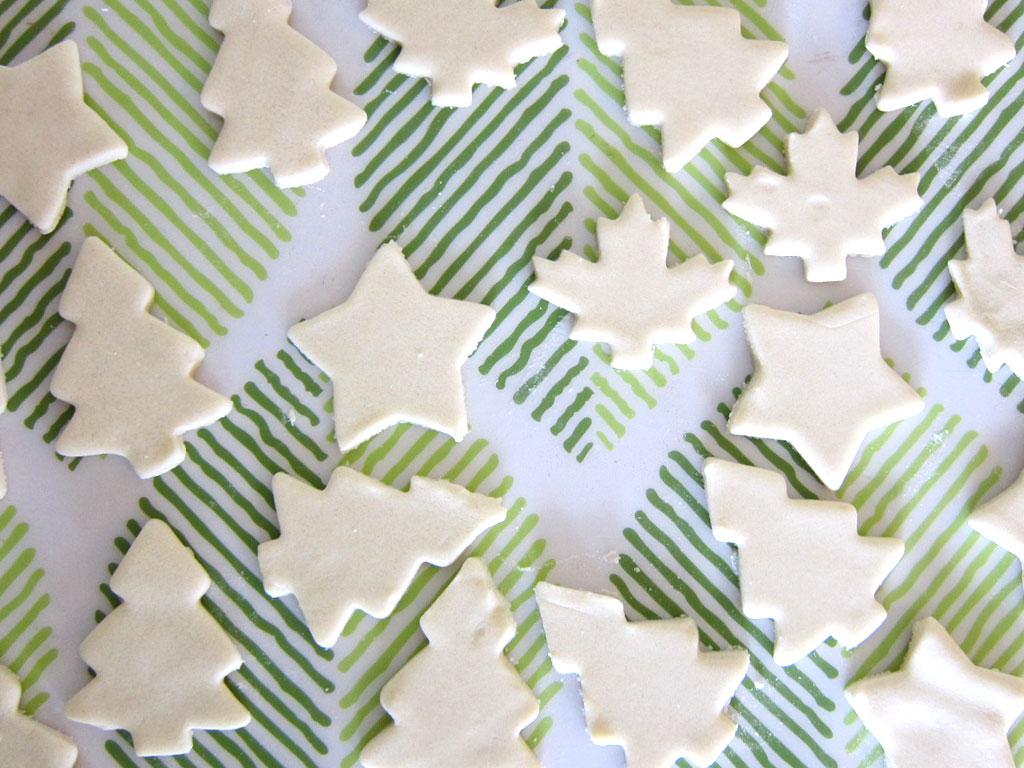
Then we used cookie cutters to make shapes in the dough. We used various shapes to help fill in the empty space so we could get the most out of the dough.
Step 5
We did this on a plastic place mat so it was easy to move around.
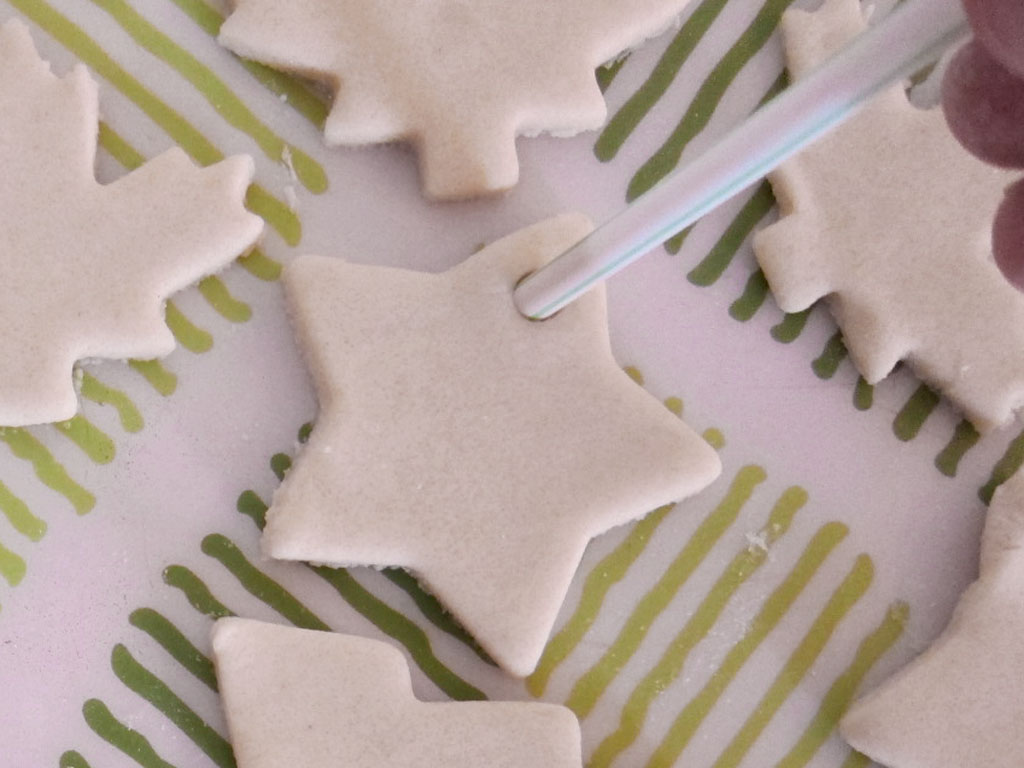
Step 6
After using a straw and poking holes into the top of each shape...
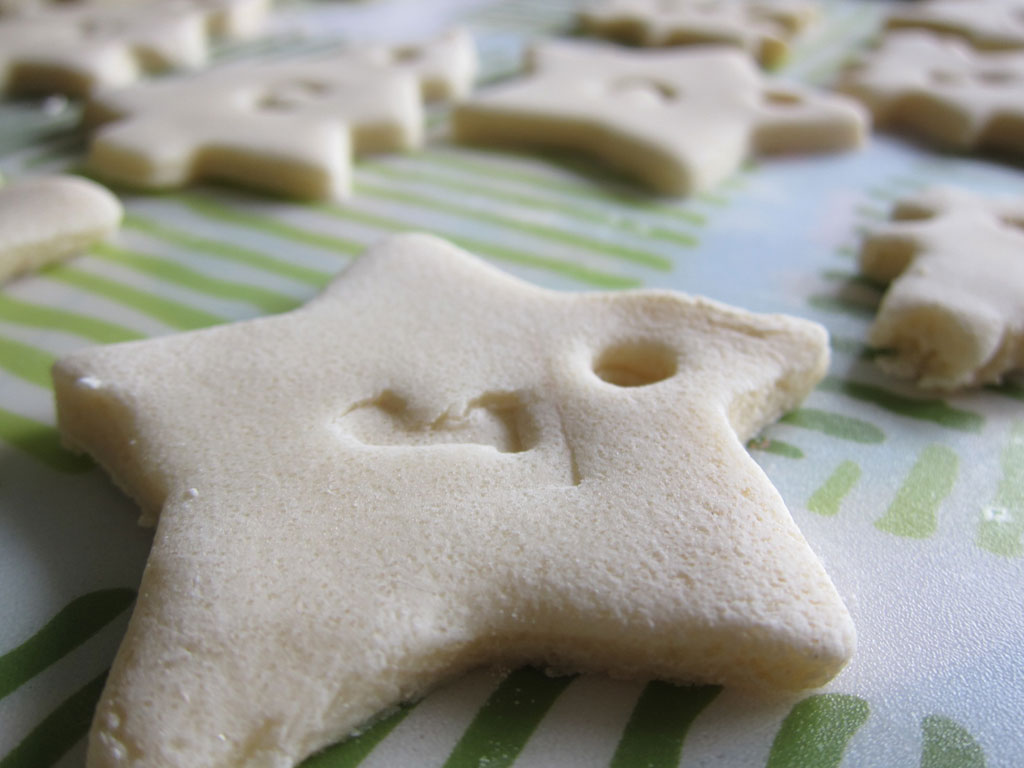
Step 7
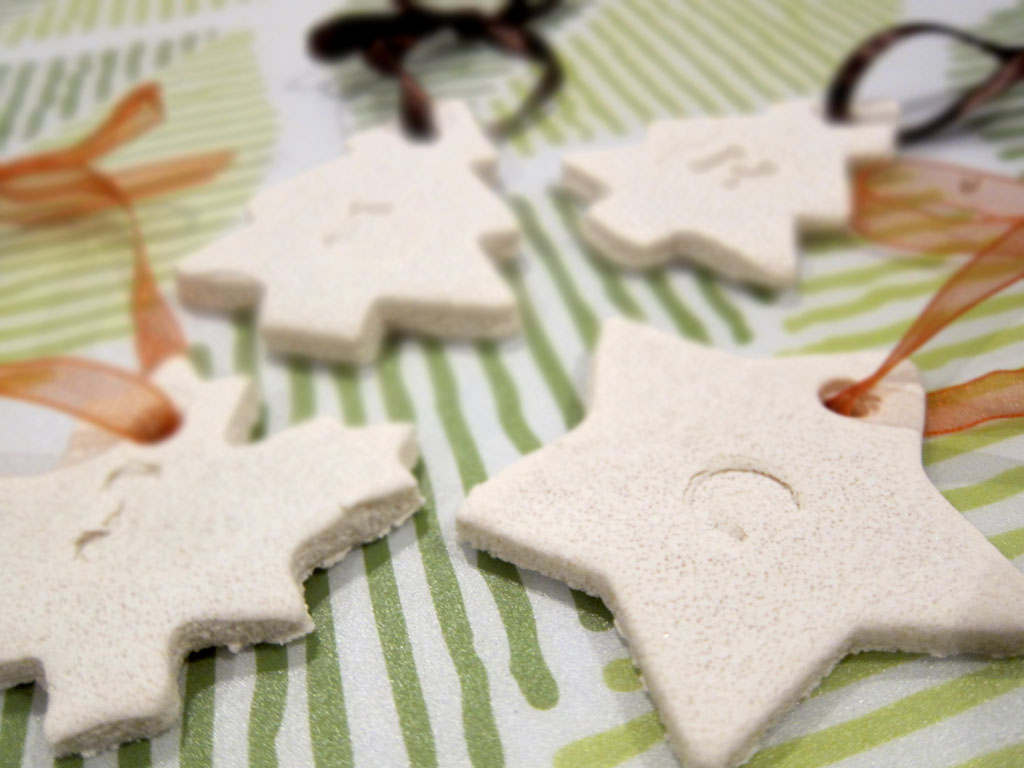
...we stamped the dough lightly with a rubber stamp so that the letter imprinted into the dough. A few times, we stamped hard enough that the edge of the stamp also left an imprint--but there's beauty in imperfection! If you'd like, you can also use a stamp pad (ink) to add color to the gift tags.
Done!
We let the dough dry. We sped the process up a bit by putting them in the over at 200 degrees for 10 minutes and then turning the oven off, yet left the dough tags in it to dry.
We were so pleased with how they turned out--and I love that we can use them year after year!


