Step-by-step tutorial
Step 1
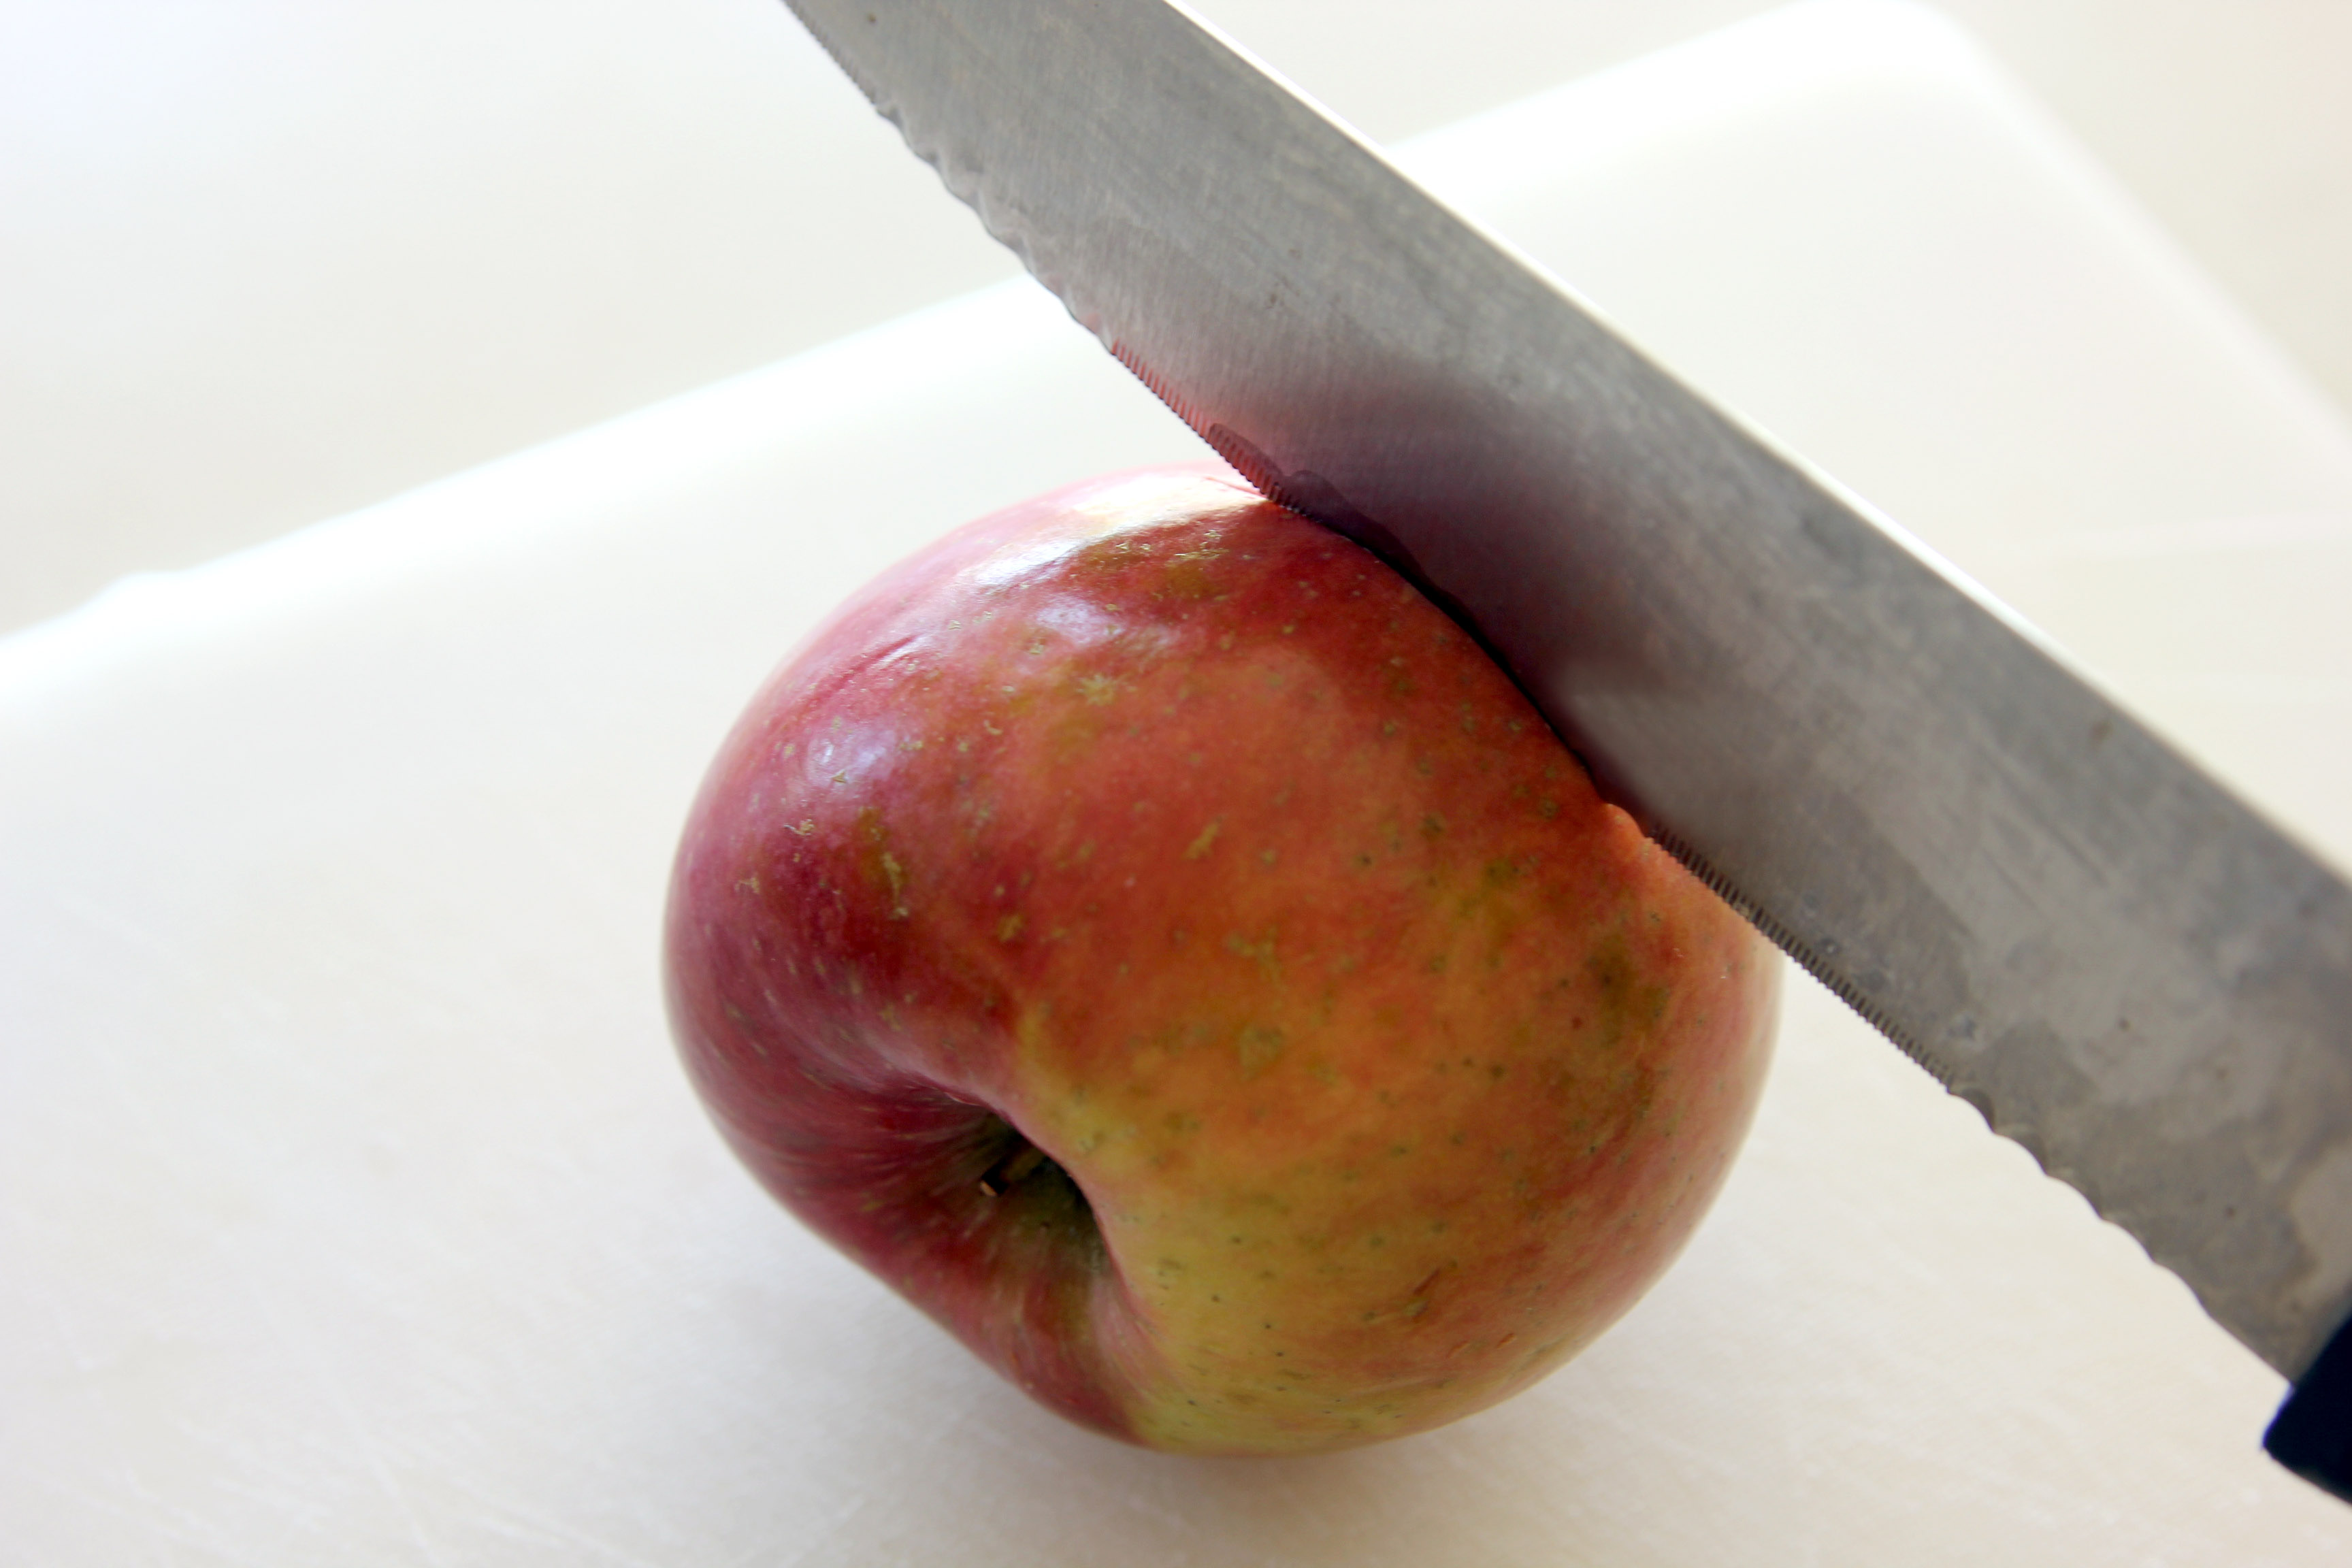
We start off with a grownup step first: Start by cutting the apple crosswise. Cut one slice for each different color combination you would like to use. By cutting the apple this non-traditional way, you create slices with a star shape in the middle.

Step 2
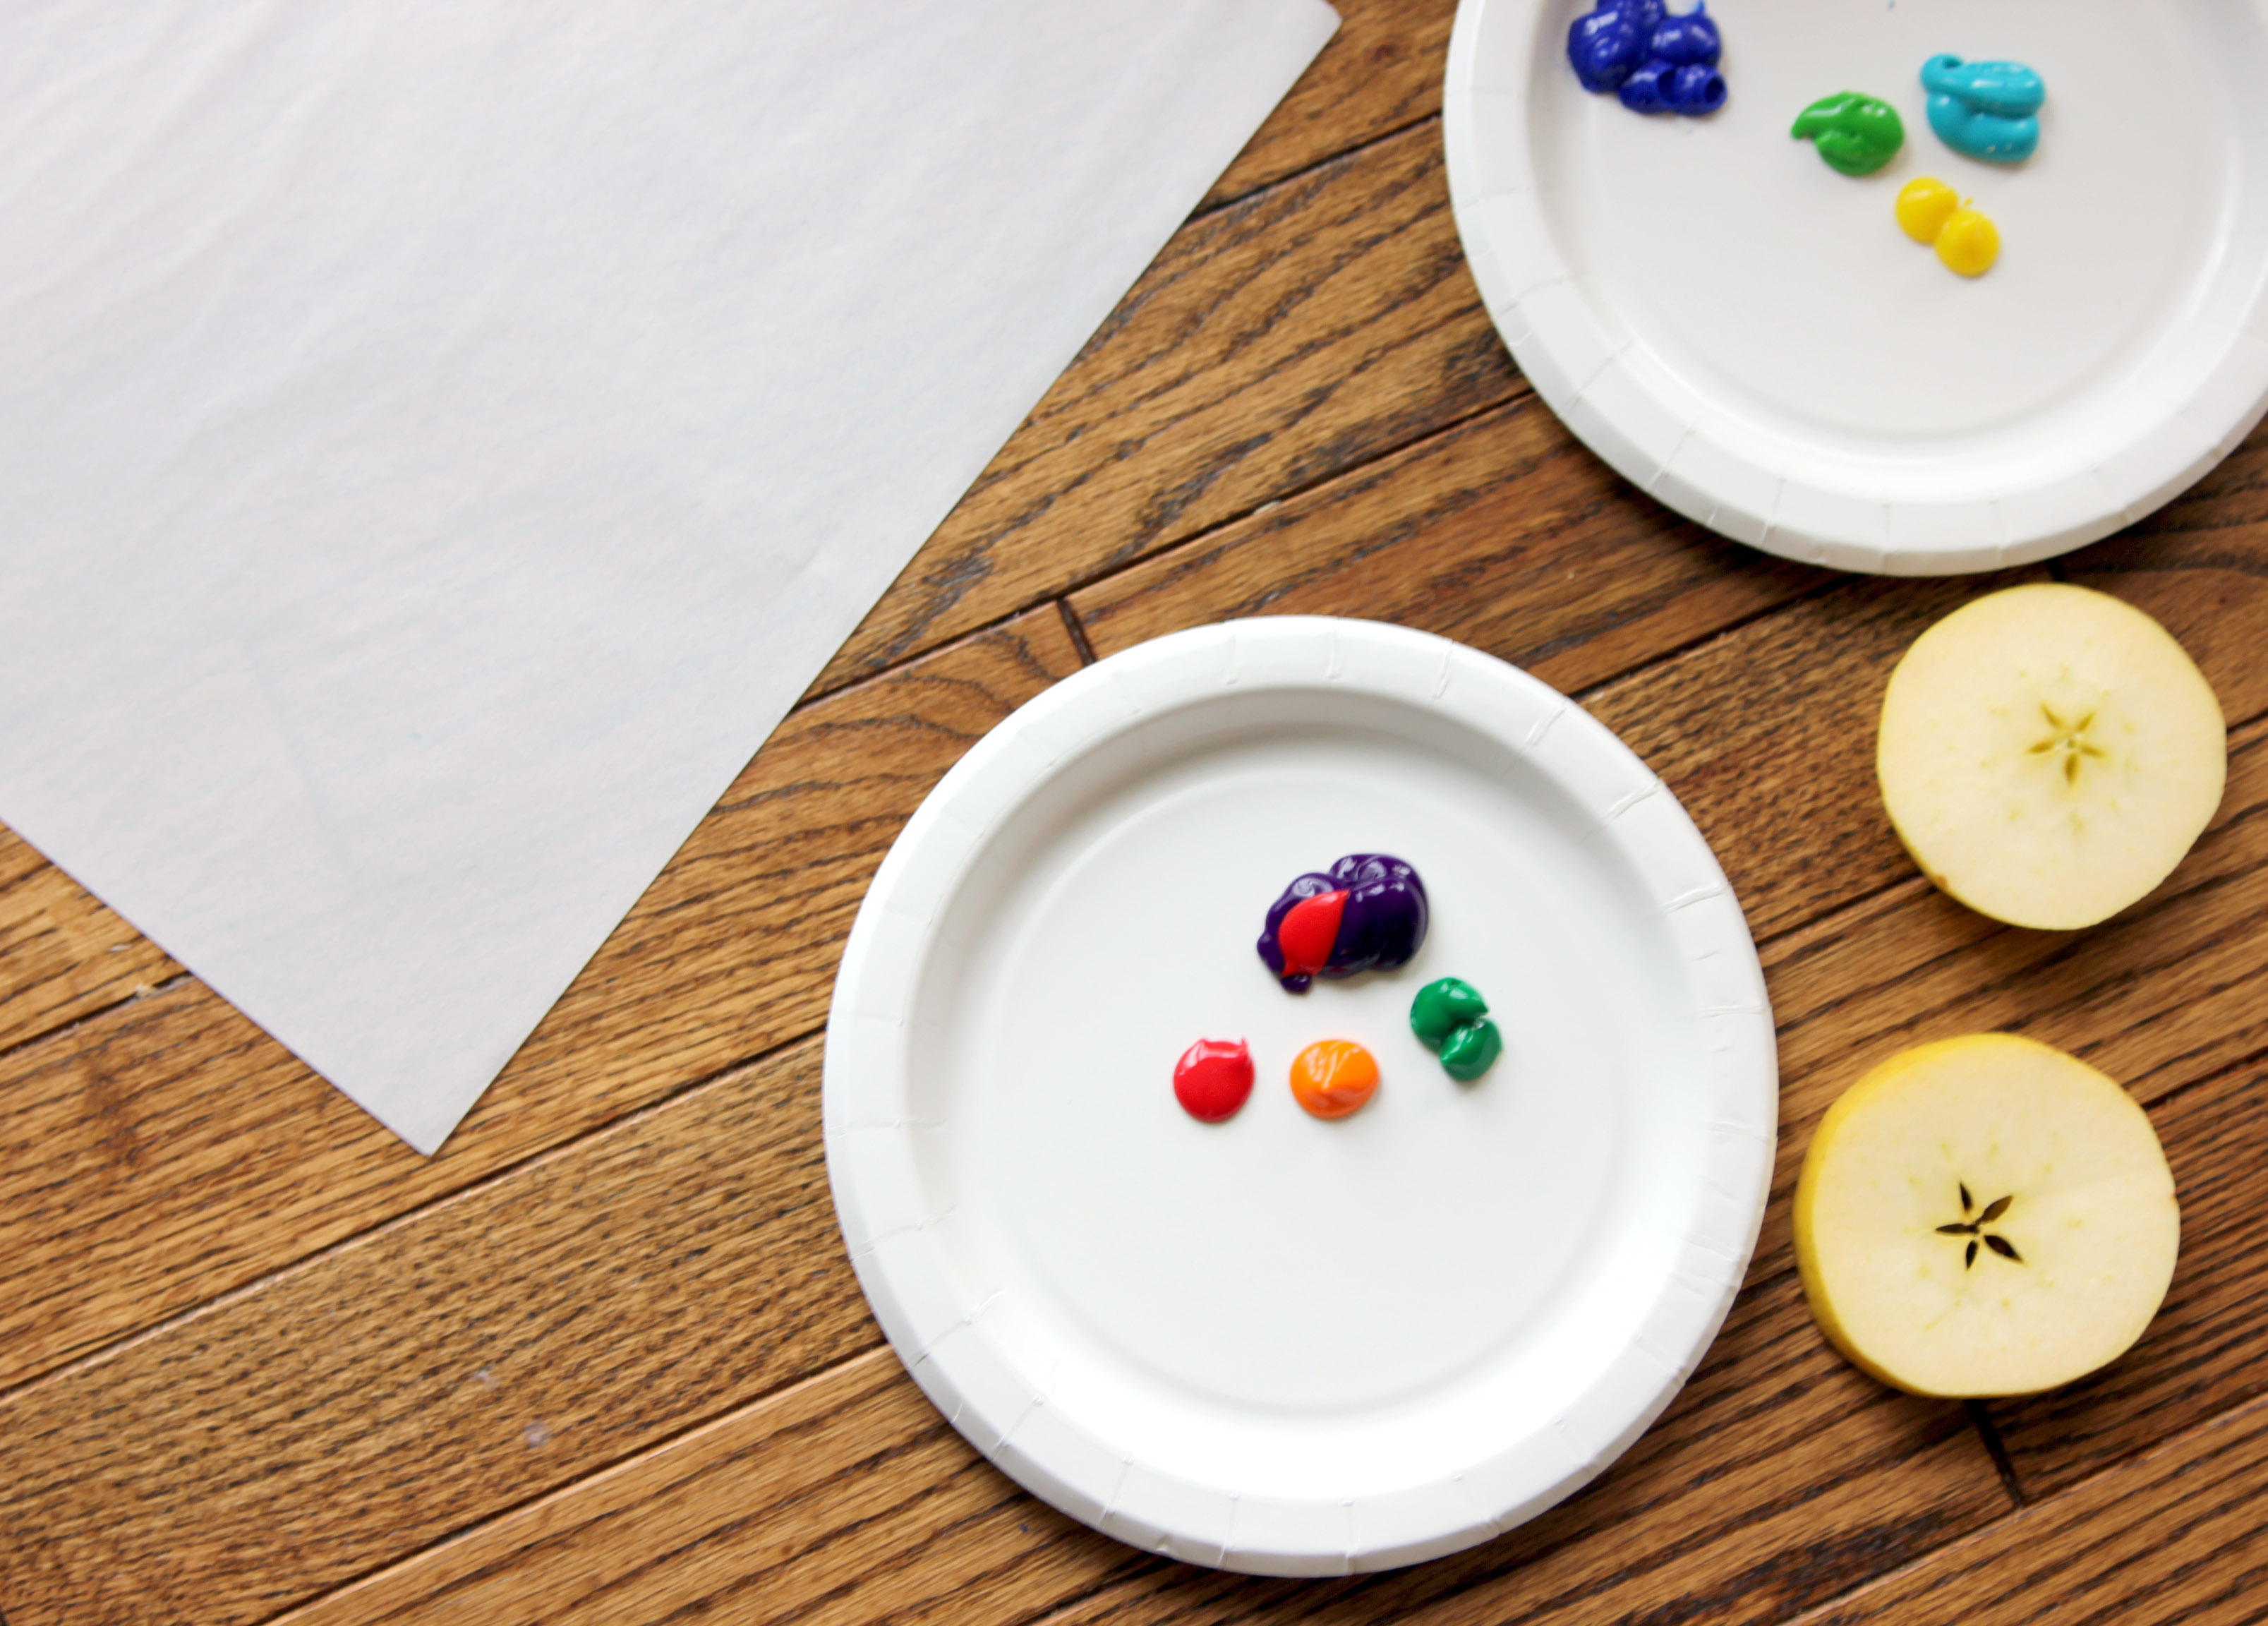
Next, squirt the paints onto a paper plate. V loved squirting each tube of paint onto the plate (some colors a little too much!). Lay out your tracing paper and apple slices.
Step 3
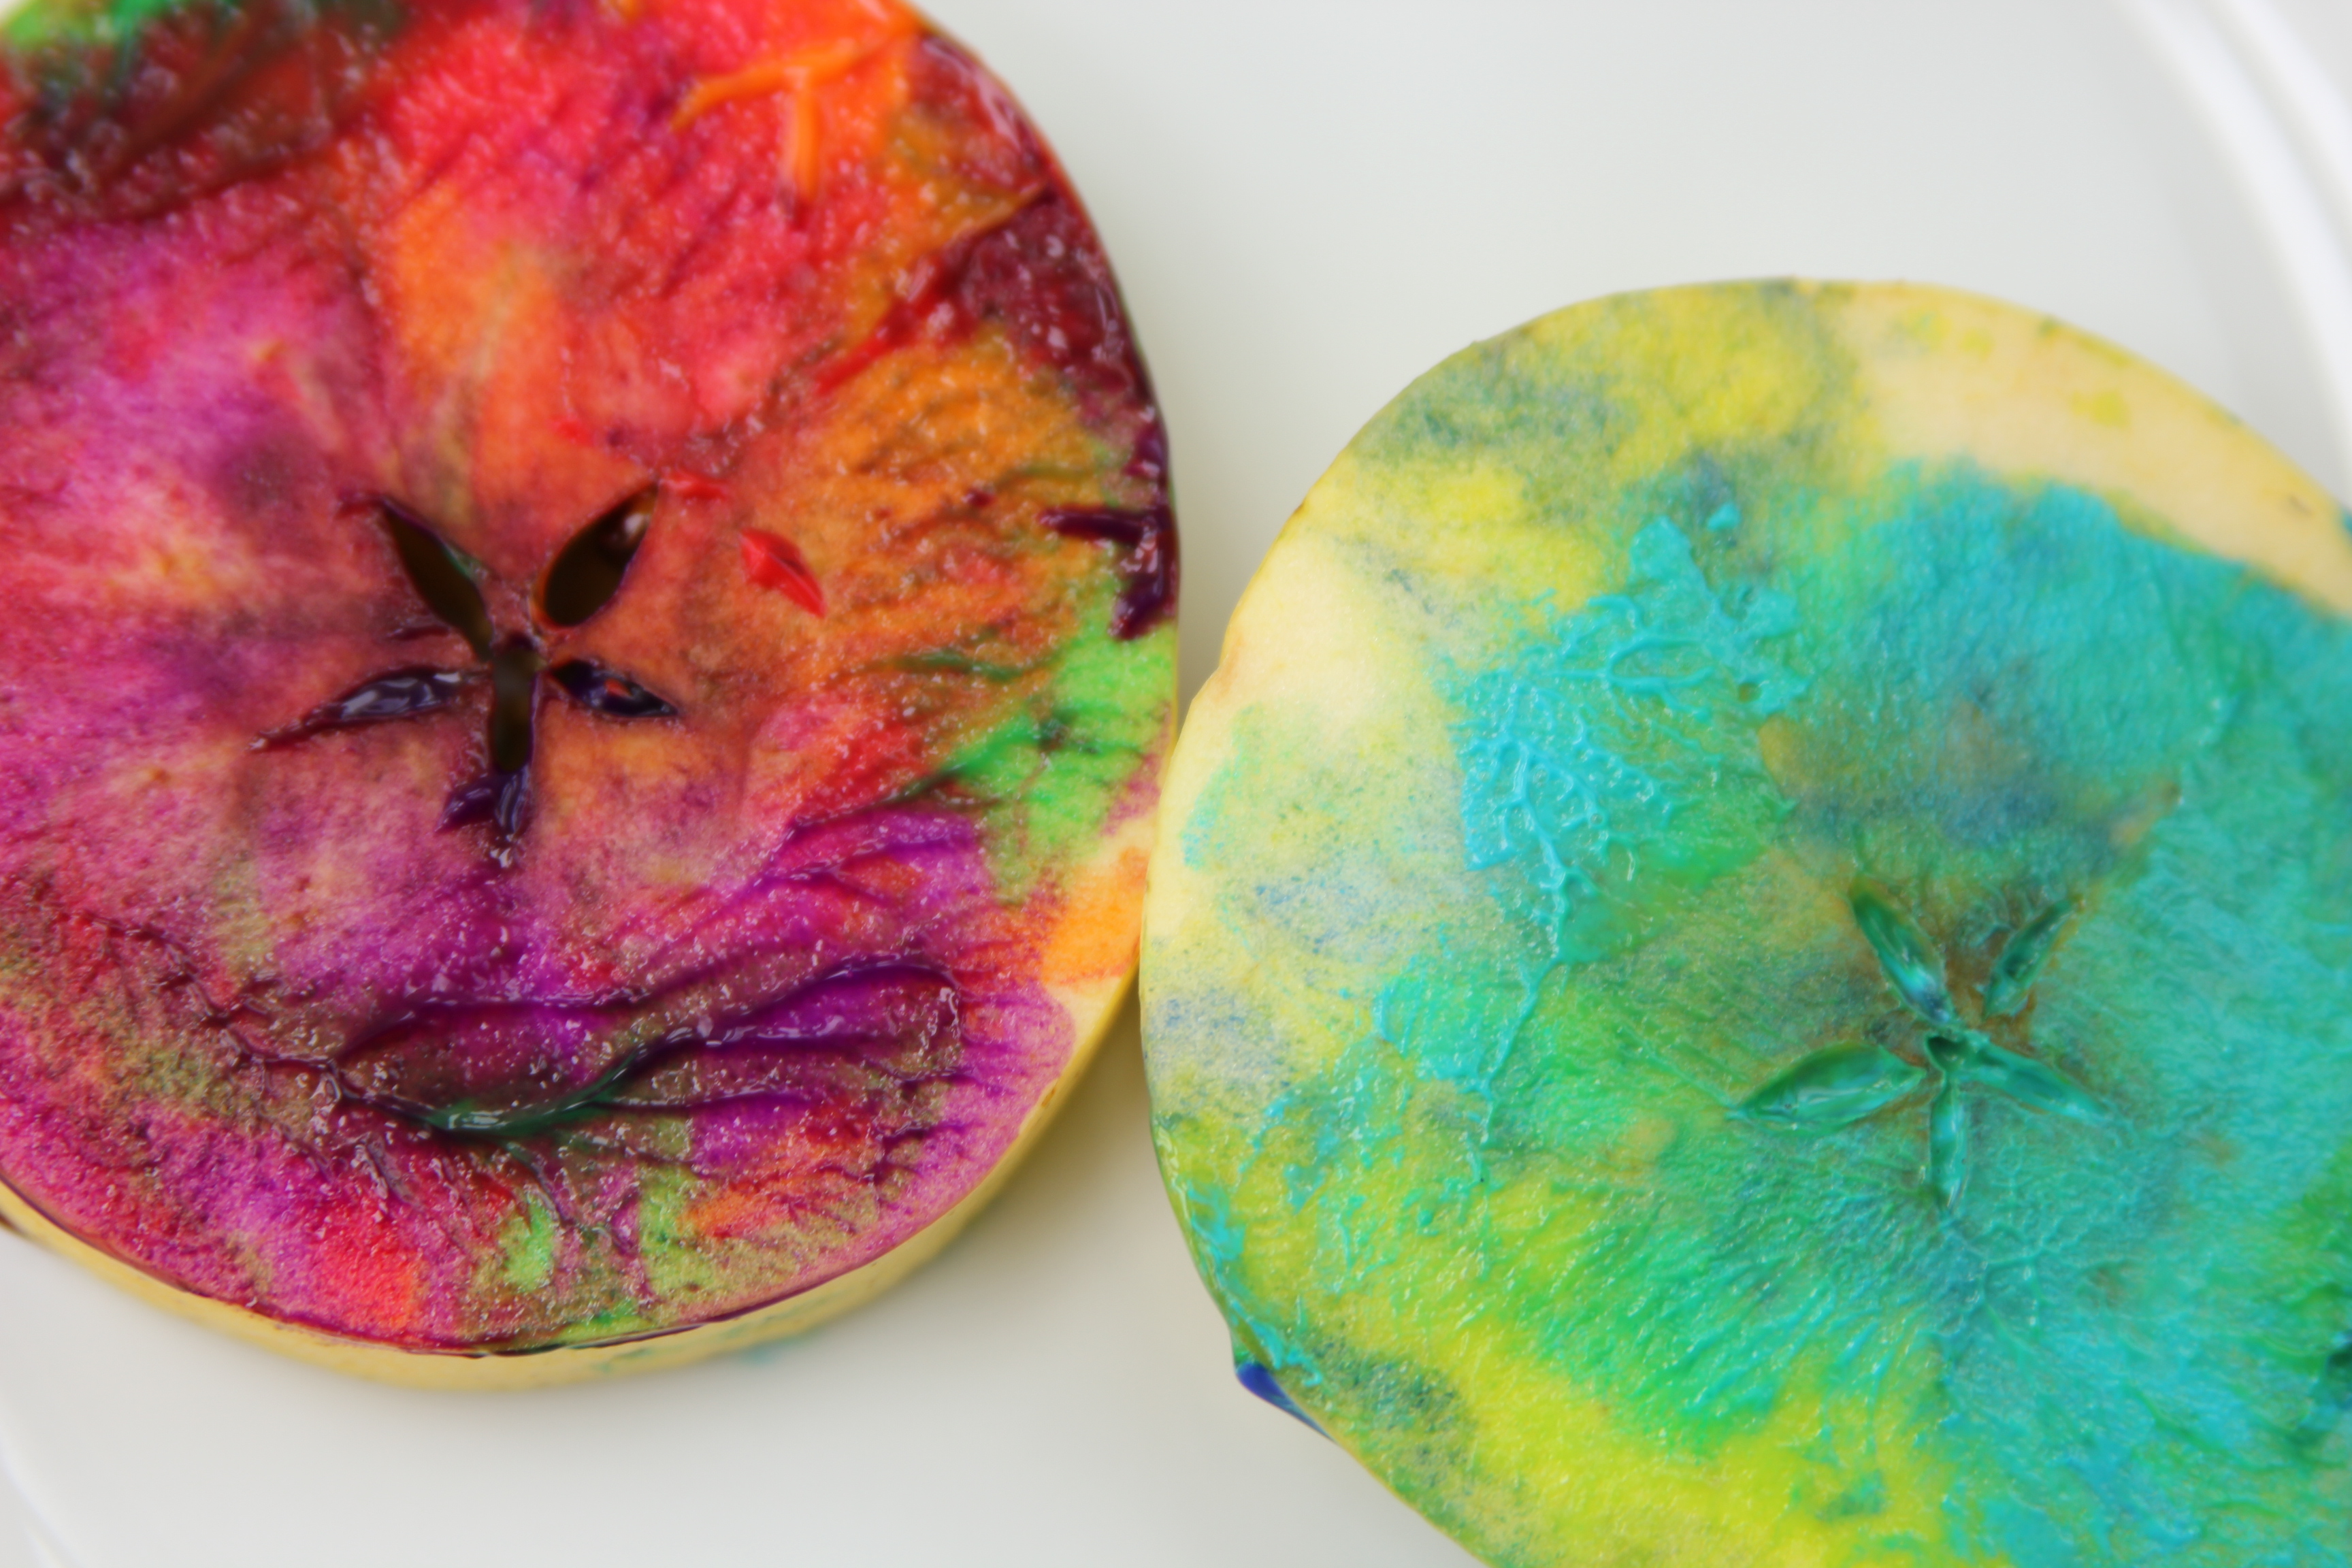
Have your child dip the apple slices in the paint and swirl them around to create a mosaic of colors. Stamp the slices onto the tracing paper.
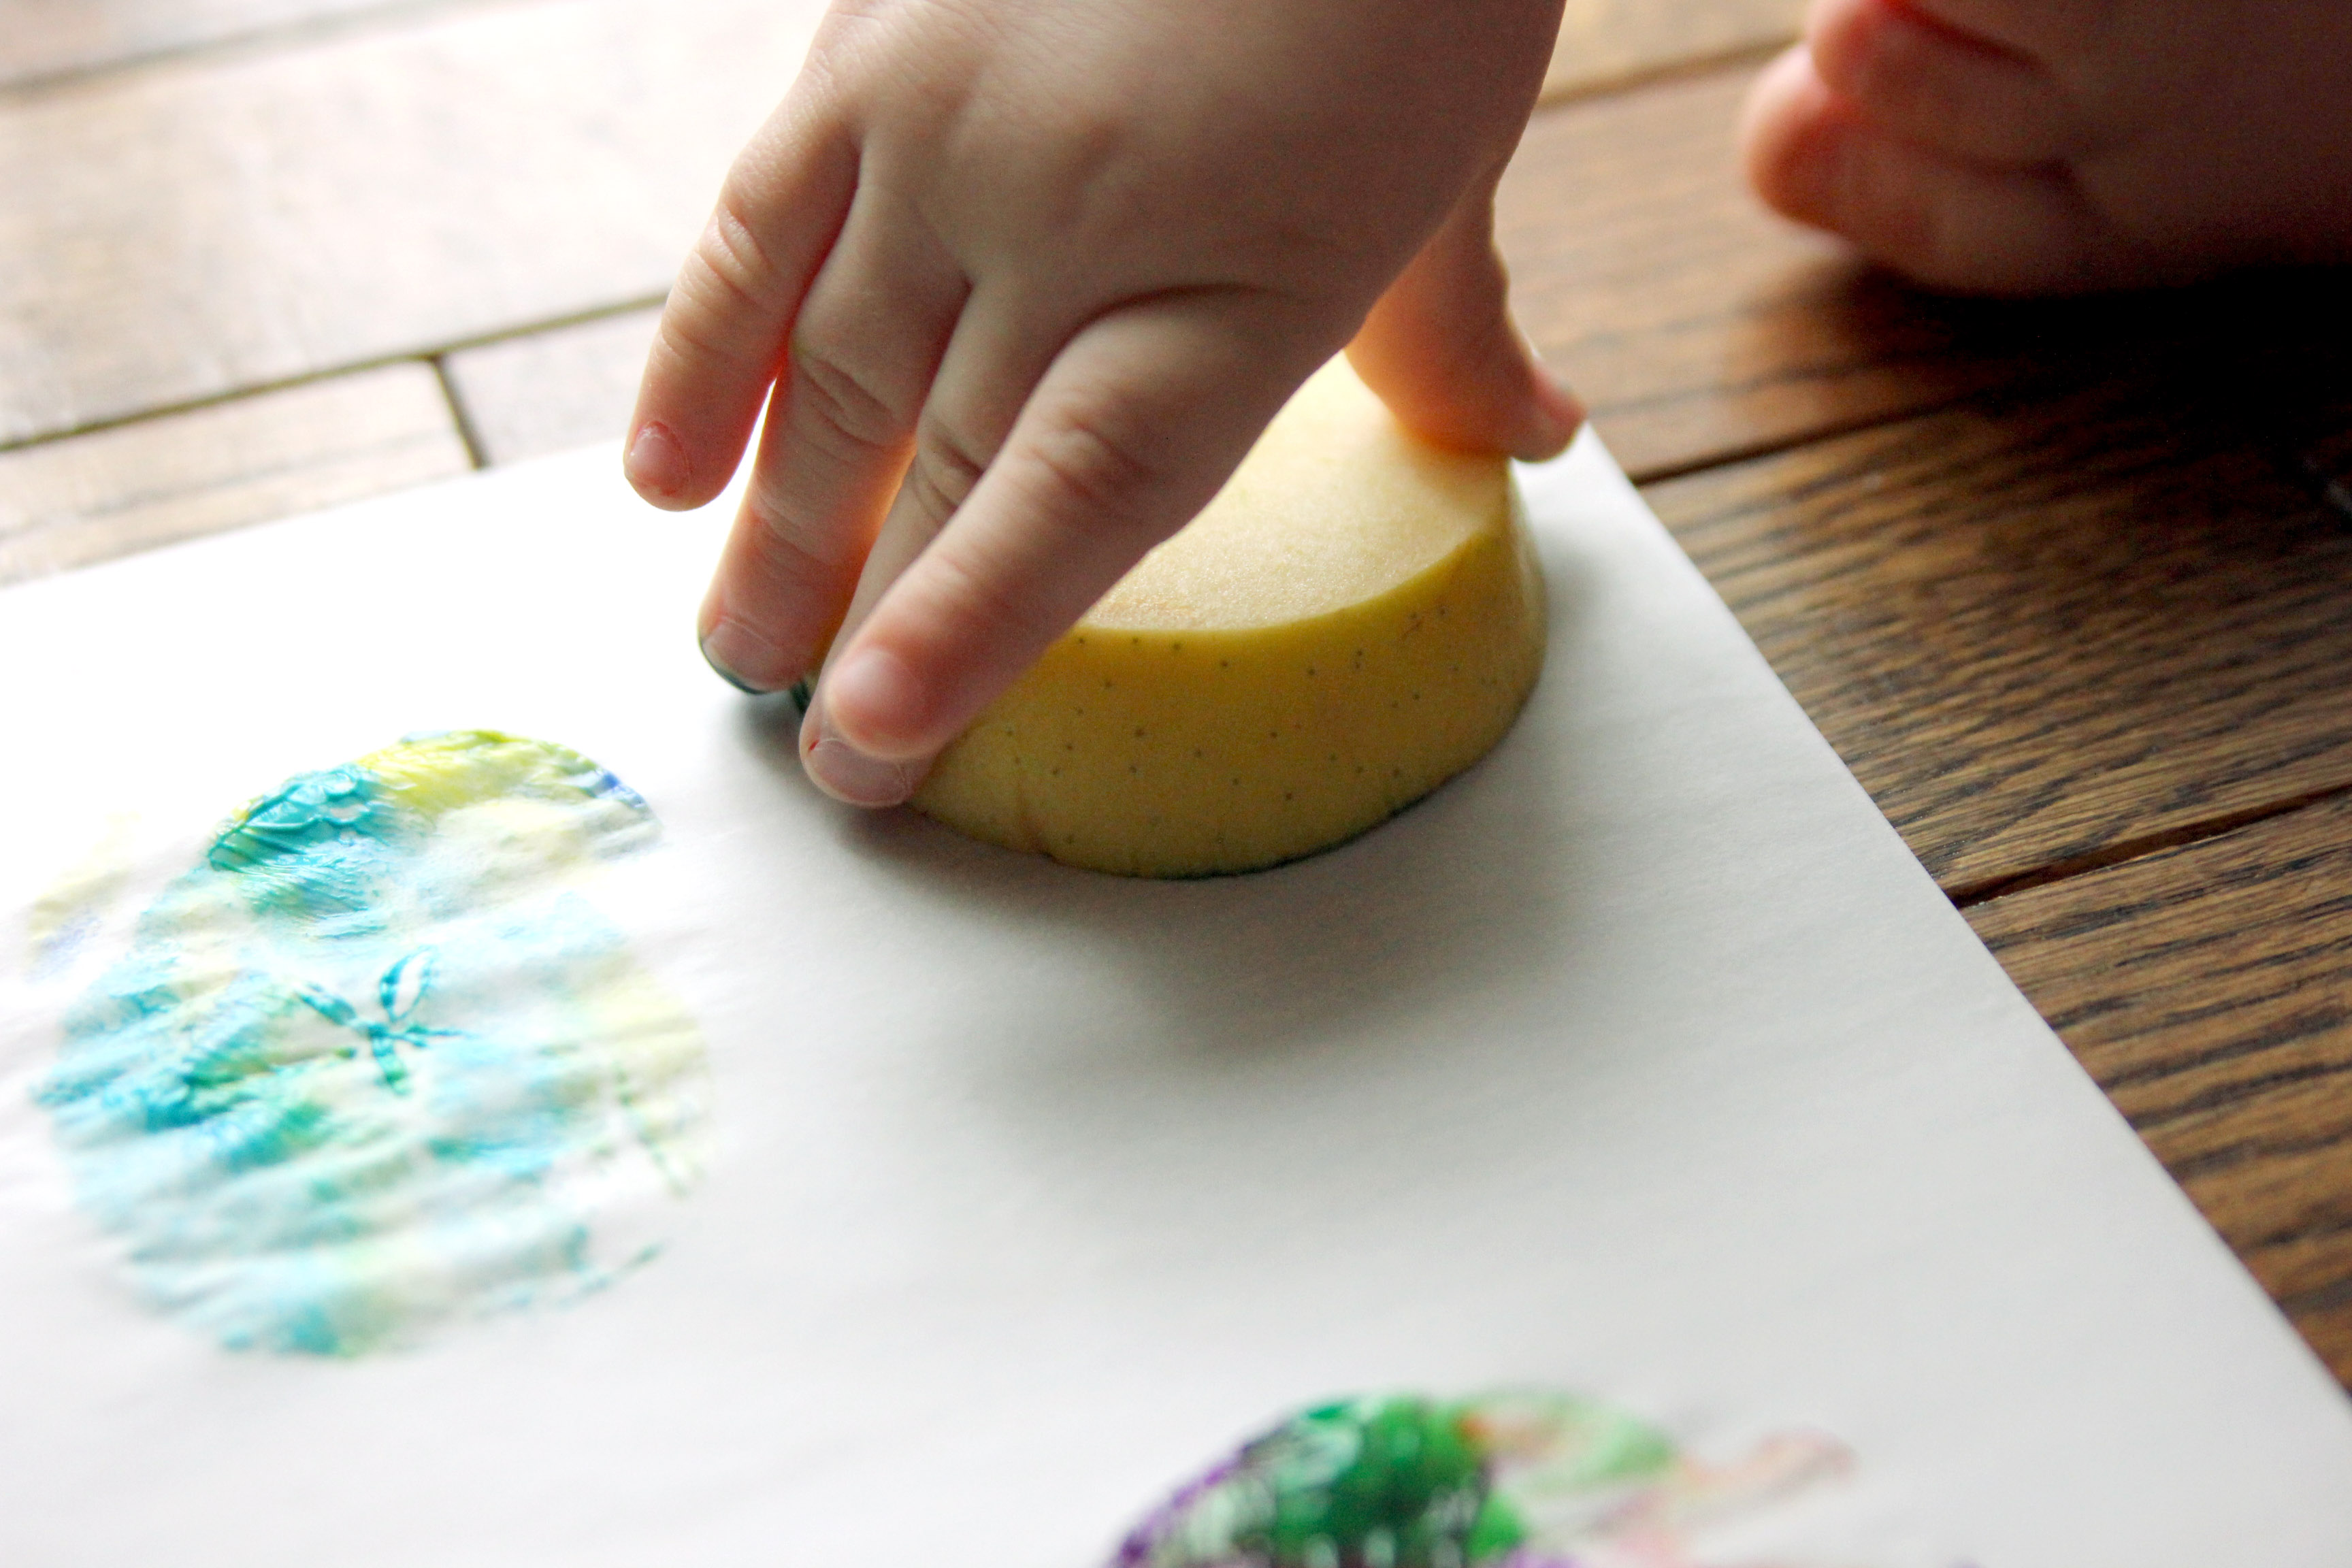
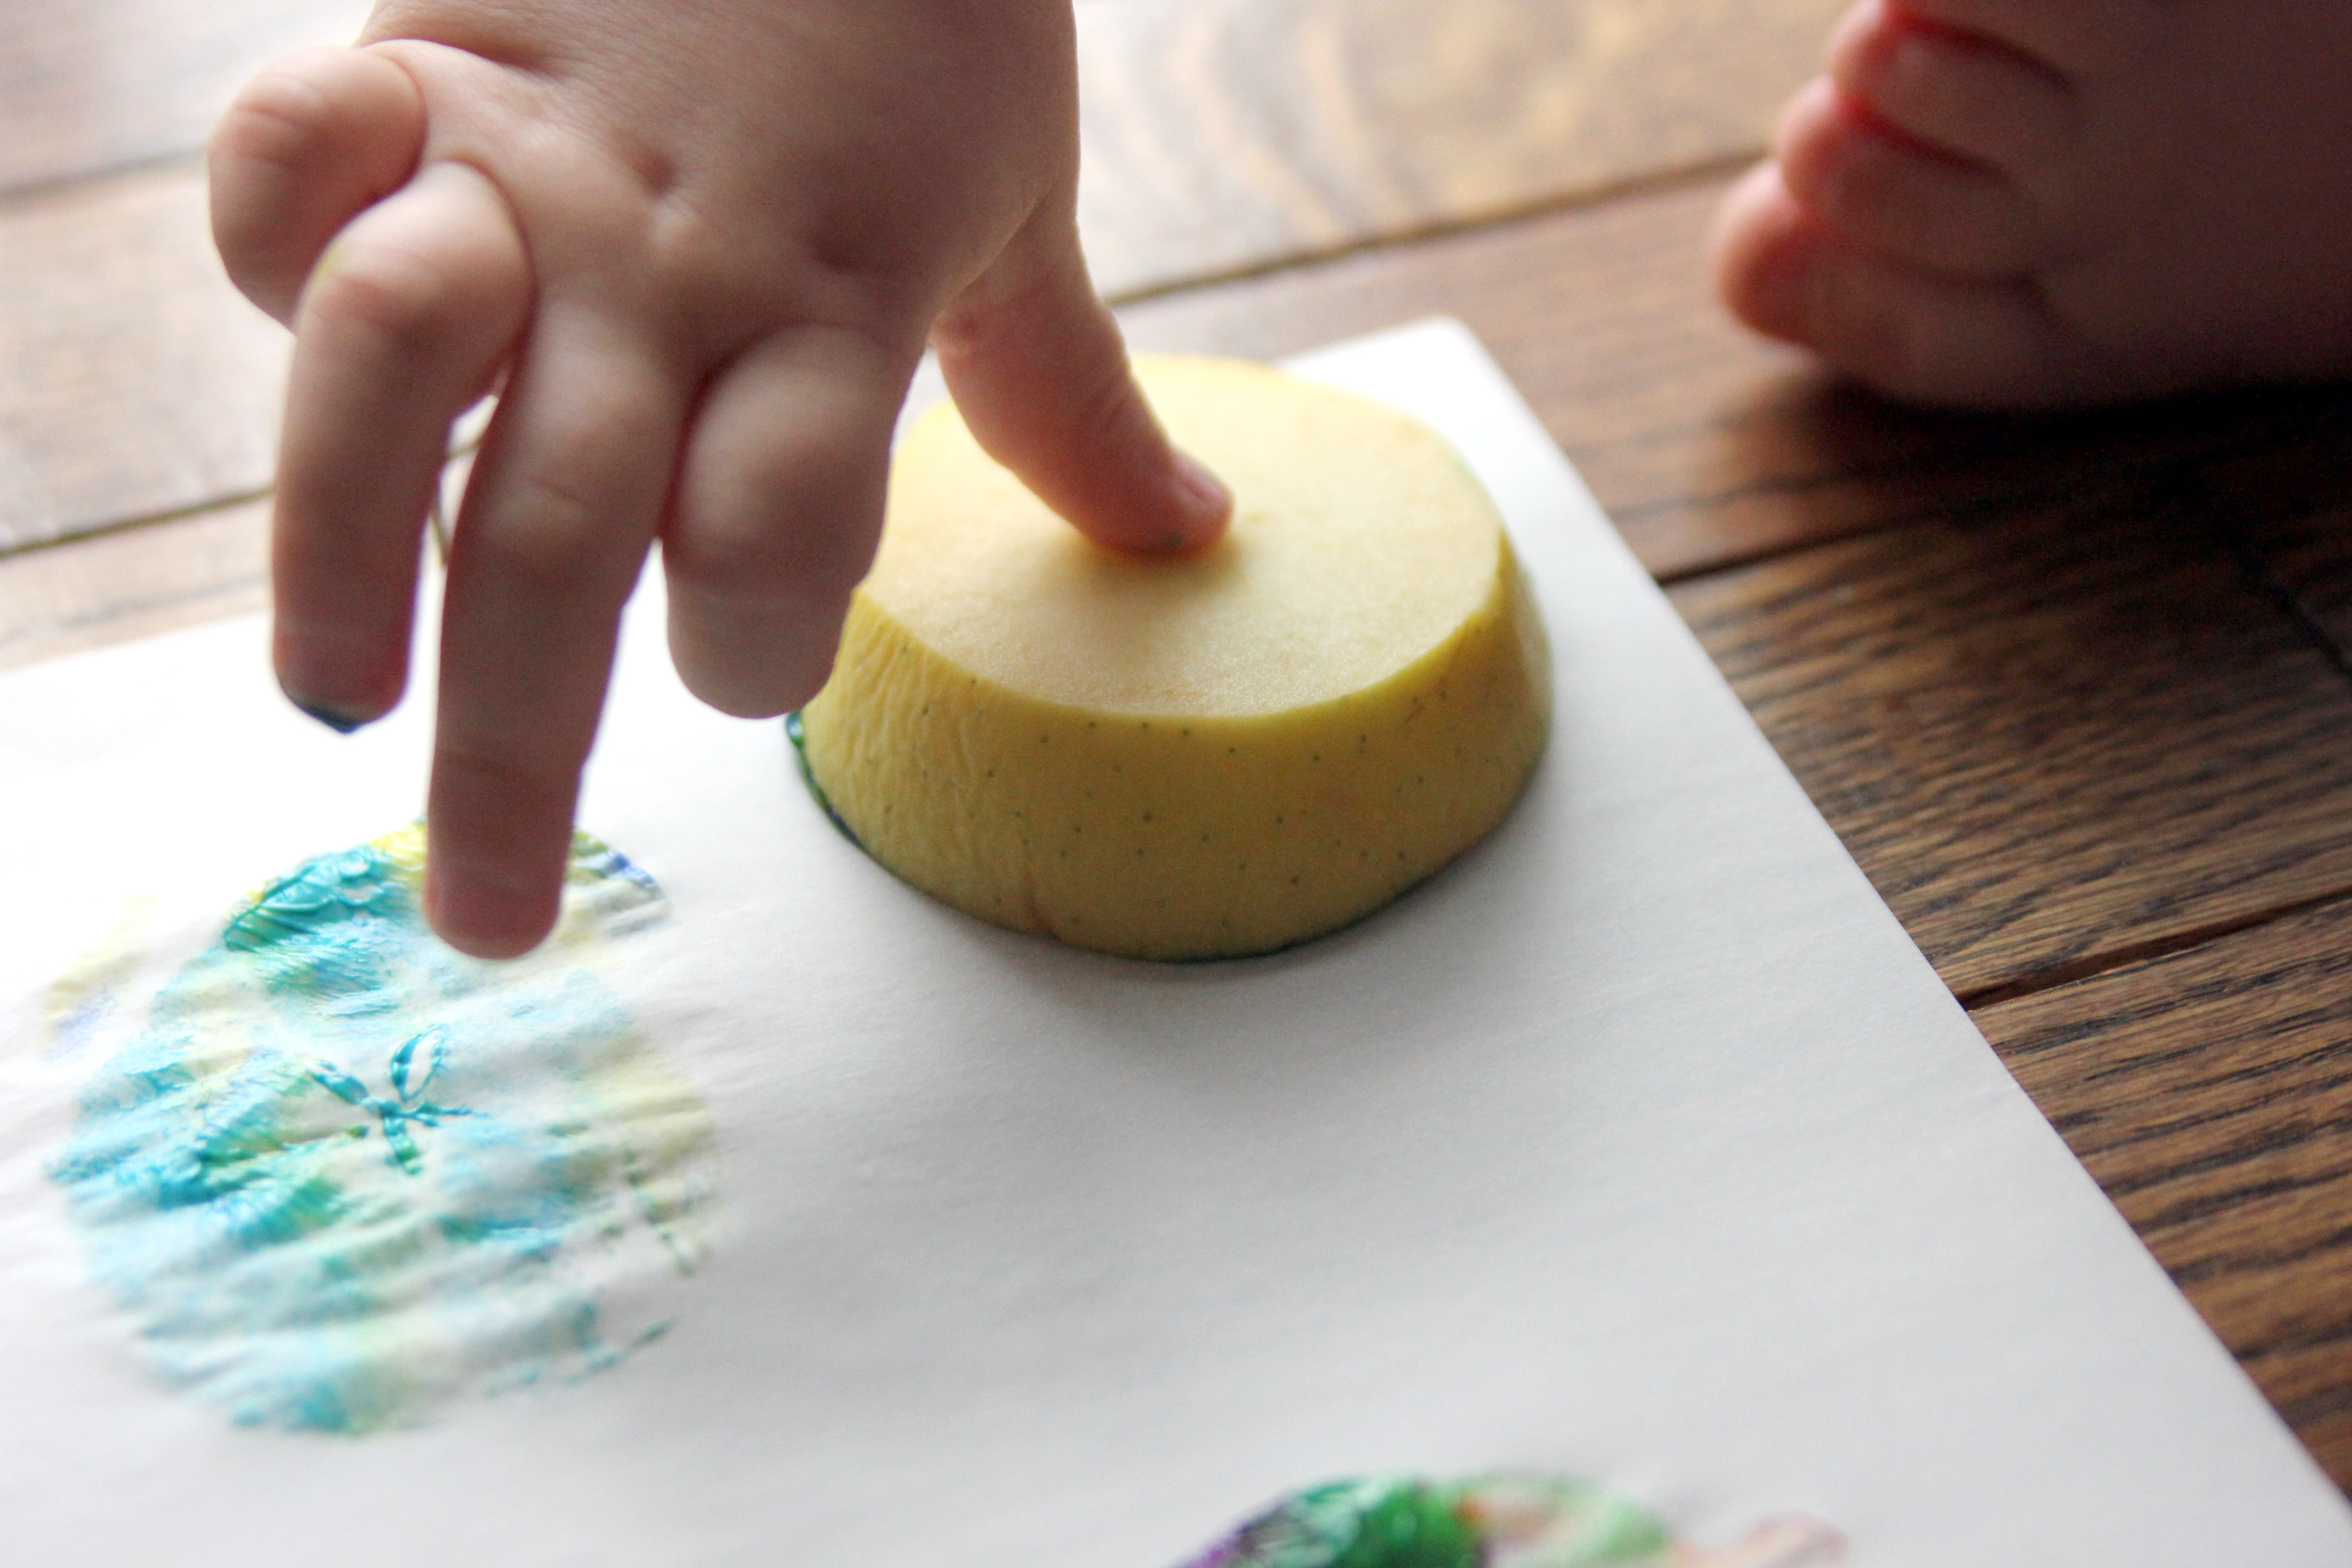
Step 4
While the apple stamp is still on the paper, have your child press down on the center of the apple to strengthen the transfer of the star image.
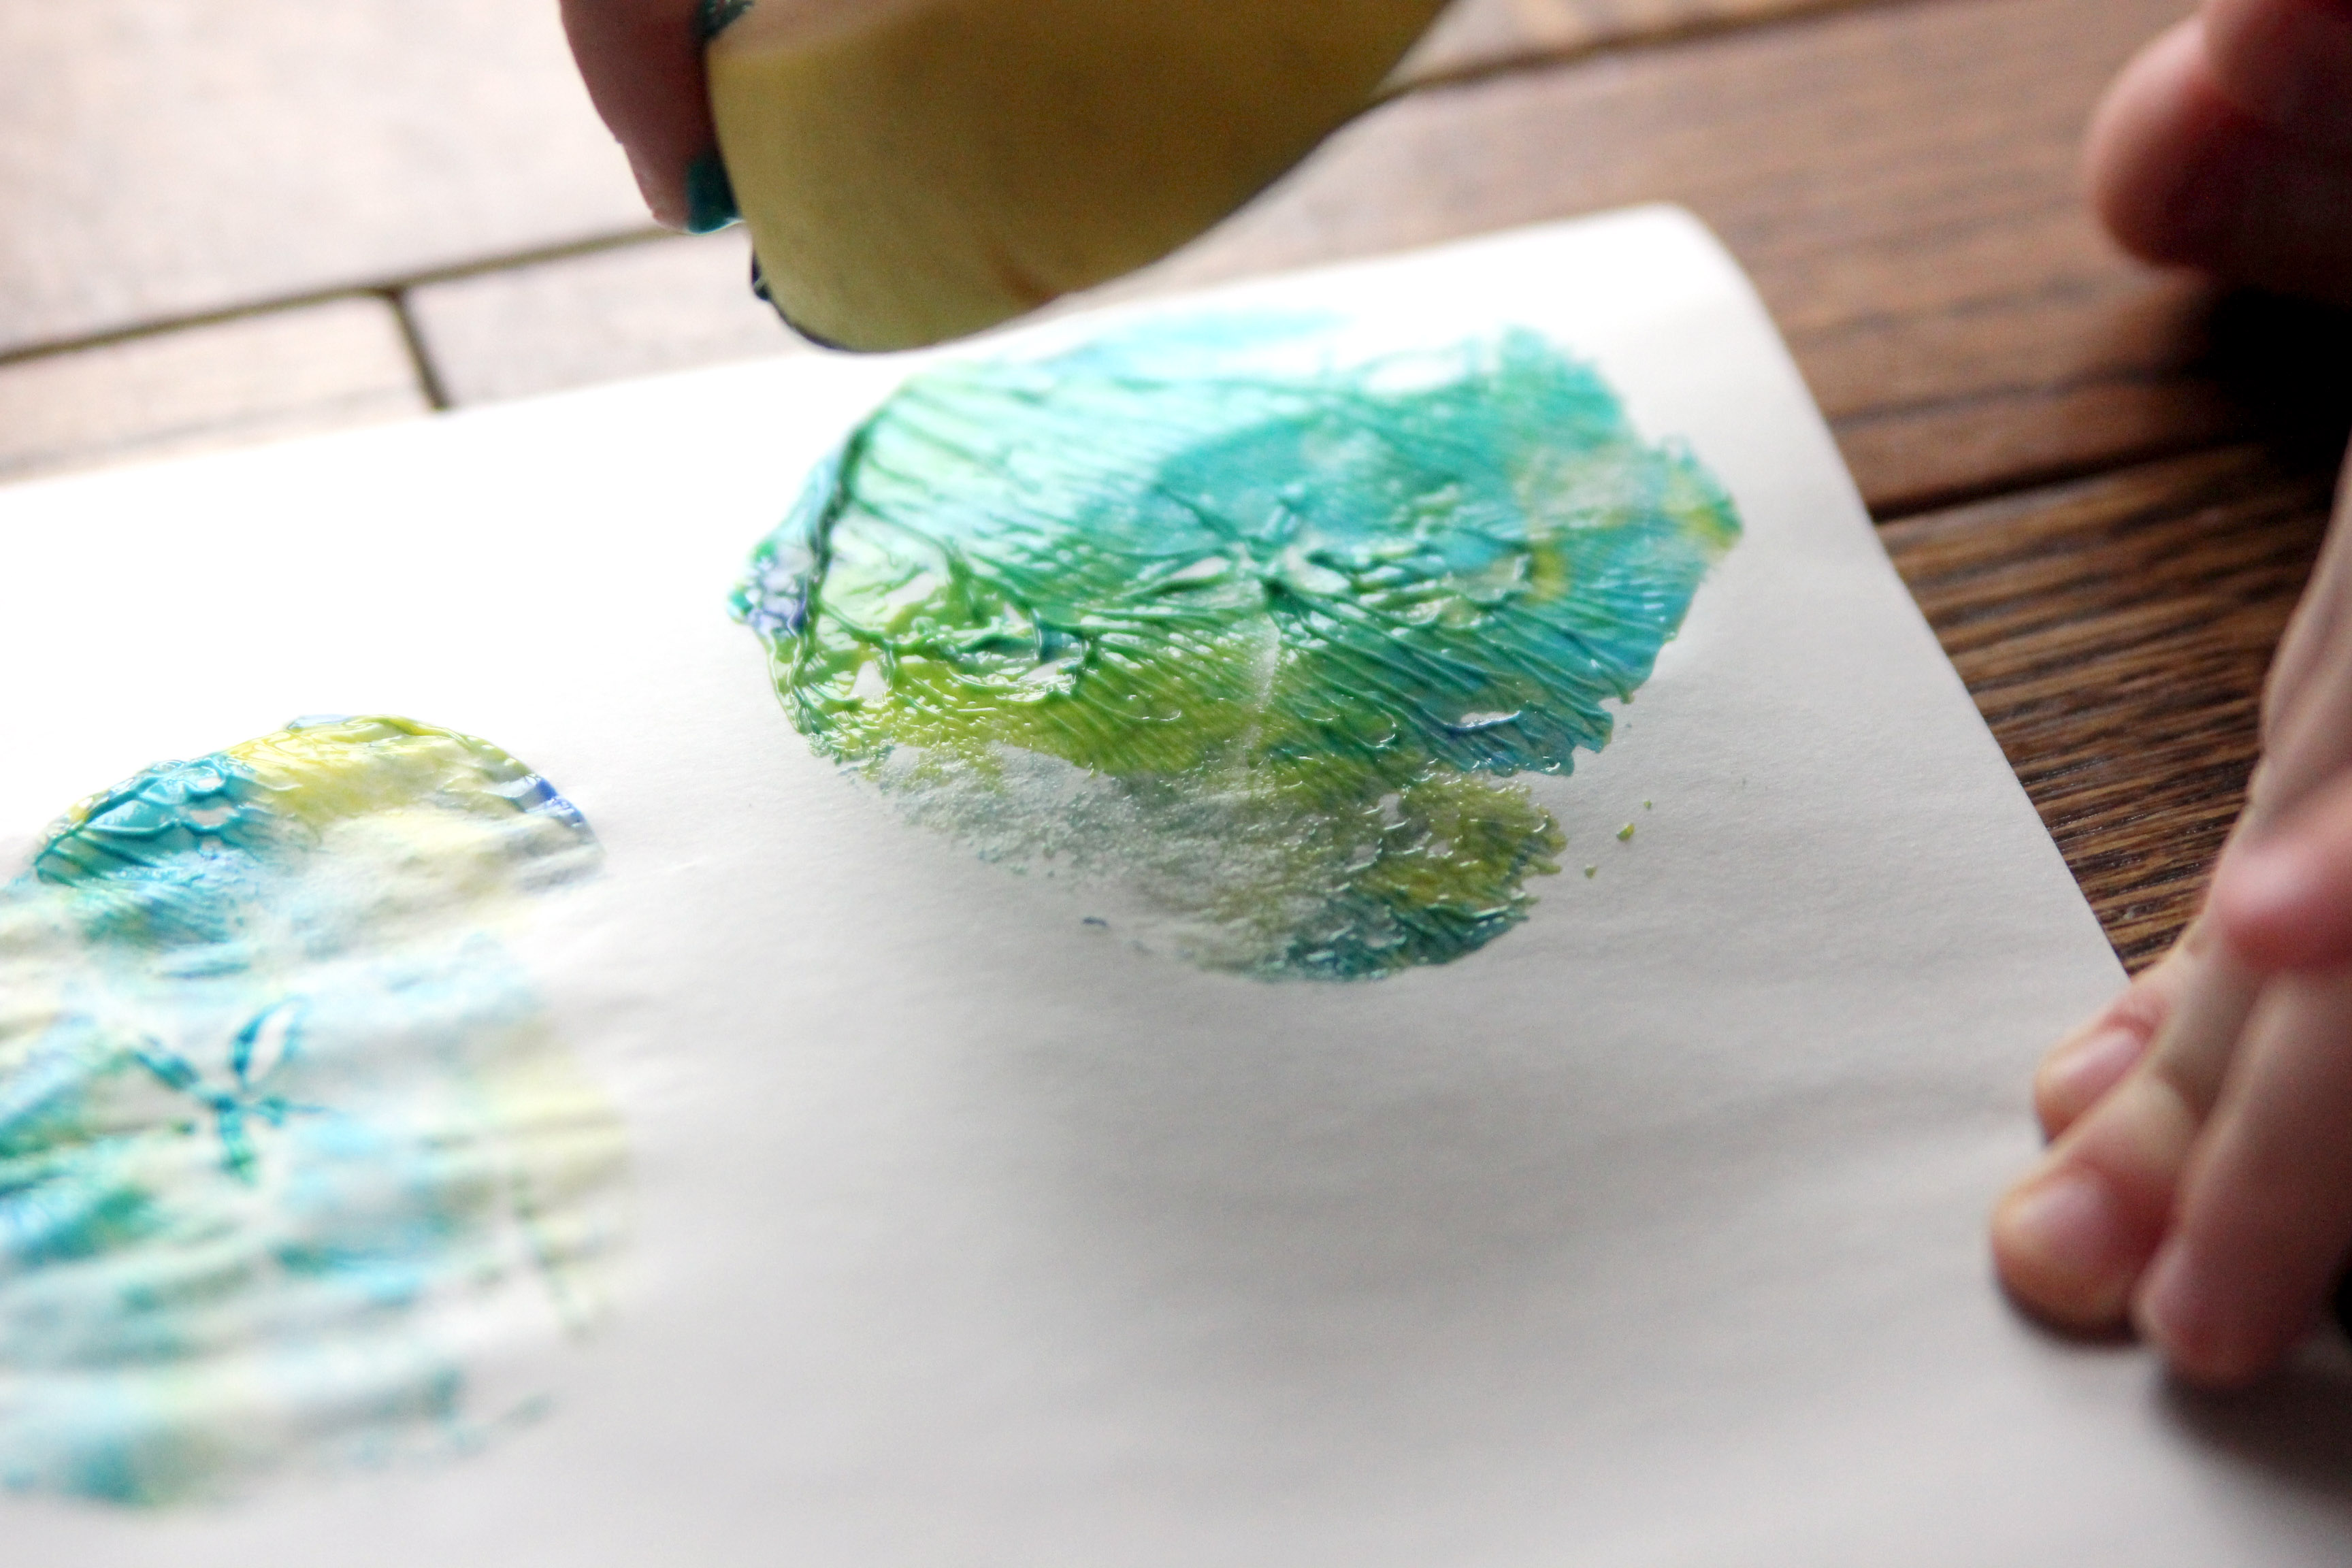
Step 5
Next have your child pull up the apple slice. After a couple of stamps, V really got the hang of it and concluded she needed to hold the tracing paper down while pulling the stamp up, because of how thin the tracing paper is. (I also took this time to talk to her about the weight of the two items, which one was heaver/lighter. We later turned this into a game around the house, pointing to heavier and lighter things.)
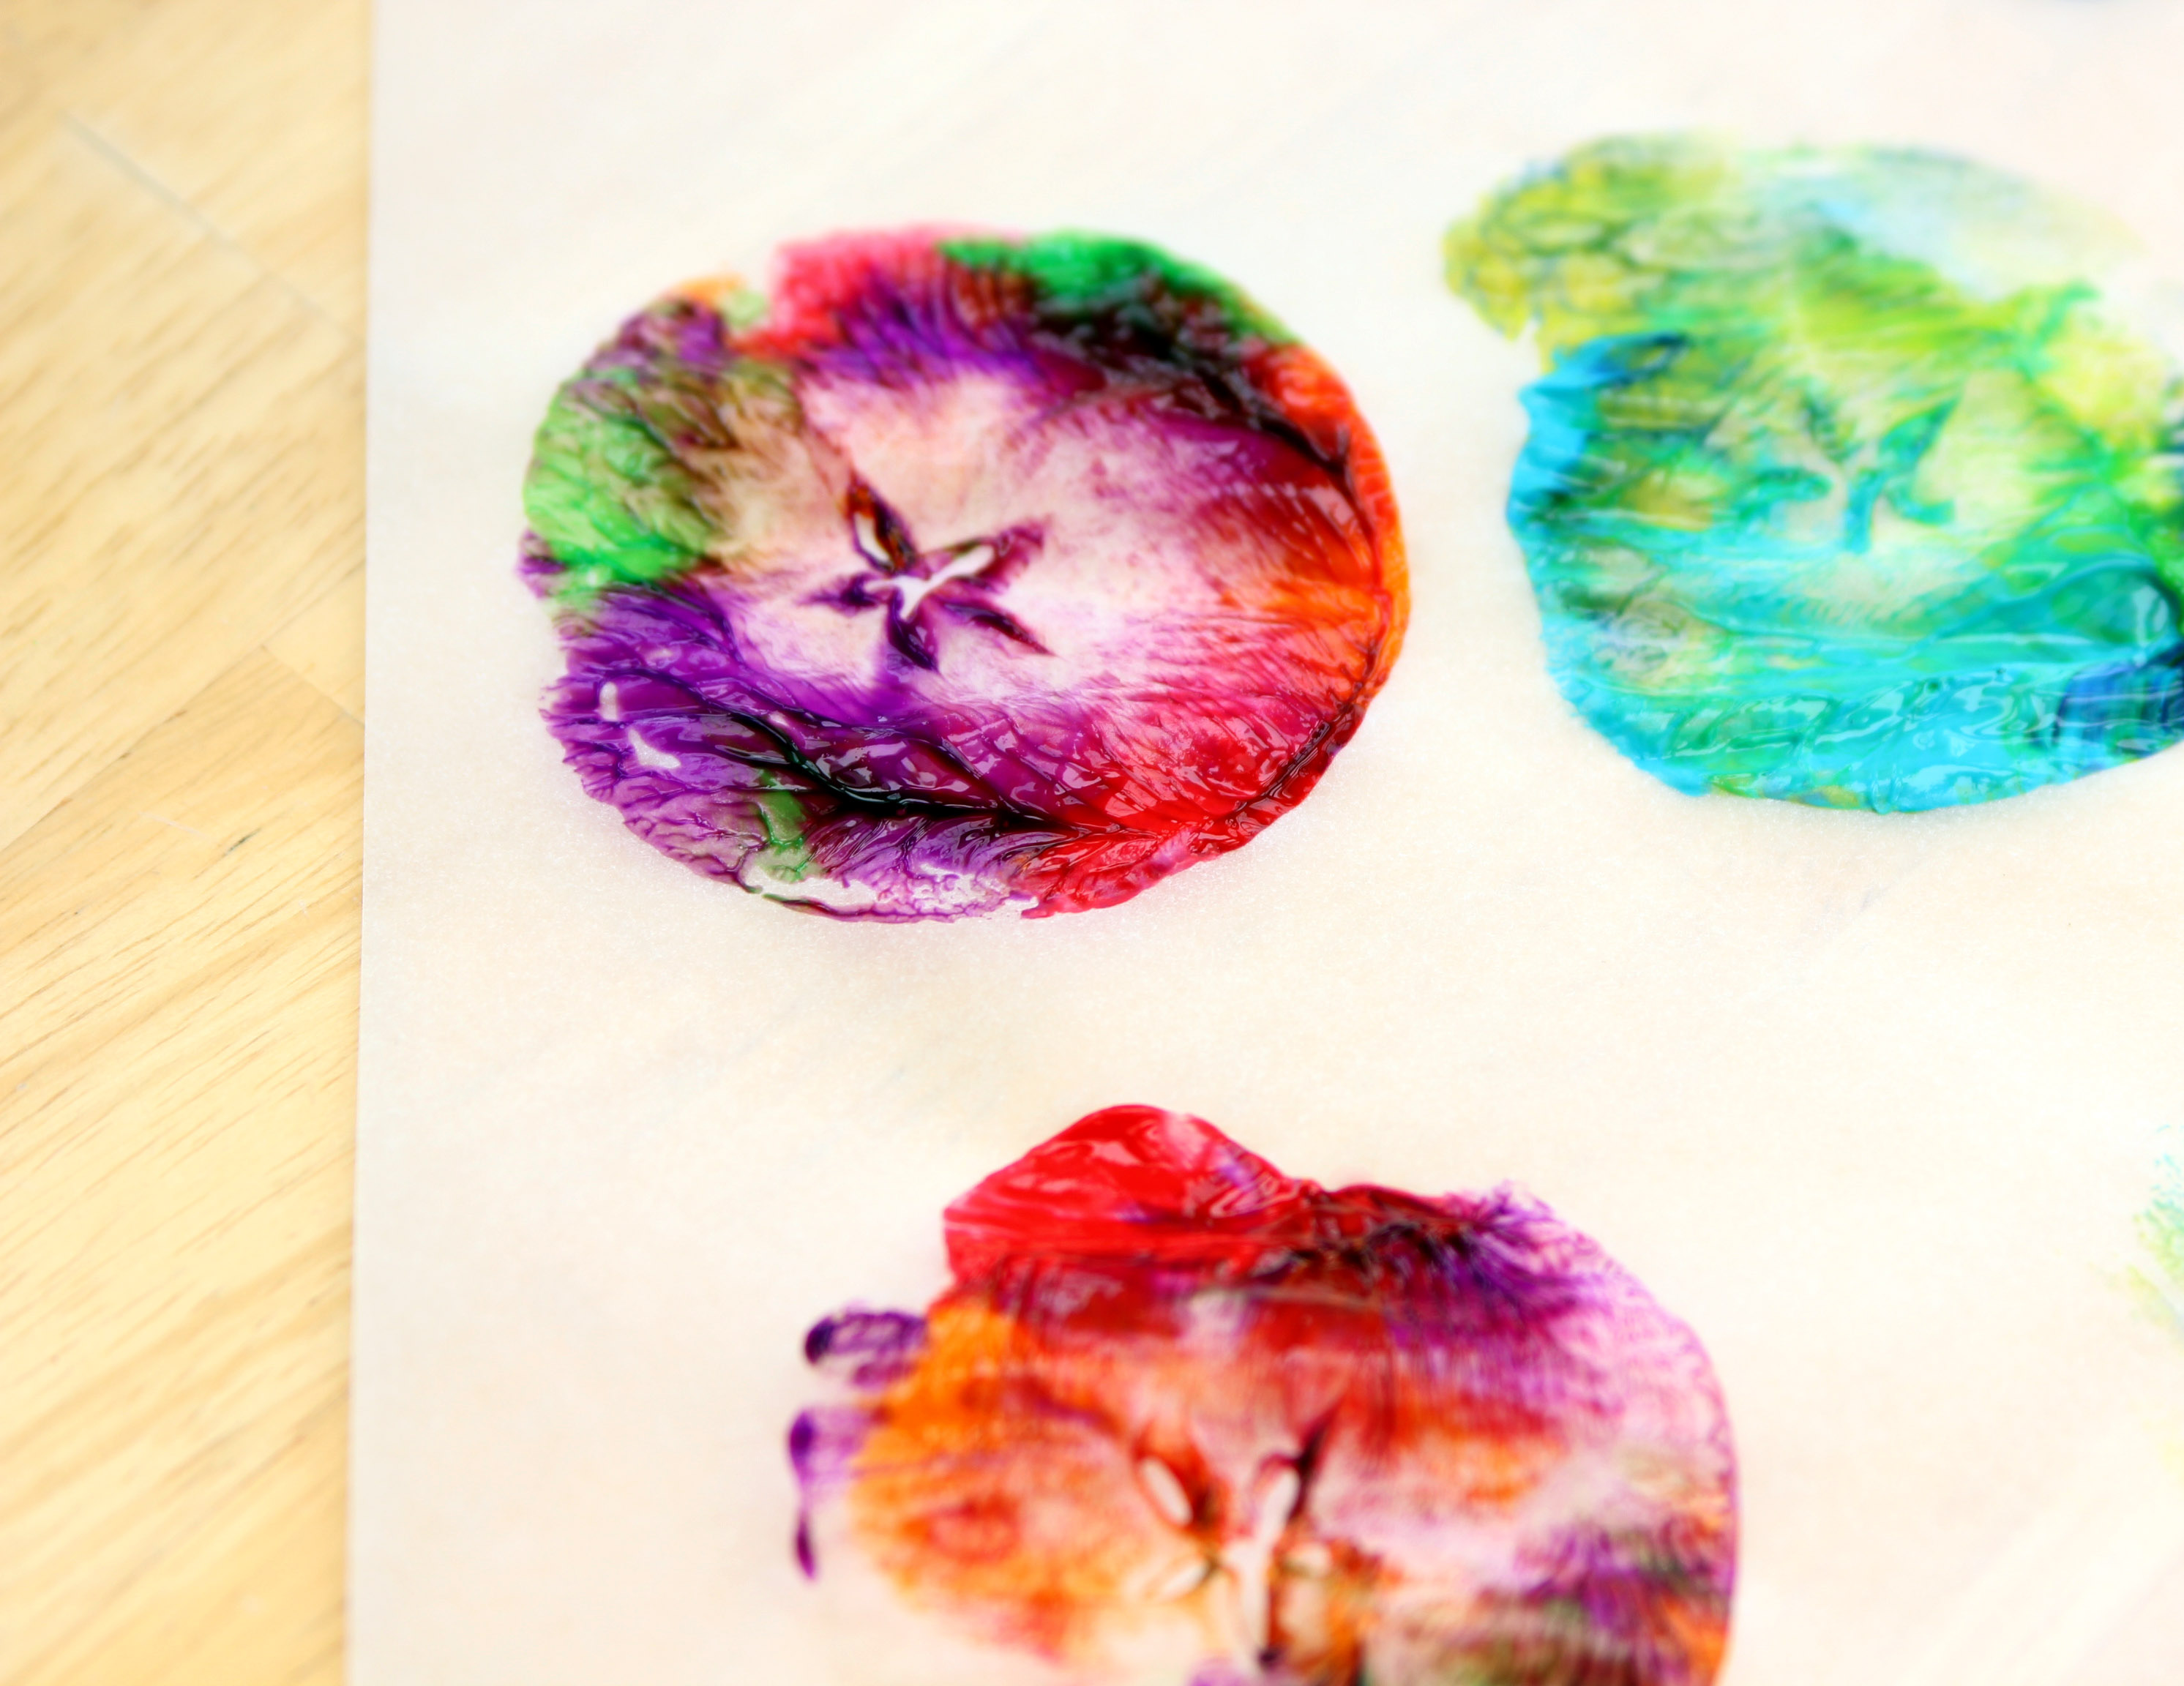
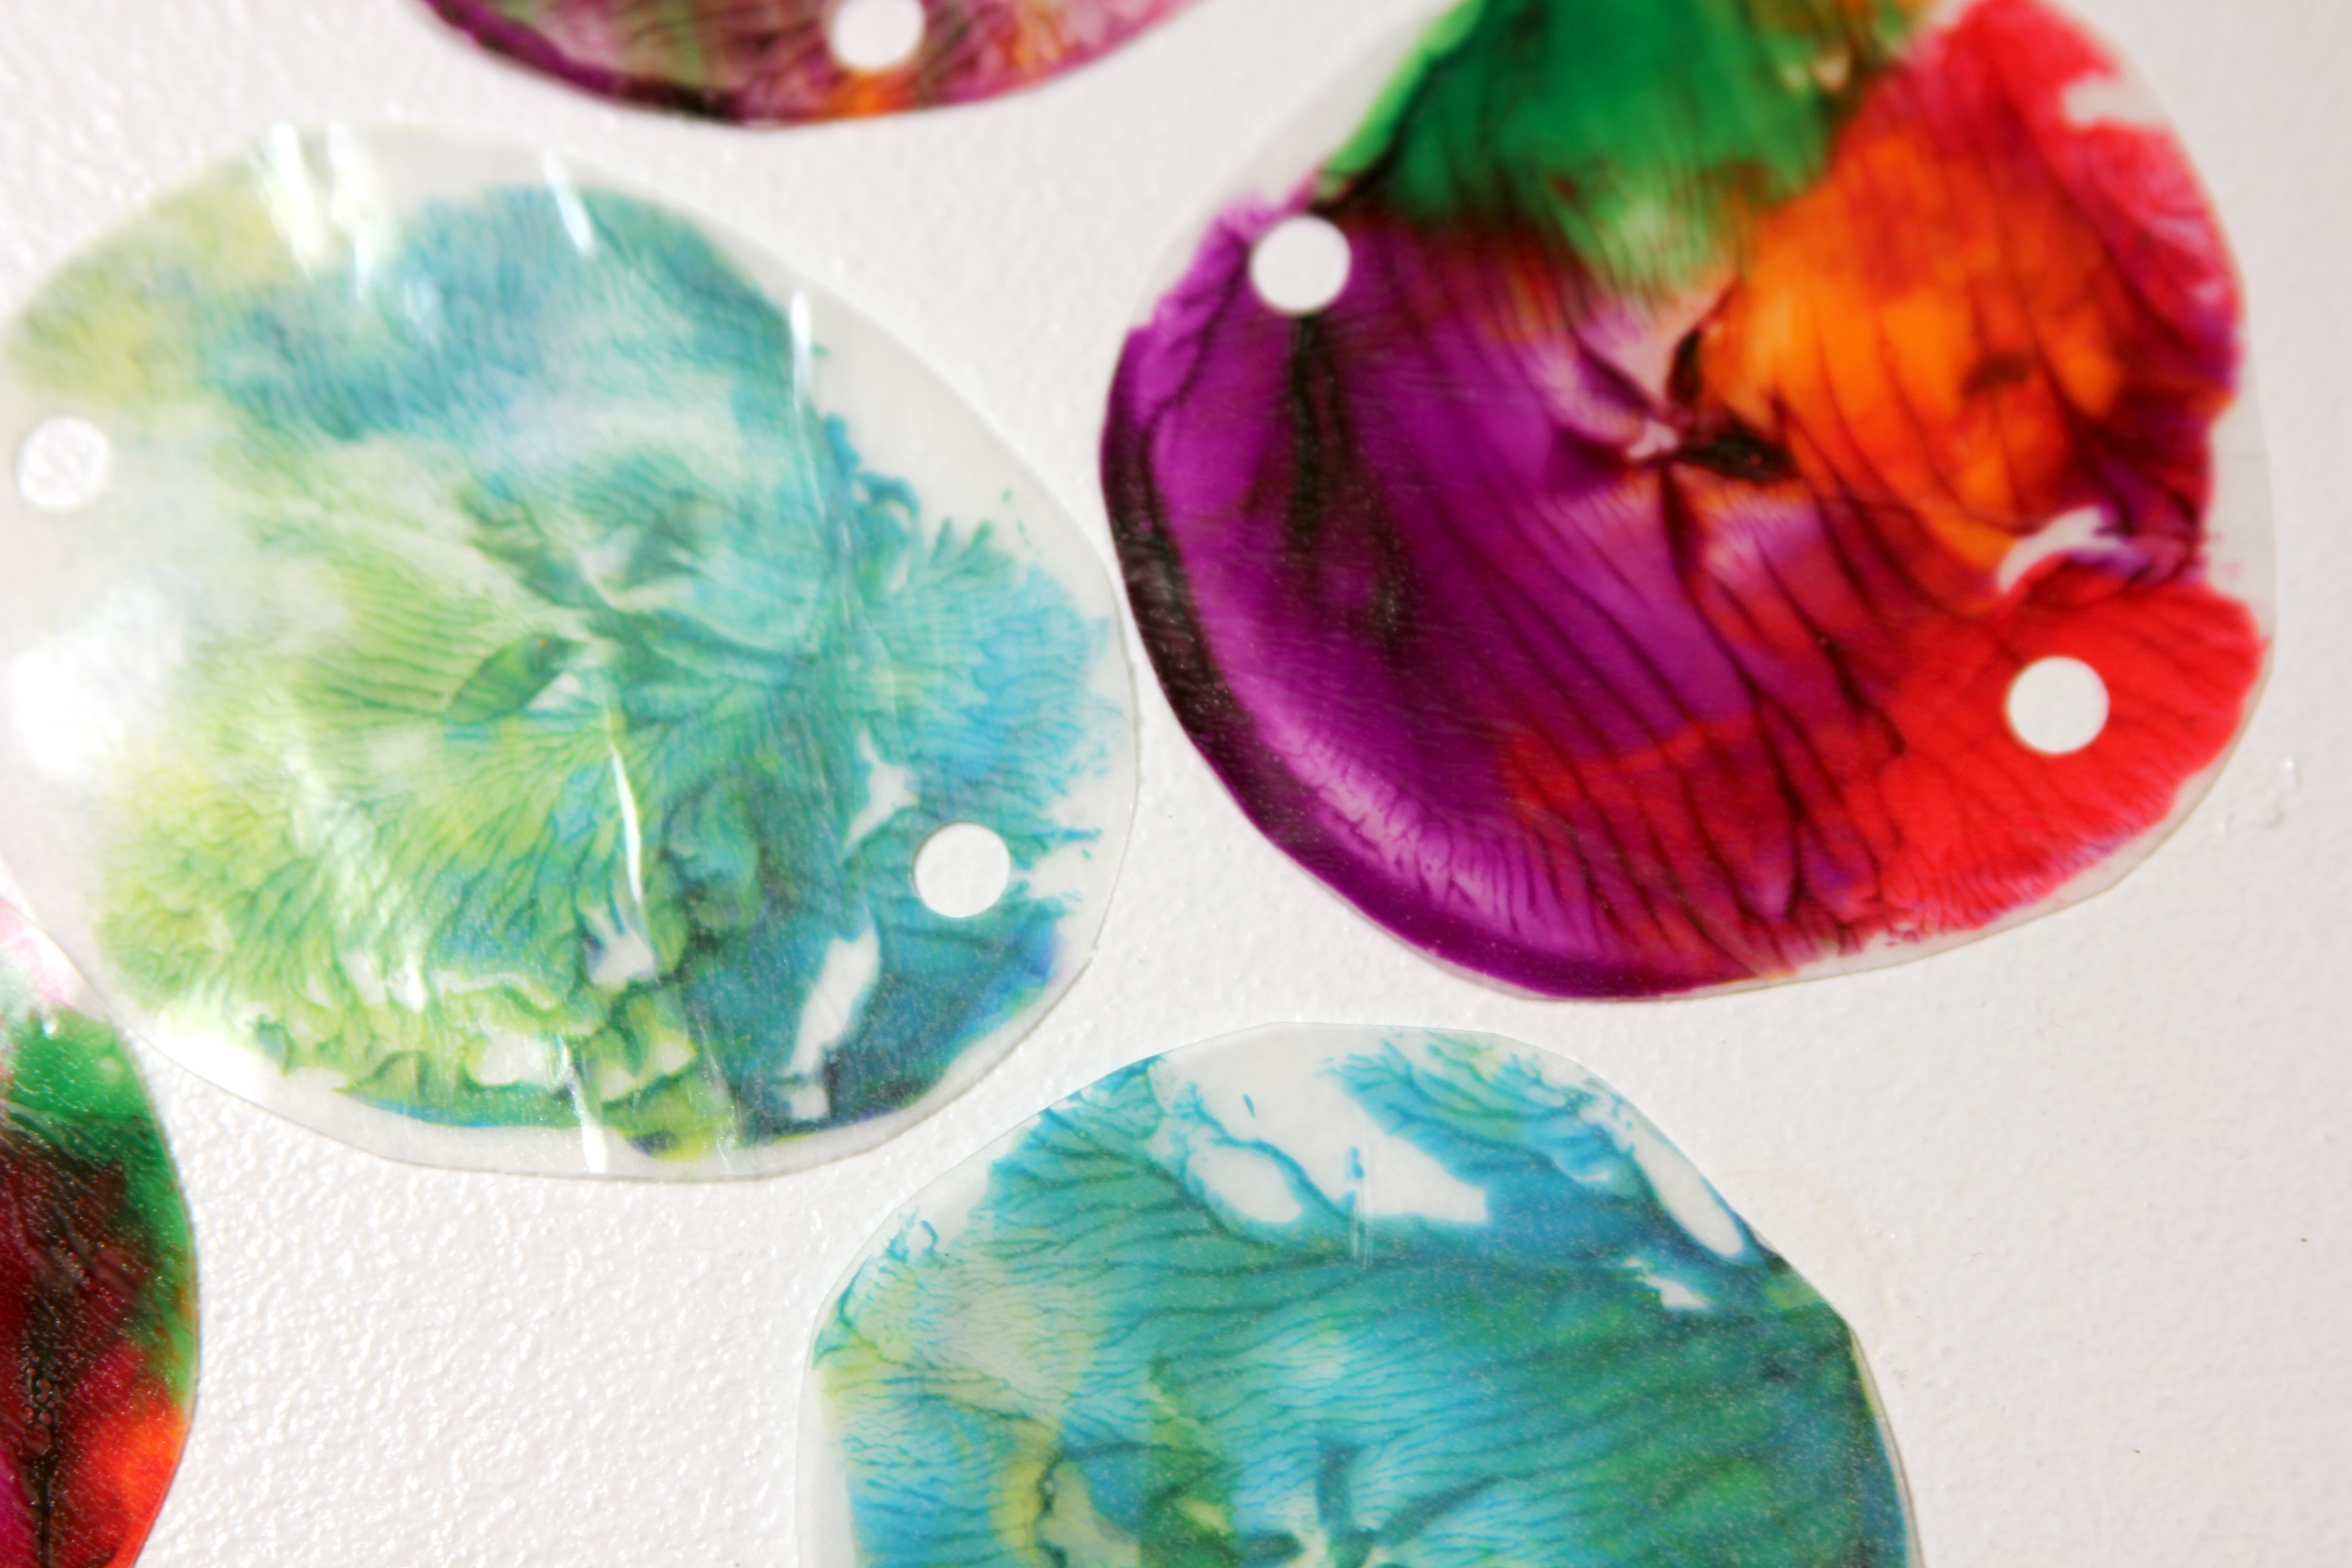
Step 6
Survey how pretty it turned out! V was ooohing and aaahing lots during this step! At this point, the paper will curl slightly in the painted sections. This is fine; it will not affect the final outcome once you seal it with the contact paper. Next, let the paint completely dry. Depending on the thickness of the stamping, this may take a couple of hours.
Step 7
Once each stamped image is completely dry, lay clear contact paper on top of tracing paper, sticky side down against the painted image. Flatten the contact paper using a hard edge (like a book). V had lots of fun doing this part. She loved pushing the book across the images and getting the air "bubbles" out.
Next, flip over paper and lay the second sheet of contact paper on the back side of tracing paper, sticky side down to seal the tracing paper in. Flatten the back side using the same method as the front.
Cut out all the stamped circles and lay out the circles in a pattern.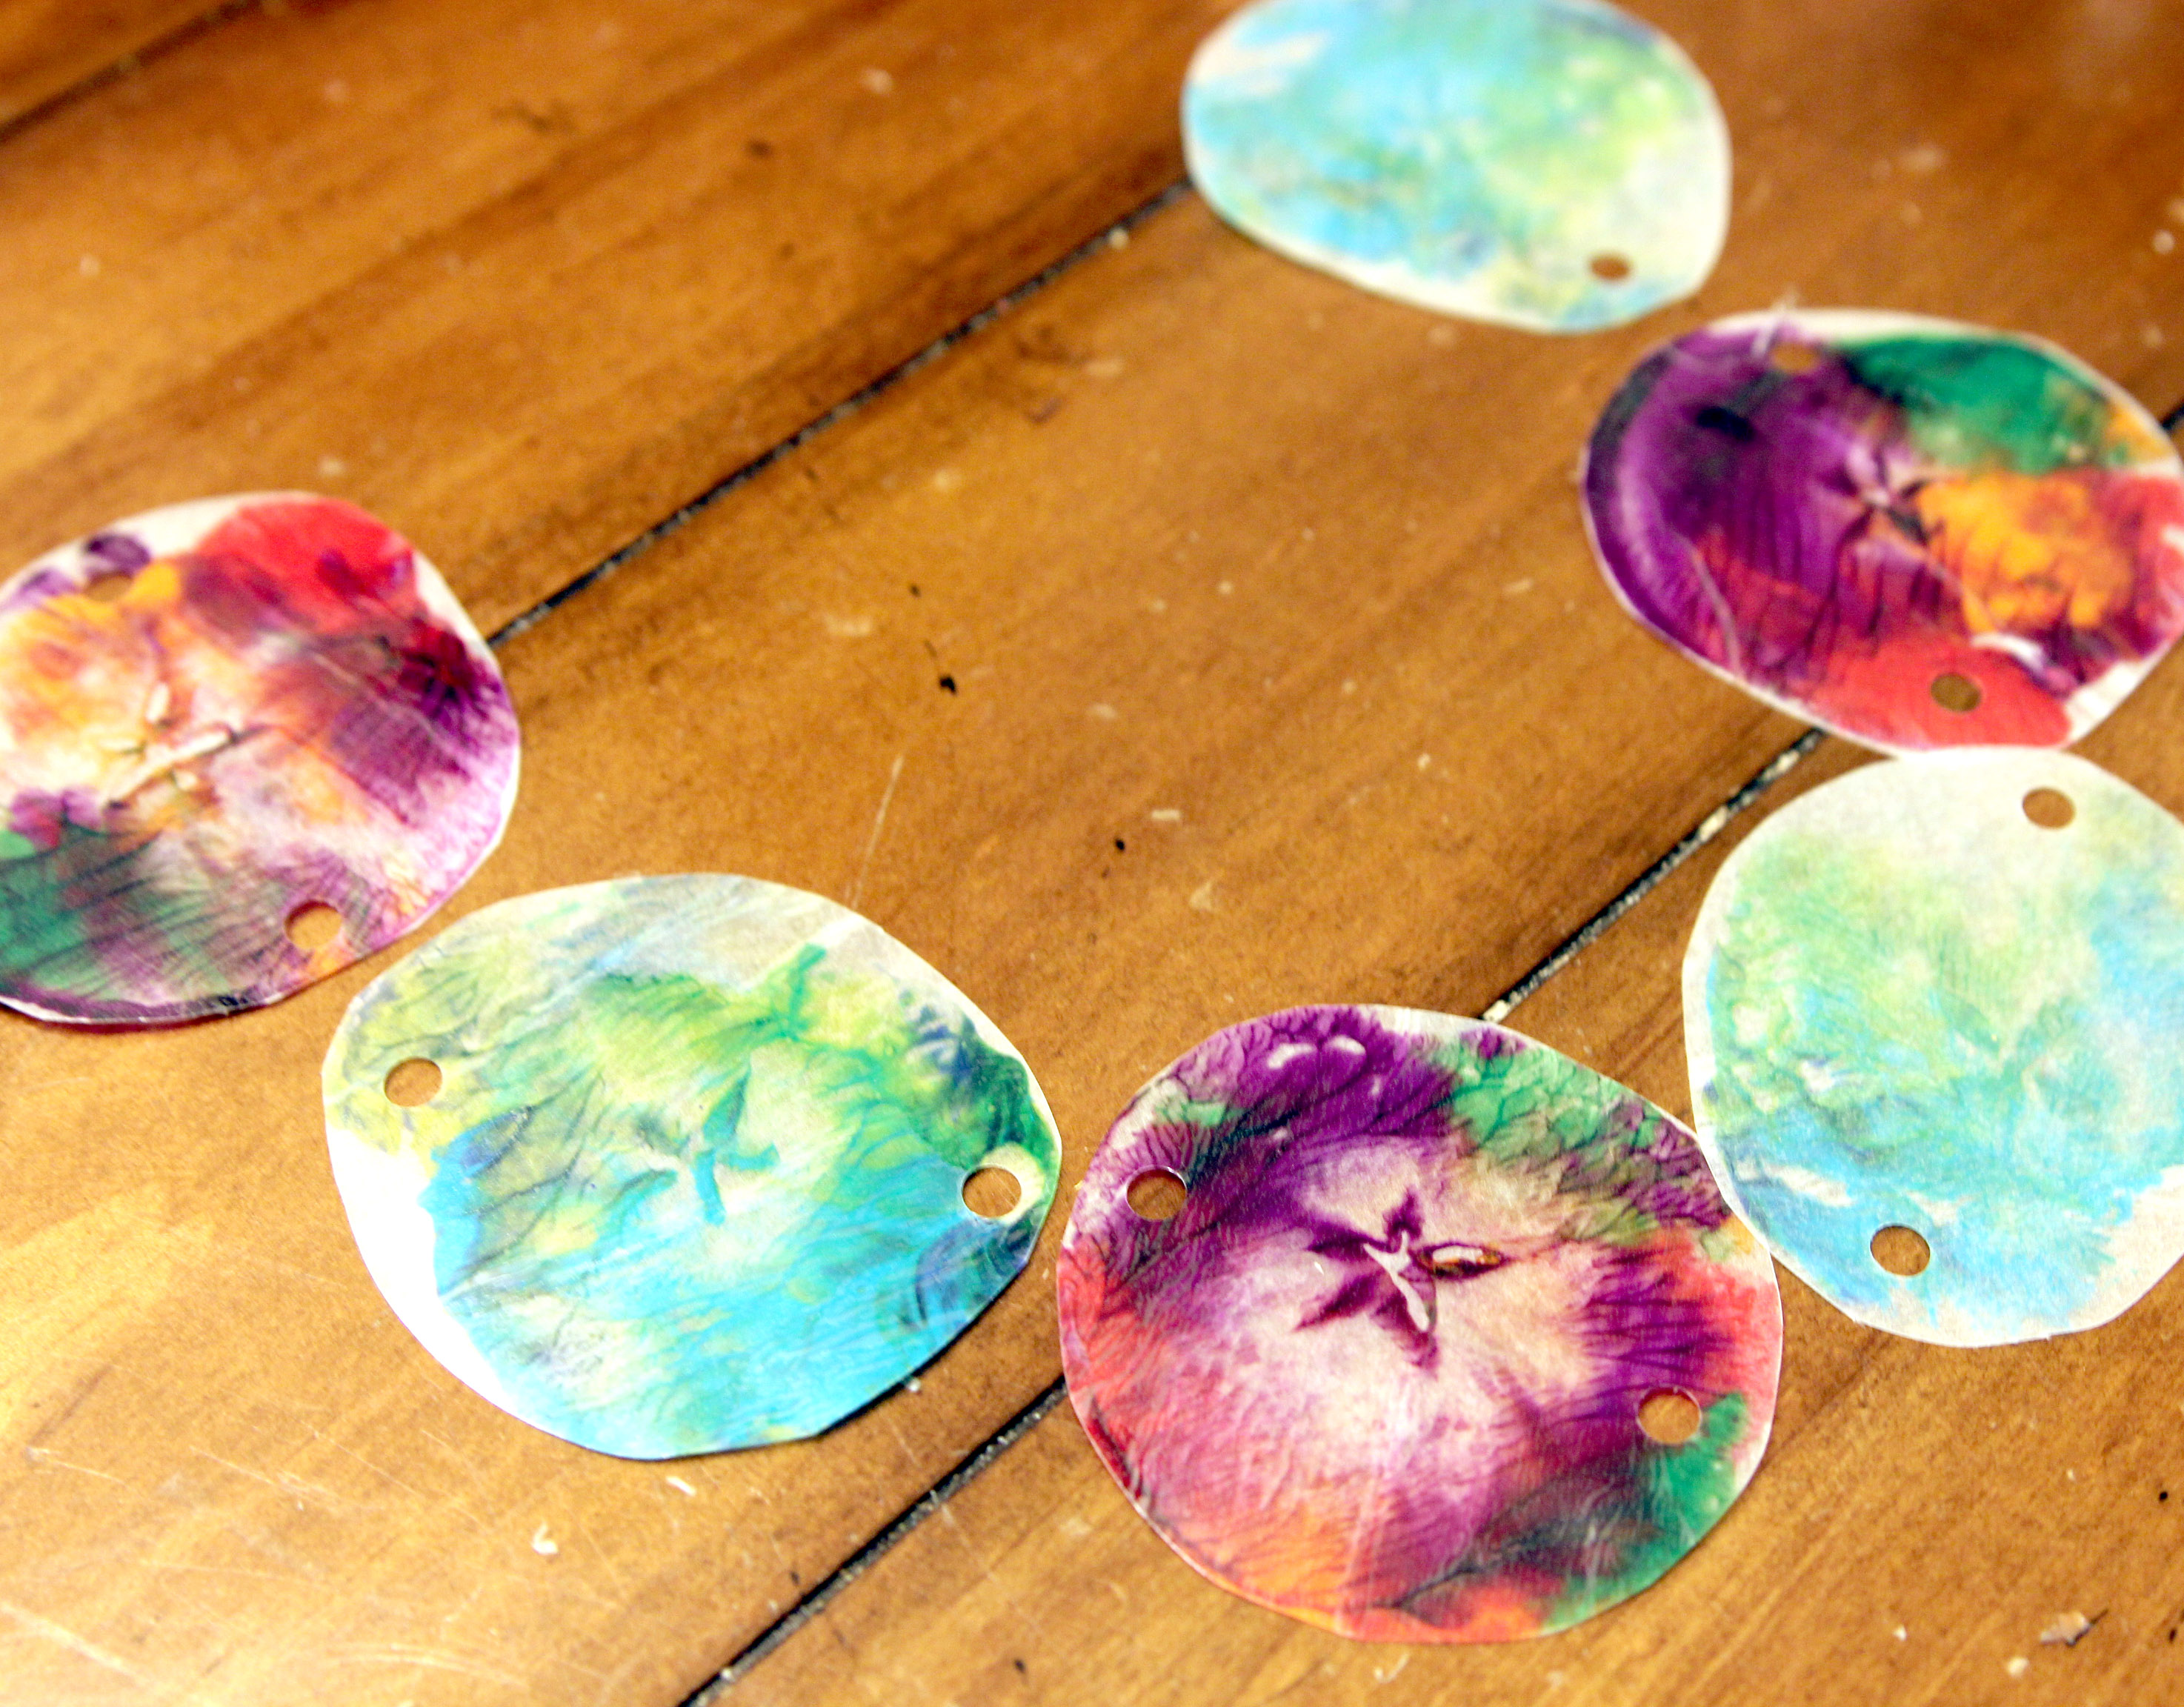
Step 8
Next, using the hole puncher, punch holes in the top and bottom of each circle, except for the last circle, in which you will only punch a hole at the top.
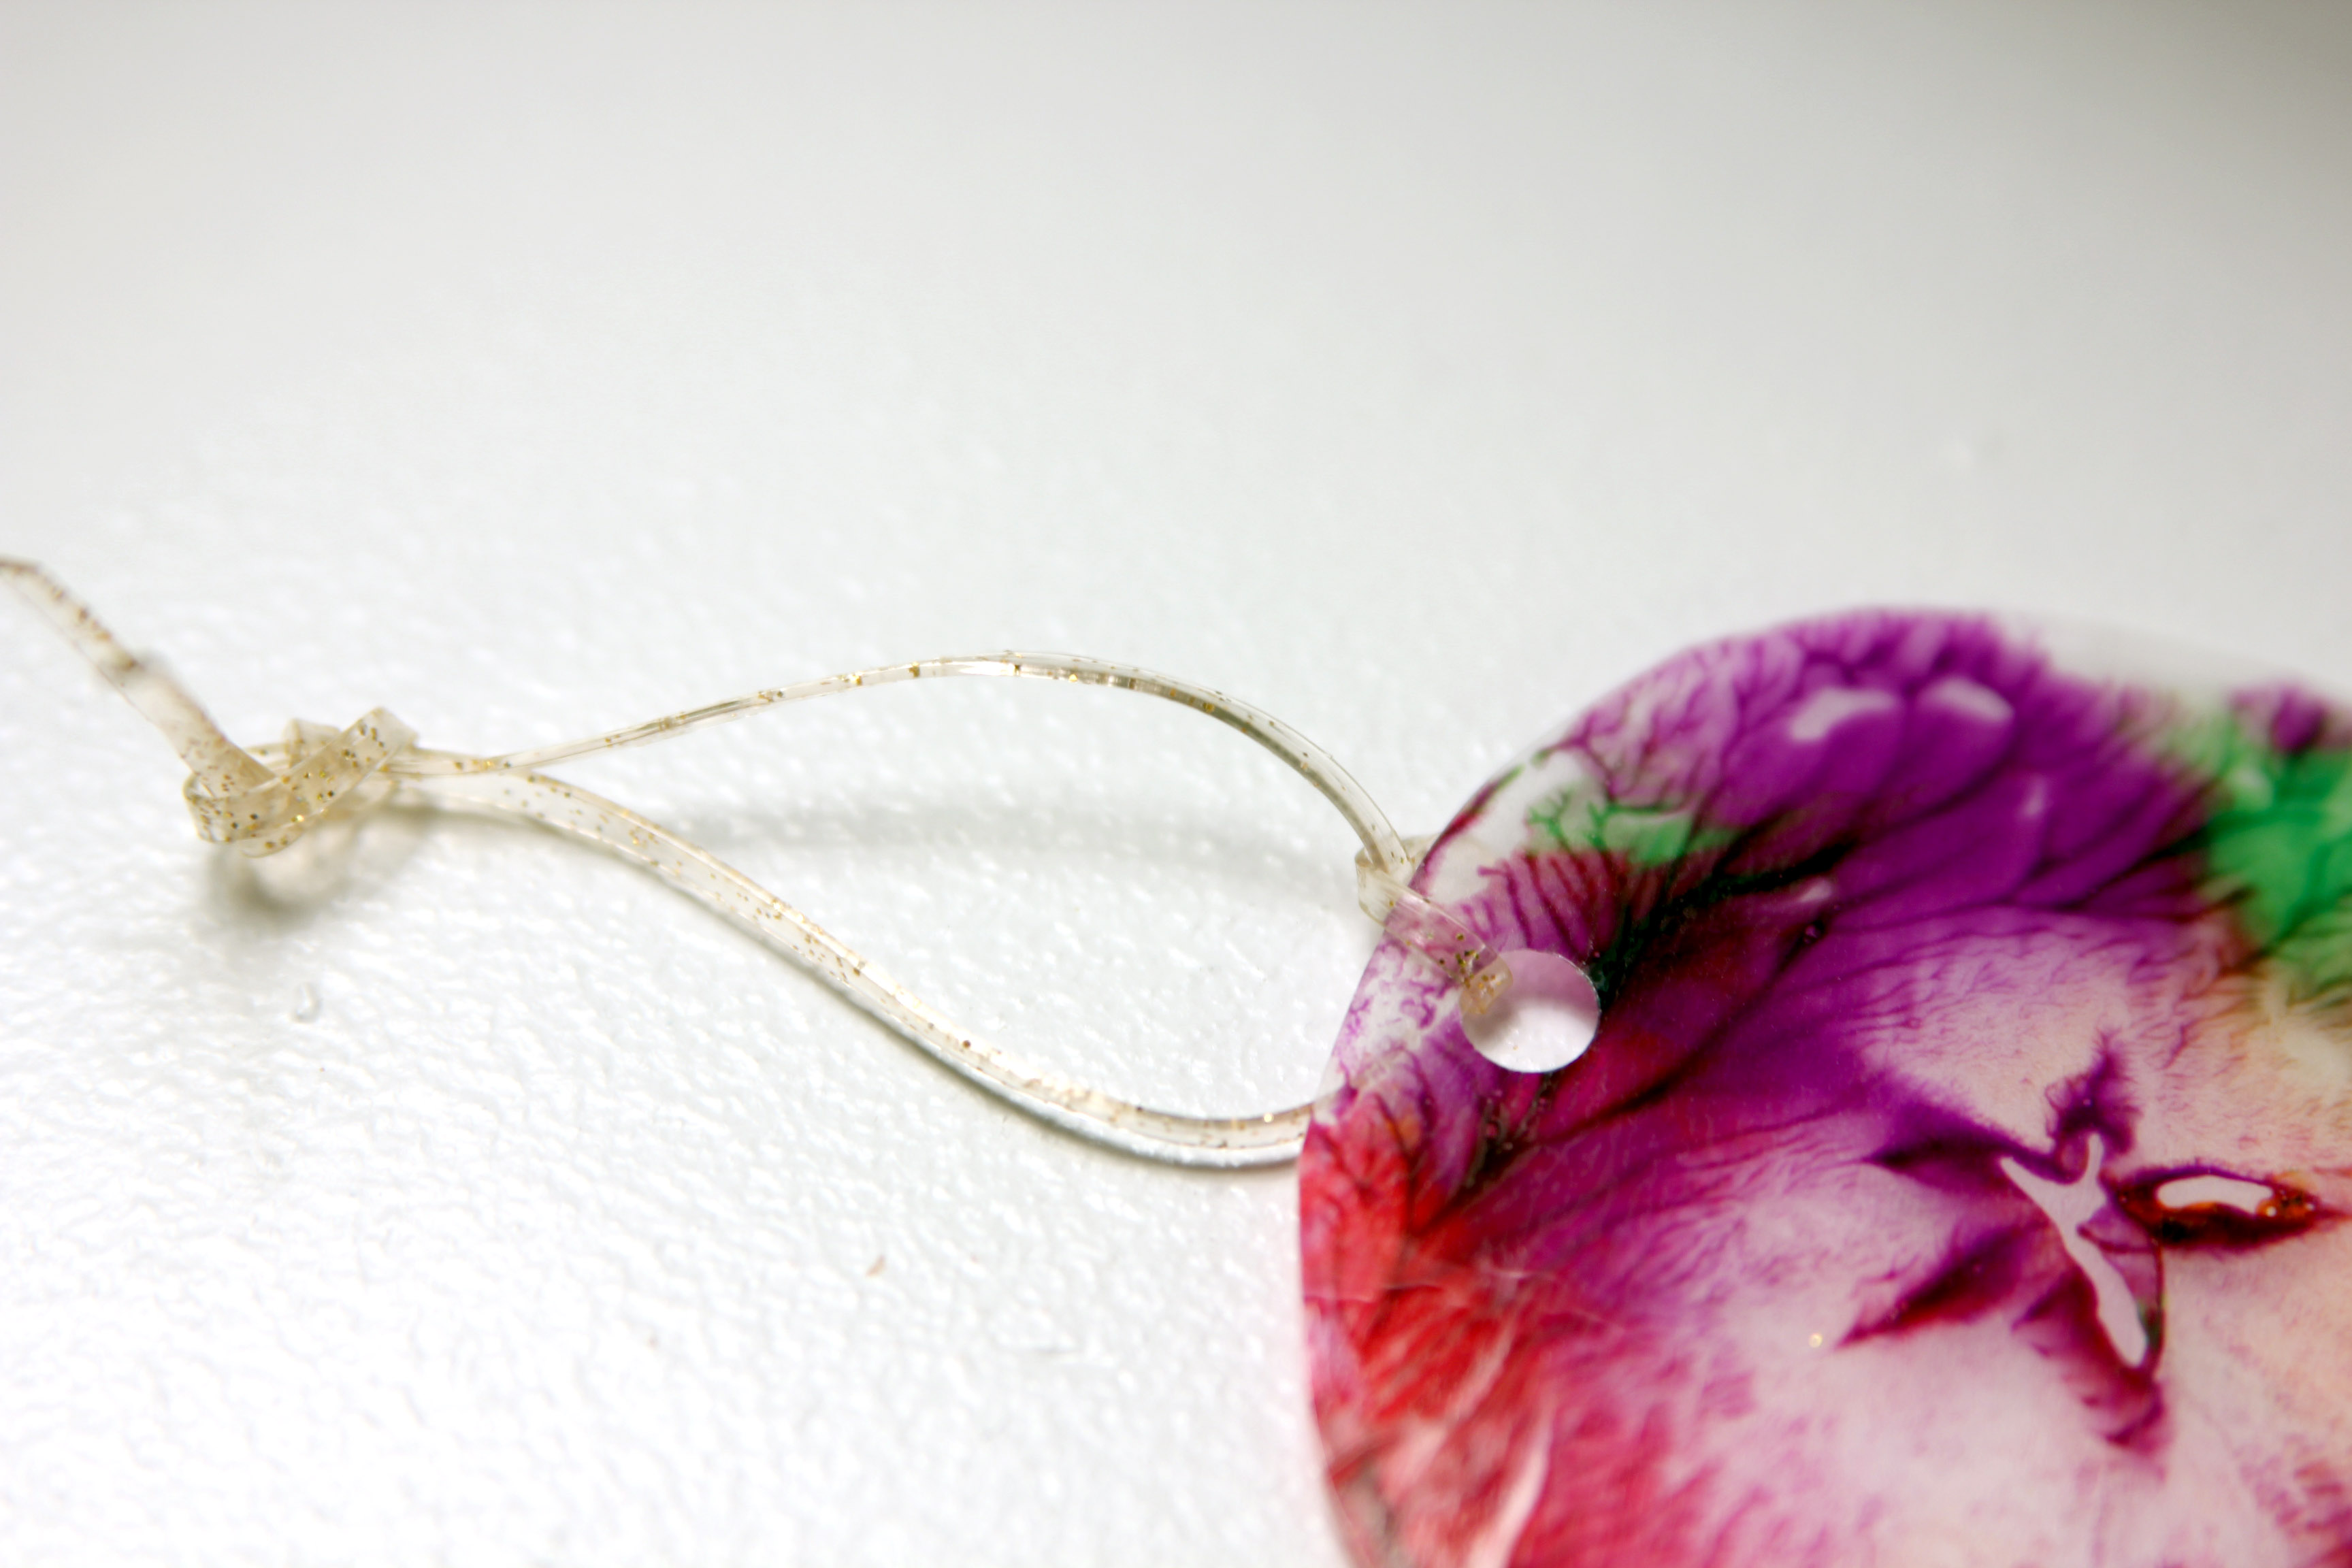
Step 9
Have your child decide what window they would like to hang their lovely artwork. The sunnier the spot, the better! With your plastic lacing or string, create a loop at the top circle to use for hanging.
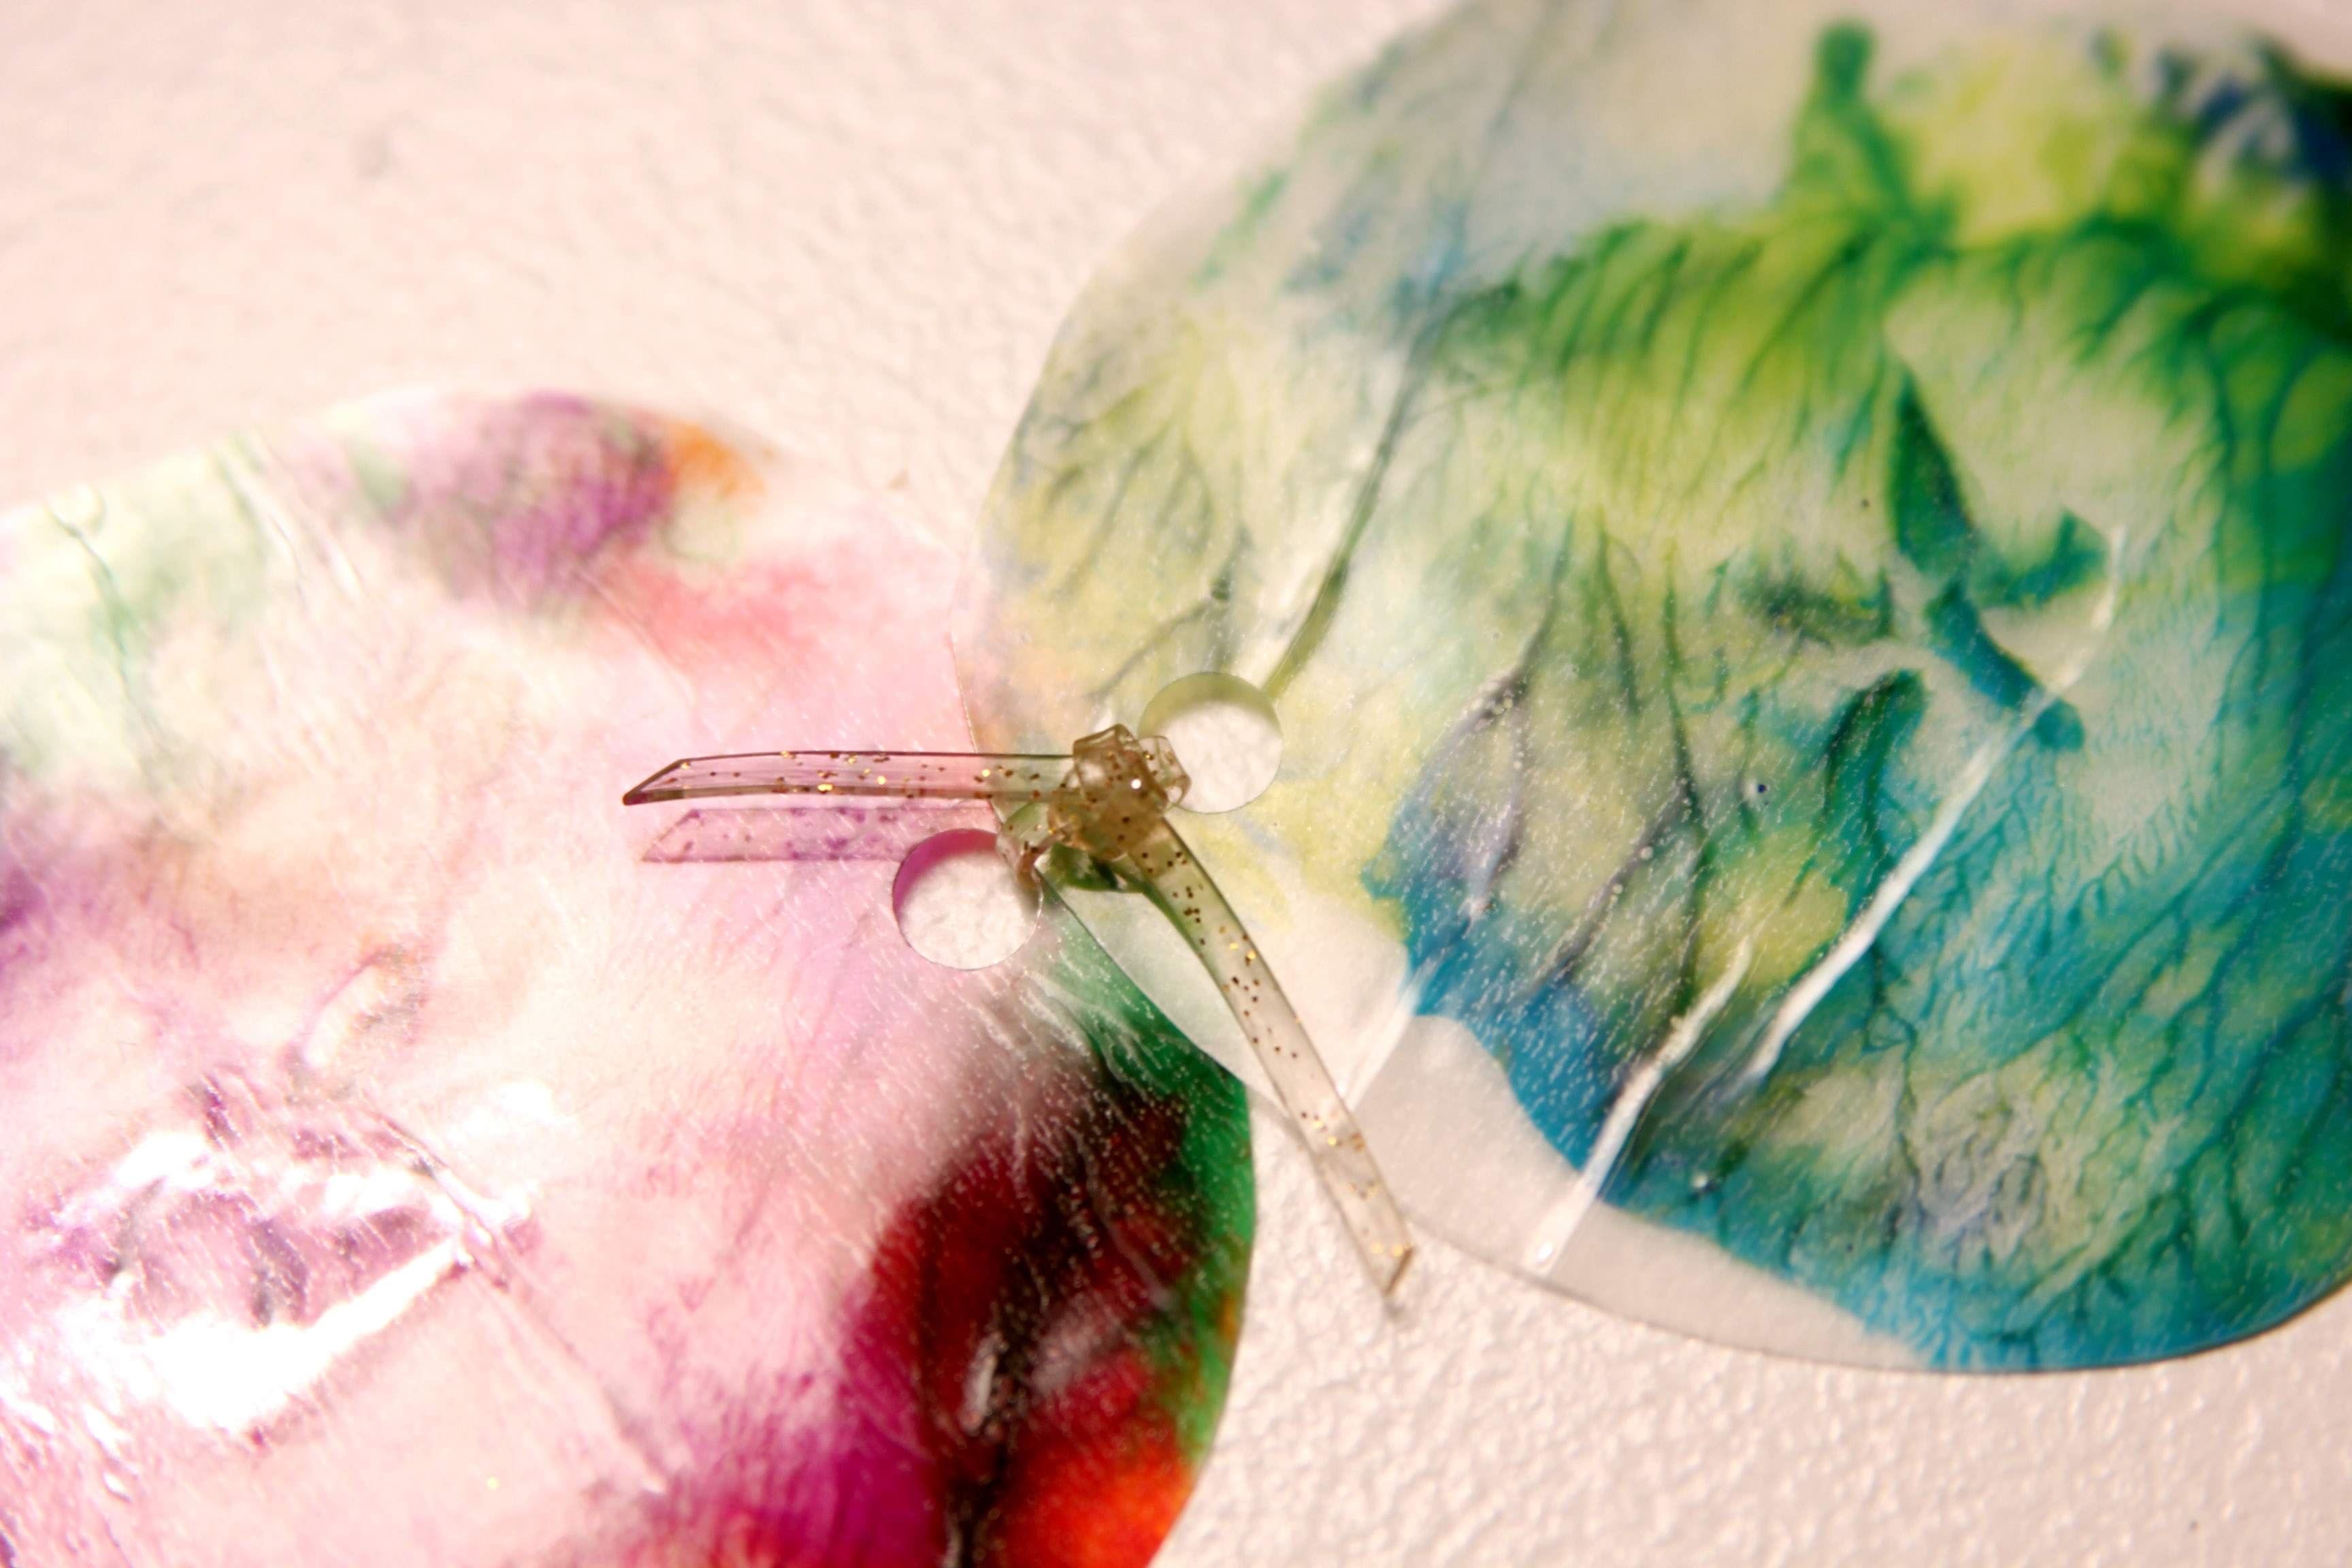
Step 10
Next, tie each circle together with the plastic lacing or string, creating a chain. Because this step was a little too complex for V (an older child would be fine with doing this part themselves), I involved her in counting the circles while I tied them together. I also had her hold, and hand me, the ties.
Step 11
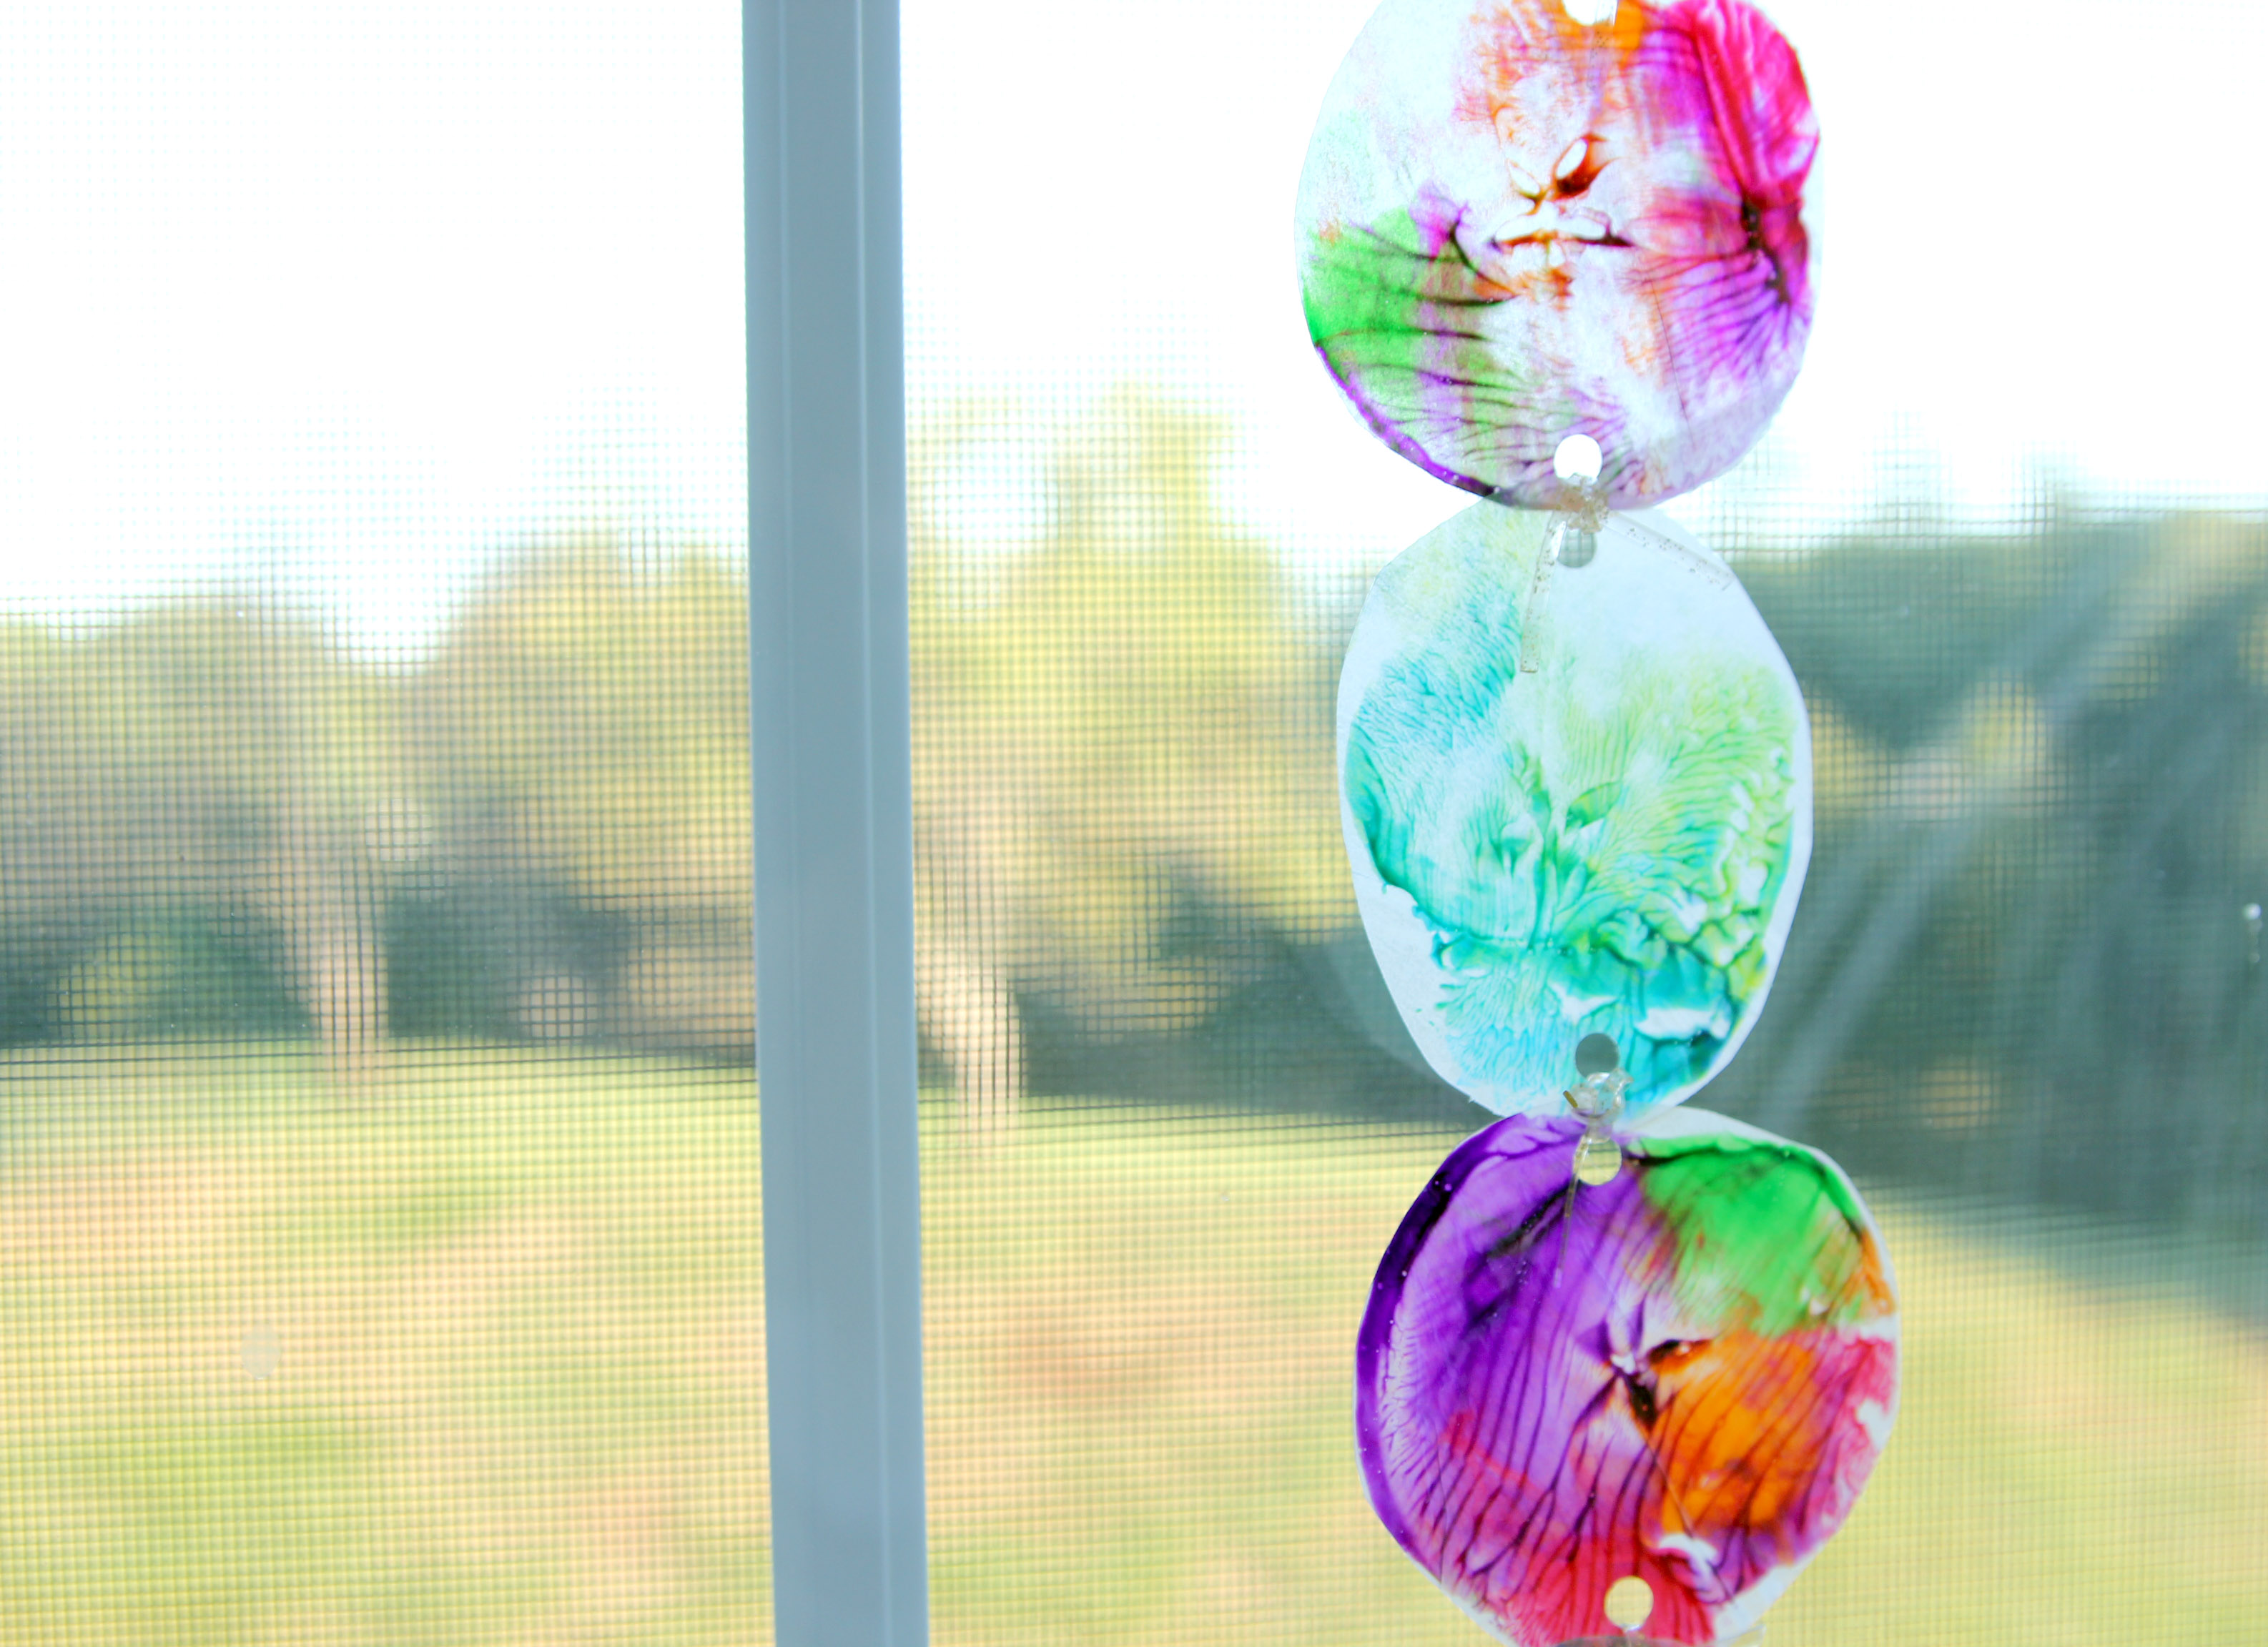
Finally, hang your newest artistic creation in your sun-filled spot!
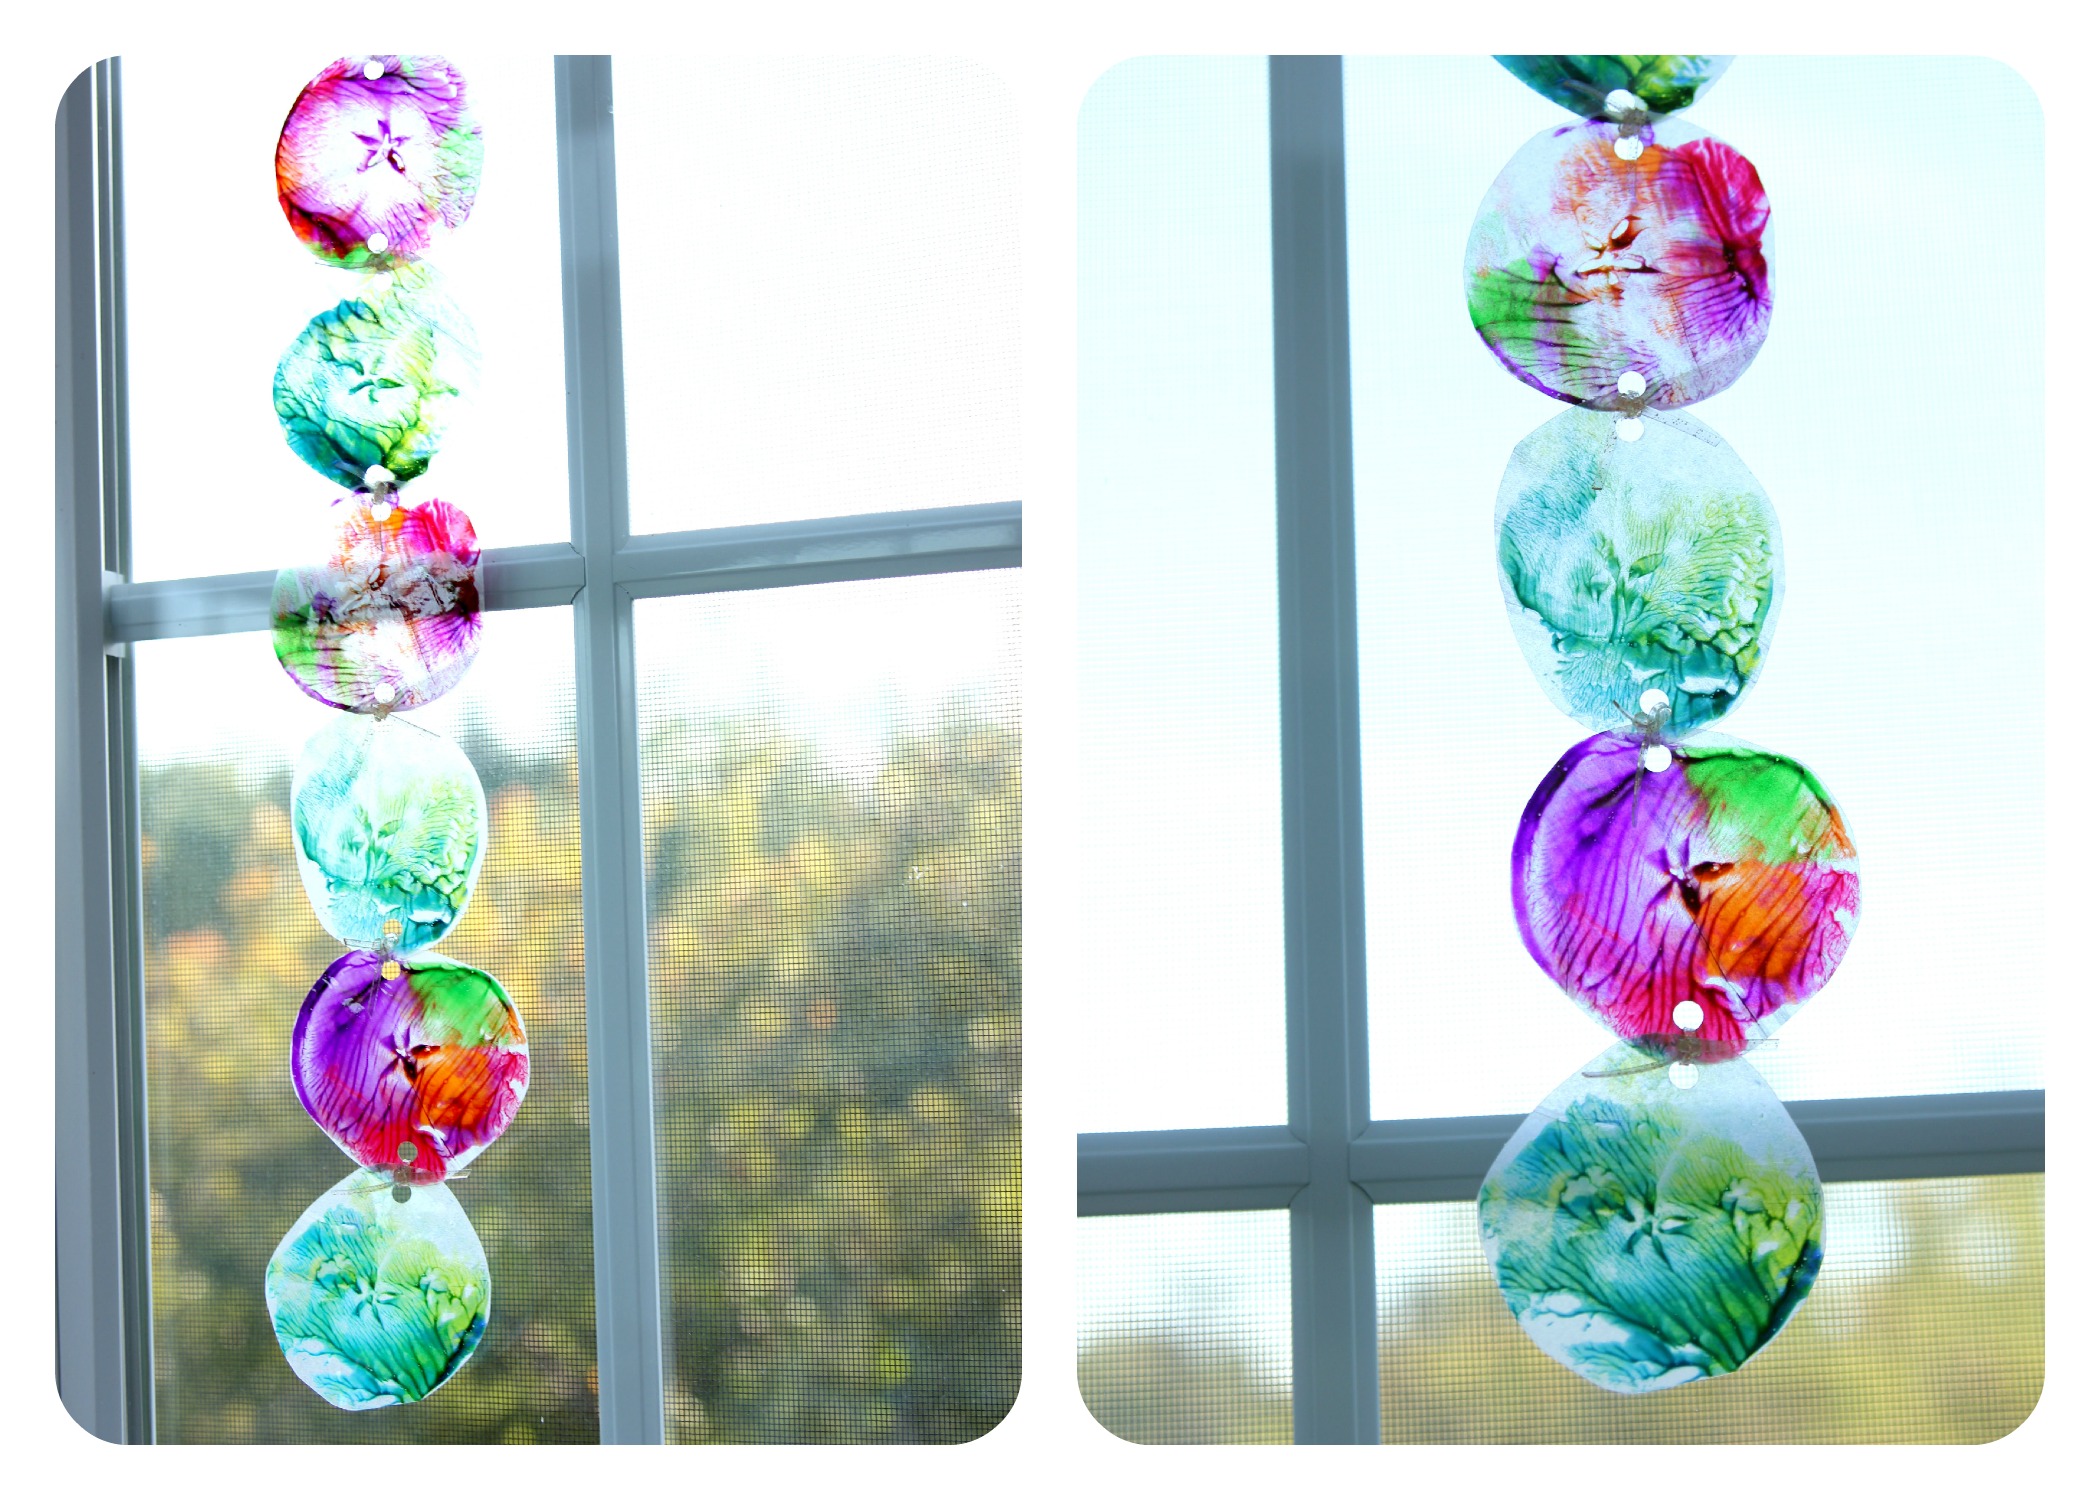
Done!
And, here's a close-up!