Step-by-step tutorial
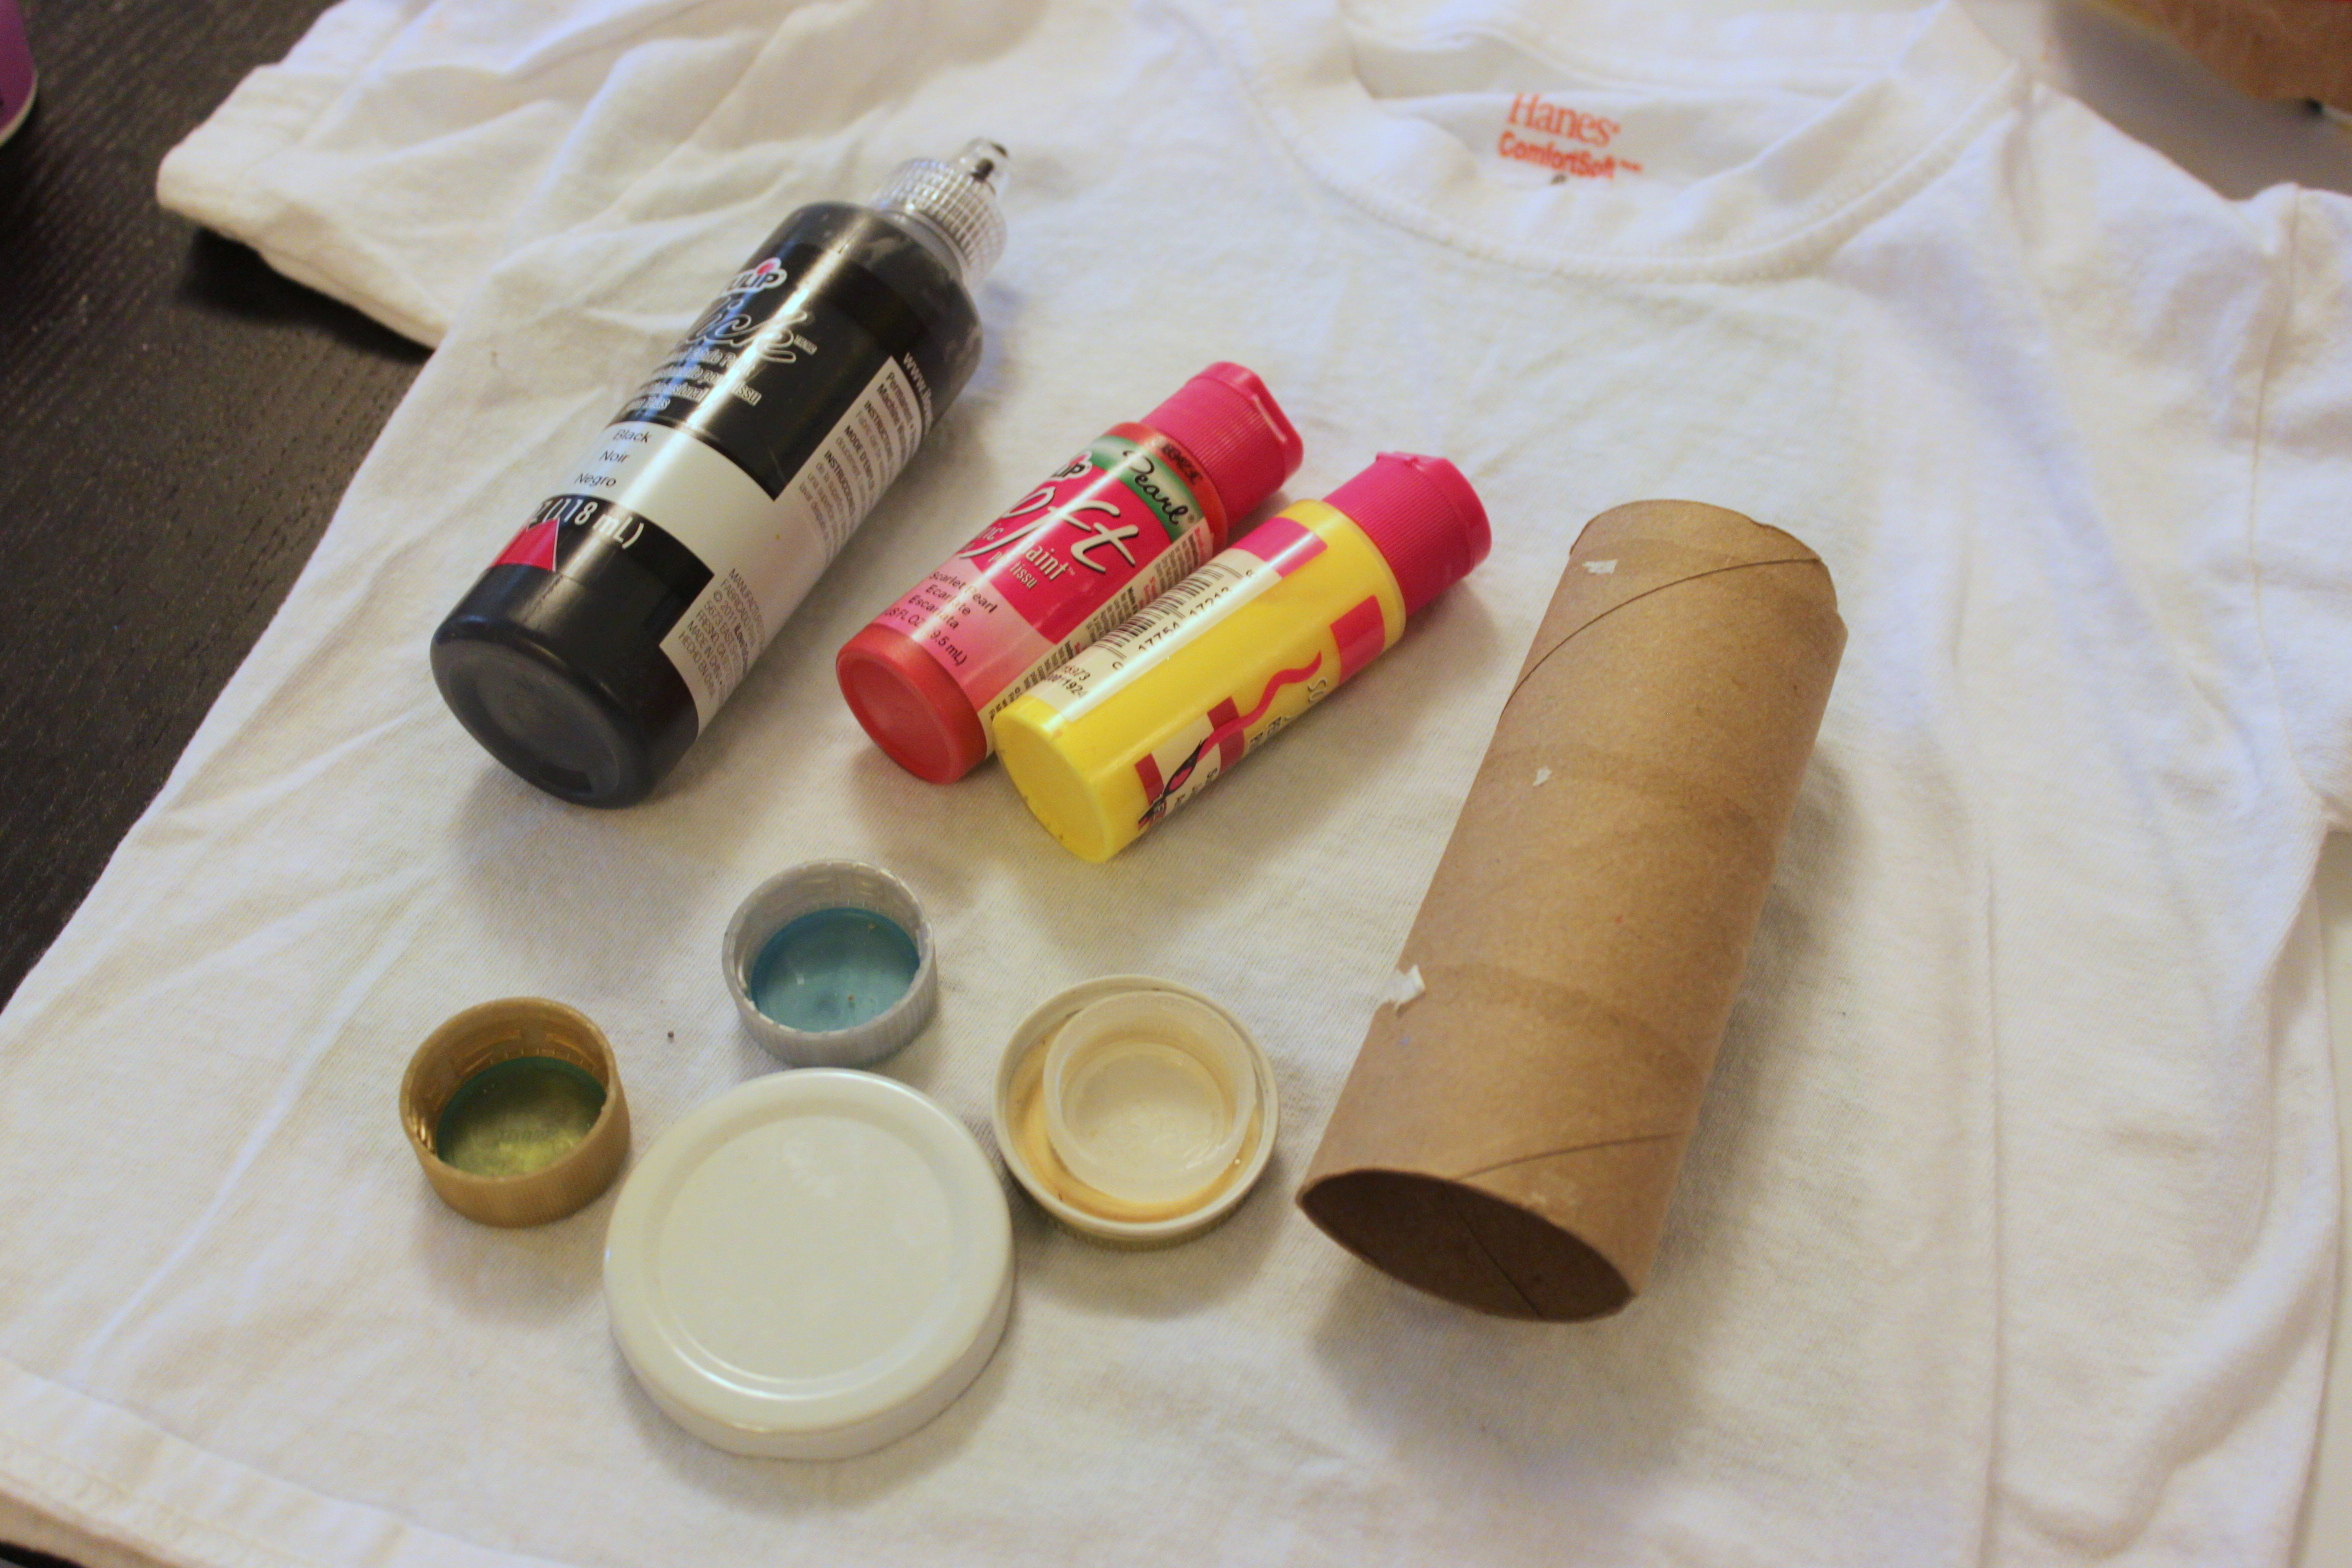
Step 1
We used different-sized lids and tops to stamp bug shapes on the t-shirt. Tulip fabric paints work best for stamping, but for the details on each bug, puffy paint worked great.

Step 2
First I placed a sheet of cardboard in between the t-shirt layers to keep them from sticking. Emma got to work creating her bugs. She used a paper roll to stamp butterfly wings. You can give it a squeeze to get that wing shape.
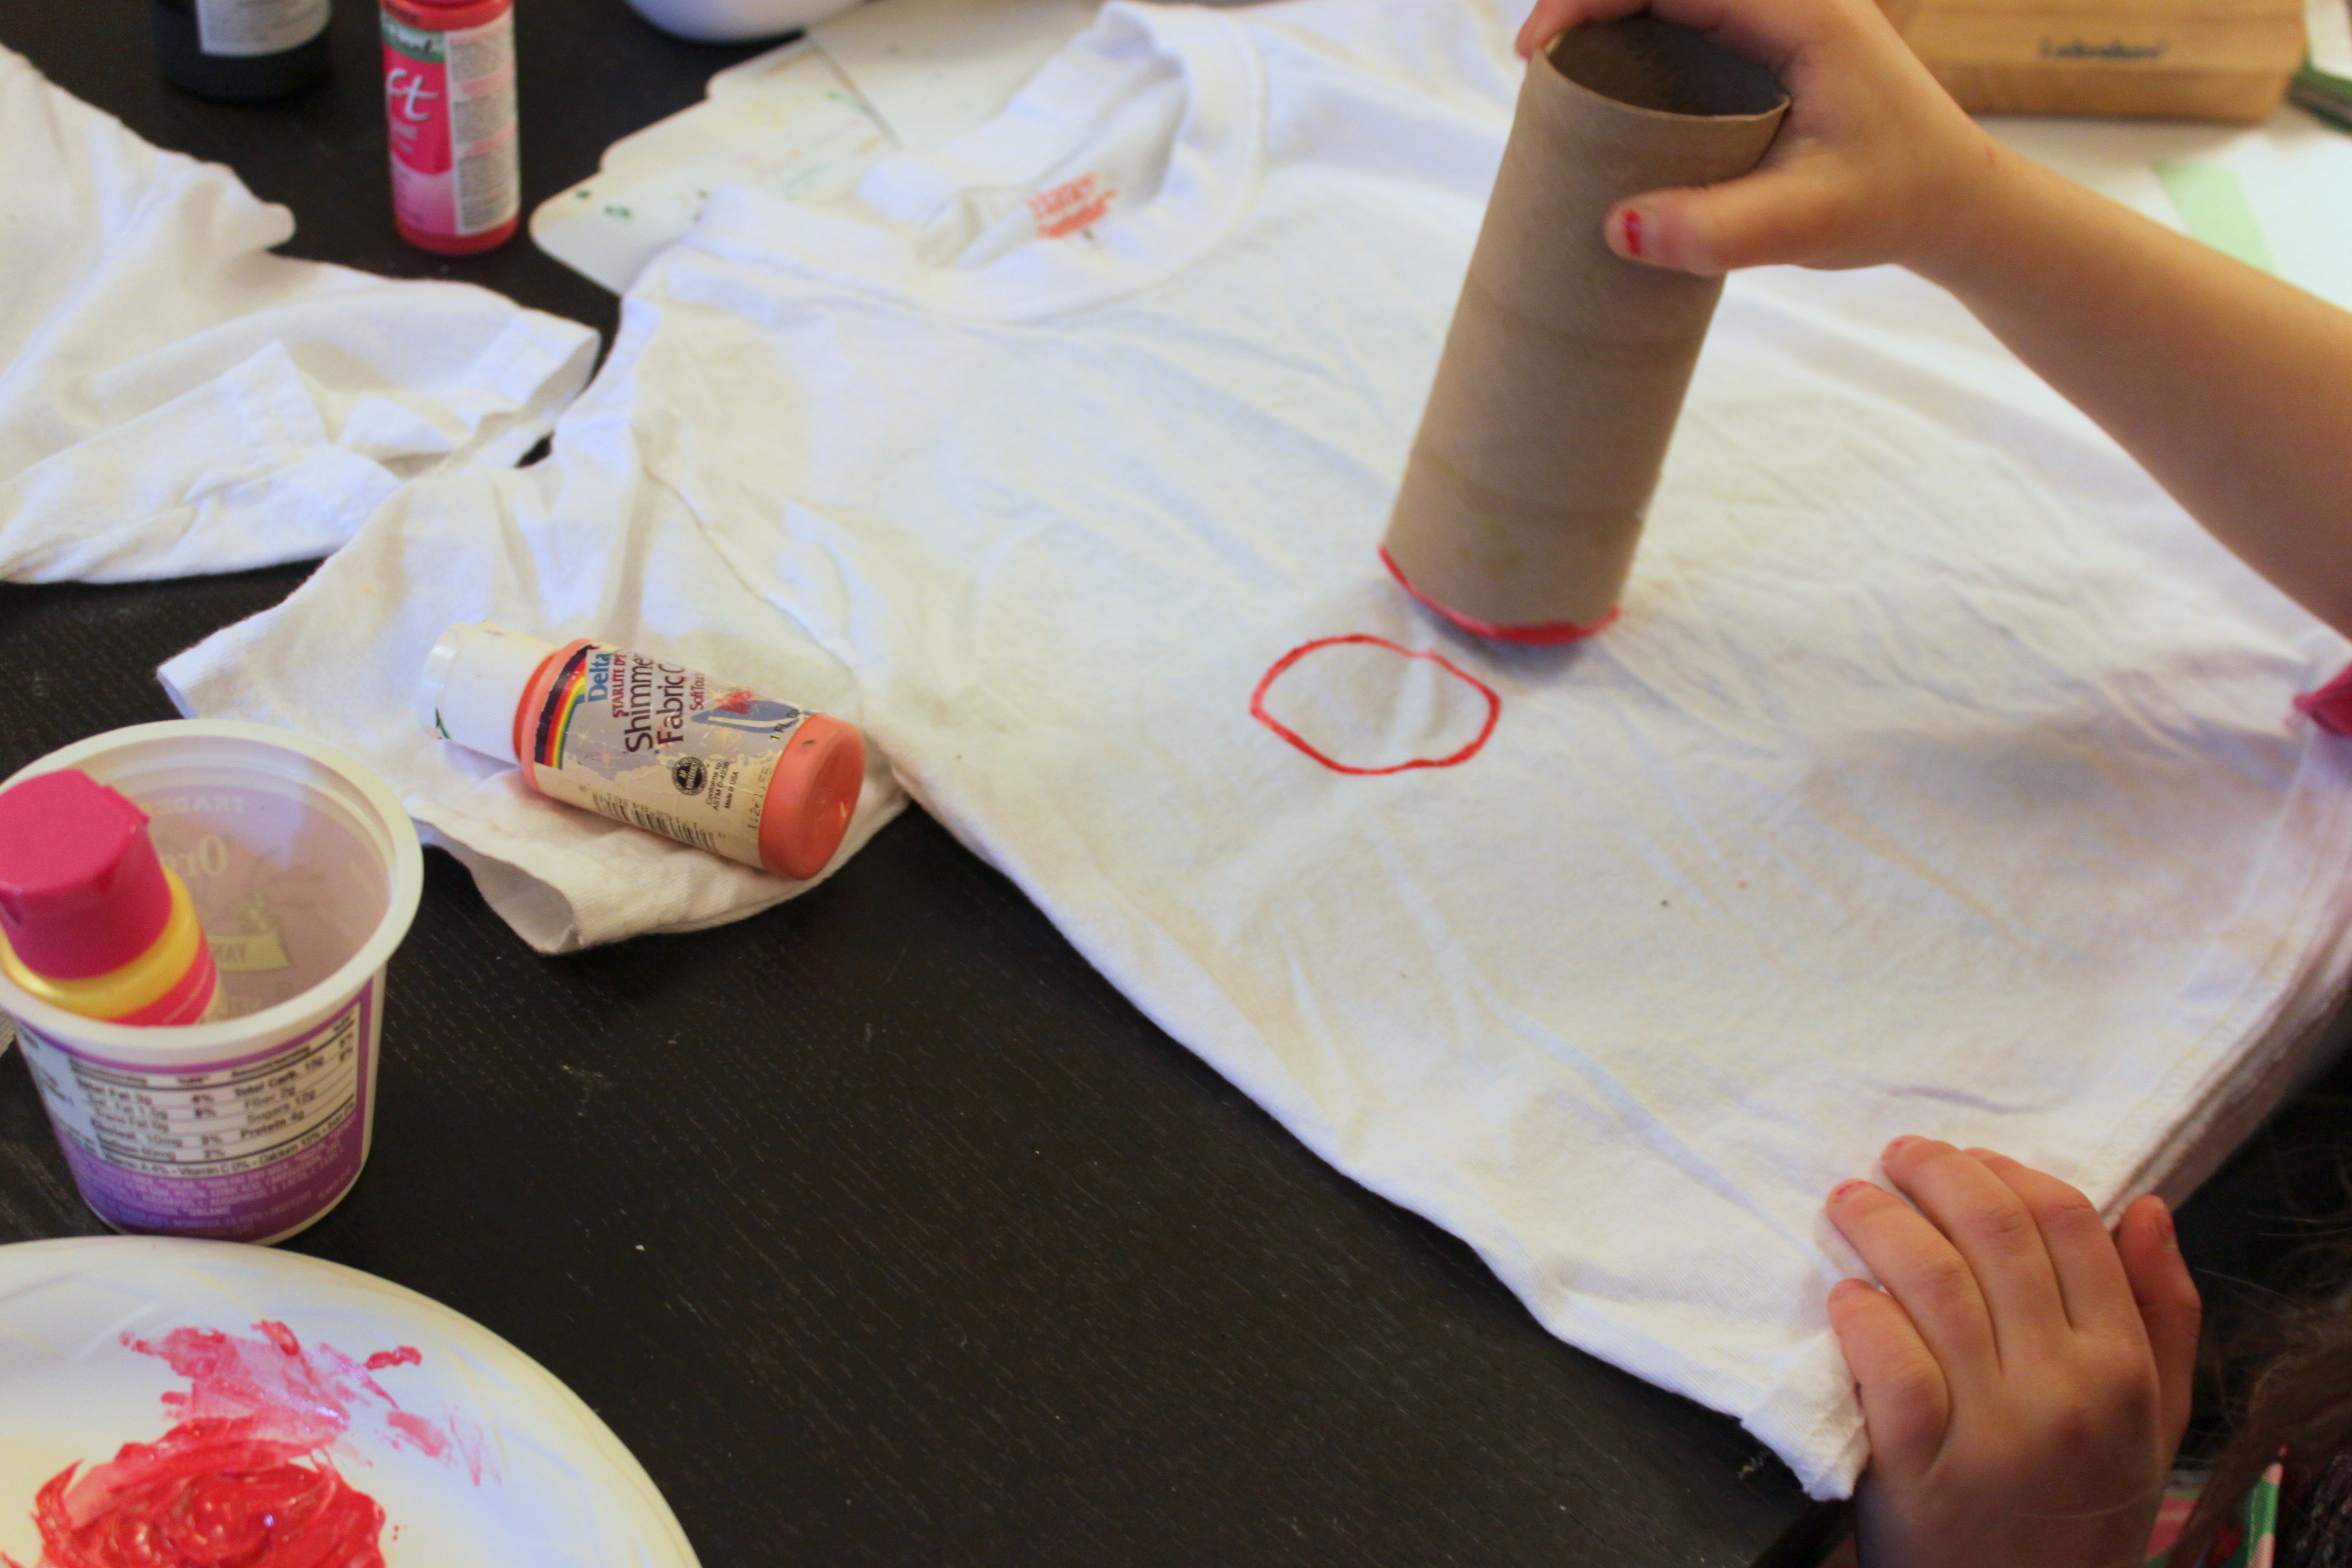
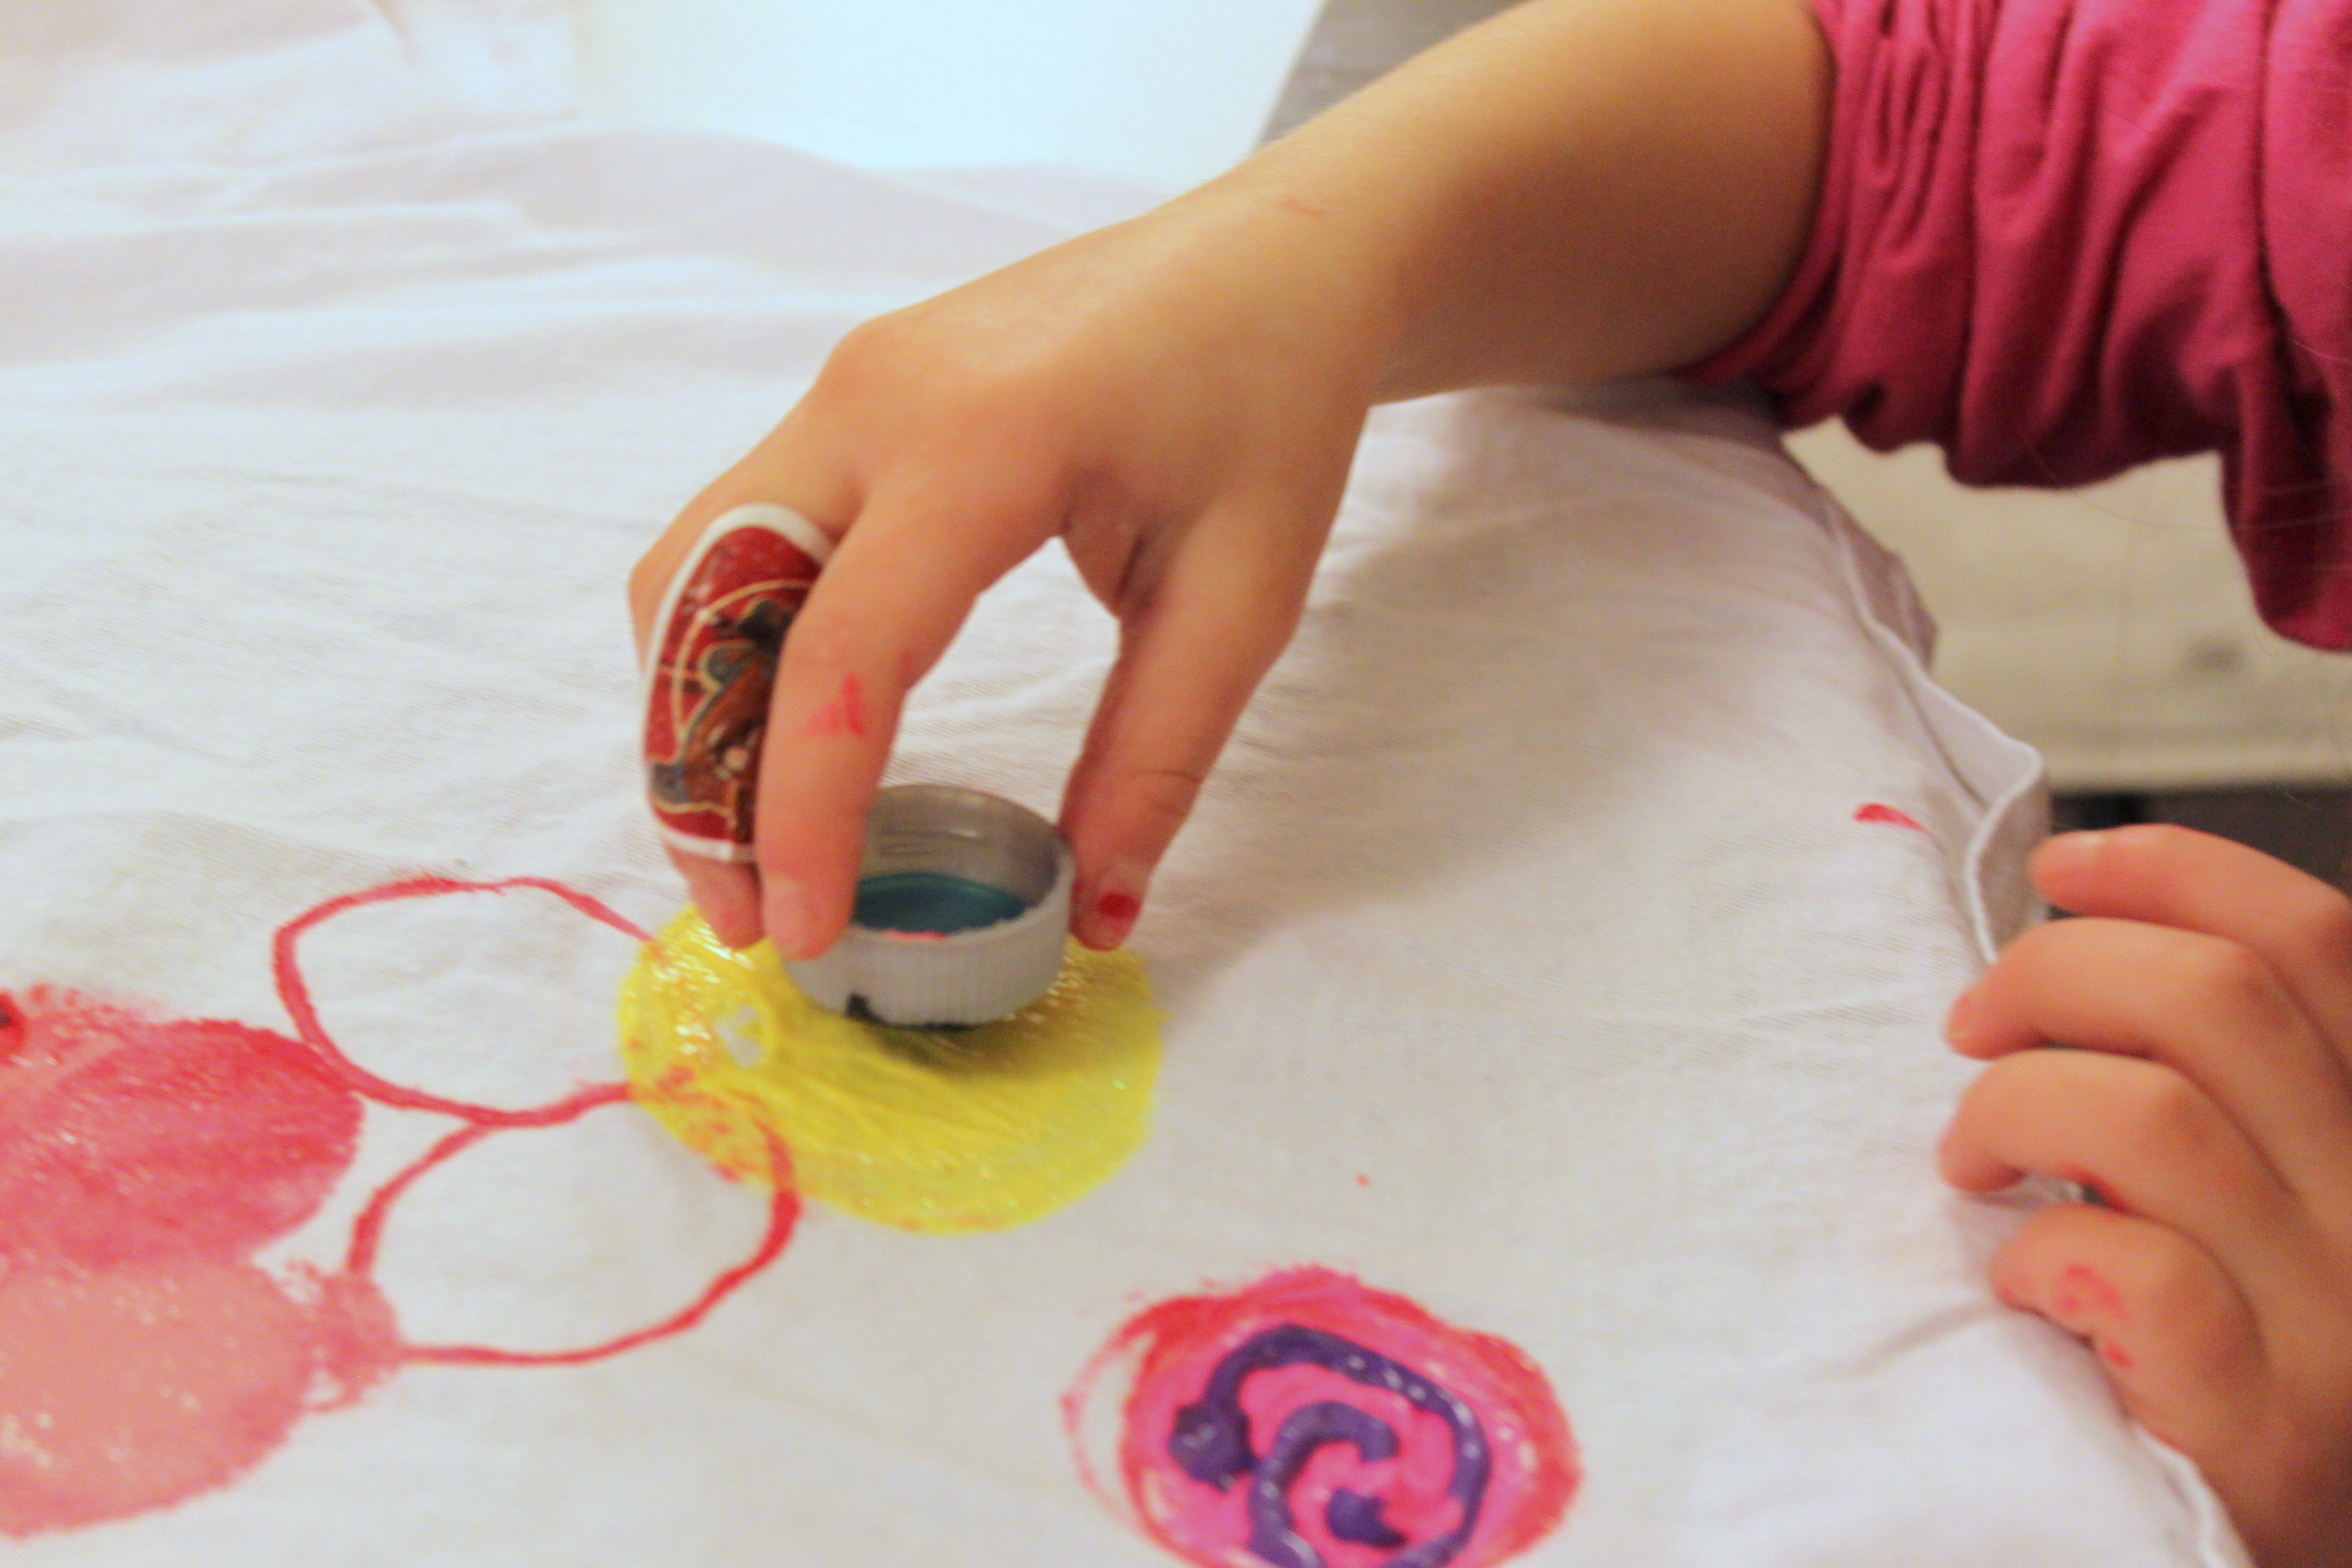
Step 3
Larger lids made for the perfect ladybug body, while a smaller drink bottle cap was a great little bug head. I loved seeing Emma get creative with these new art materials -- all right from our recycle bin.
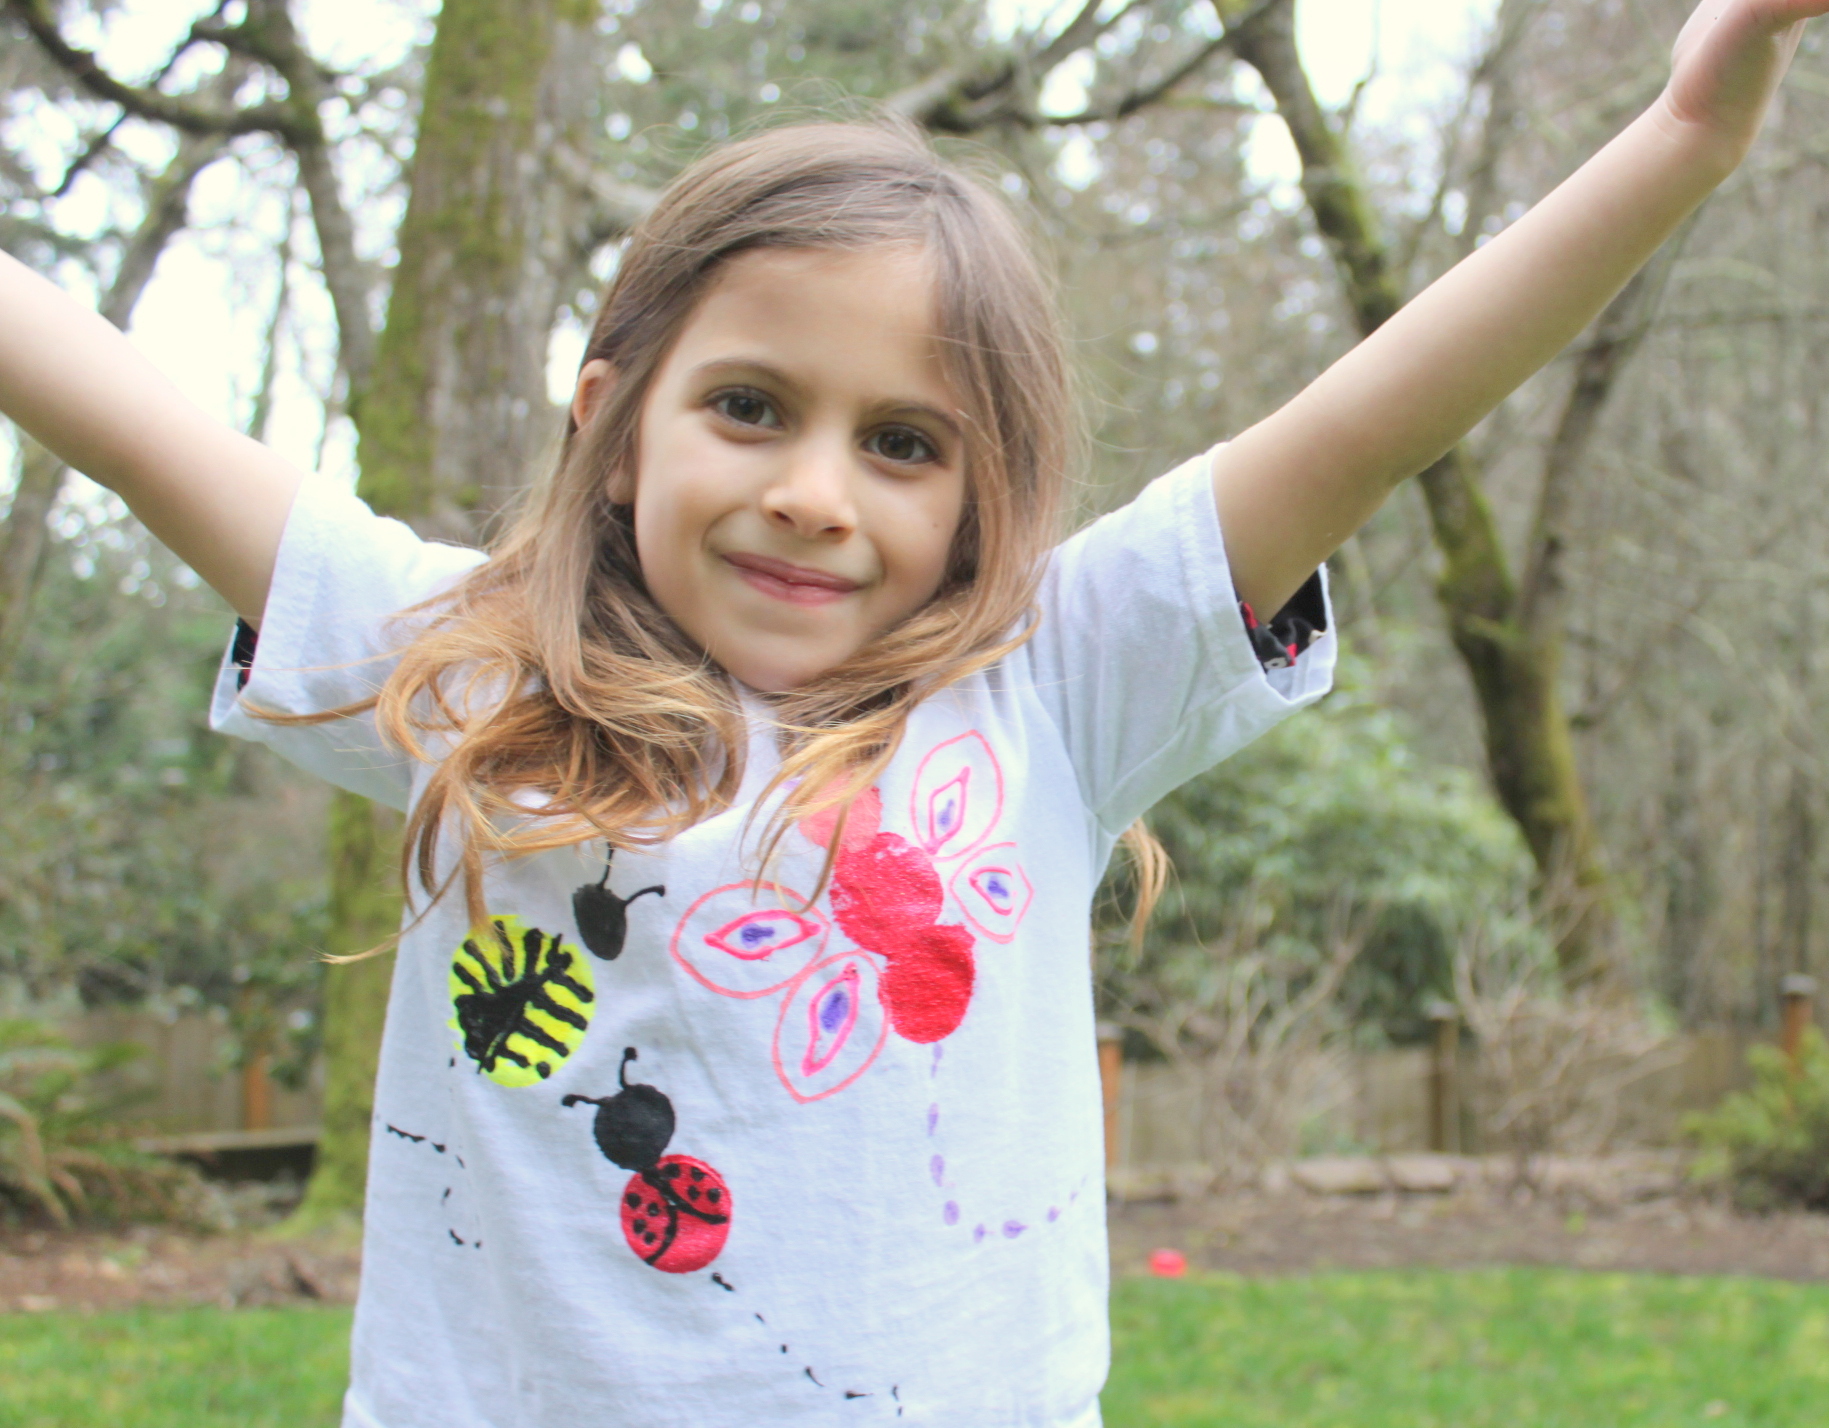
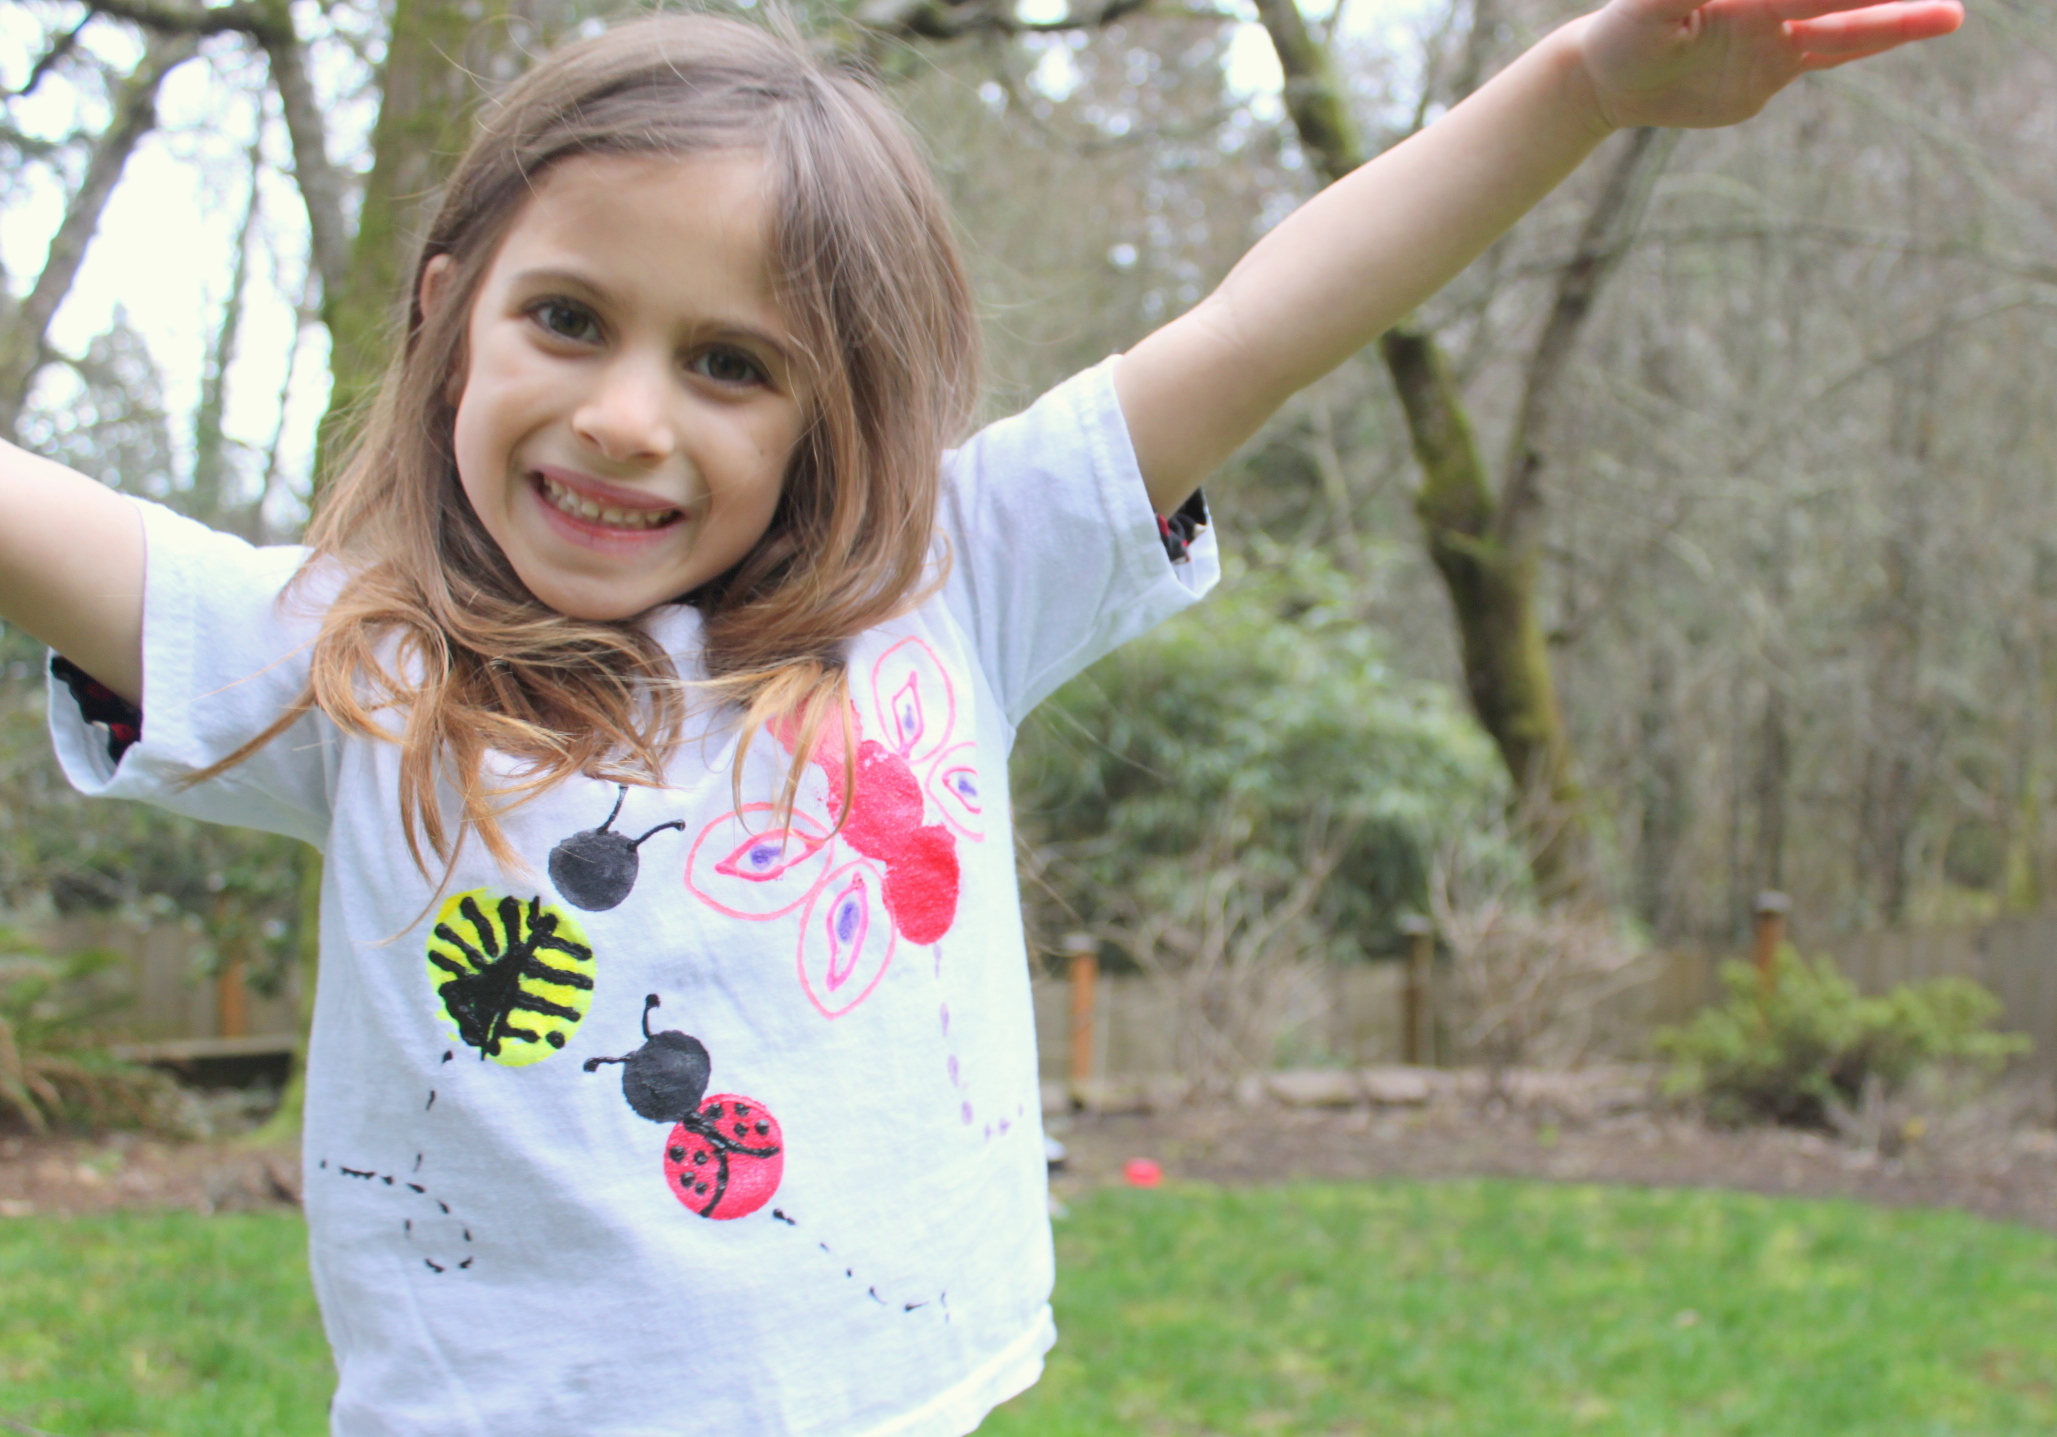
Done!
We let our t-shirt dry overnight, but as soon as it was dry it was put right on! You can use this style of stamping with regular paints and paper as well.