Step-by-step tutorial
Step 1
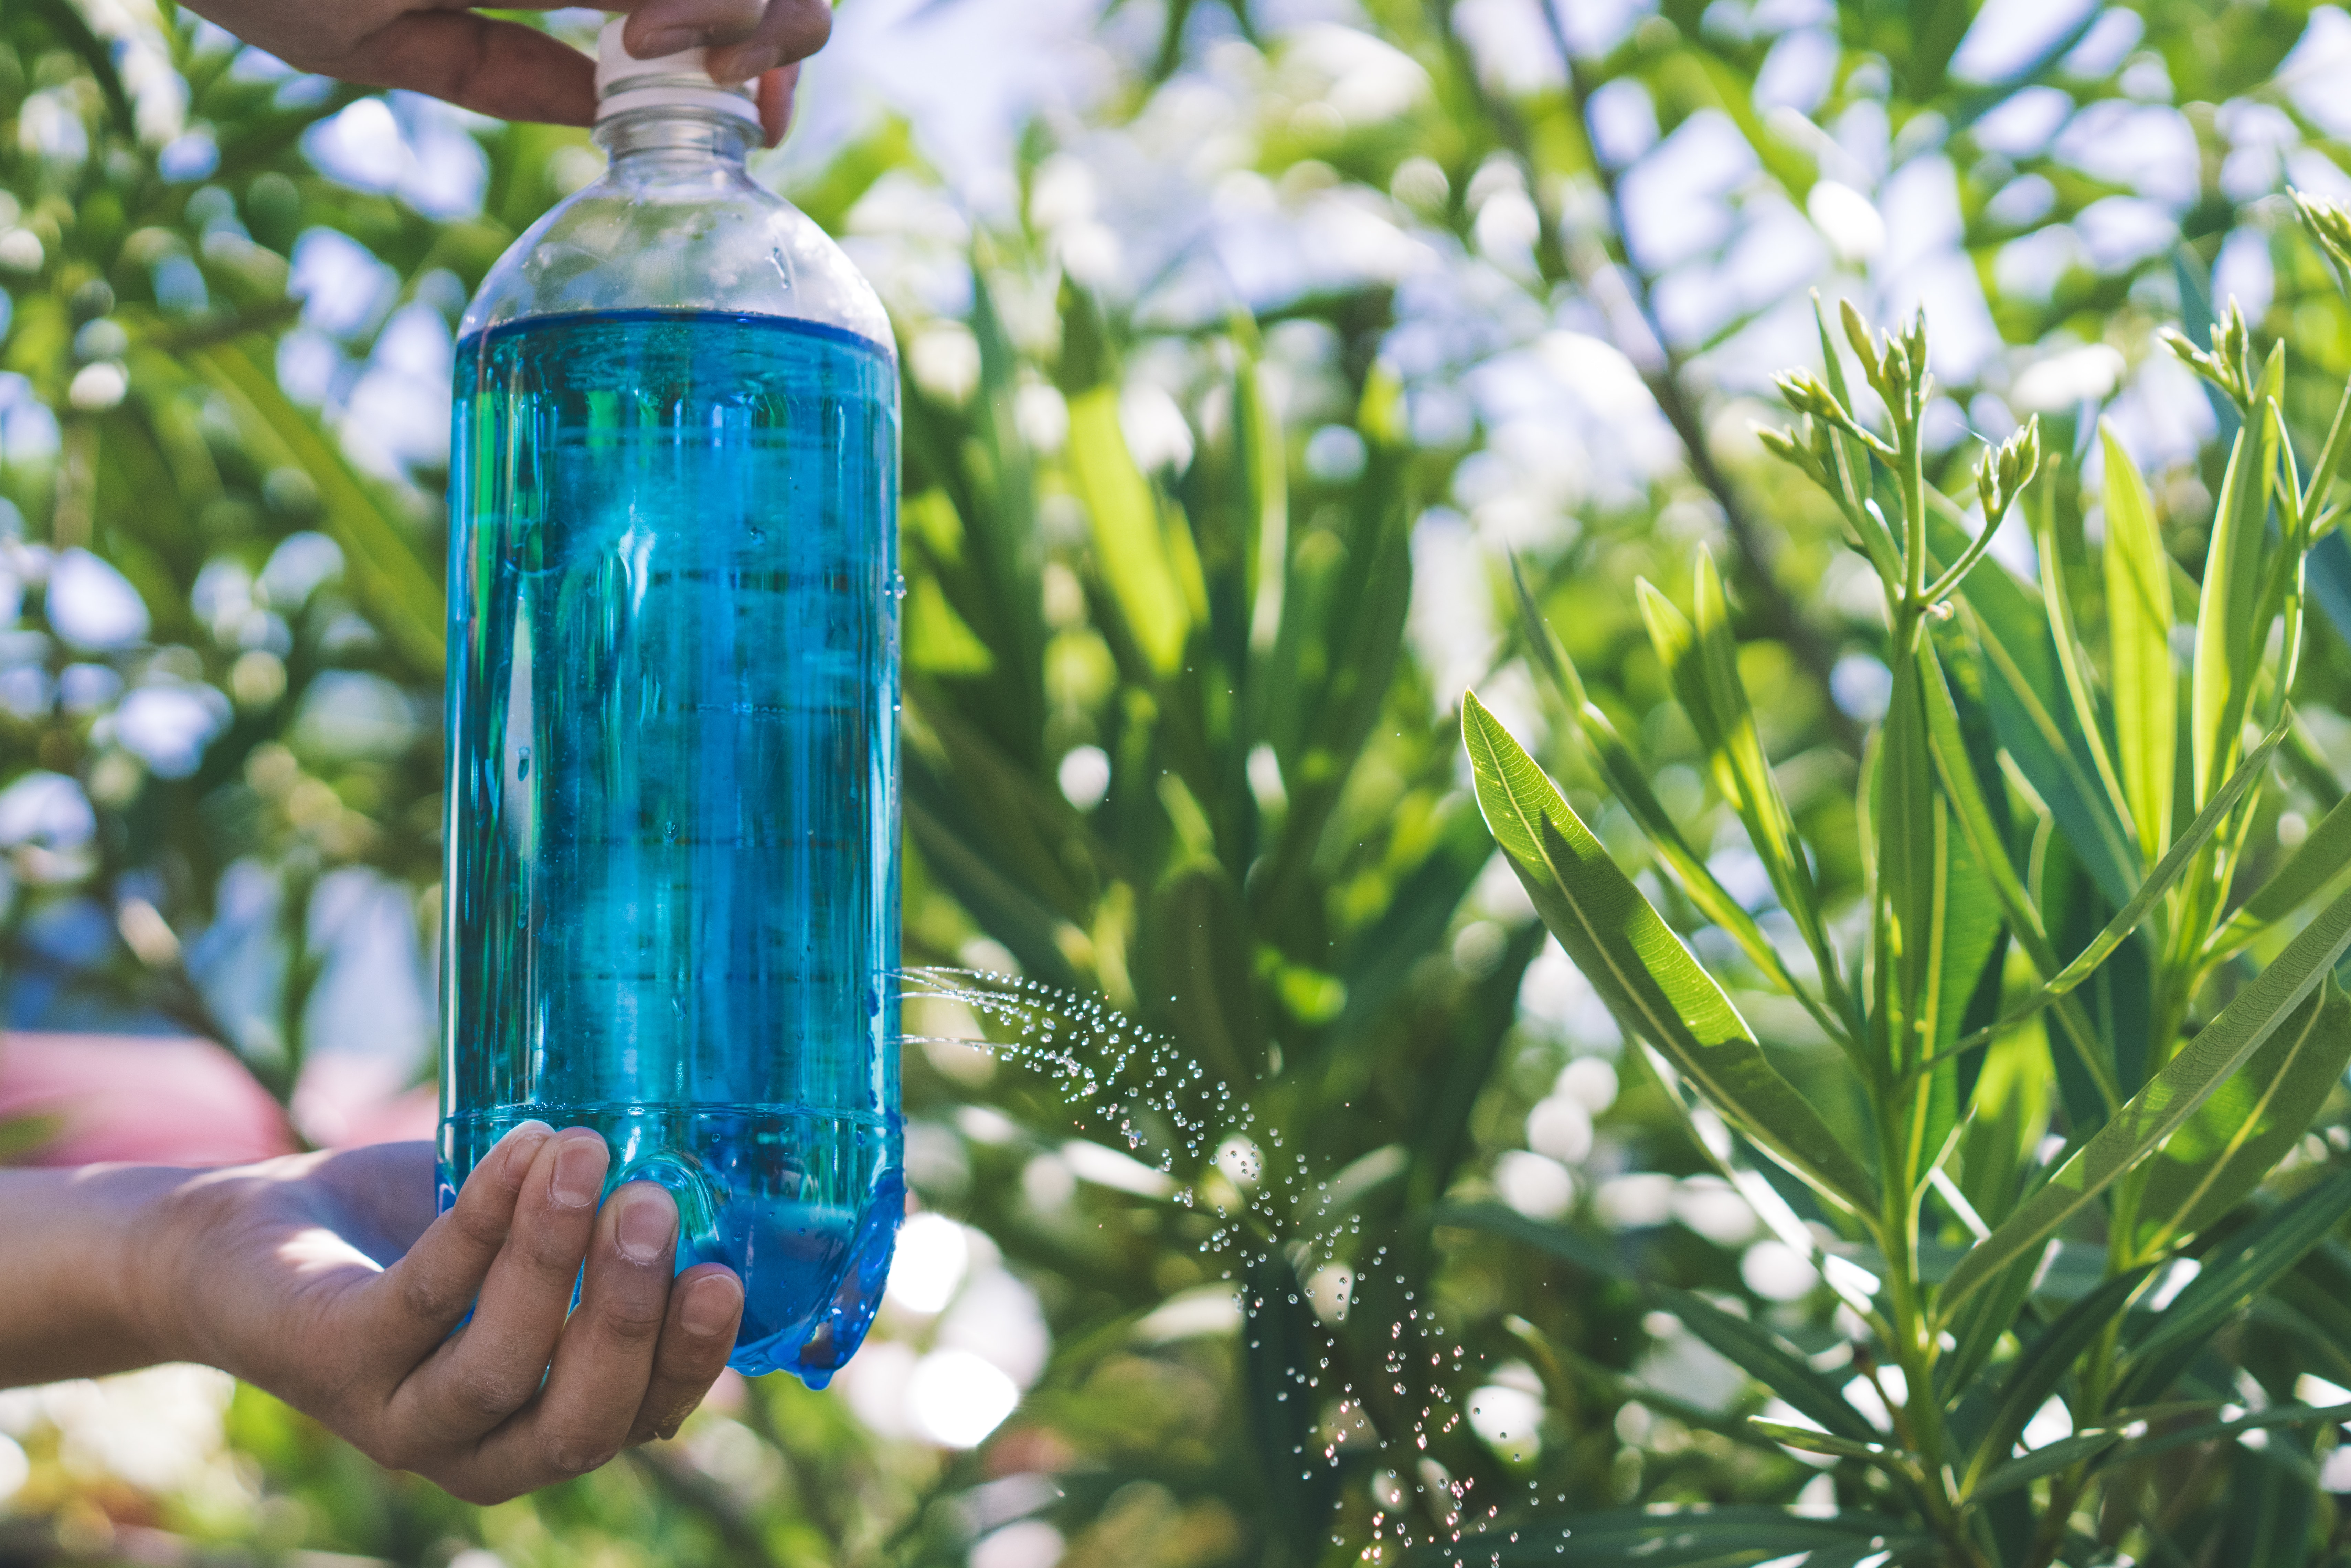
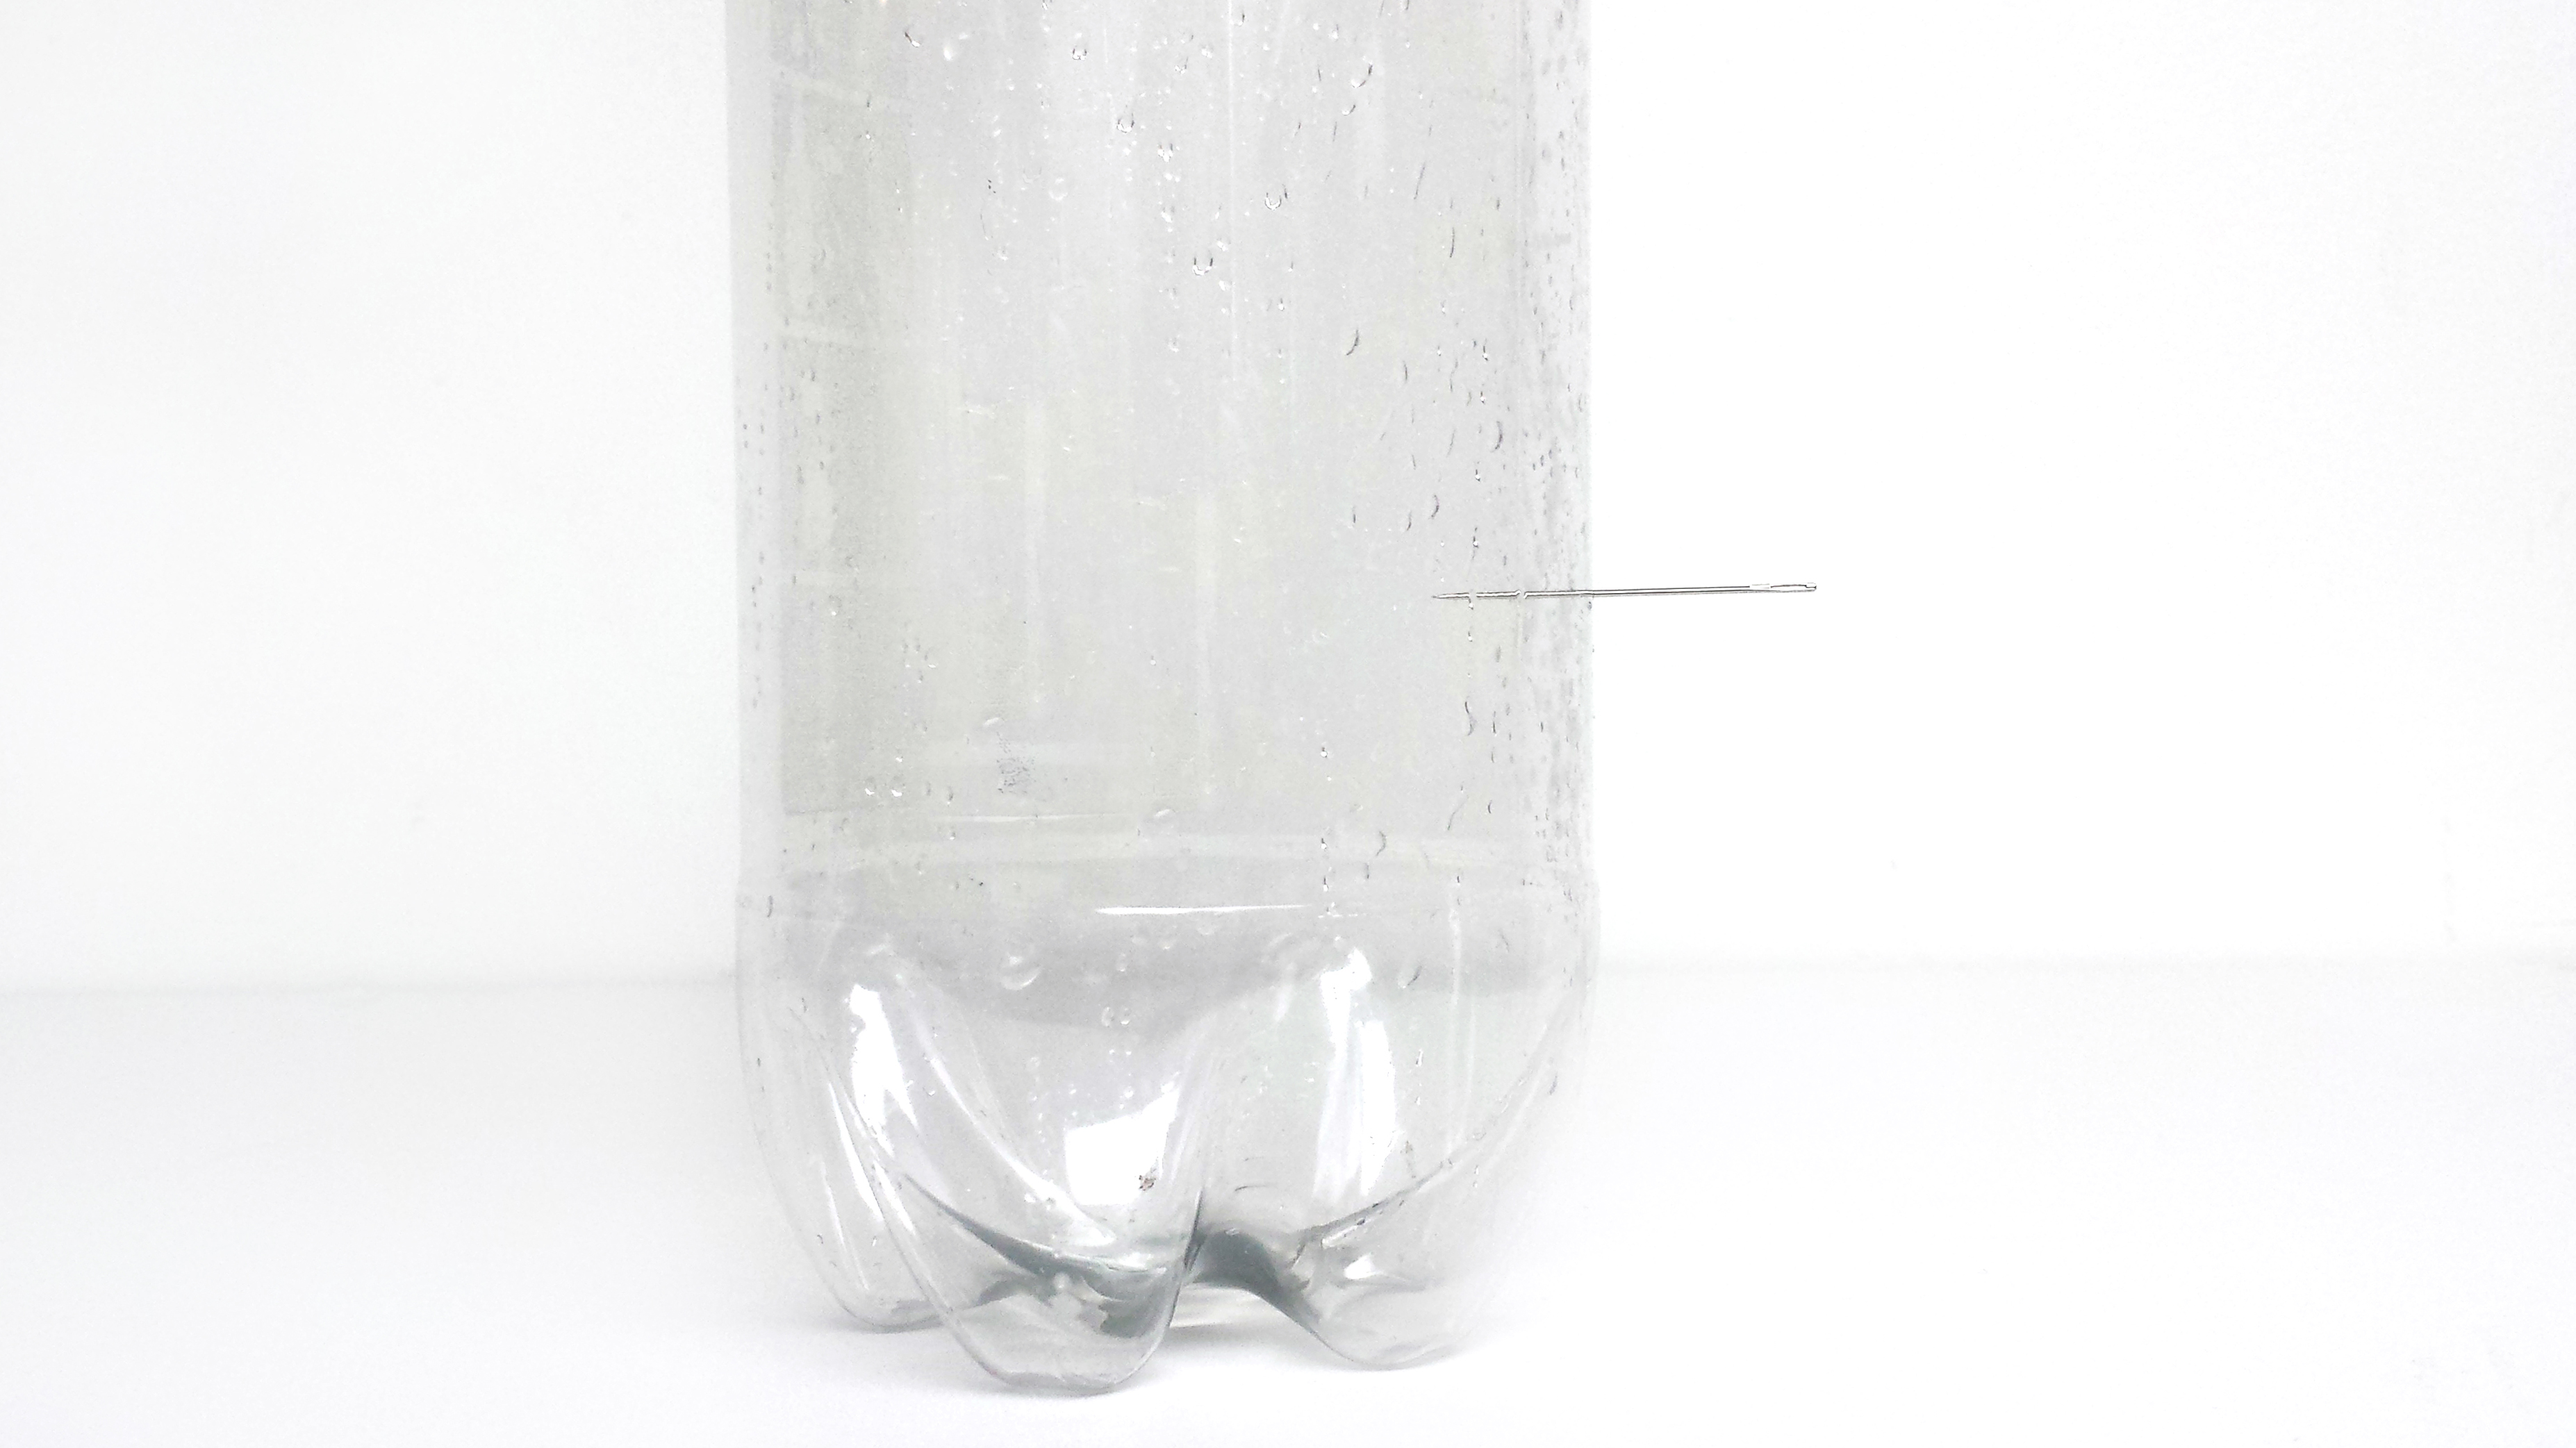
Use the needle to carefully make three small holes in a staight line near the bottom third of the bottle.

Step 2
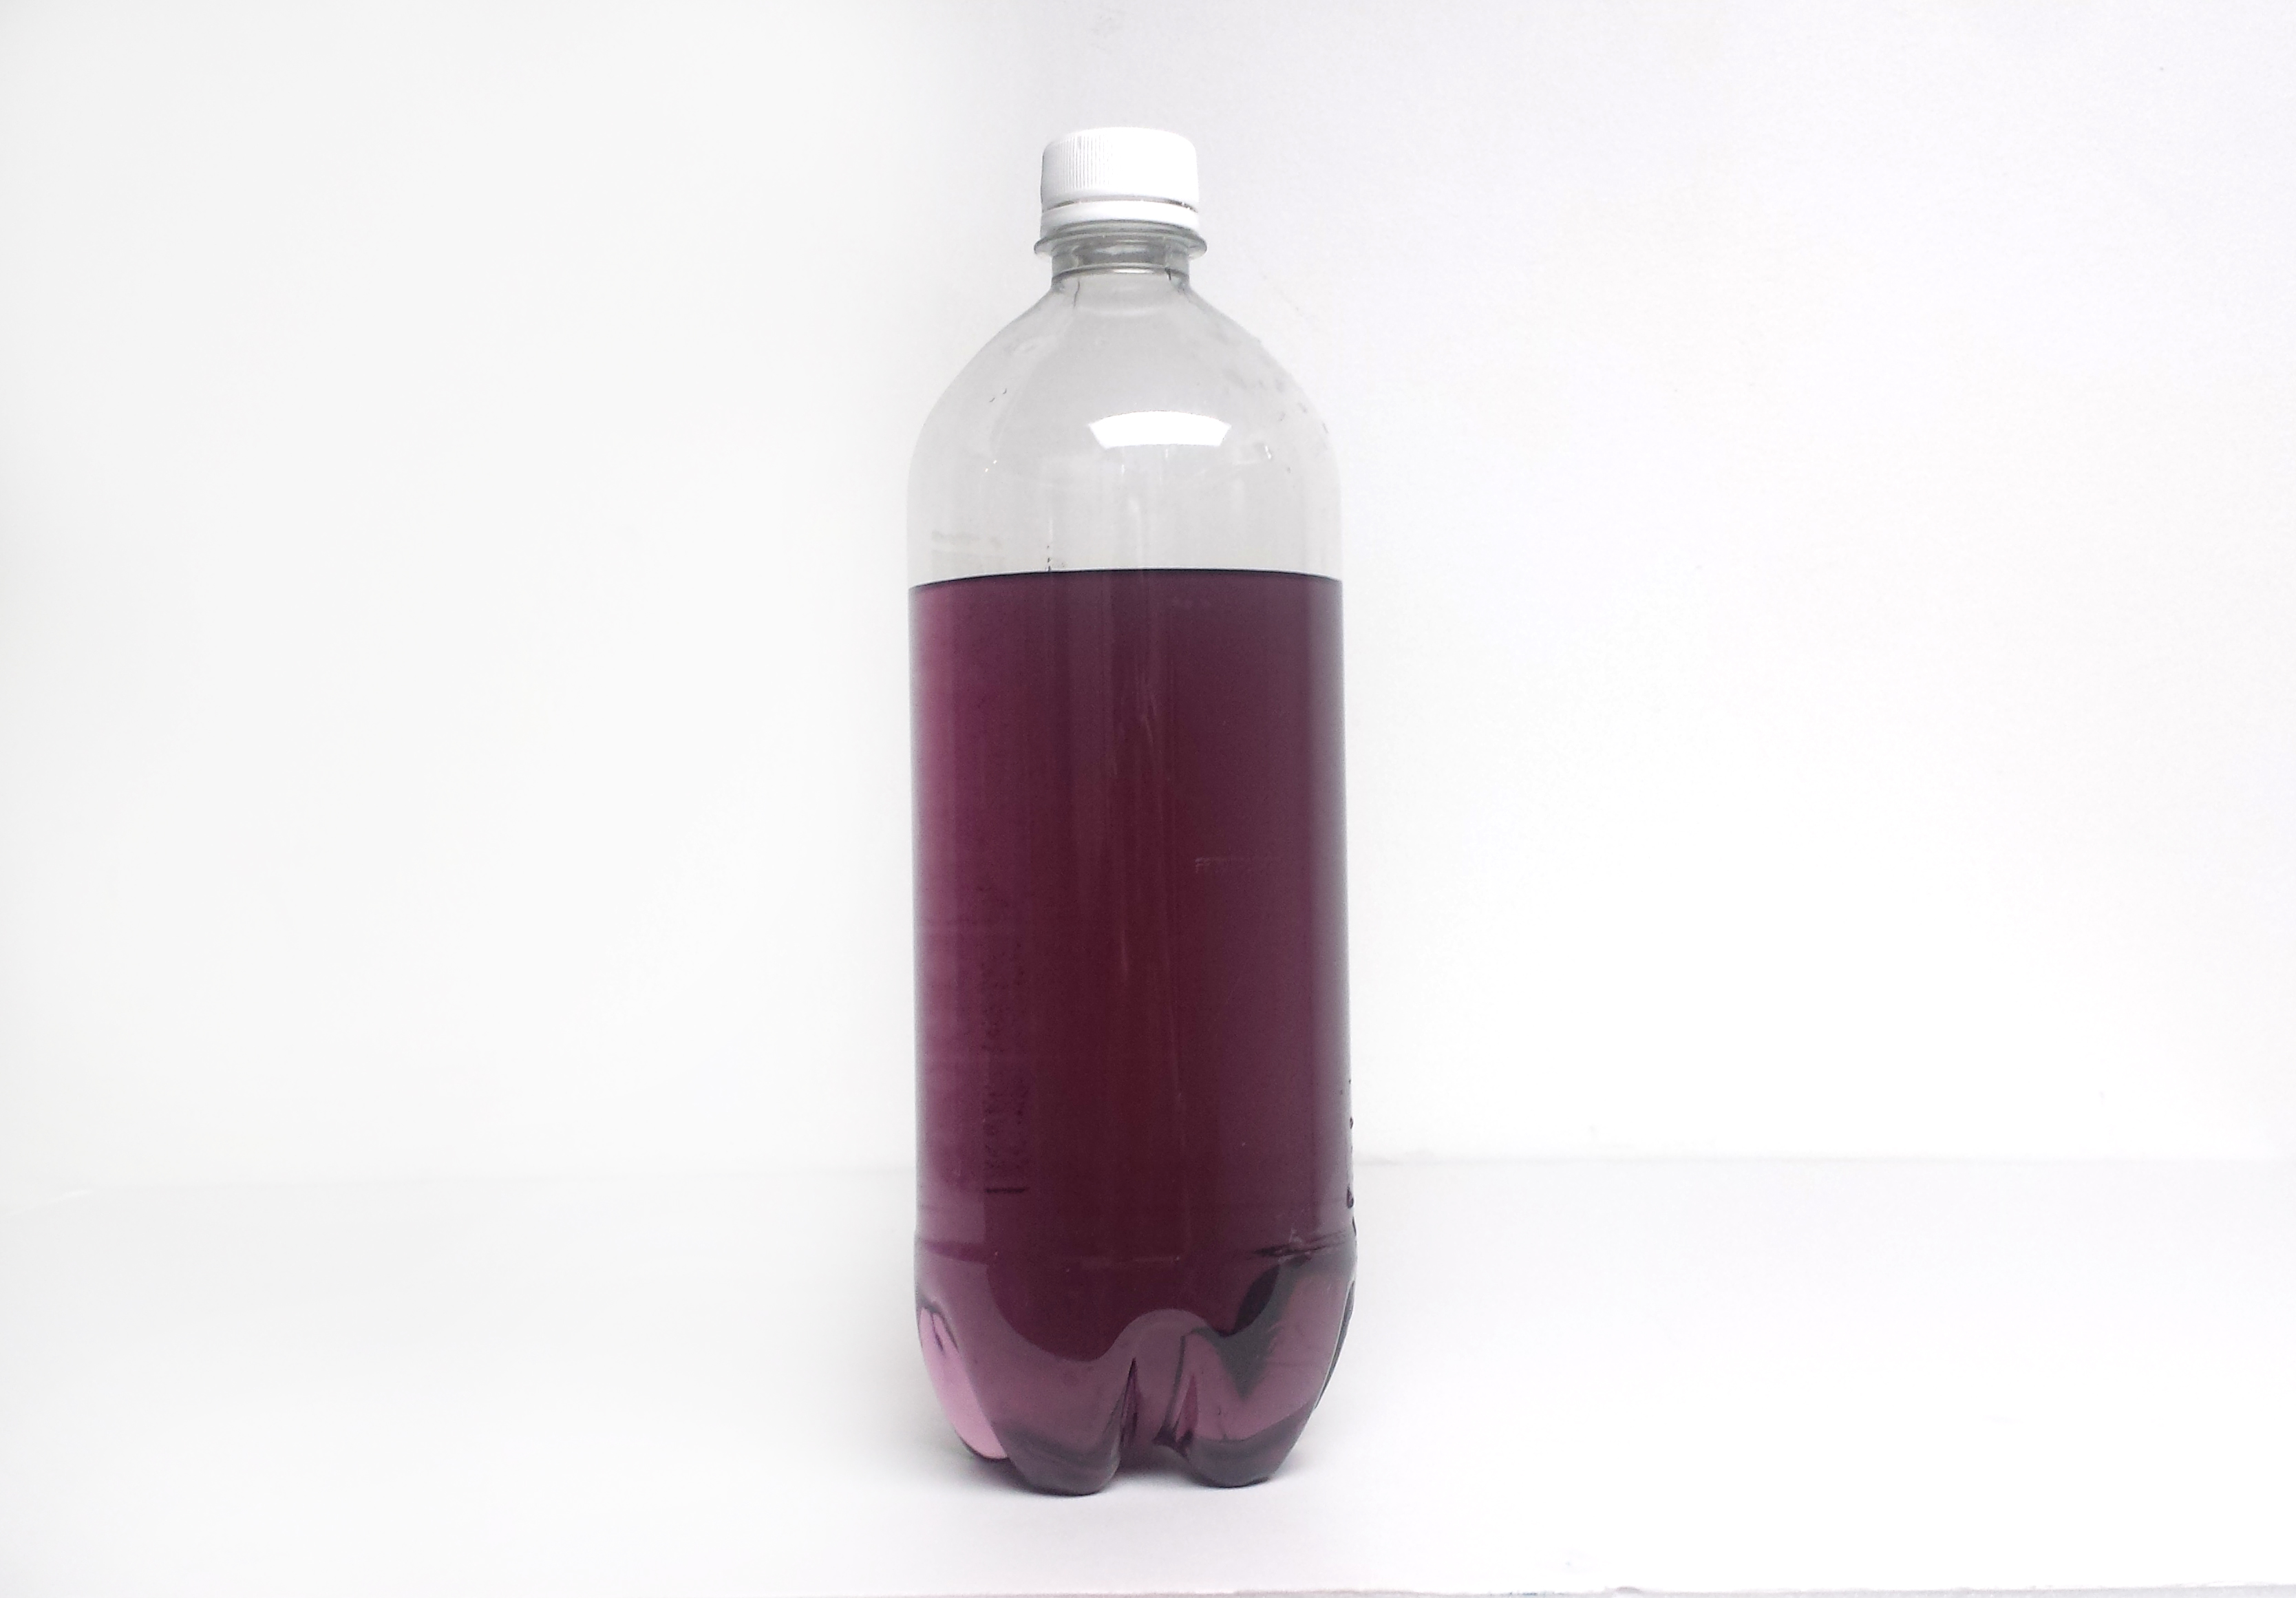
Fill the bottle with water and food coloring. As the bottle is being filled, observe the water coming out of the holes. Now tighten the lid of the bottle. What happens?
Step 3
Unscrew the lid to reactivate your water sprinkler.
Try punching more holes into your bottle. Does the number or location of the holes change how the bottle leaks?Tip
If your bottle is leaking when the cap is screwed on, your holes may be too big or there may be too many. Try to making smaller holes.
Learn more

What is going on?
Why doesn't the bottle leak any water when it has its cap on? Remember, the bottle contains both air and water. If any water is going to leak out, more air must enter the bottle to make up for the vacuum of space created by the lost water. If you have big enough holes in your bottle, air can squeeze through the holes and bubble up, filling that void. If the holes in the bottle are small enough, however, the water molecules will stick together, creating enough surface tension to prevent air from sneaking through. If you take the cap off though, all bets are off: now, air can enter the bottle from the top and push water out through the holes at the bottom, aided by the pull of gravity.