Step-by-step tutorial
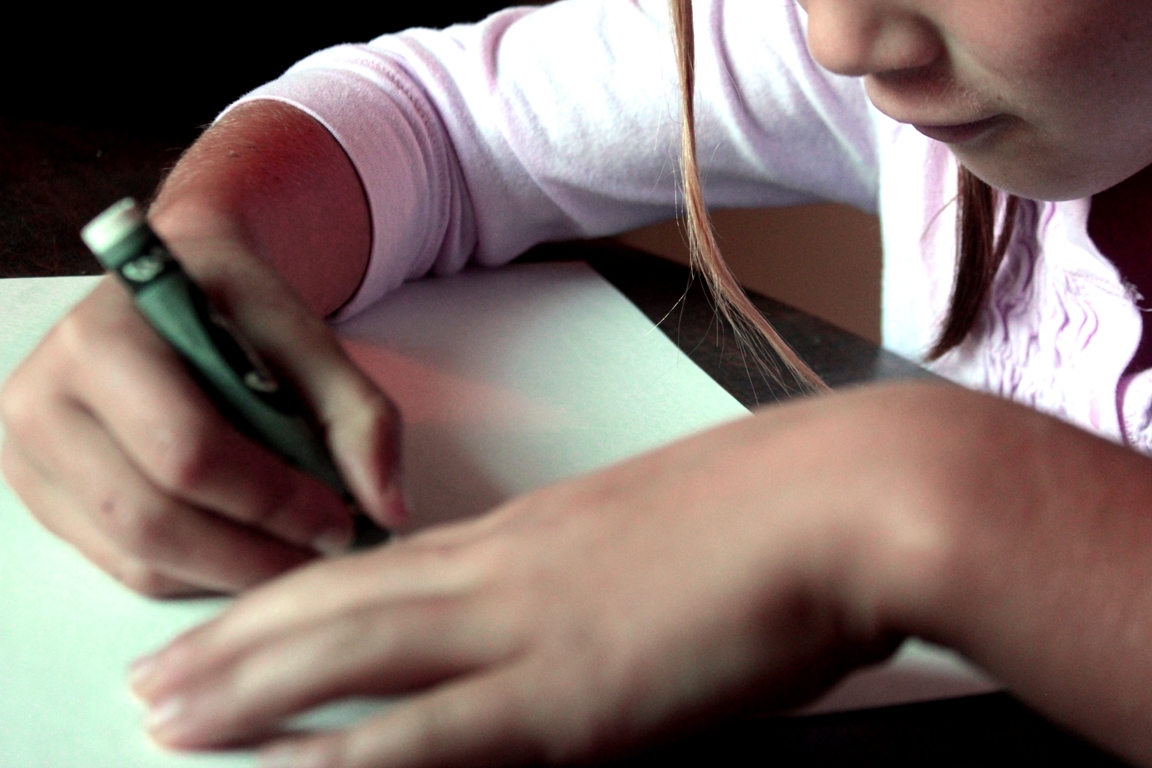
Step 1
I was a little worried that Madeleine would get frustrated with not being able to see her work. As it happened, the natural light and angle were just right, and she did fine. But for others, you might want to try drawing outlines with a non-marking (dried, ran out) ballpoint pen or embossing tool first, so you can see what you're doing!

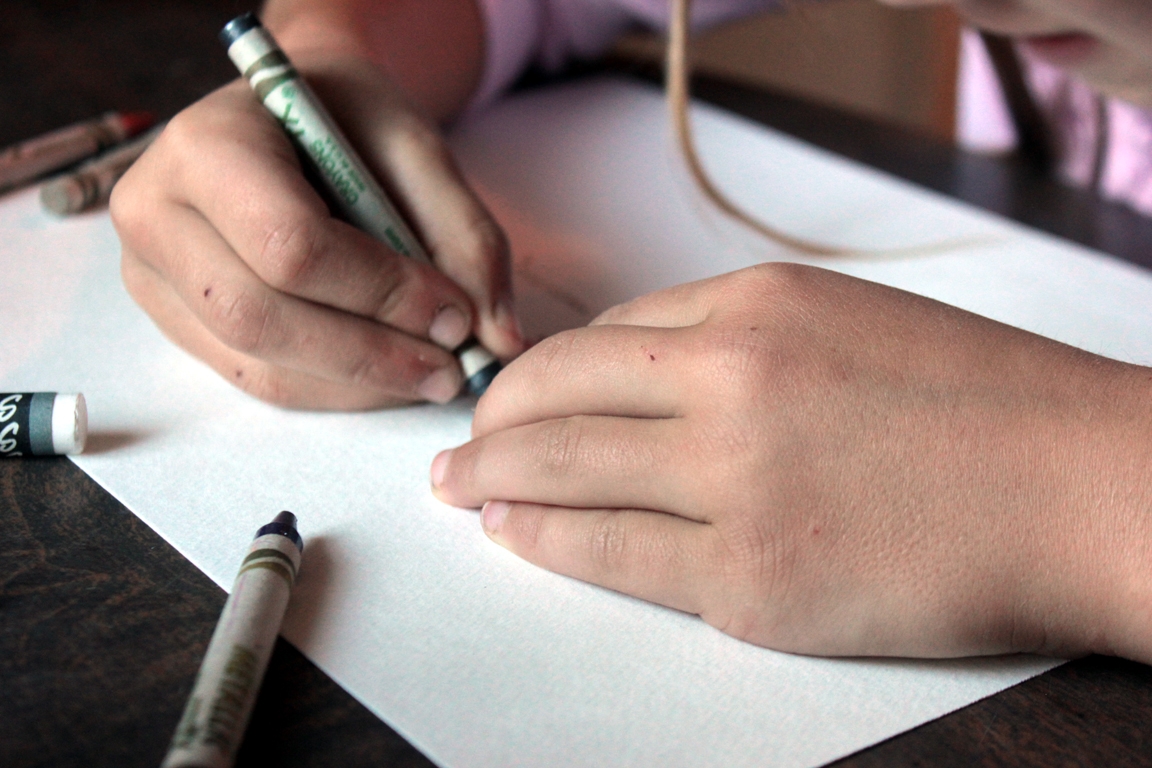
Step 2
The first thing Maddie drew in was a snowy field at the bottom of her picture.
Step 3
After that came the snowman!
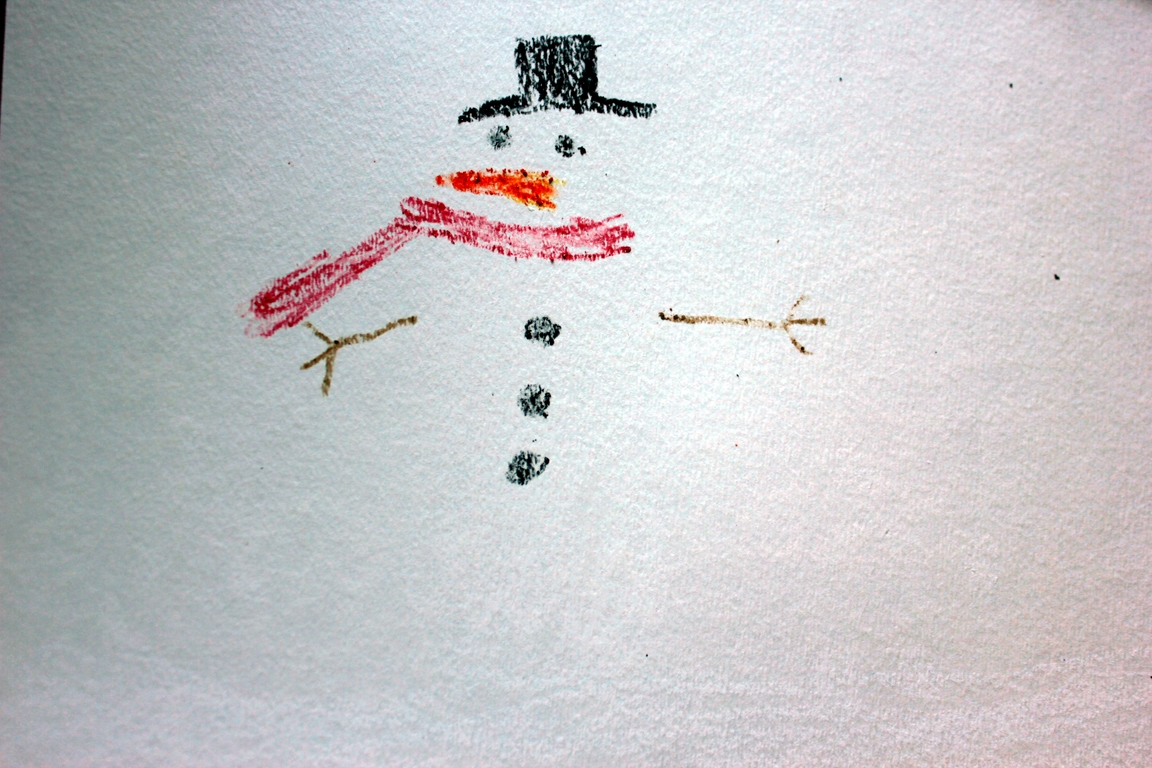
Step 4
His scarf, face, hat, buttons....
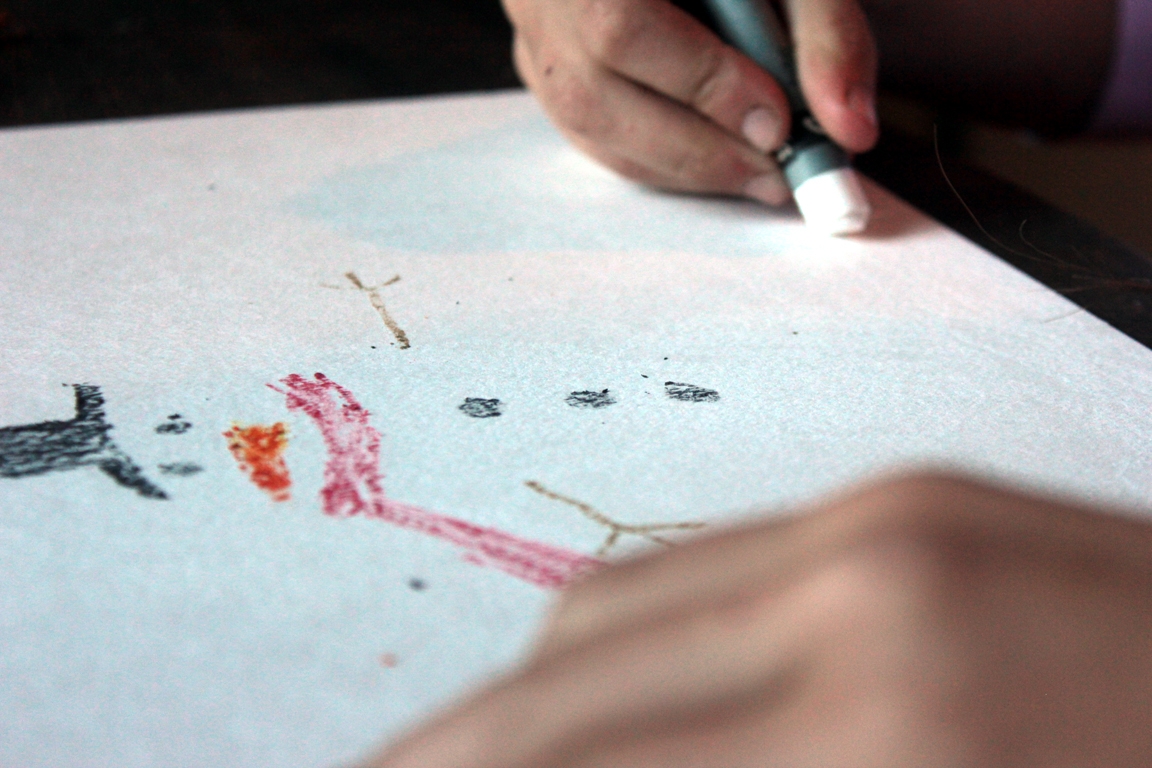
Step 5
It's snowing there, so have to draw snowflakes....
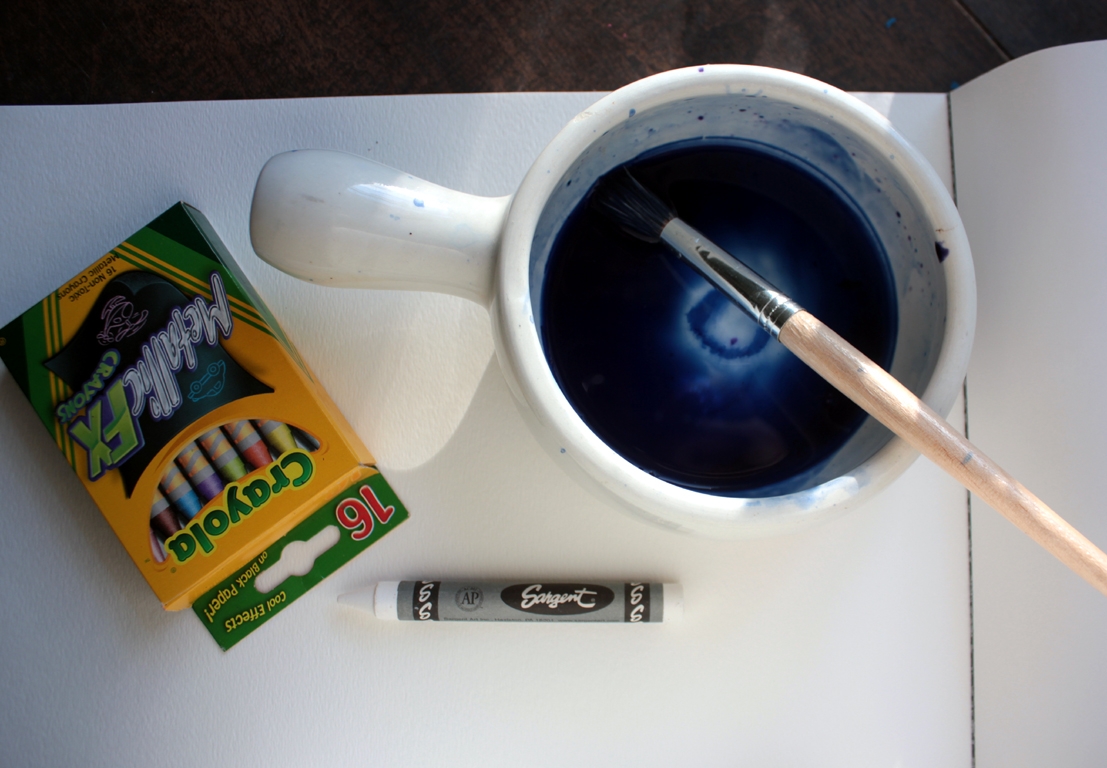
Step 6
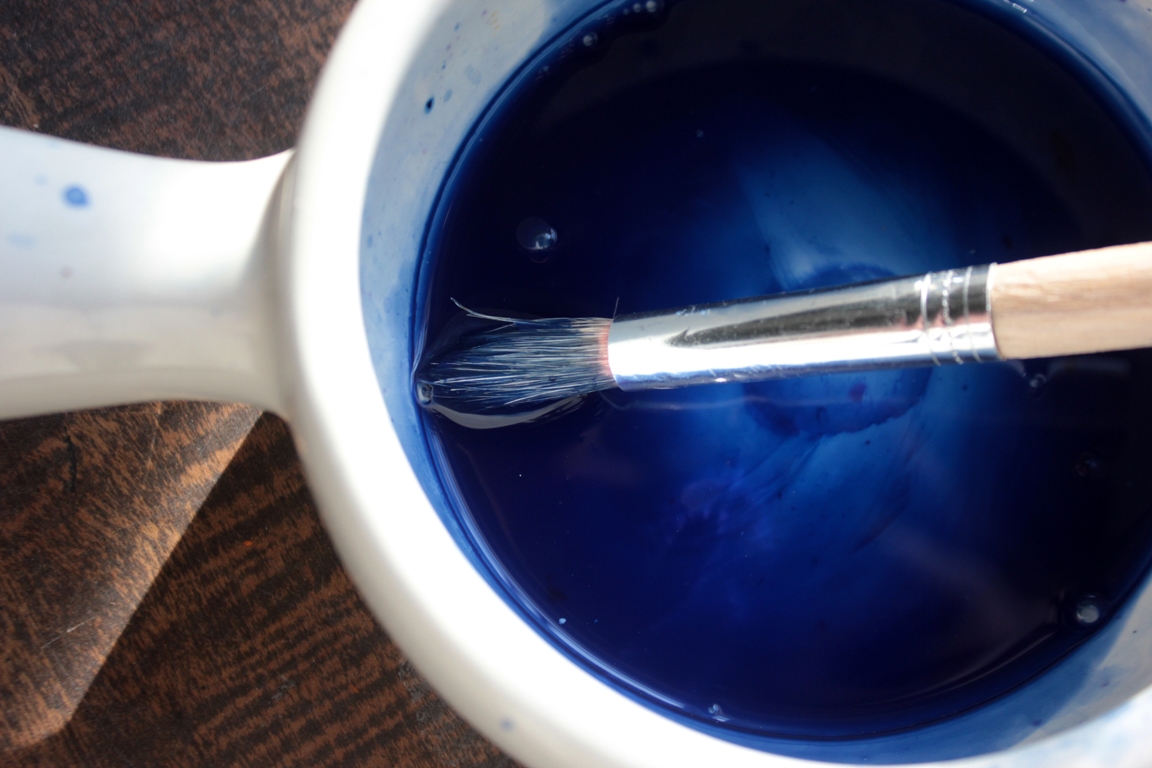
I wanted to make sure the paint was "just right," so I put a couple of teaspoons of water in a small bowl, then added blue and a little bit of violet to make just the right shade... mix, mix, mix. I then tested it on scratch paper to make sure the crayon art would come through.
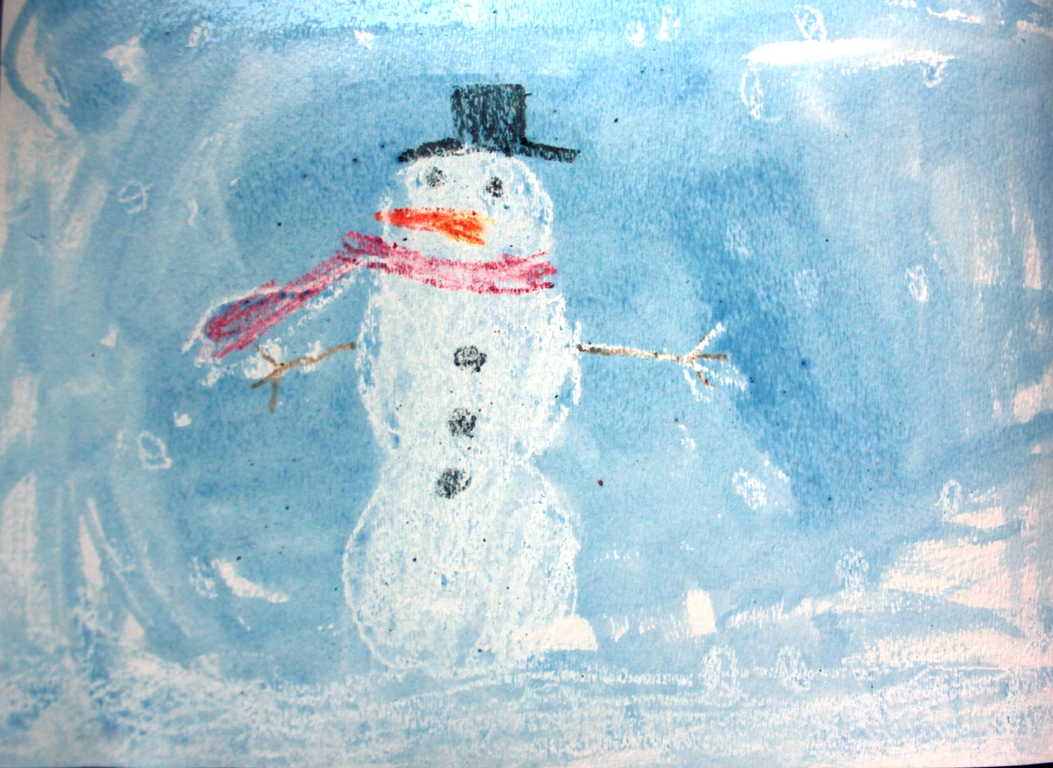
Step 7
Okay... the paint mixture is ready.... time to paint! Maddie covered the whole page with blue, and loved it when her snowflakes started showing up. I kept a paper towel handy, in case the snowman was in danger and needed to be blotted...

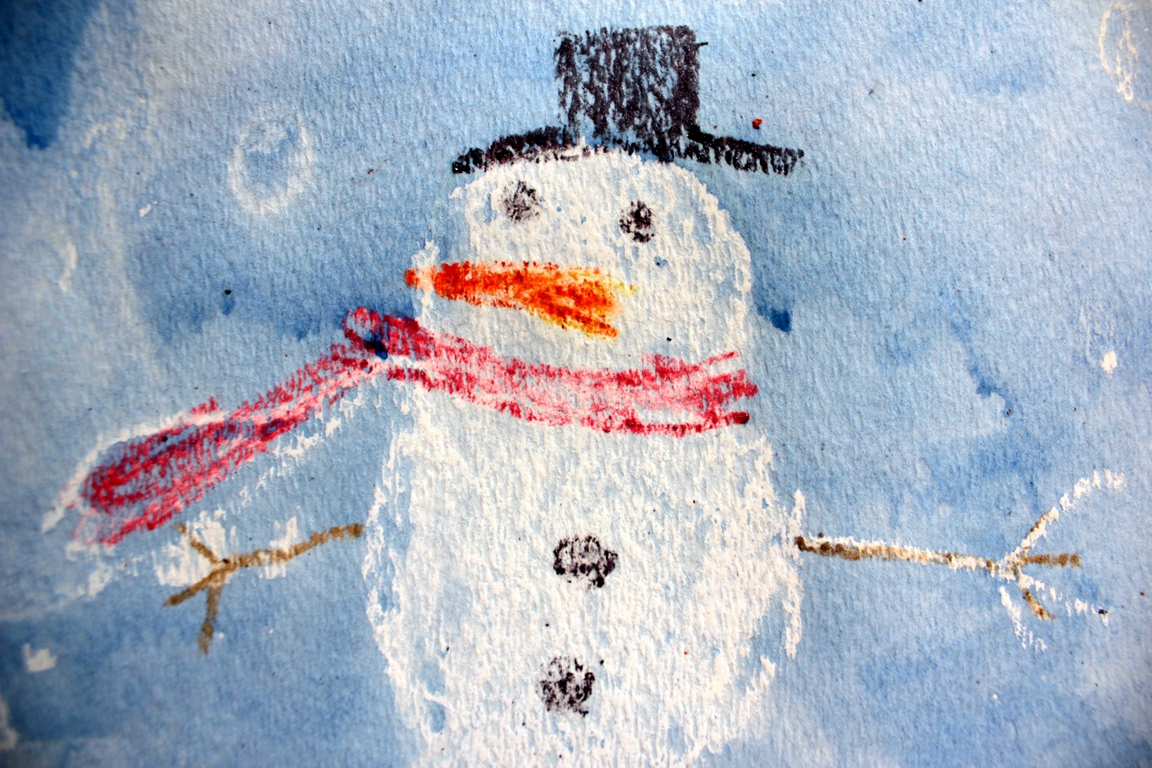
Done!
But he shined through beautifully. Isn't he fine!?! Ready to lead the parade into Winter Wonderland.