Step-by-step tutorial
Step 1
Grownup supervision is required for this project. (My daughter just turned seven, but we tackled this project for the first time when she was just four...and we still love it!)

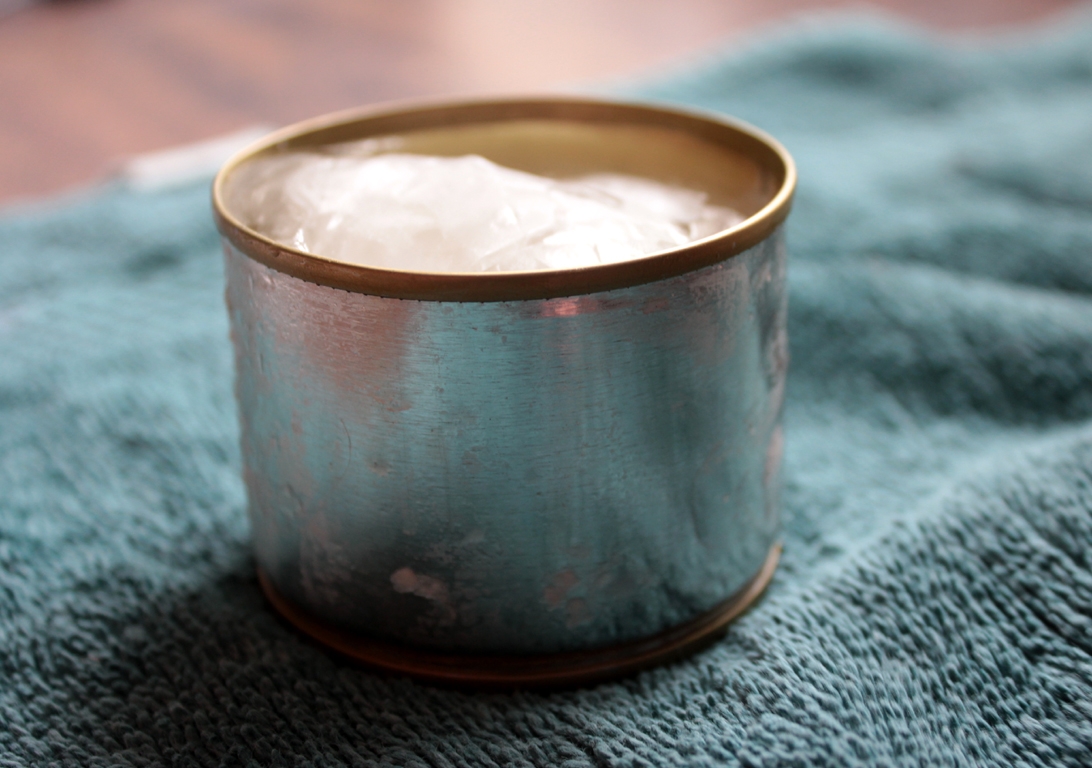
Step 2
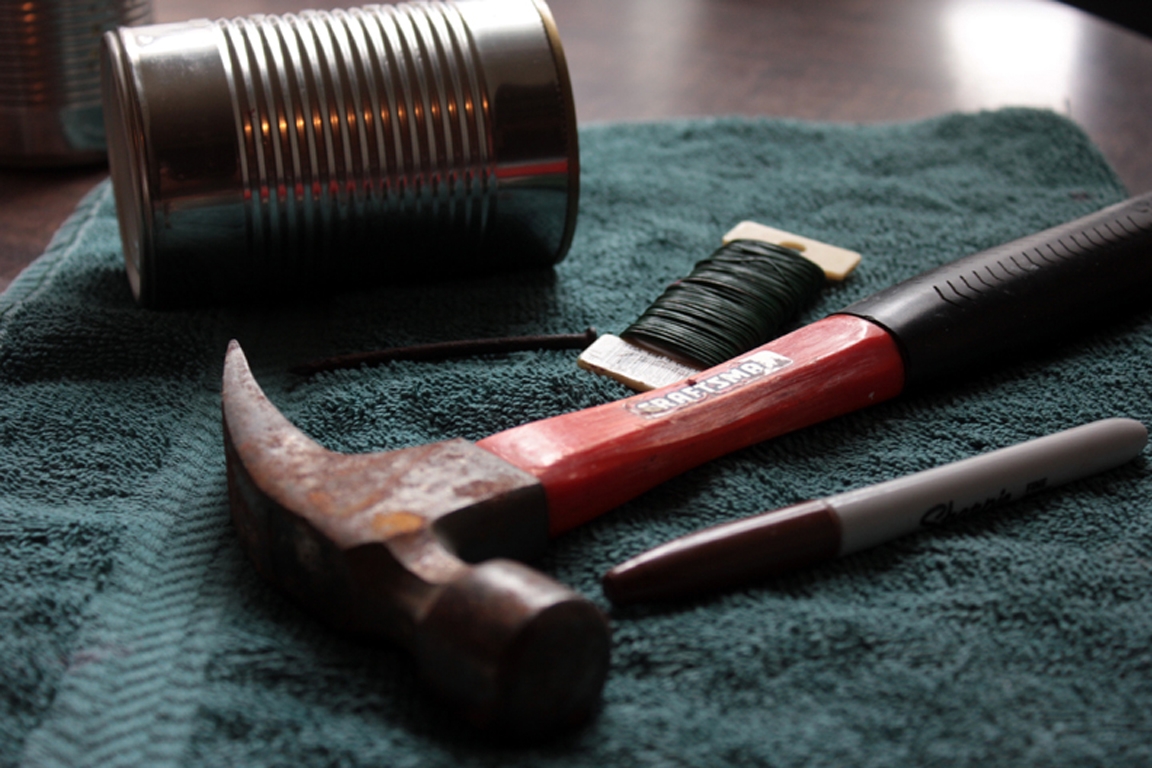
The day before we planned to make our lanterns, we washed the cans, filled them near the top with water, and put them in the freezer. (The ice will keep the cans from smashing and denting as you hammer on the cans.)
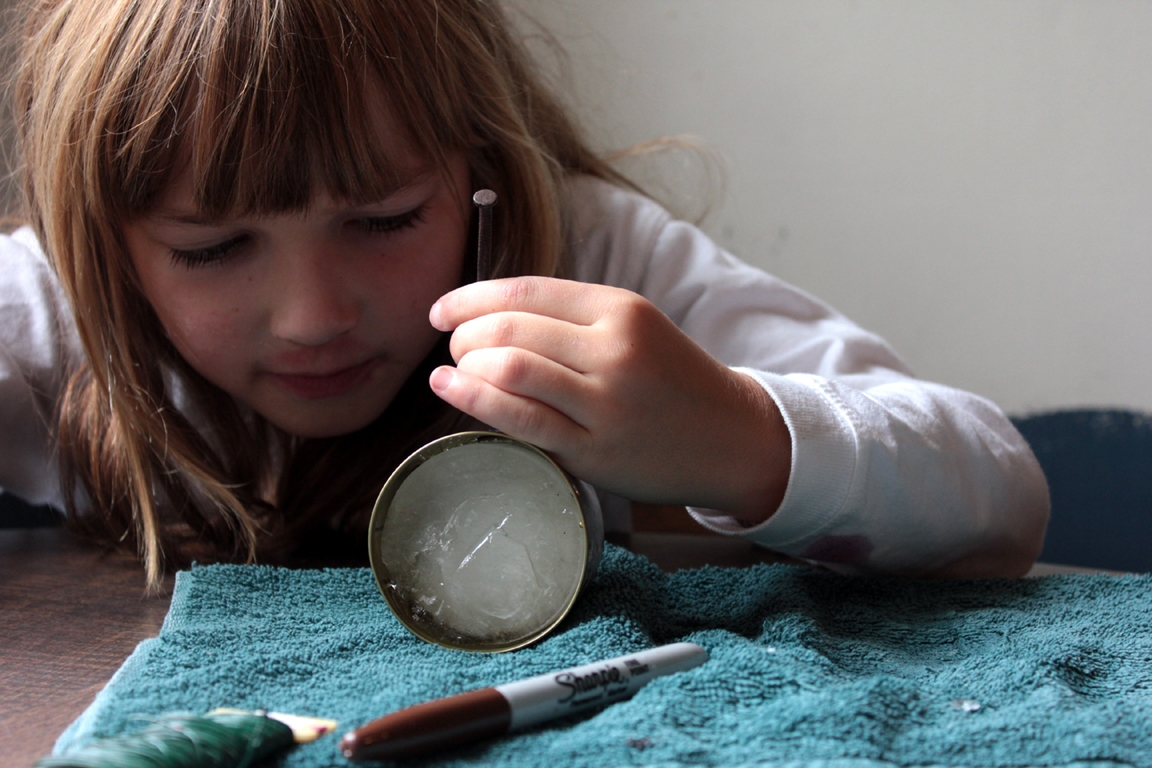
Step 3
Working on a towel to provide stability, Maddie dried off a spot on our frosty can and drew a very simple design. (Very young kids may prefer that someone else draws their design for them.) Kids who just want to hammer free-style on the can might not want a drawn picture.
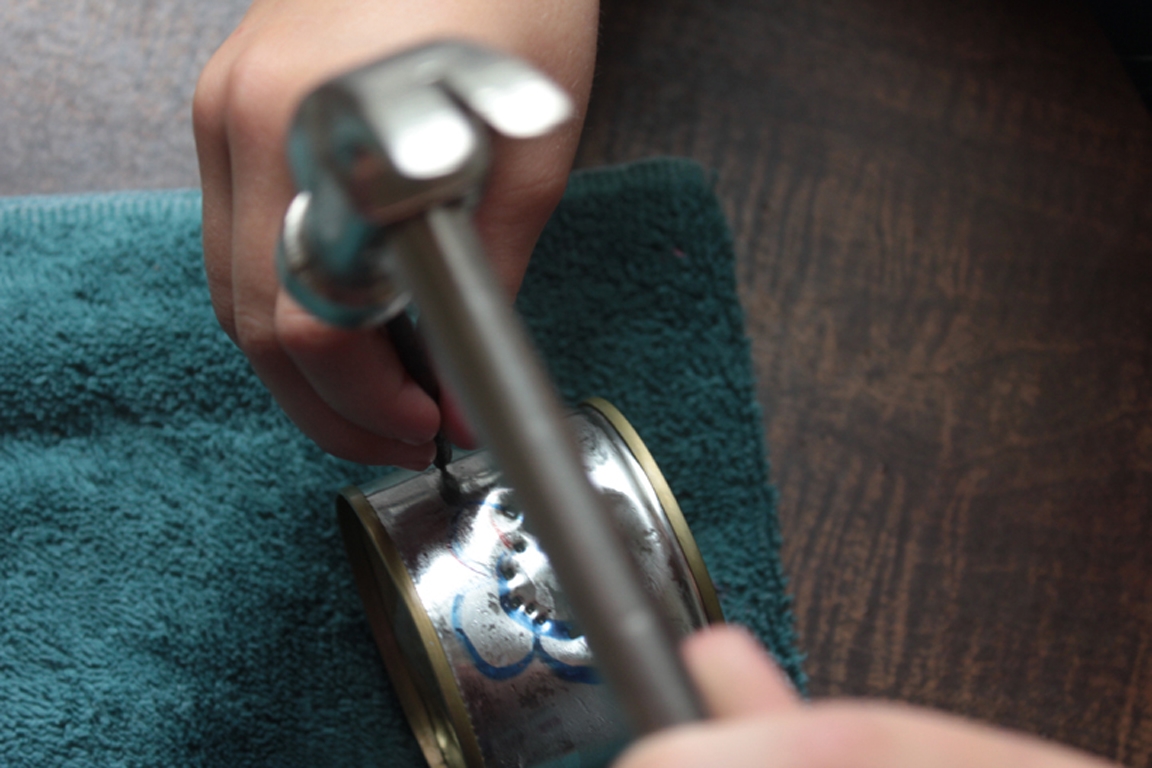
Step 4
Holding the nail securely over the design, Maddie carefully hammered small holes over the design.
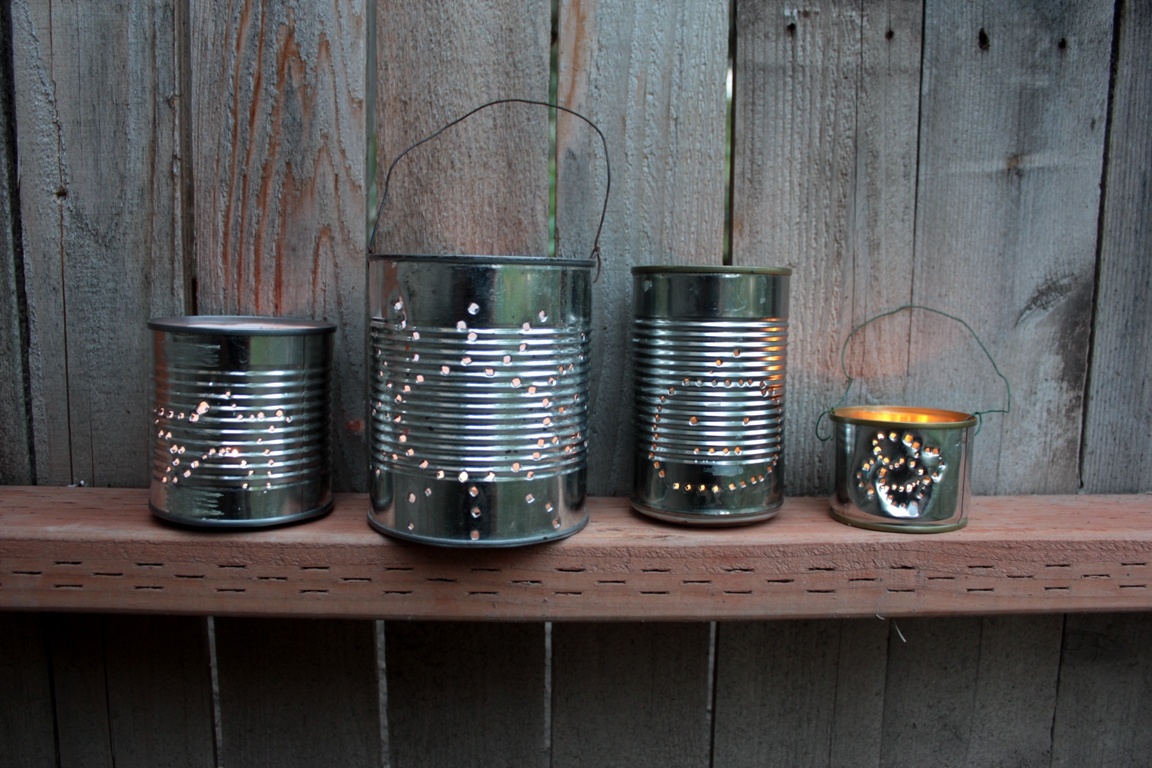
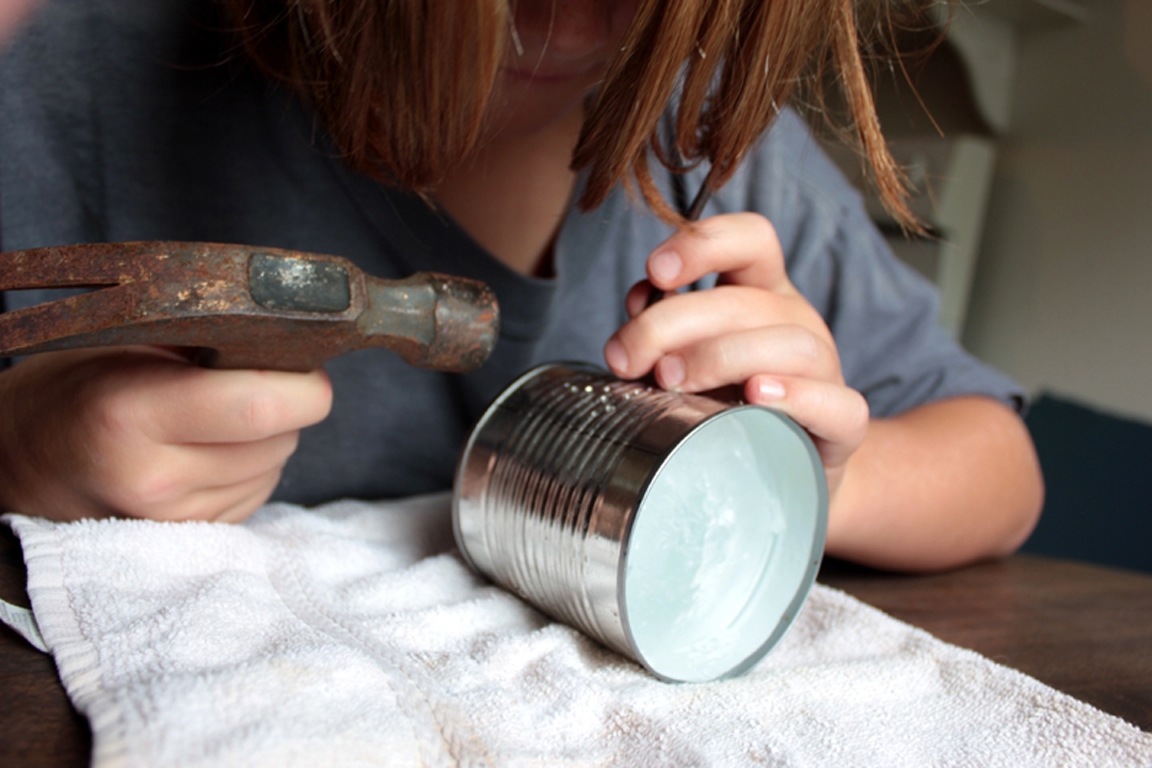
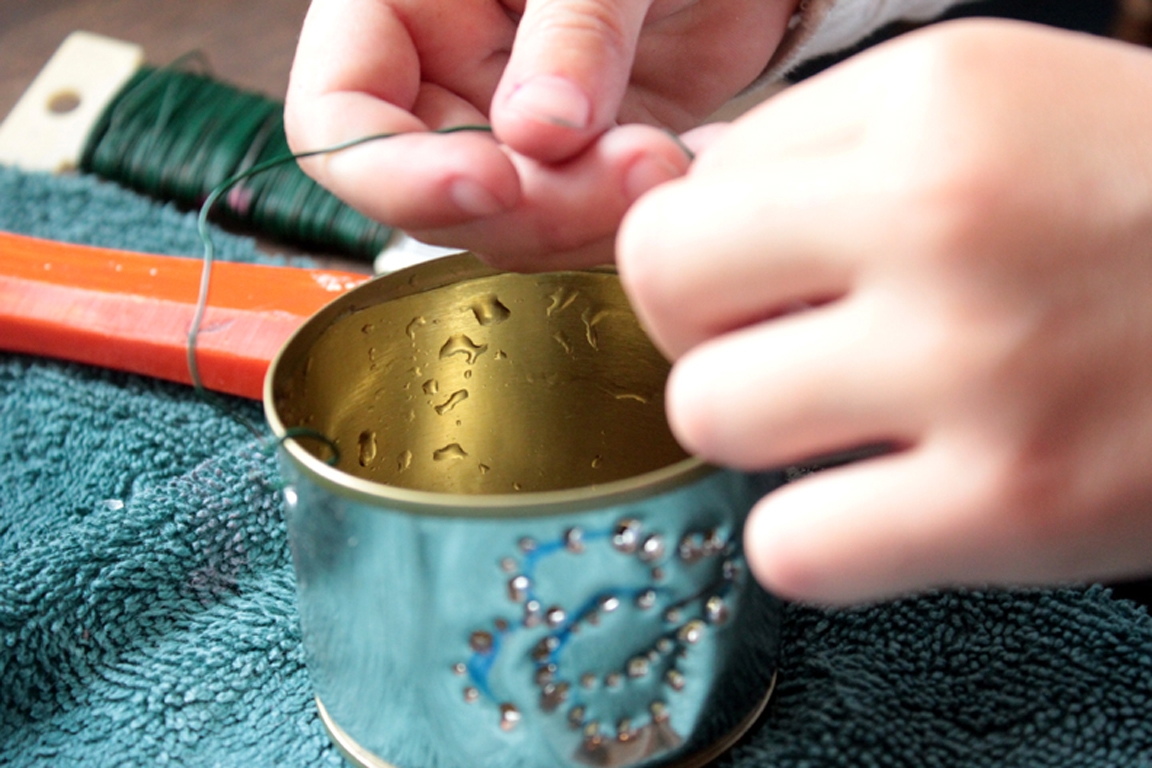
Step 5
She continued to work on creating holes for her pattern until the can was completely outlined in small holes. We made two more holes on the two sides of her design to string it with a wire handle.
Step 6
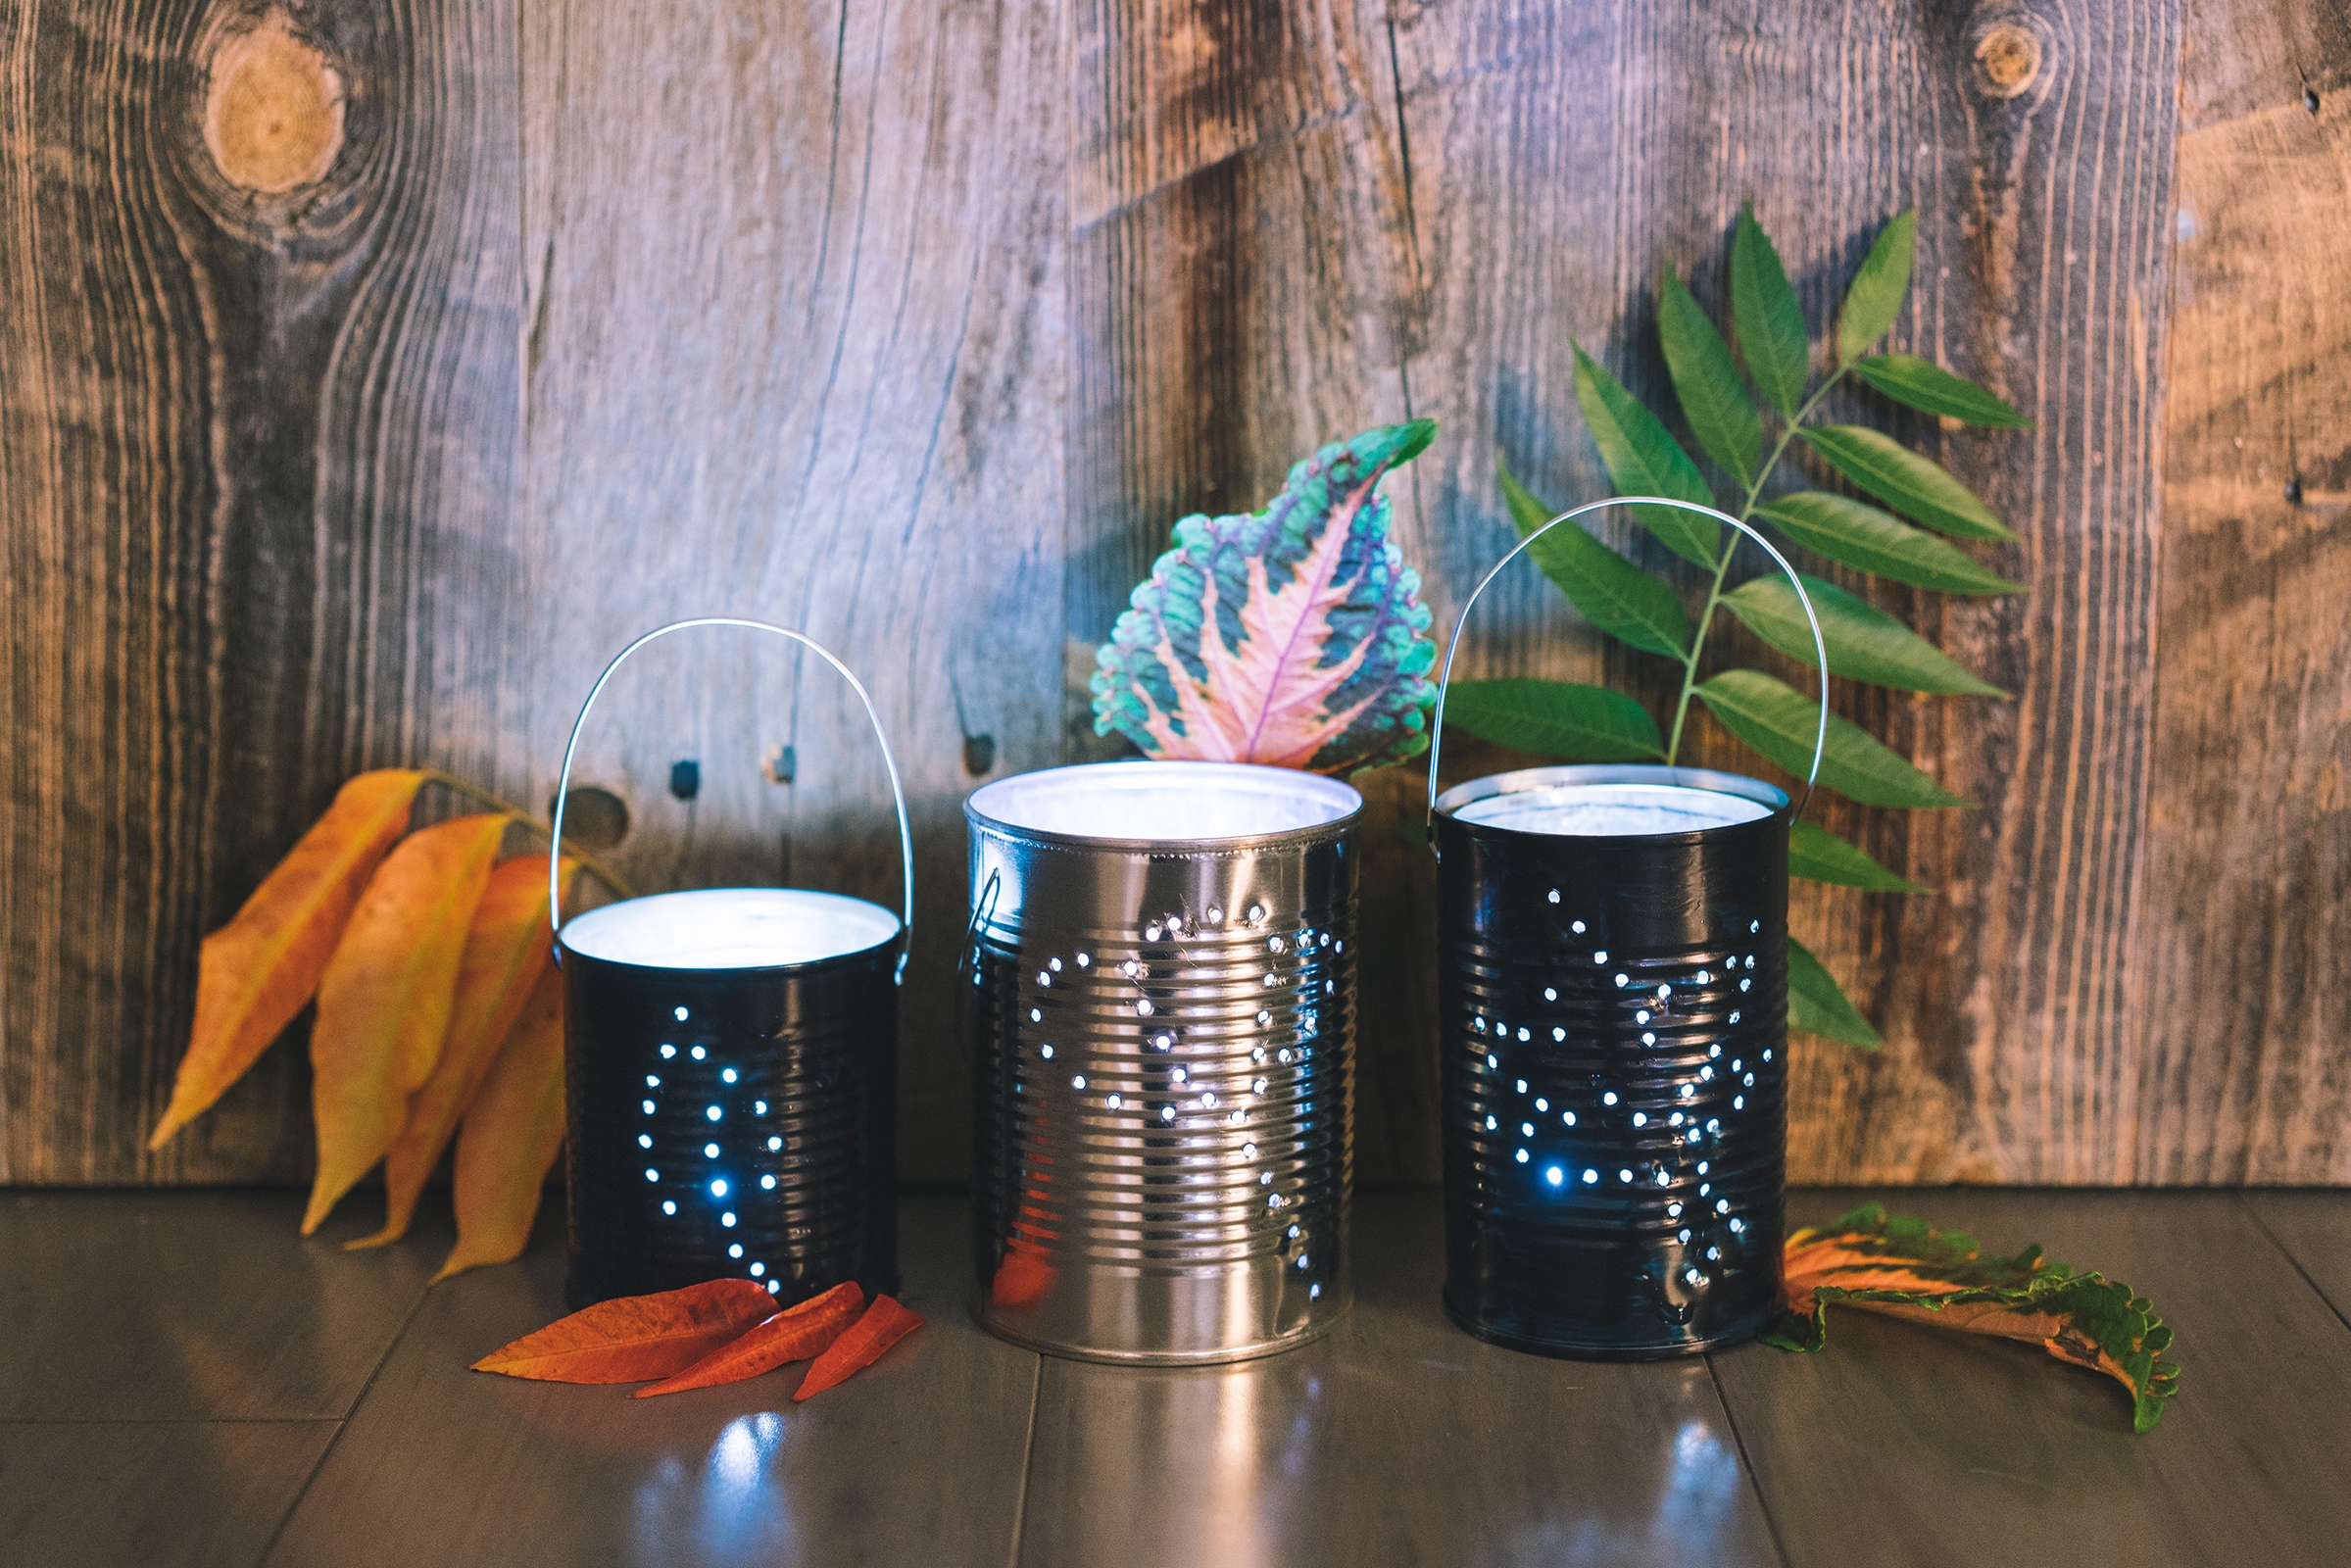
We dumped out the ice, and washed off the drawn pattern. We added a wire handle and a little tea light.
Done!
Our lanterns cast a soft, gentle glow in our front porch. Aren't they lovely?!