Step-by-step tutorial
Step 1
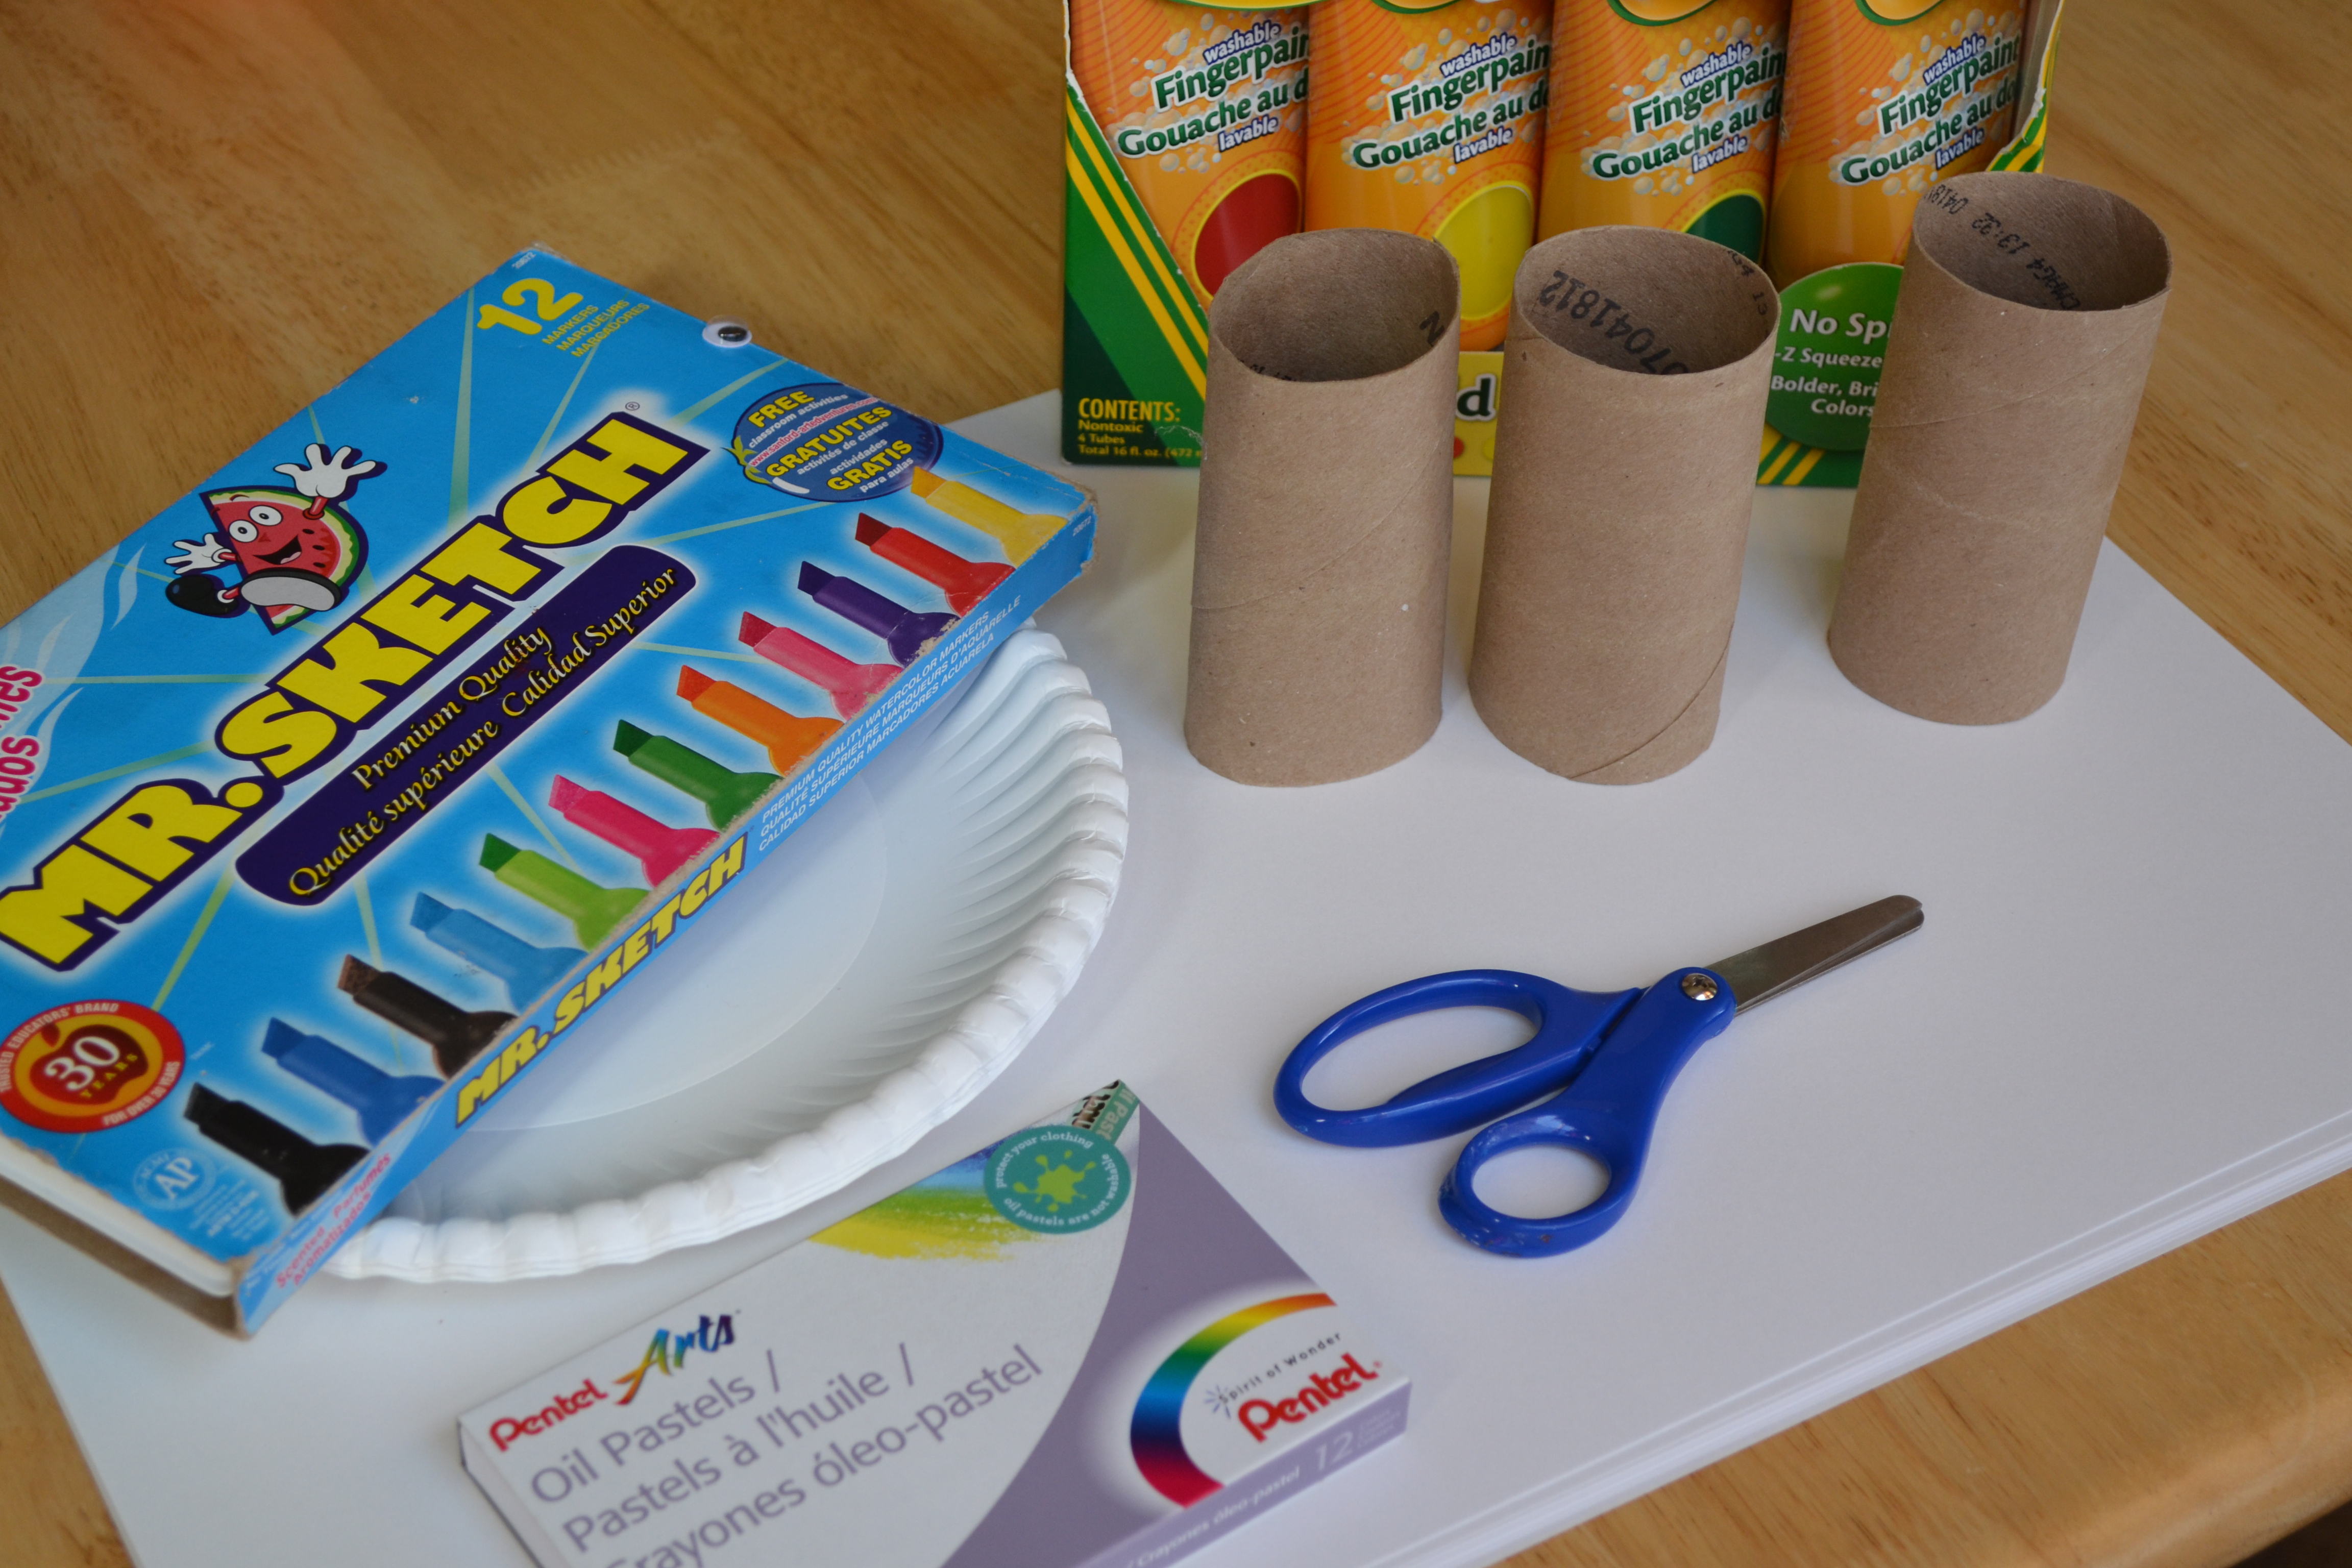
Gather all materials. We found that the oil pastels gave a really vibrant finished product, but you could also use crayons, colored pencils, or markers instead.

Step 2
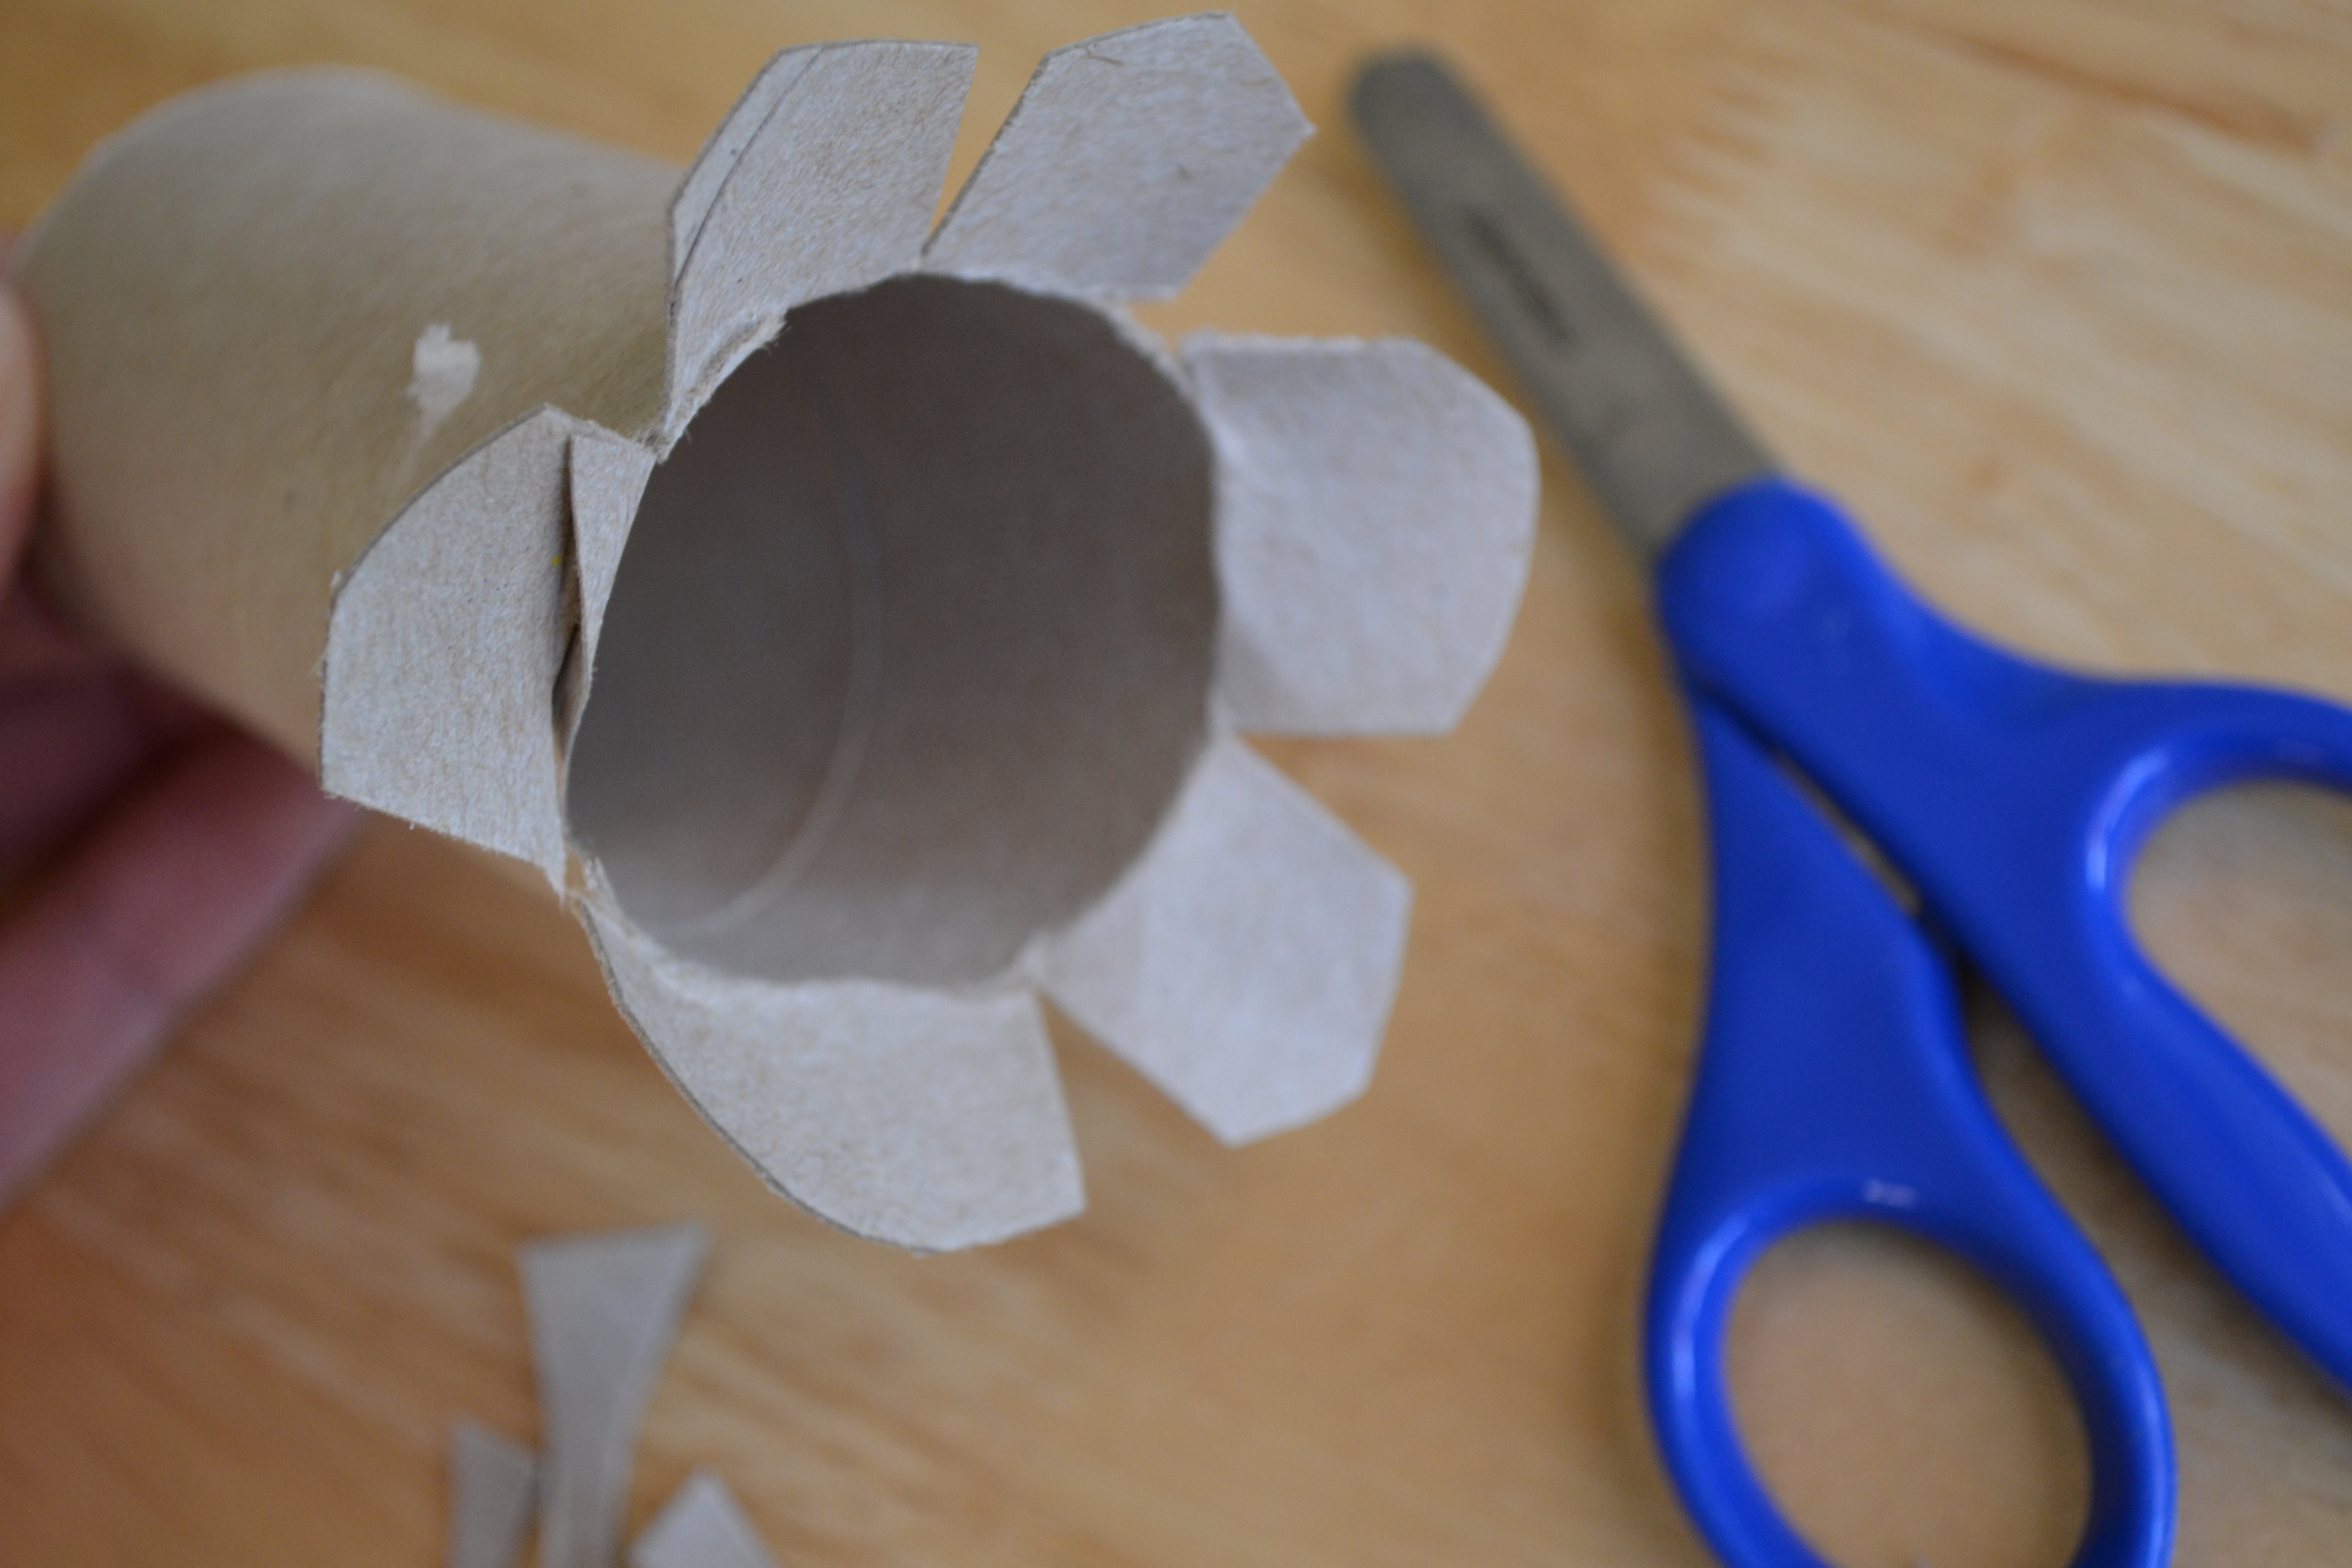
We cut slits in the toilet paper rolls about 1-2 inches (2.5- 5.1 cm)deep and then fanned out the strips. We cut different flower ends on the tip of each strip. Some of the kids cut triangles, some cut rounded ends, and some just left them as rectangles.
Step 3
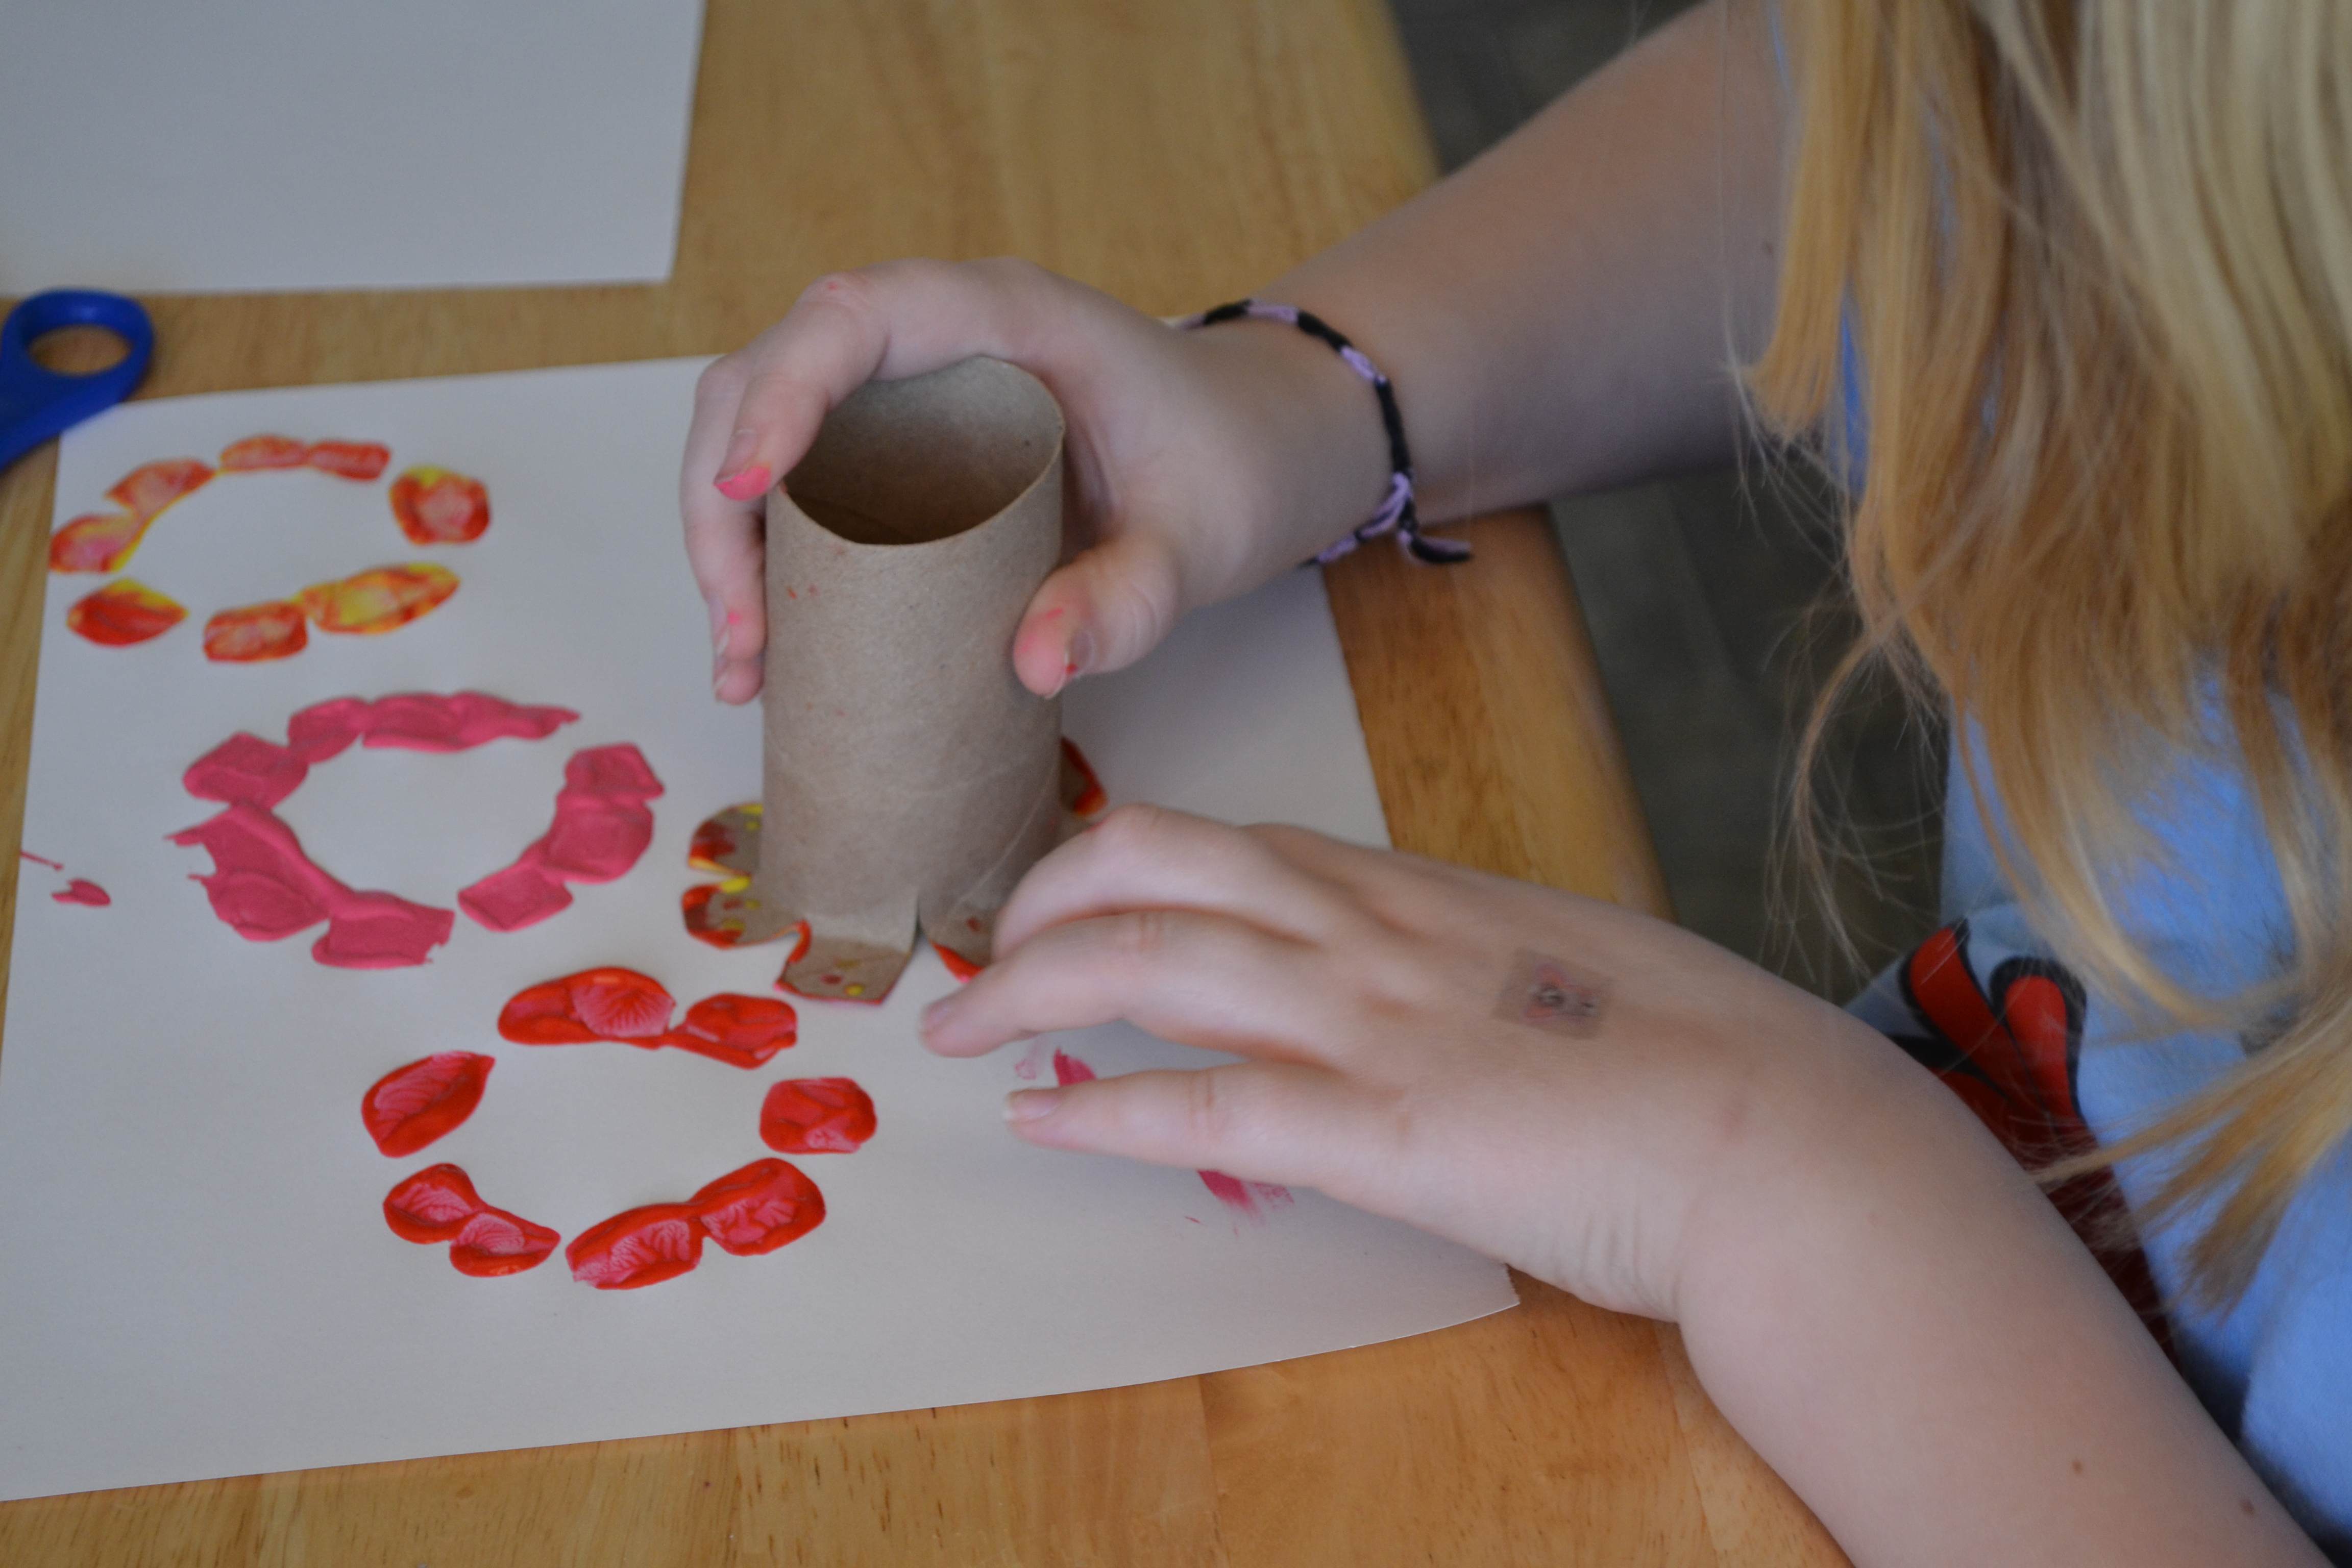
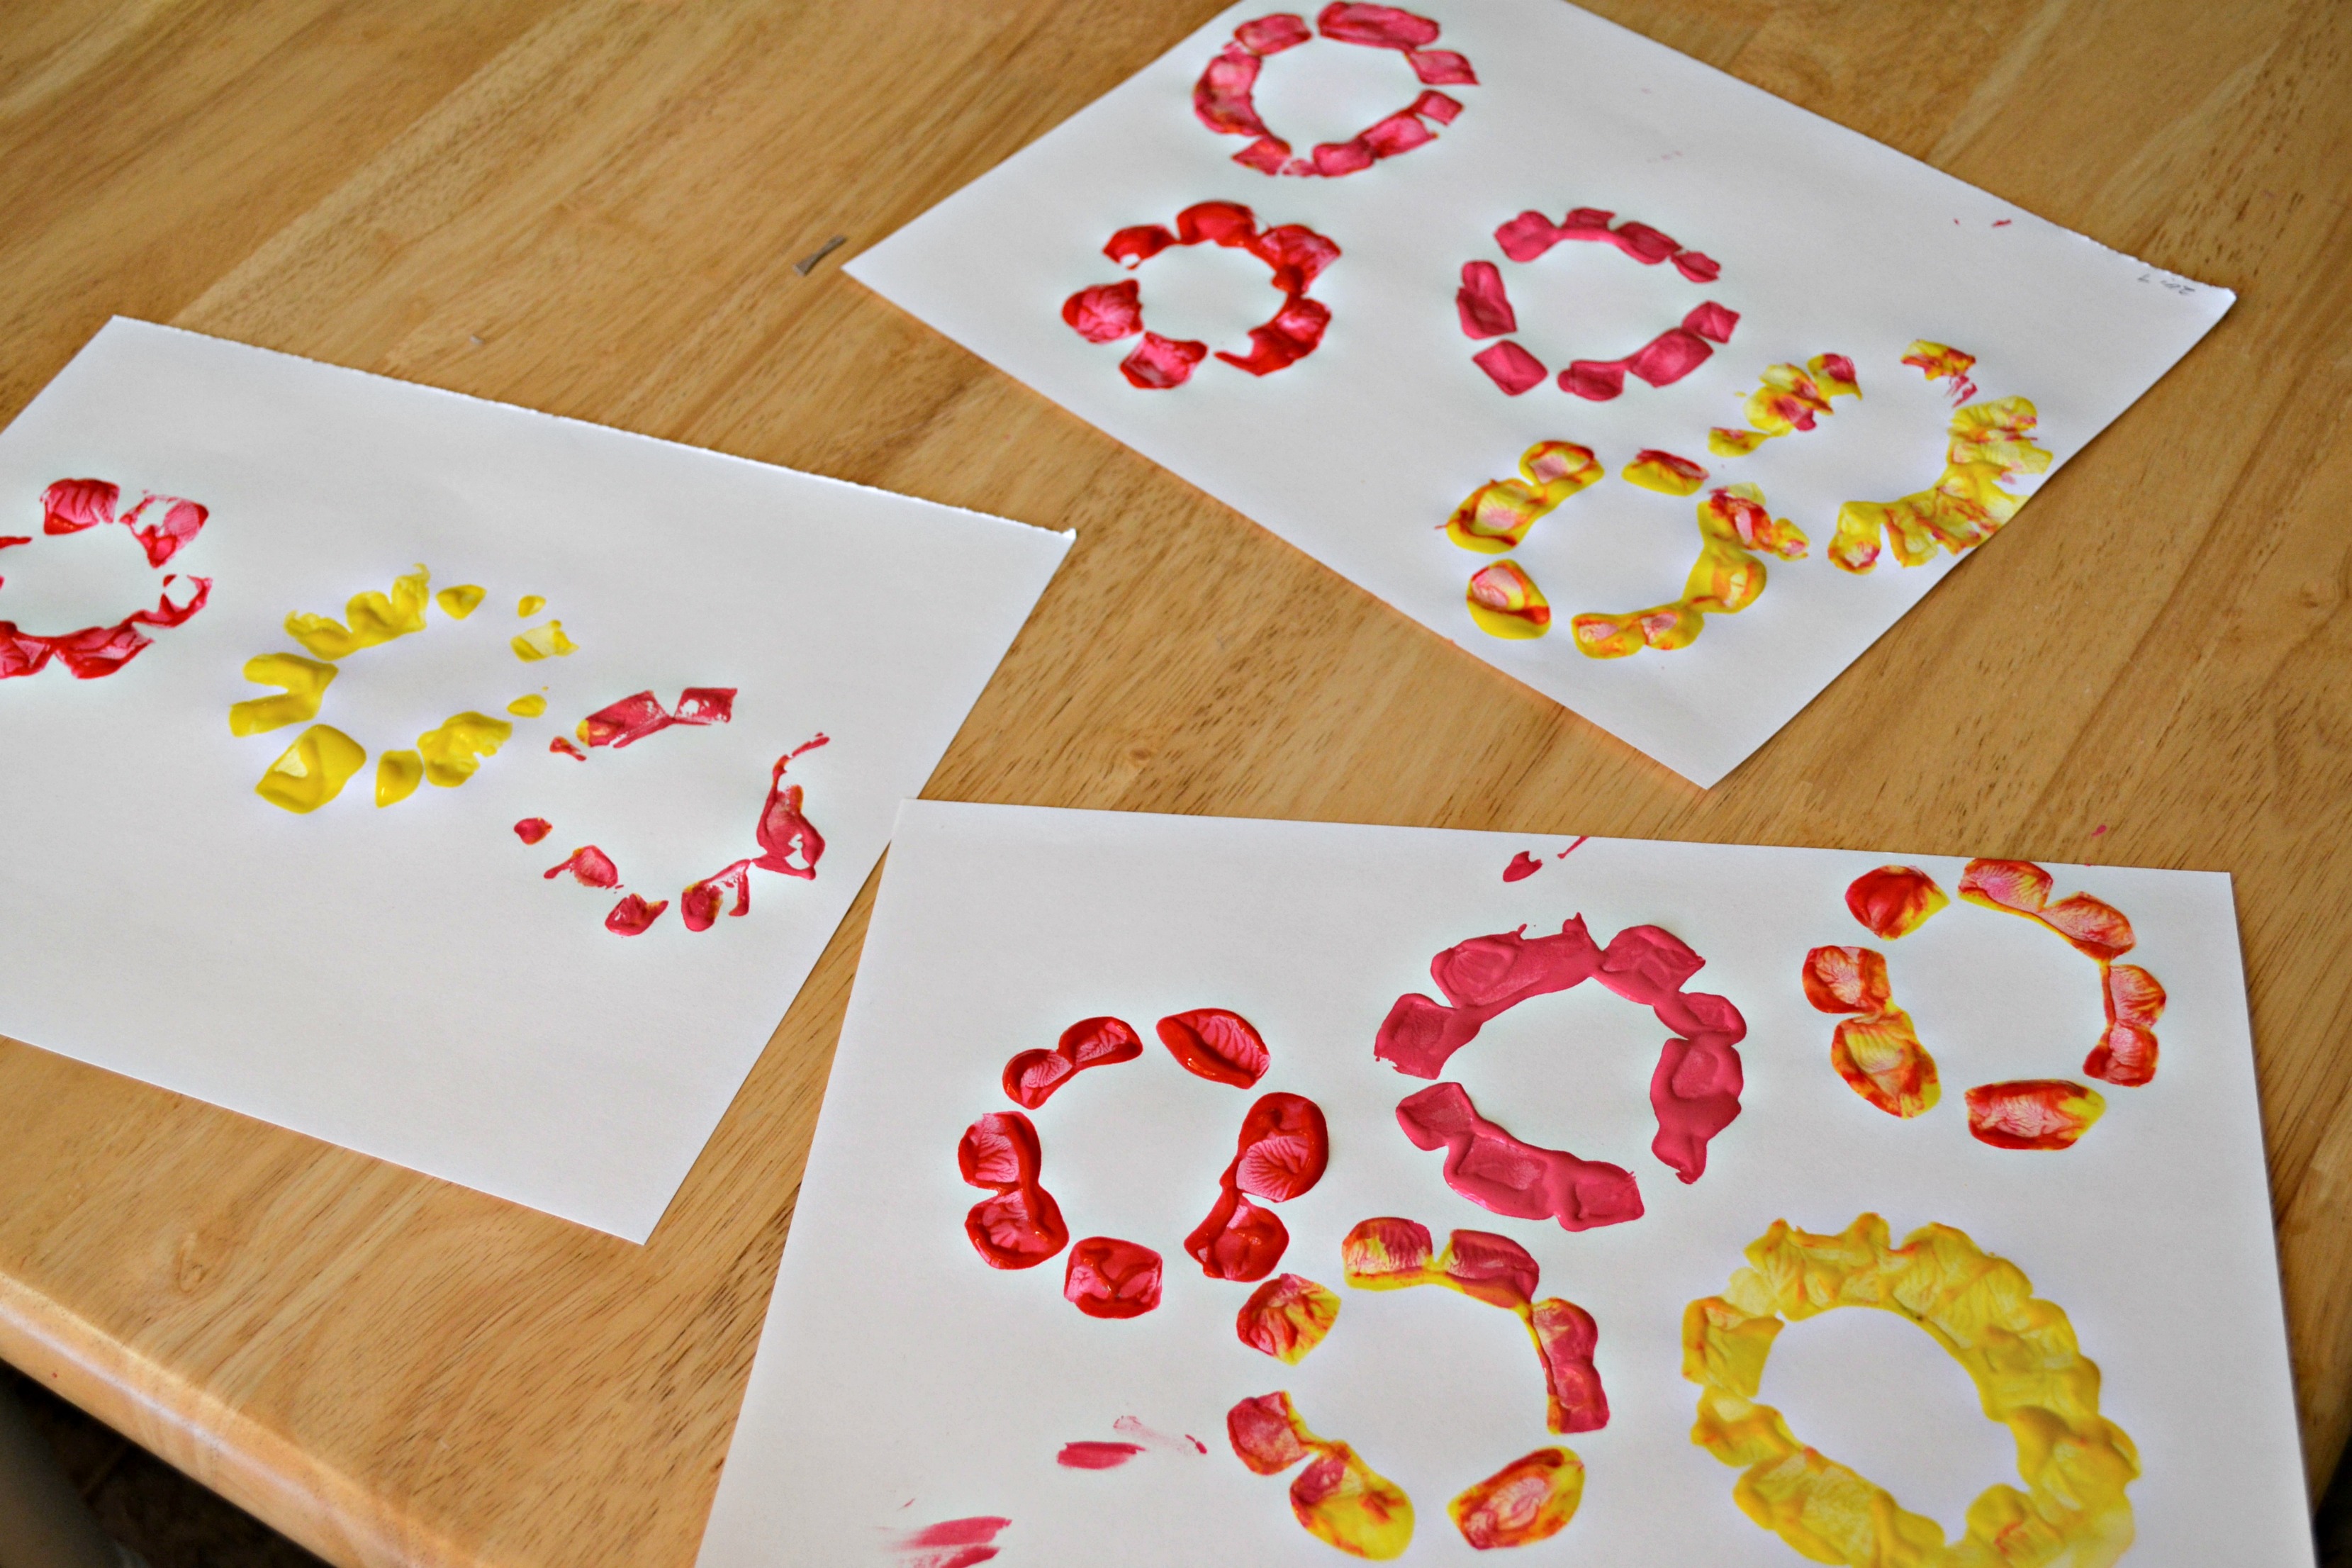
I put red, yellow, and pink paint on different paper plates and let the kids use their toilet rolls to stamp flower shapes onto their construction paper. At first, we tried to use a different stamp for each color, but they soon got mixed up and ended up making really beautiful flower colors. We also found that pressing each petal down while stamping gave a better result.
Step 4
Most of the kids stamped 4 or 5 different flowers onto their pages and then we let them dry. My 2-year-old didn't end up with anything that resembled a flower, but he had a blast stamping away and got to build up the muscles in his hands during the process.
Step 5
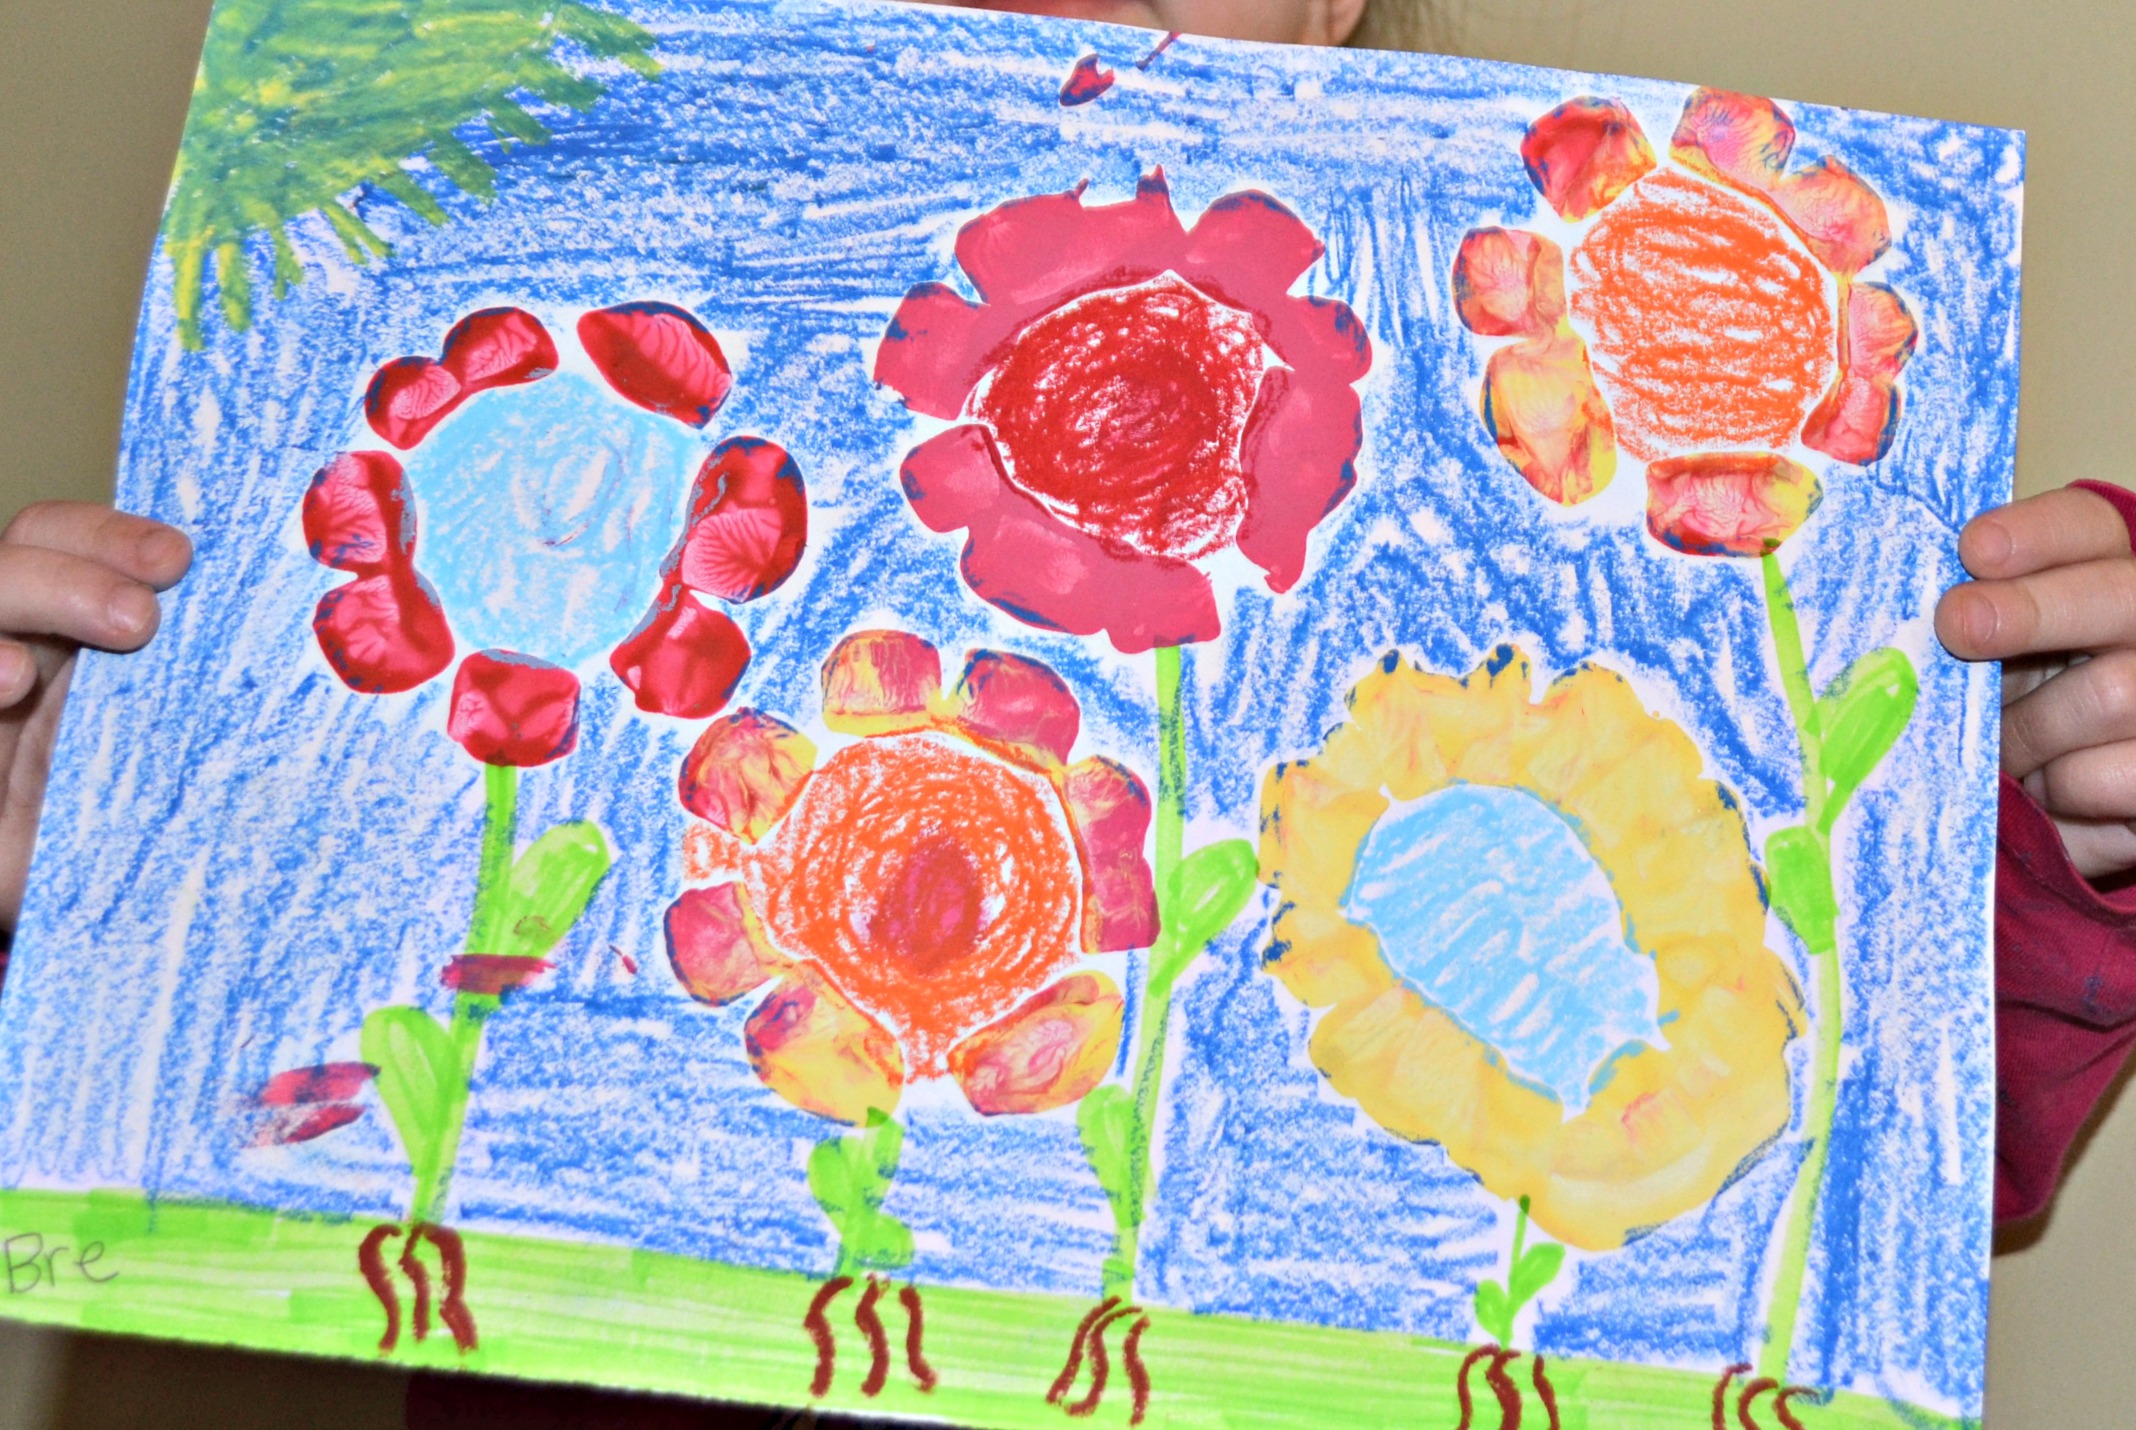
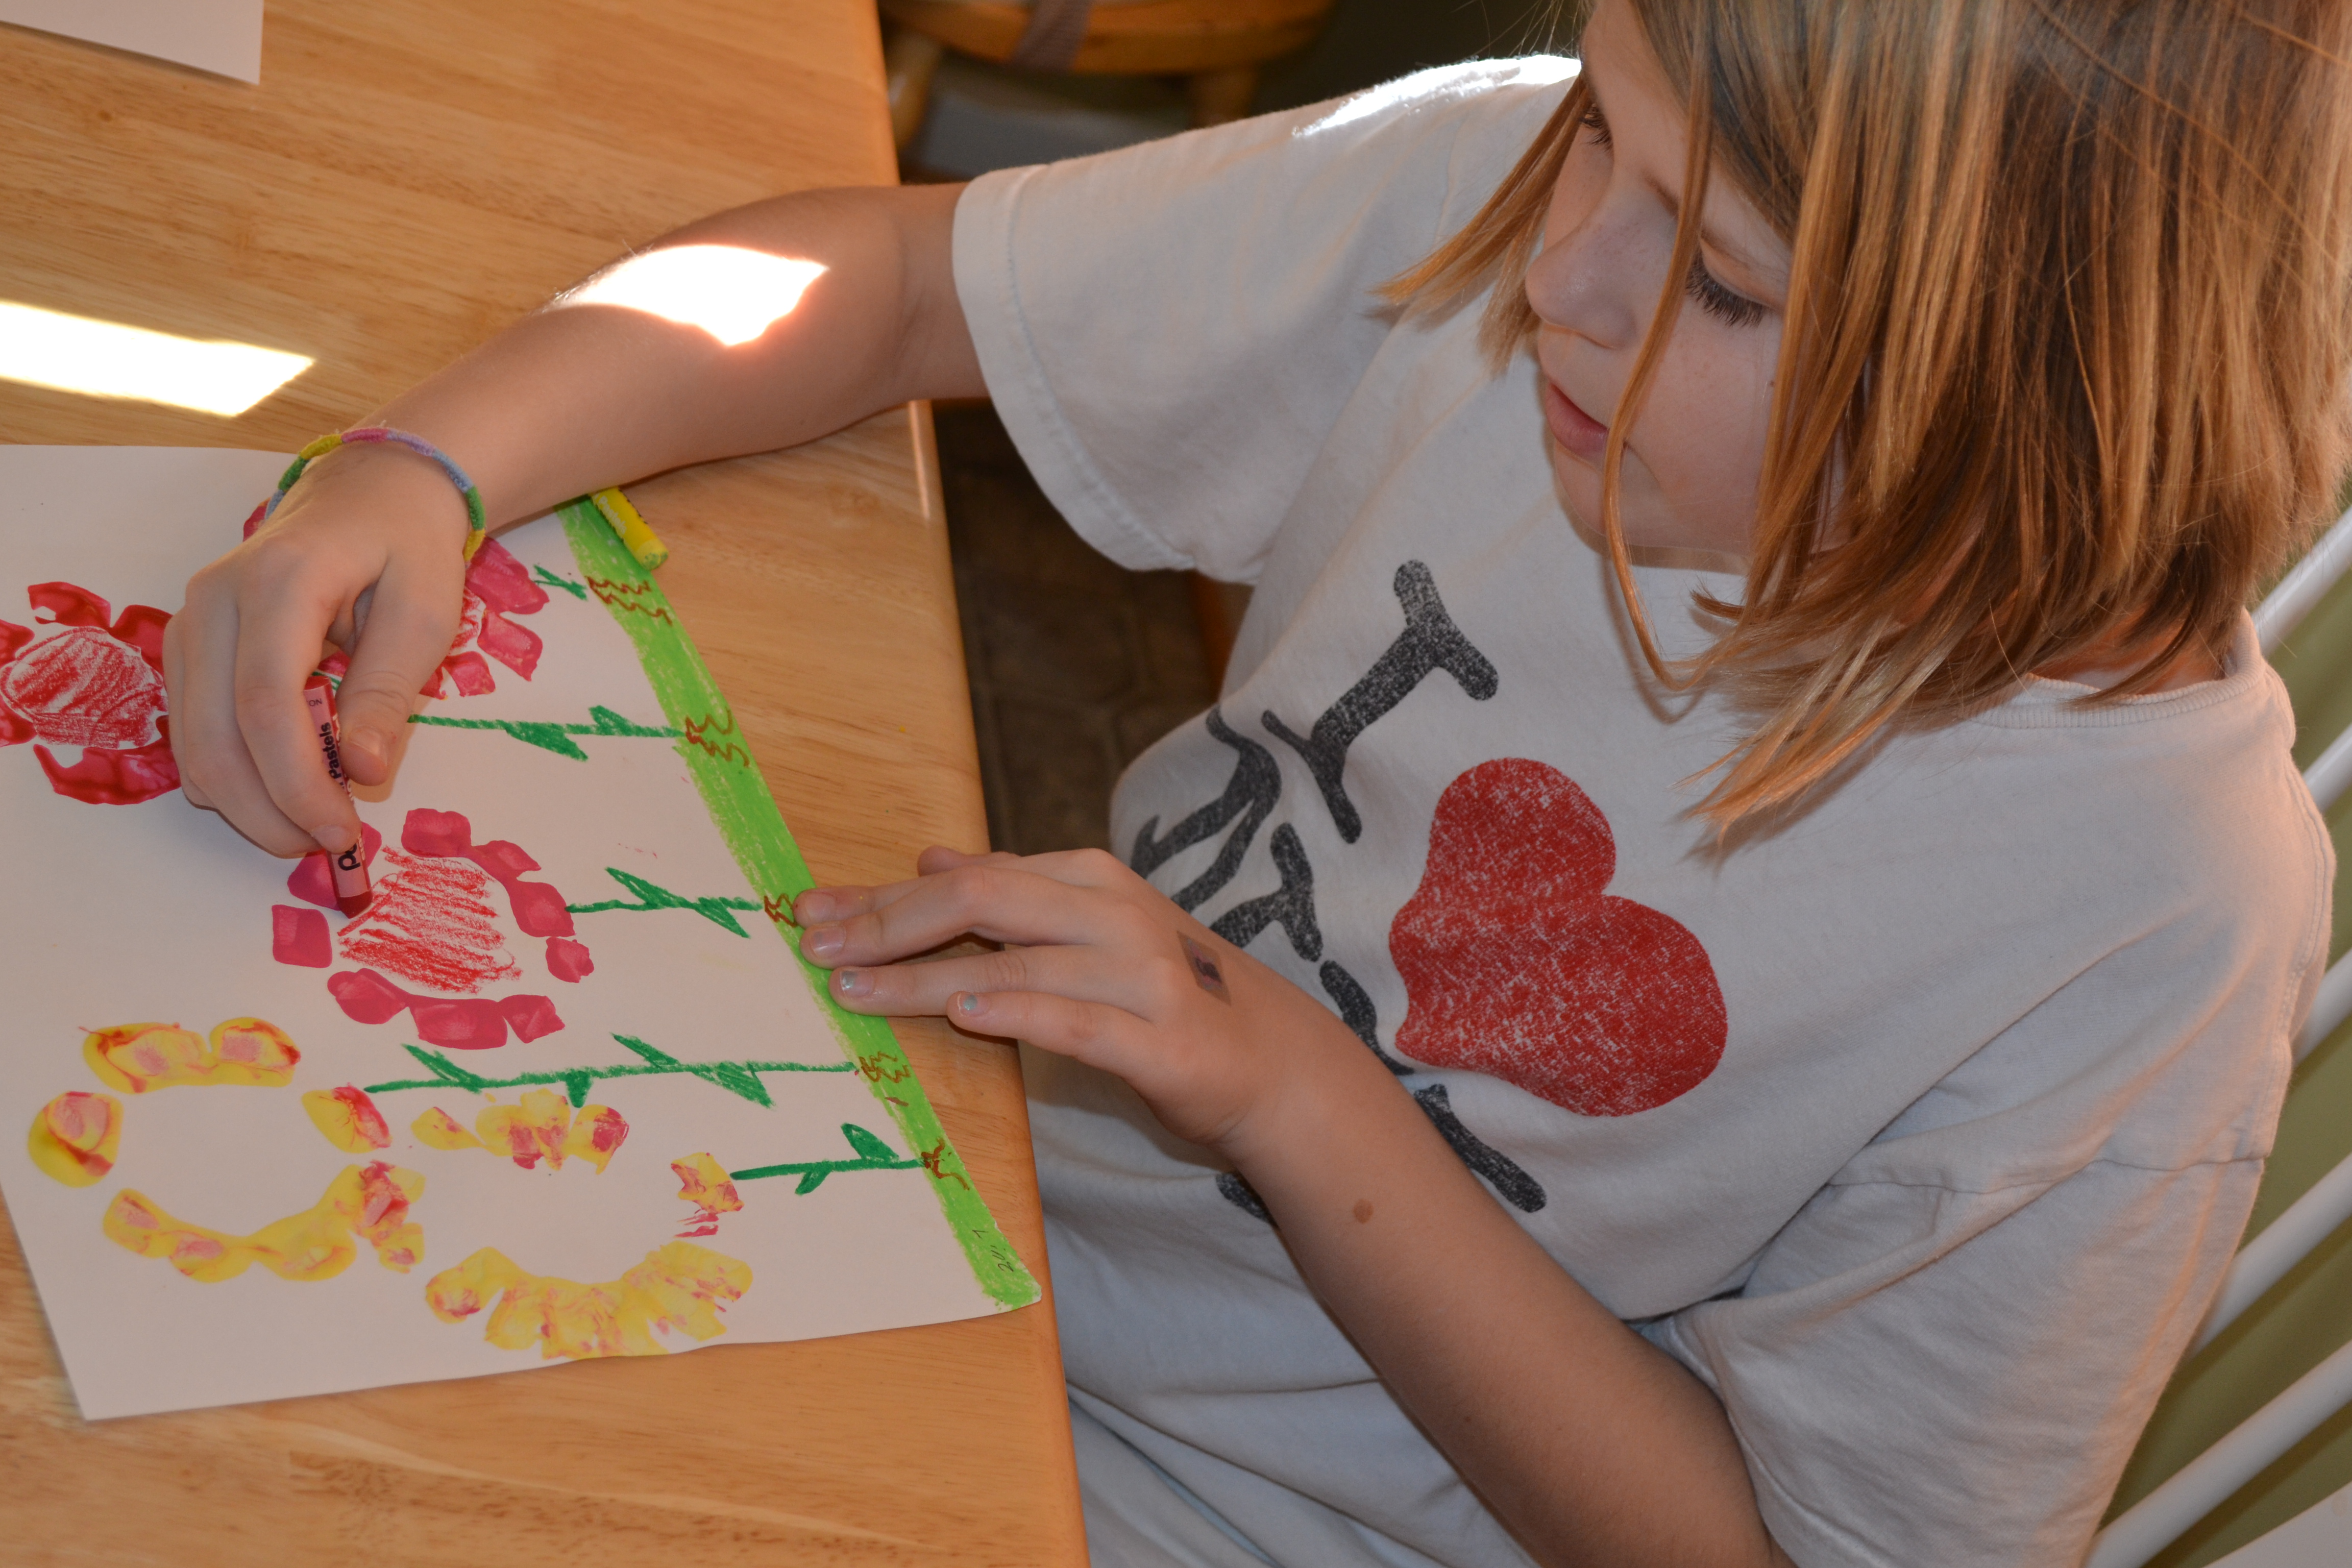
Once they were finished drying, the kids used the oil pastels to decorate their flowers and create backgrounds for them.
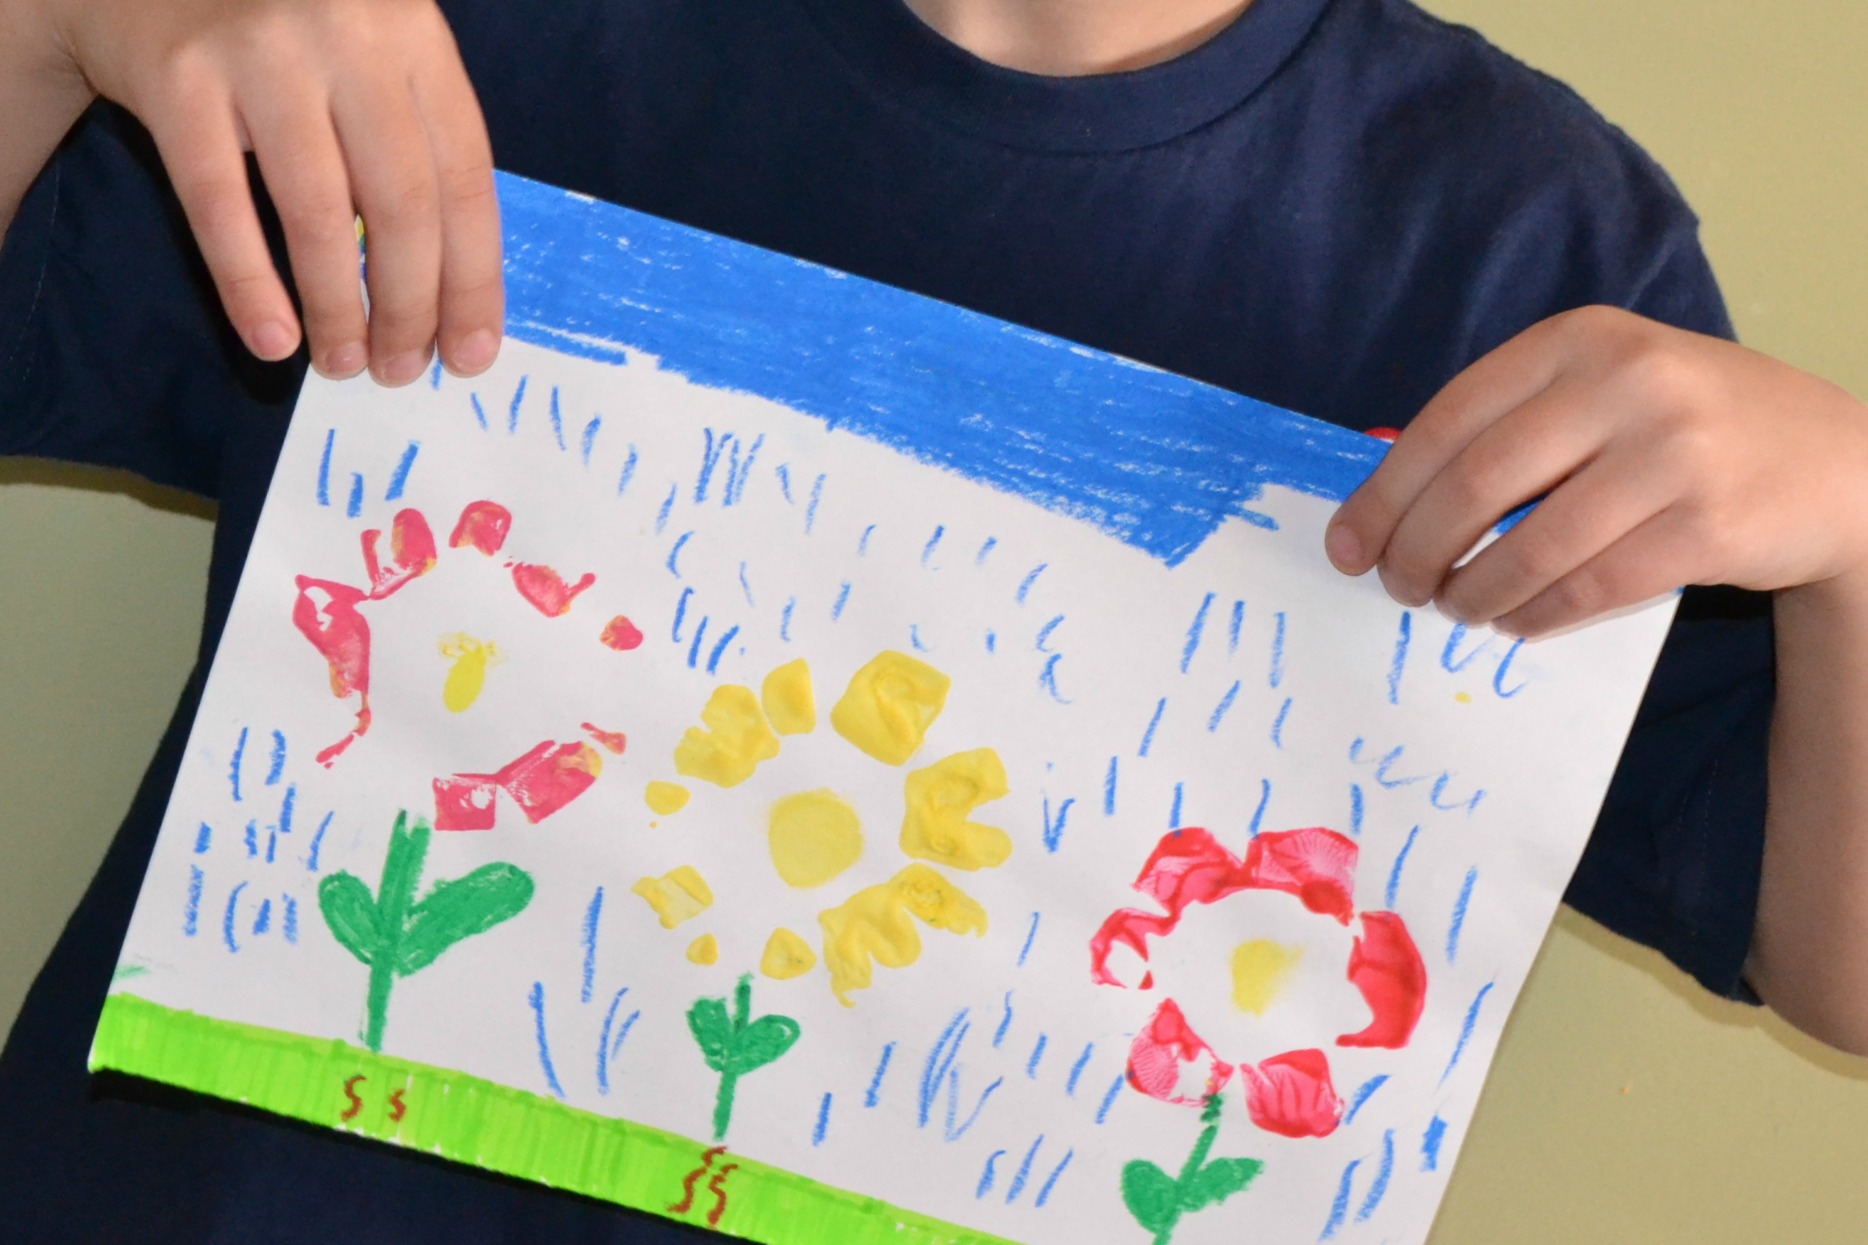
Final result!
My 7-year-old made a rainy day picture for his flowers while my 9-year-old colored hers as a bright sunny day. My 4-year-old drew rainbows all over her picture. They turned out really well and the kids were so proud to hang them on the refrigerator!