Step-by-step tutorial
Step 1
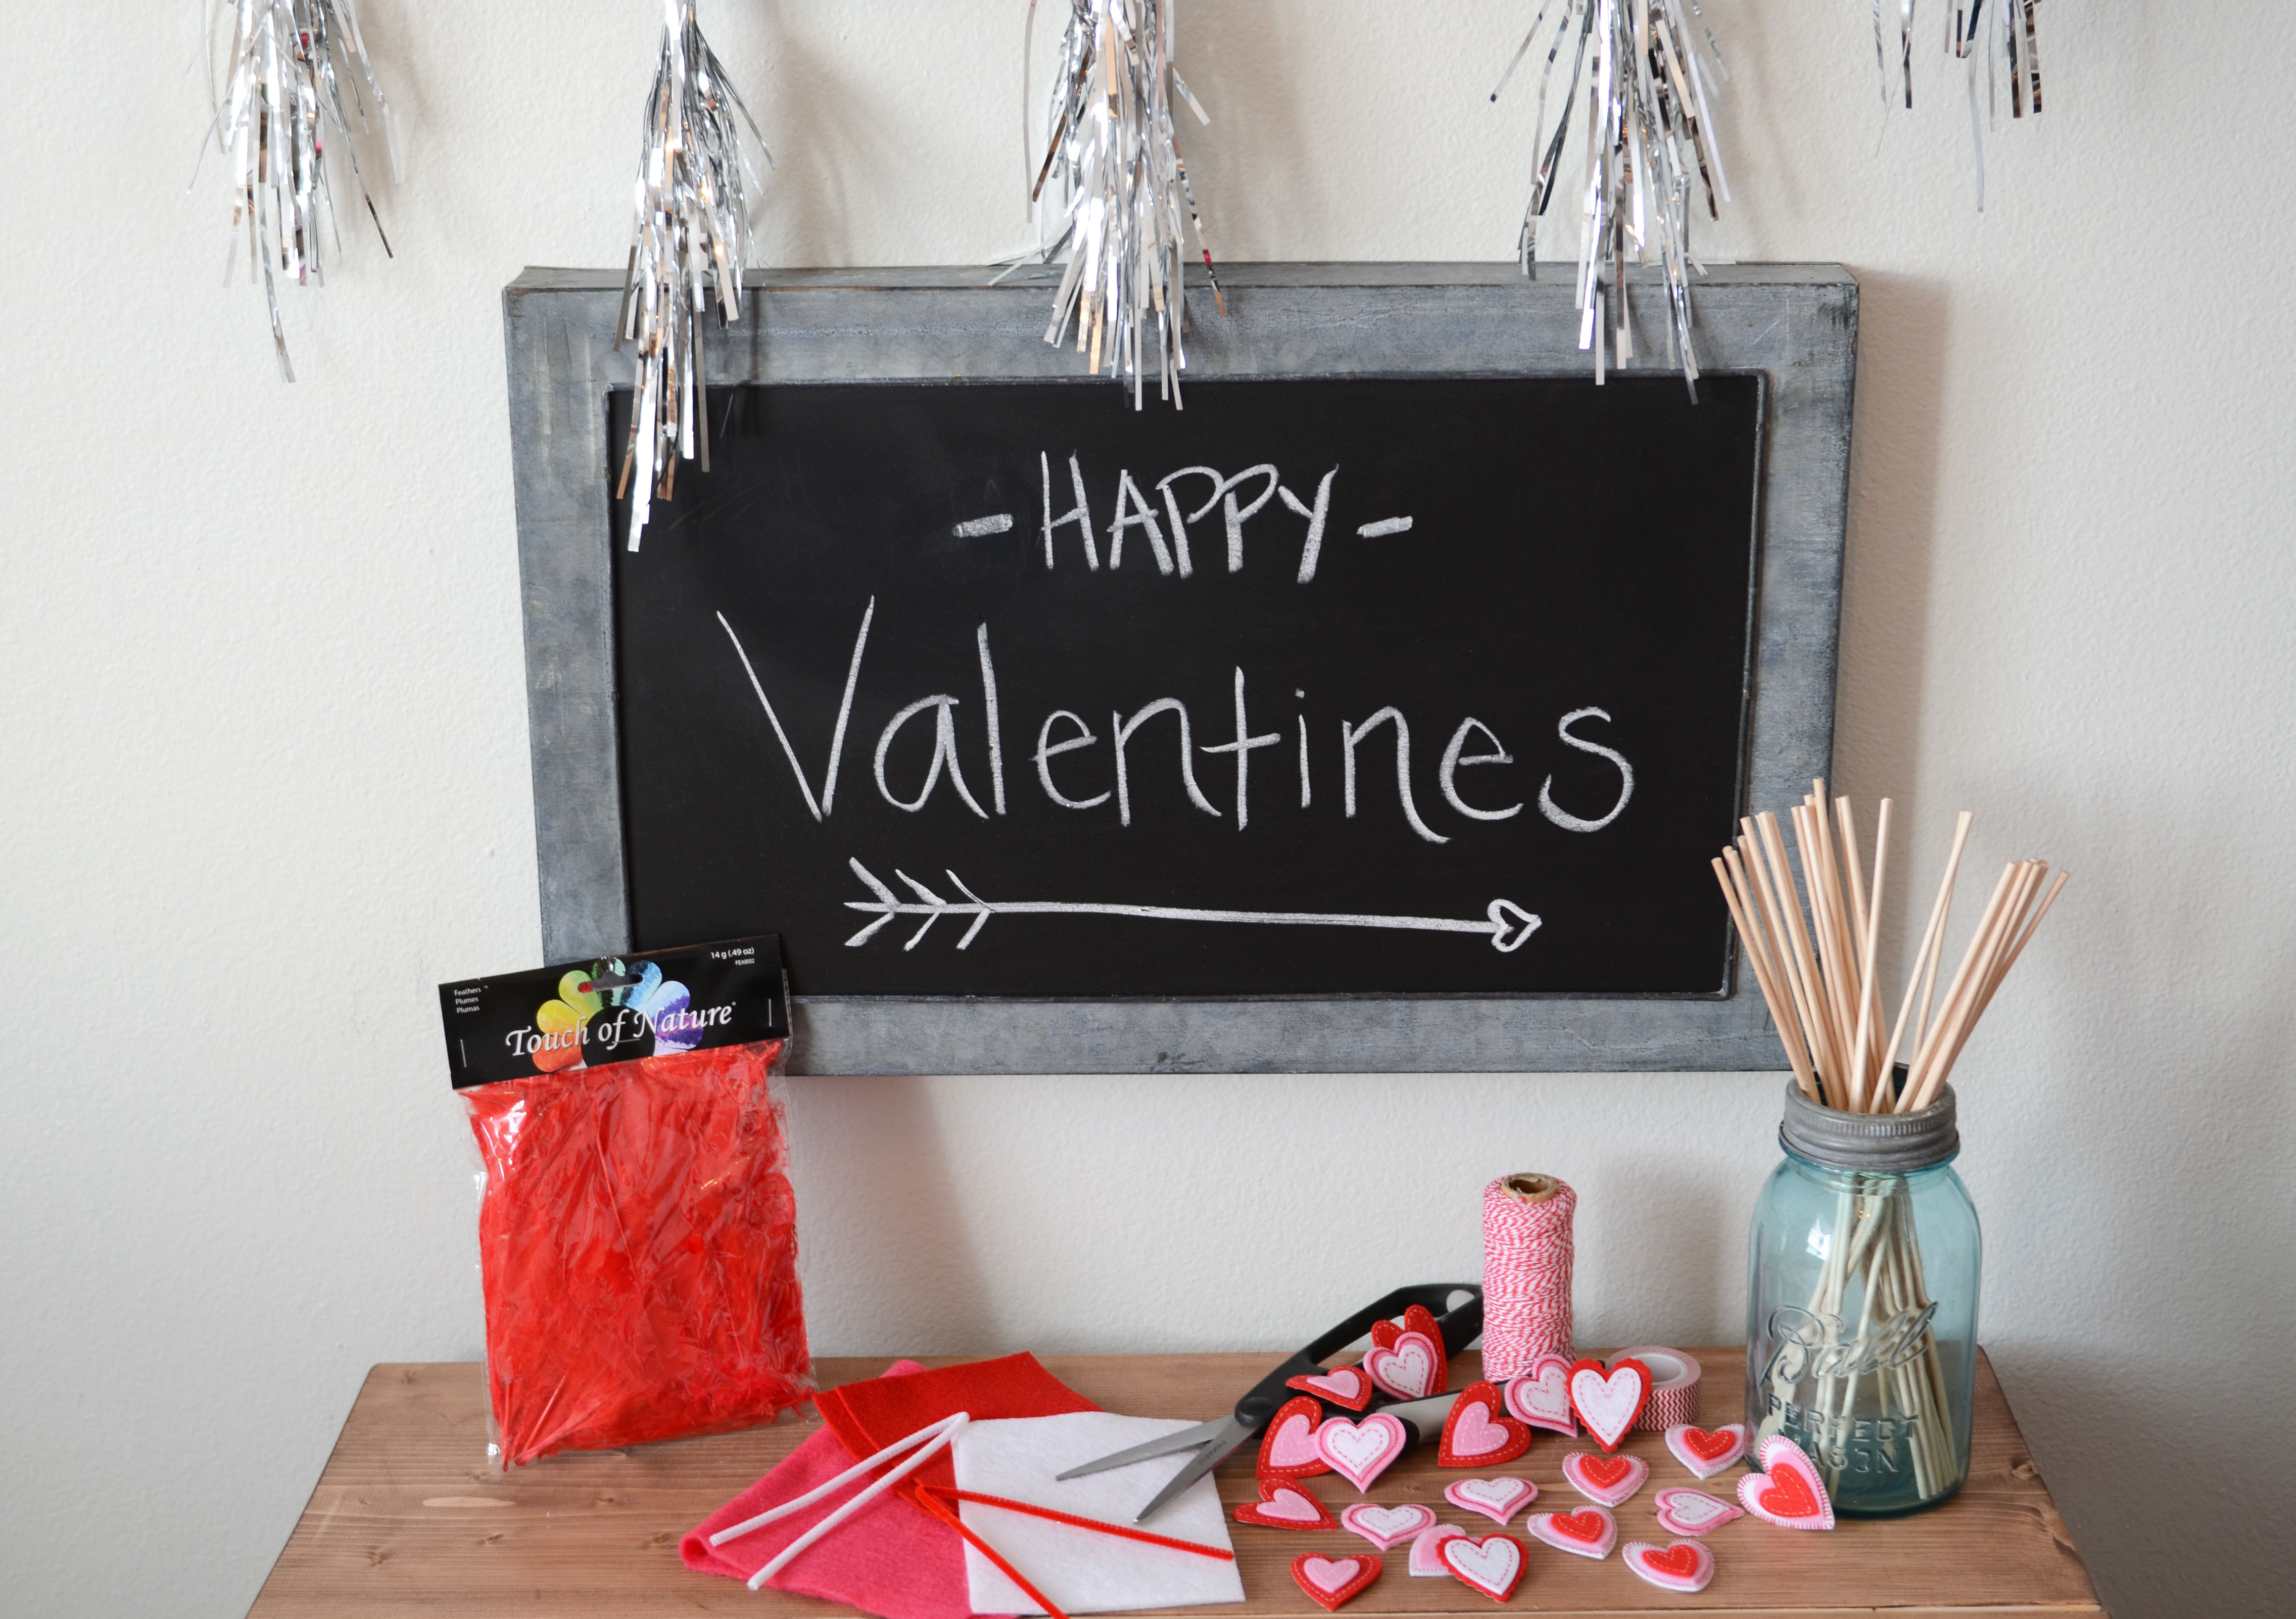
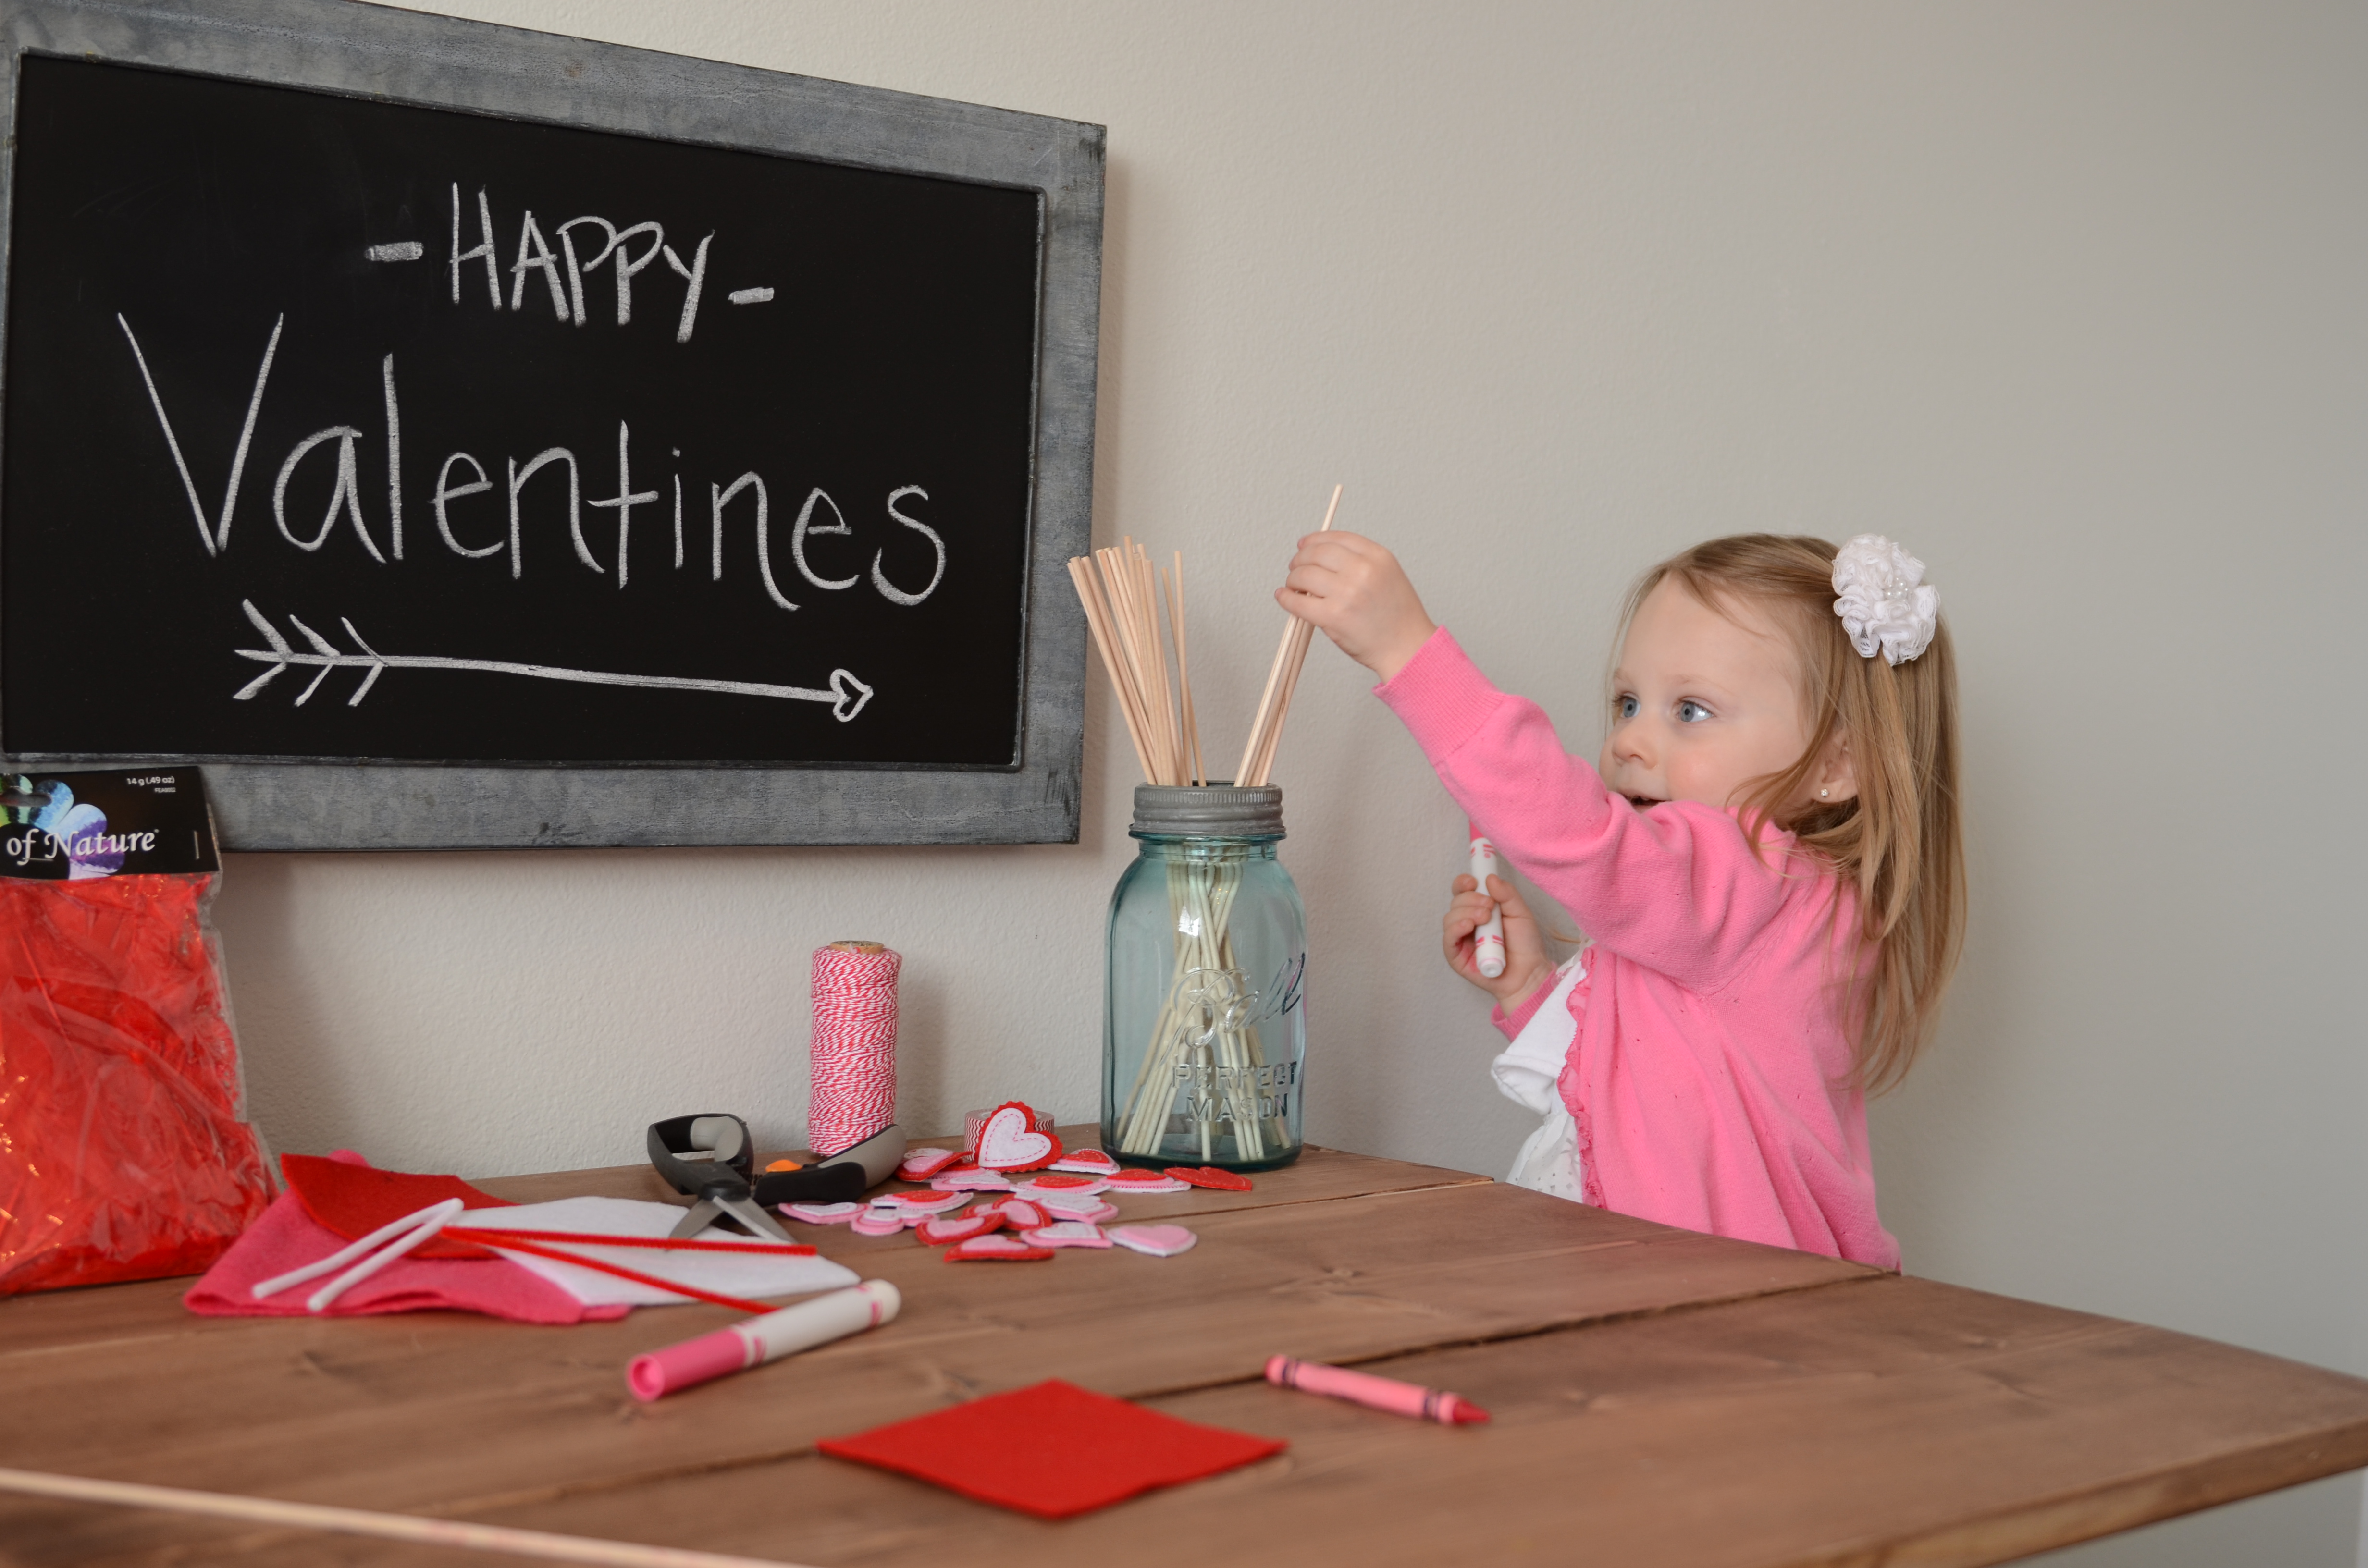
Gather Supplies, glue gun (not in pictures) was plugged in away from little ones reach.

Step 2
Pick out your wood skewer
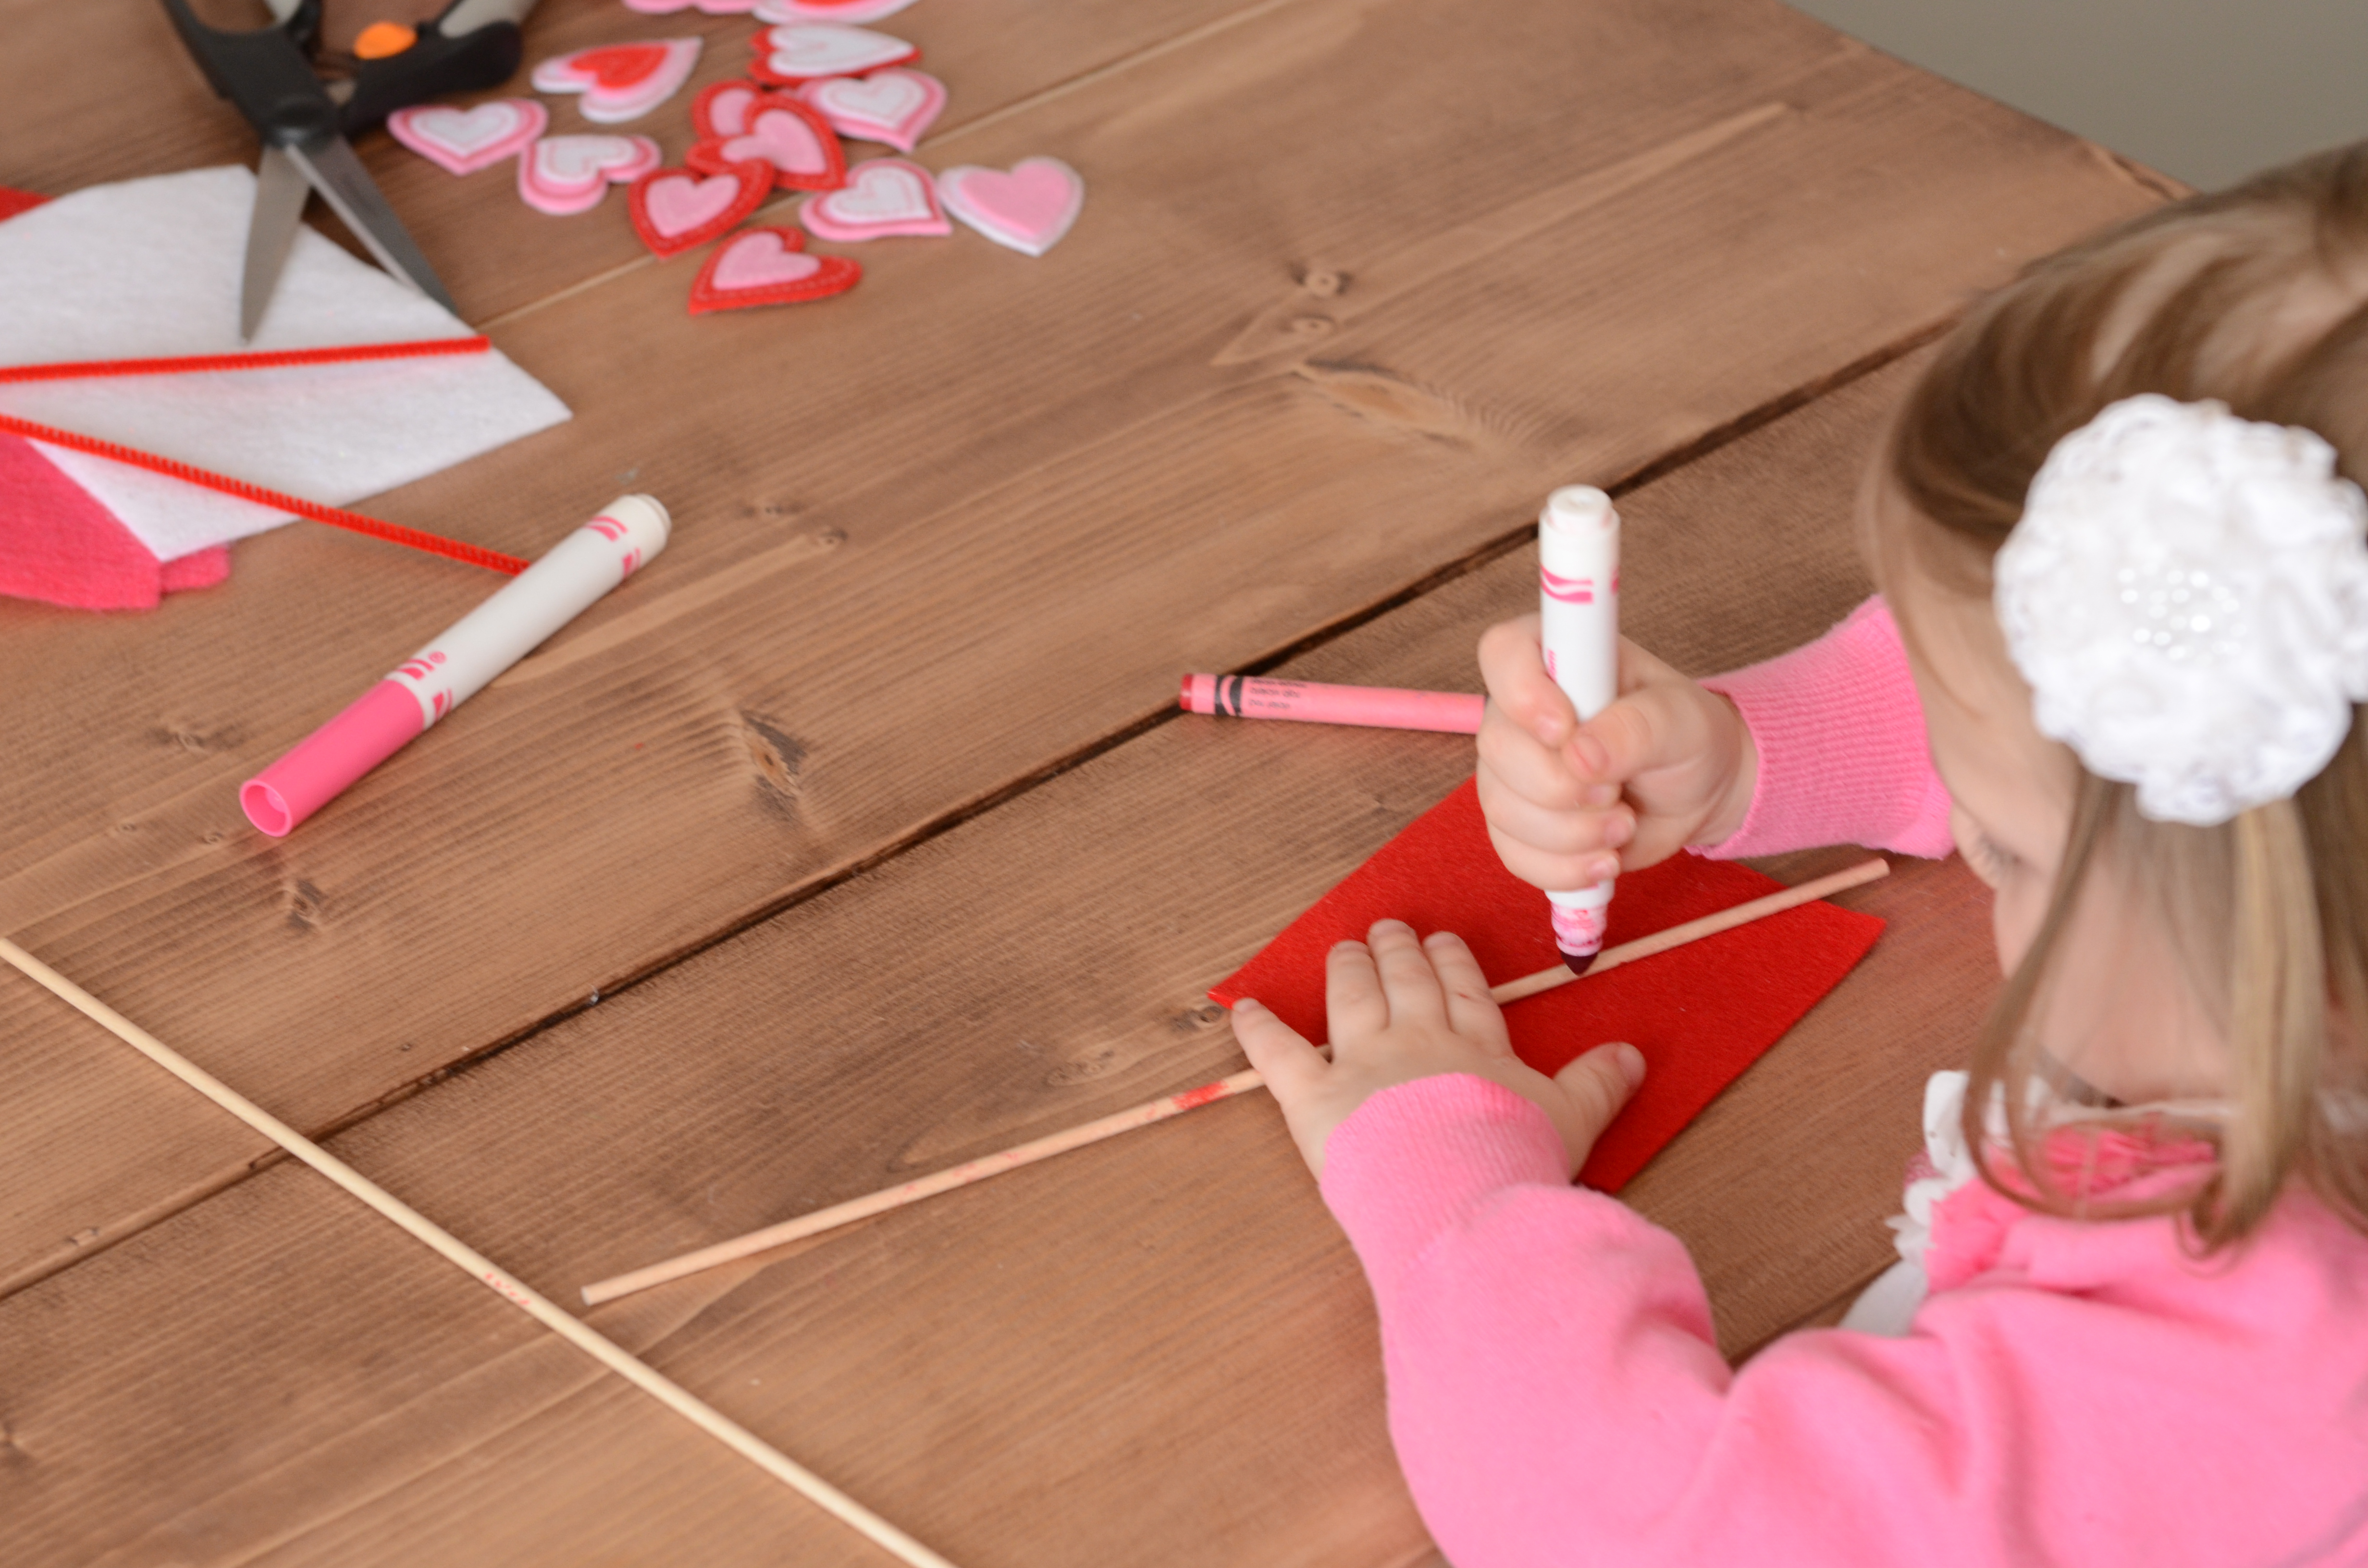
Step 3
You can either color your sticks to decorate...
Step 4
or you can decorate the stick with pipe cleaners, just hot or tacky glue the top and bottom so they stay in place.

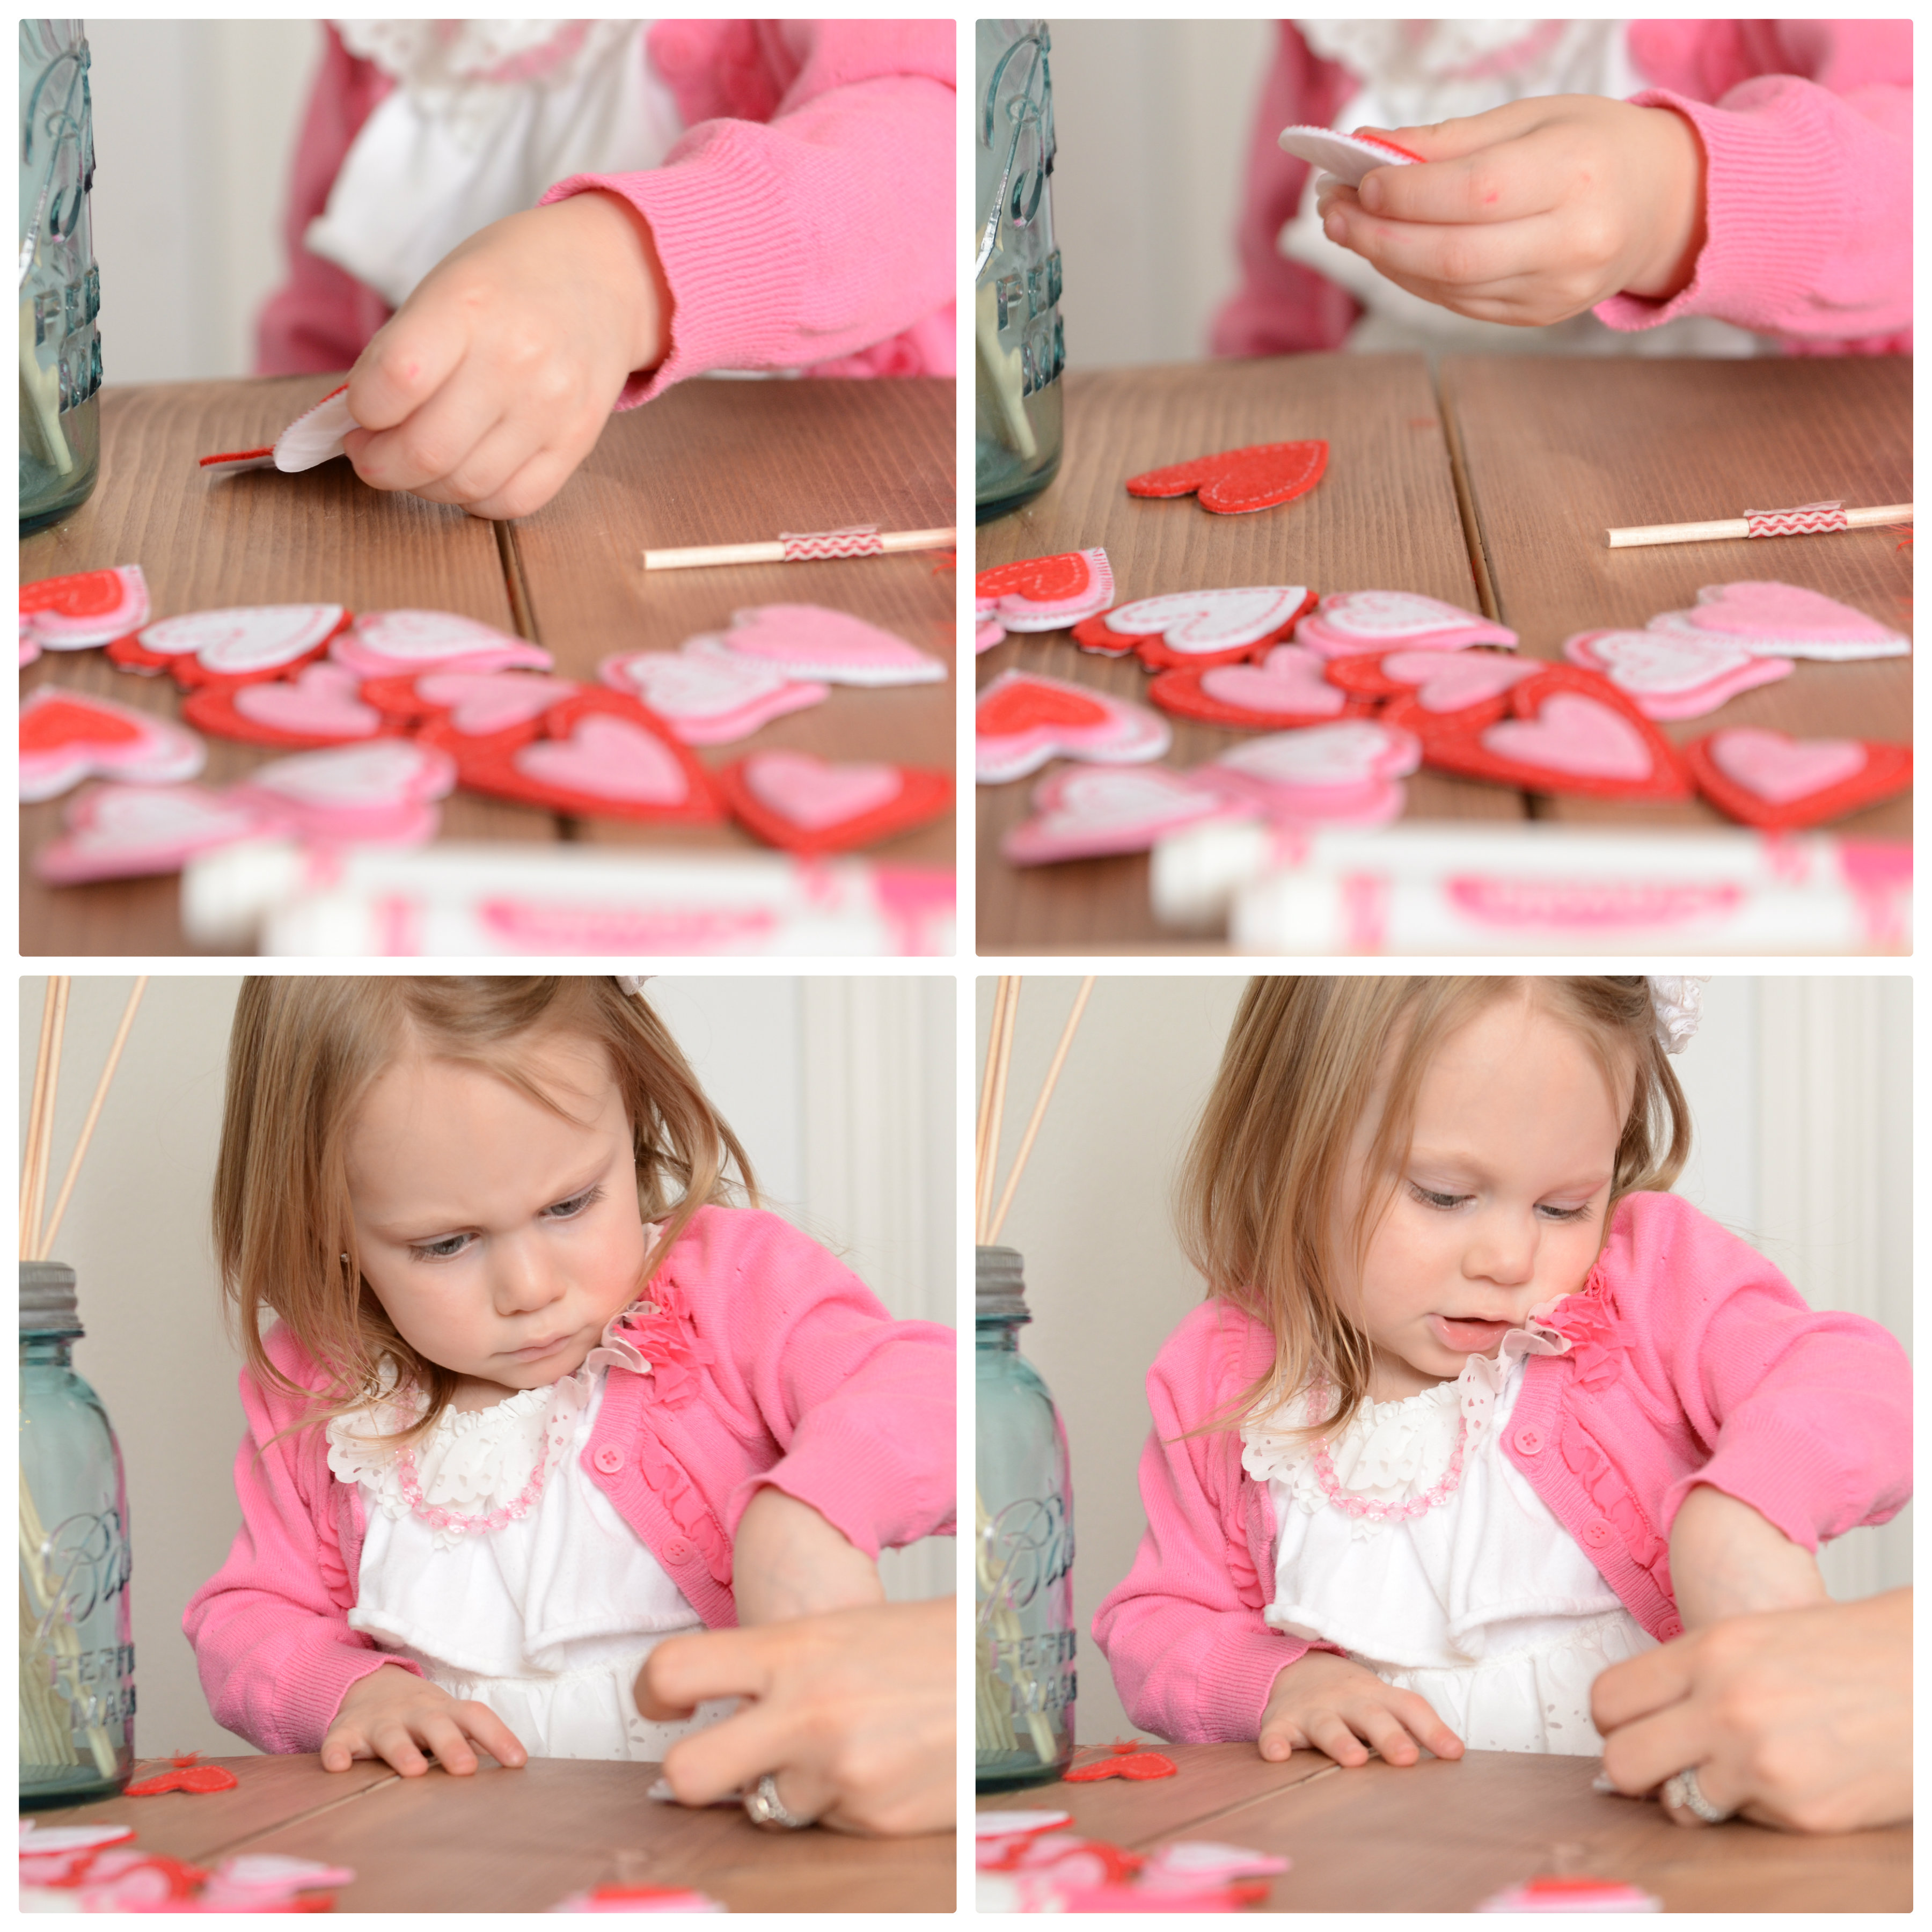
Step 5
Now pick out which hearts you want & have mom help align the hearts at the bottom of your arrow.
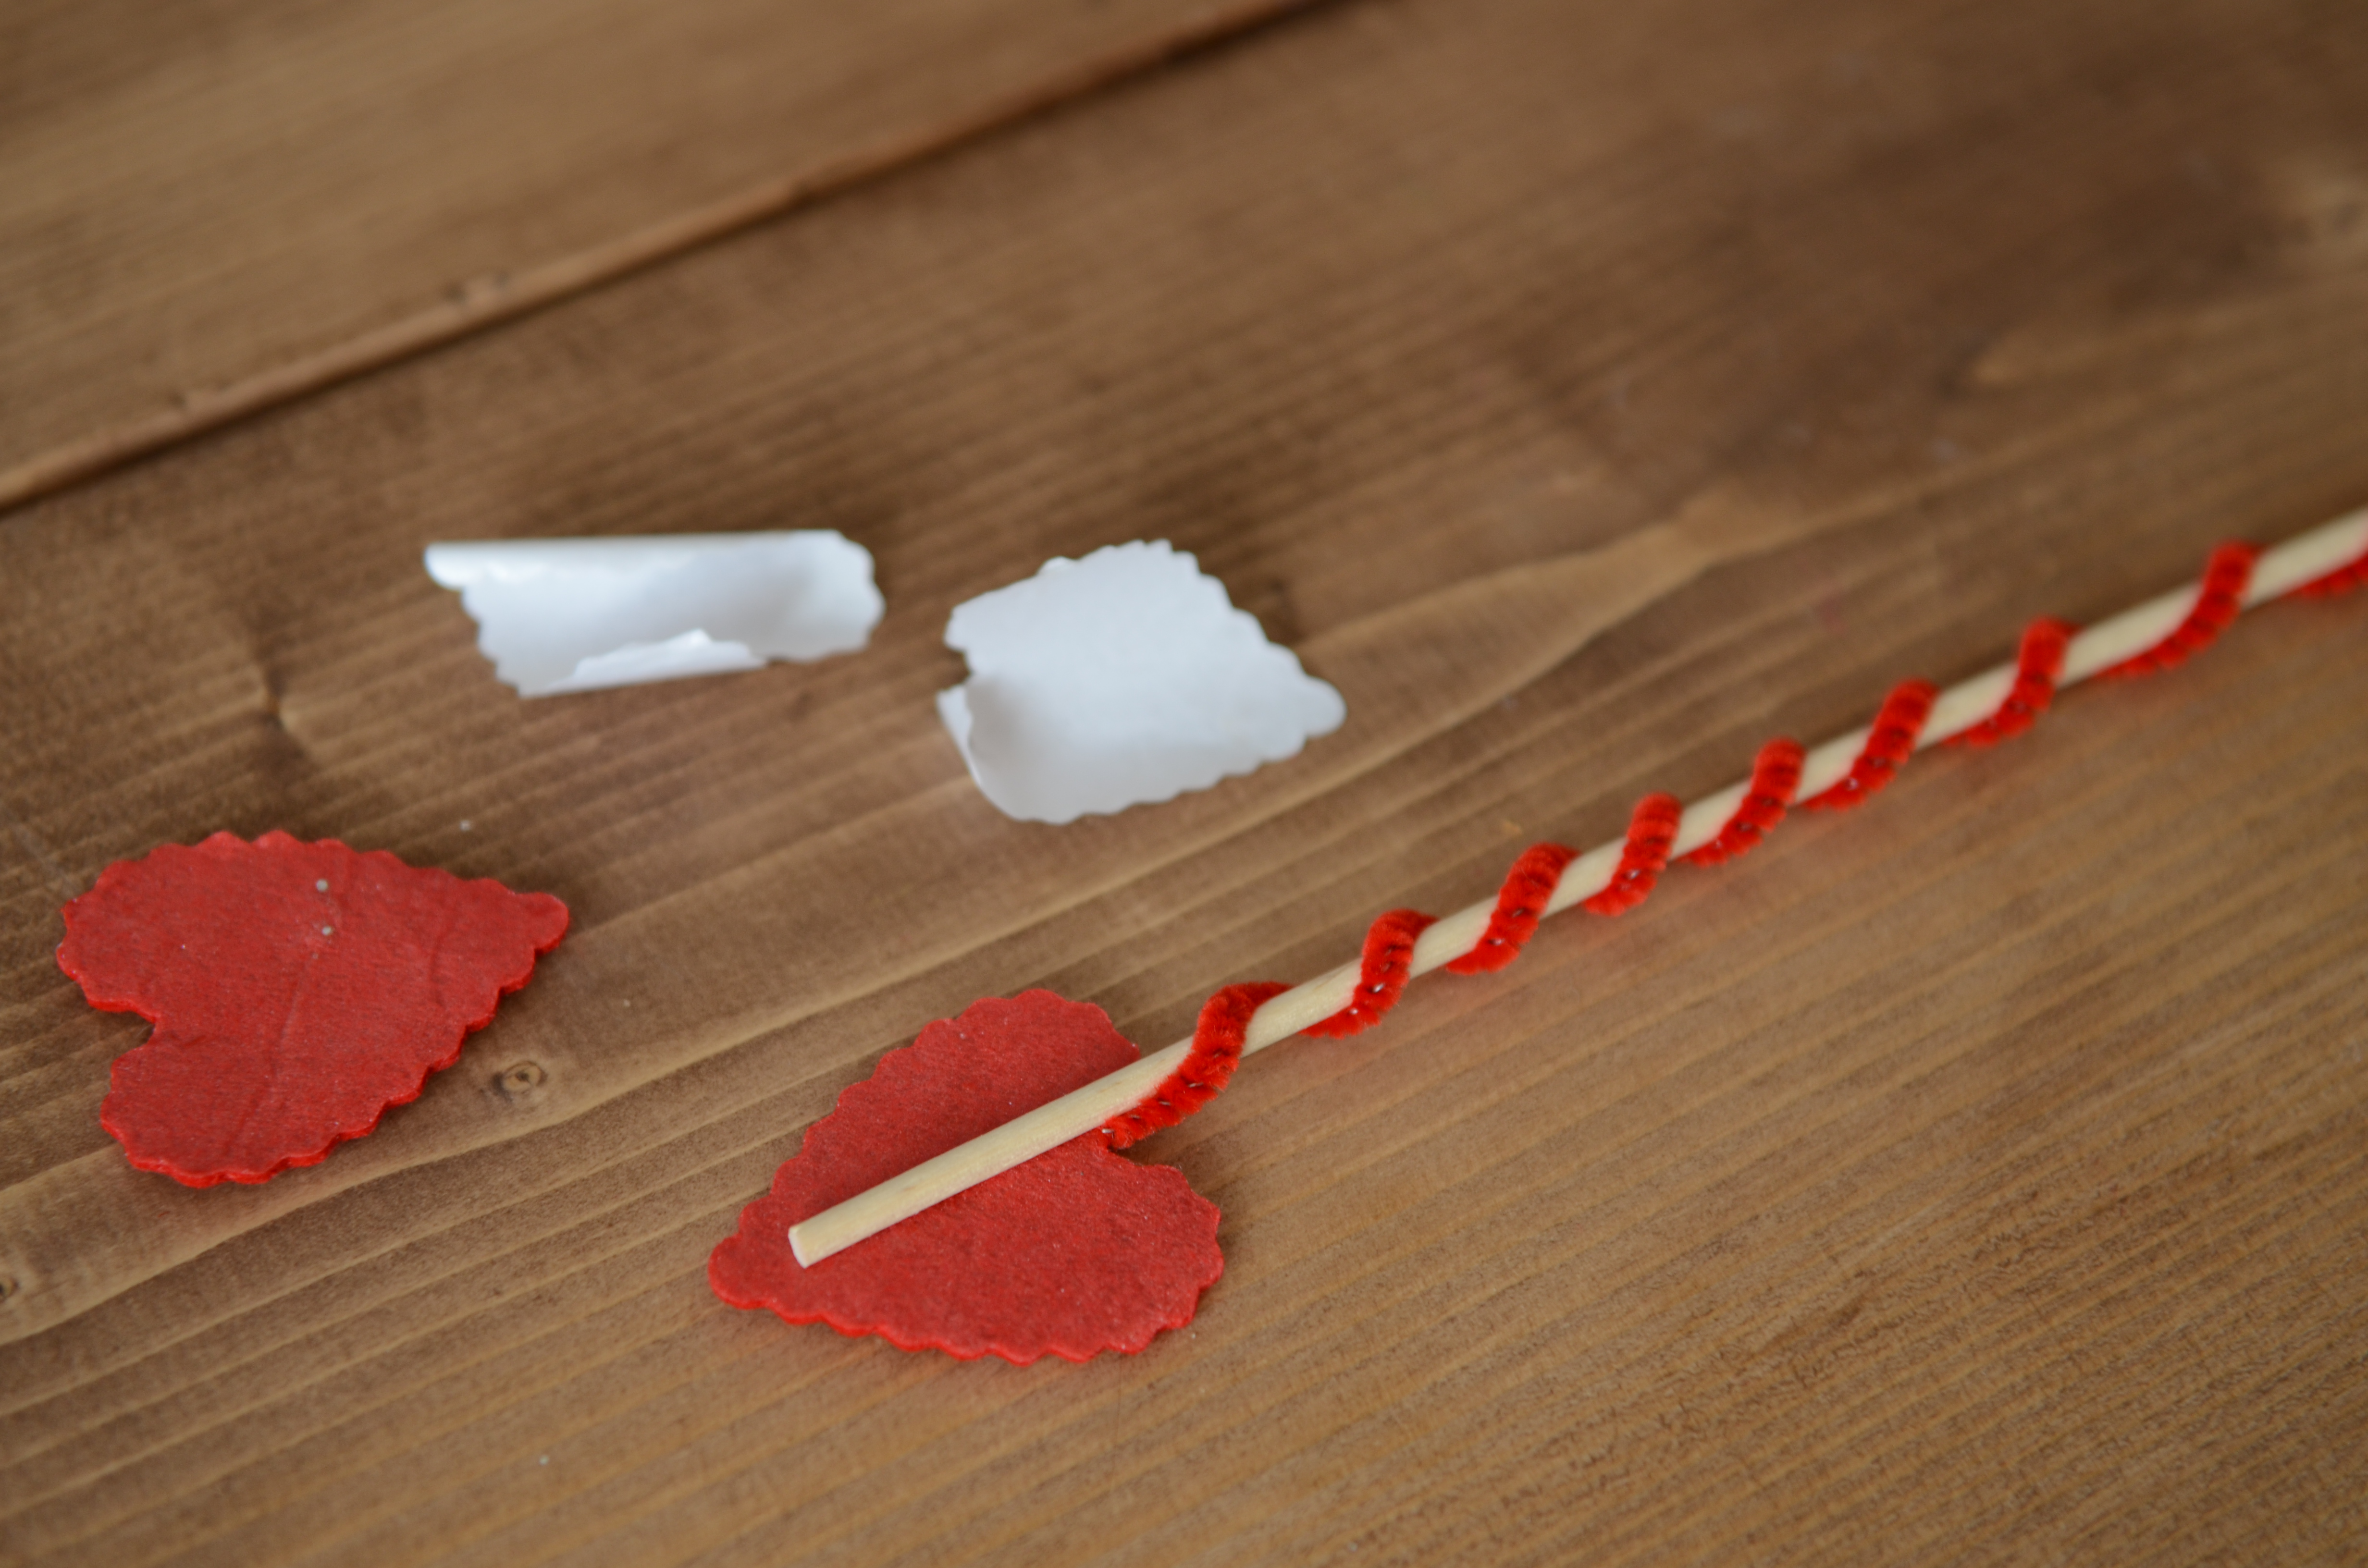
Step 6
You can lay the bottom one in place and have them just do the top on to match on the other side, whichever is easiest.
Step 7
Now it is time for the feathers, this one is a little more tricky so mom might need to take over with the hot glue gun.
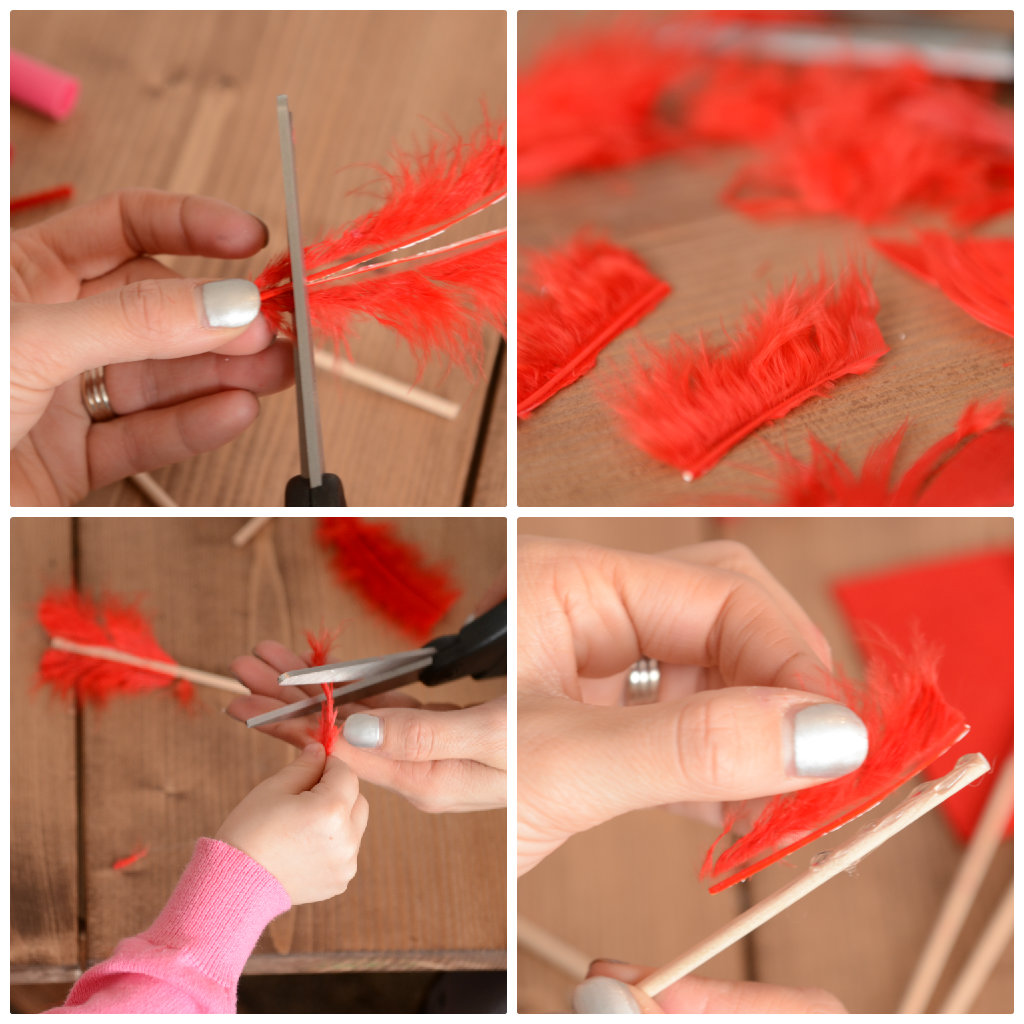
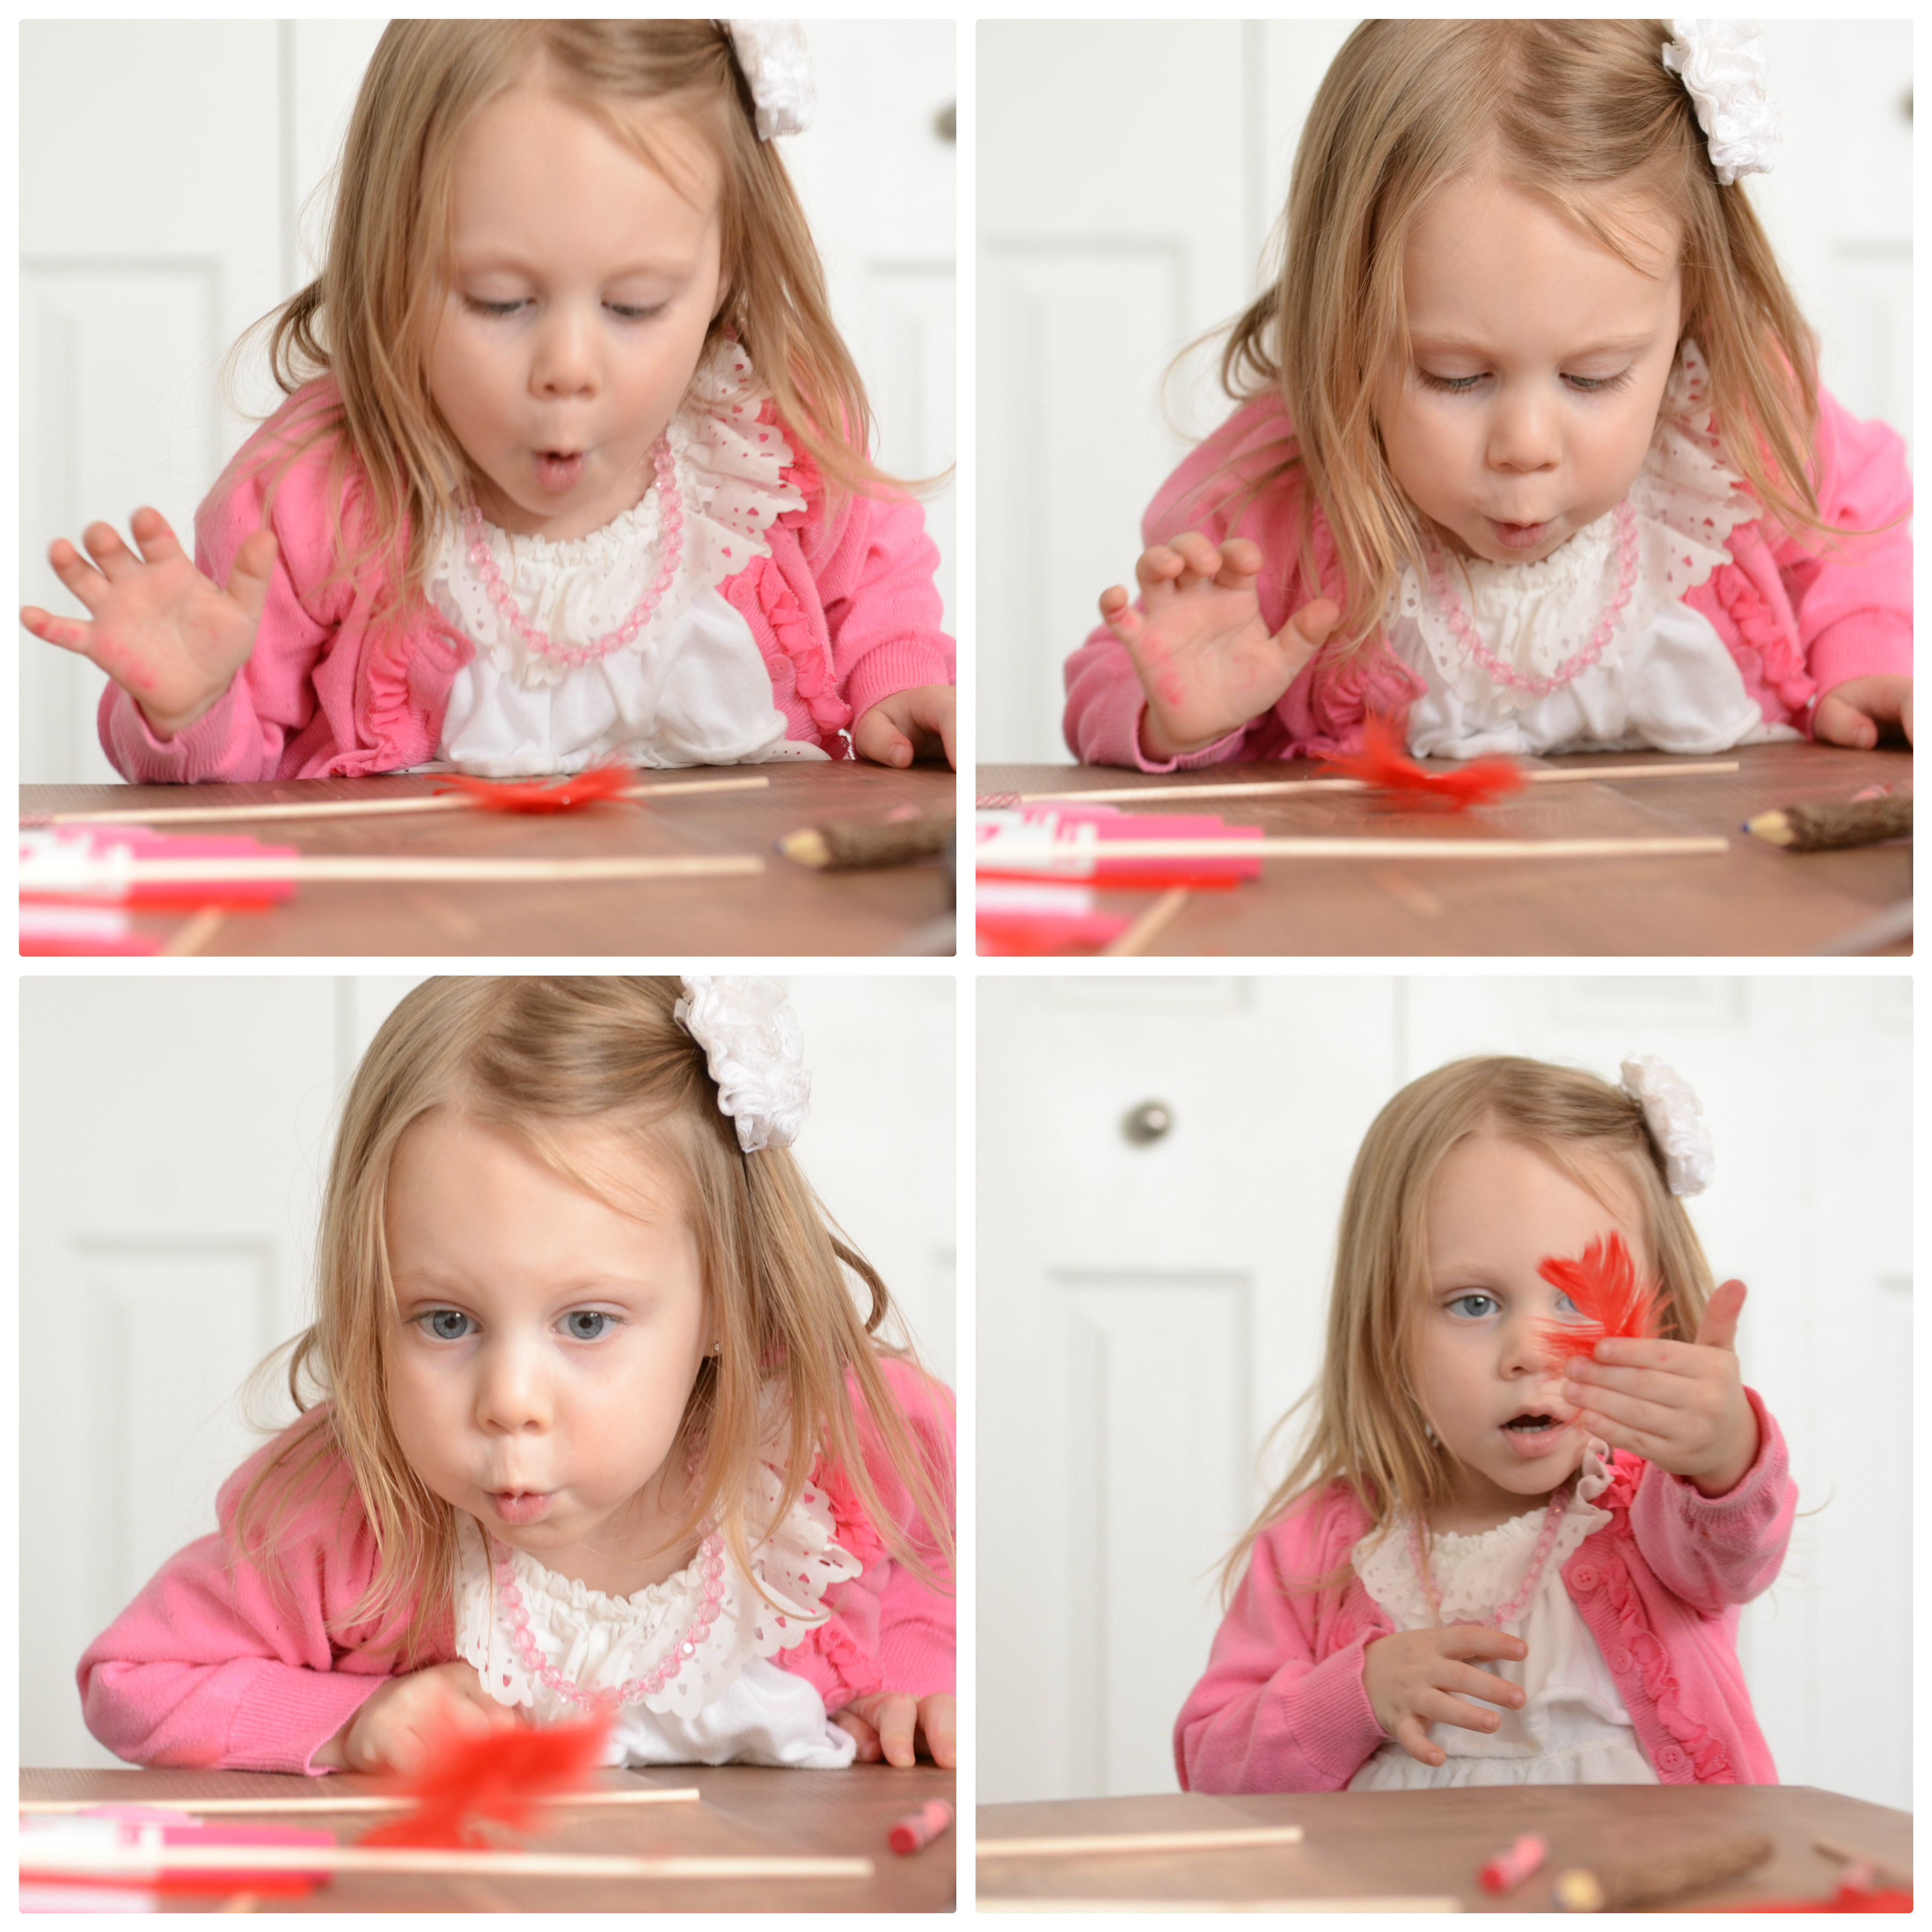
Step 8
Don't worry, while you are putting together the feather ends, the kids won't be missing out on anything.. my daughter had a good 15 minutes of fun just blowing all of the feathers everywhere... I didn't mind one bit because I was able to get the hot glue gun part over before she knew it was time to move on to the next step. This section was the only reason I rated this project messy ;)
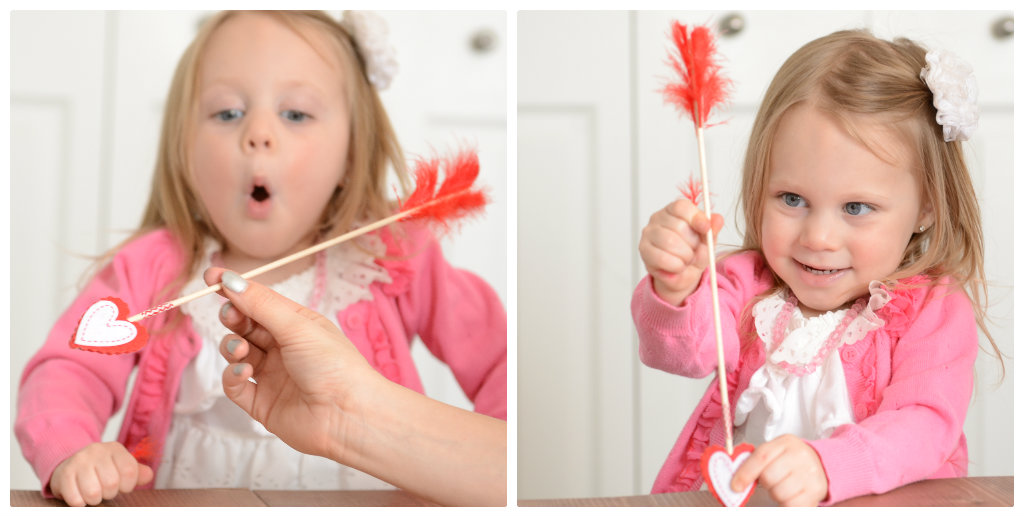
Step 9
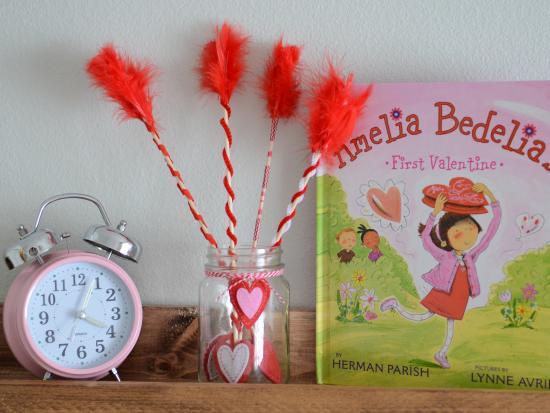
Now you can look at your finished product, or keep going and make a bunch of cute little Cupid's Arrows!
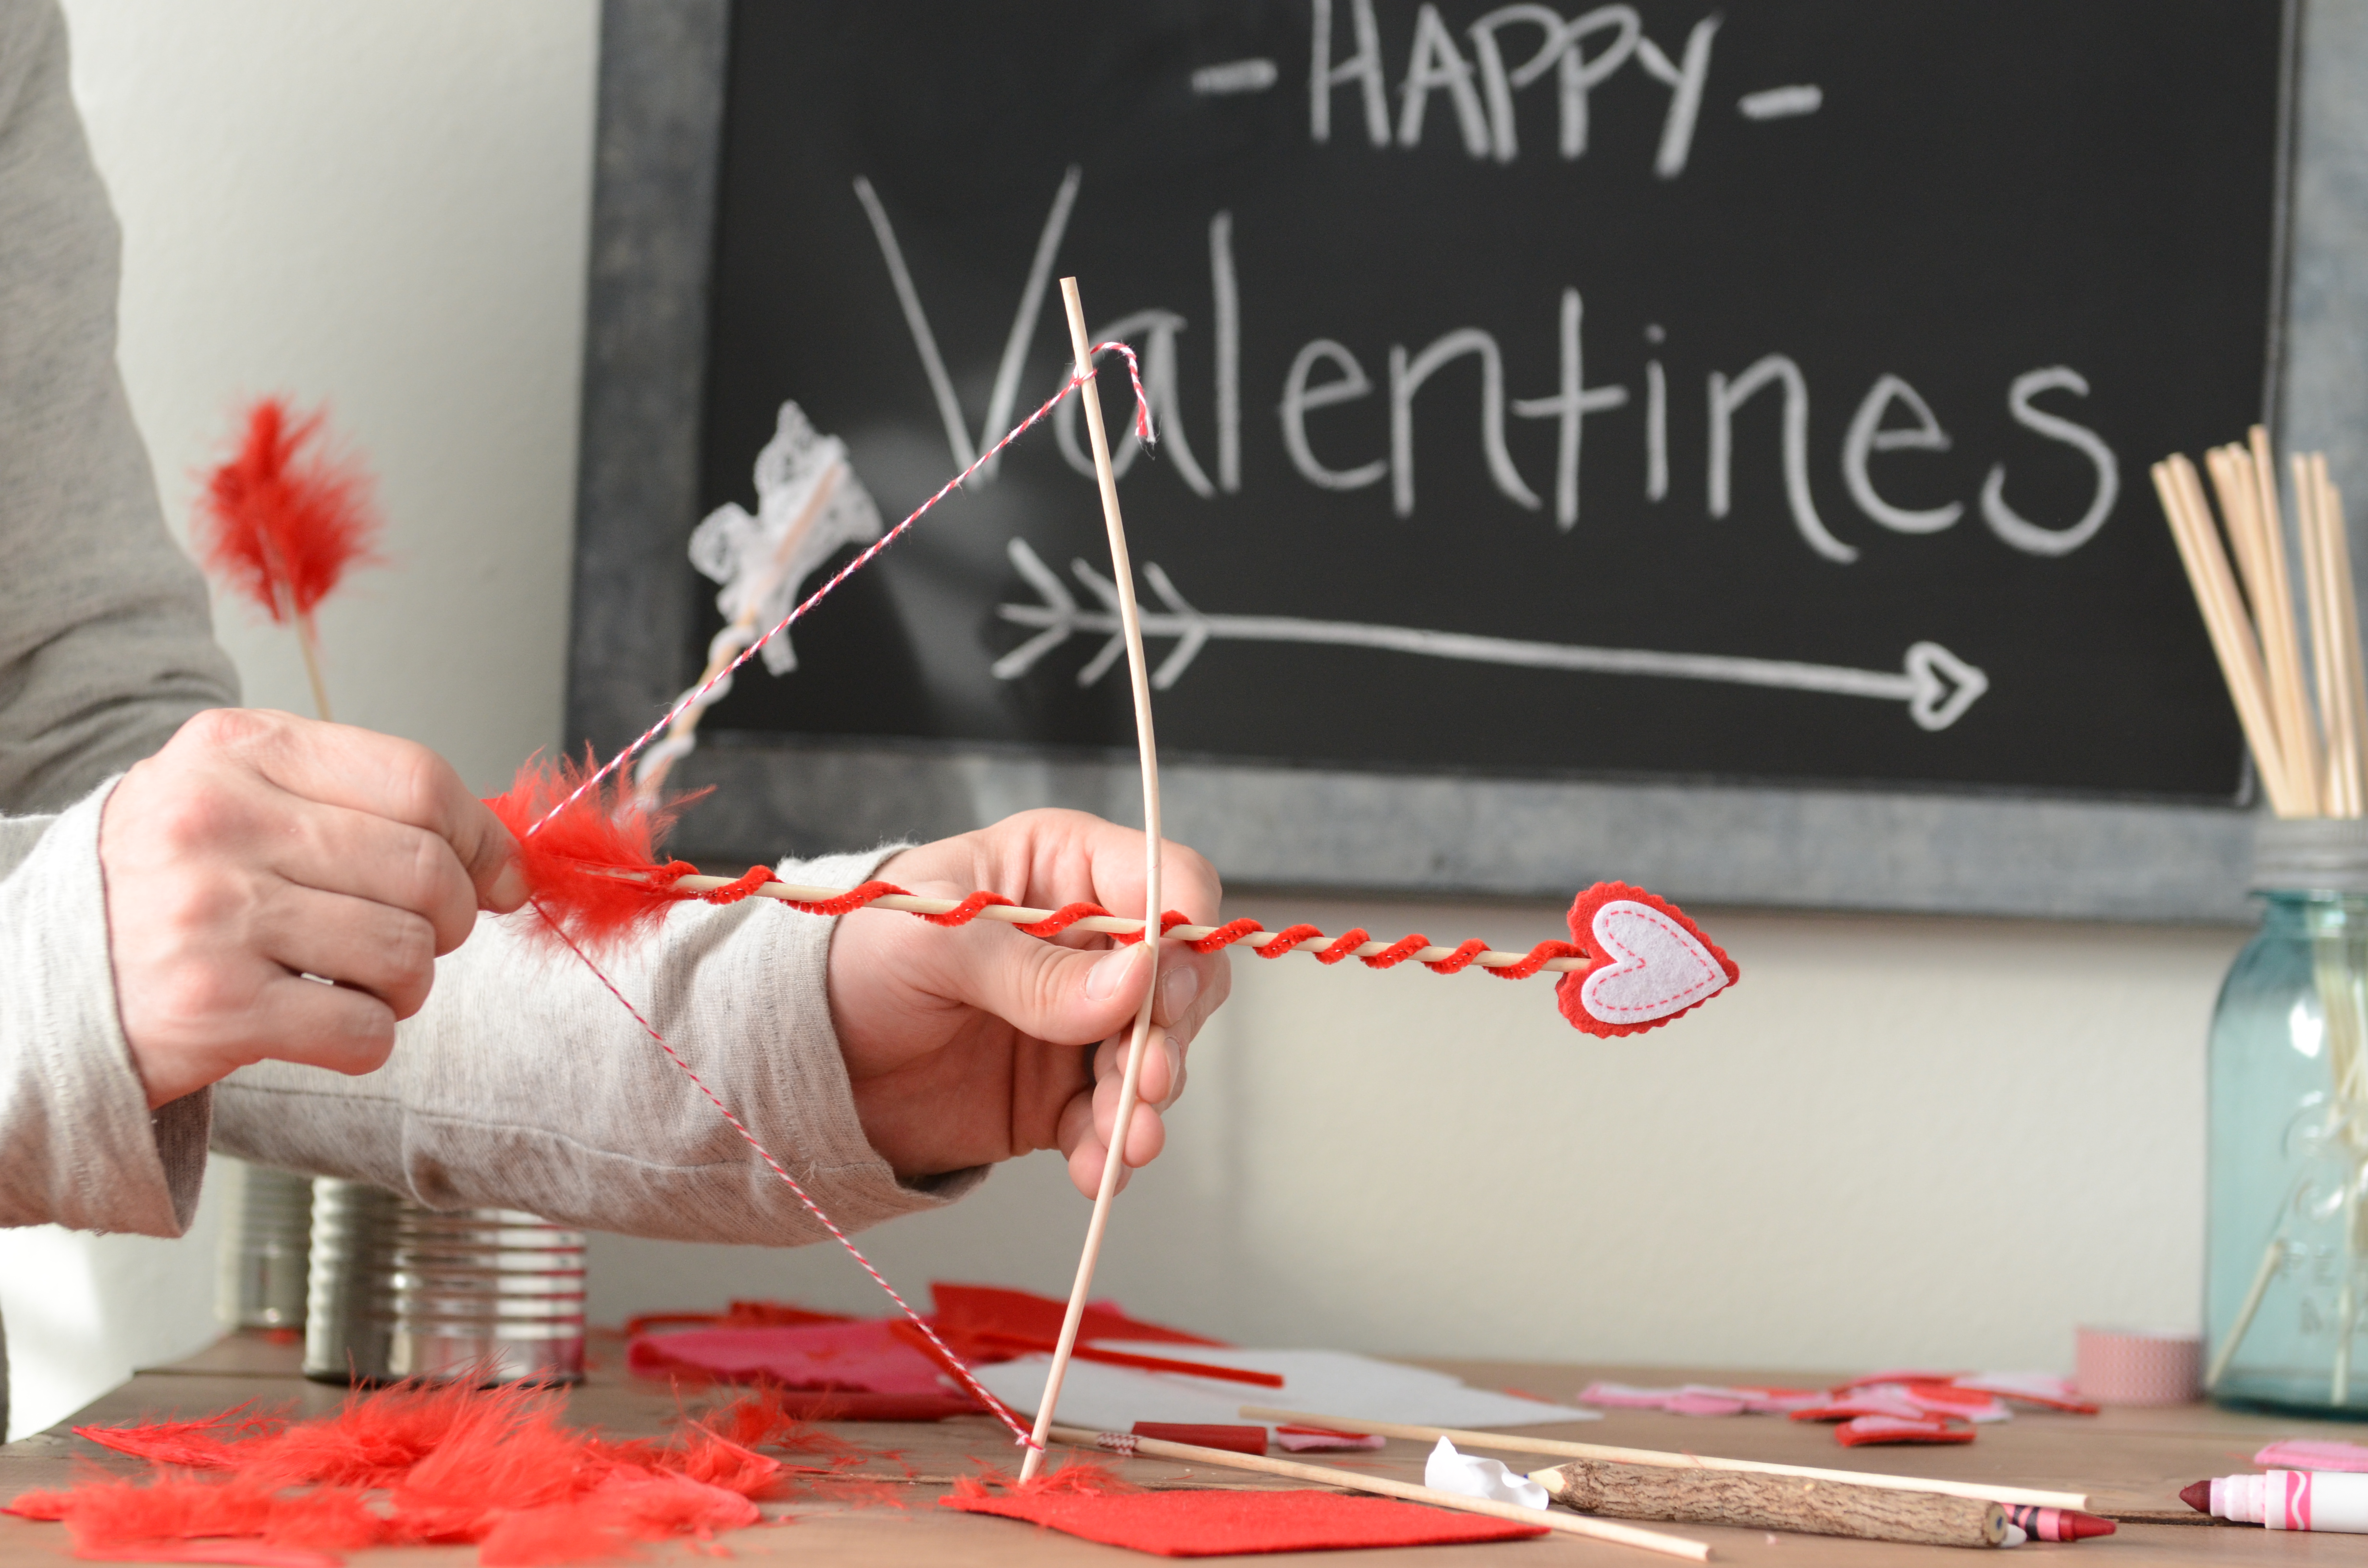
Step 10
You can also take this project one step further & construct a bow for your arrow with the baker's twine & a stick. All credit to this part goes to my husband, what would we do without a guy's mind!?
Done!
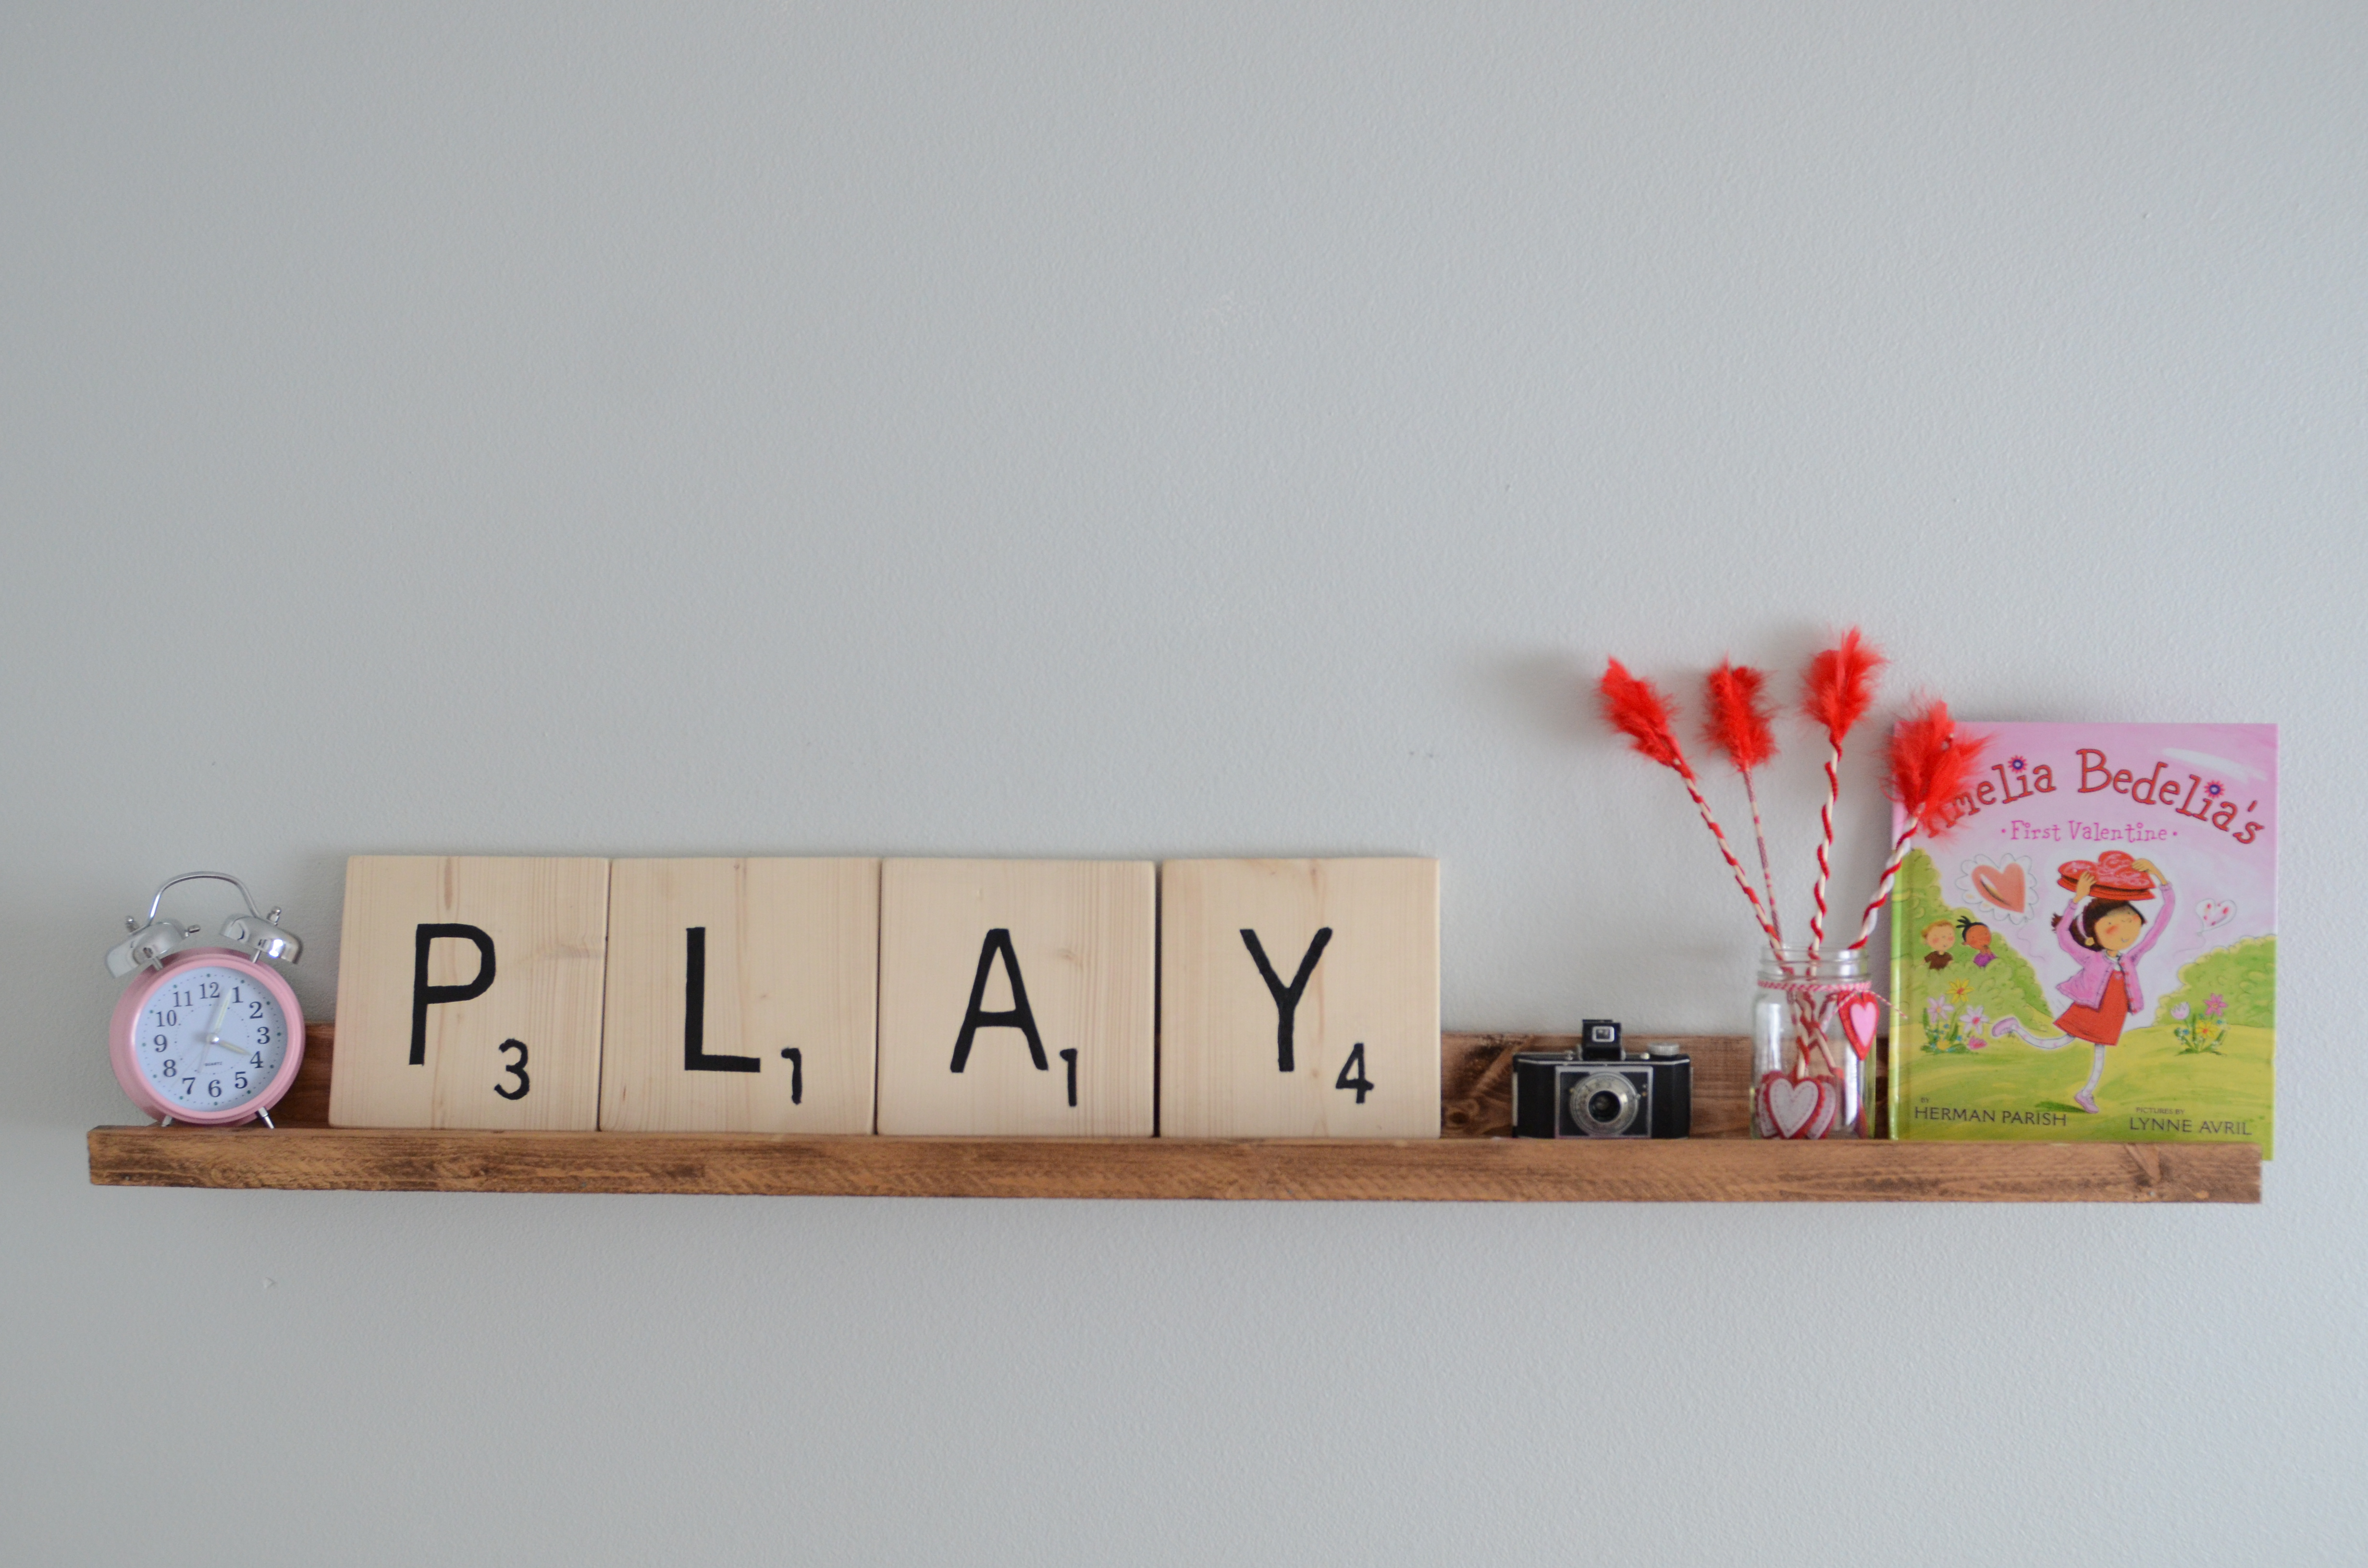
You can either play with these or stick them on the kids' shelf in an old mason jar to decorate for Valentine's!