Step-by-step tutorial
Step 1
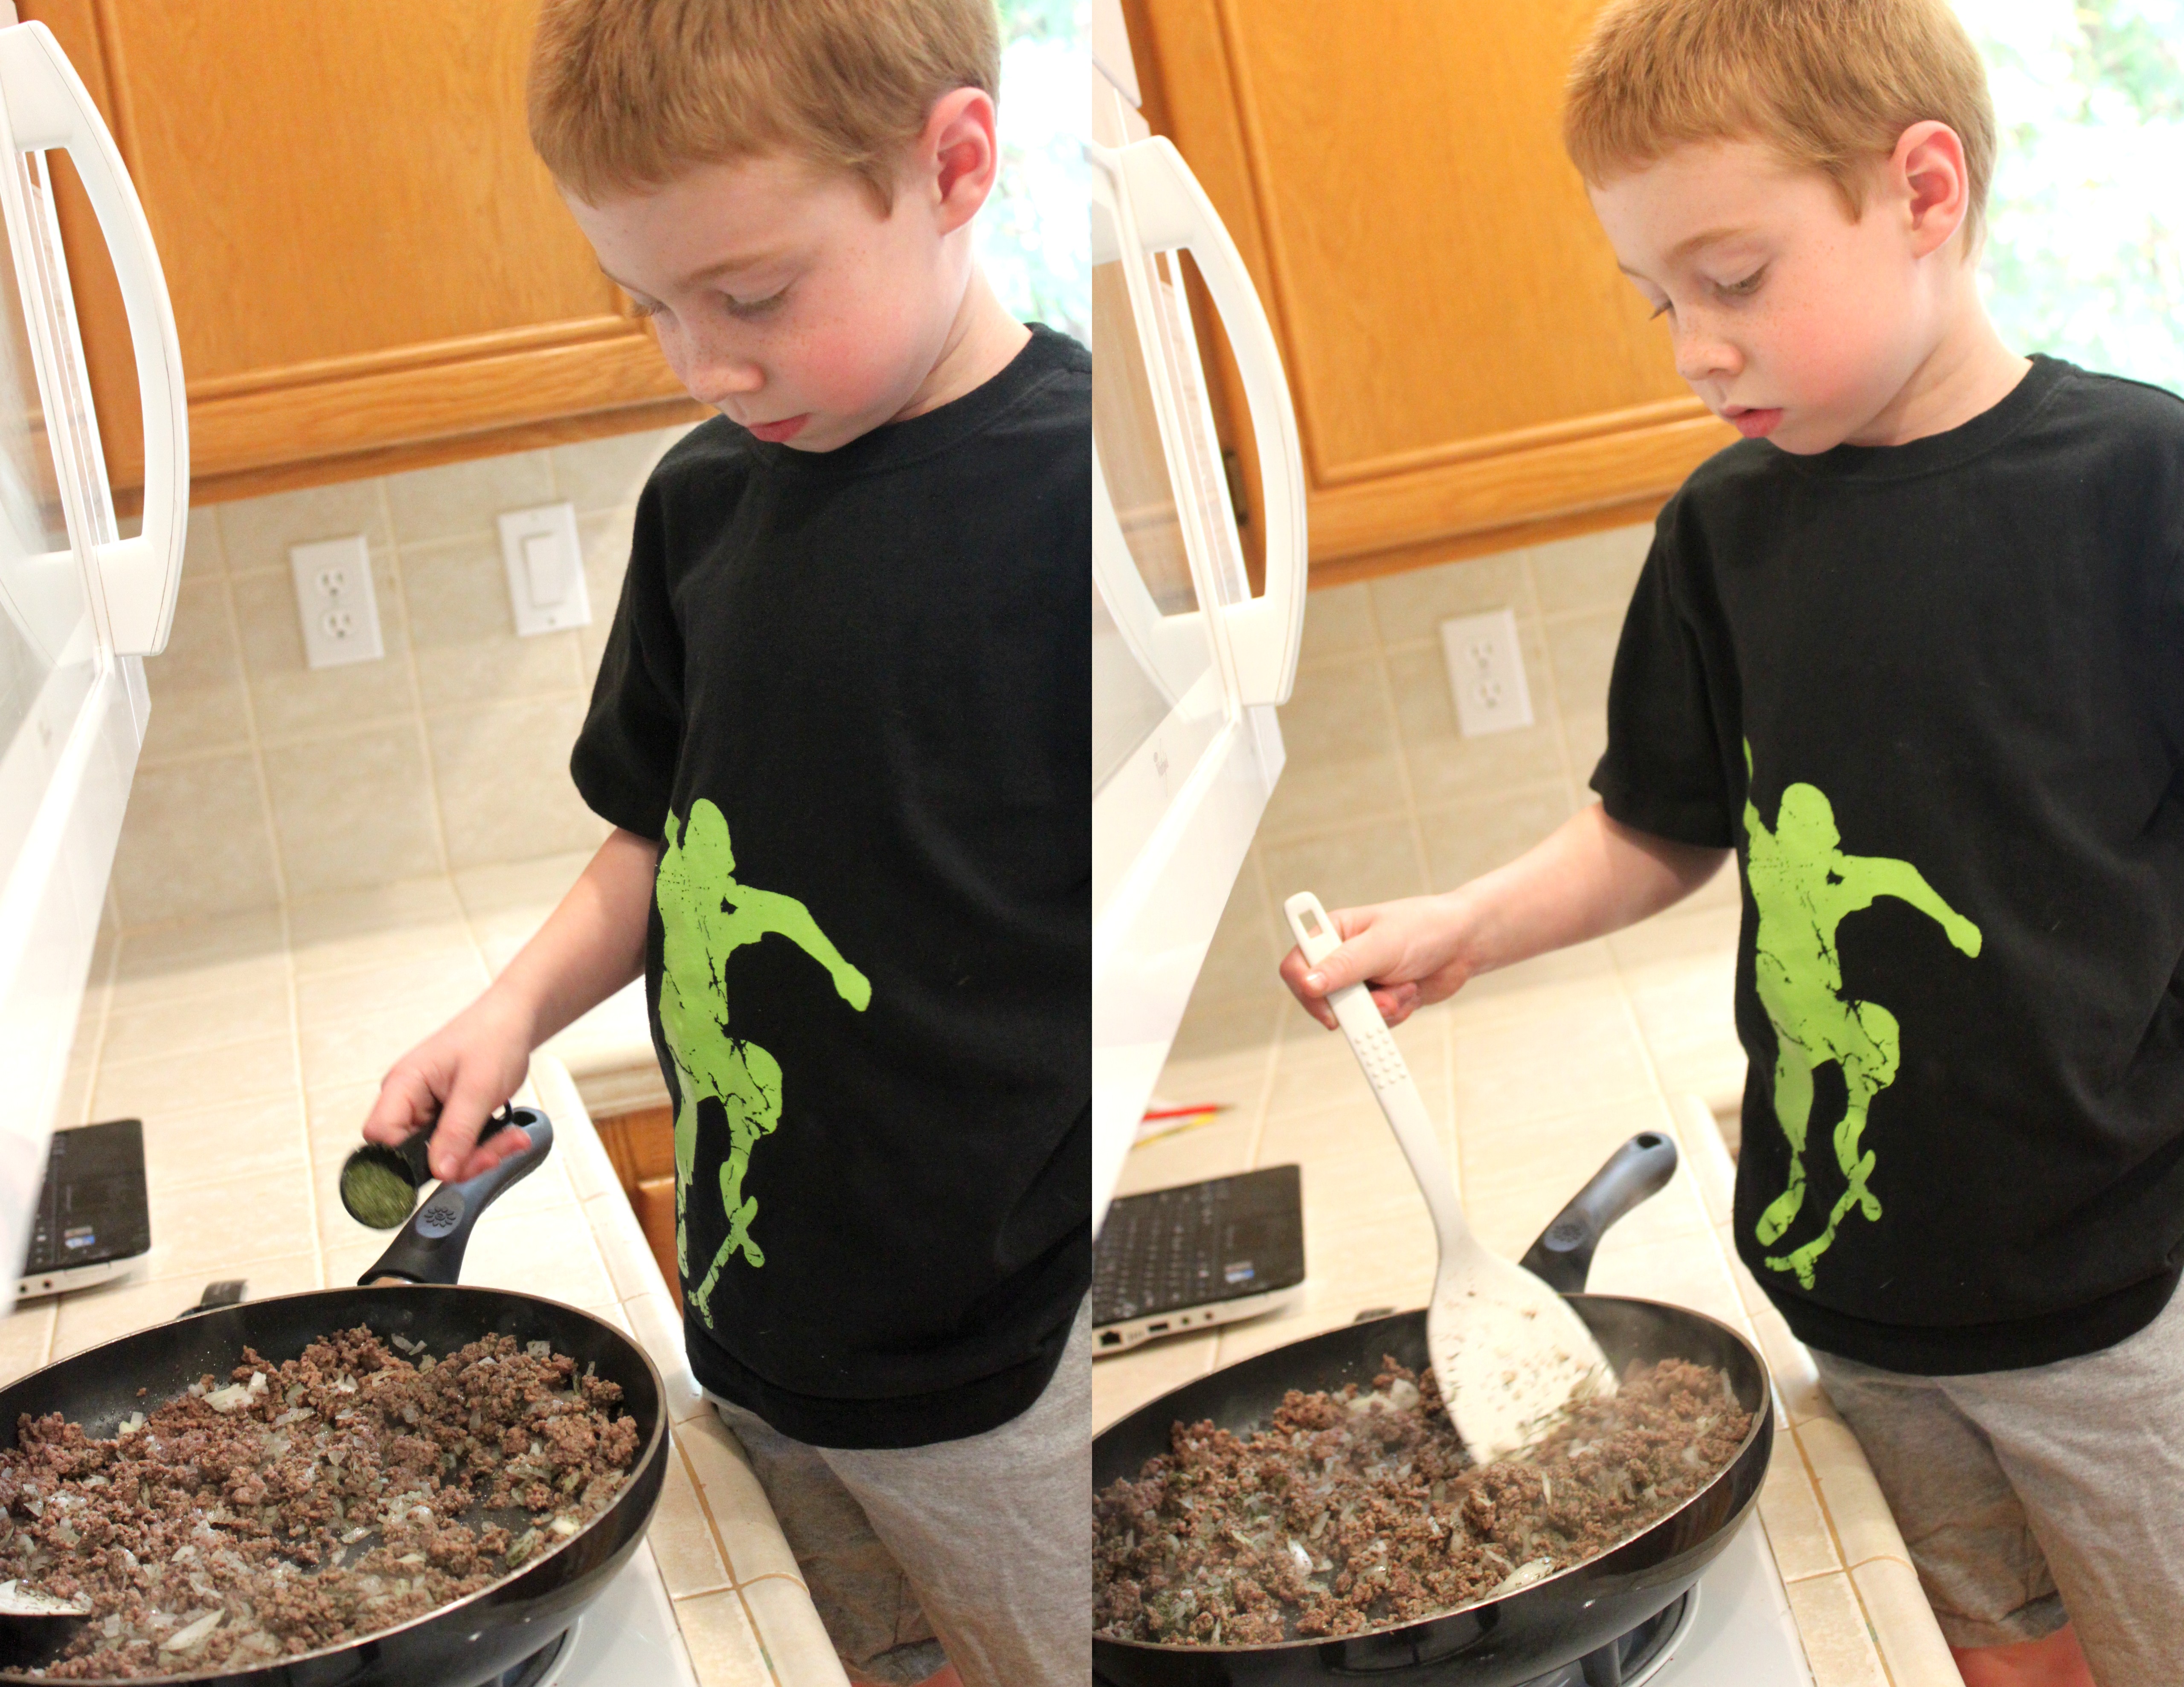
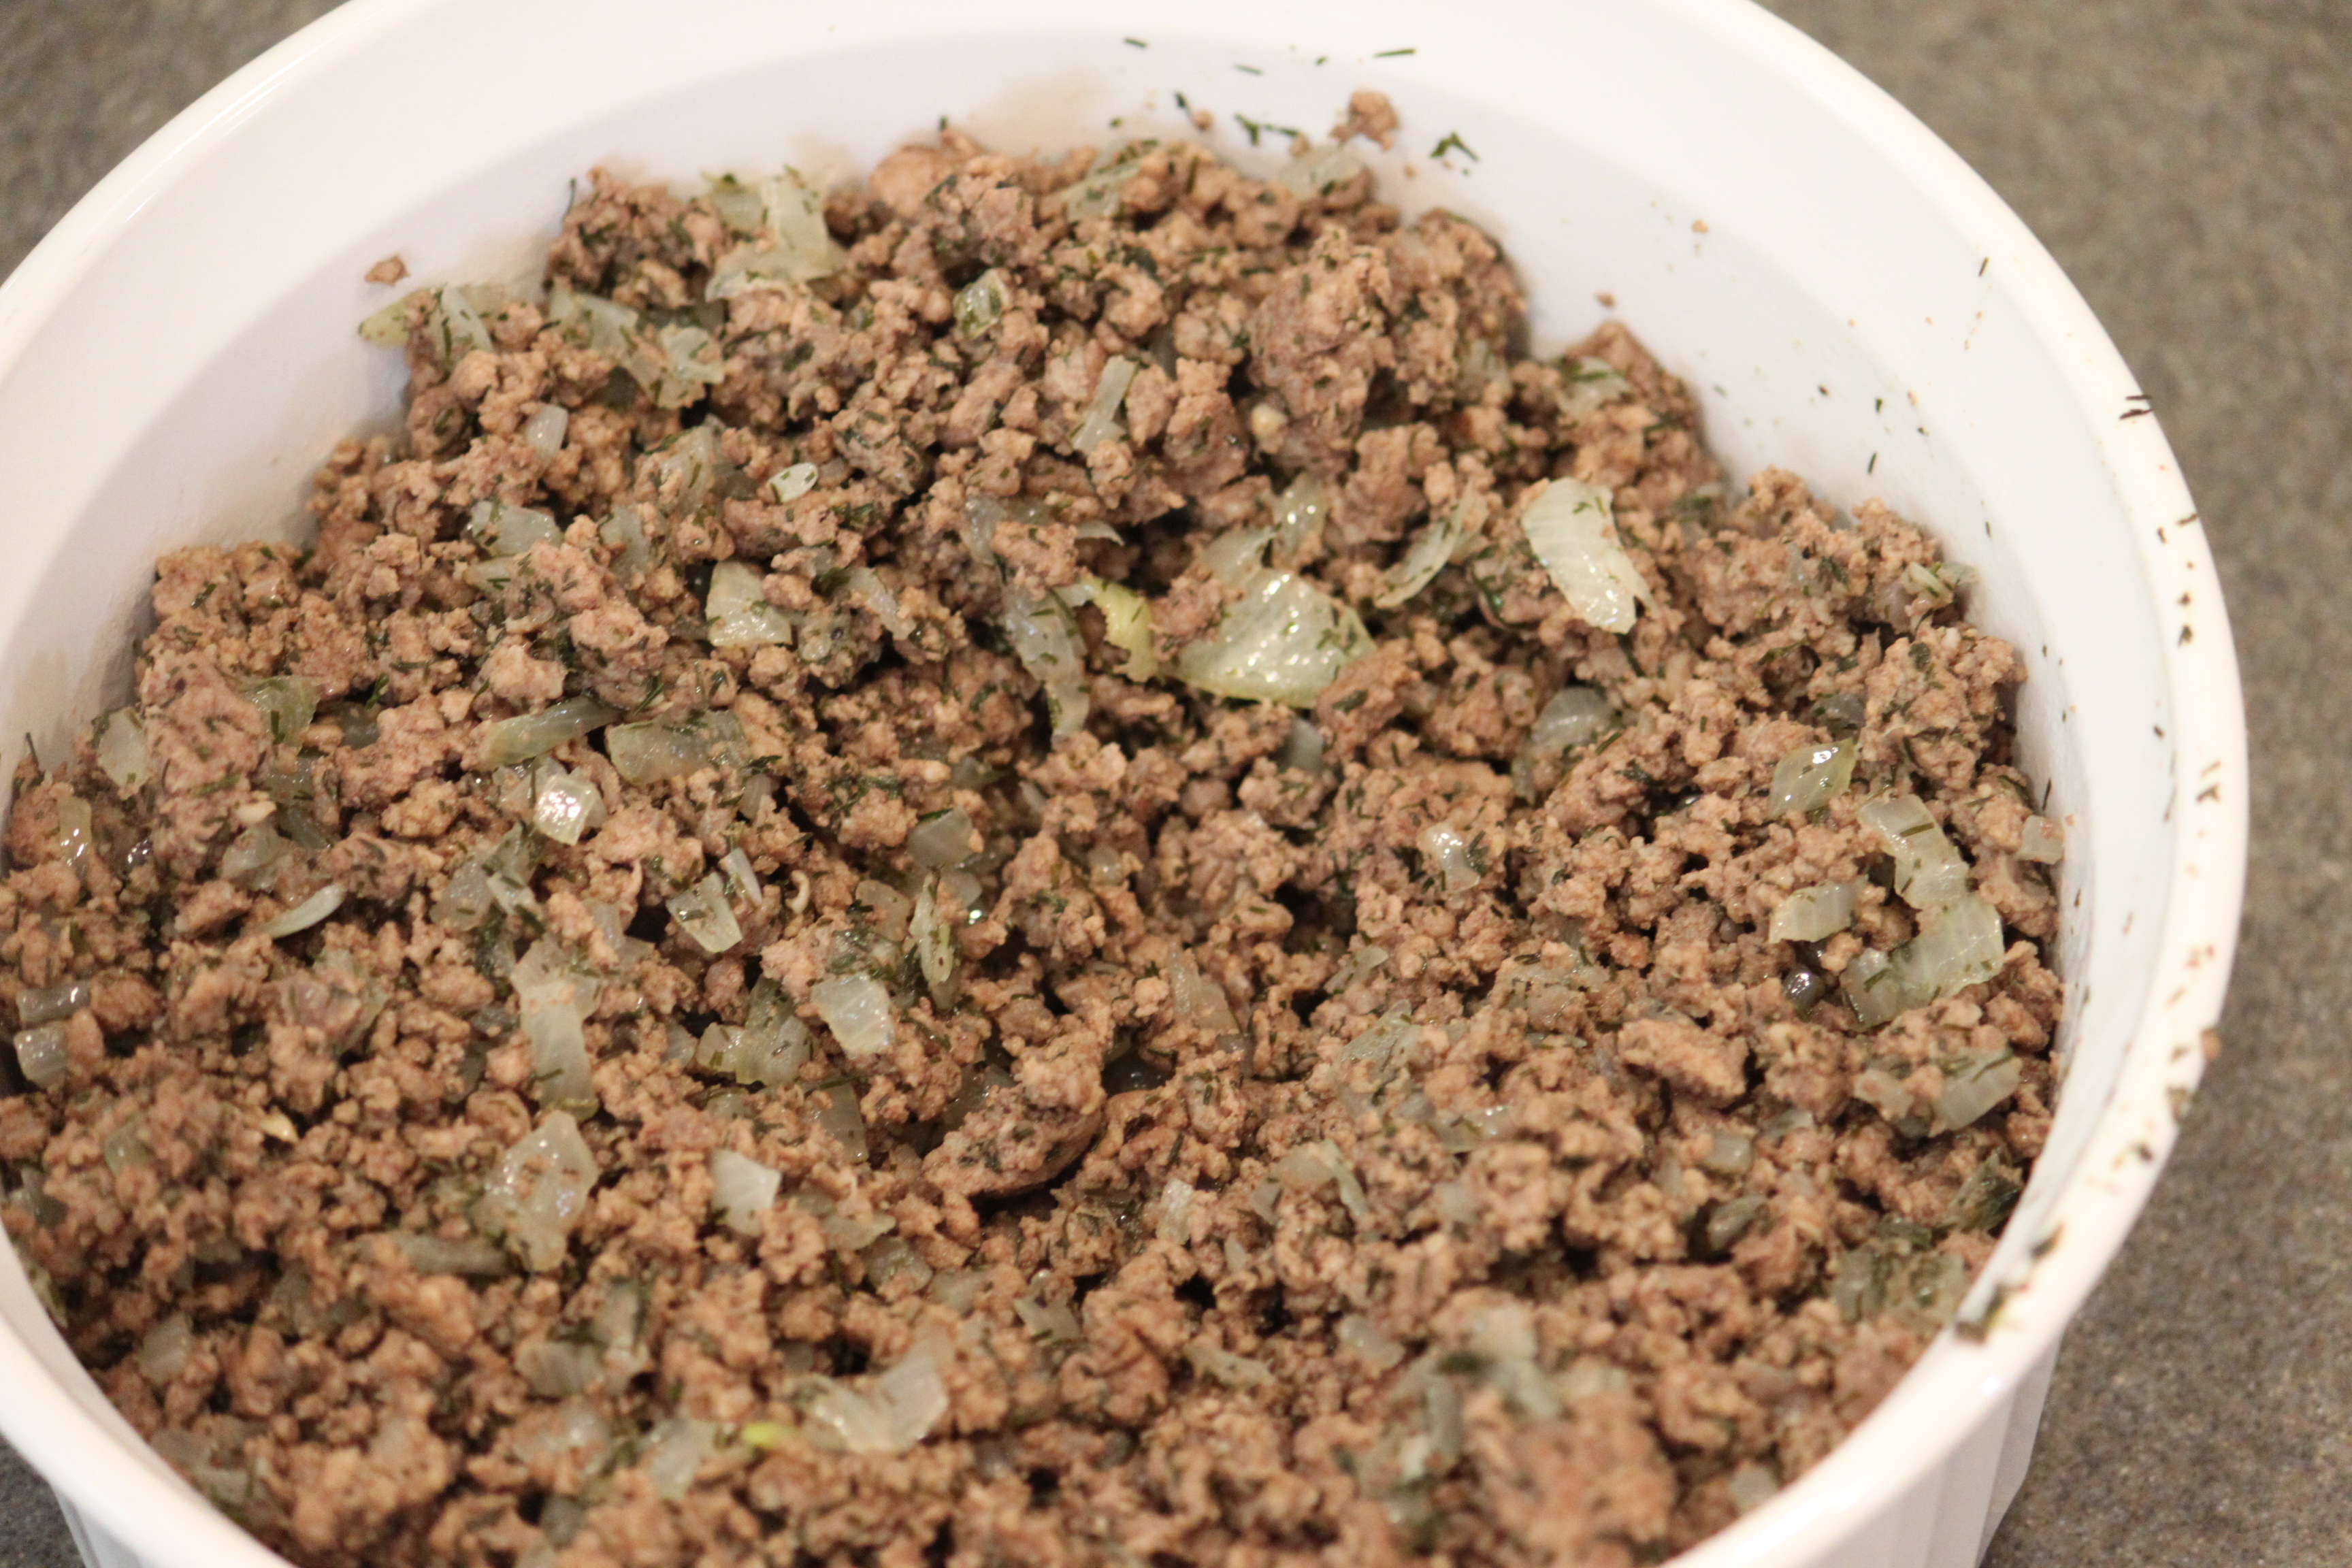
First cook the ground beef until brown and drain. Stir in the onion and cook with the beef until translucent. Sprinkle in 1 teaspoon salt, 1 1/2 tablespoons dill weed, and pepper to taste.

Step 2
Set the meat mixture aside and allow it to cool completely.
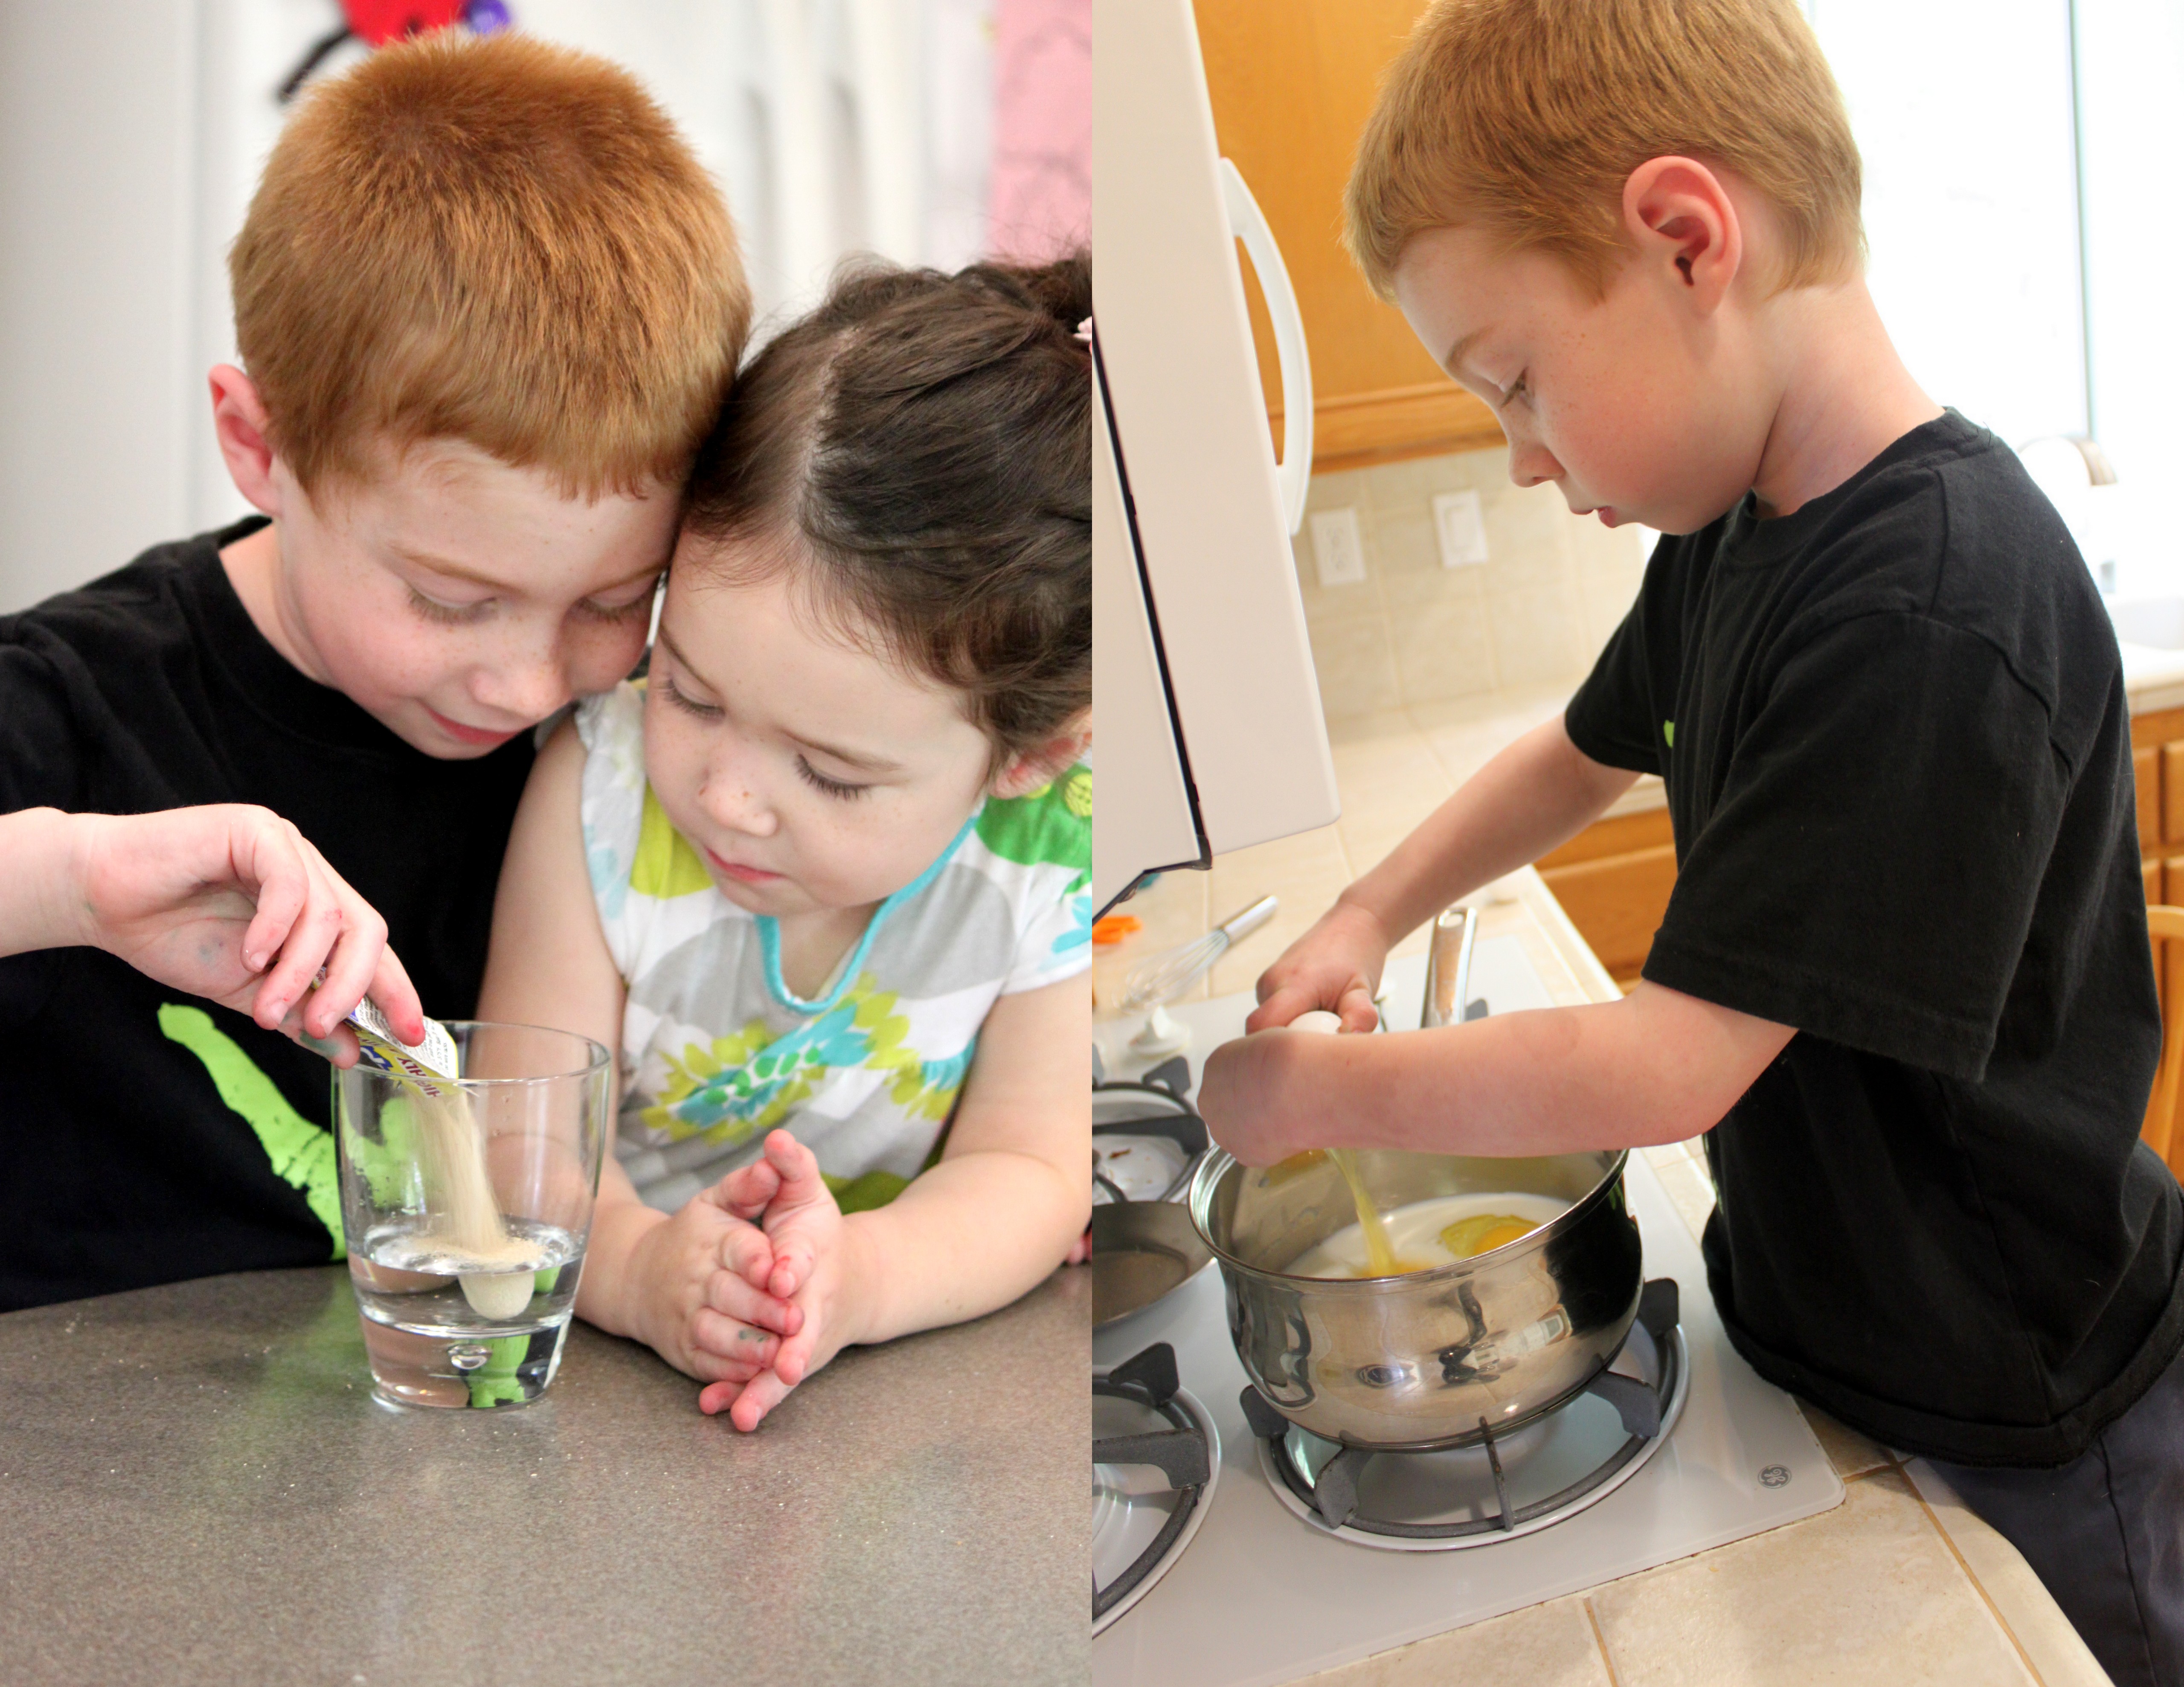
Step 3
Next, dissolve the package of yeast in 1/4 cup of warm water and place in a warm location until frothy (about 10 to 15 minutes). In a medium saucepan over low heat, warm the 1 cup of milk and gently whisk in the 3 eggs, 1/2 cup of vegetable oil, 2 tablespoons sugar, and 1 teaspoon salt. Remove from heat.
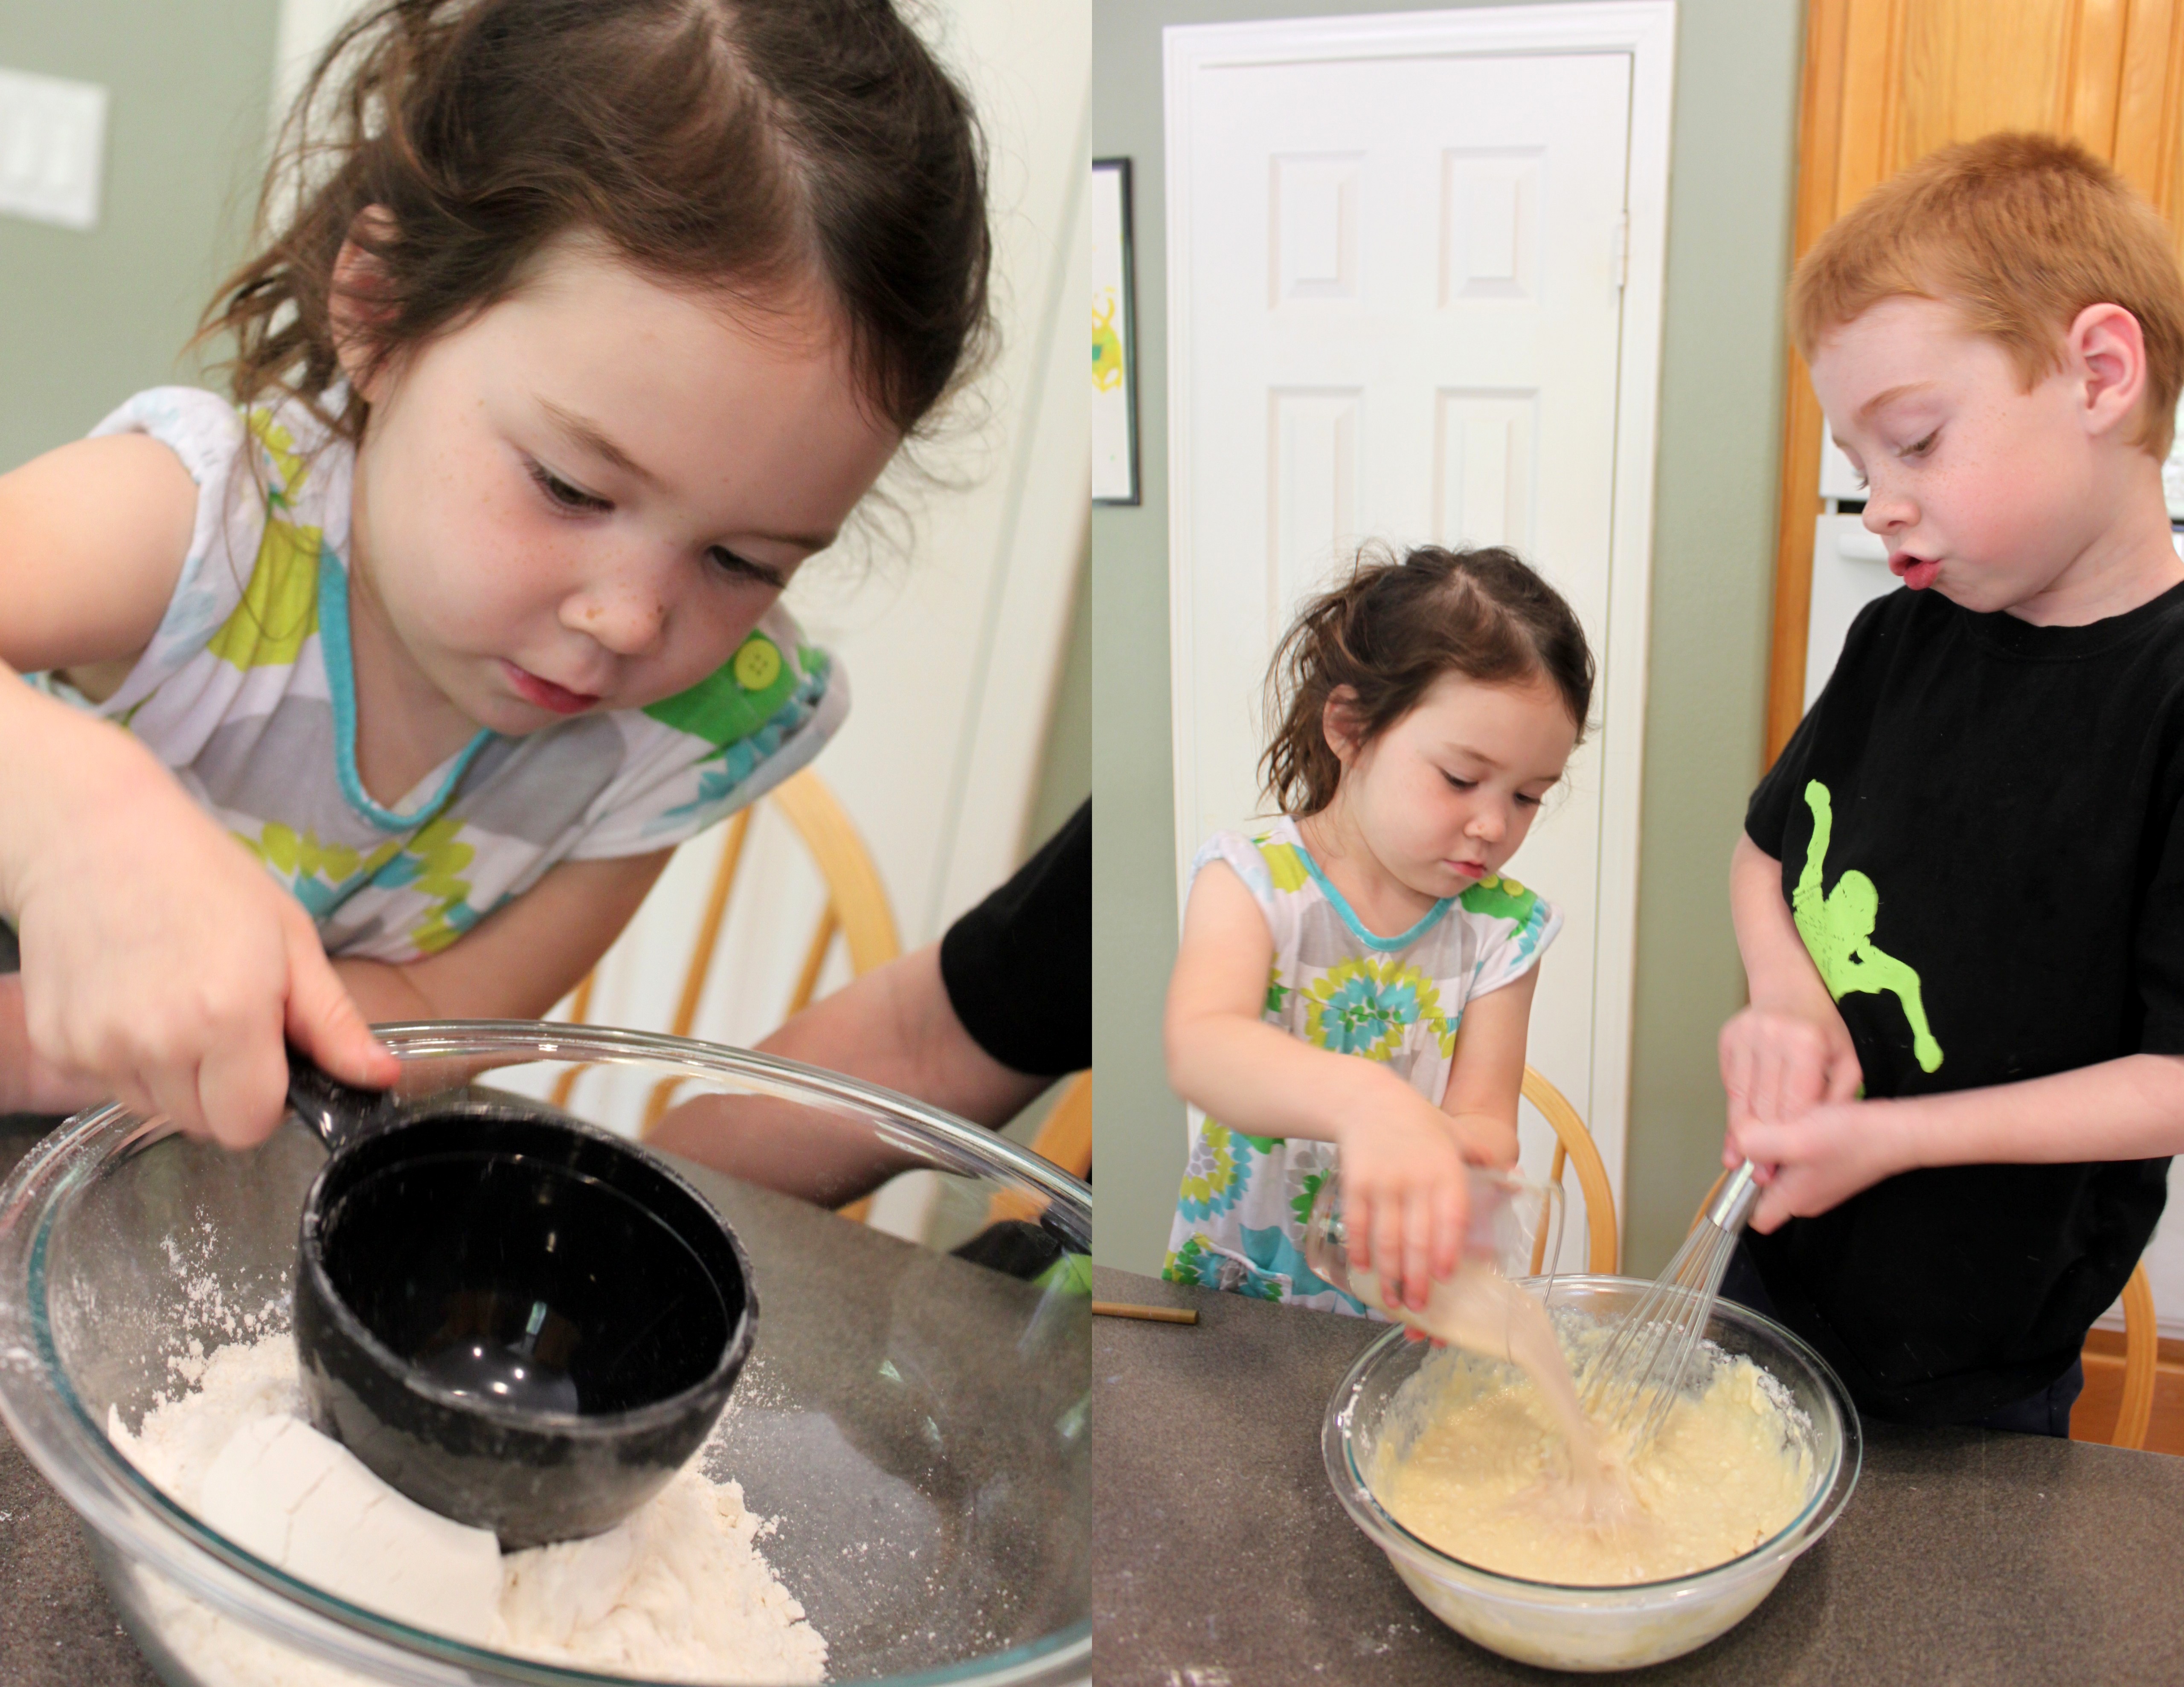
Step 4
Place half the flour (2 cups) in a large mixing bowl and gradually stir in the milk mixture. Then add the yeast solution alternately with the remaining flour (2 cups), stirring after each addition. Mix well.
Step 5
Knead until the dough forms a ball and does not stick to the bowl.
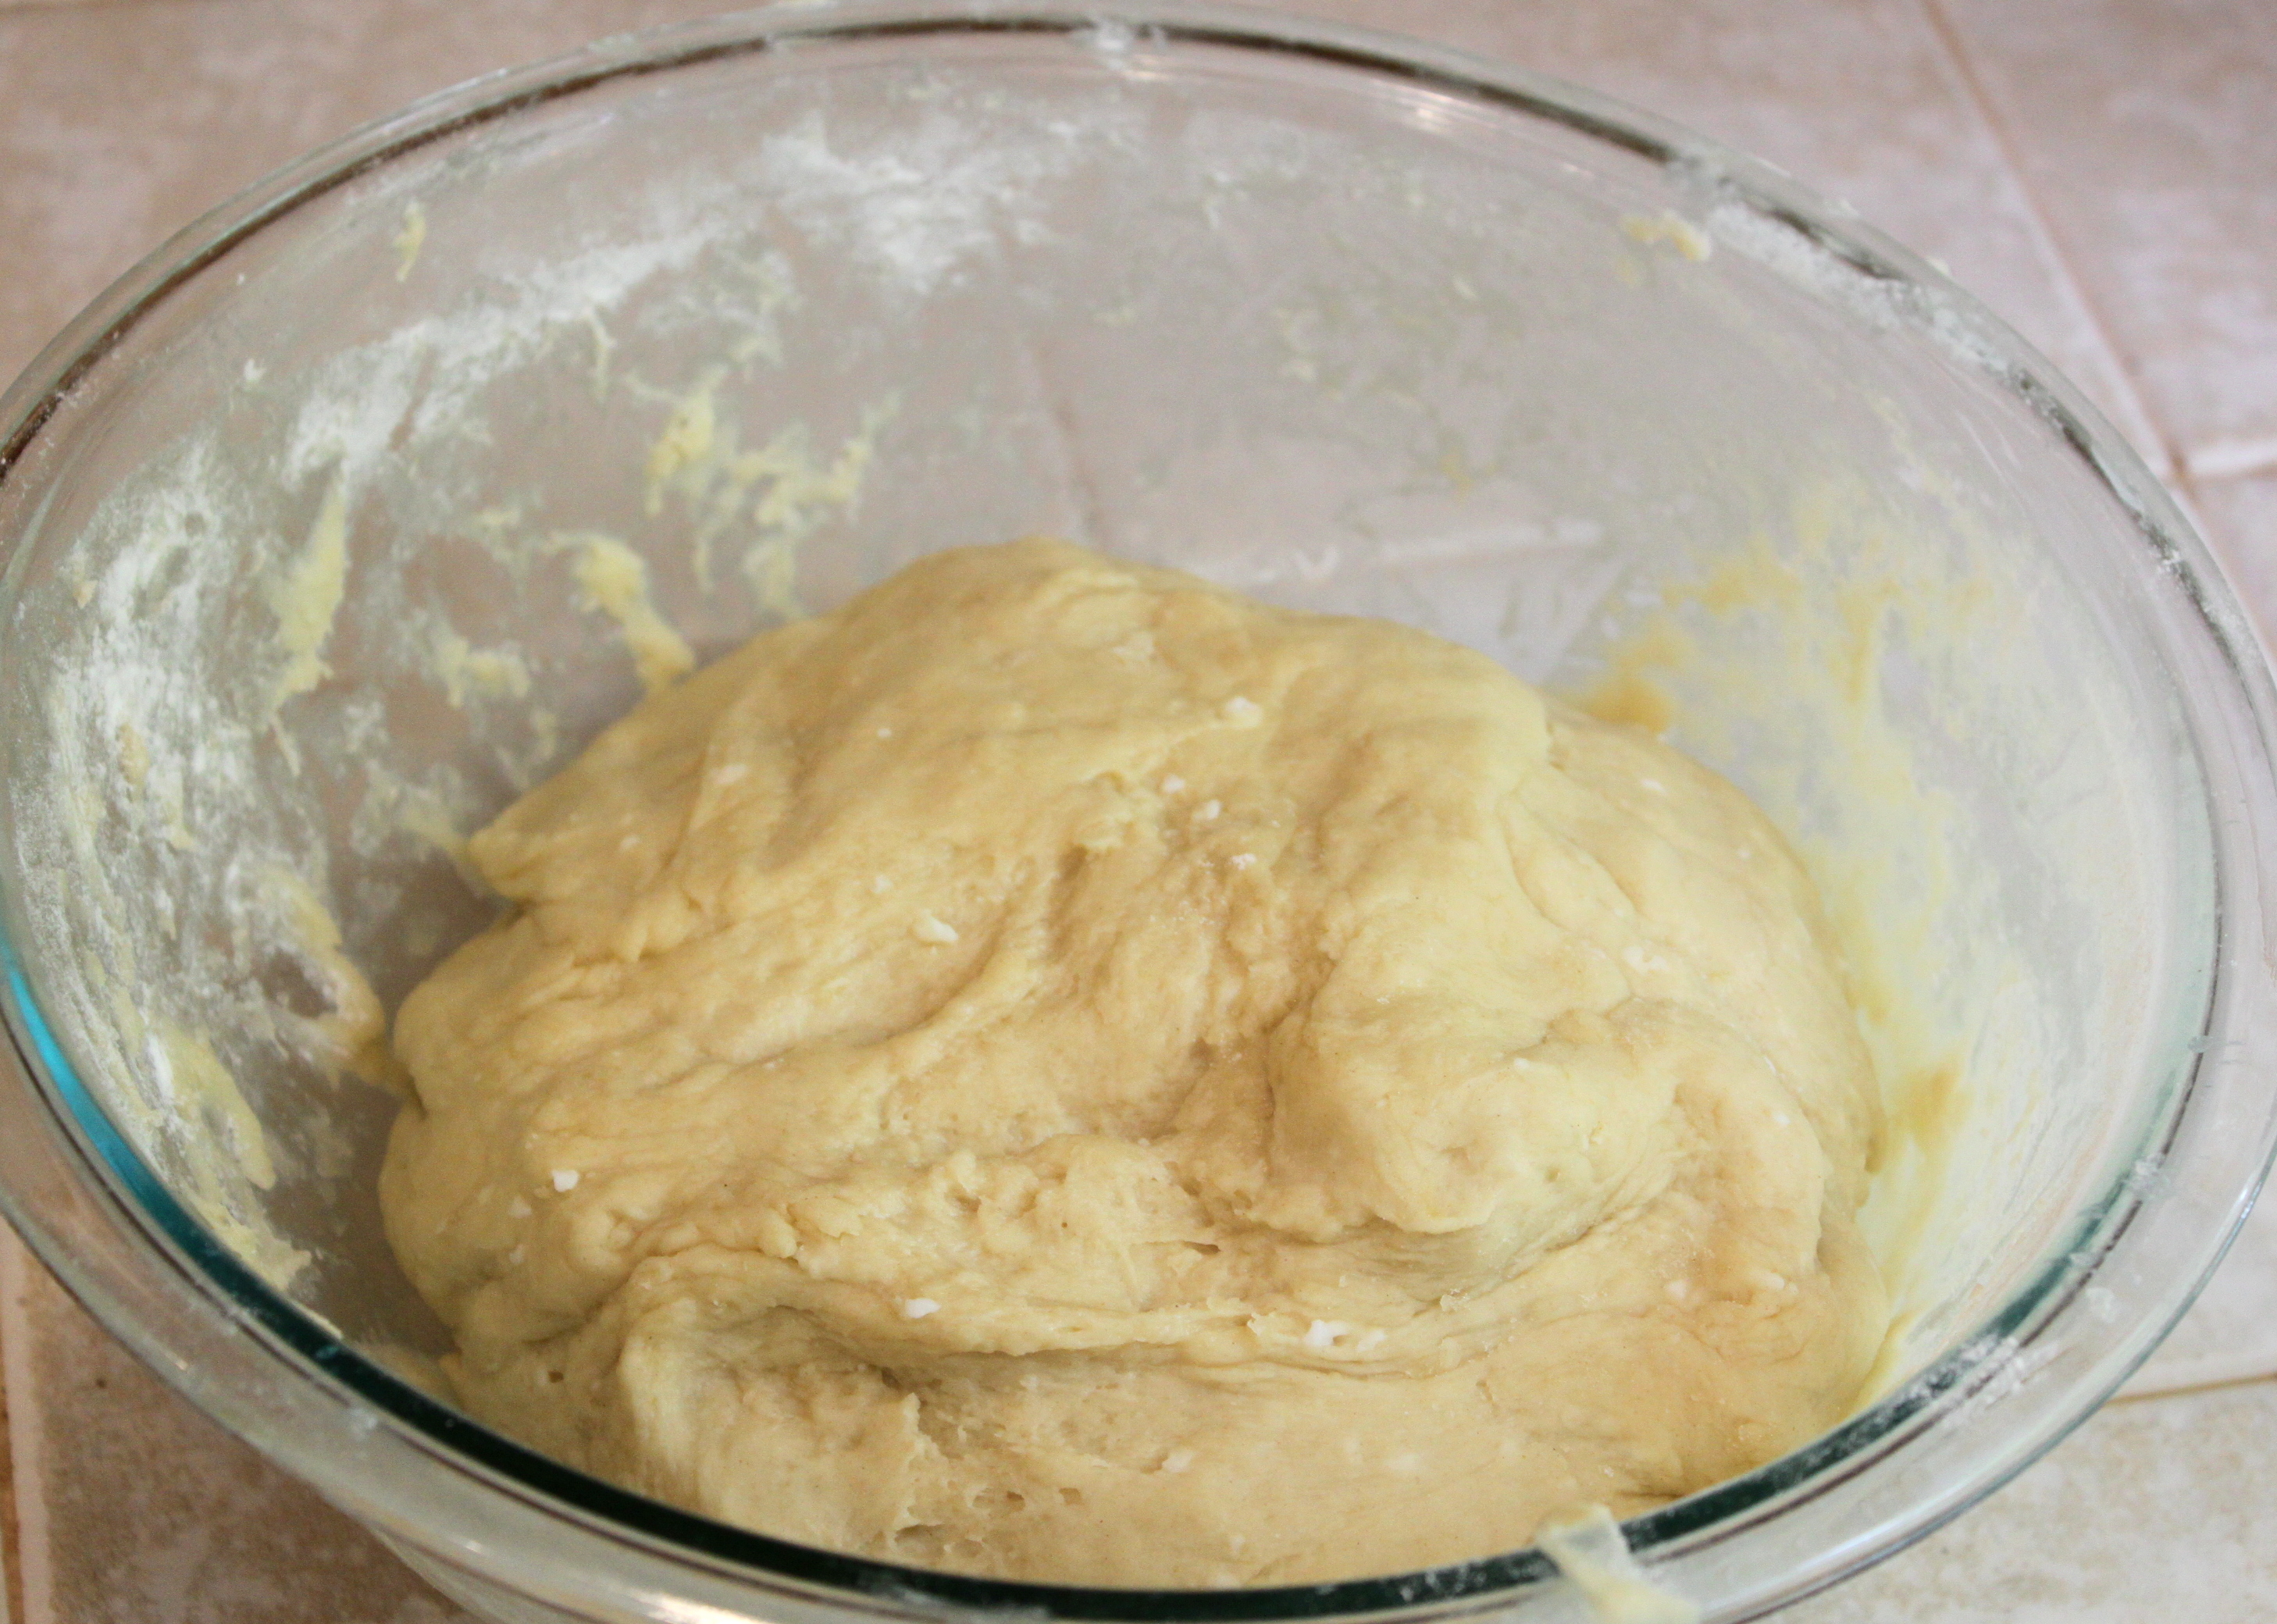
Tip
Start with the 4 cups of flour. You may need to add more, a little at a time, as you knead the dough.
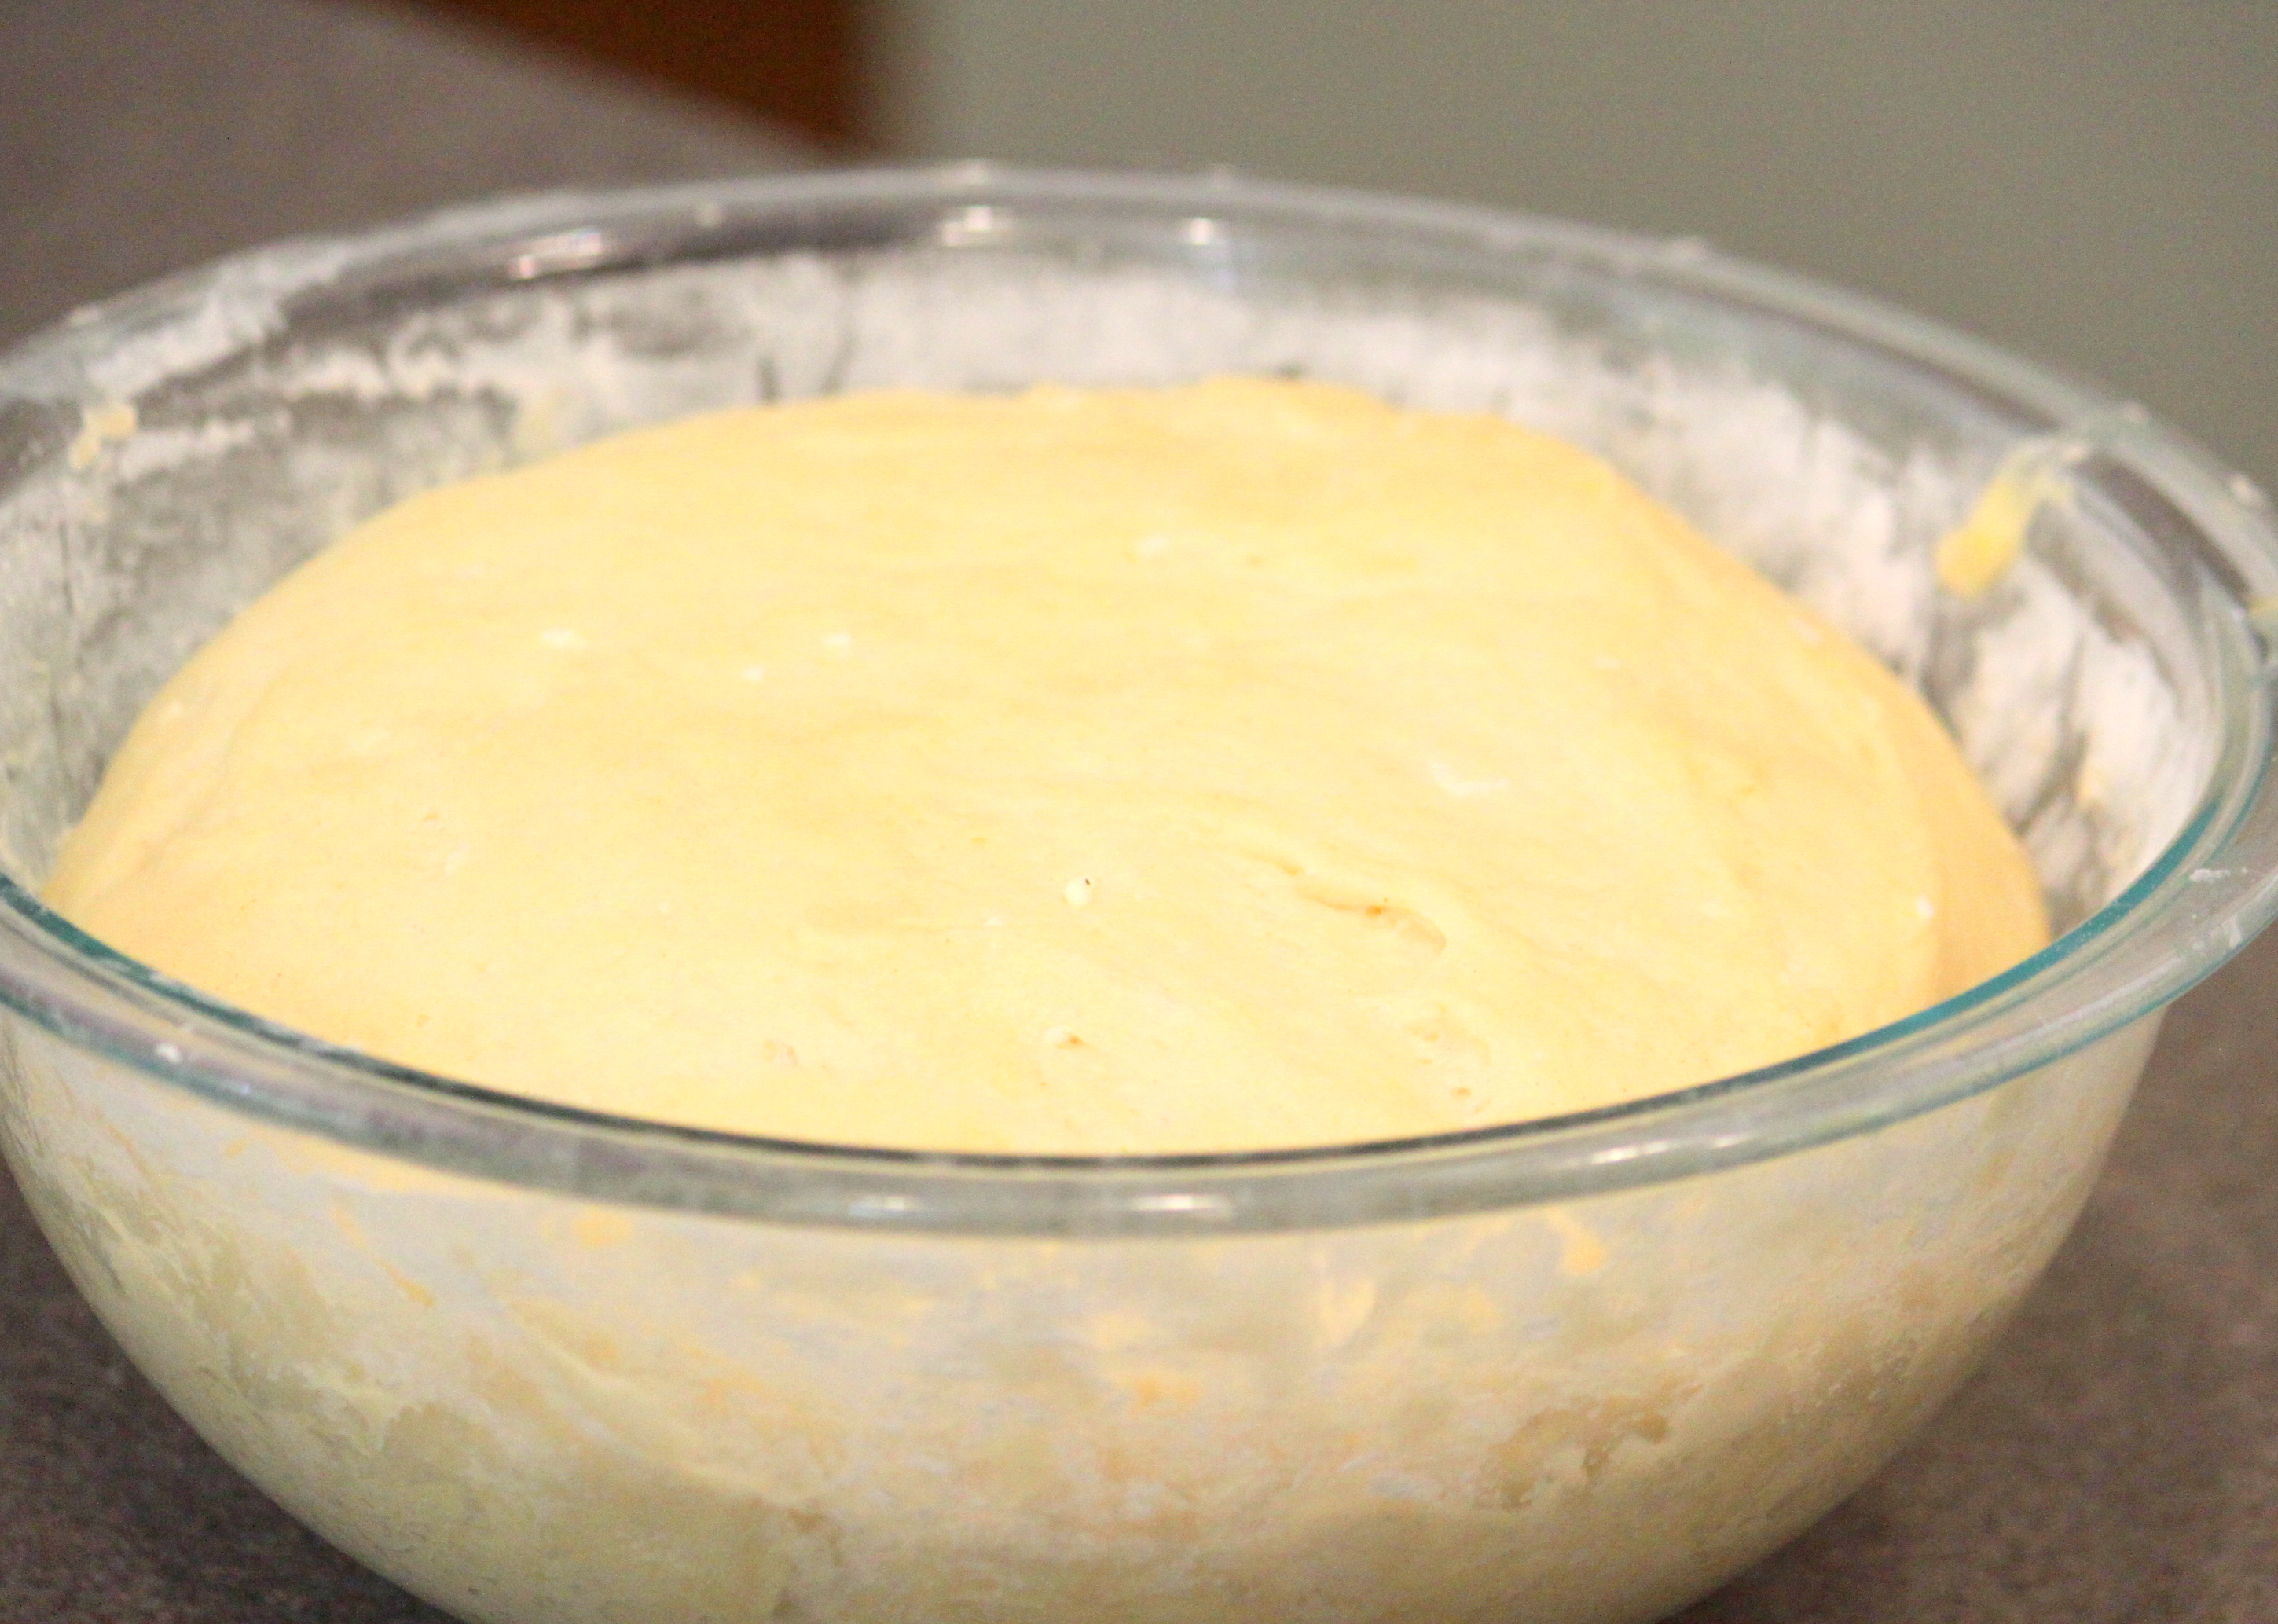
Step 6
Cover the bowl with a clean cloth, then set in a warm location and allow to rise until it doubles in volume.
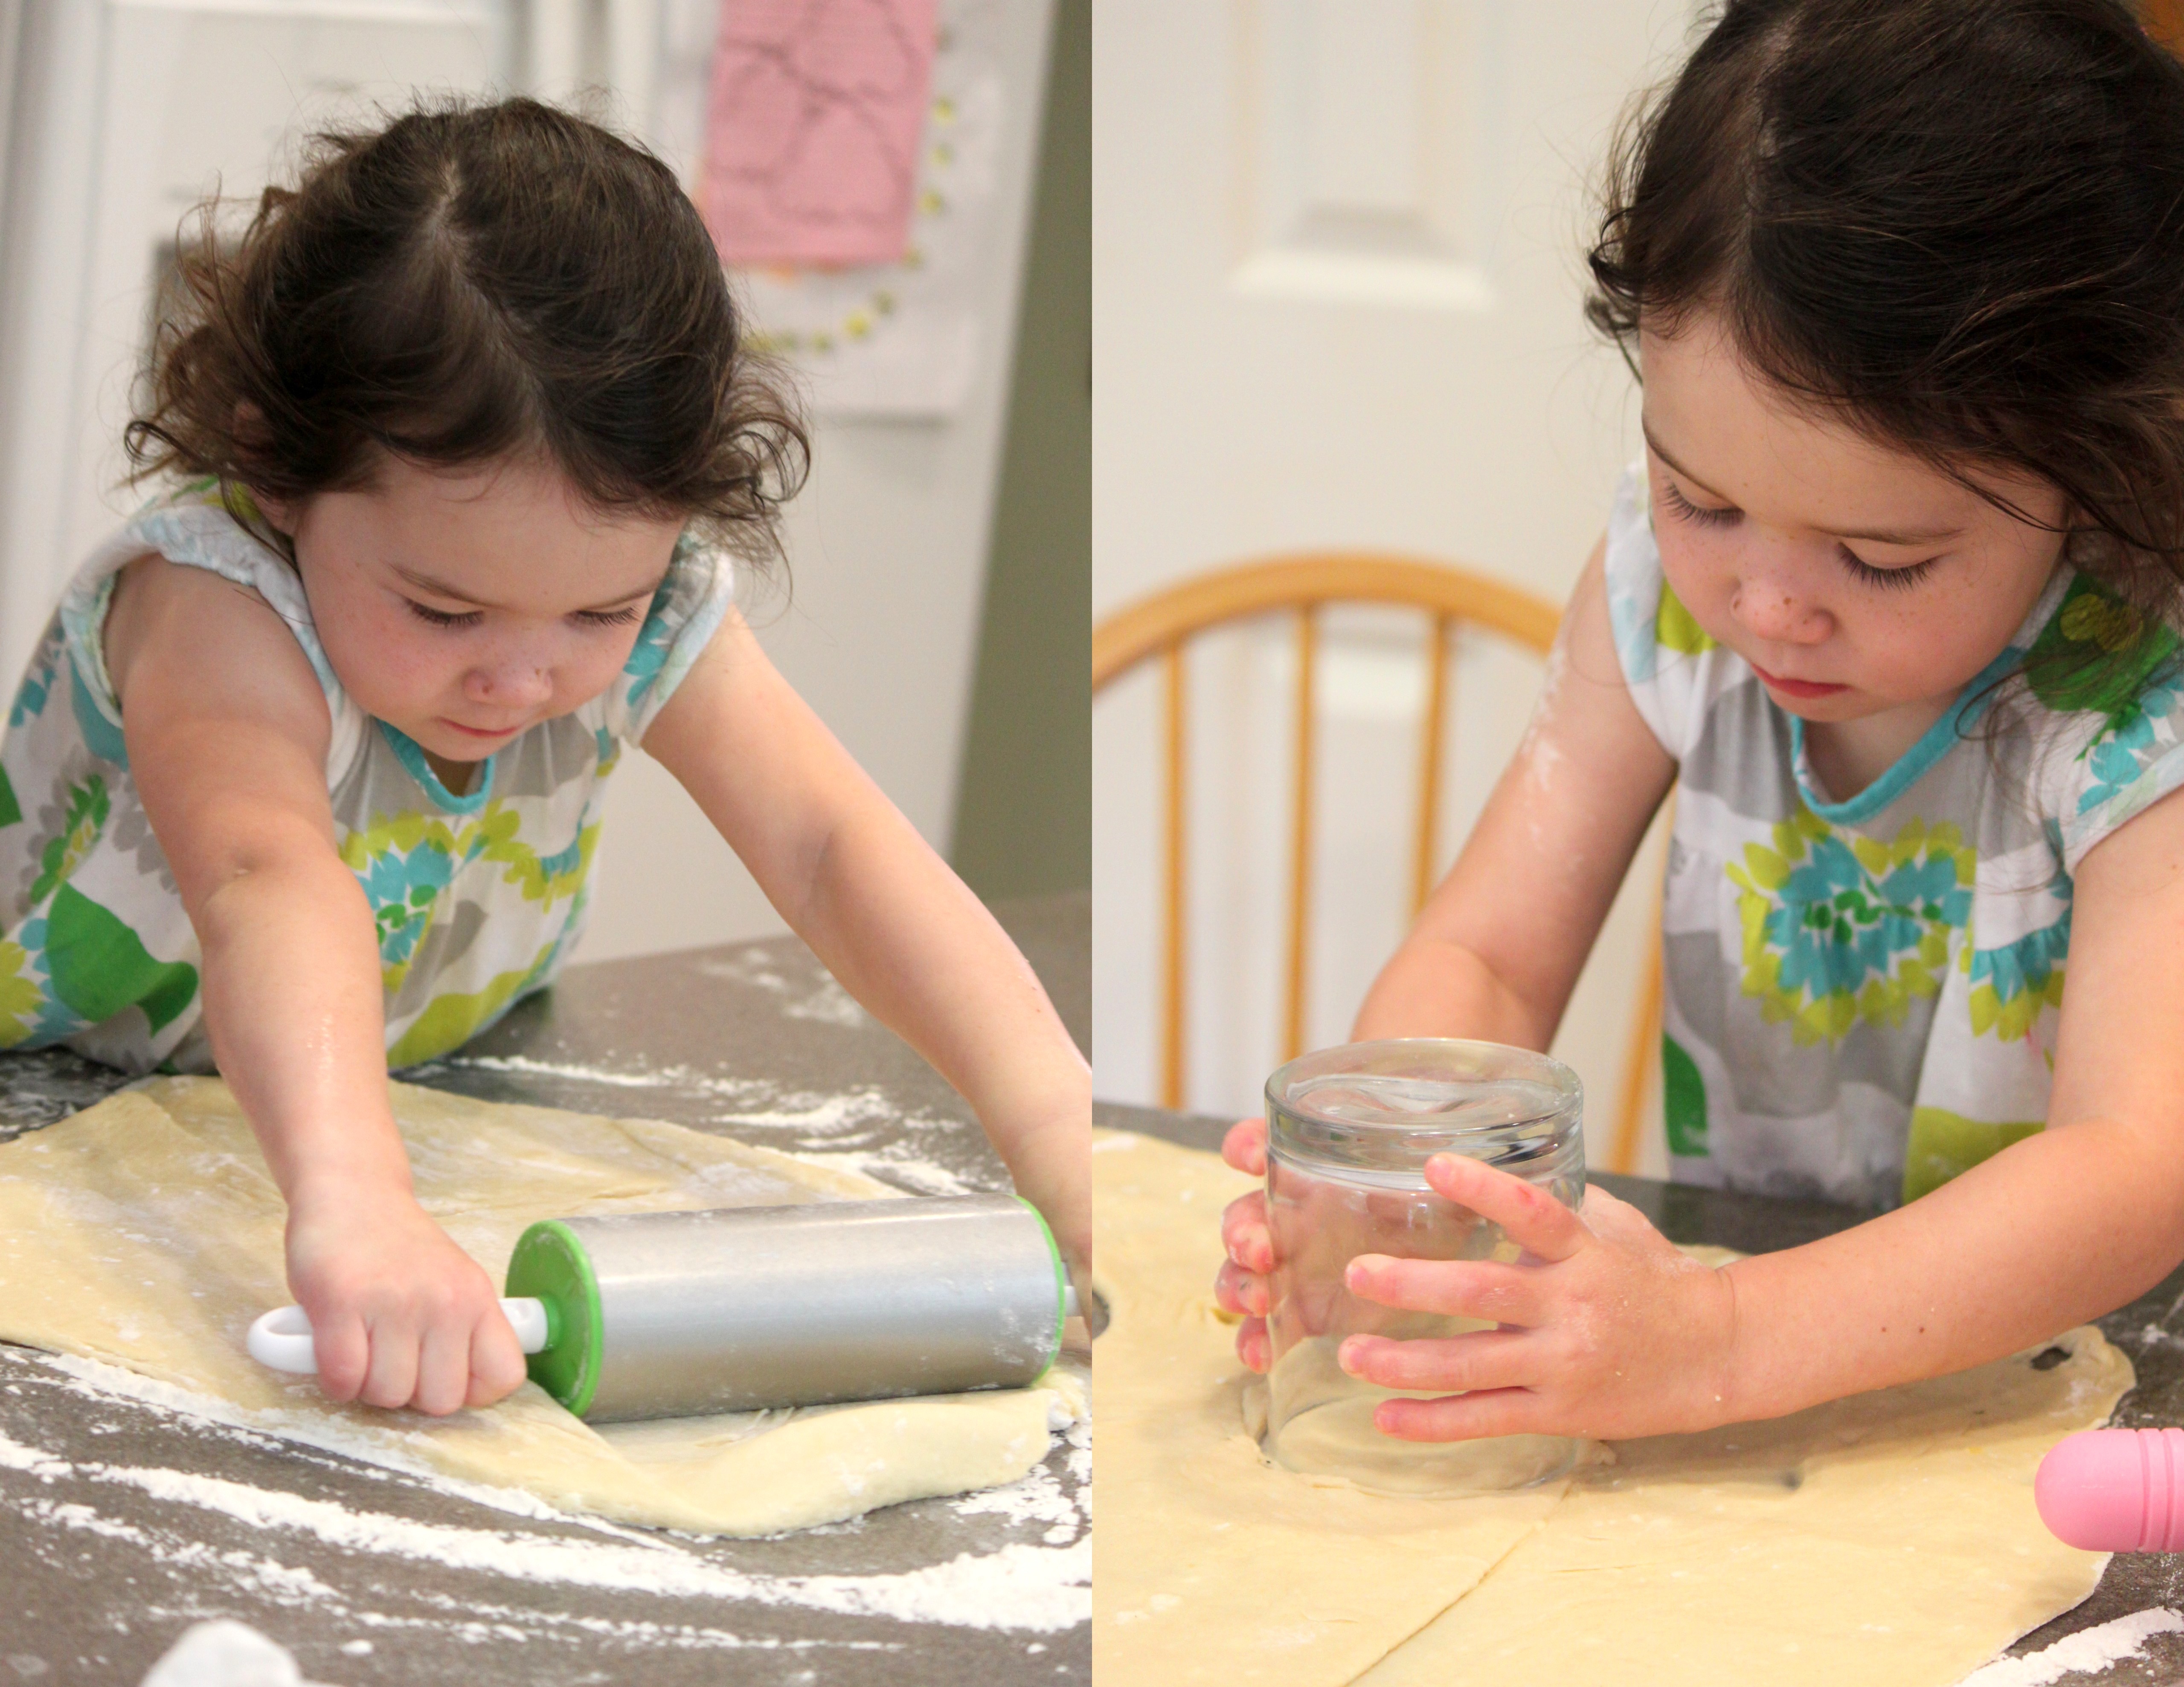
Step 7
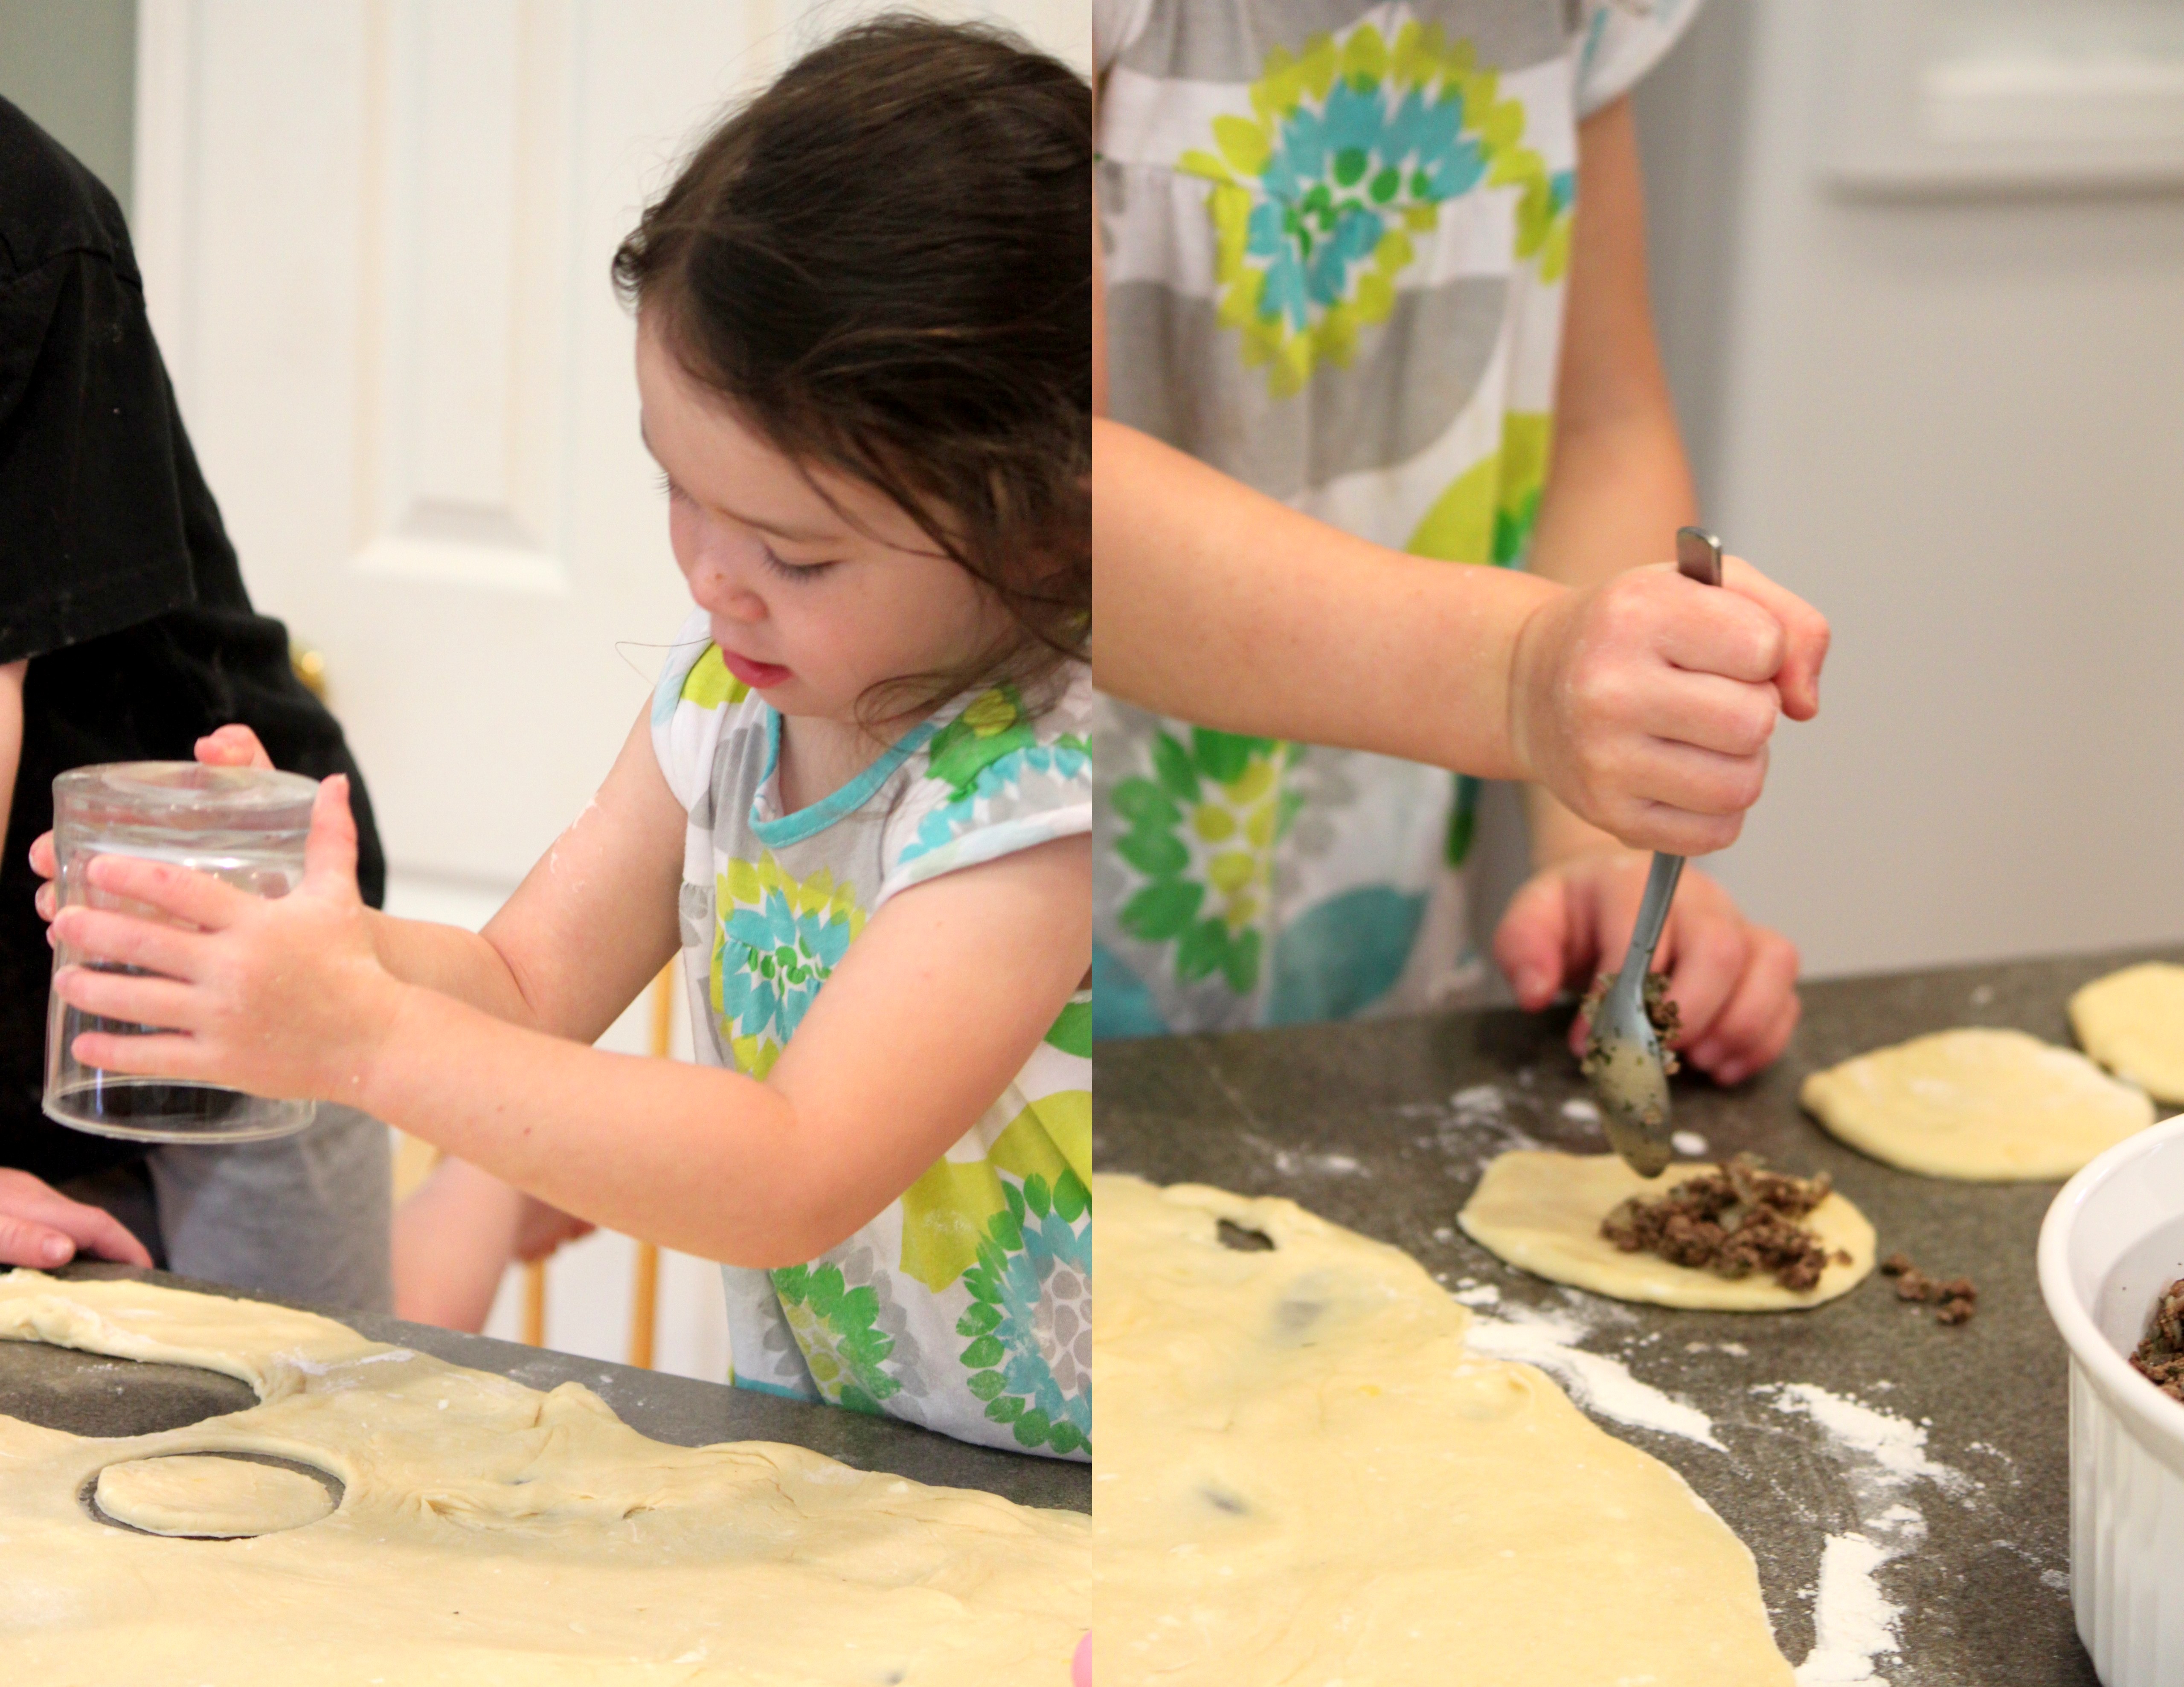
Remove the dough from the bowl and place it on a lightly floured surface. Have the kids help roll out the dough. Then use a cup to cut out little circles.
Step 8
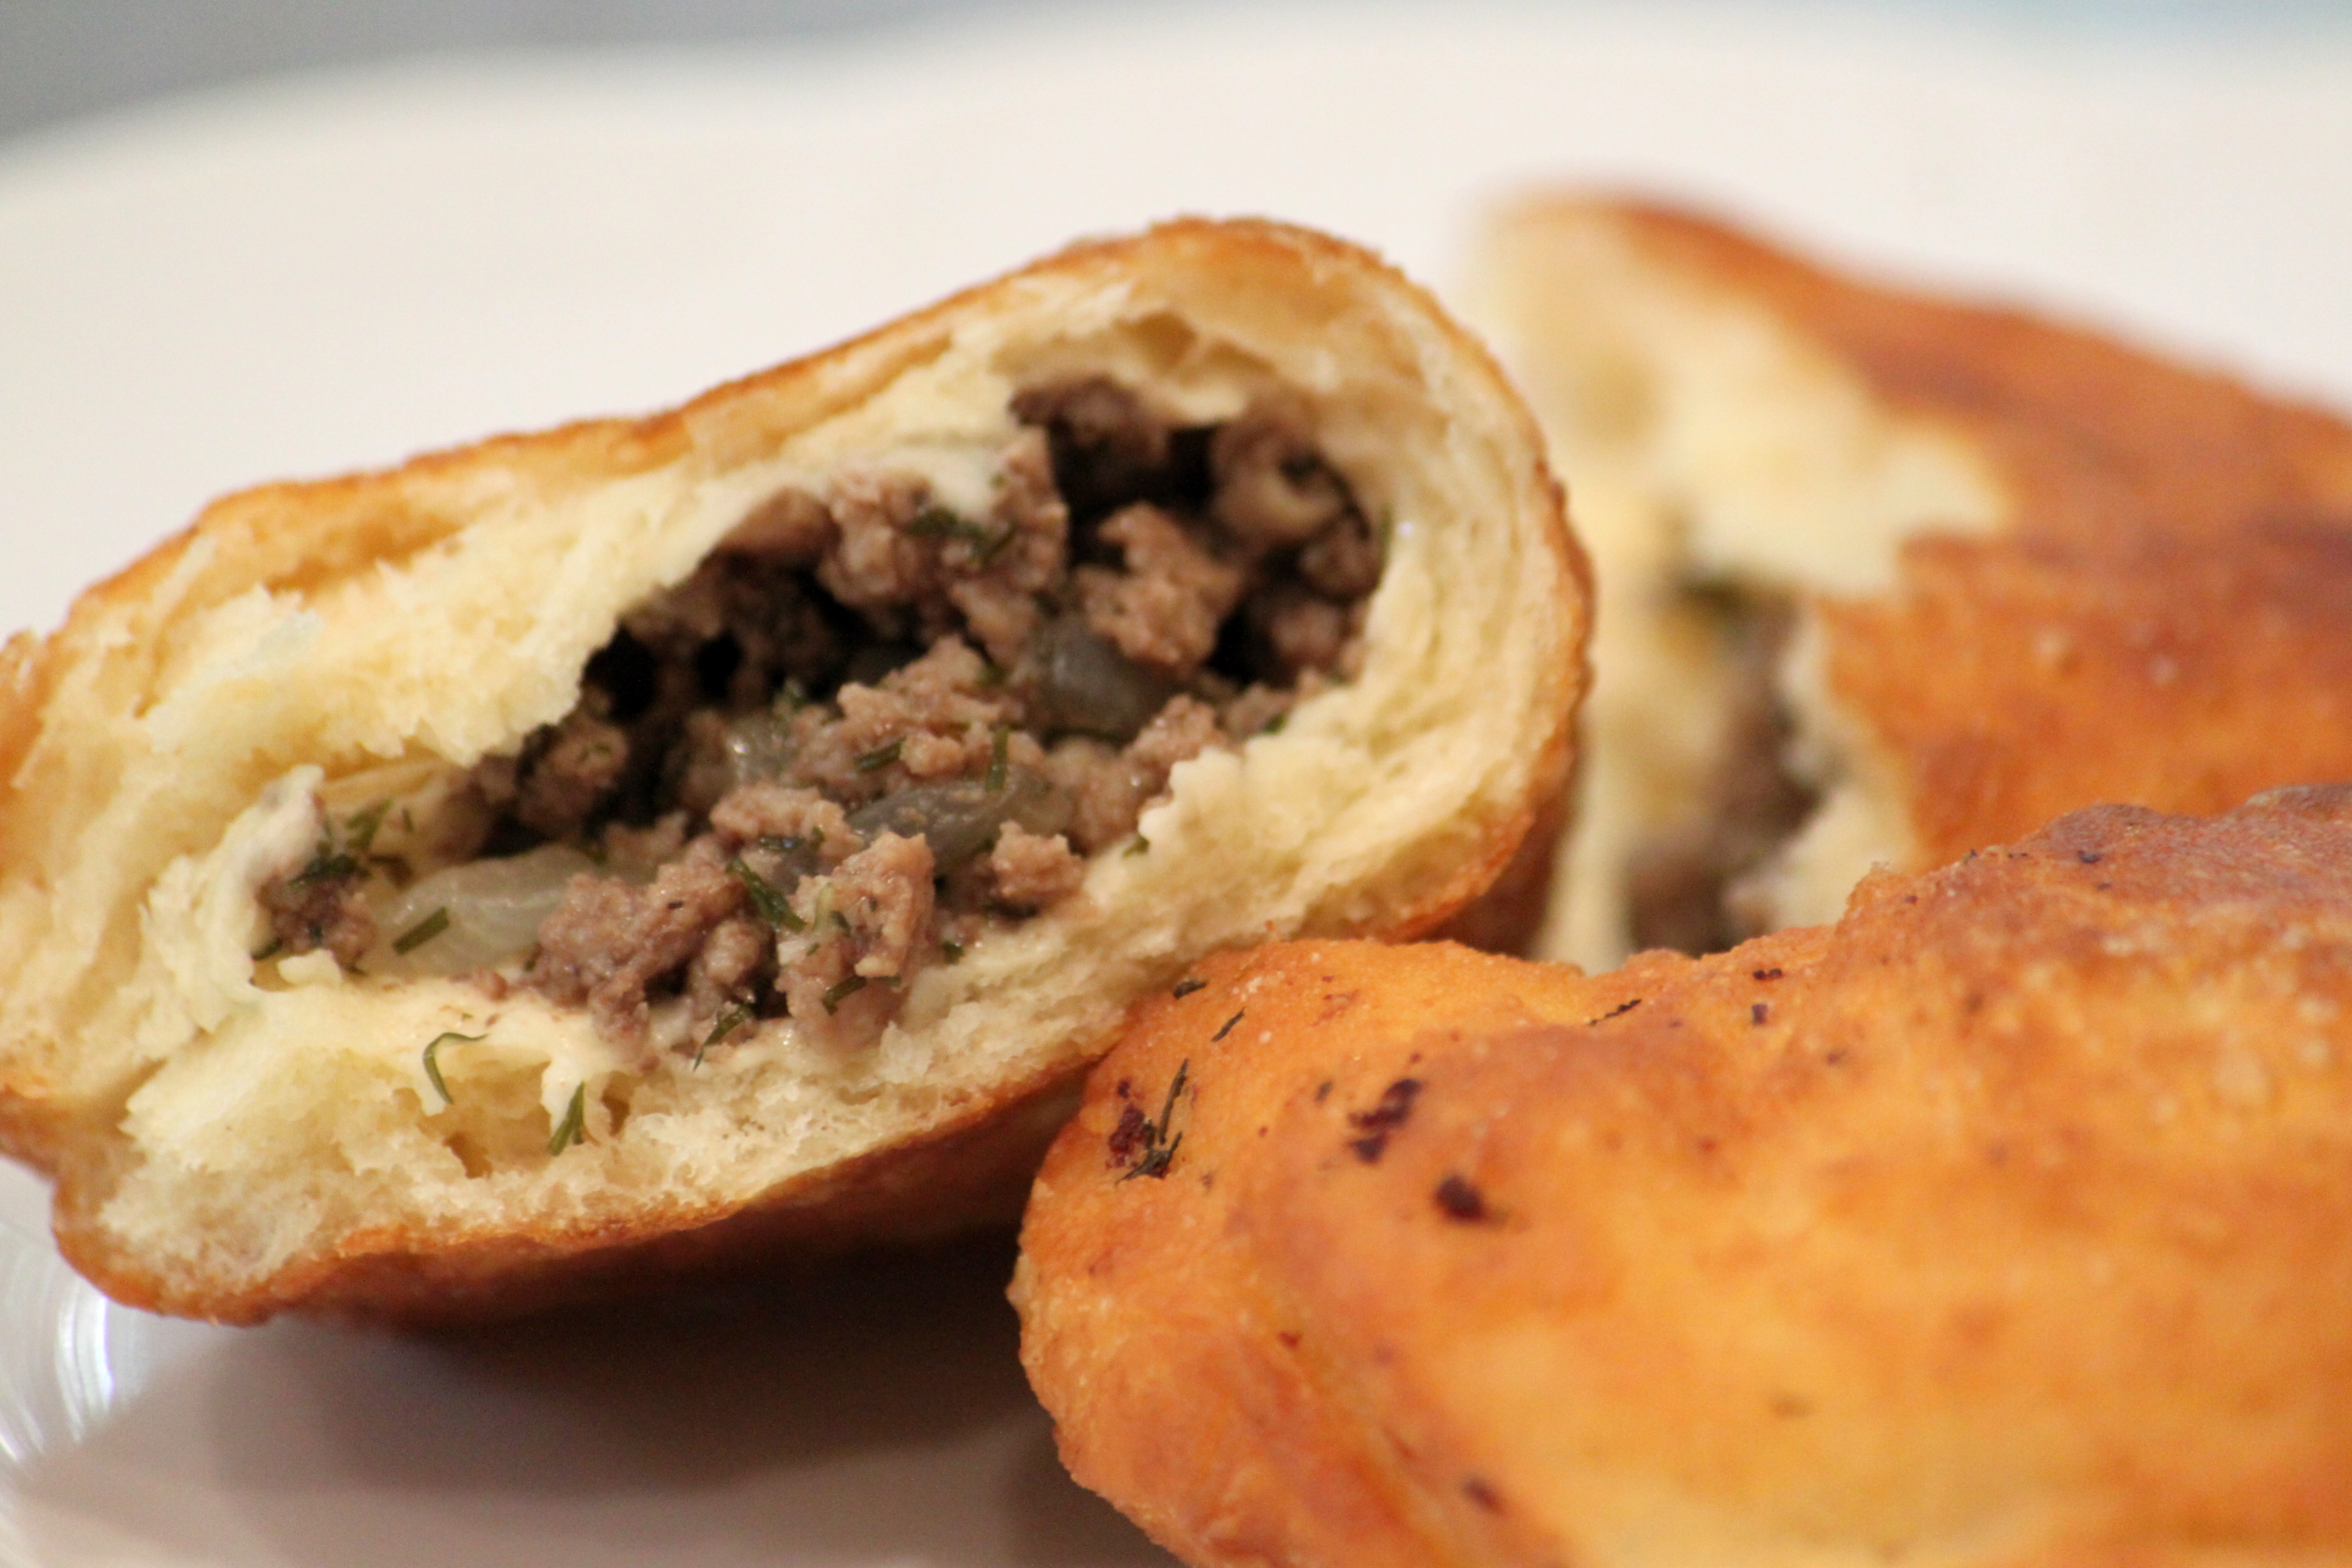
Add 1/2 cup of beef broth to the meat mixture and mix well. Then fill the center of each disk with the cooled meat mixture.
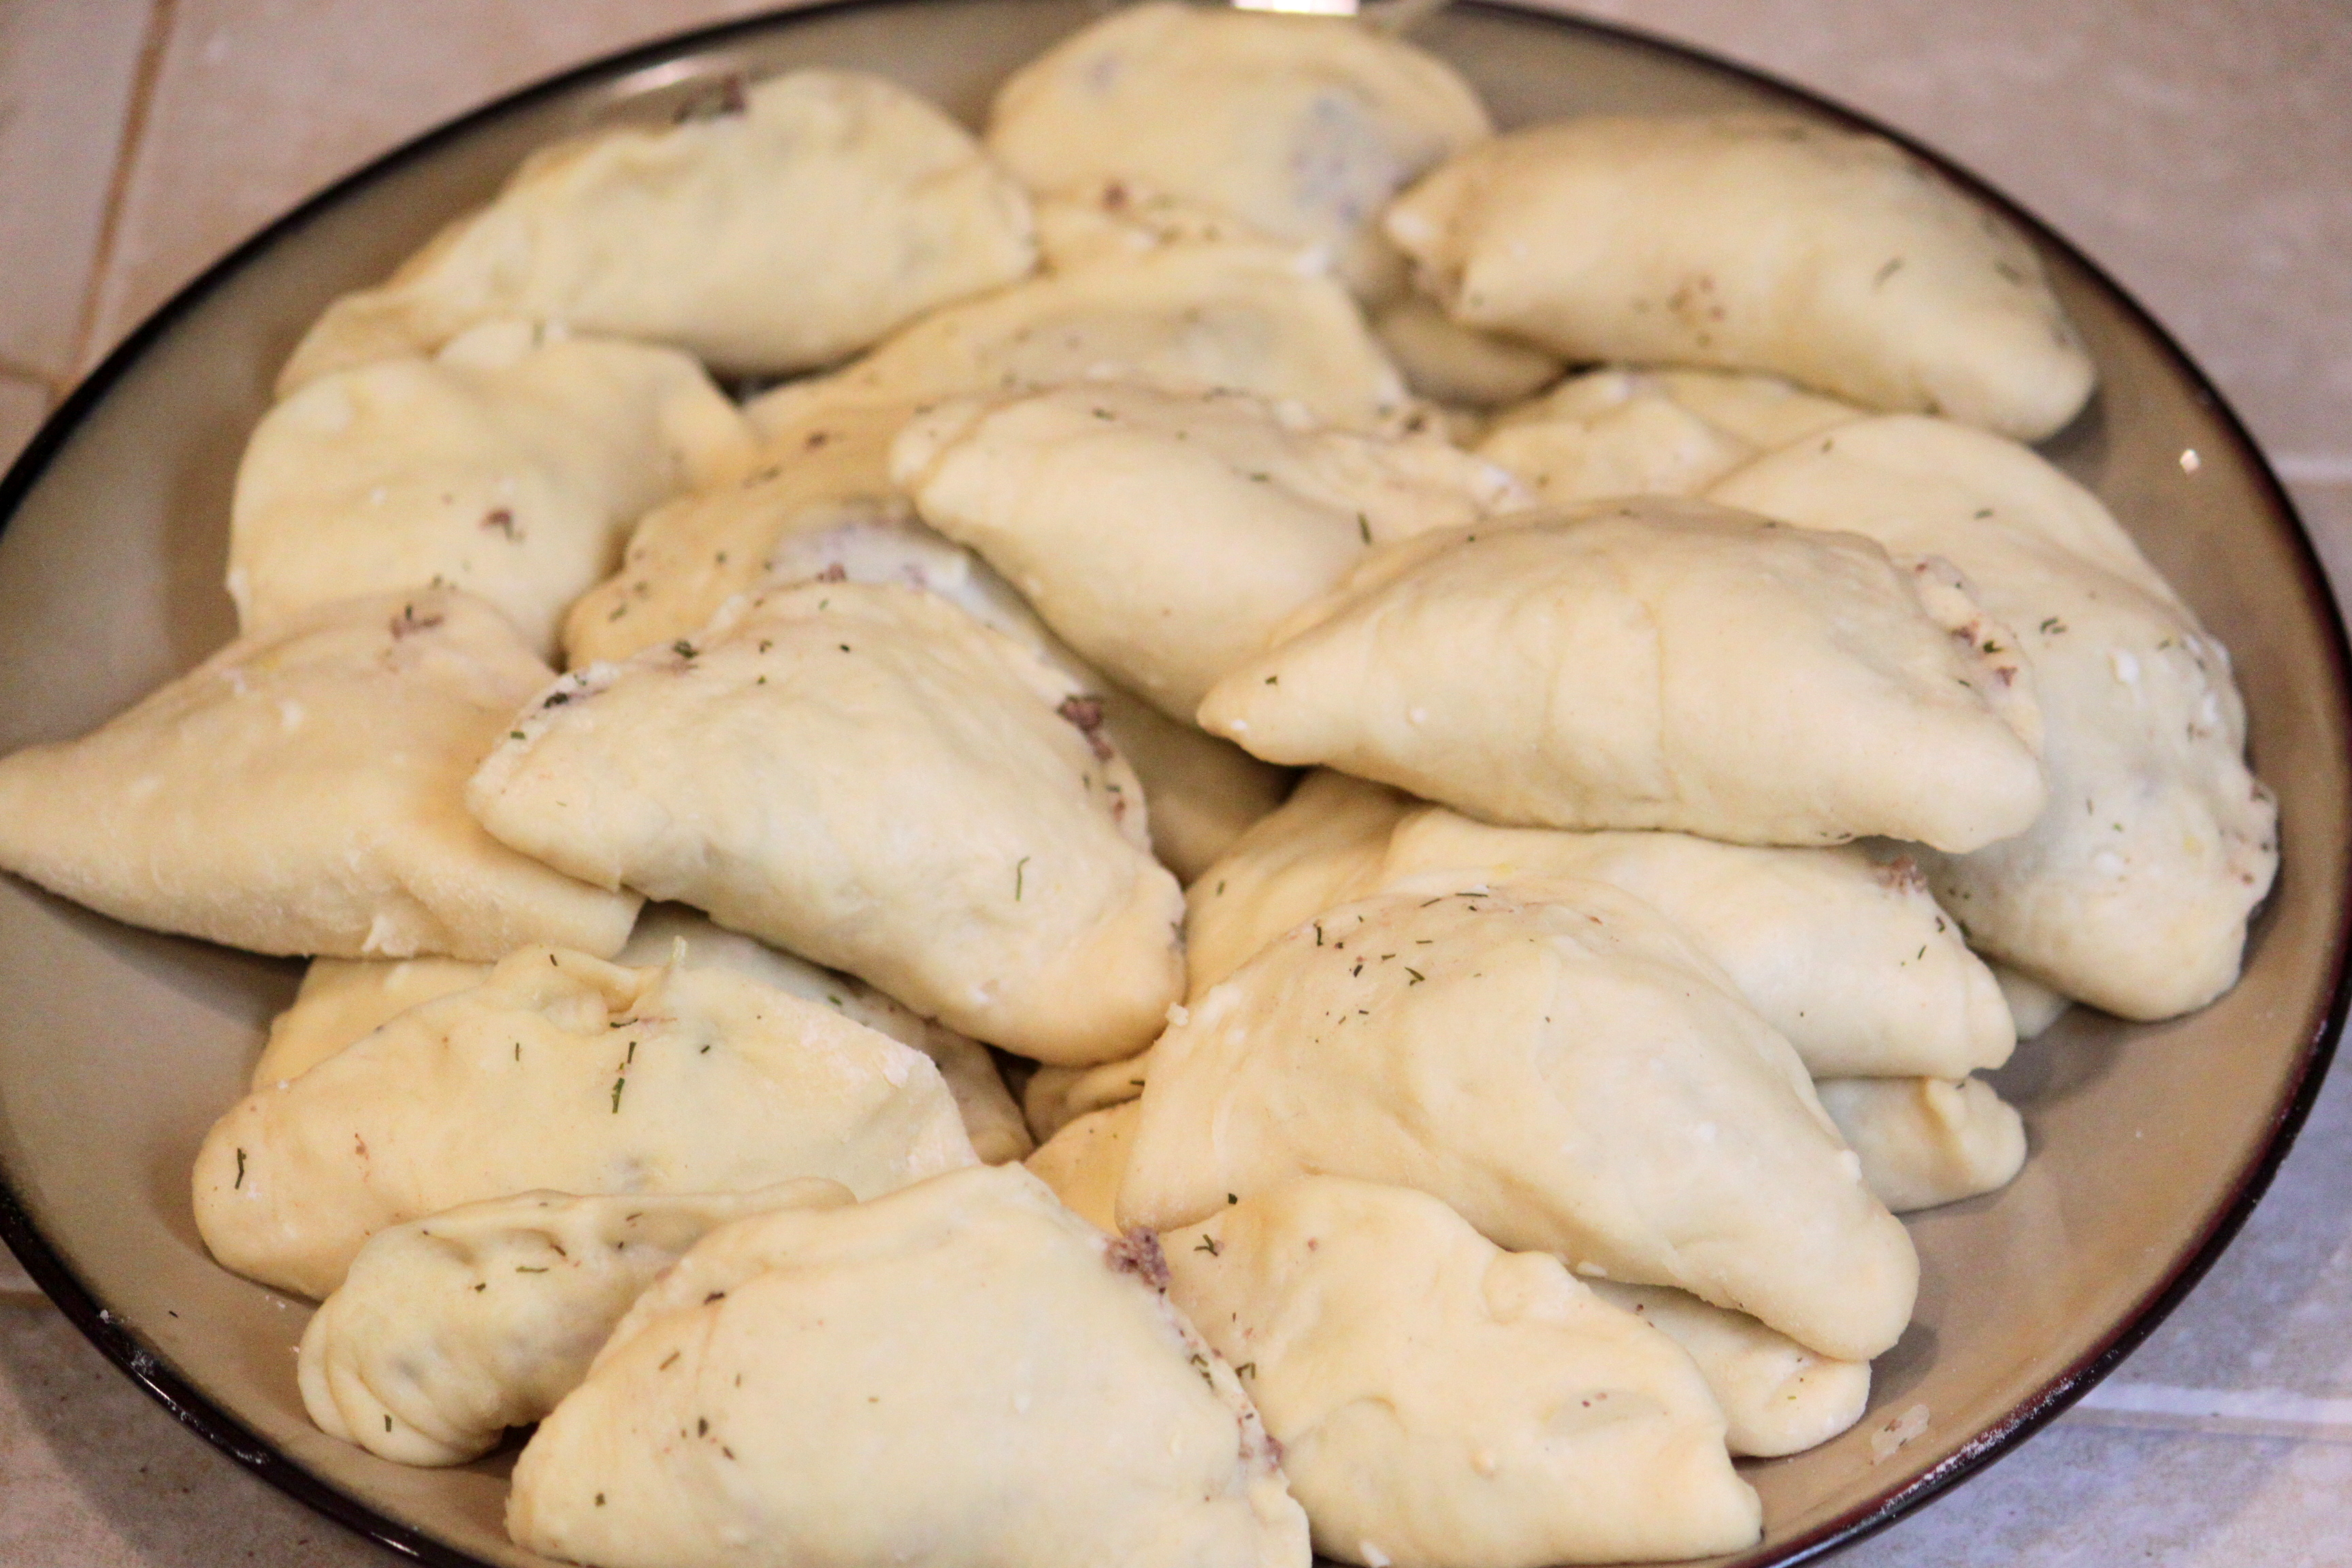
Step 9
Fold disks over the mixture and firmly pinch the edges to seal. Arrange on a flat surface and allow the piroshki to sit for approximately 10 minutes. (Don't lay them on top of each other like I did...I was trying to save space...but they will stick to each other)
Done!
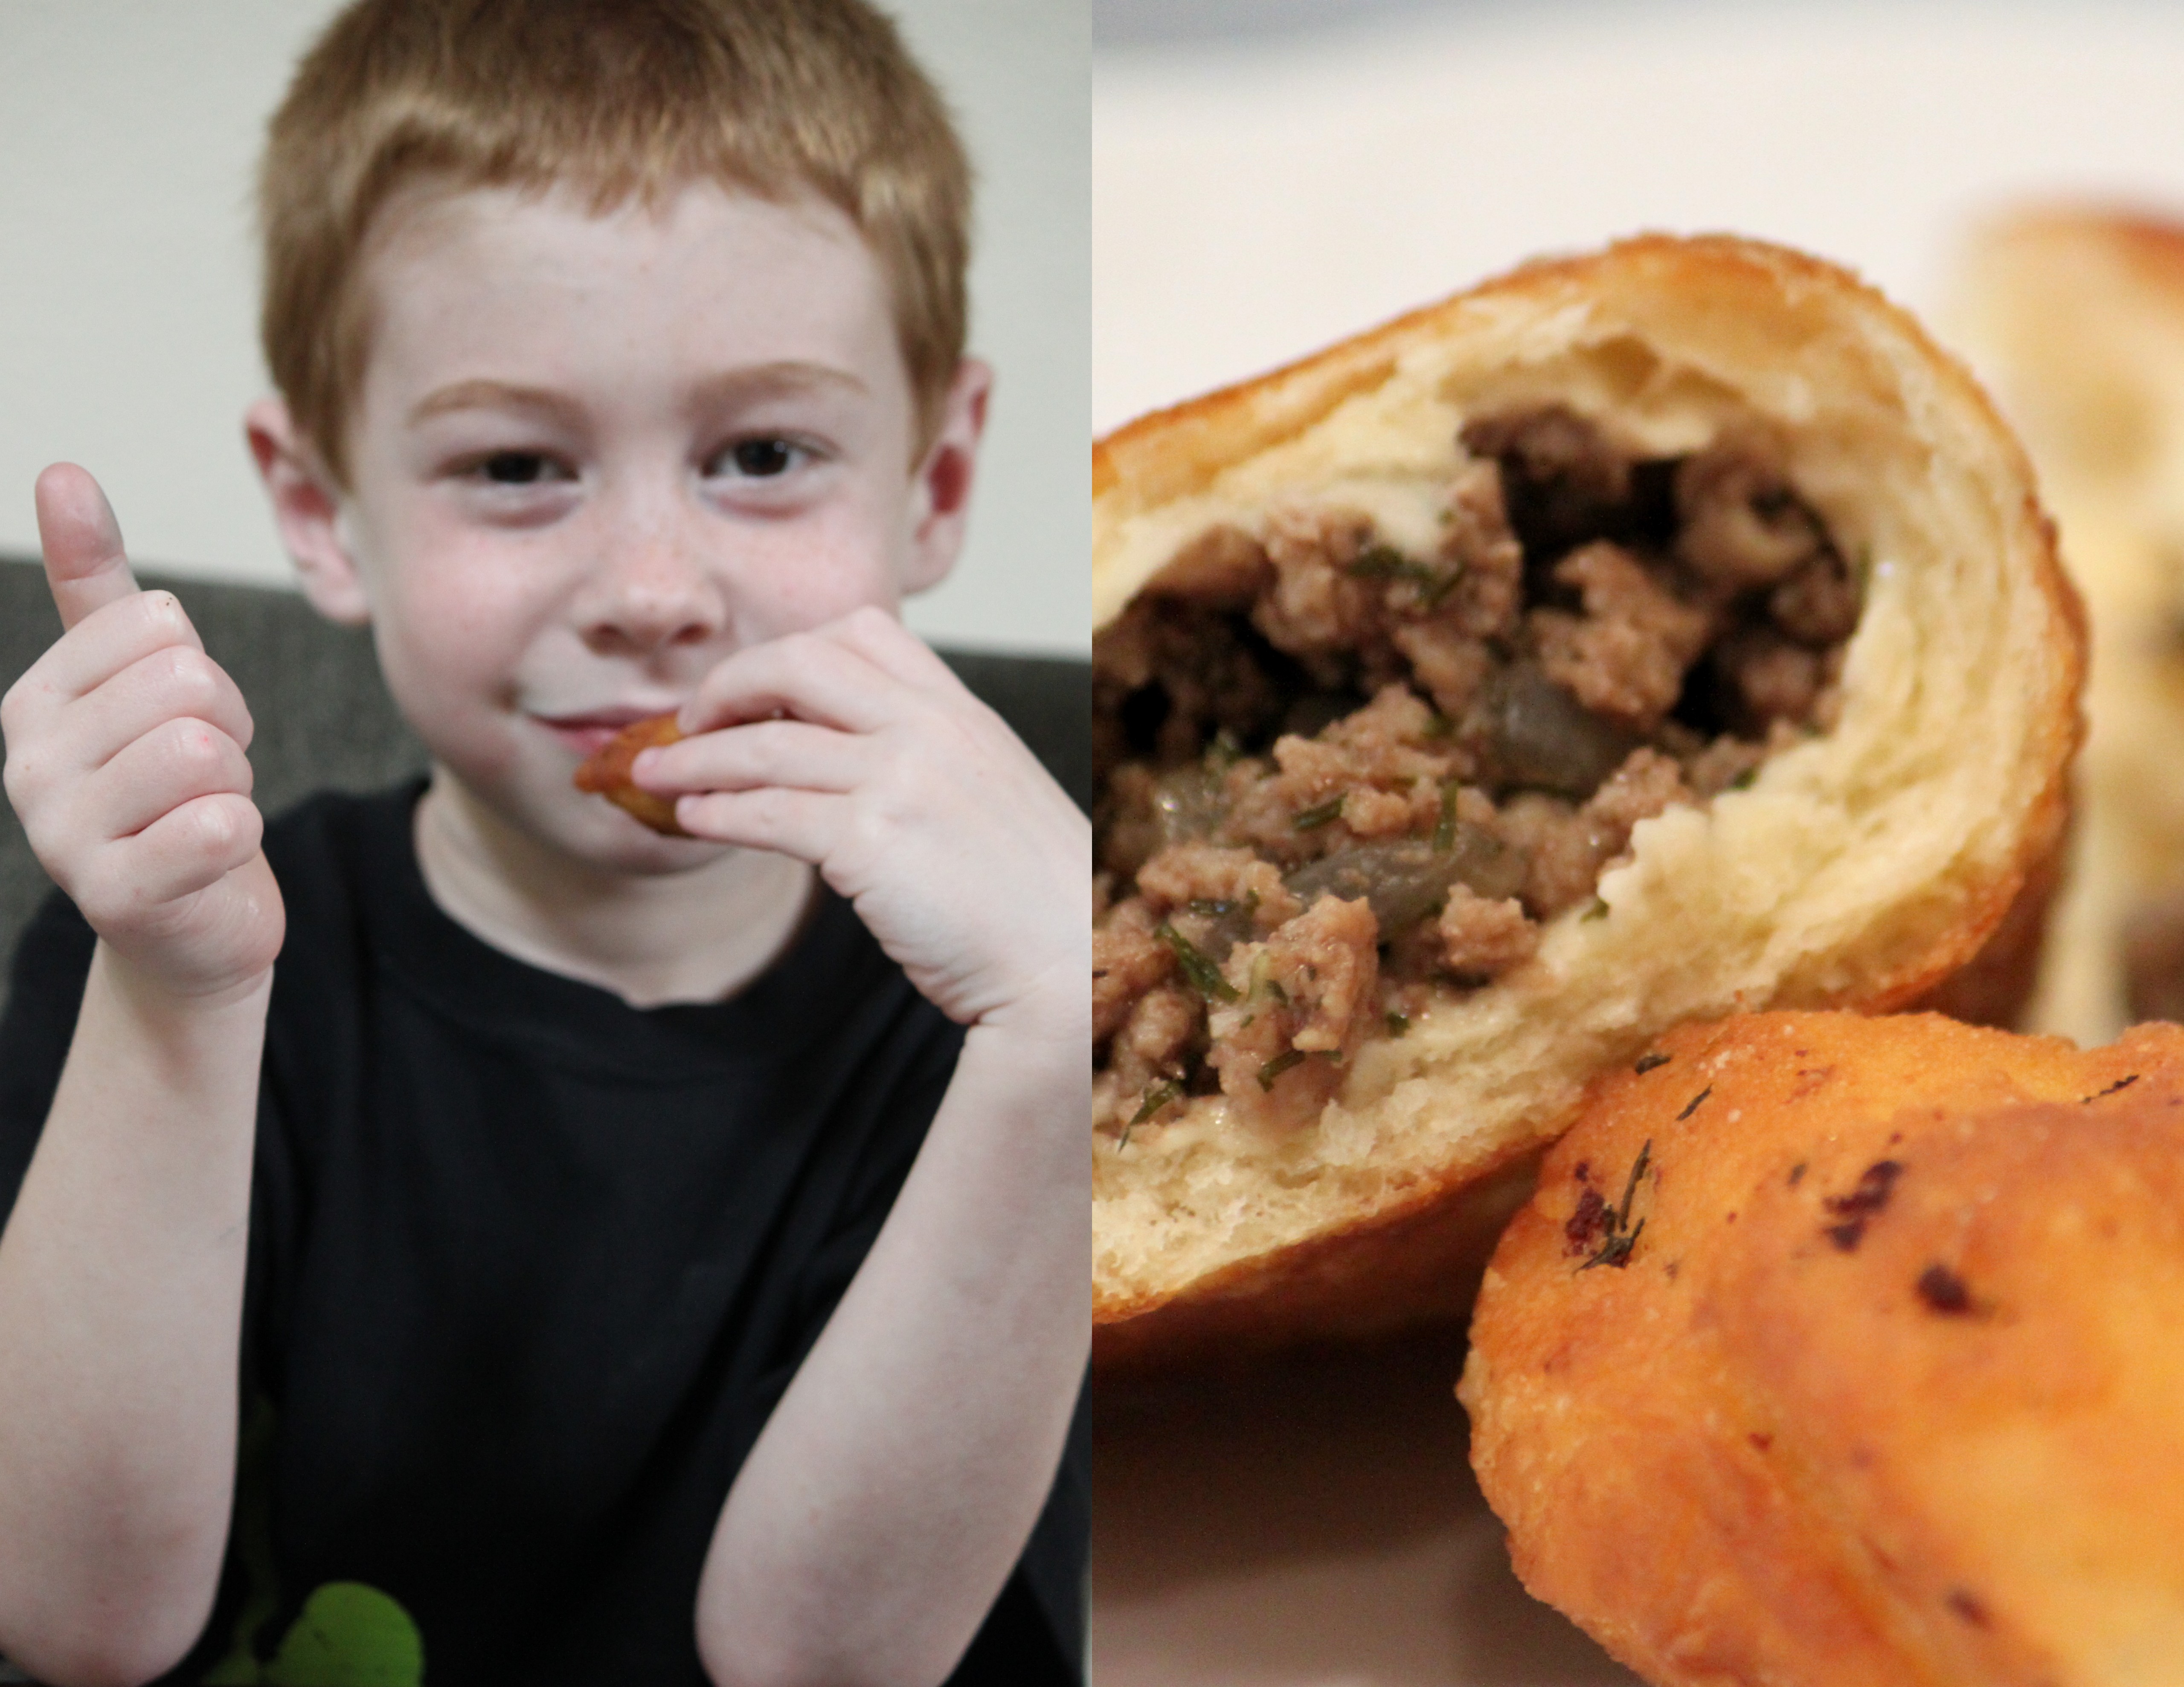
This next step is for grownups only: In a large, heavy skillet or deep fryer, heat 3 cups of oil to 375 degrees F (190 degrees C). (I used a thermometer to check the temperature.) Deep fry the piroshki in batches until golden brown on one side; gently turn and fry the other side. Remove and let drain on a plate lined with paper towels. Wait until it has cooled a little, then ENJOY! These were delicious!! We are definitely going to make these again. I fried these because that's how it was intended to be made...however, next time we are going to bake ours (some suggested baking times: 400 degrees for 15-17 minutes; 425 degrees for 10 minutes). This recipe received a thumbs up from my son, which says a lot since he's a really picky eater!