Step-by-step tutorial
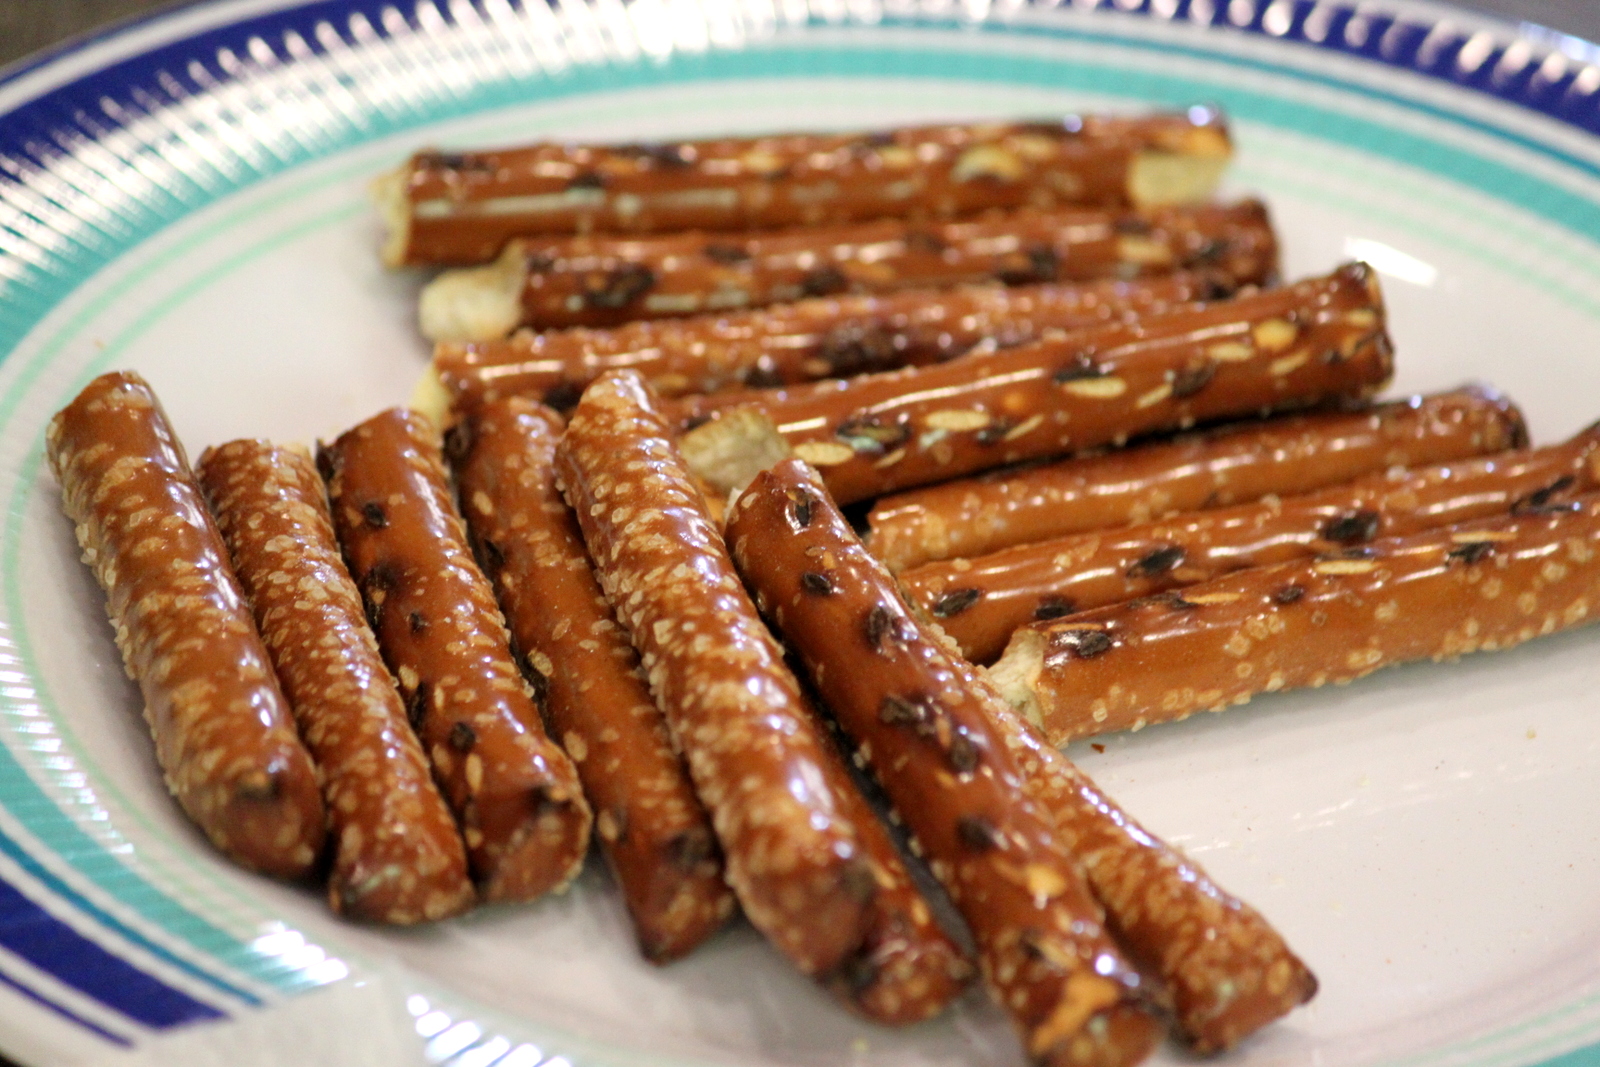
Step 1
First, break the pretzel rods in half. (We usually don't break the pretzel rods in half, but for this recipe the kids and I decided that smaller witch "fingers" would be best--plus, the smaller the pretzel rod, the easier it is for the kids to coat it with chocolate.)

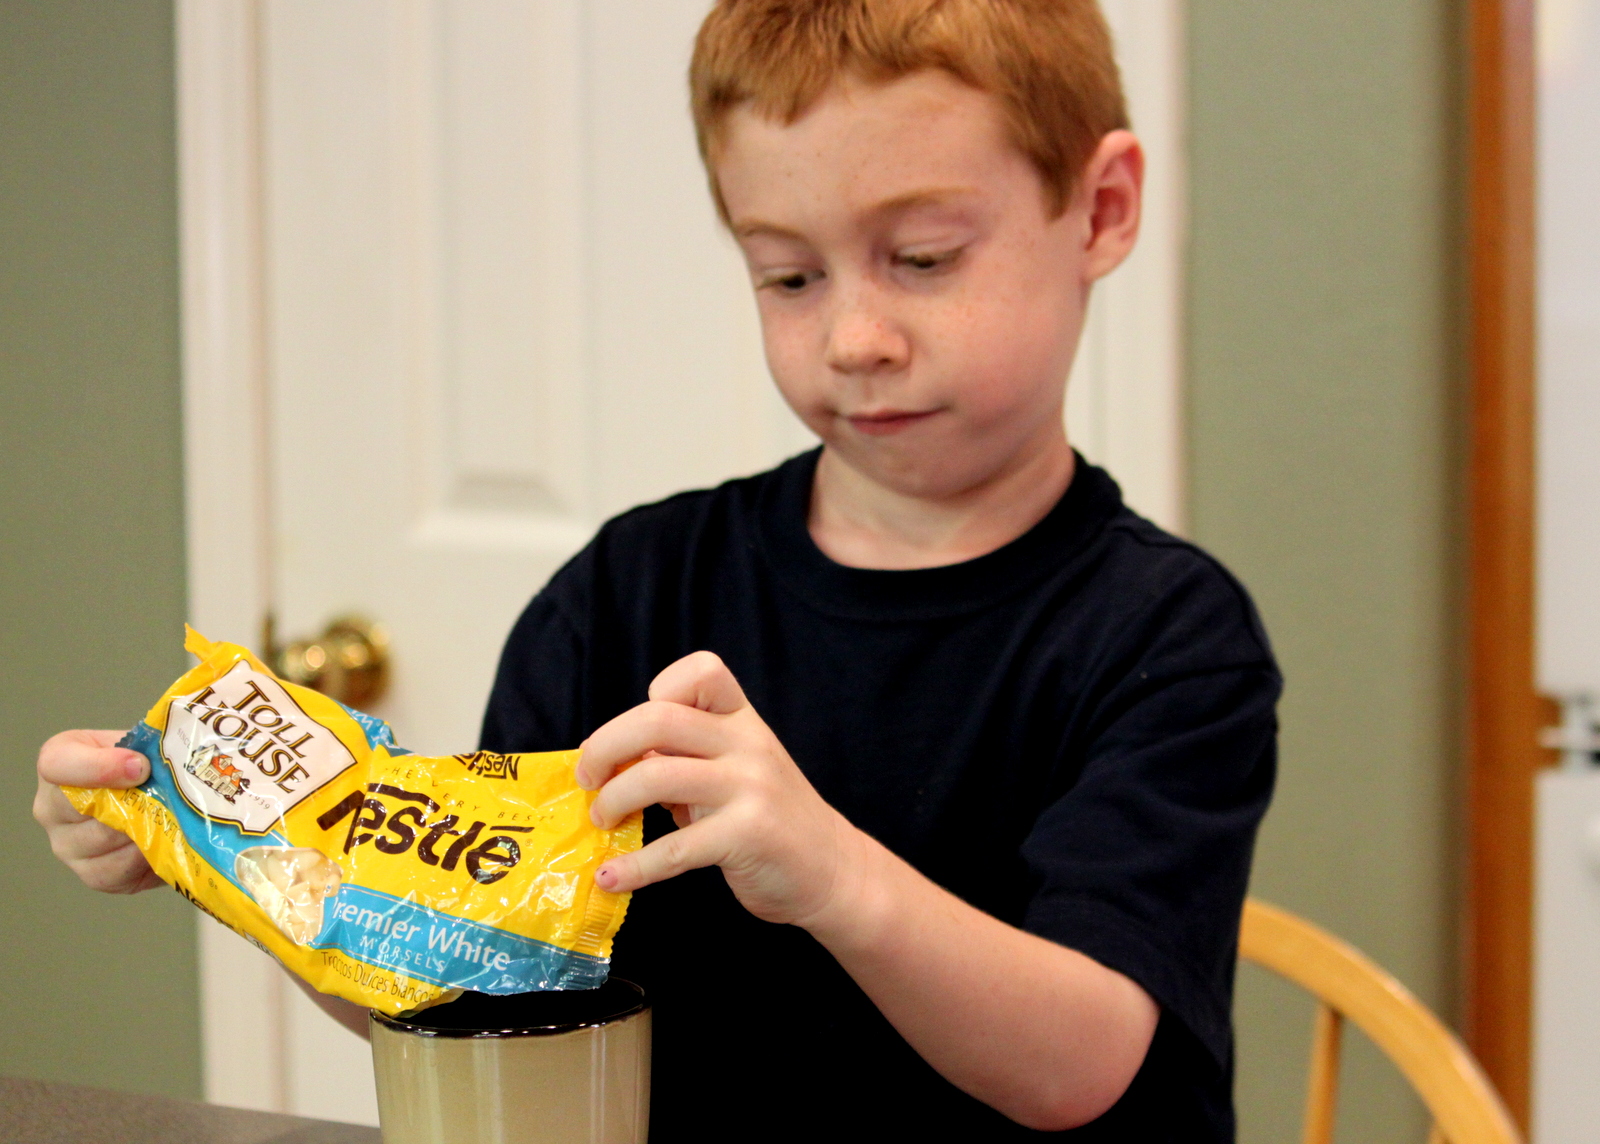
Step 2
Next, we poured about 1.5 cups of white chocolate chips in a microwave-proof cup. We also added about 1-2 teaspoons of shortening, which helps make the chocolate smoother.
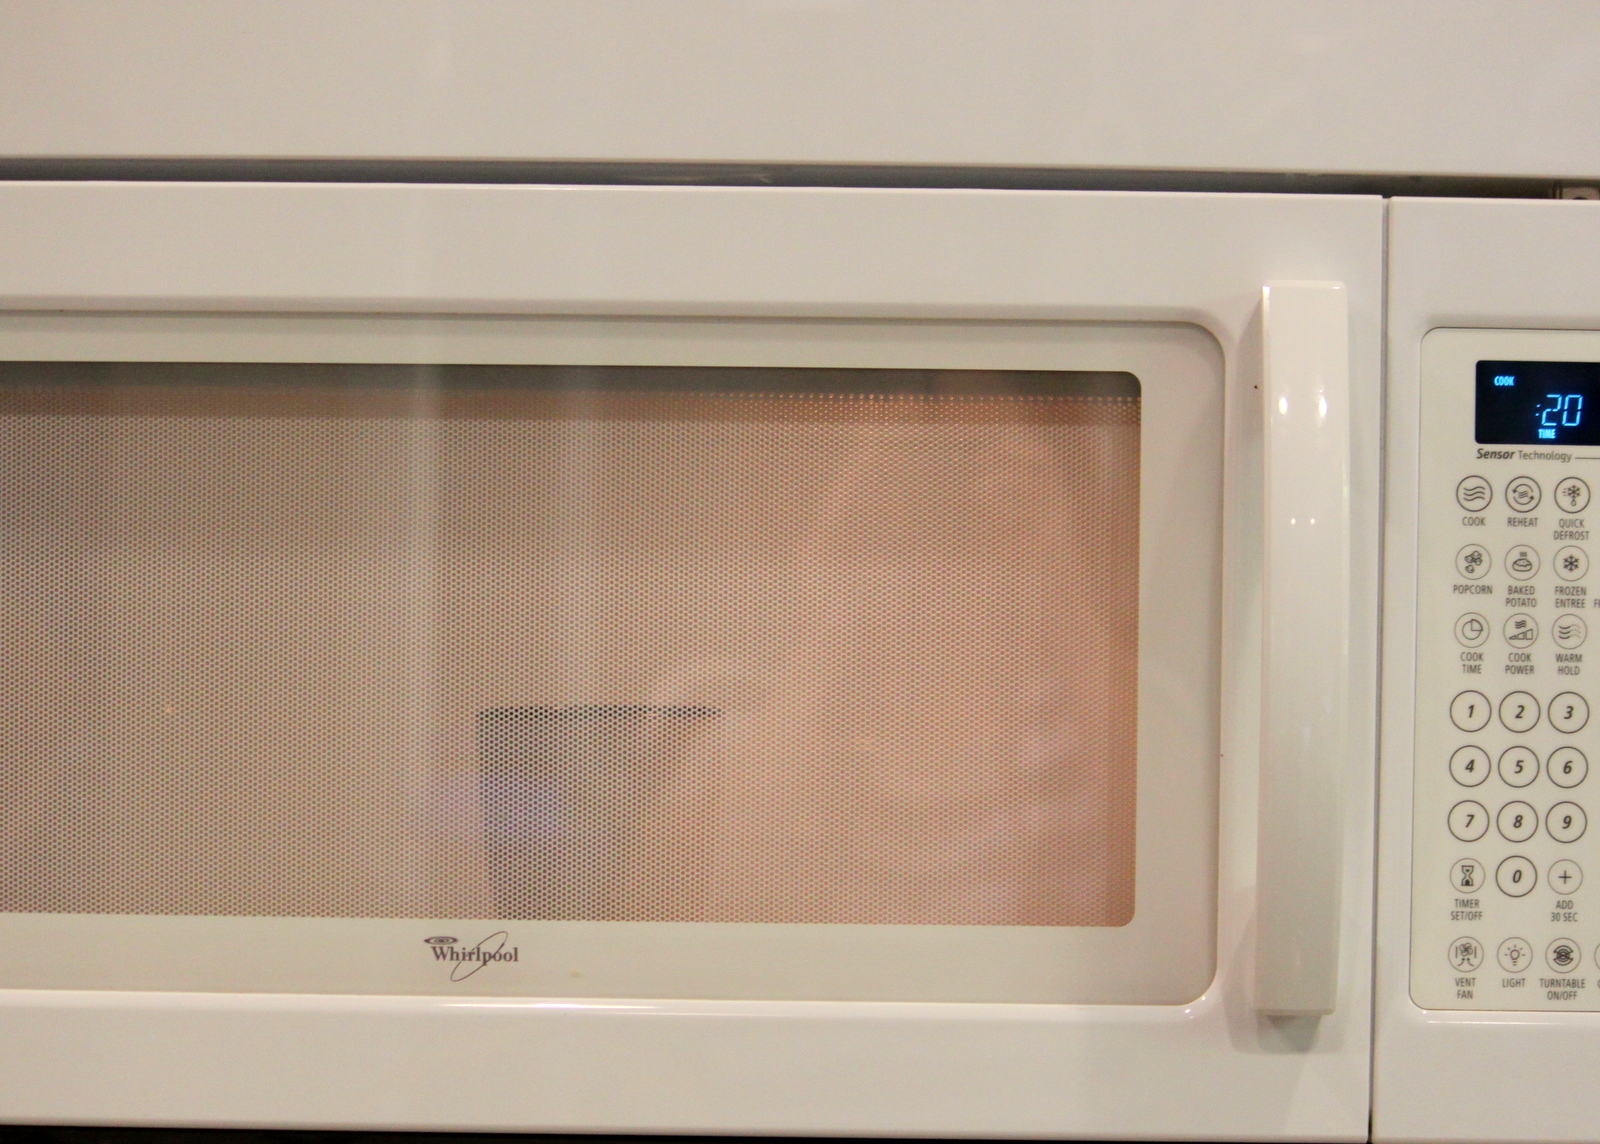
Step 3
We placed the cup in the microwave and stirred the chocolate at 20-30 second intervals. (This timing really depends on your microwave.) Heat the chocolate carefully, since white chocolate has a tendency to burn easily.
Step 4
Once melted, the kids added some green food coloring. We probably added 15 drops and the green still came out fairly light.
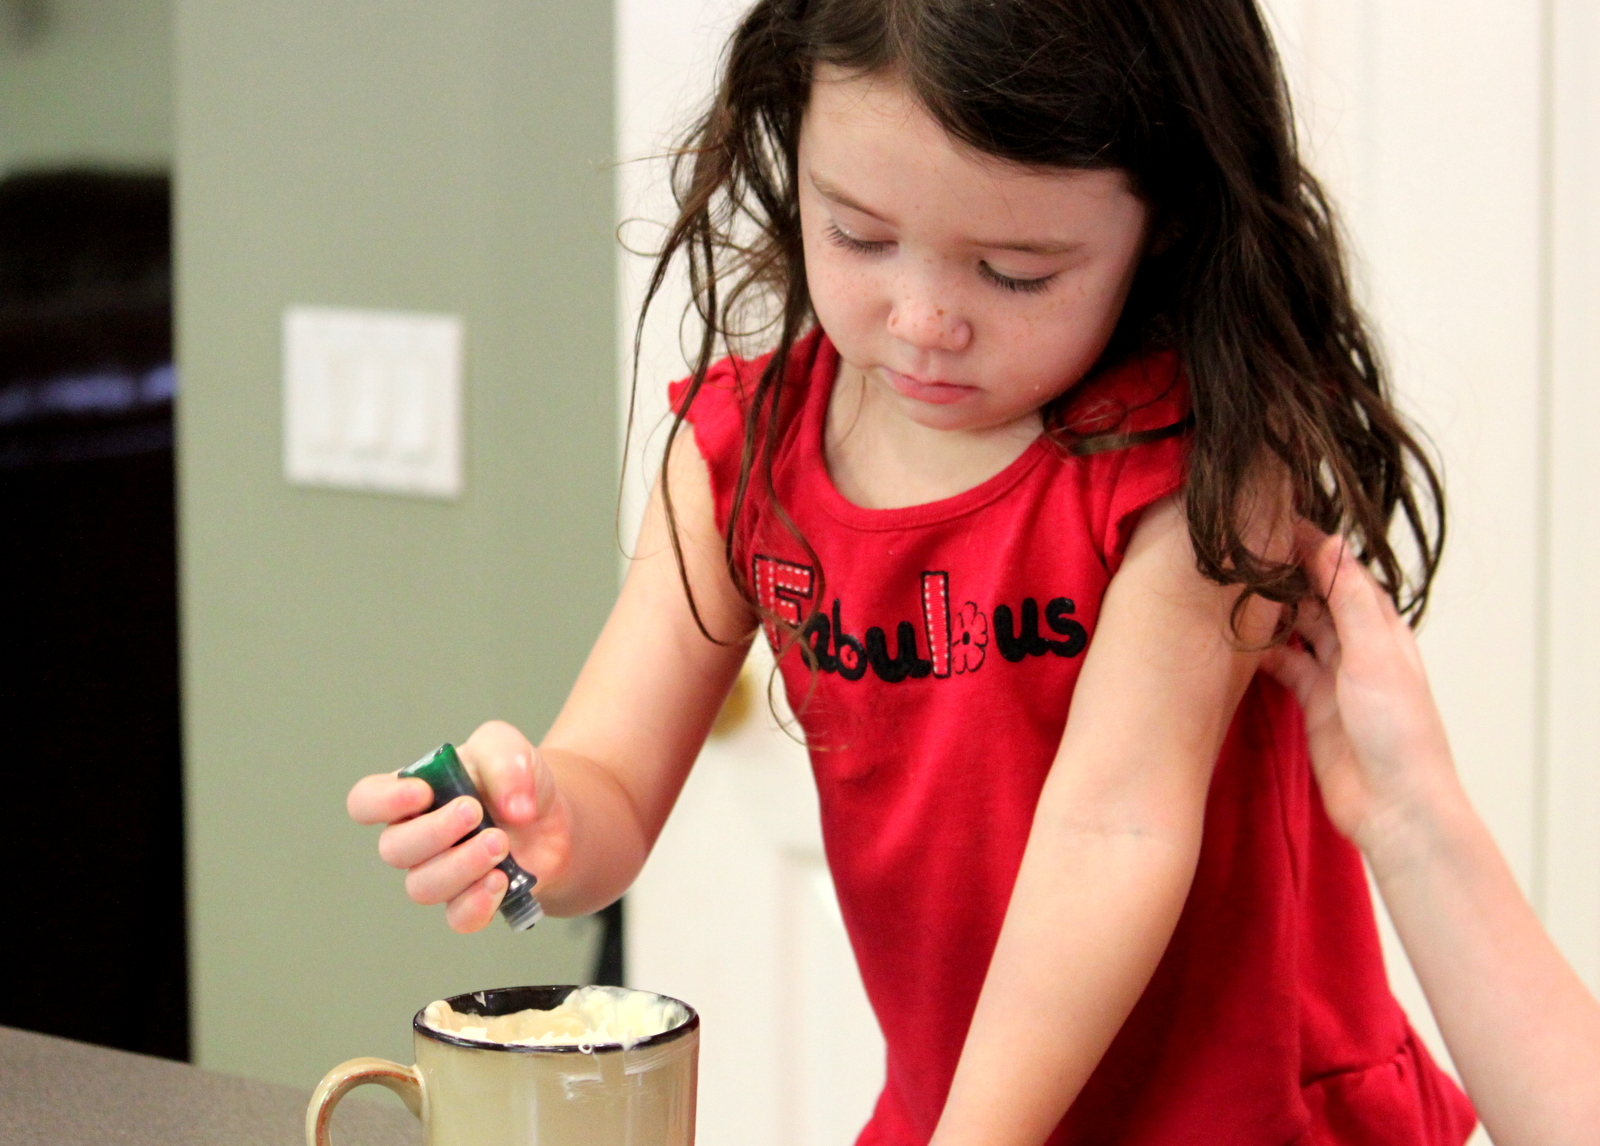
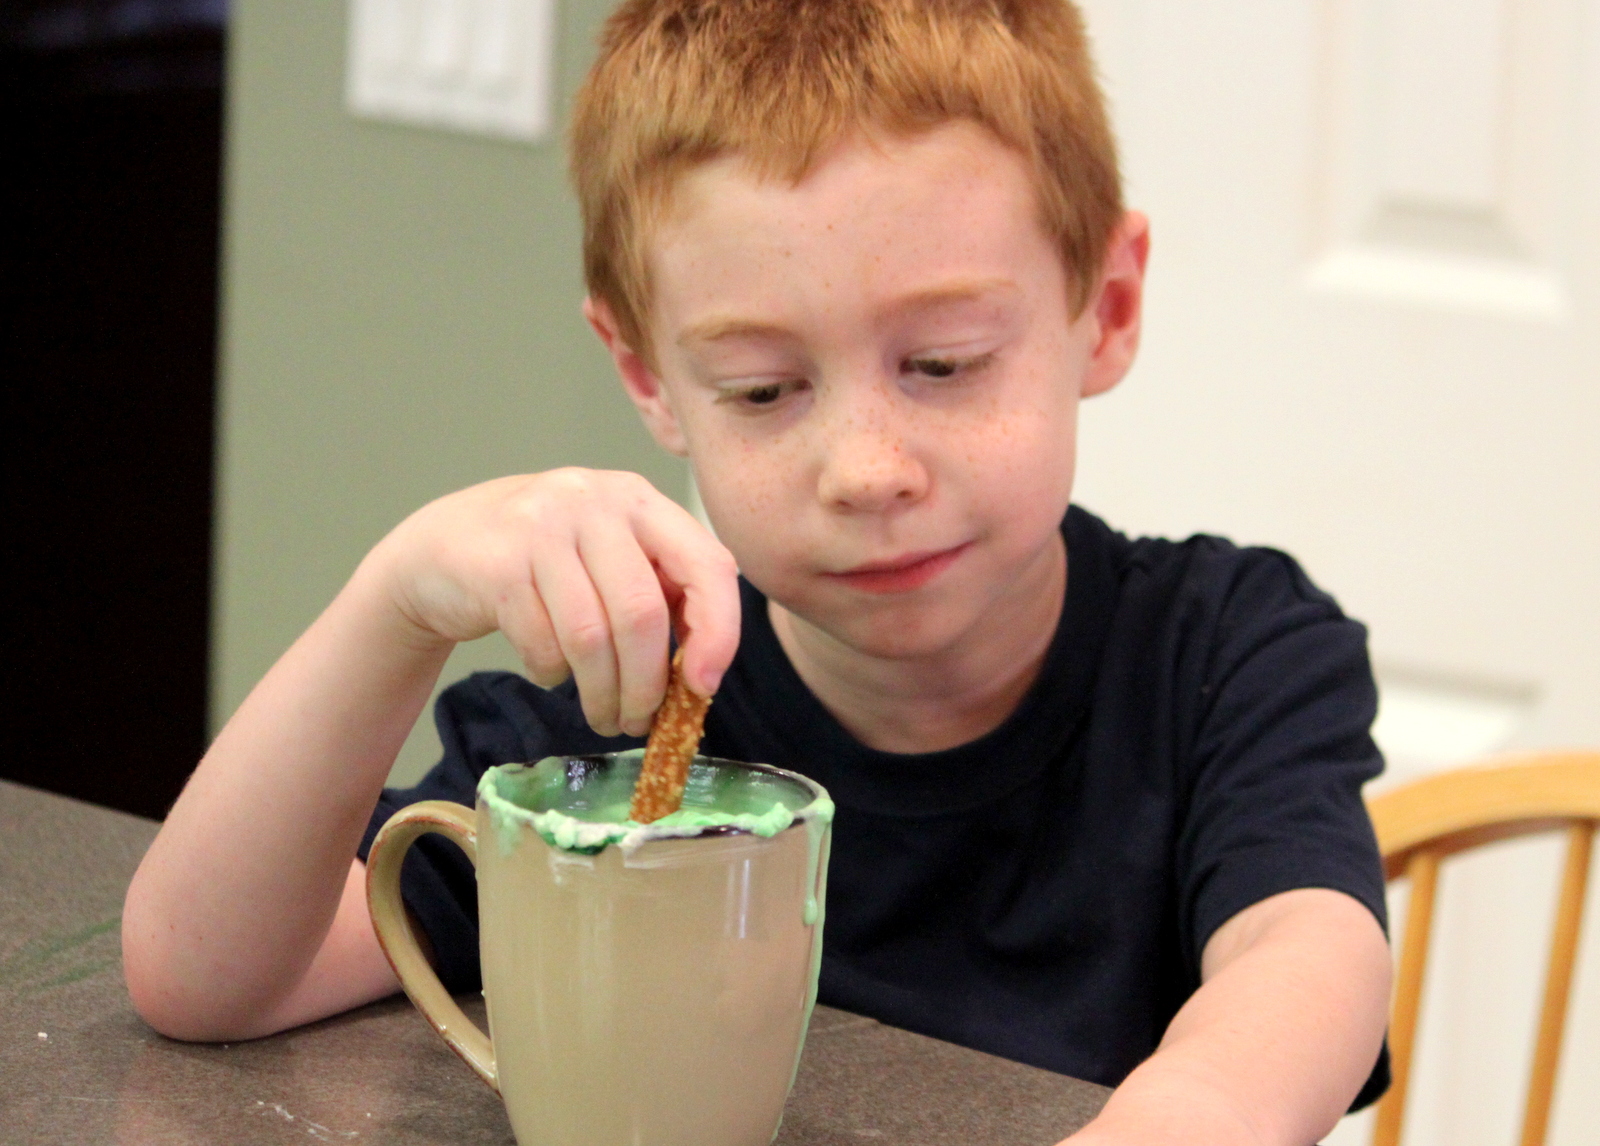
Step 5
Next, have the kids dip the broken end of the pretzel into the chocolate. After dipping, allow any excess chocolate to drip back into the mug (shake gently). Then lay your chocolate covered pretzel on top of wax paper.
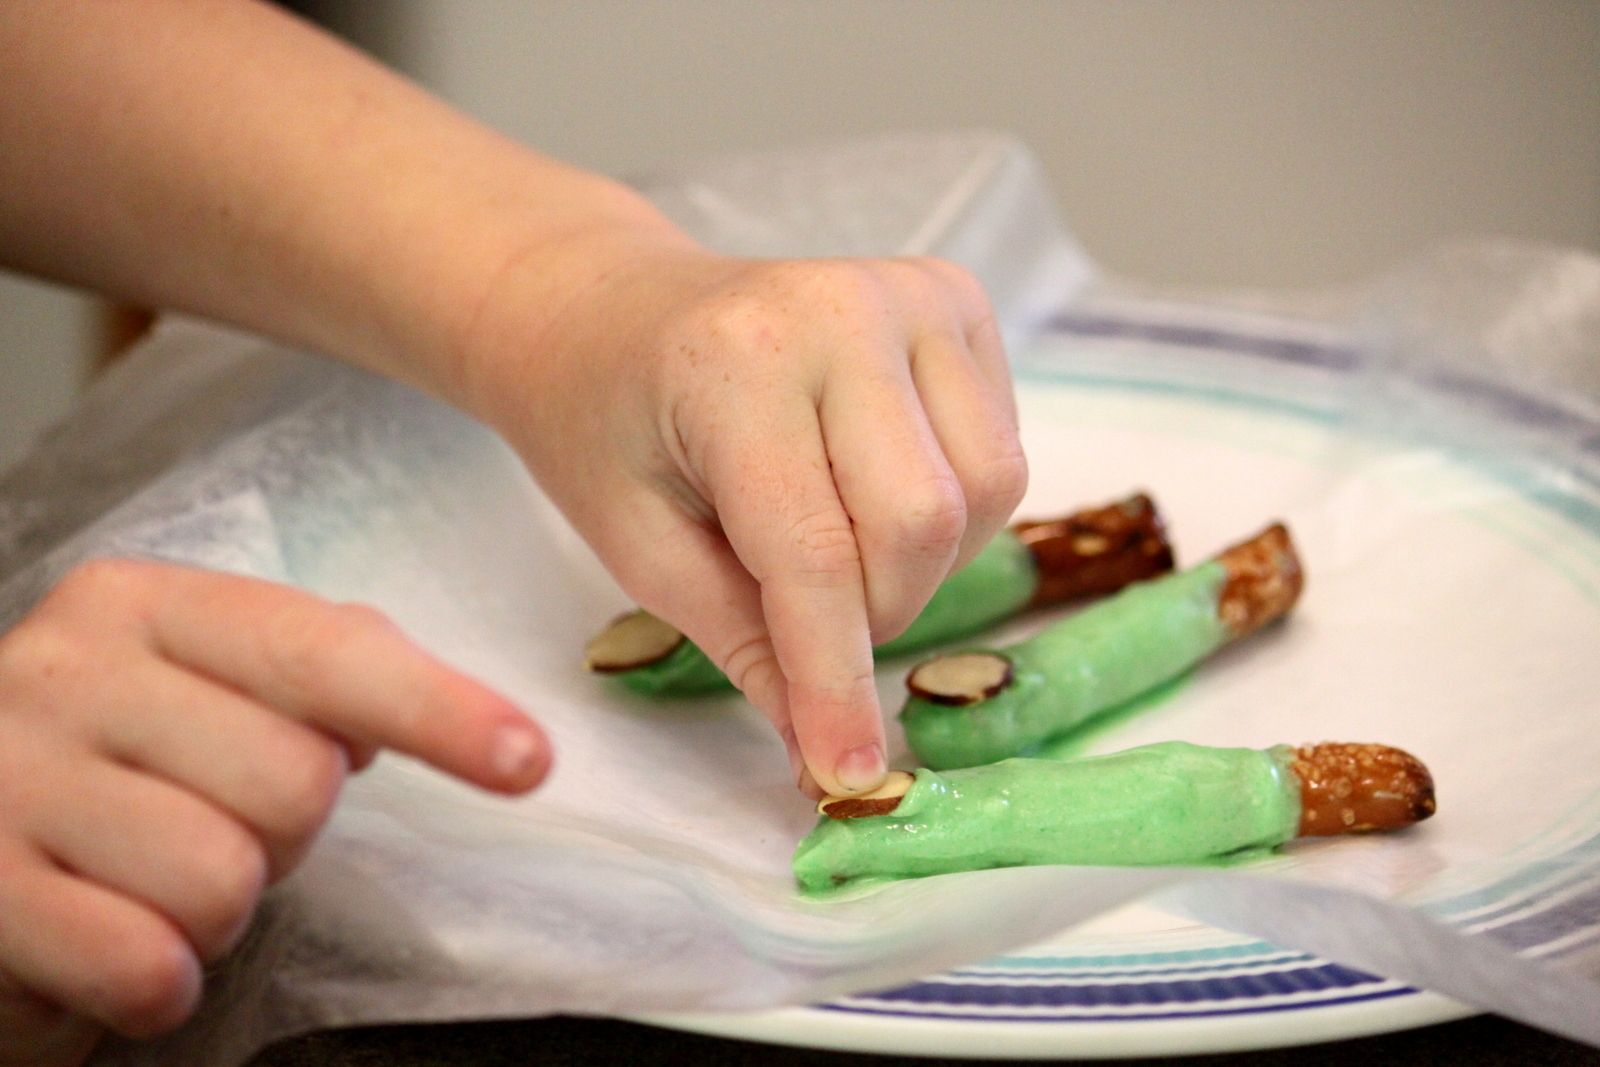
Step 6
Have your sliced almonds ready to go, so the kids can stick the "finger nails" on before the chocolate dries.
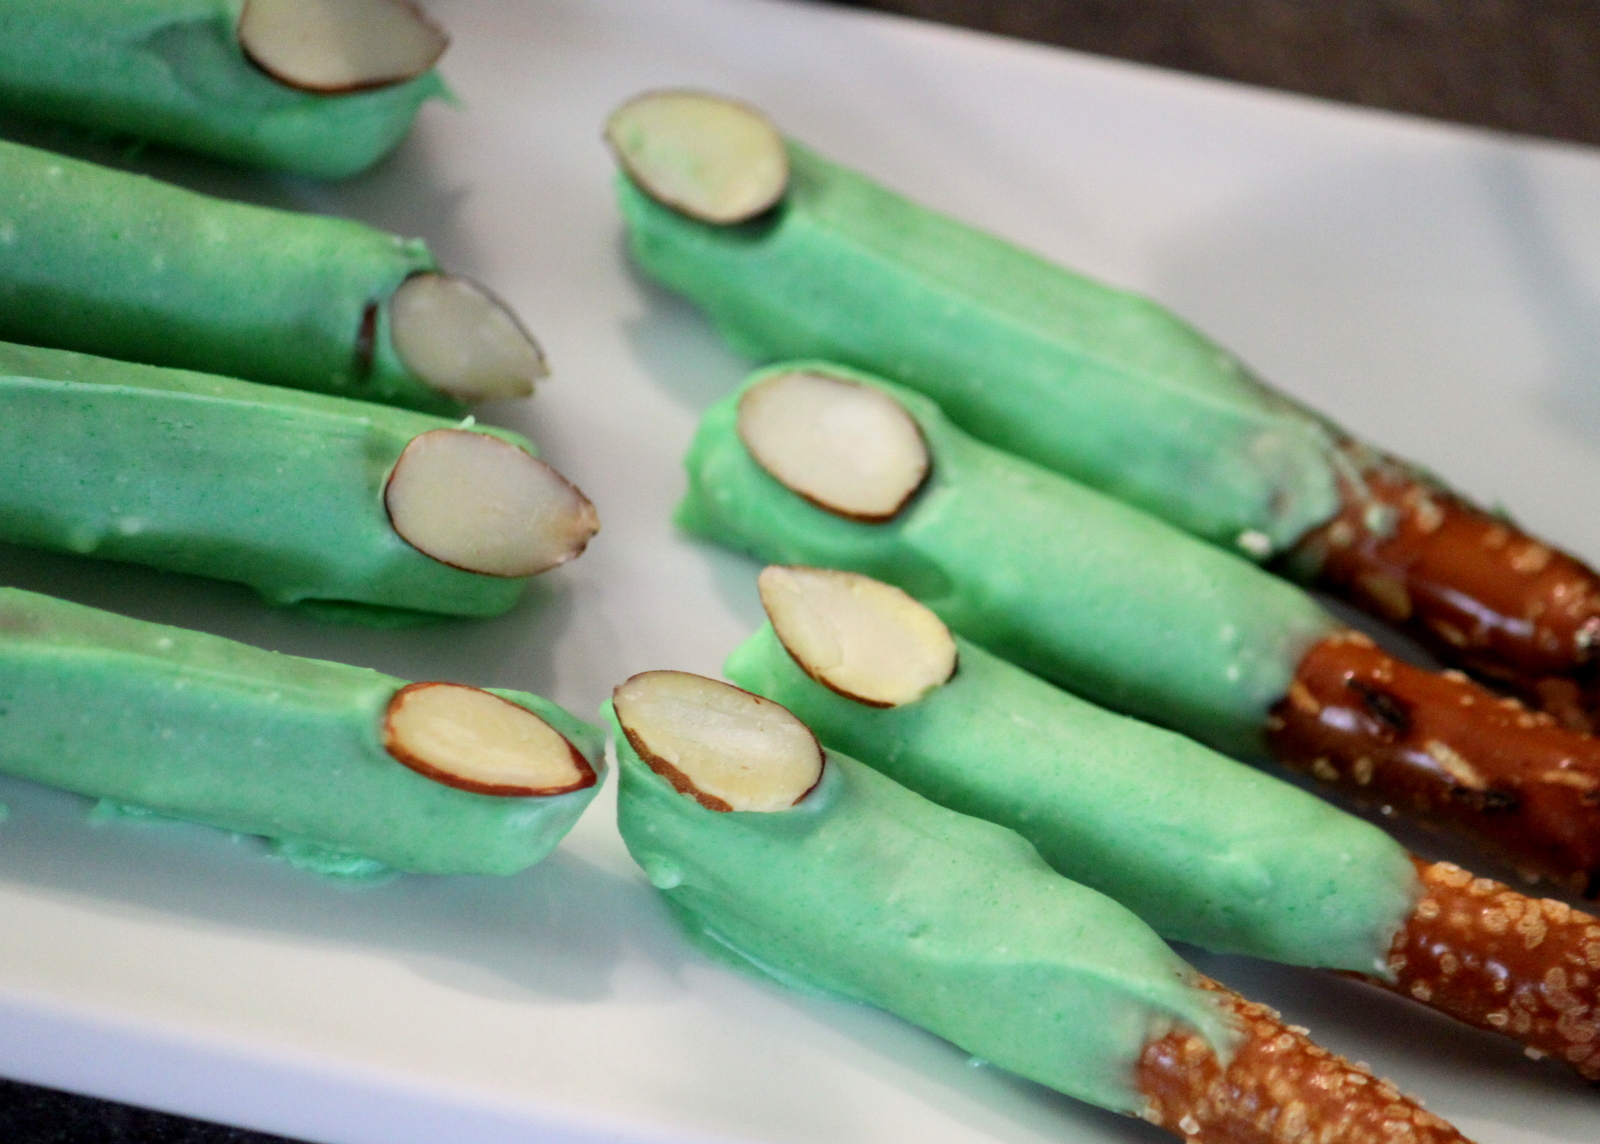
Final result!
Once your pretzels have completely hardened, you can put them in cellophane or sandwich bags, tie the bags with pretty ribbons, and hand out your fun Halloween treats!