Confetti Cards

Add some pizazz to your greeting cards with clay confetti! In just a few simple steps, you can take your cards to the next level.

  1. Ages: 9 - 16

  2. <30 minutes

  3. Messy

  4. Grownup needed

Tags:

Materials you'll need

Step-by-step tutorial

  • Step 1

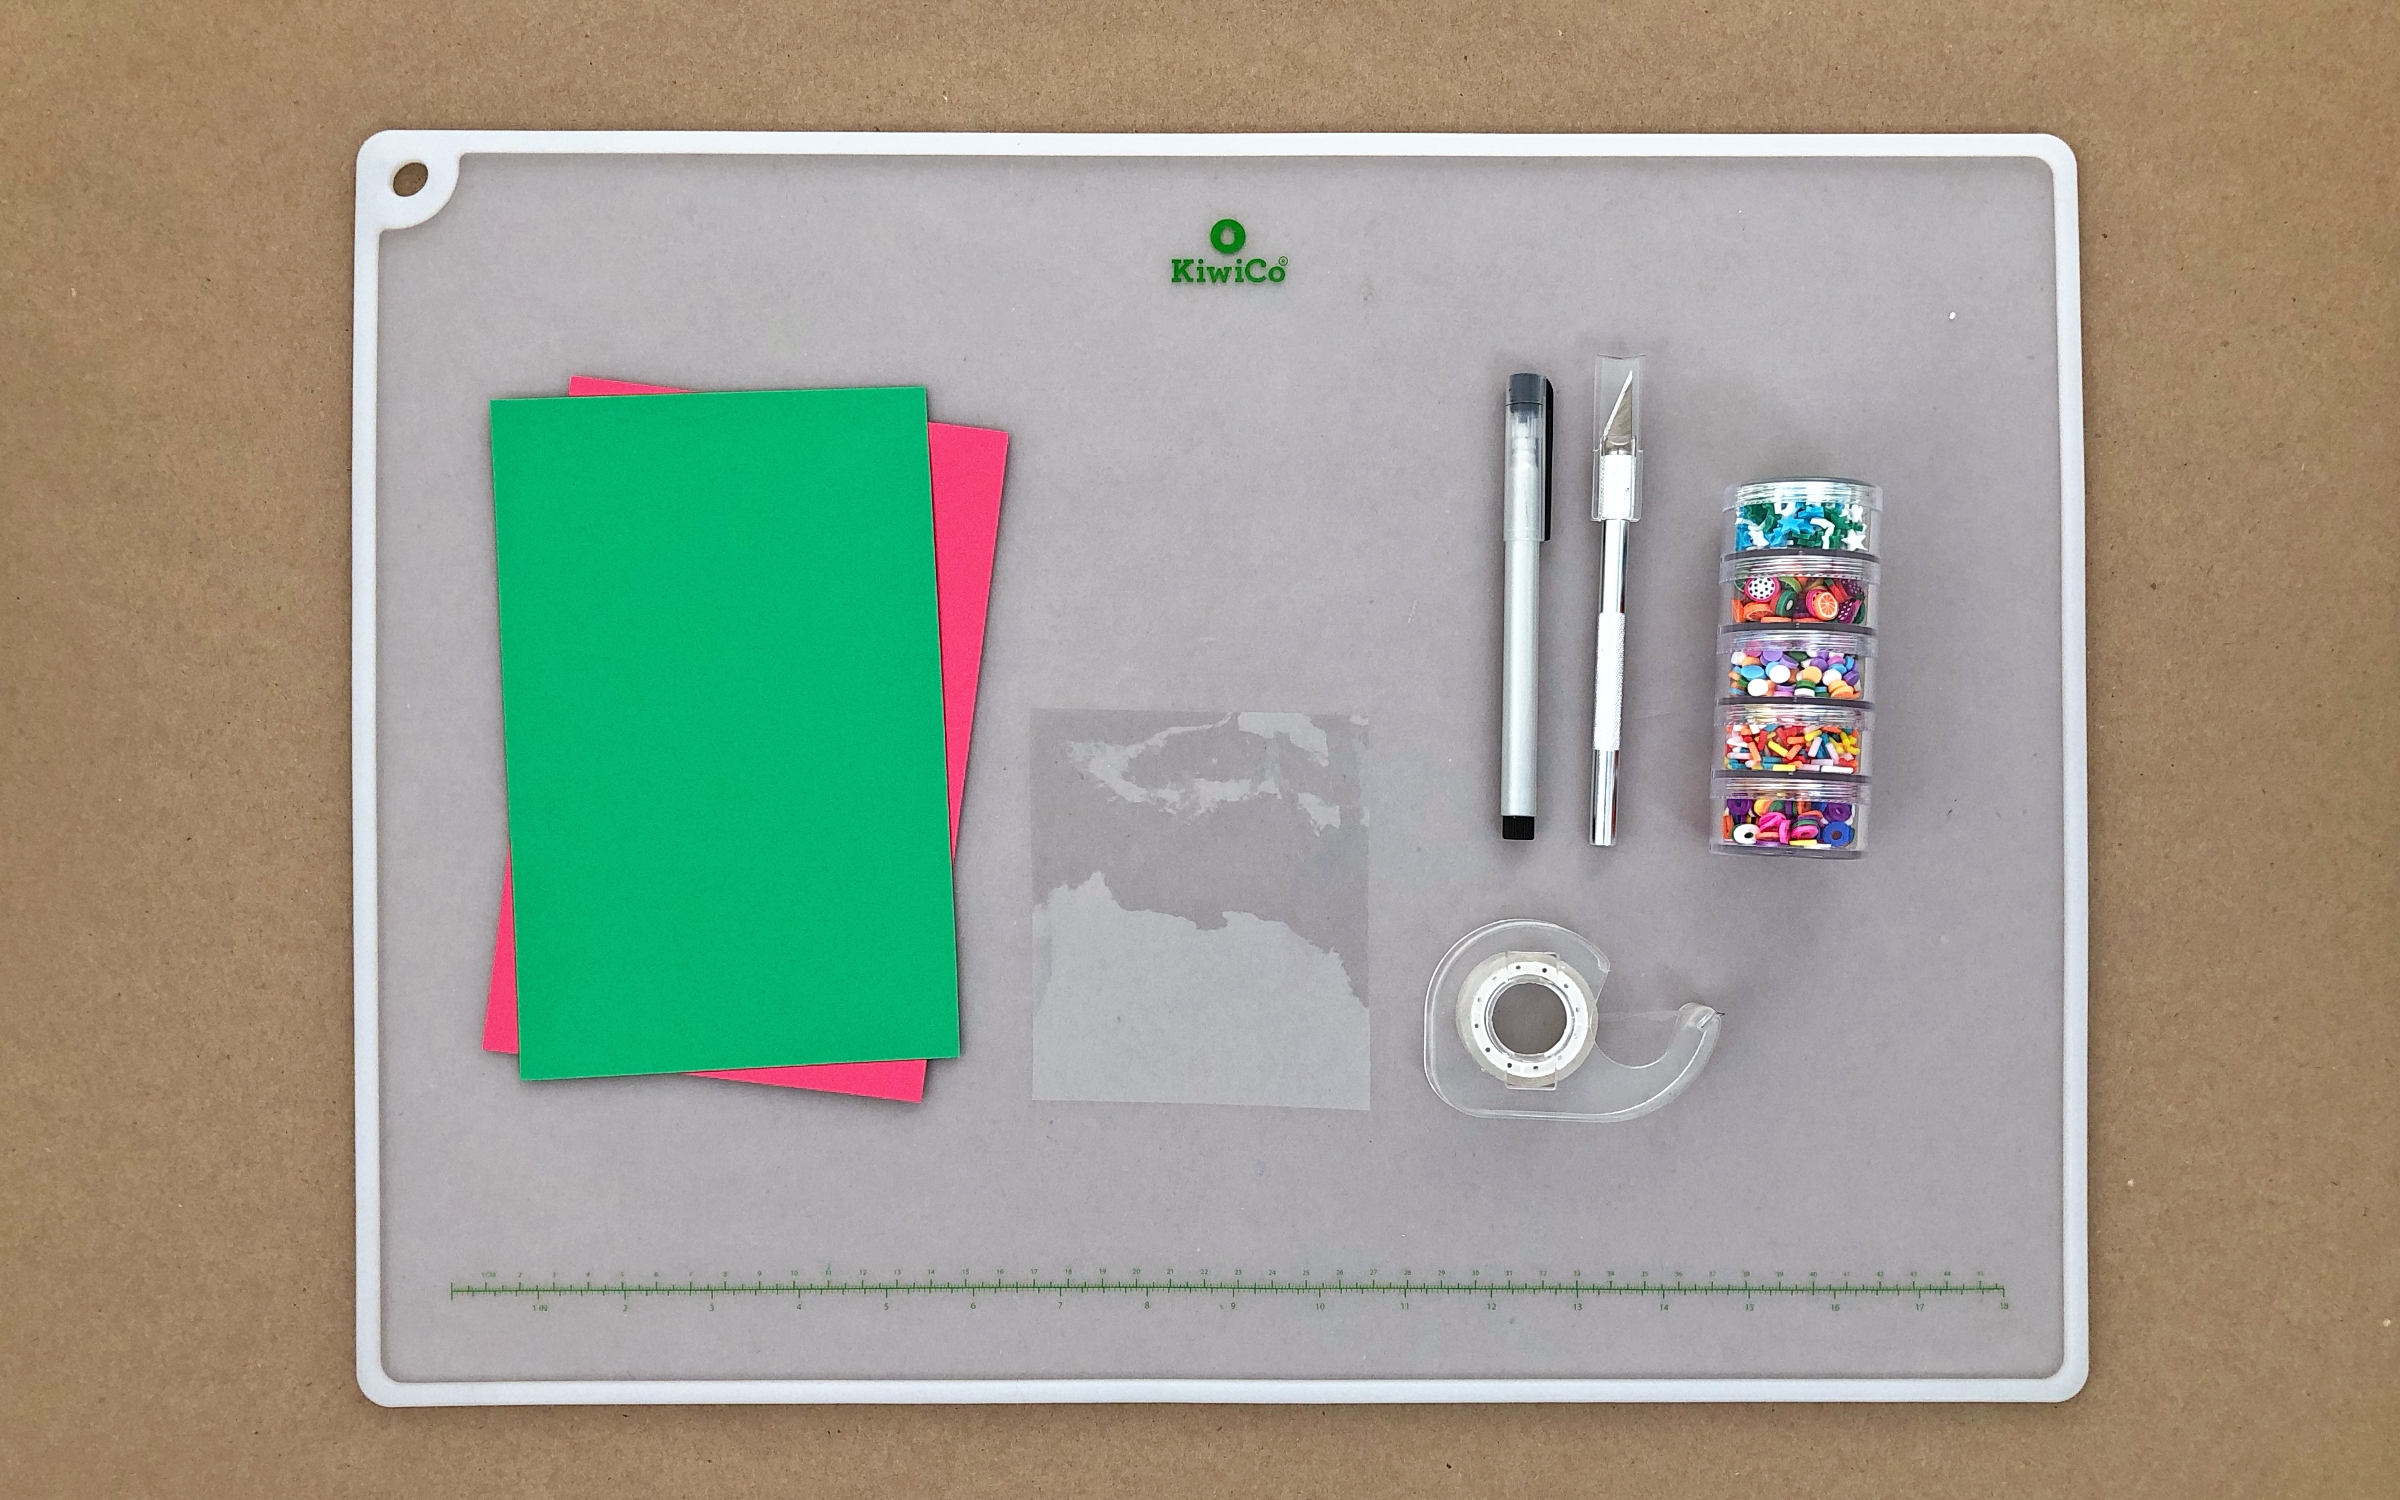
    Gather your materials.

    Photo reference of how to complete step 1

  • Tip

    Need clay confetti? Order some from the KiwiCo store today!

  • Step 2

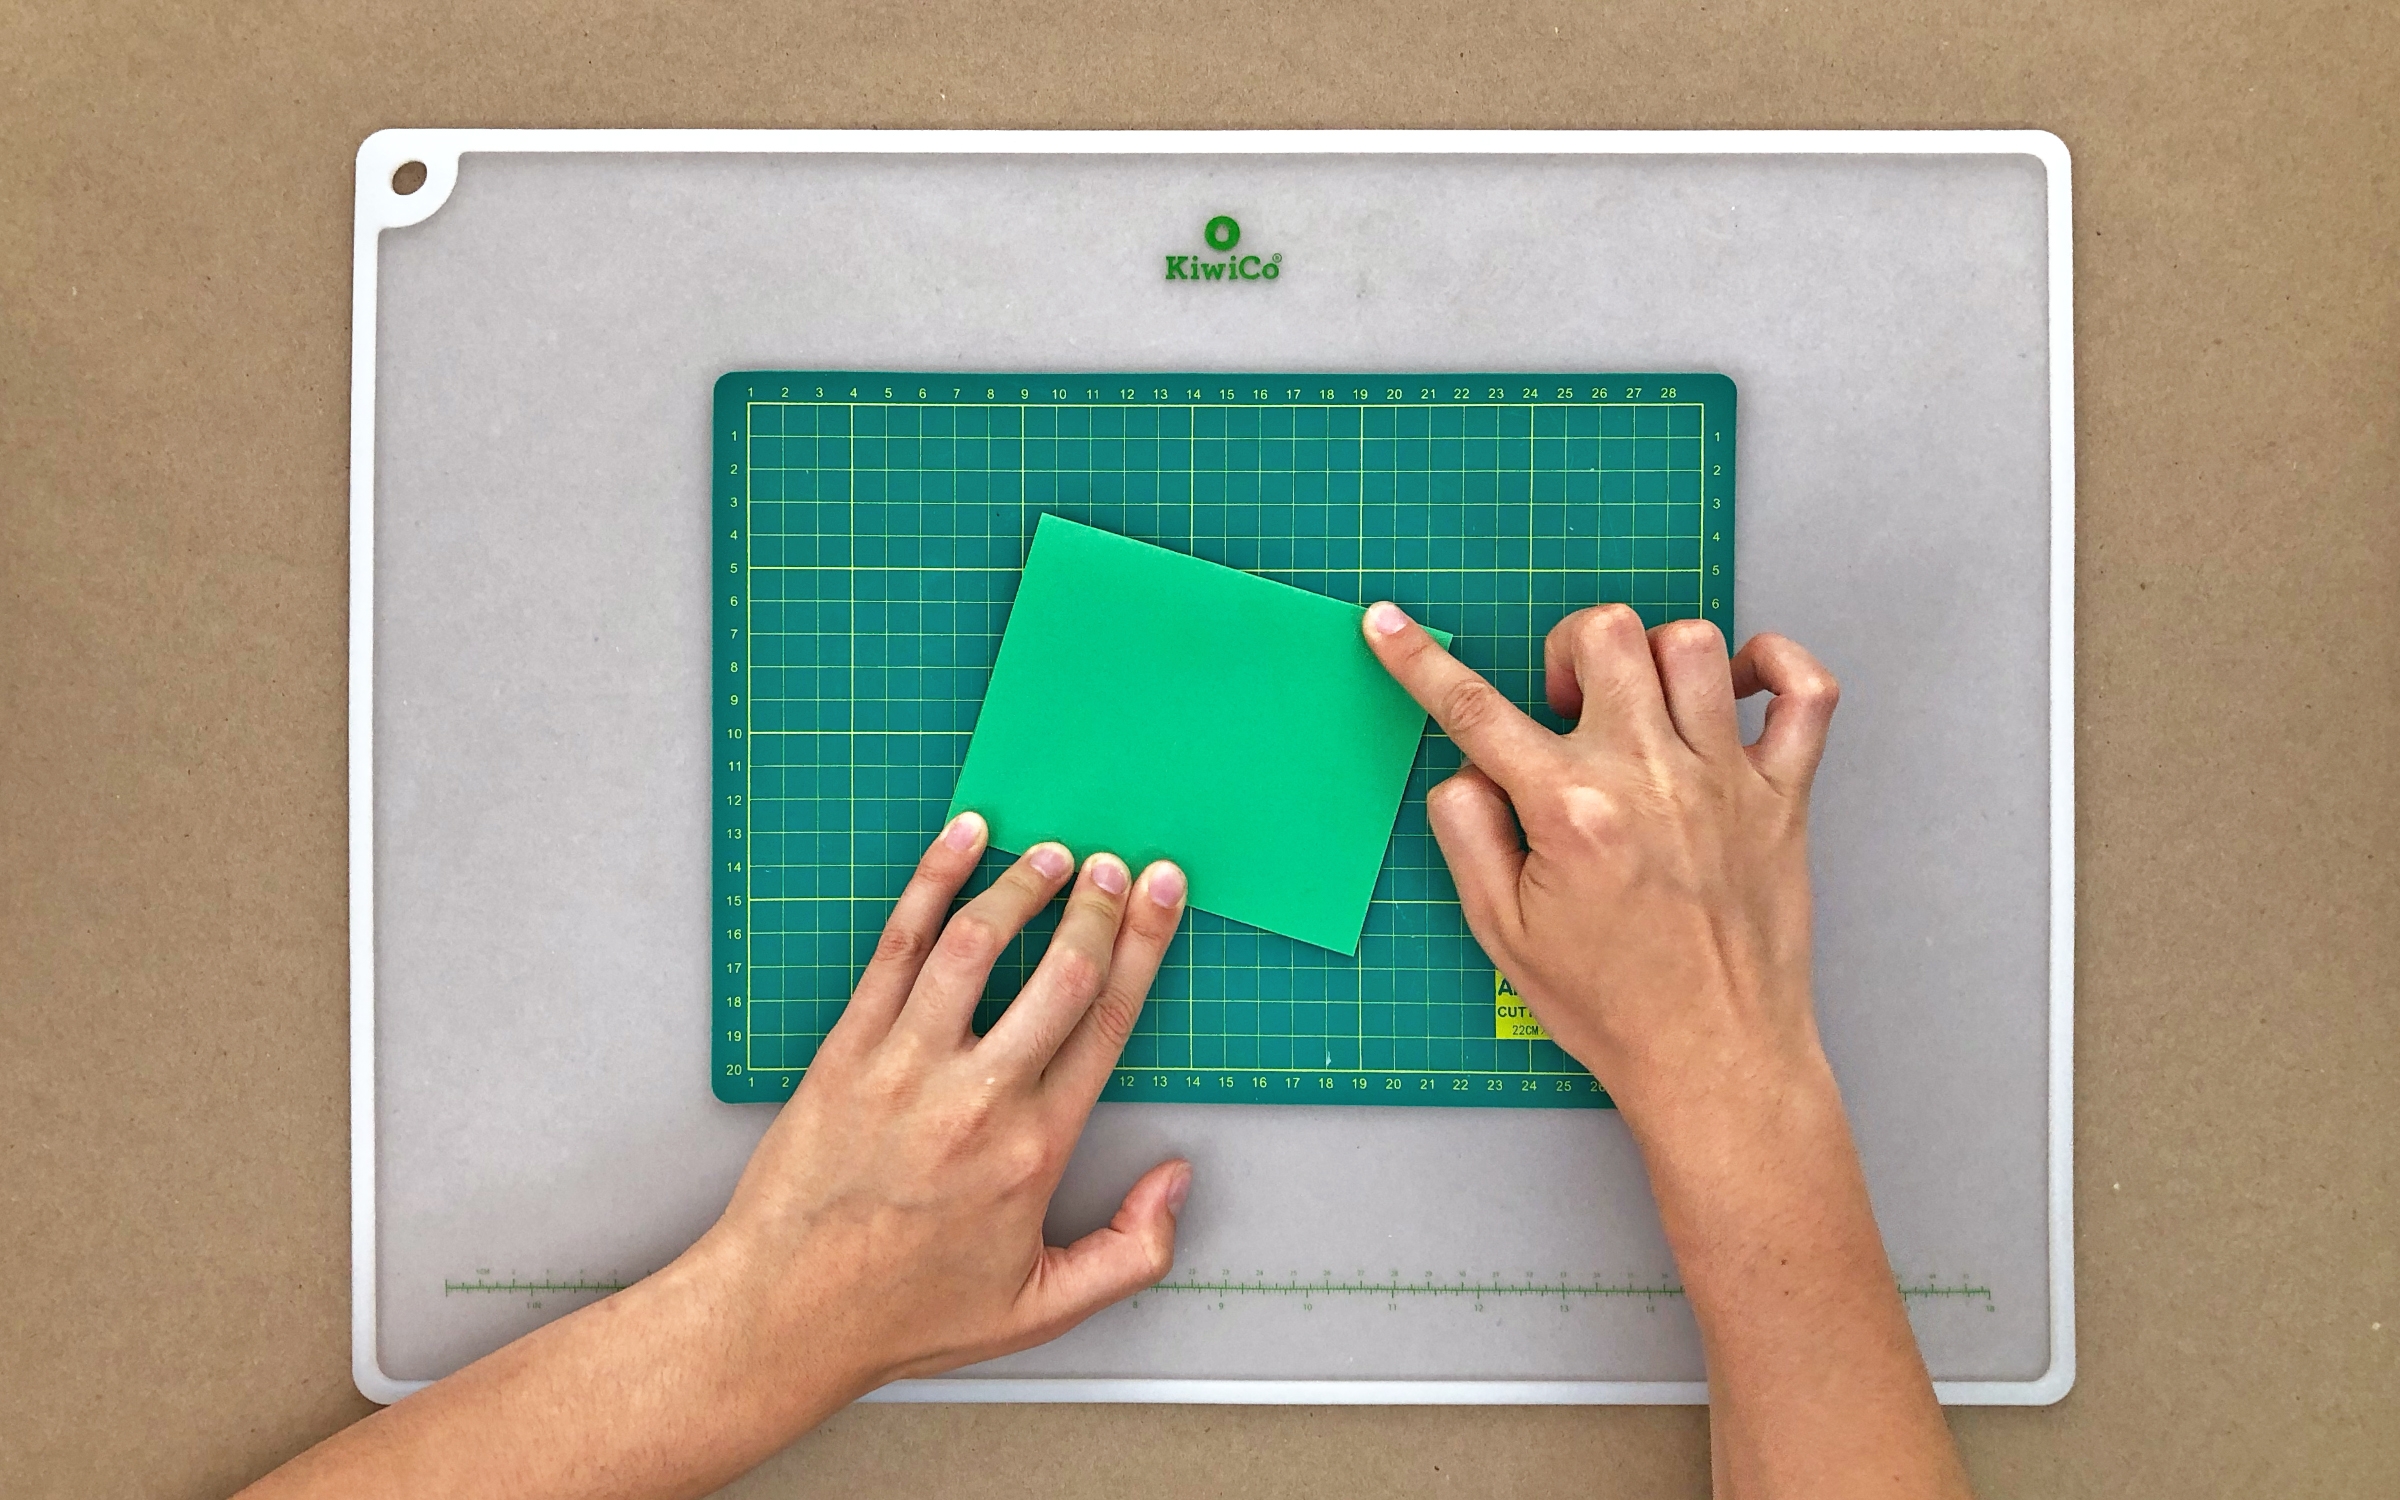
    Cut out an 8”x4” rectangle of card stock. Fold in half, then unfold flat.

    Photo reference of how to complete step 2

  • Step 3

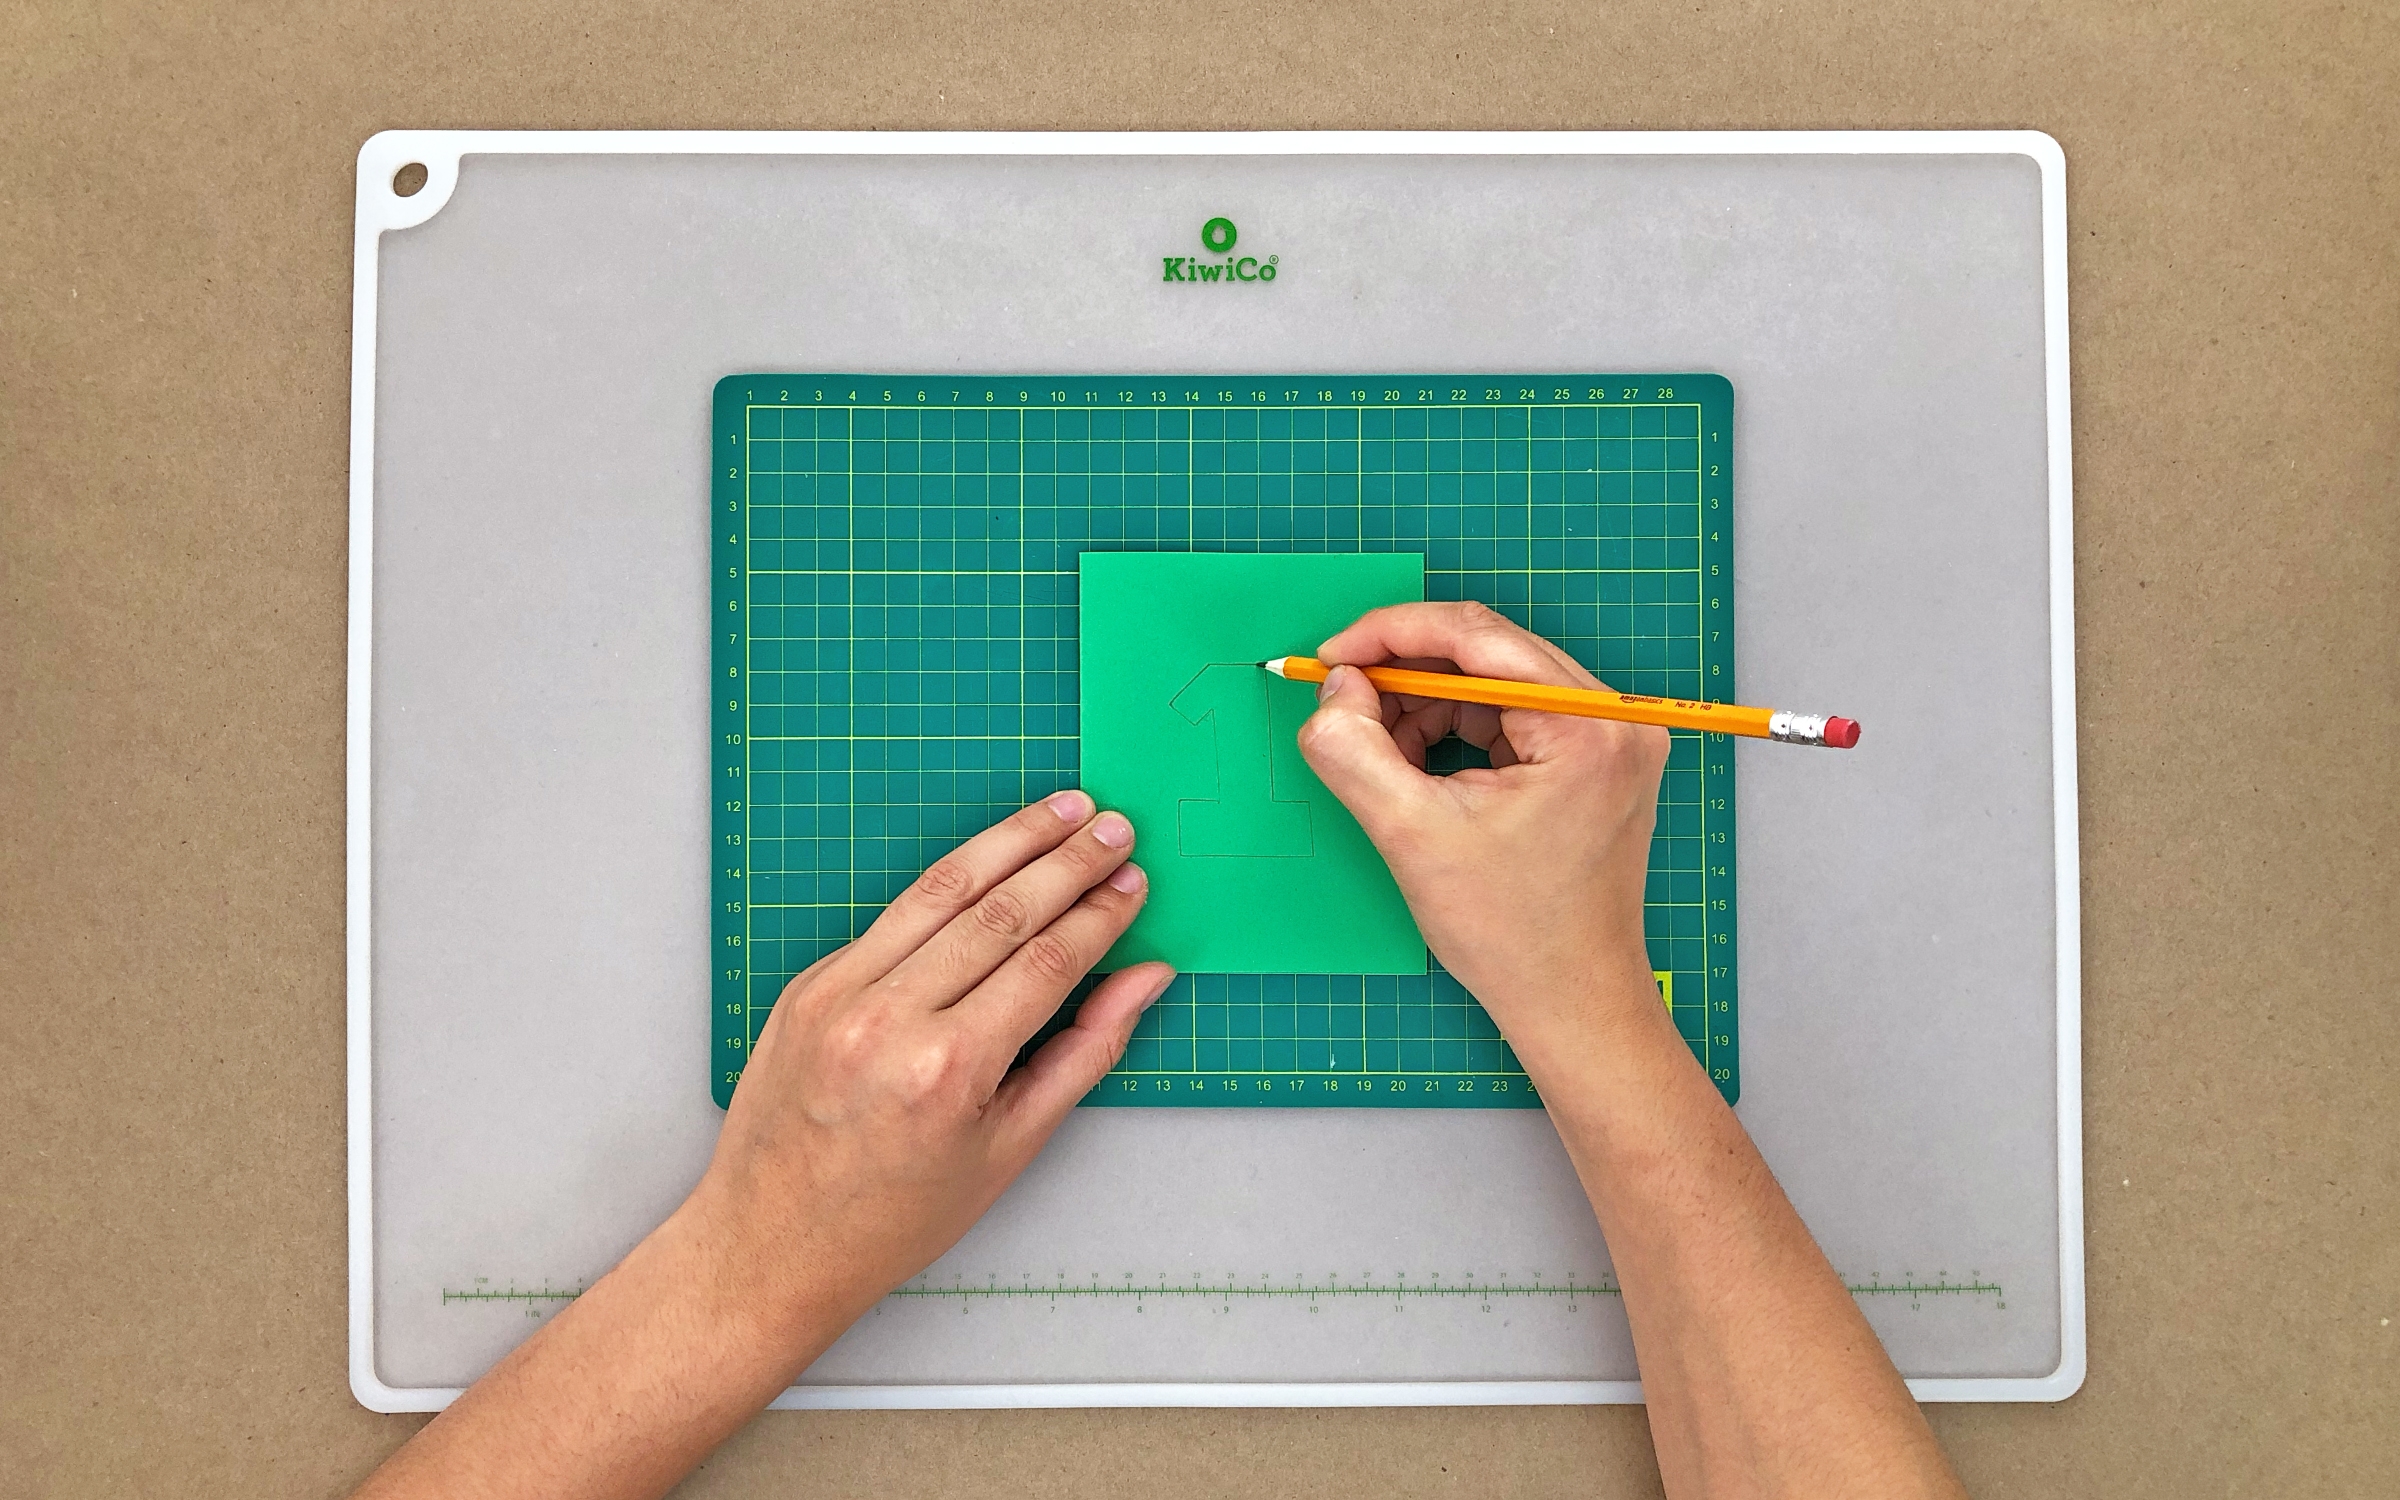
    Draw your design on the right half of the card.

    Photo reference of how to complete step 3

  • Step 4

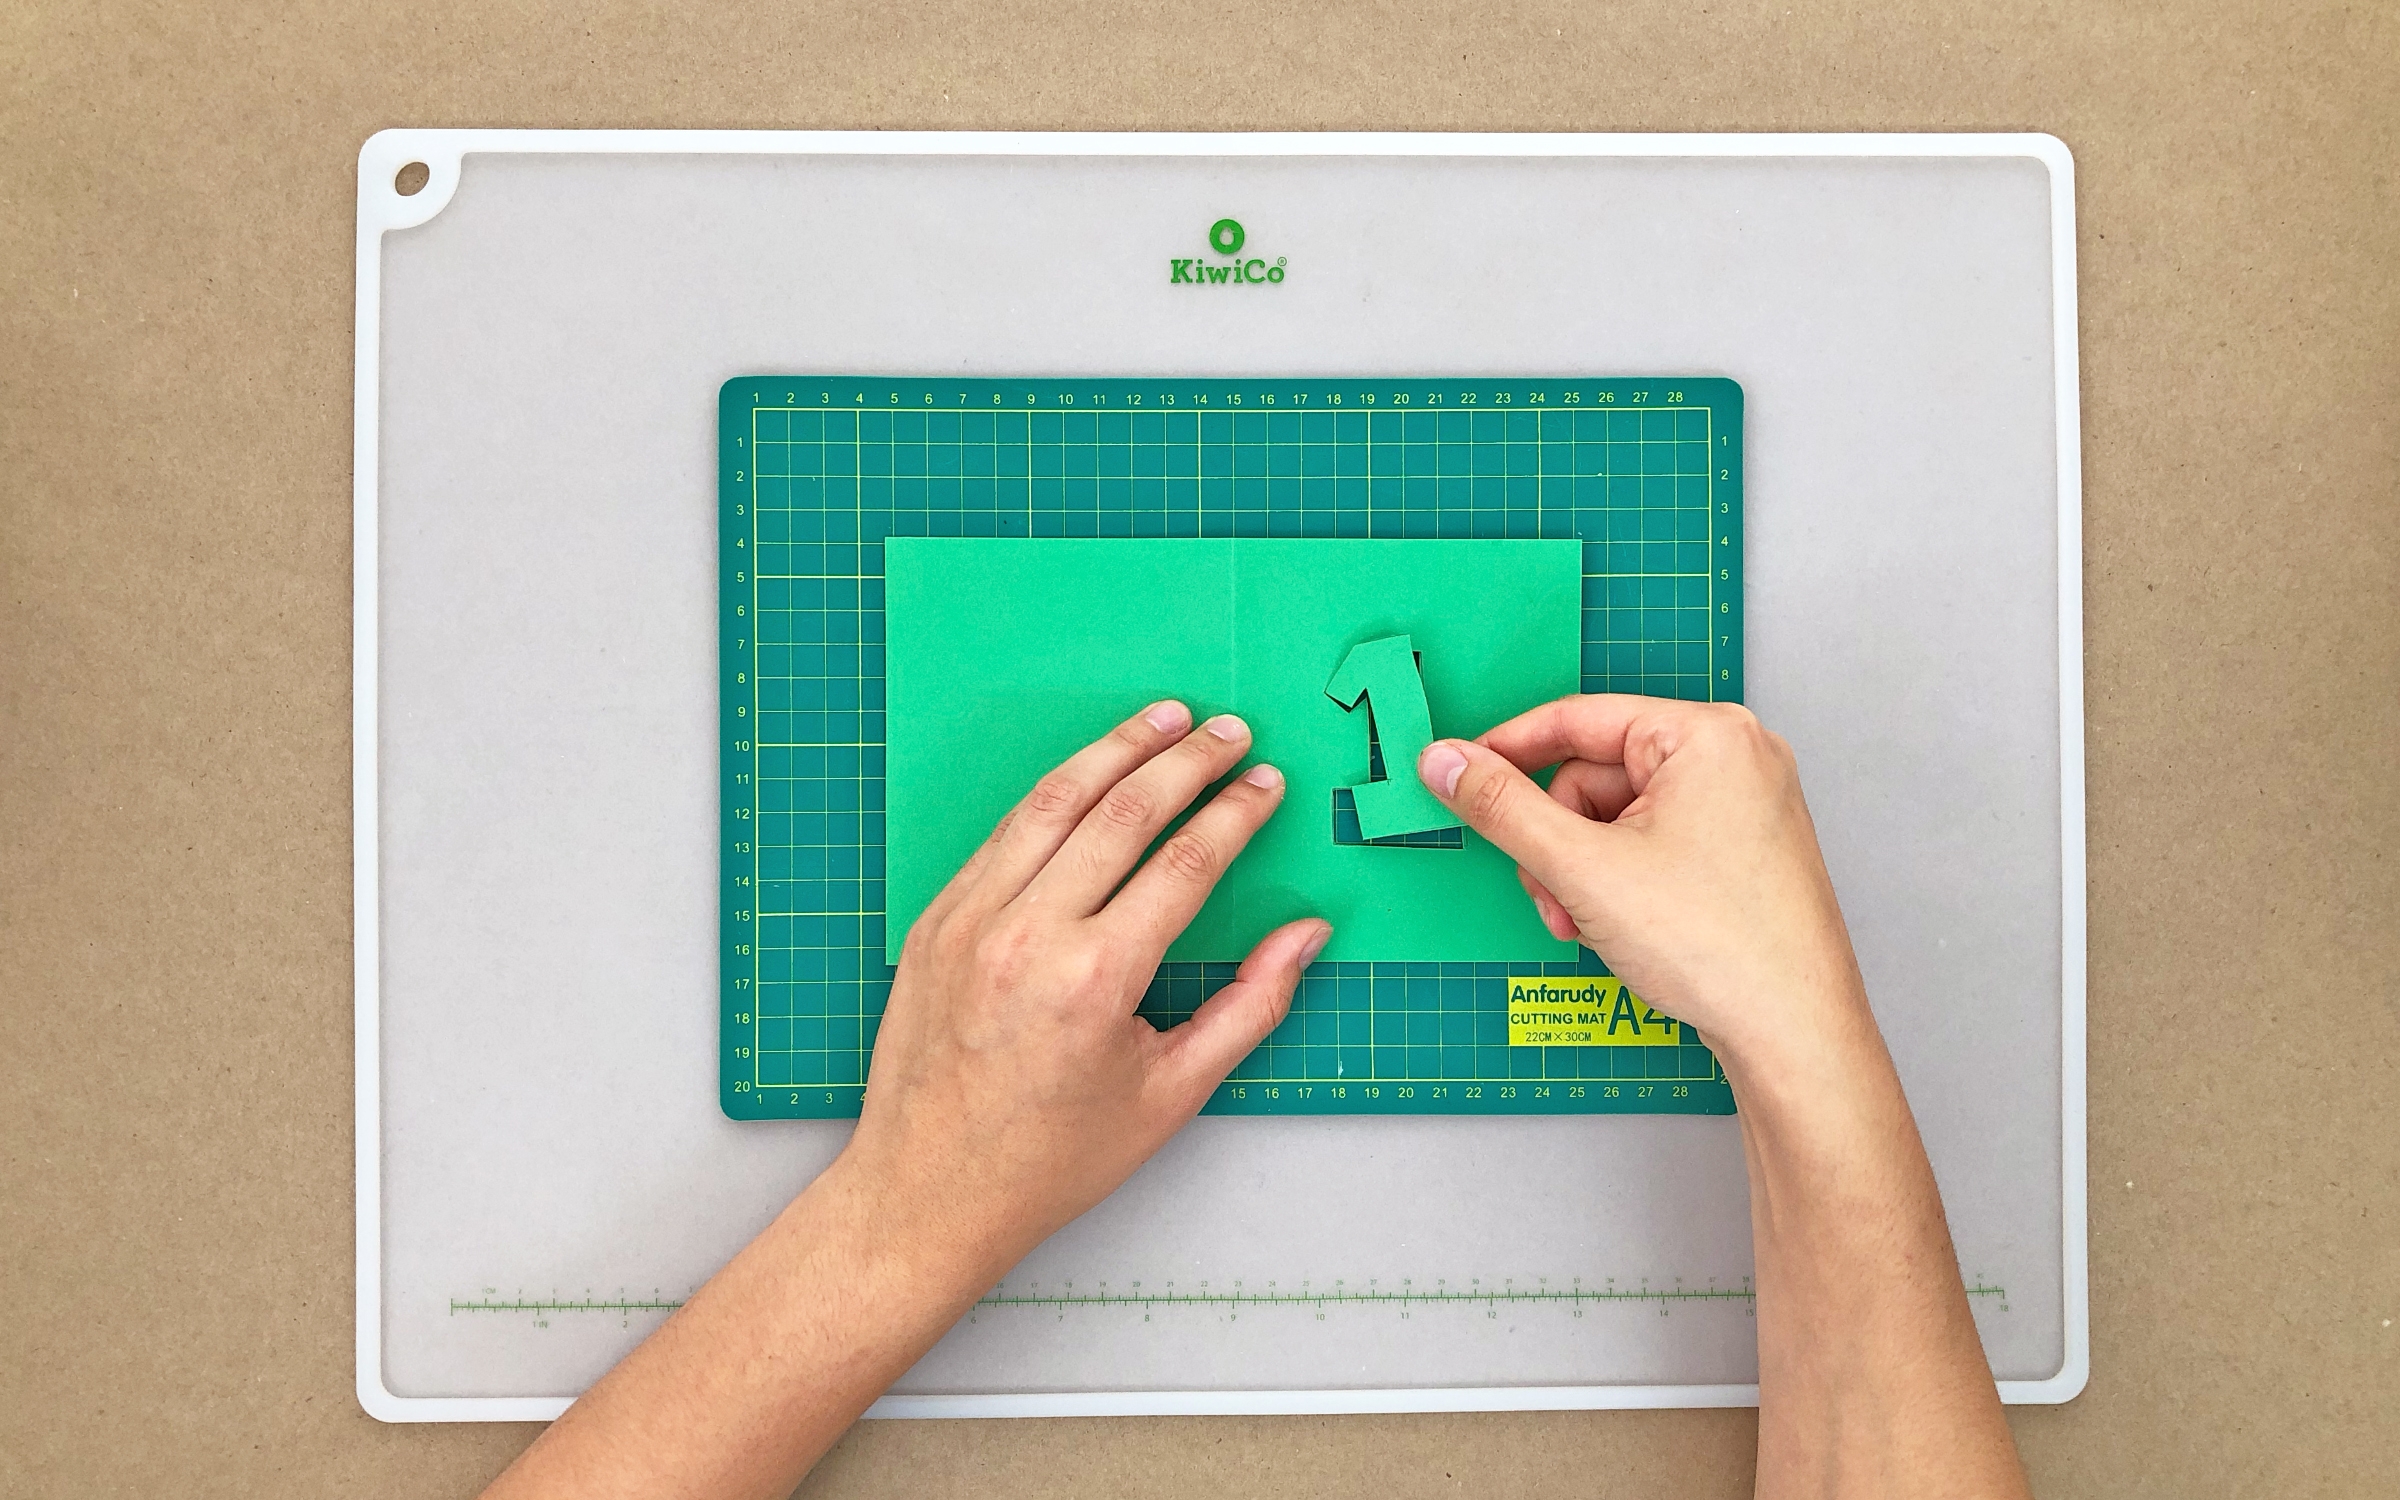
    Cut out the windows in the front of your card with a craft knife. Save any “islands,” like the middle of an O or Q.
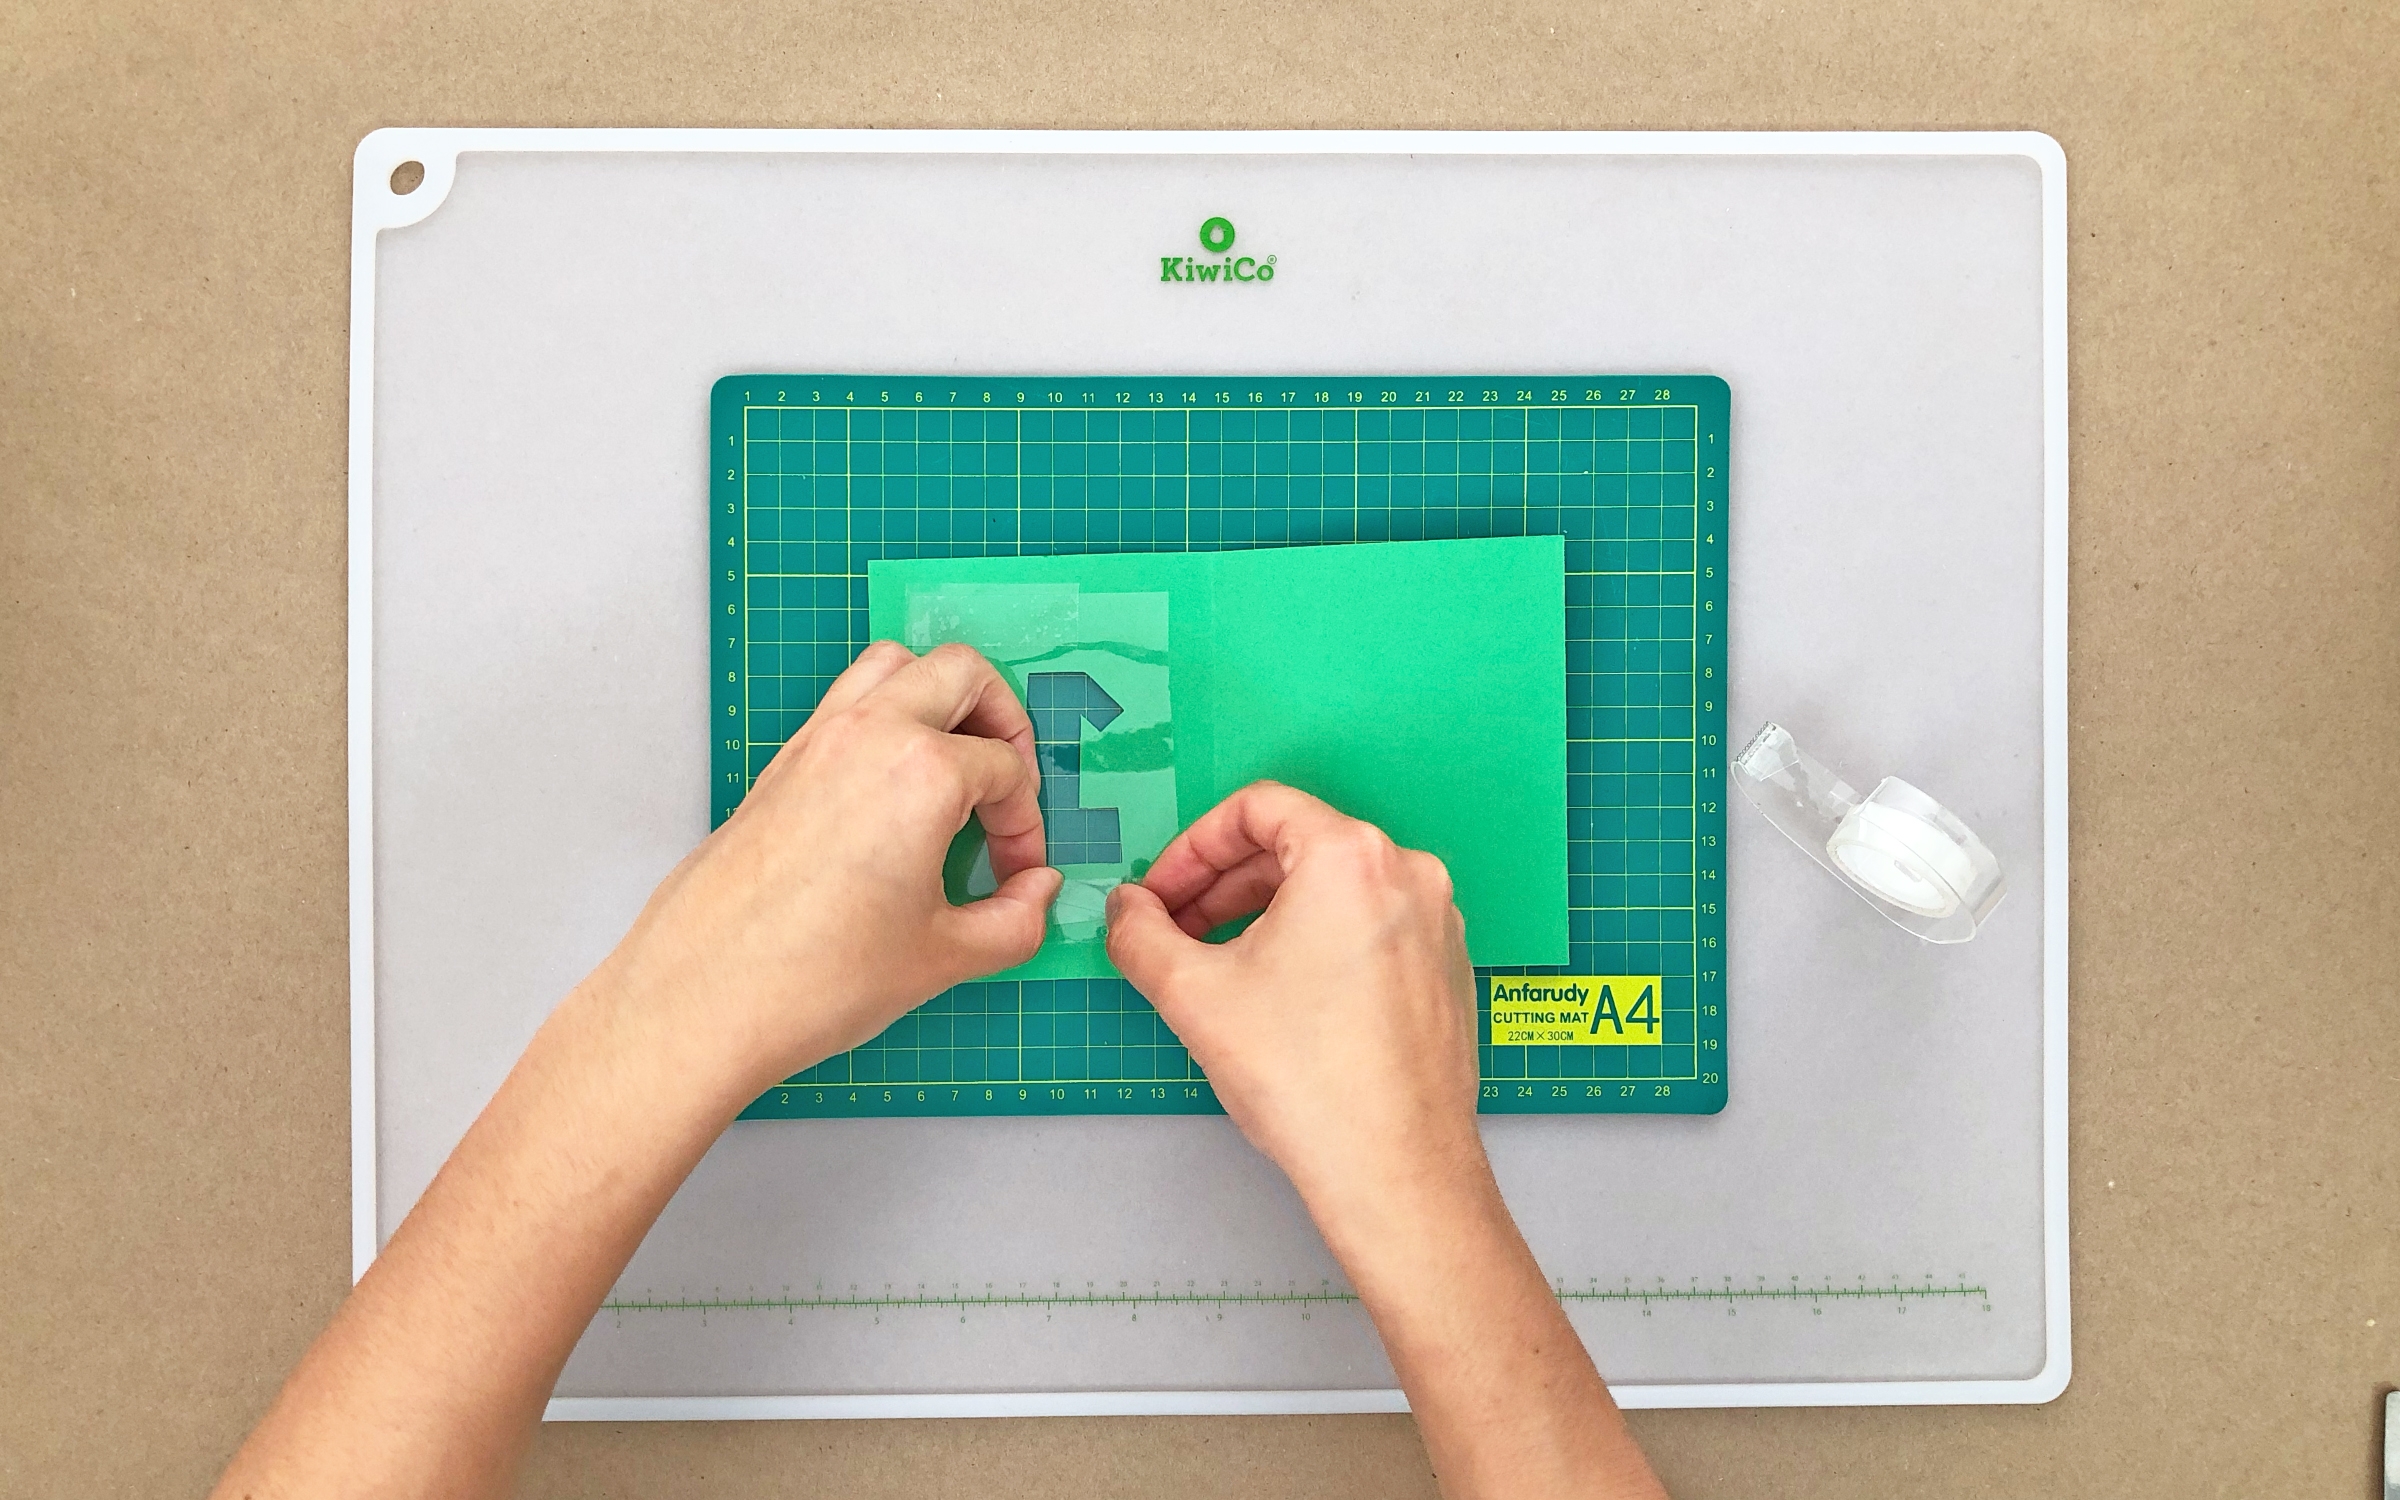
    Photo reference of how to complete step 4

  • Step 5

    Cut out a transparency that is large enough to cover your window, but small enough to tape onto half of the card. Repeat so you have 2 matching transparencies.
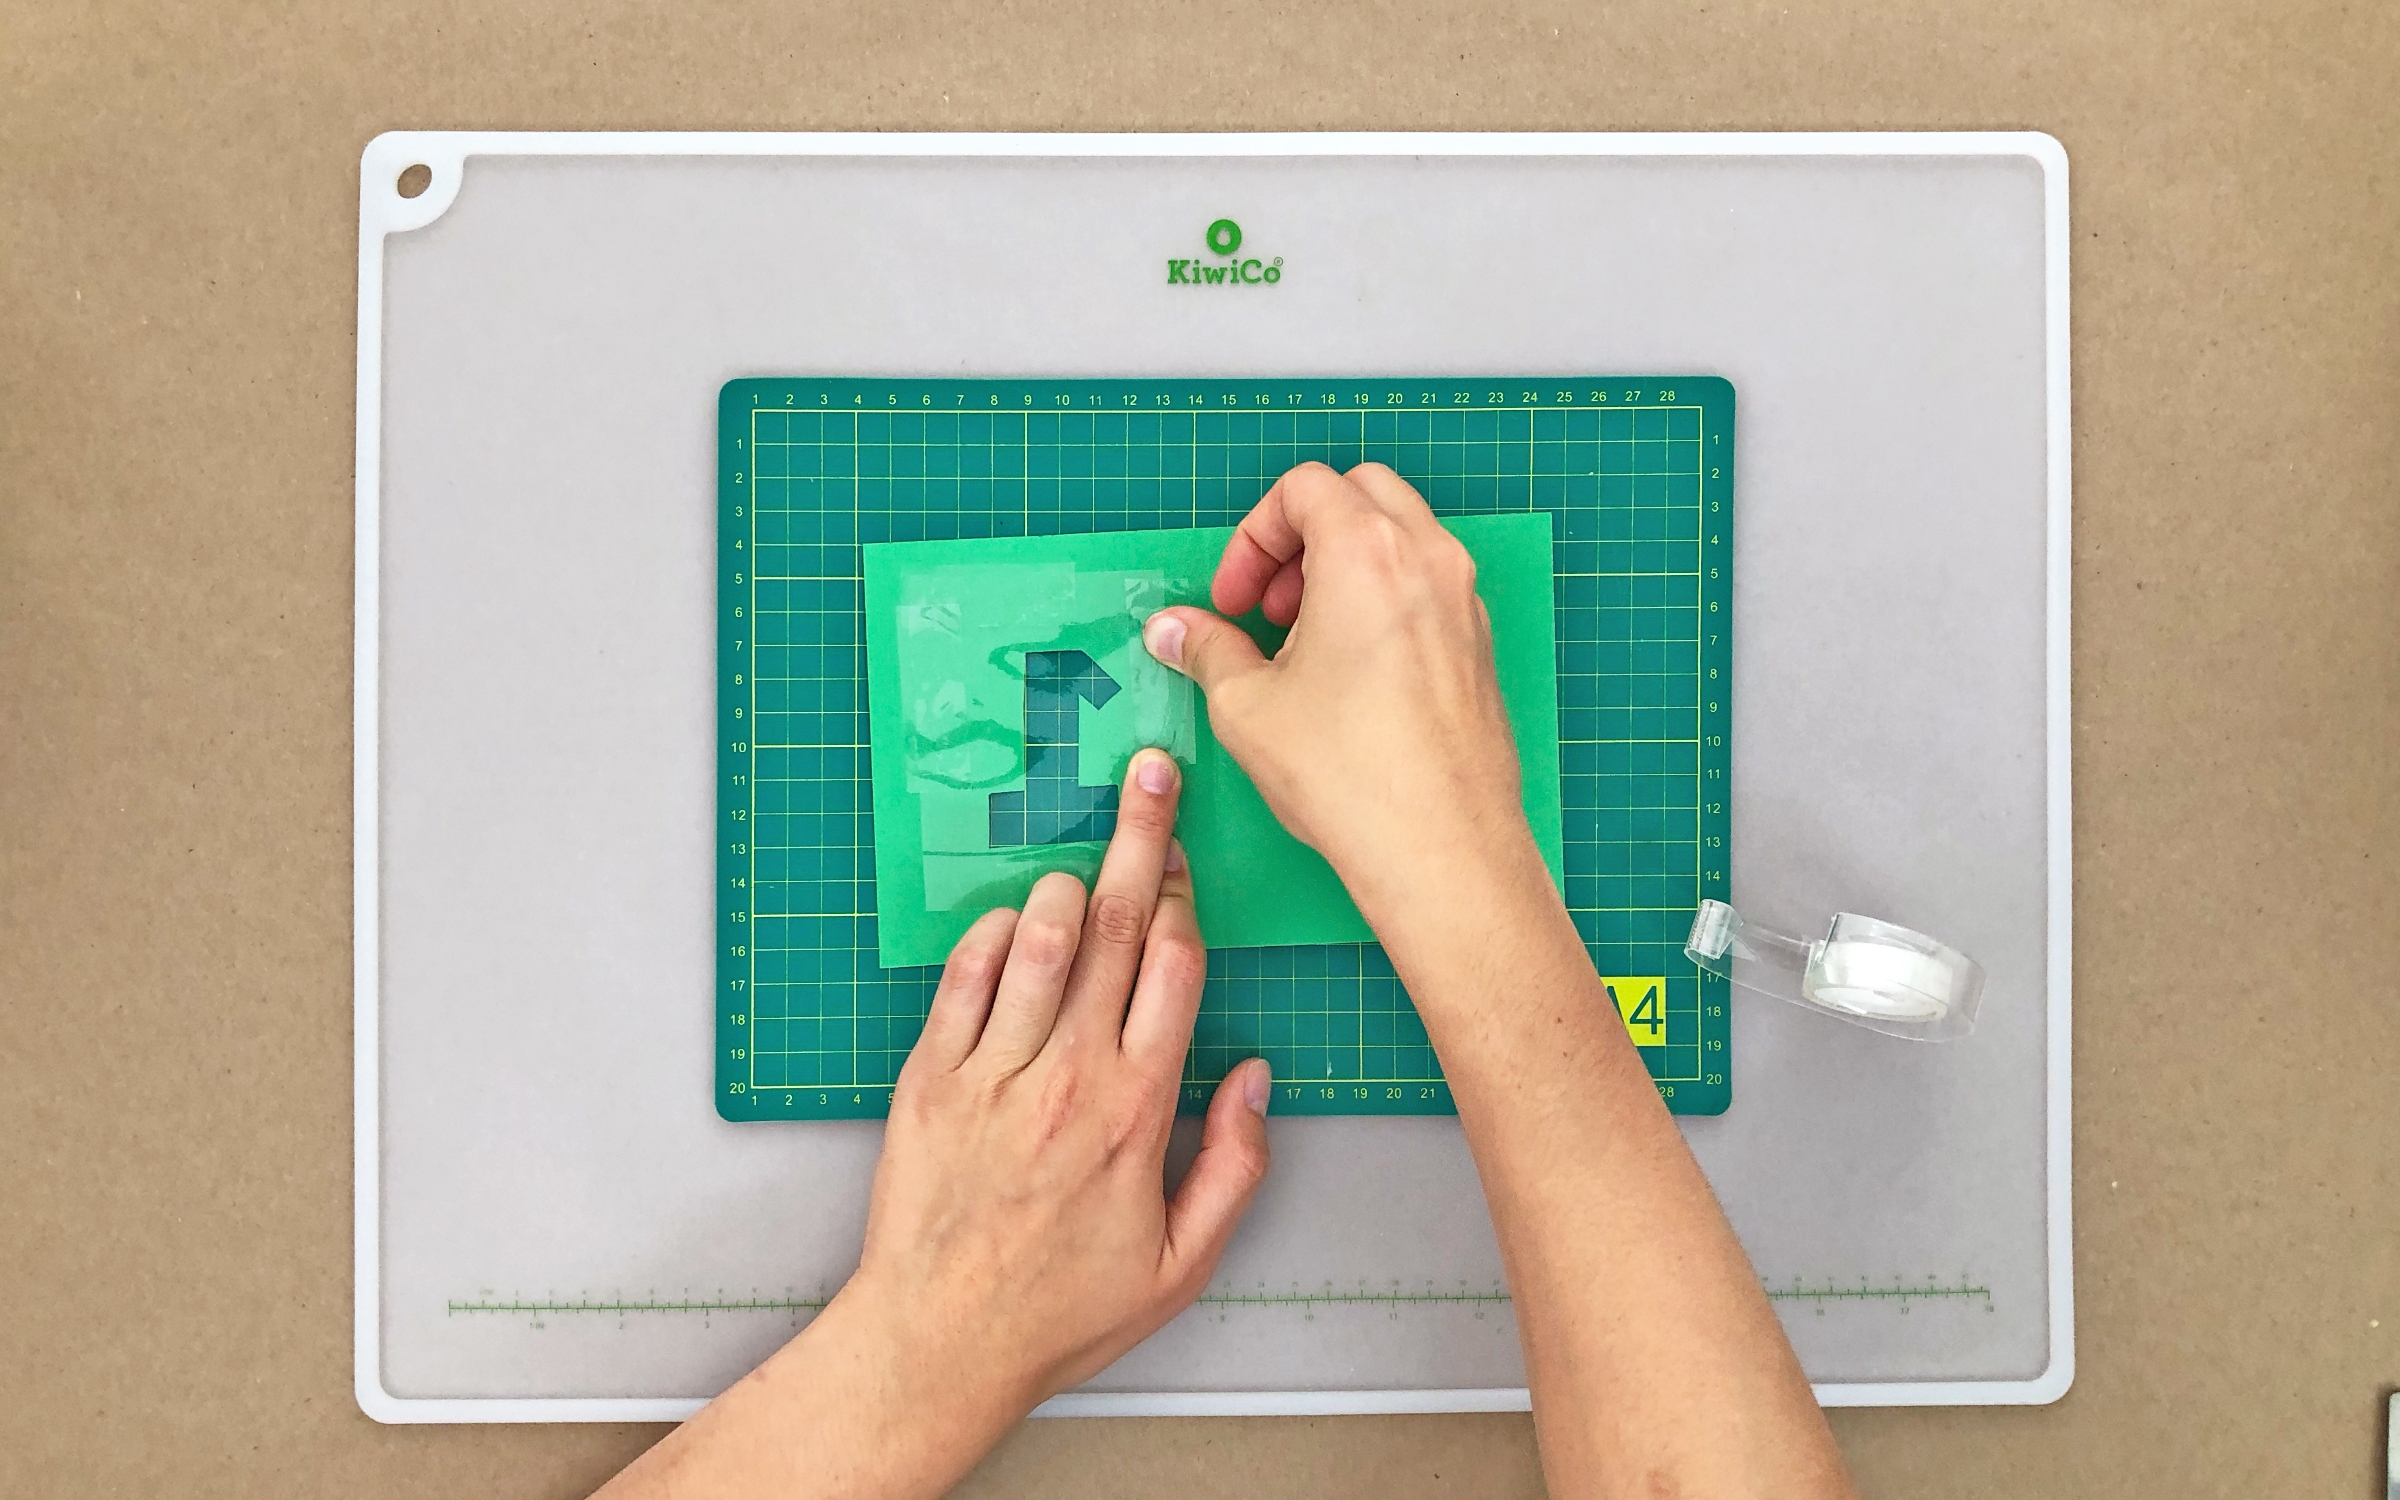
    Photo reference of how to complete step 5

  • Step 6

    Tape one transparency onto the back of the front of the card.

    Photo reference of how to complete step 6

  • Step 7

    Put the confetti over the transparency, add a second sheet of transparency on top, and tape to seal.
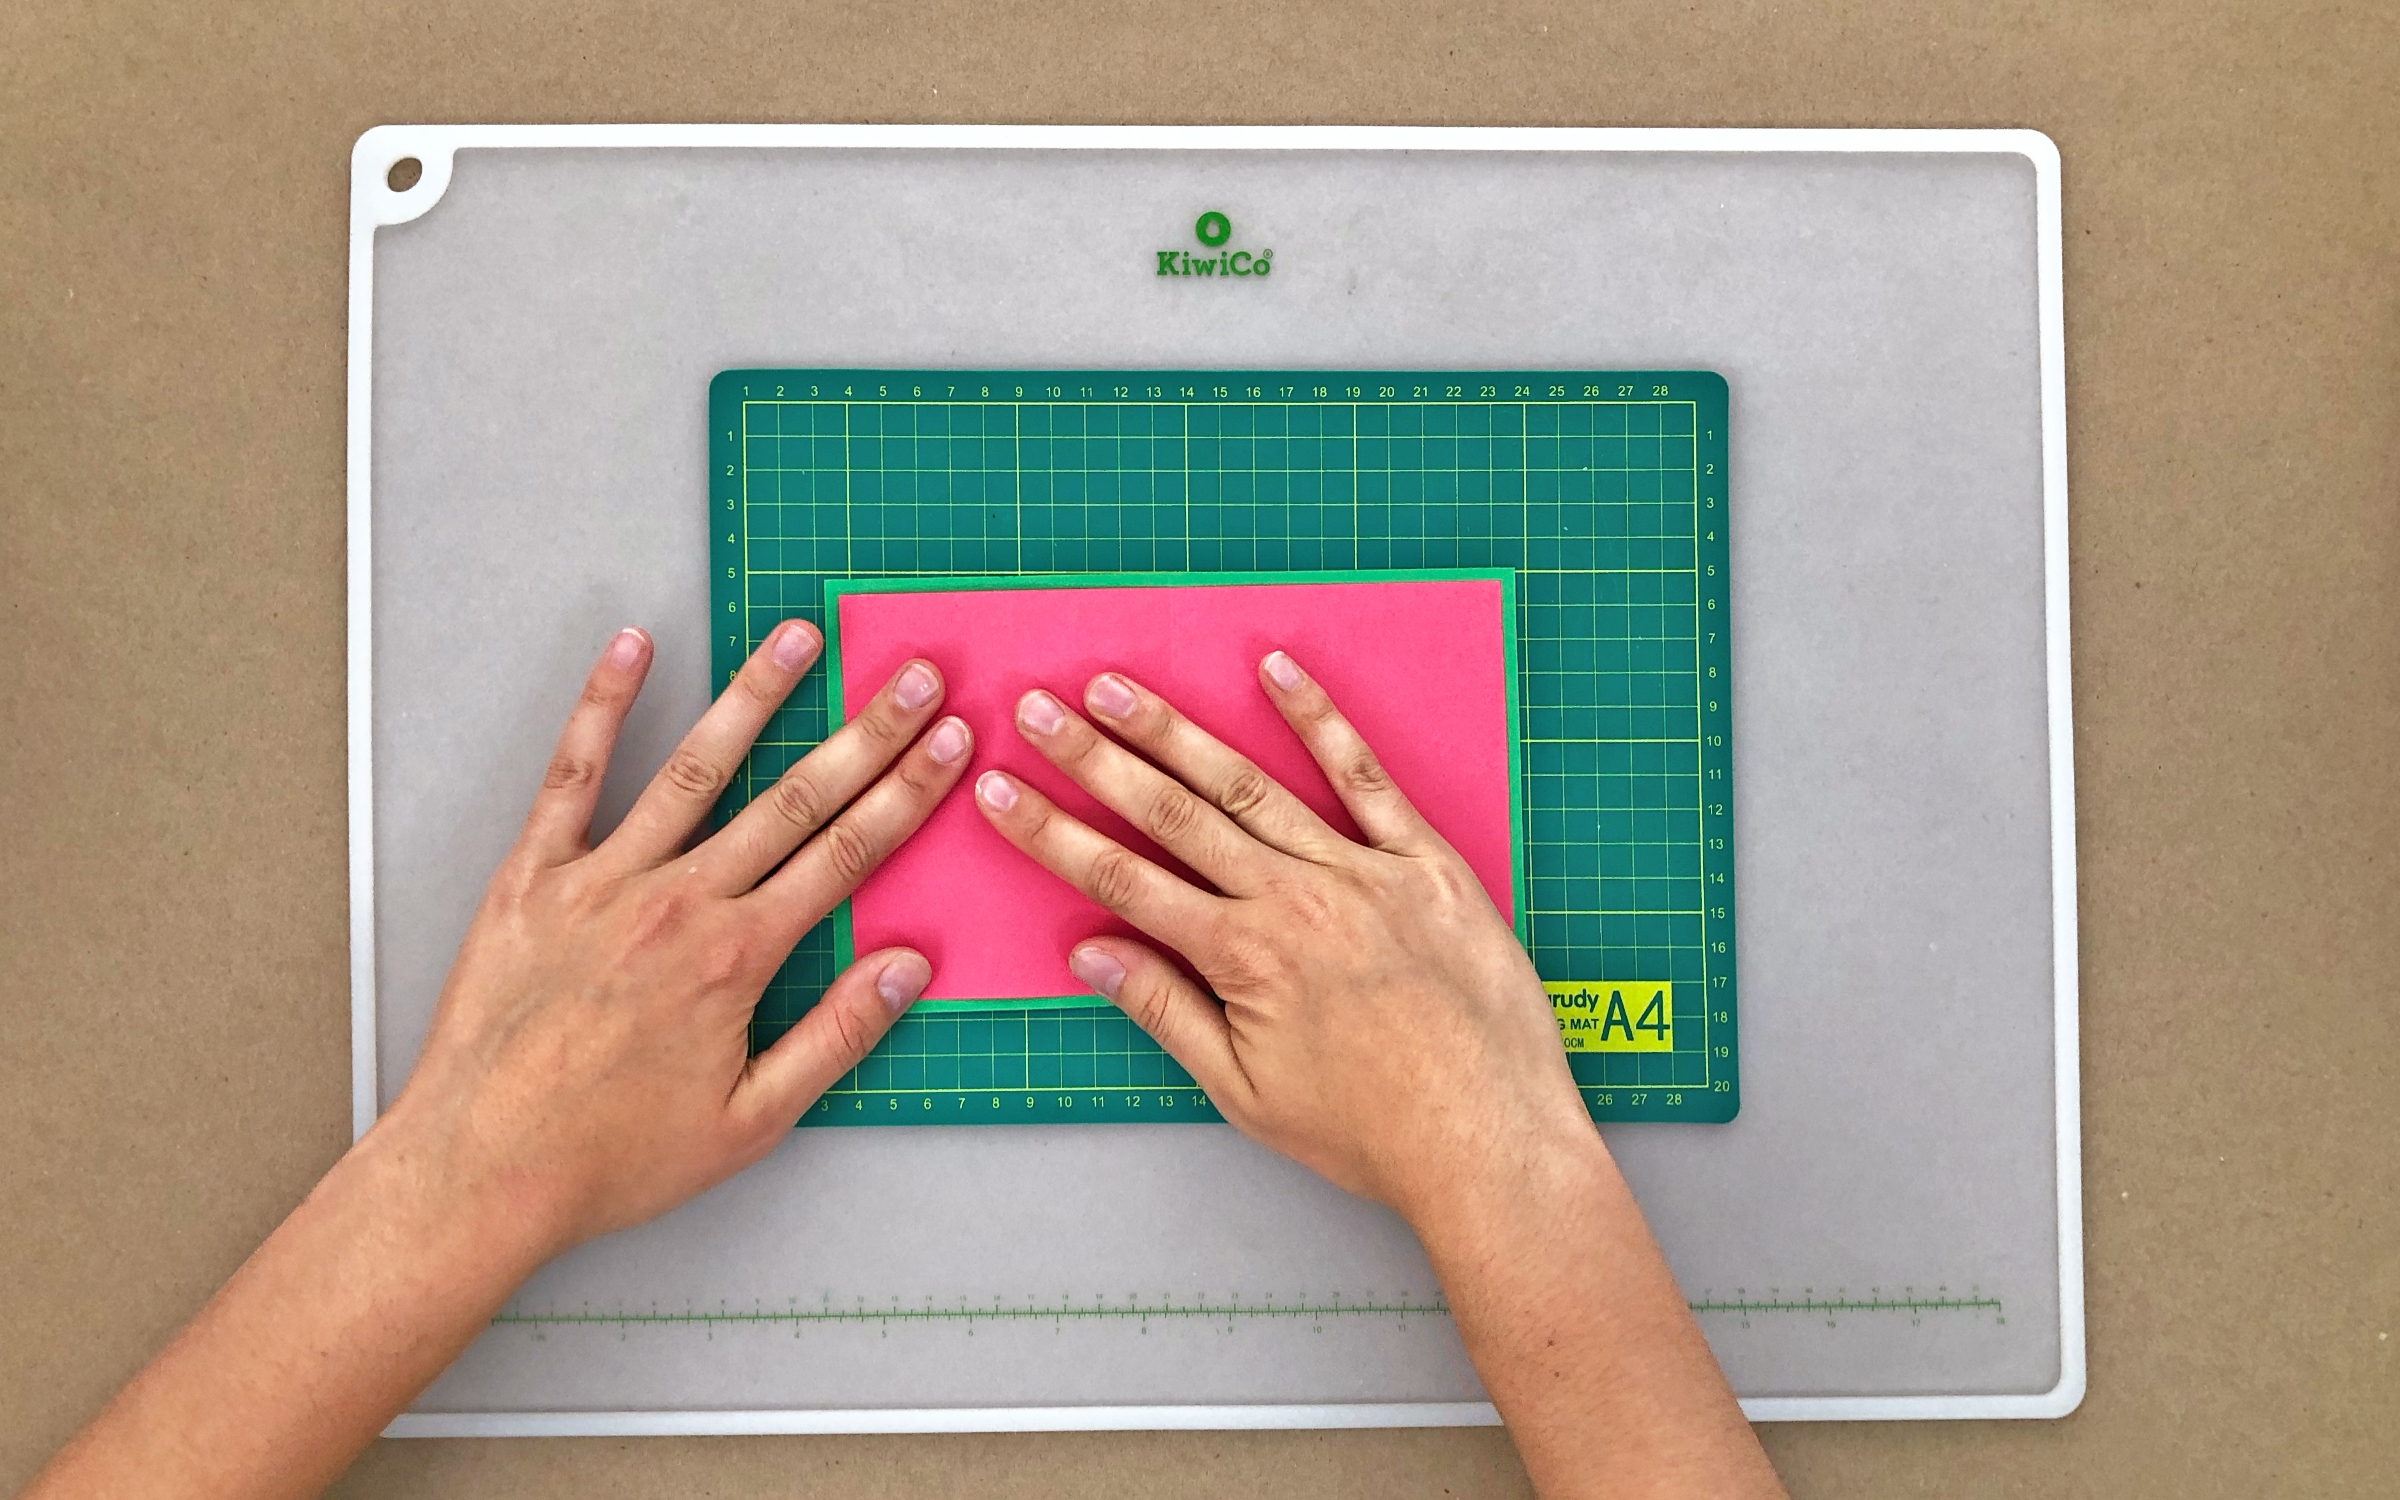
    Photo reference of how to complete step 7

  • Step 8

    (Optional) Put a solid piece of paper on the inside of the card to hide the tape.

    Photo reference of how to complete step 8

  • Final result!

    Photo reference of how to complete step 9

You might also like

Top categoriesBurst graphic

Share what you made & tag us at!

;