Step-by-step tutorial
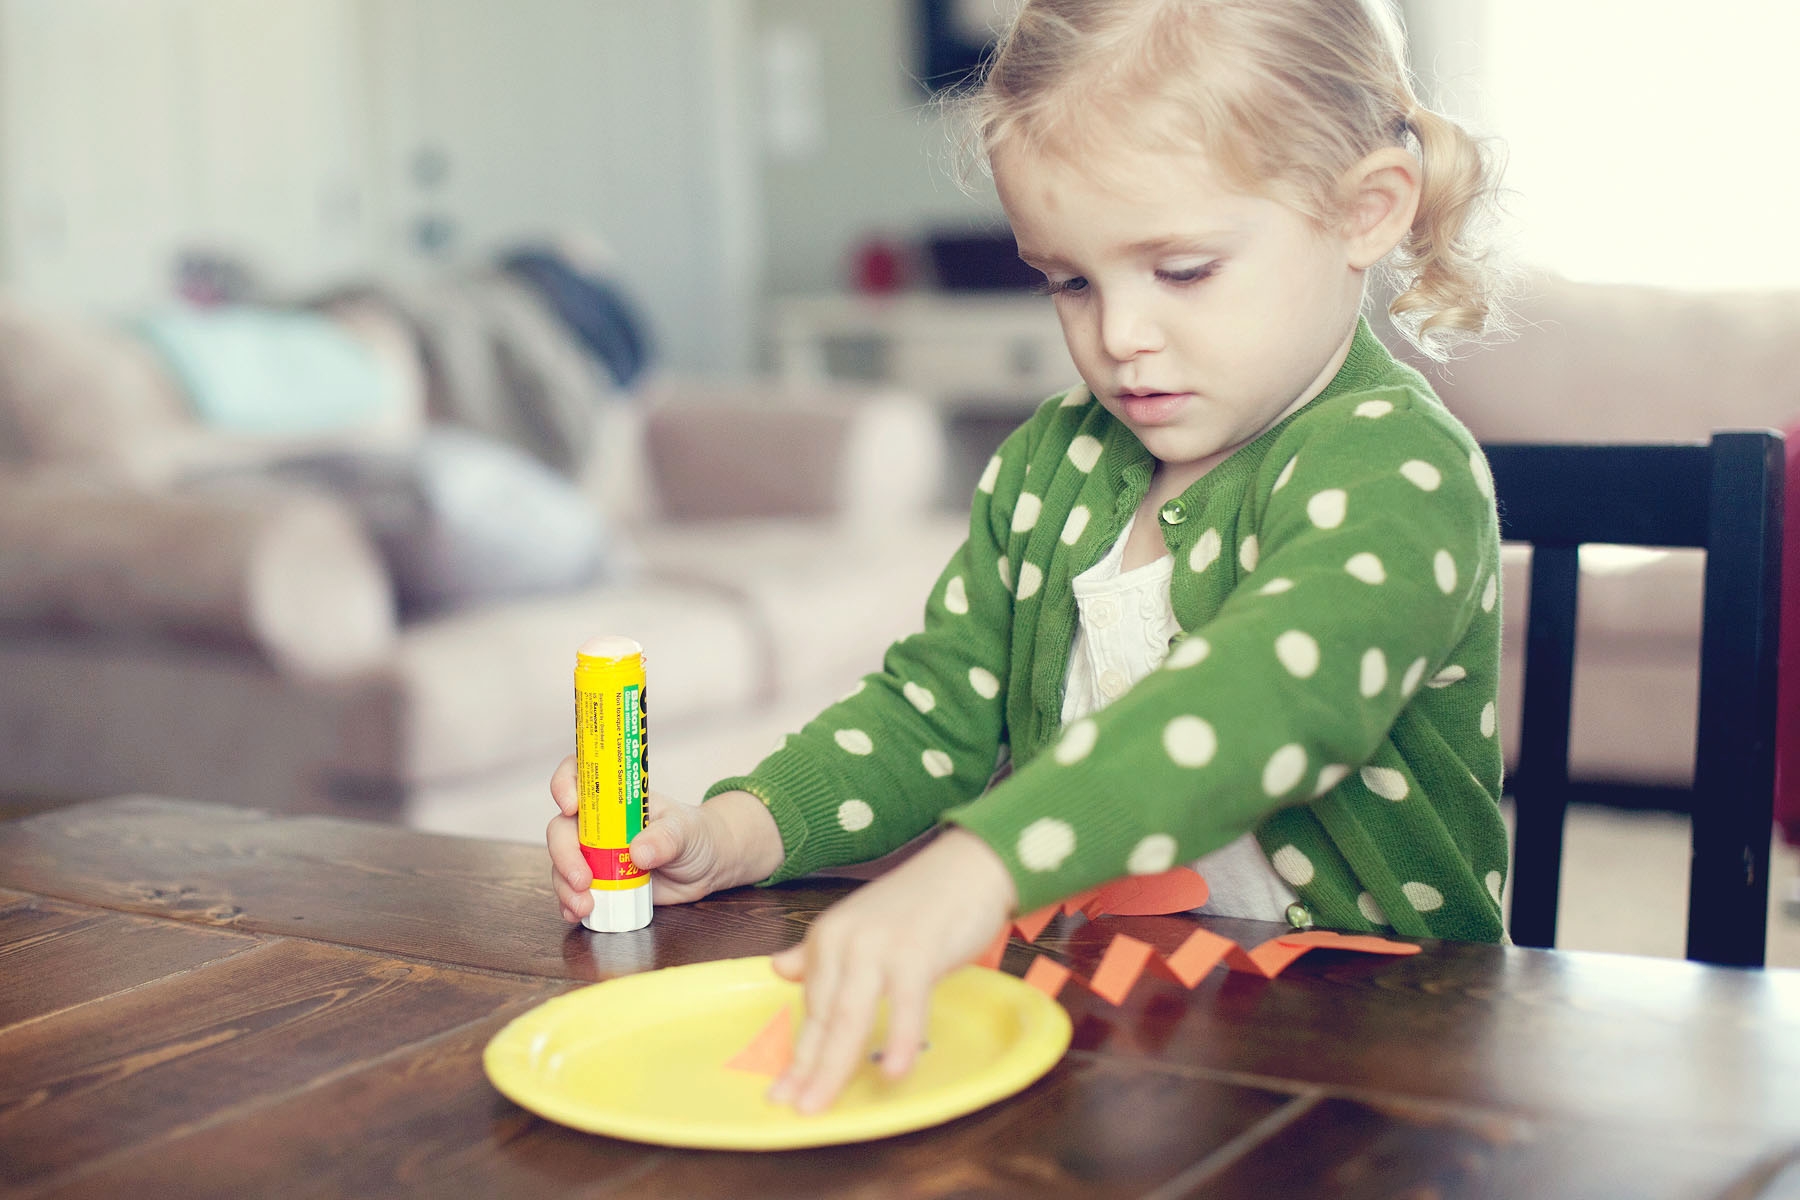
Step 1
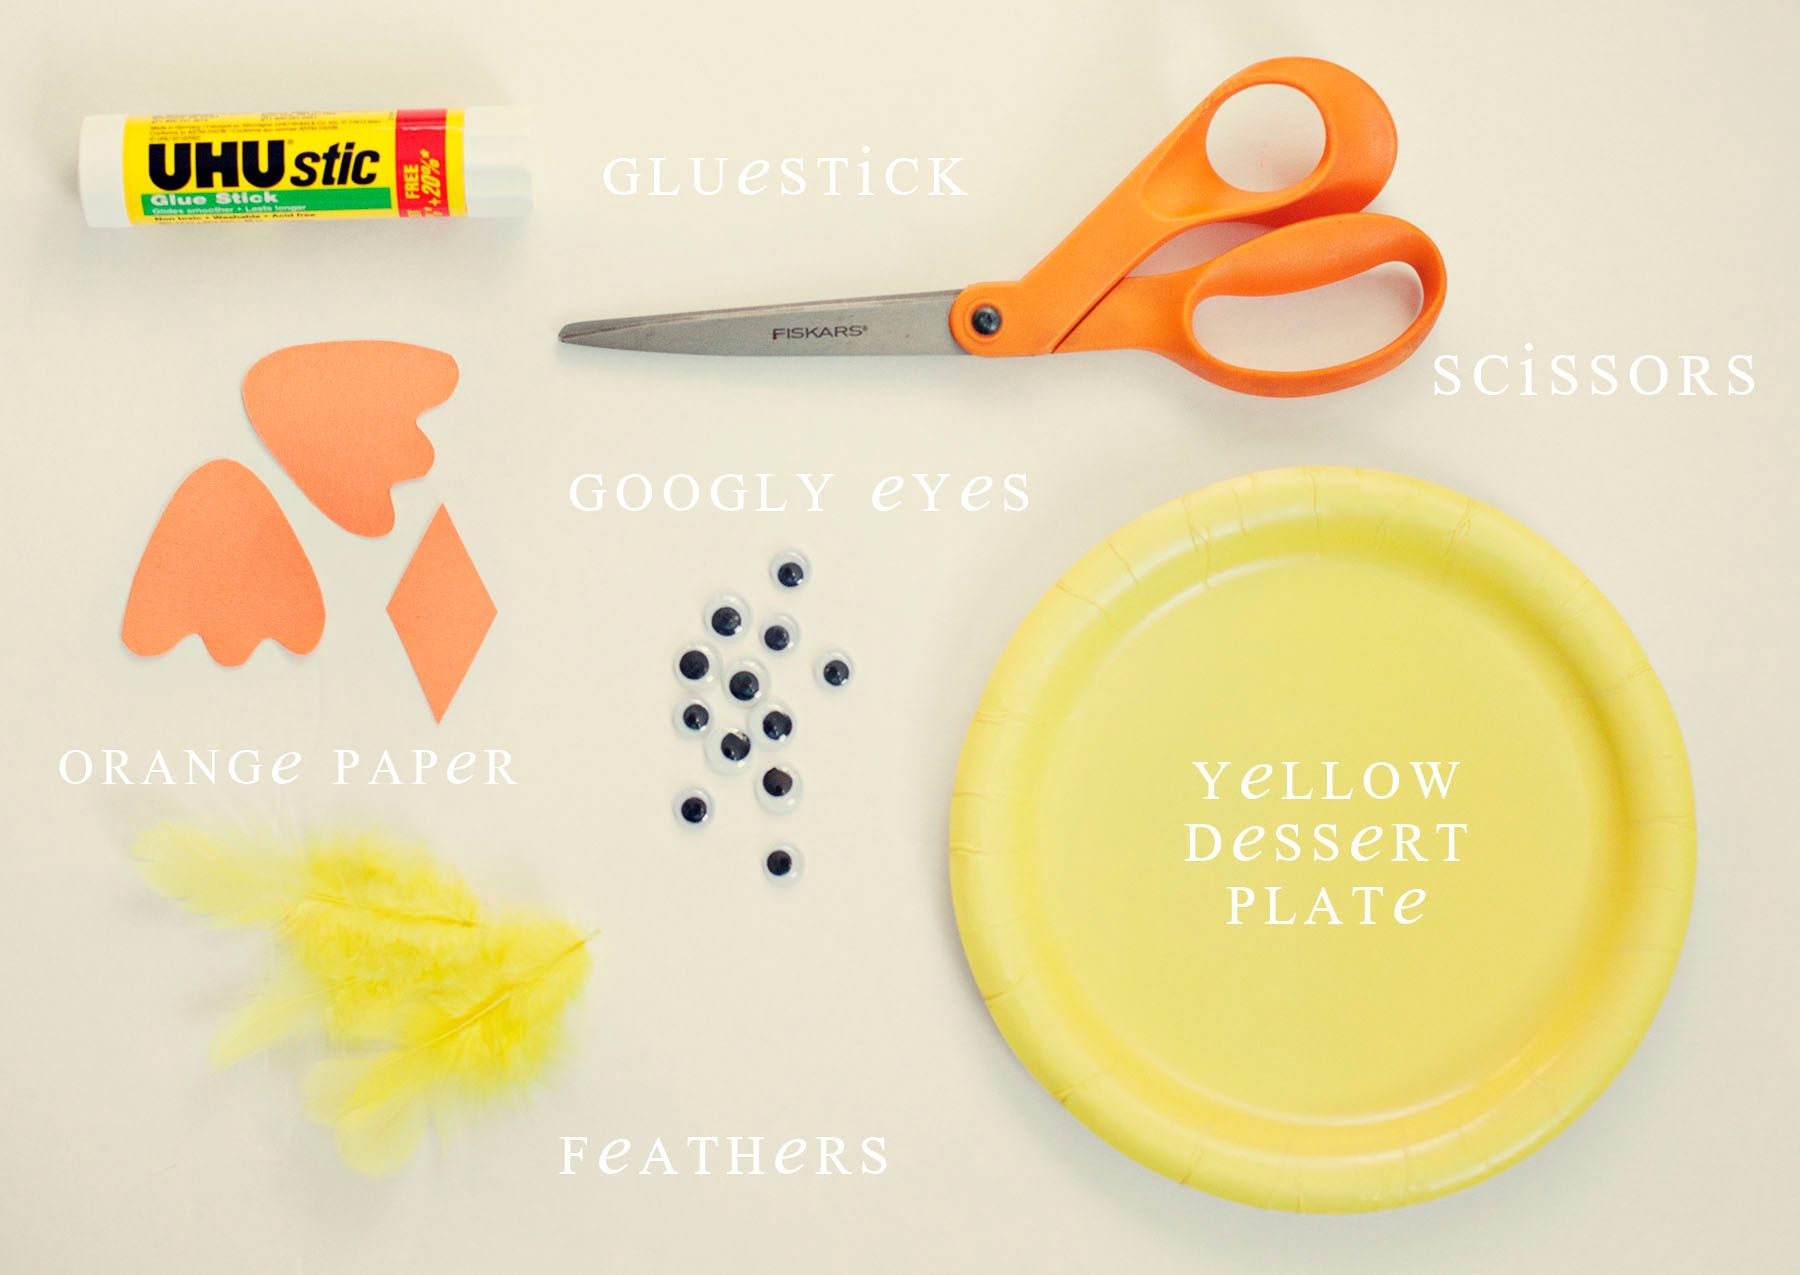
First we gathered the supplies together that we needed to complete our craft project.

Step 2
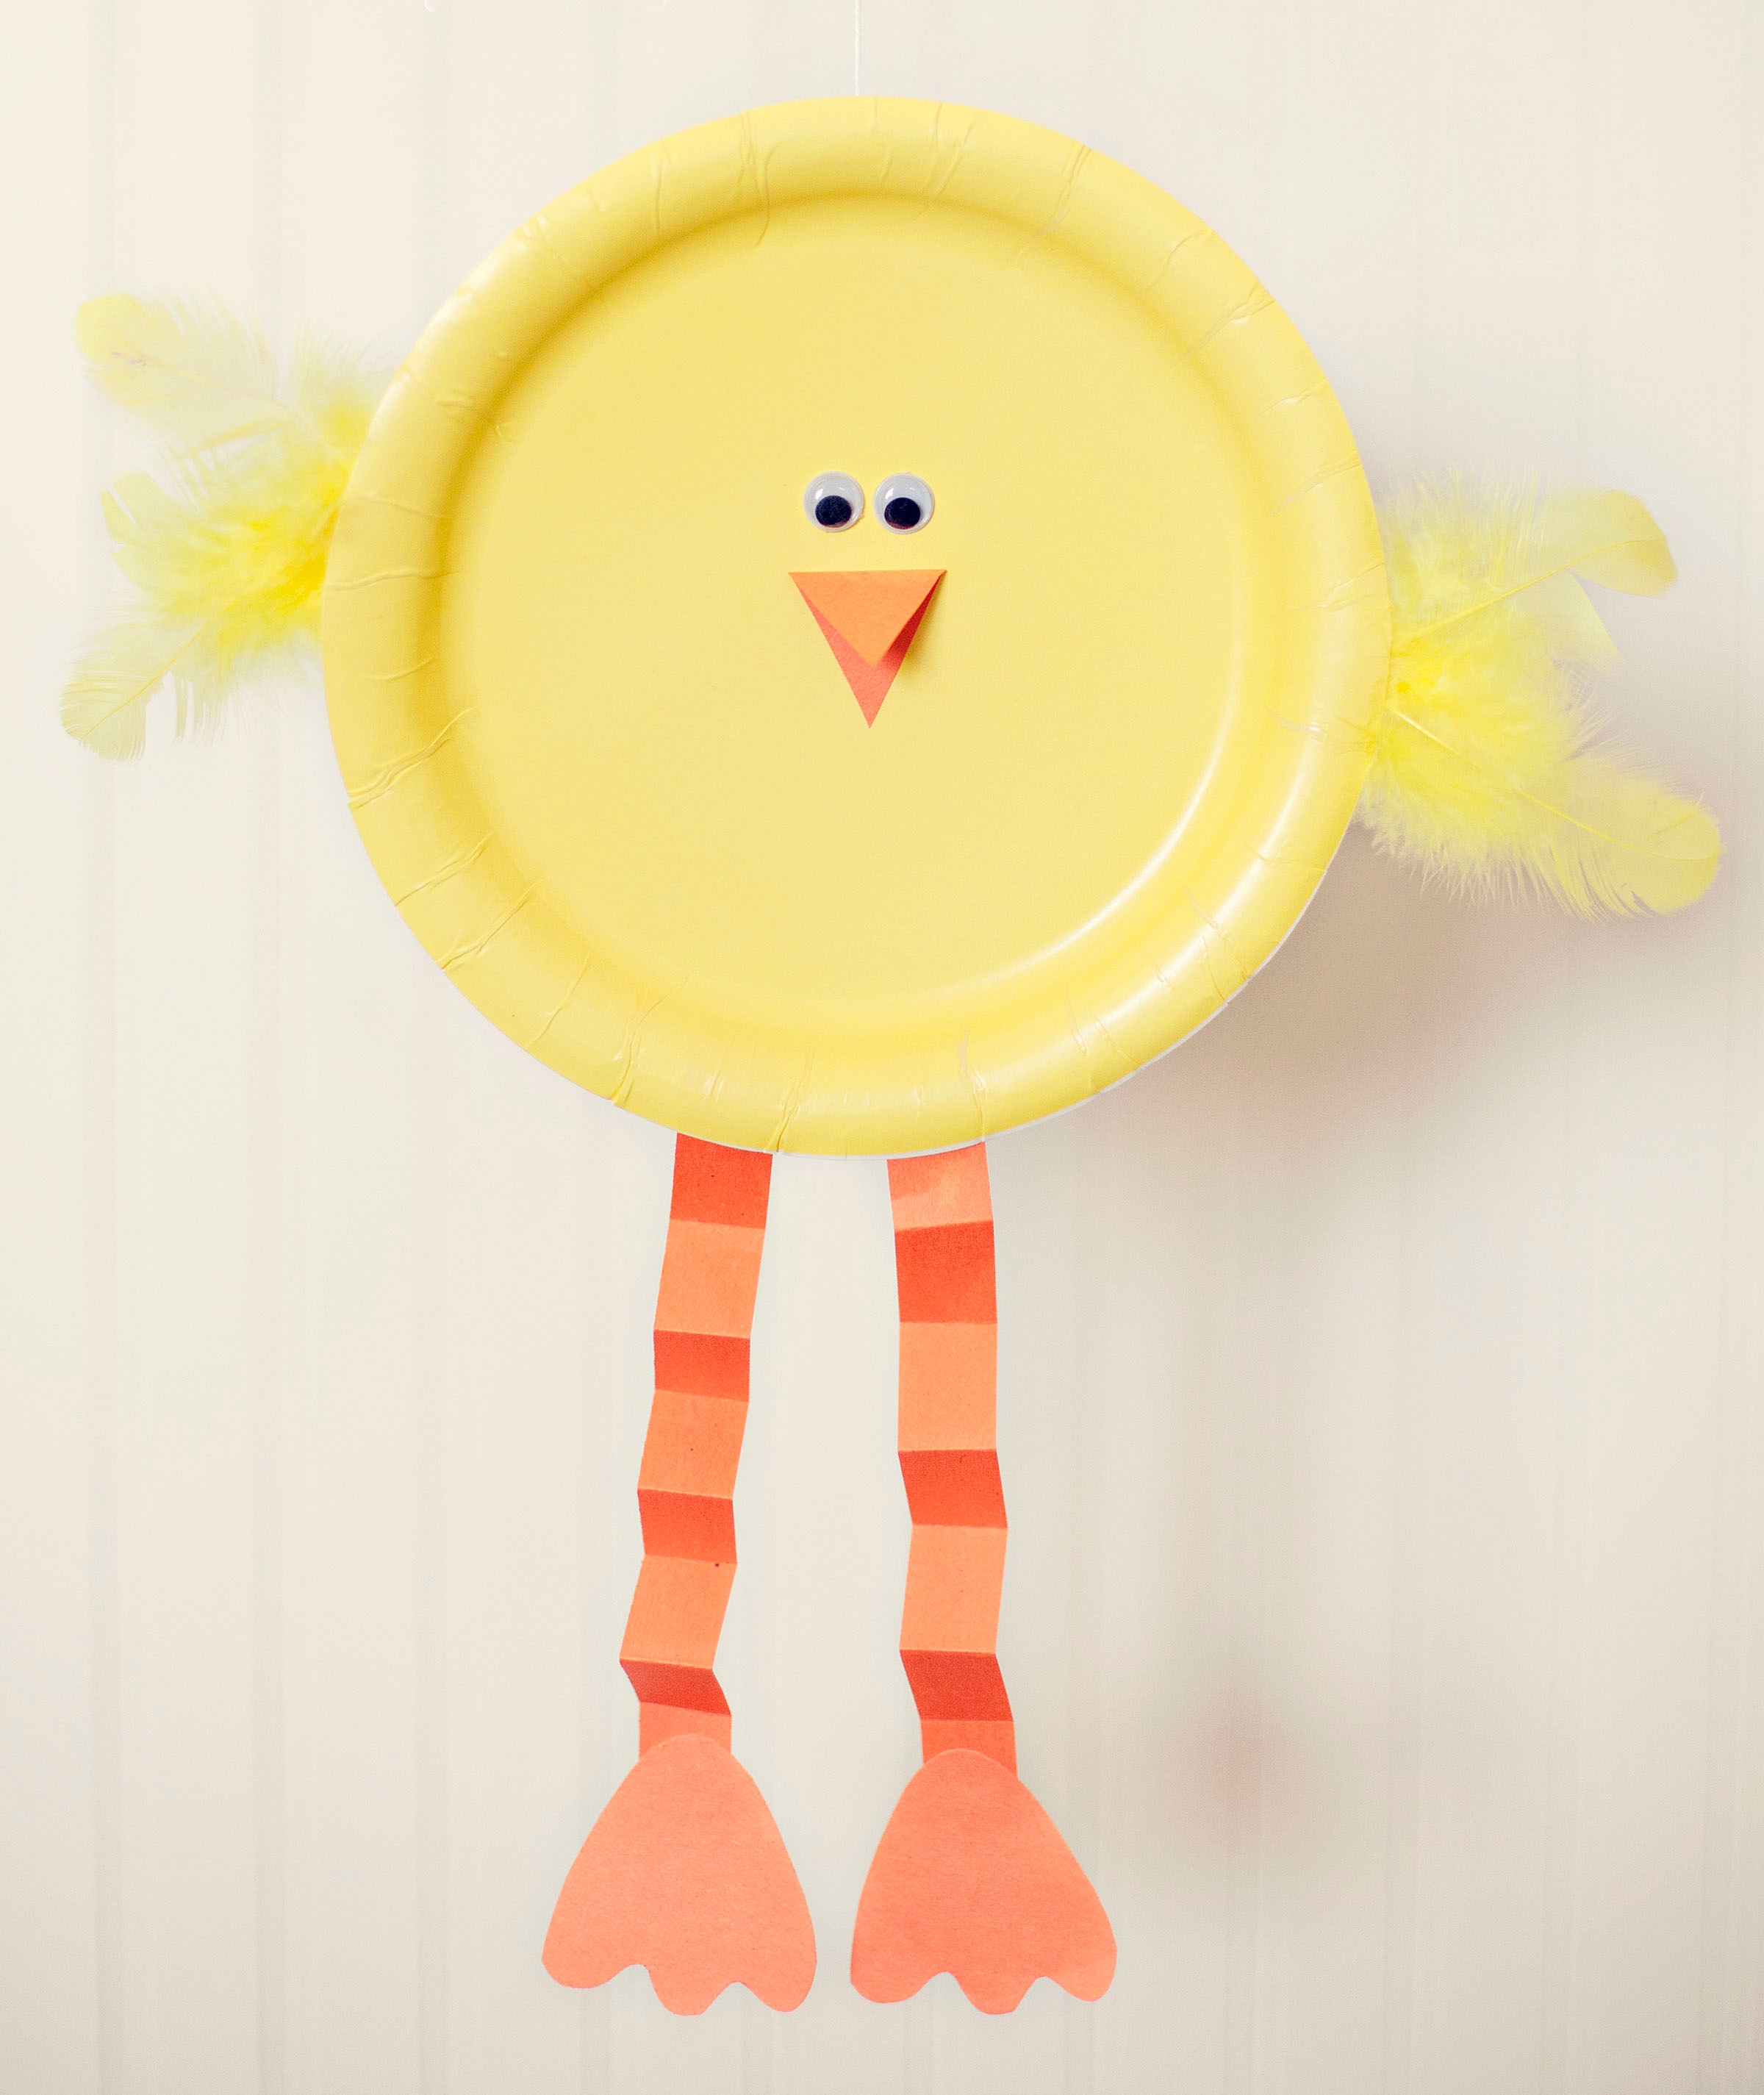
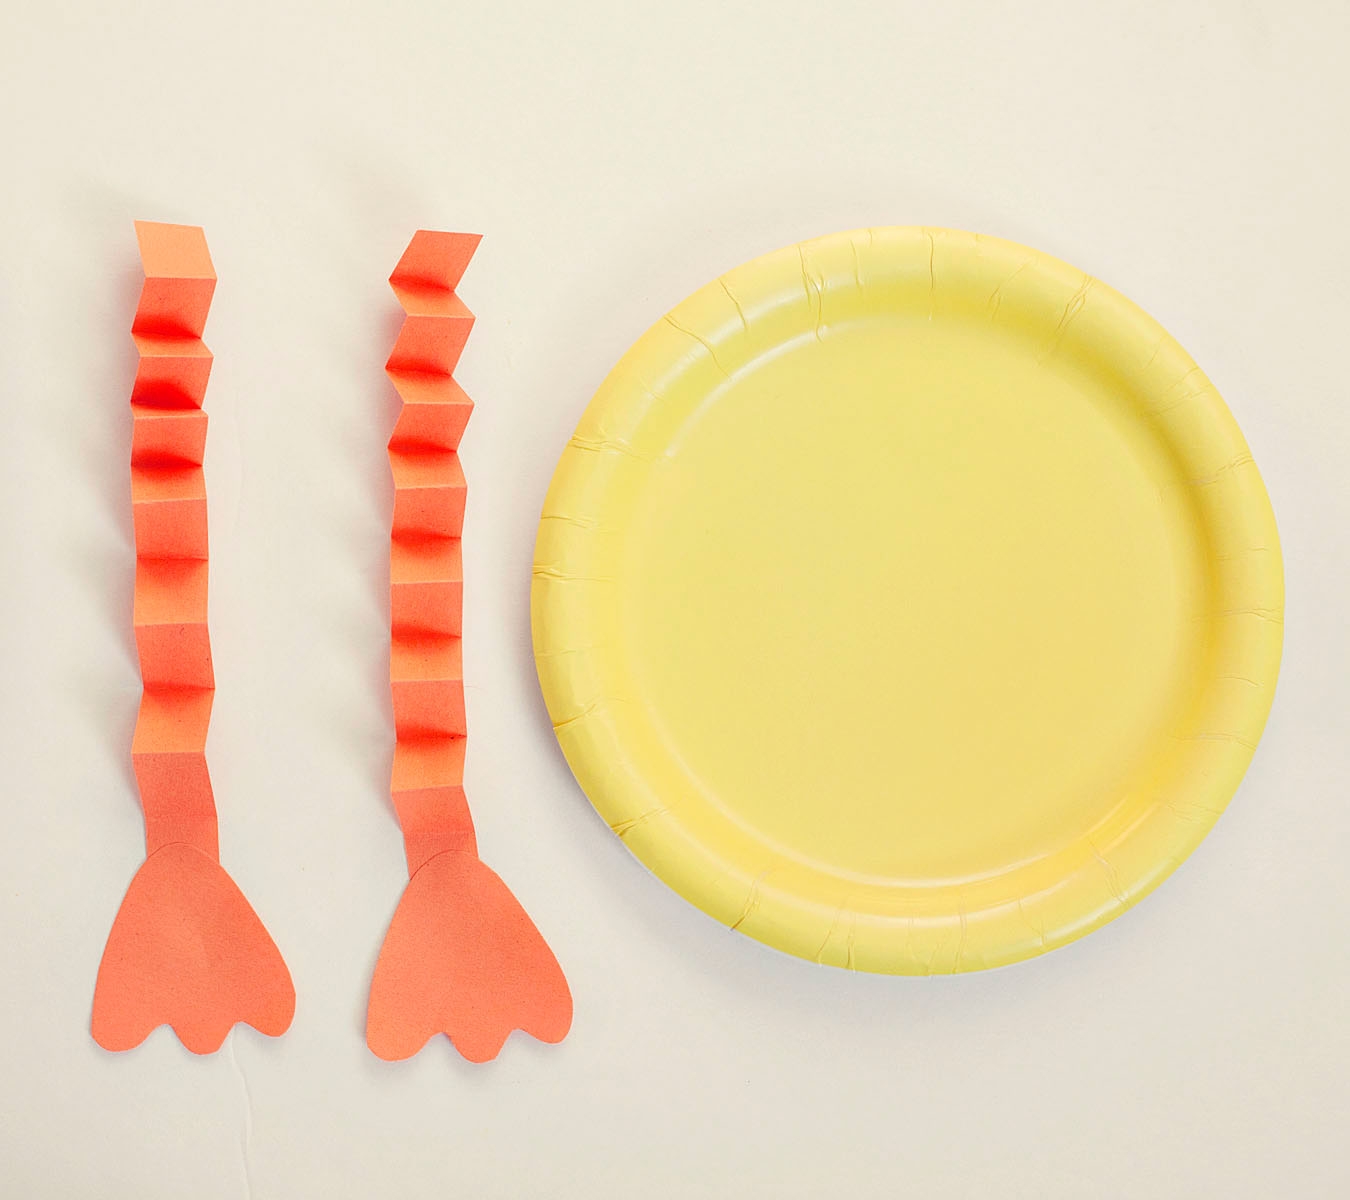
Next, out of orange construction paper, we cut out two long strips of paper to make the chick's legs, a little diamond for his beak and two feet.
Step 3
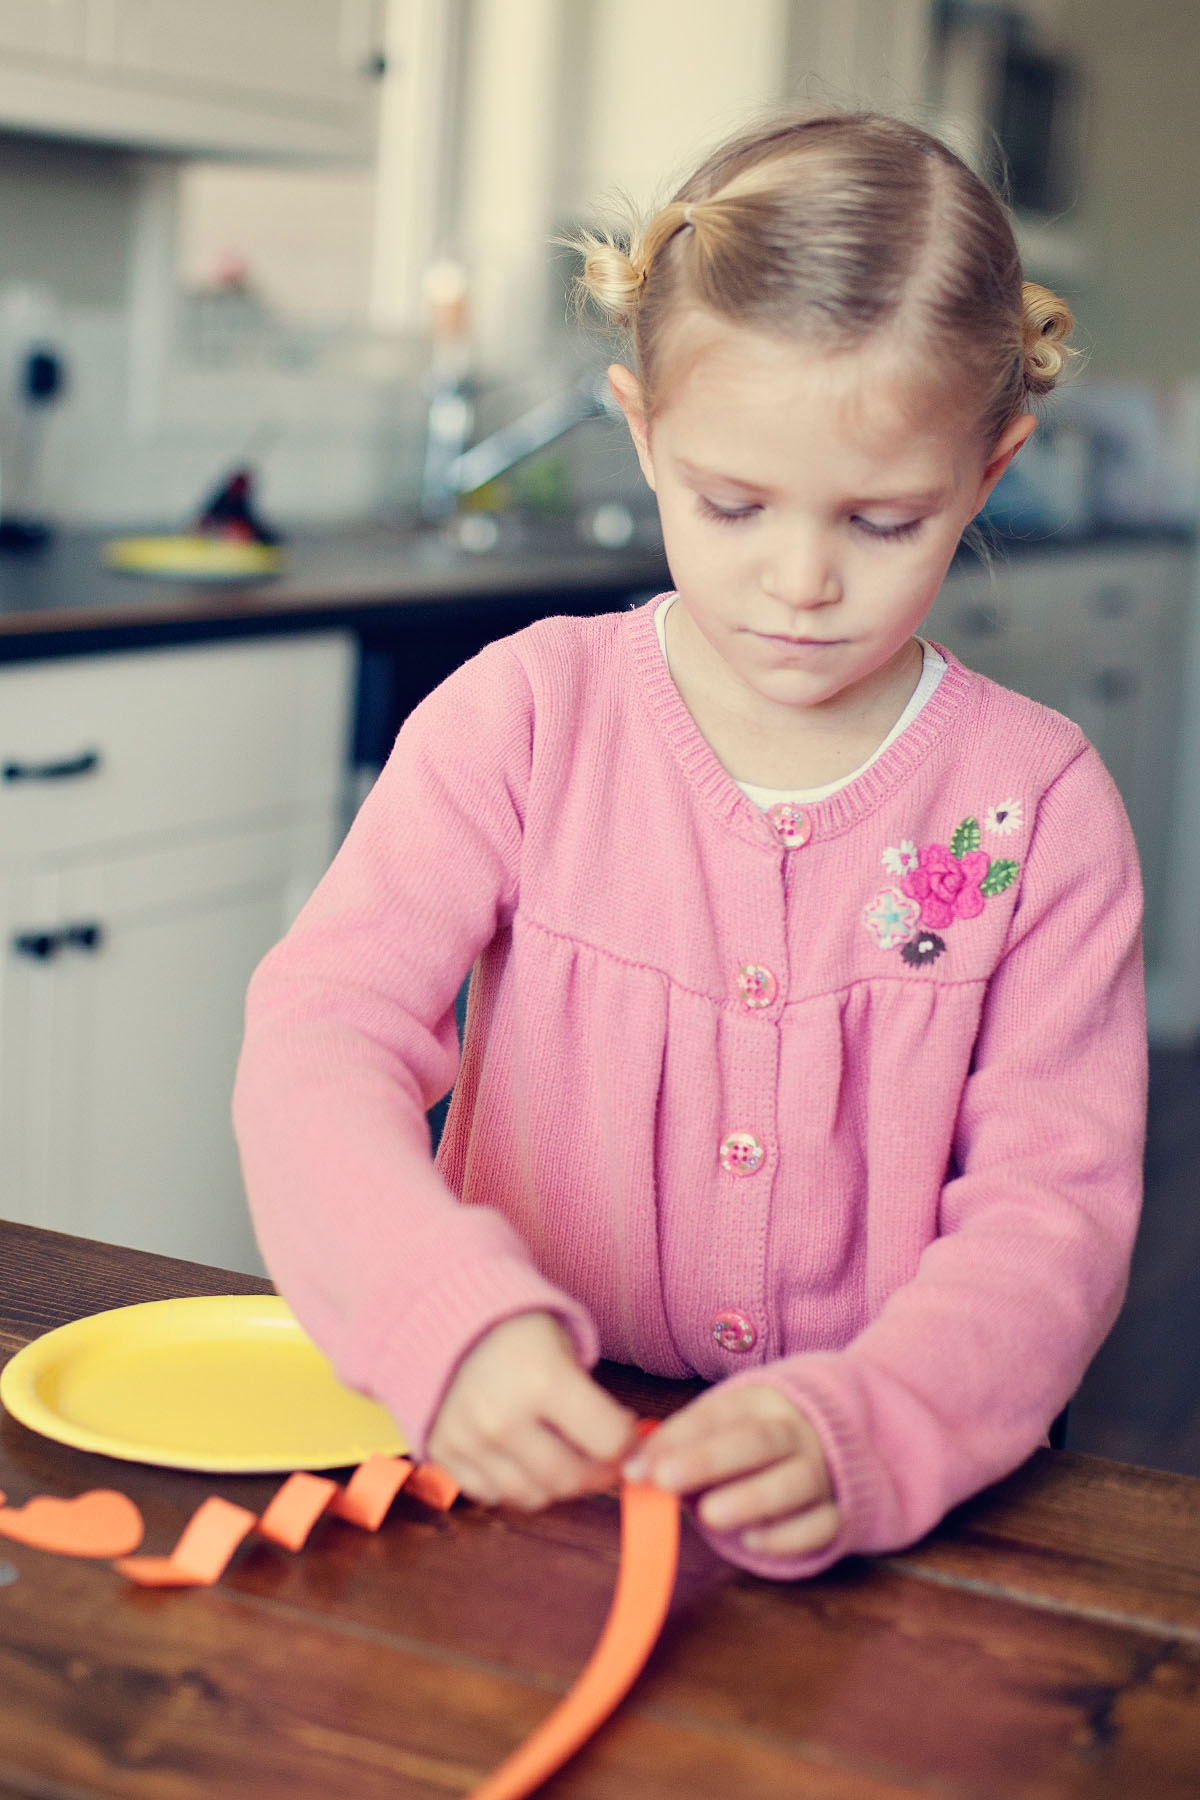
Now we took the two long strips of orange paper and began folding them accordion-style. Once we folded each strip of paper, we attached a foot to the bottom of each leg. Now we glued the chick's legs at the bottom of the paper plate on the back side.
Step 4
Next we folded the small orange diamond paper piece in half to form the chick's beak and attached it to the center of the paper plate.

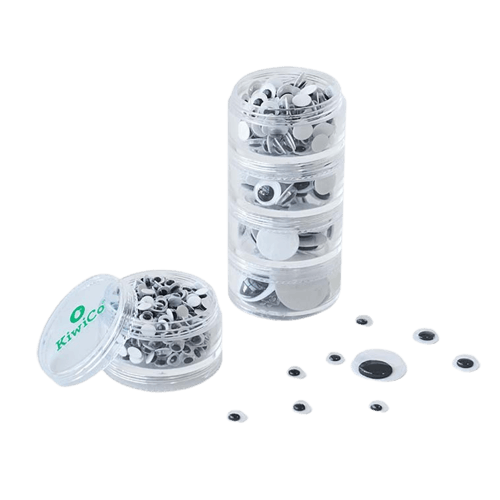
Done!
We were ready to finish off our baby chicks with googly eyes and a few feathers for wings.