Step-by-step tutorial
Step 1
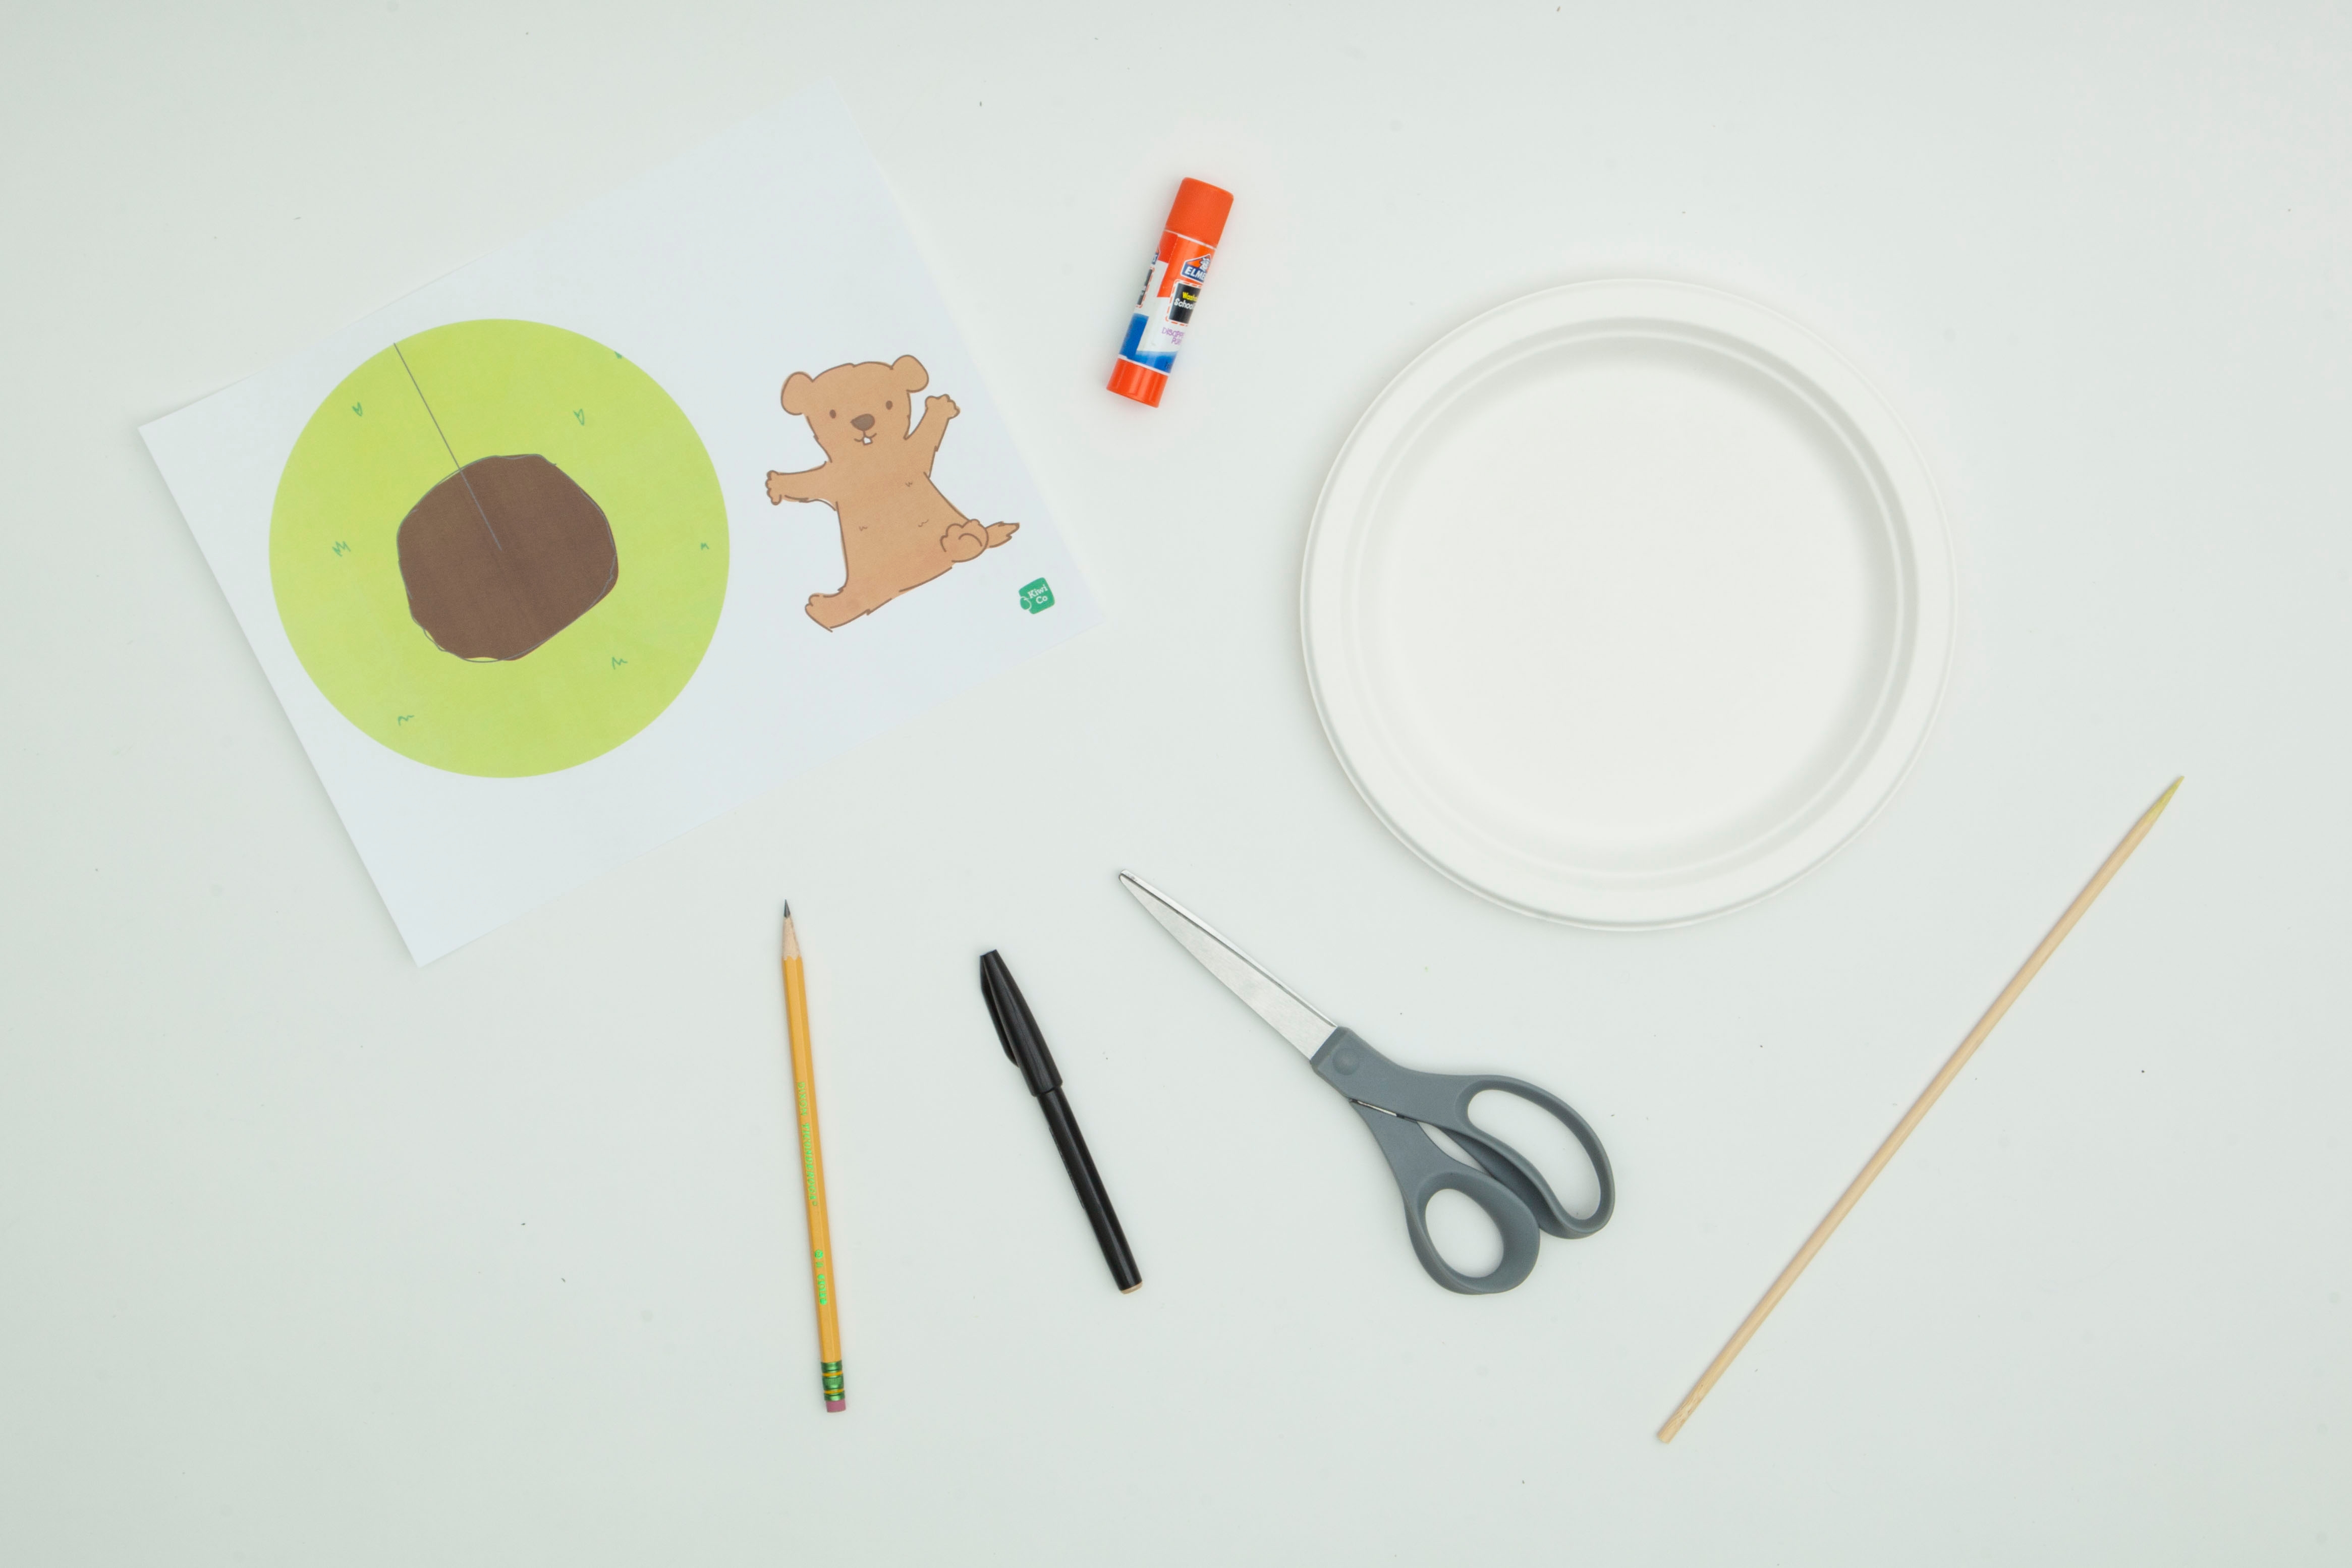
Gather your materials.

Step 2
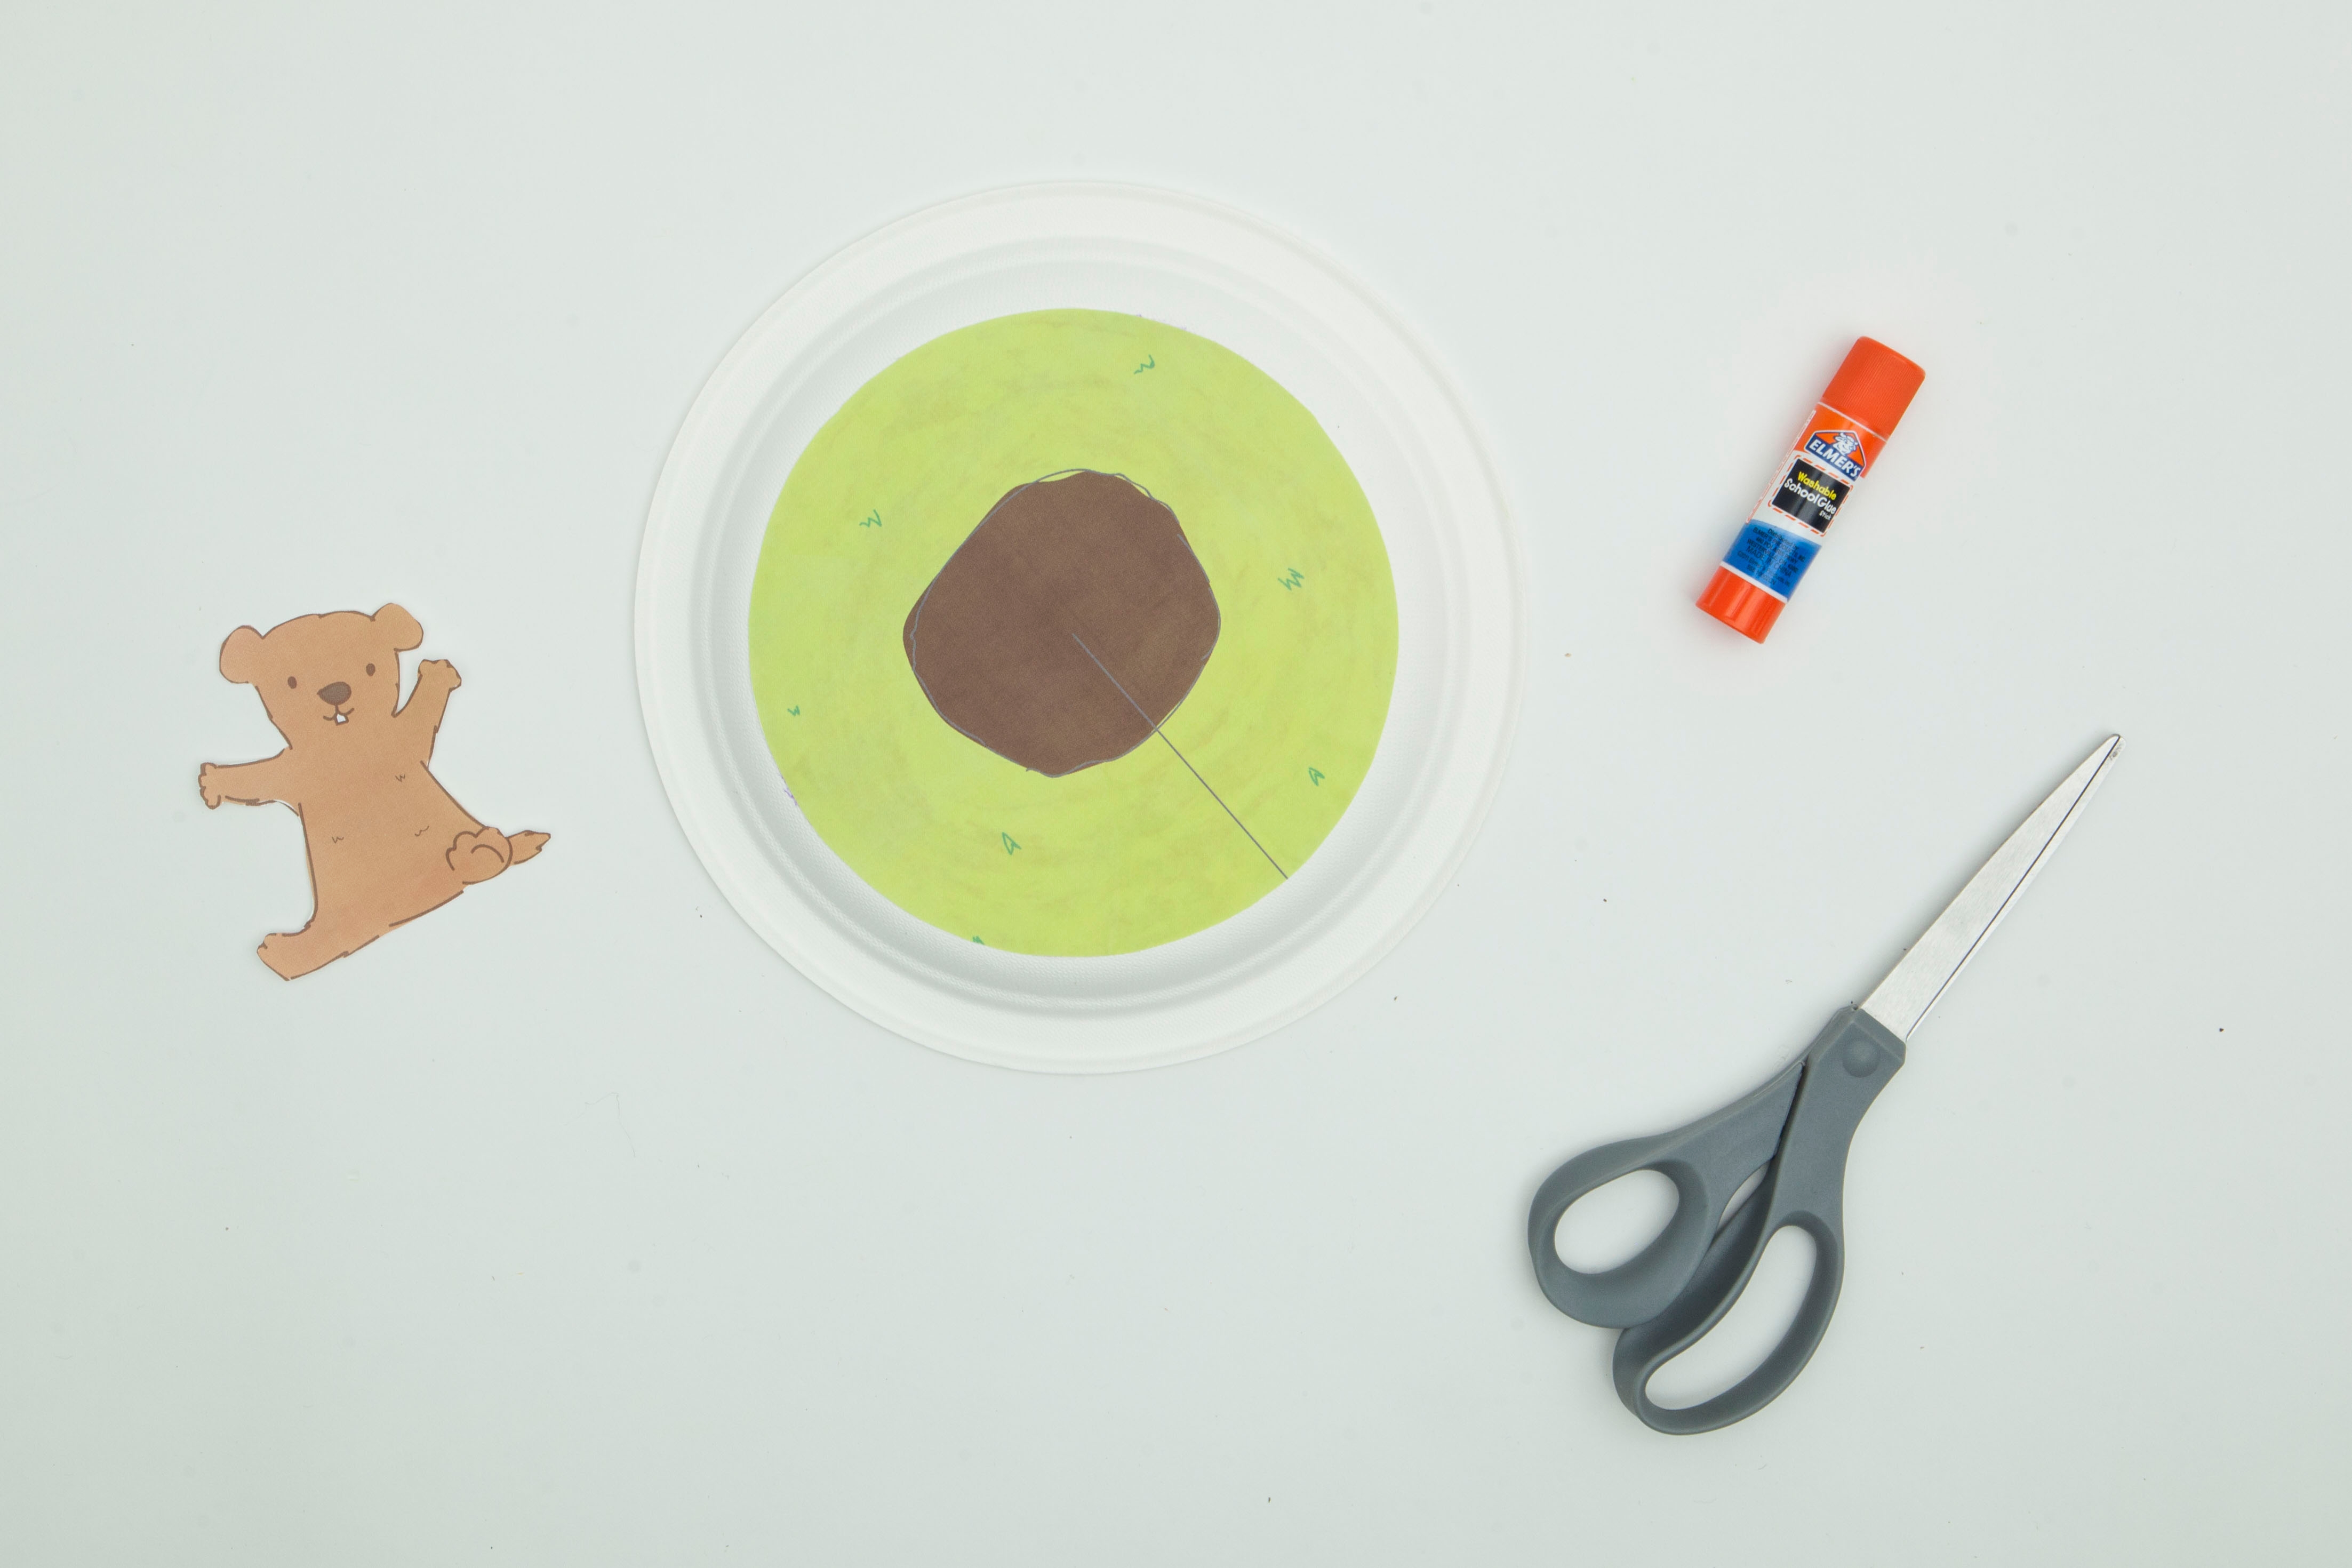
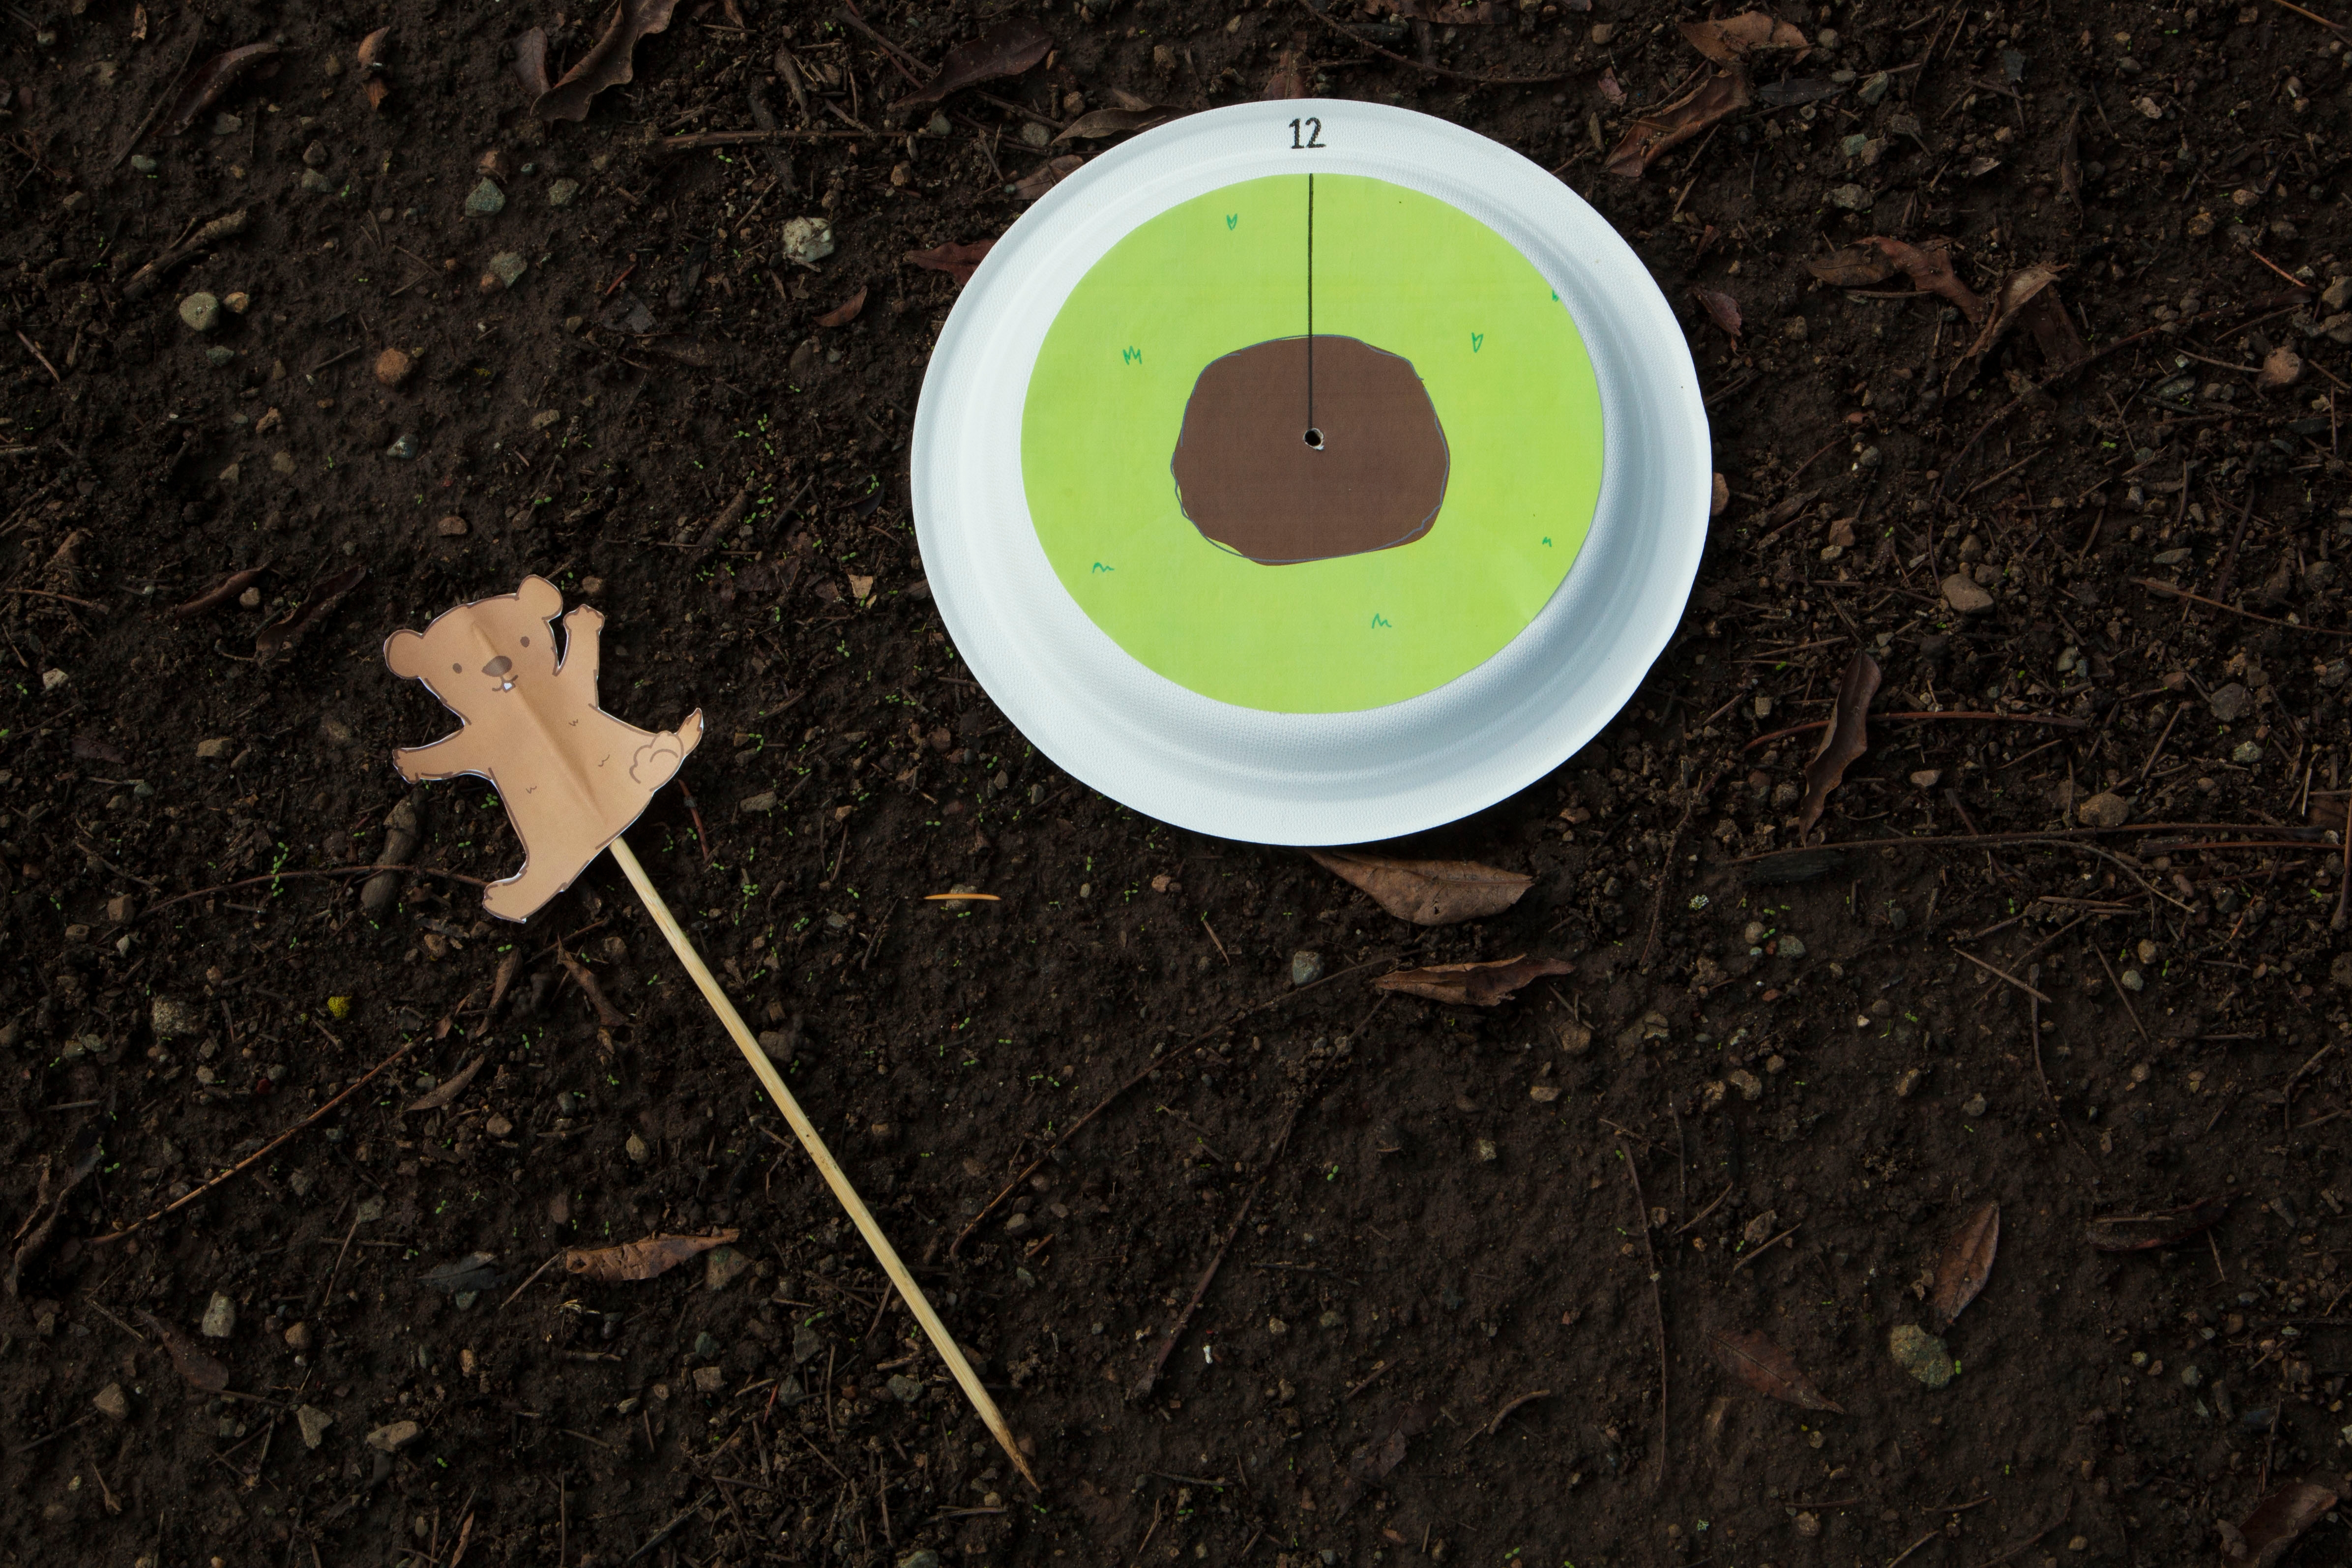
Cut out the sundial base from the printable and glue it to the bottom of a paper plate. Then, cut out the groundhog and set it aside.
Step 3
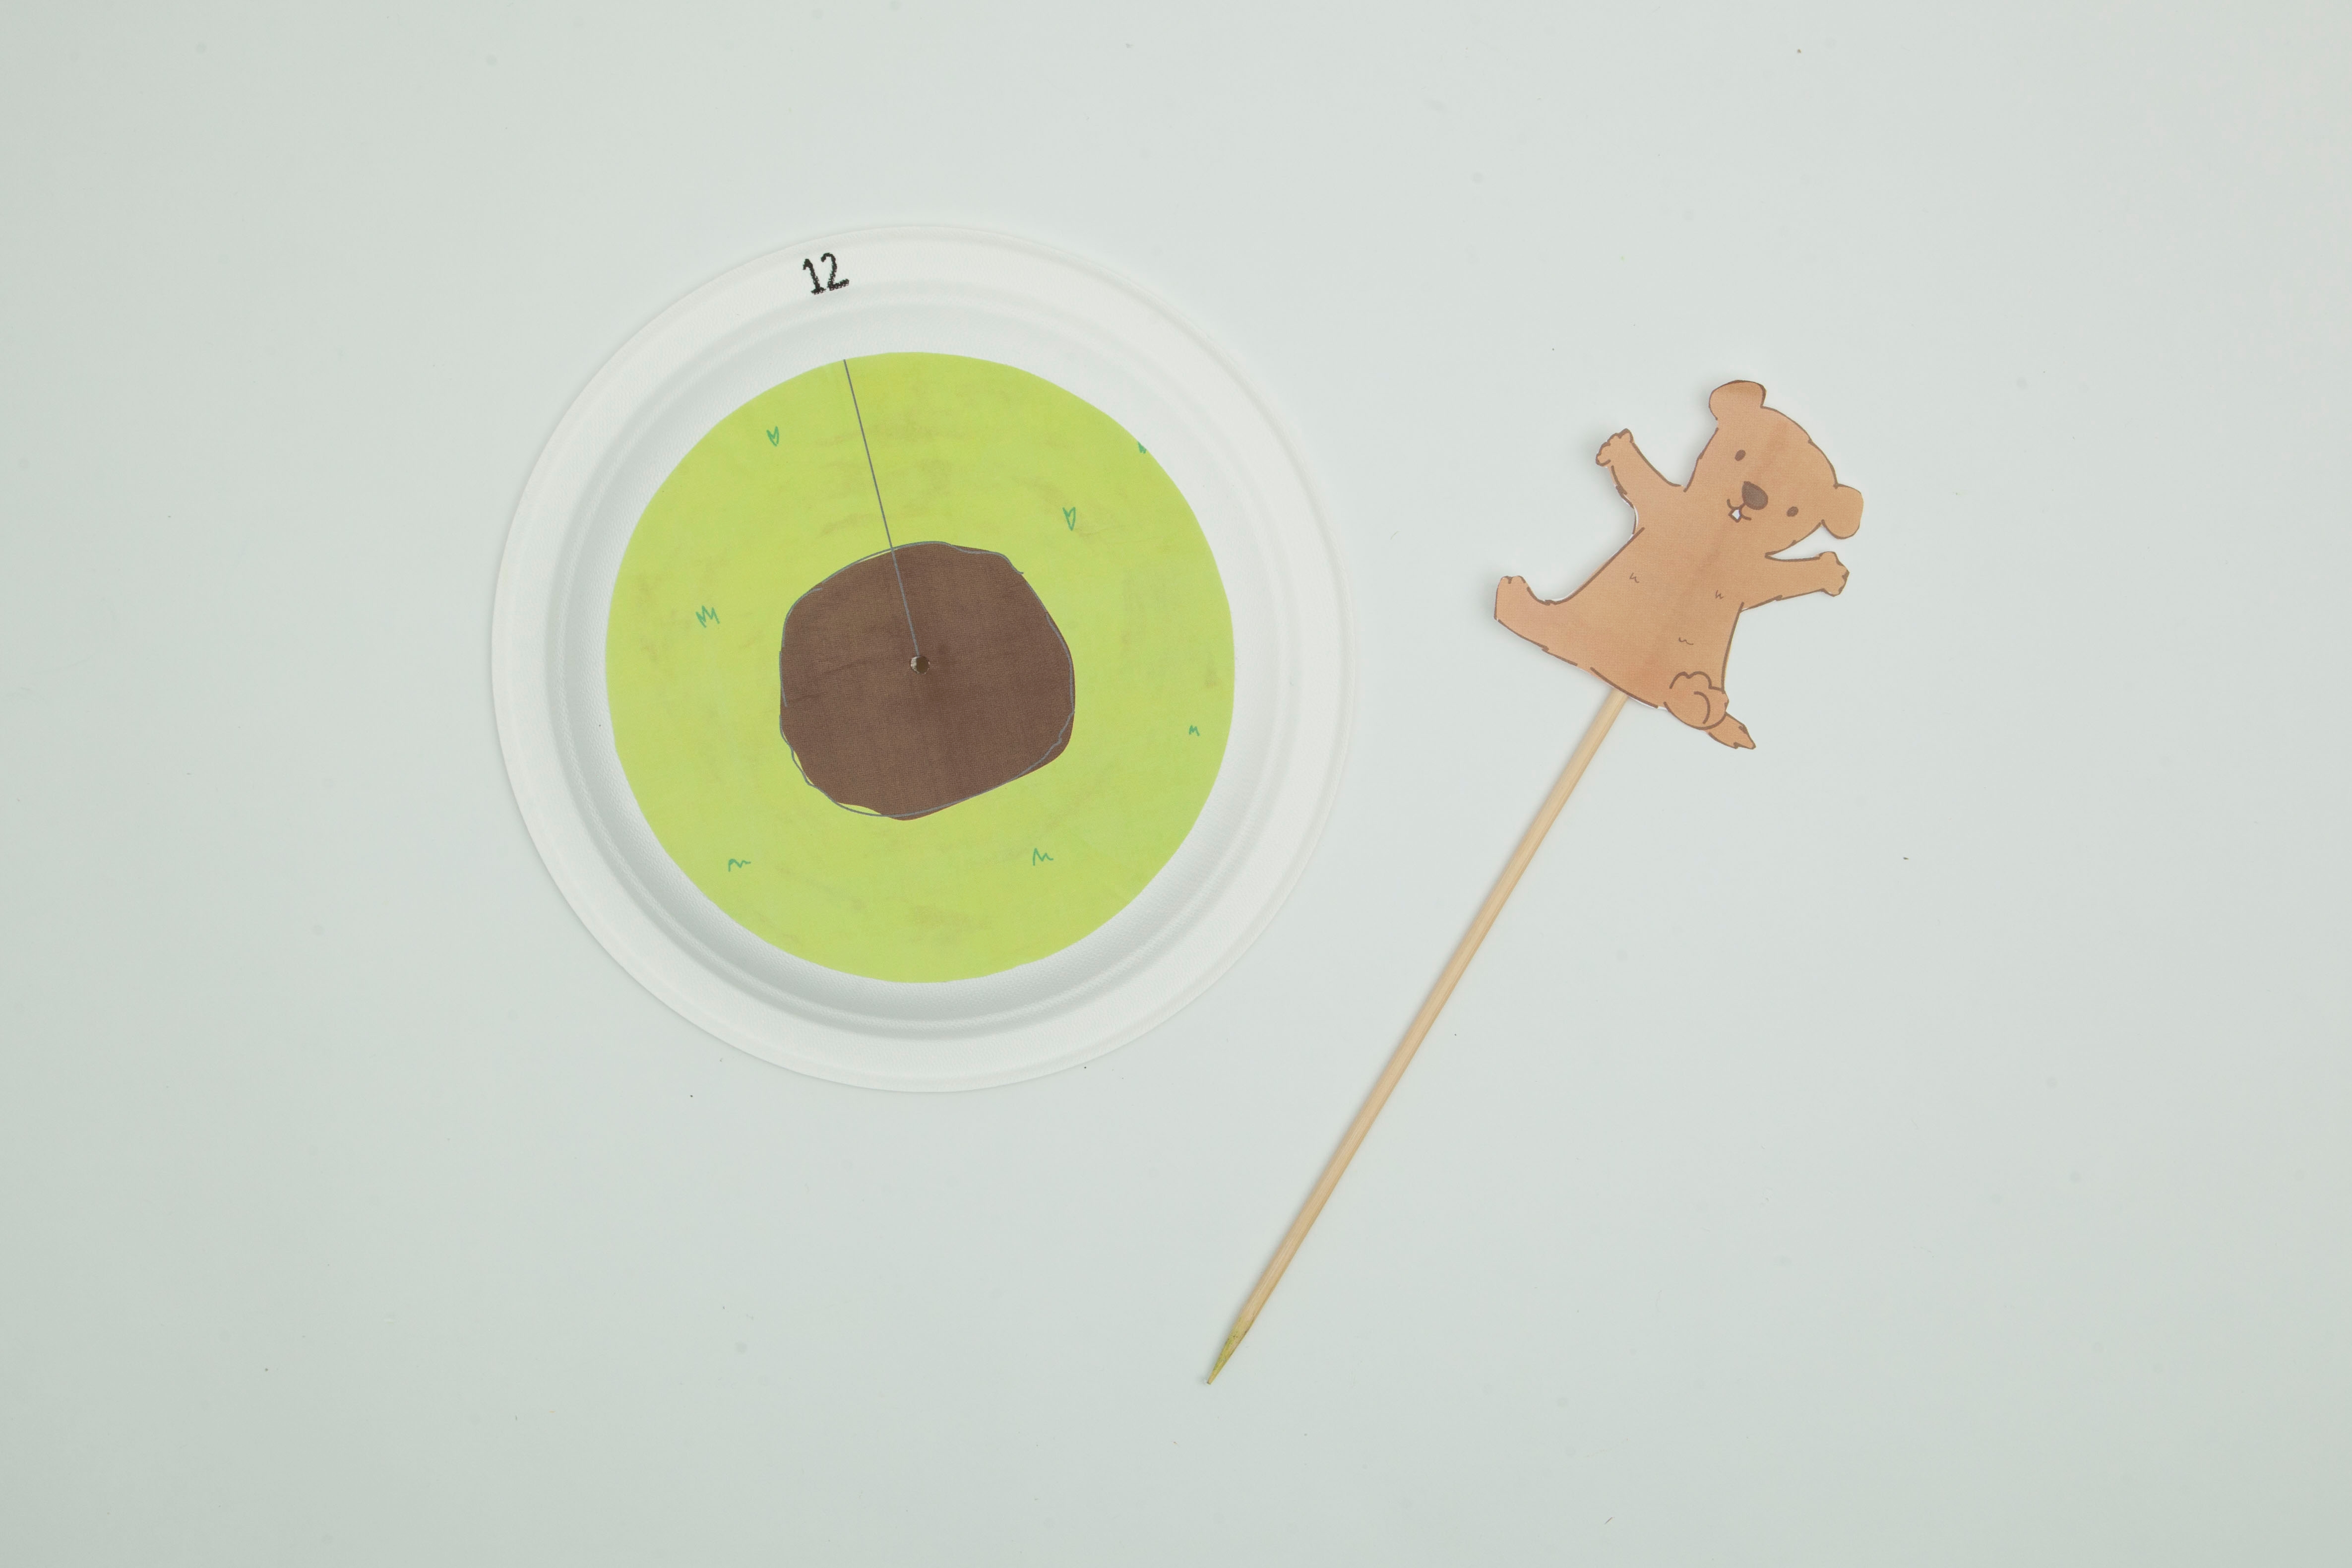
Write the number “12” on the outer edge of the plate on top of the line of the sundial base.

Step 4
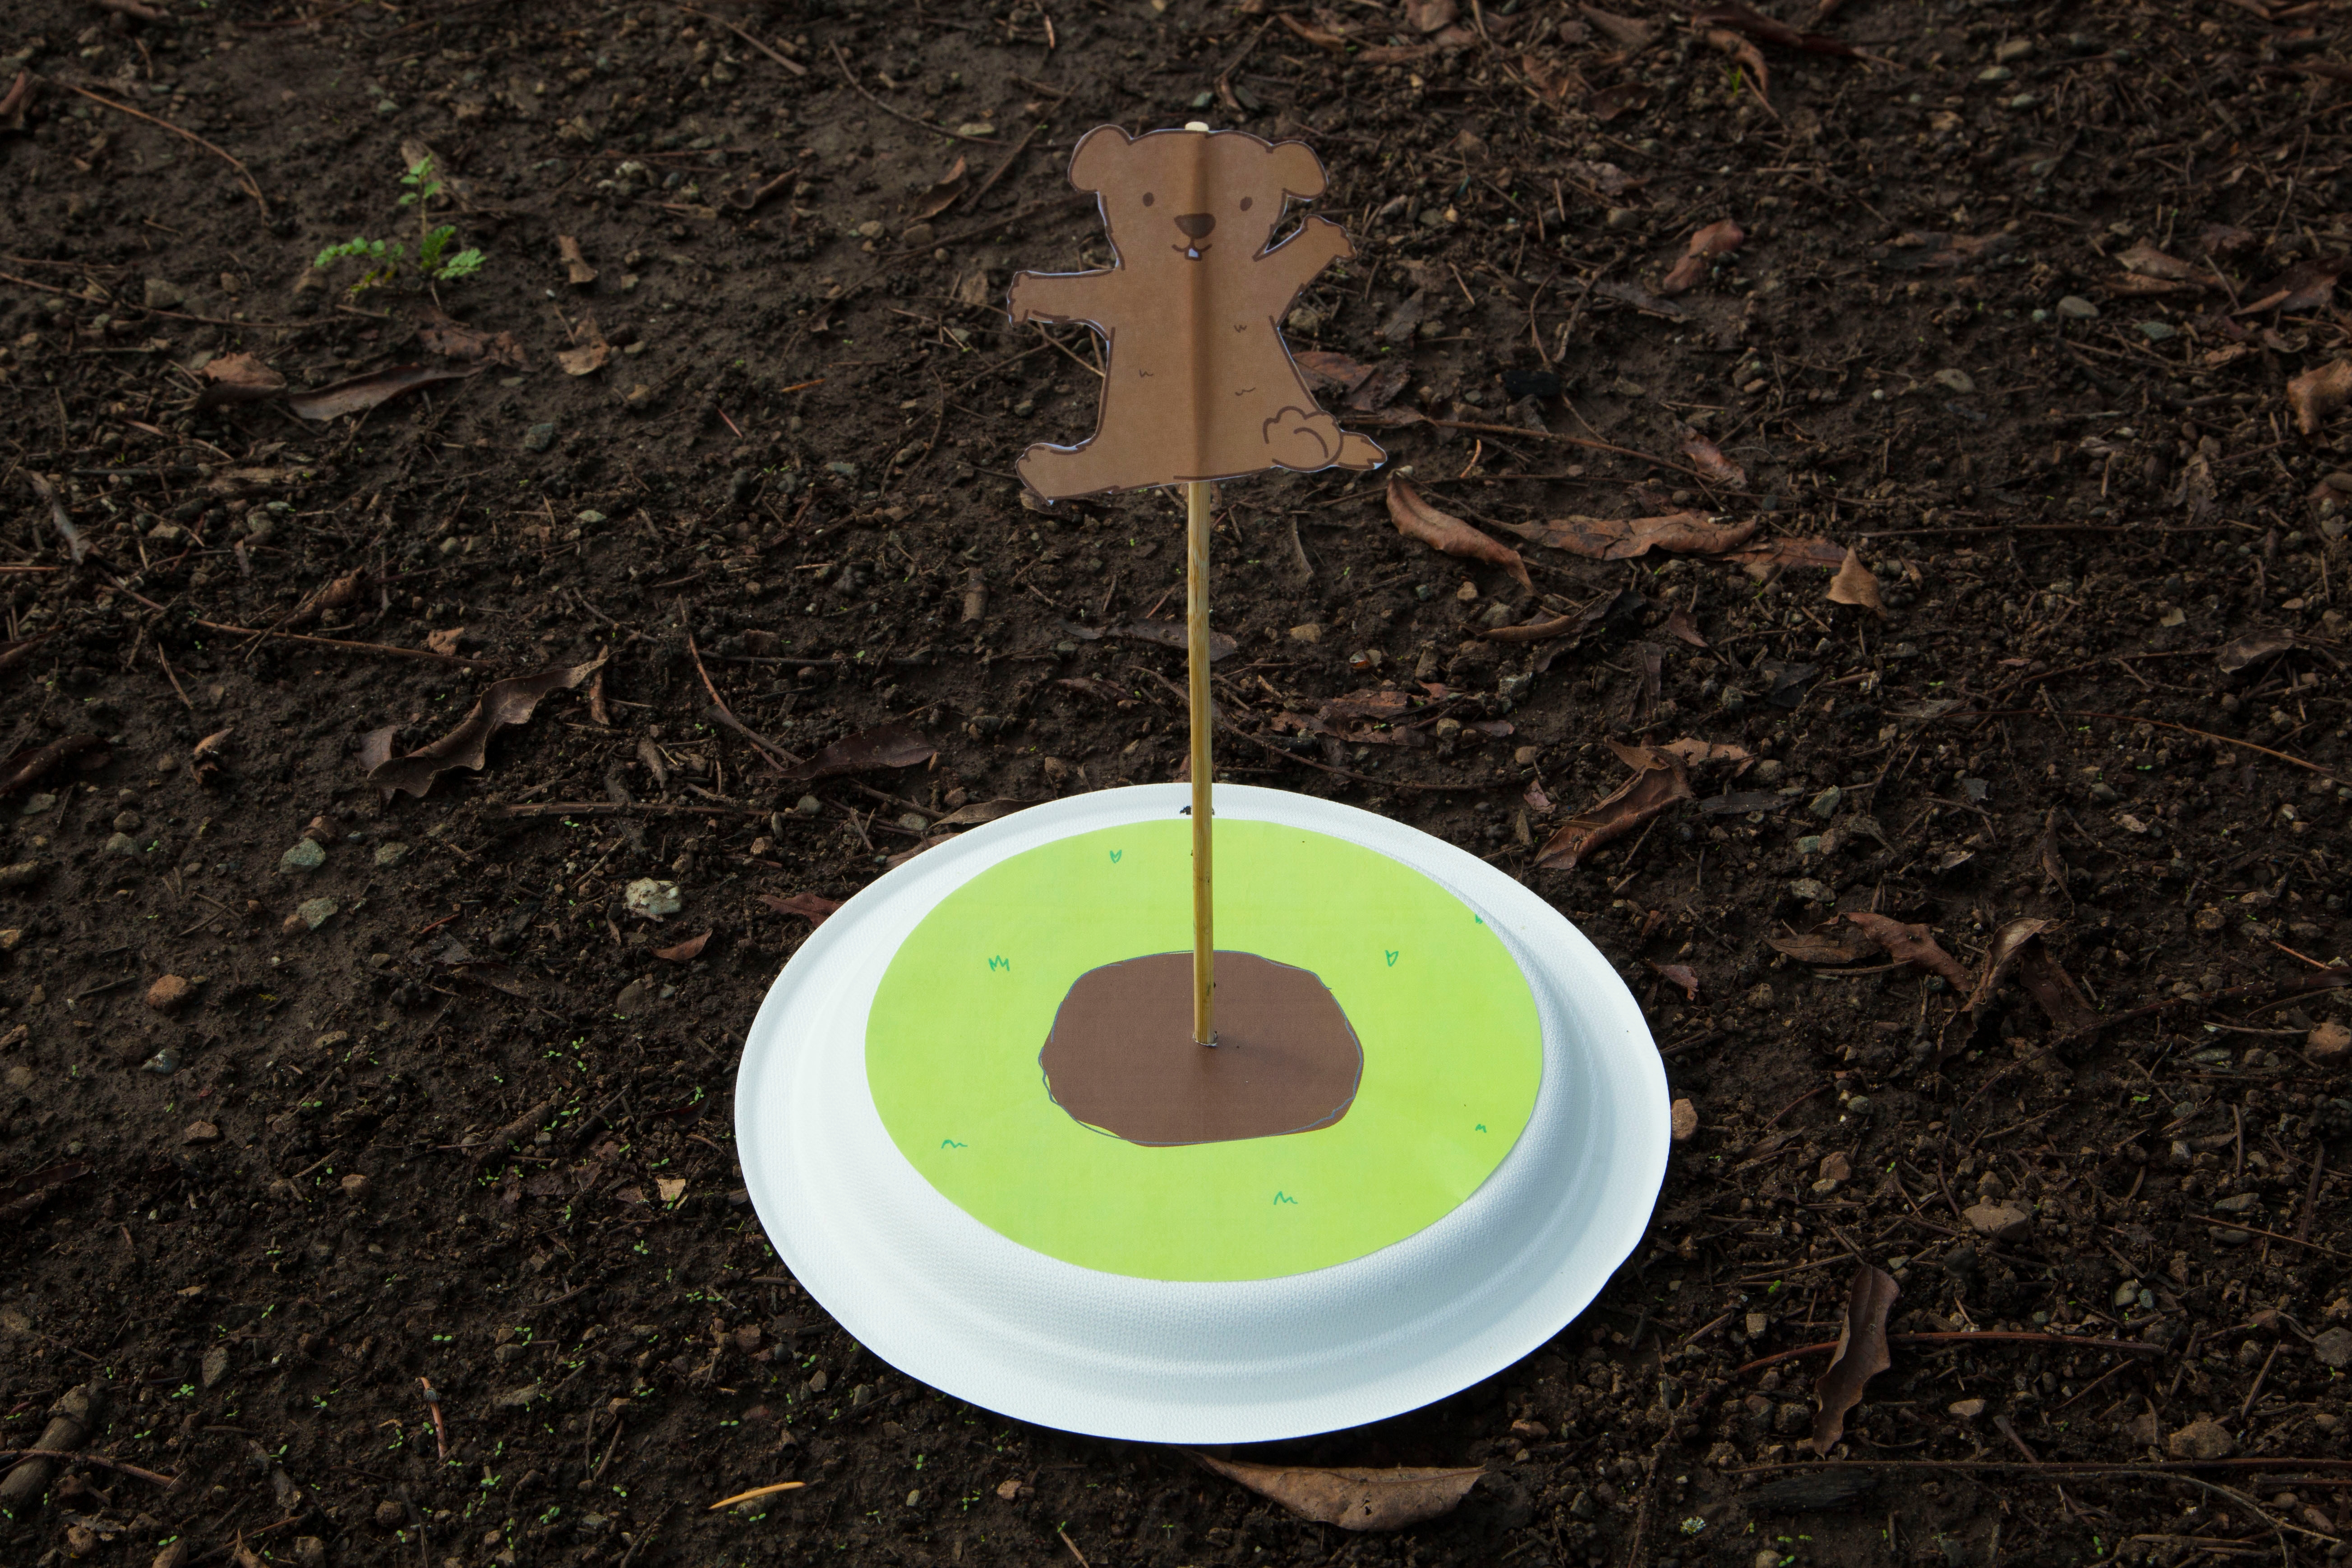
Find the center of your paper plate. Then, poke a hole through it with the skewer and glue the groundhog to the top of the skewer.
Fact

We are using a skewer as our gnomon (pronounced NO-MEN). This is the part of a sundial that casts a shadow.
Step 5
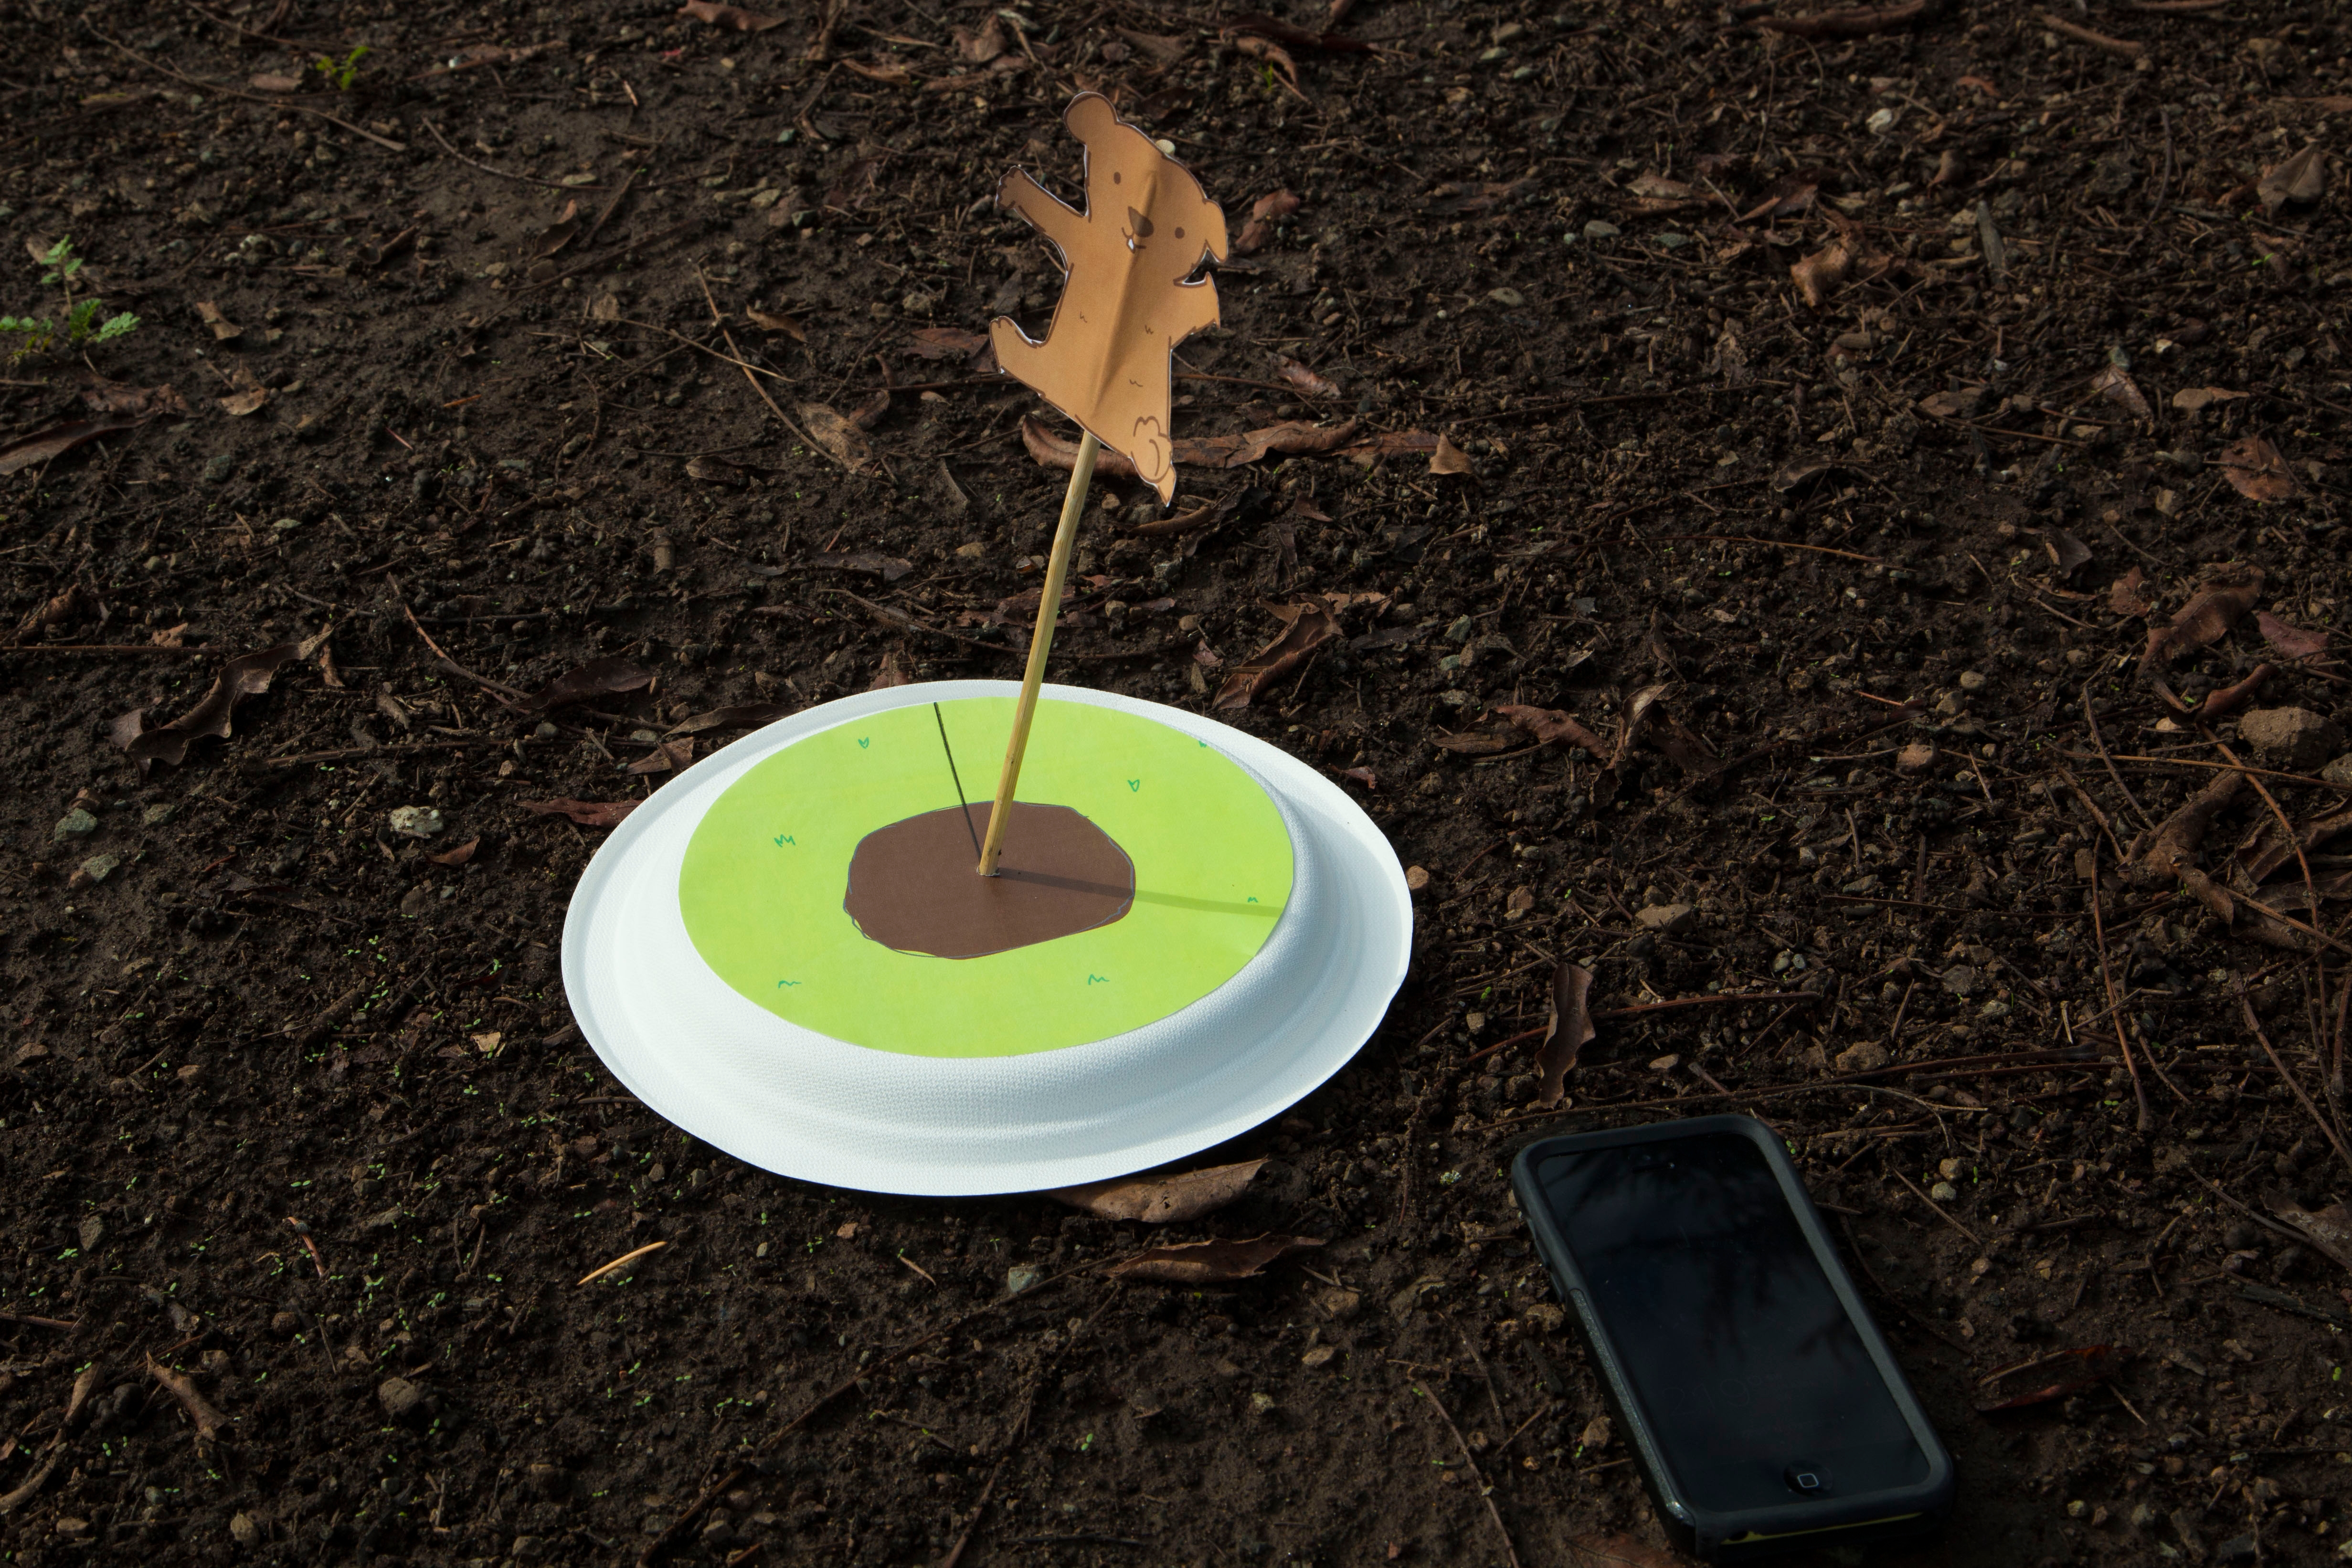
Bring your sundial and groundhog outside to a sunny place.
Step 6
Using the pointy end of the skewer as a stake, poke it through the middle of the paper plate and secure it to the ground.
Step 7
Find the direction of the nearest celestial pole with a smartphone compass. Then, gently tilt the skewer in that direction.
Fact
If you live in the northern hemisphere, the closest celestial pole is the north pole. If you live in the southern hemisphere, the closest celestial pole is the south pole. We used a compass to find the north pole because we live in the northern hemisphere!
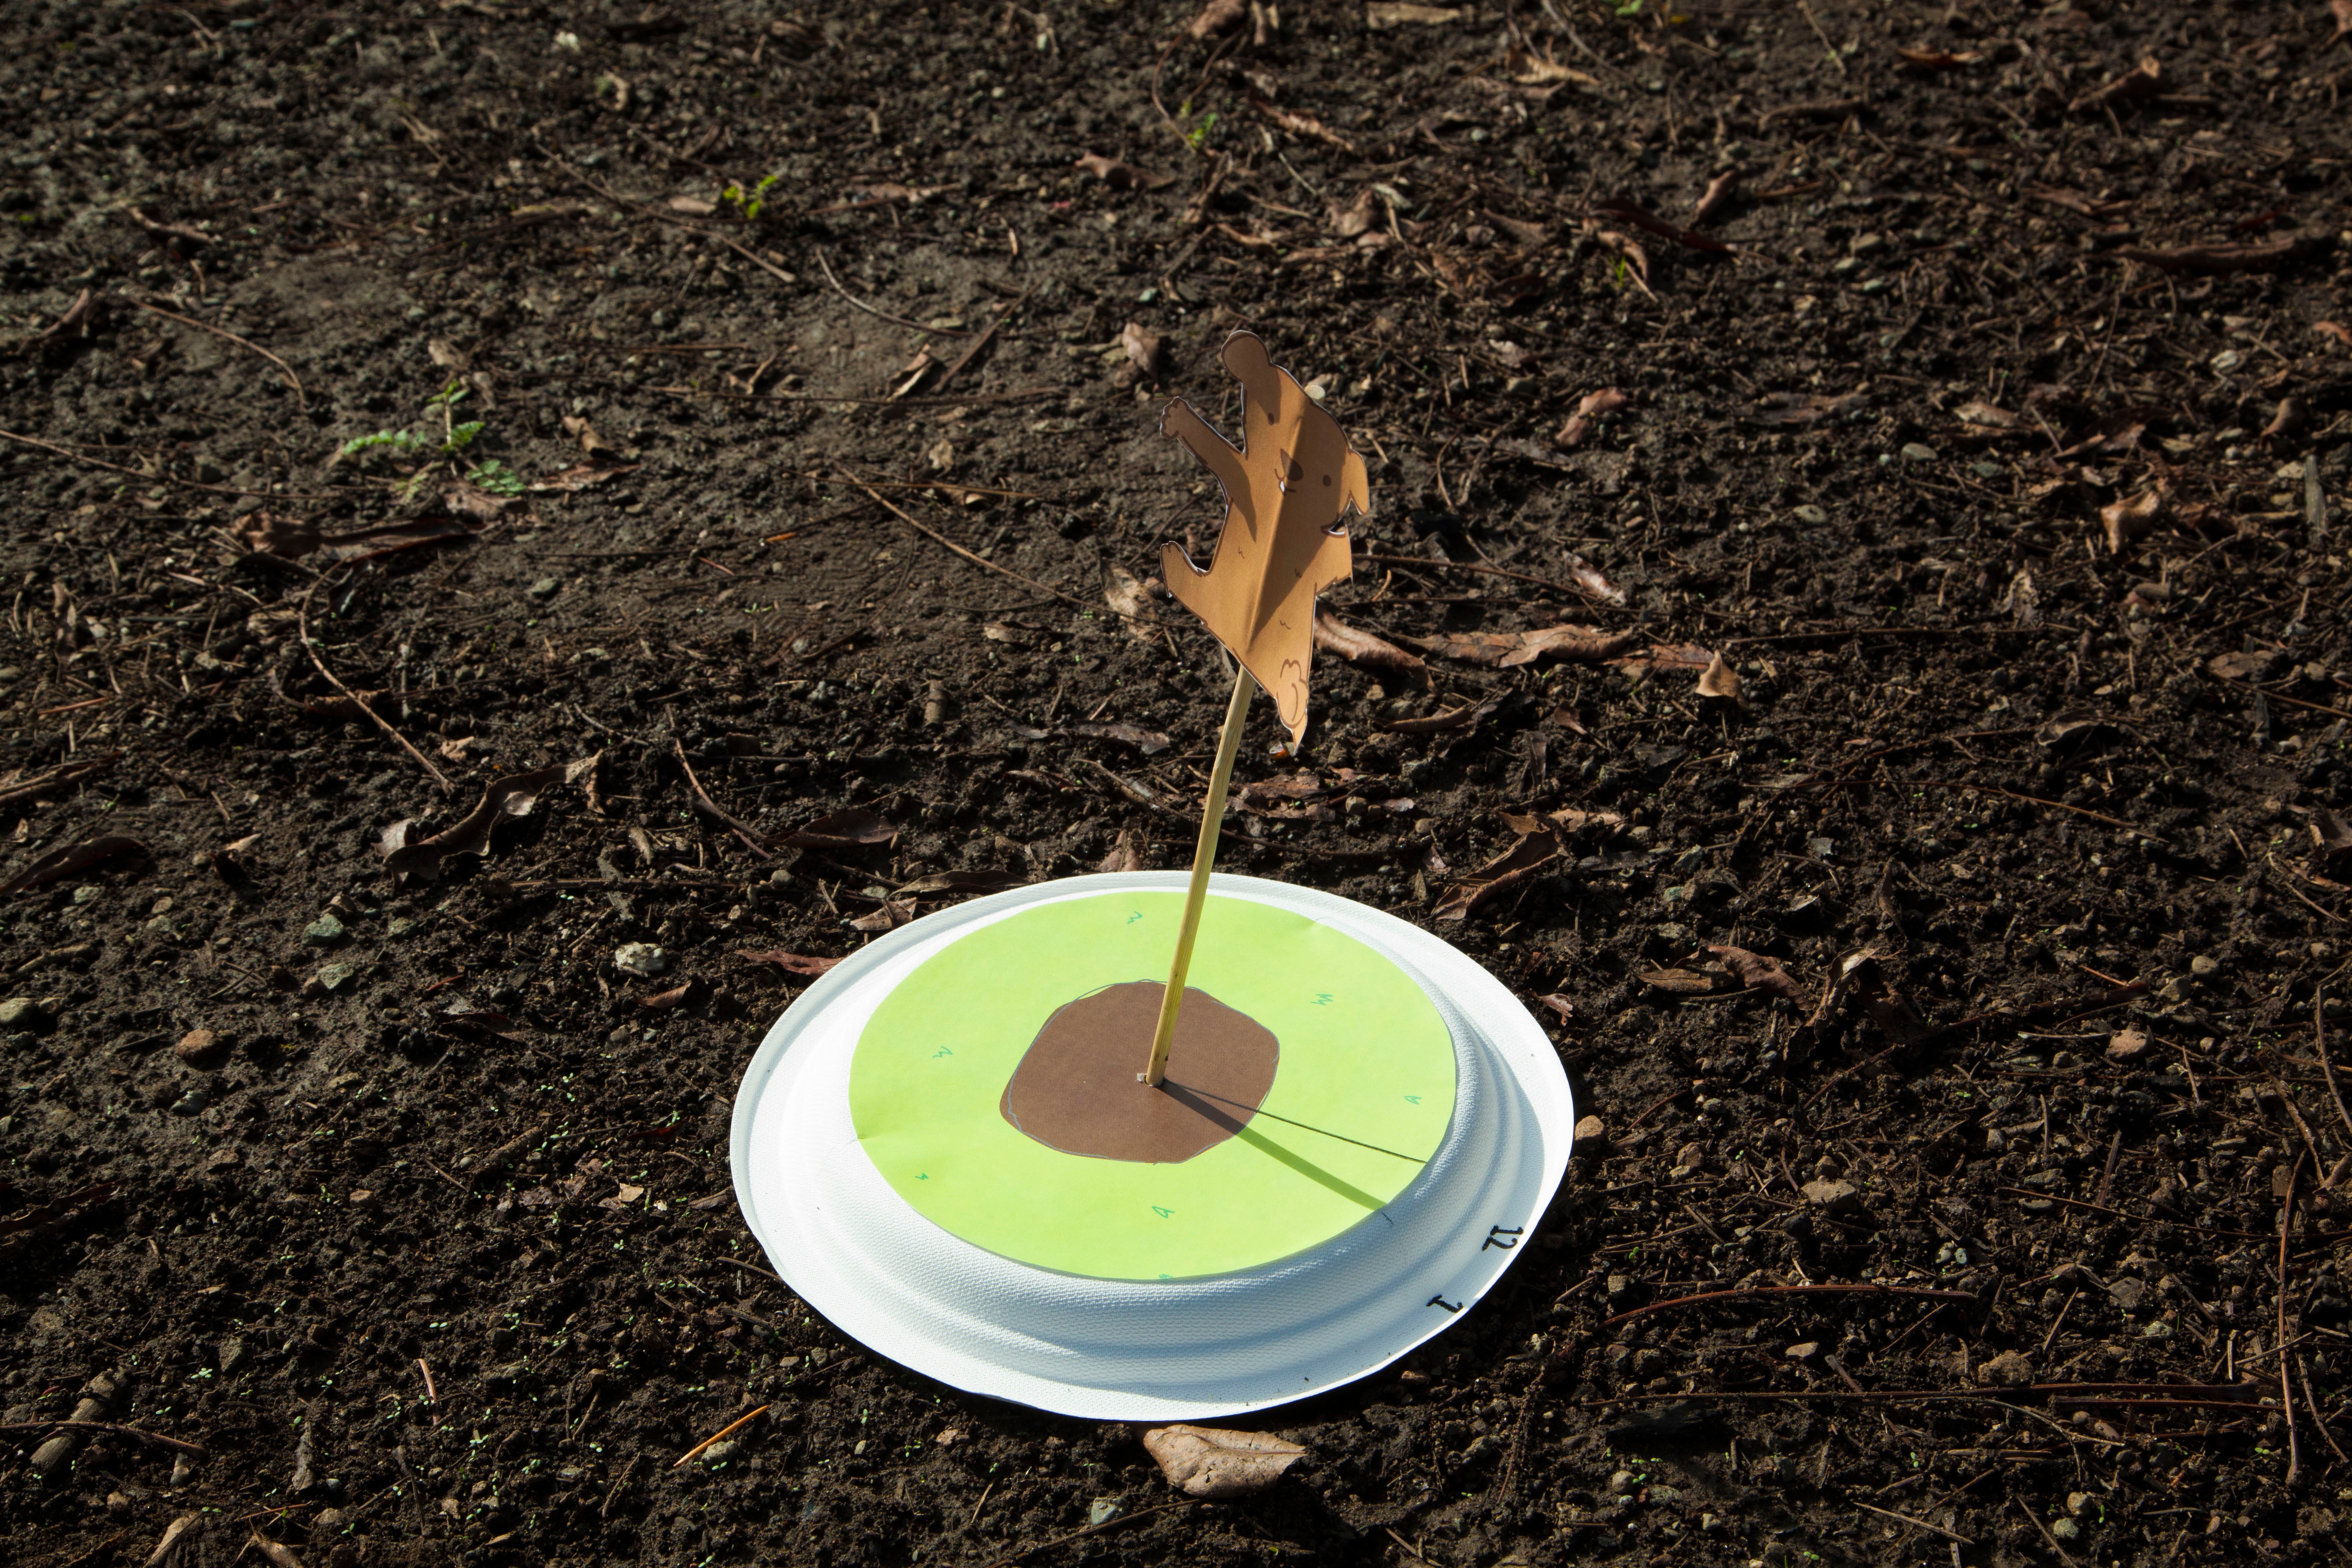
Step 8
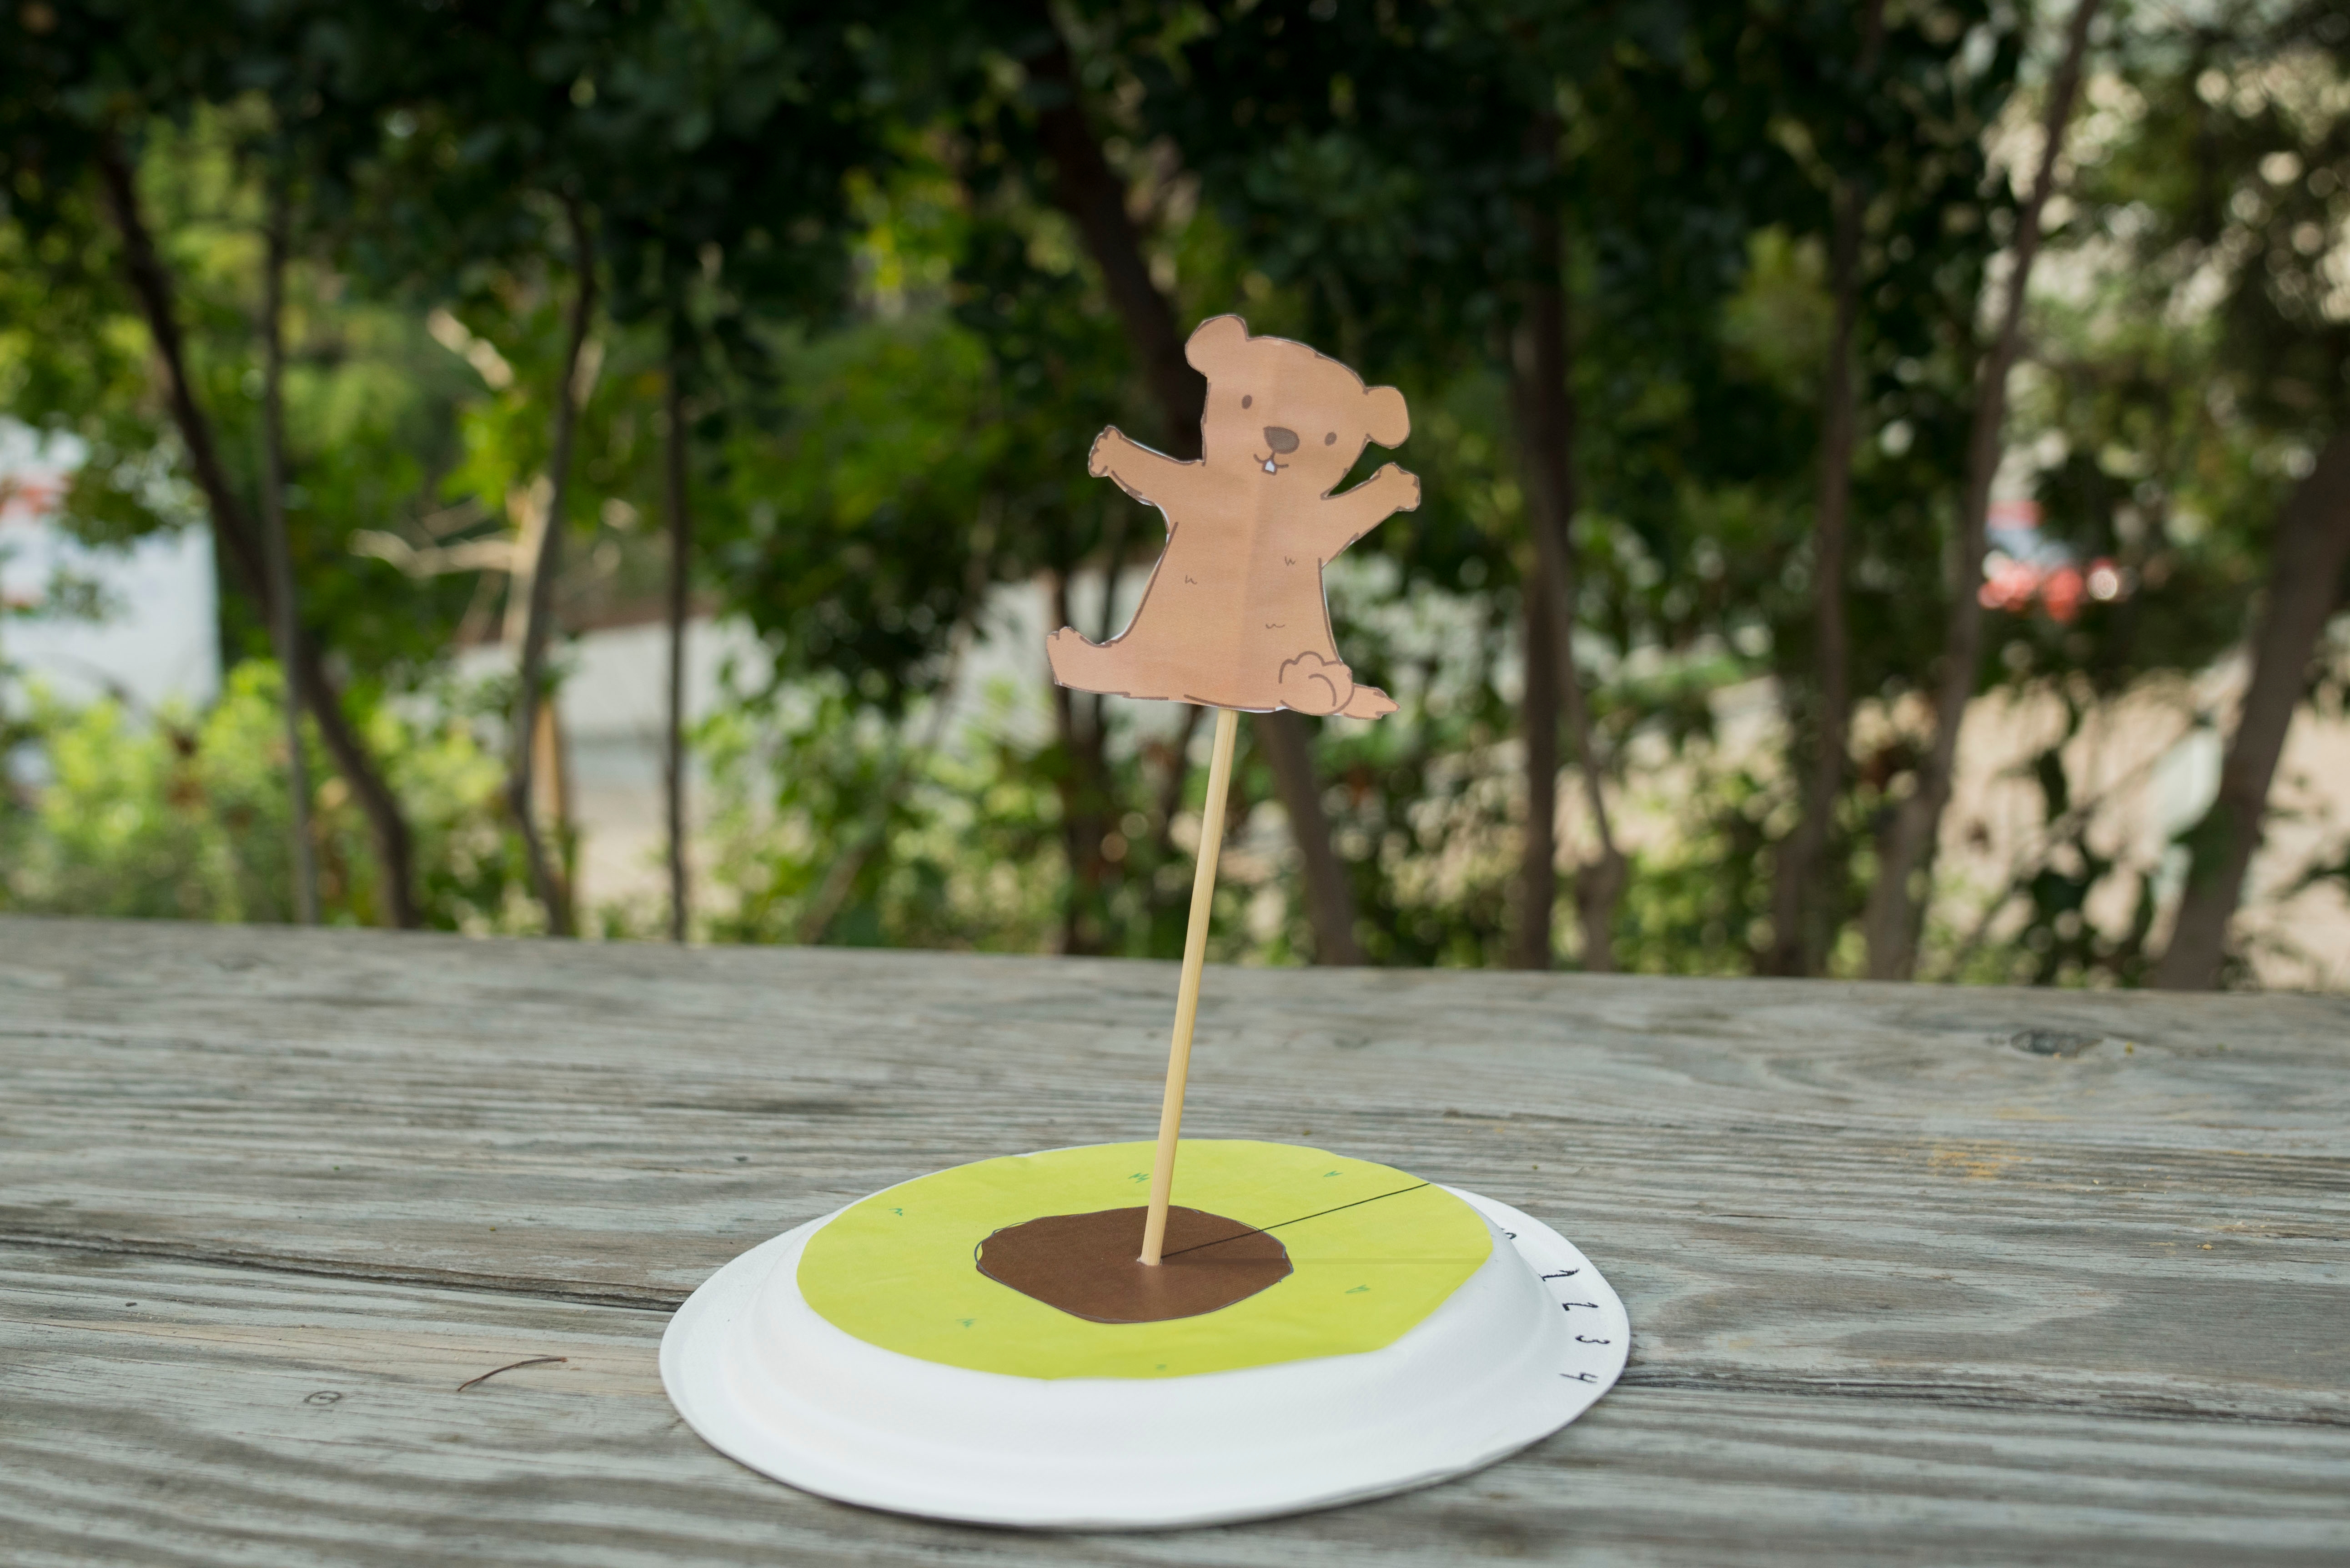
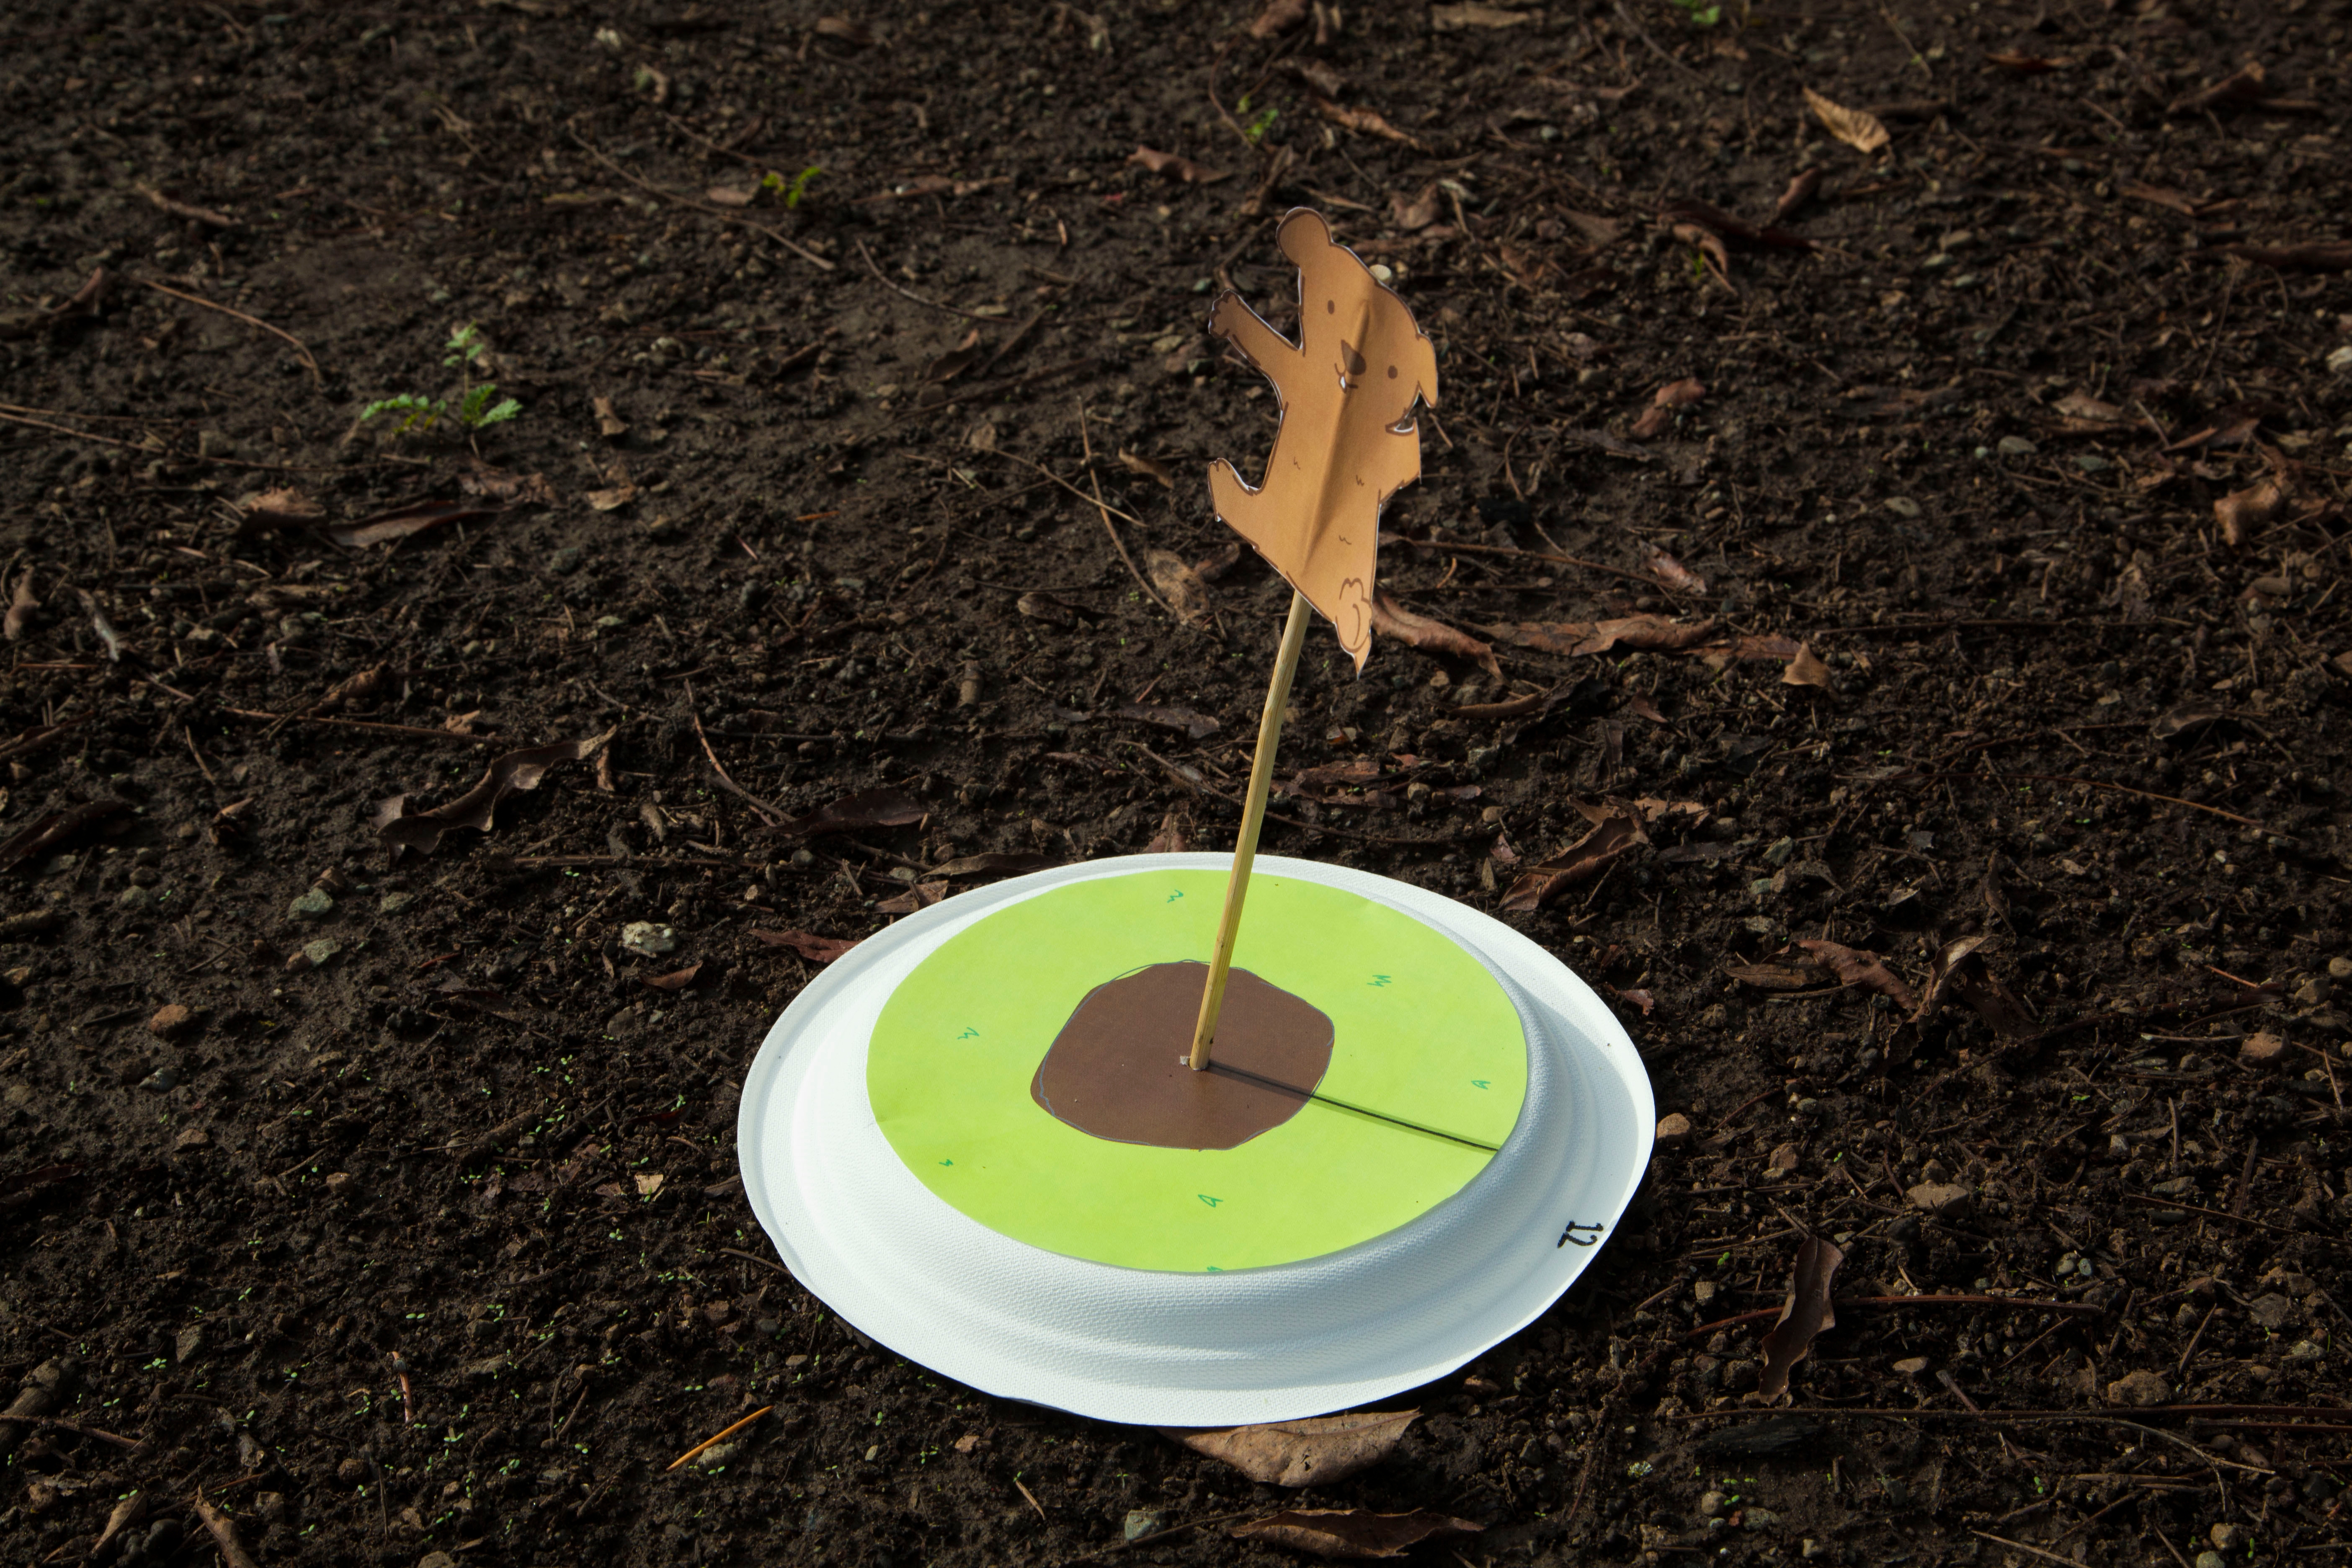
At exactly noon, rotate the plate so that the shadow cast by the gnomon lines up with the line on the paper plate. Then, secure the paper plate to the ground with some rocks or push pins.
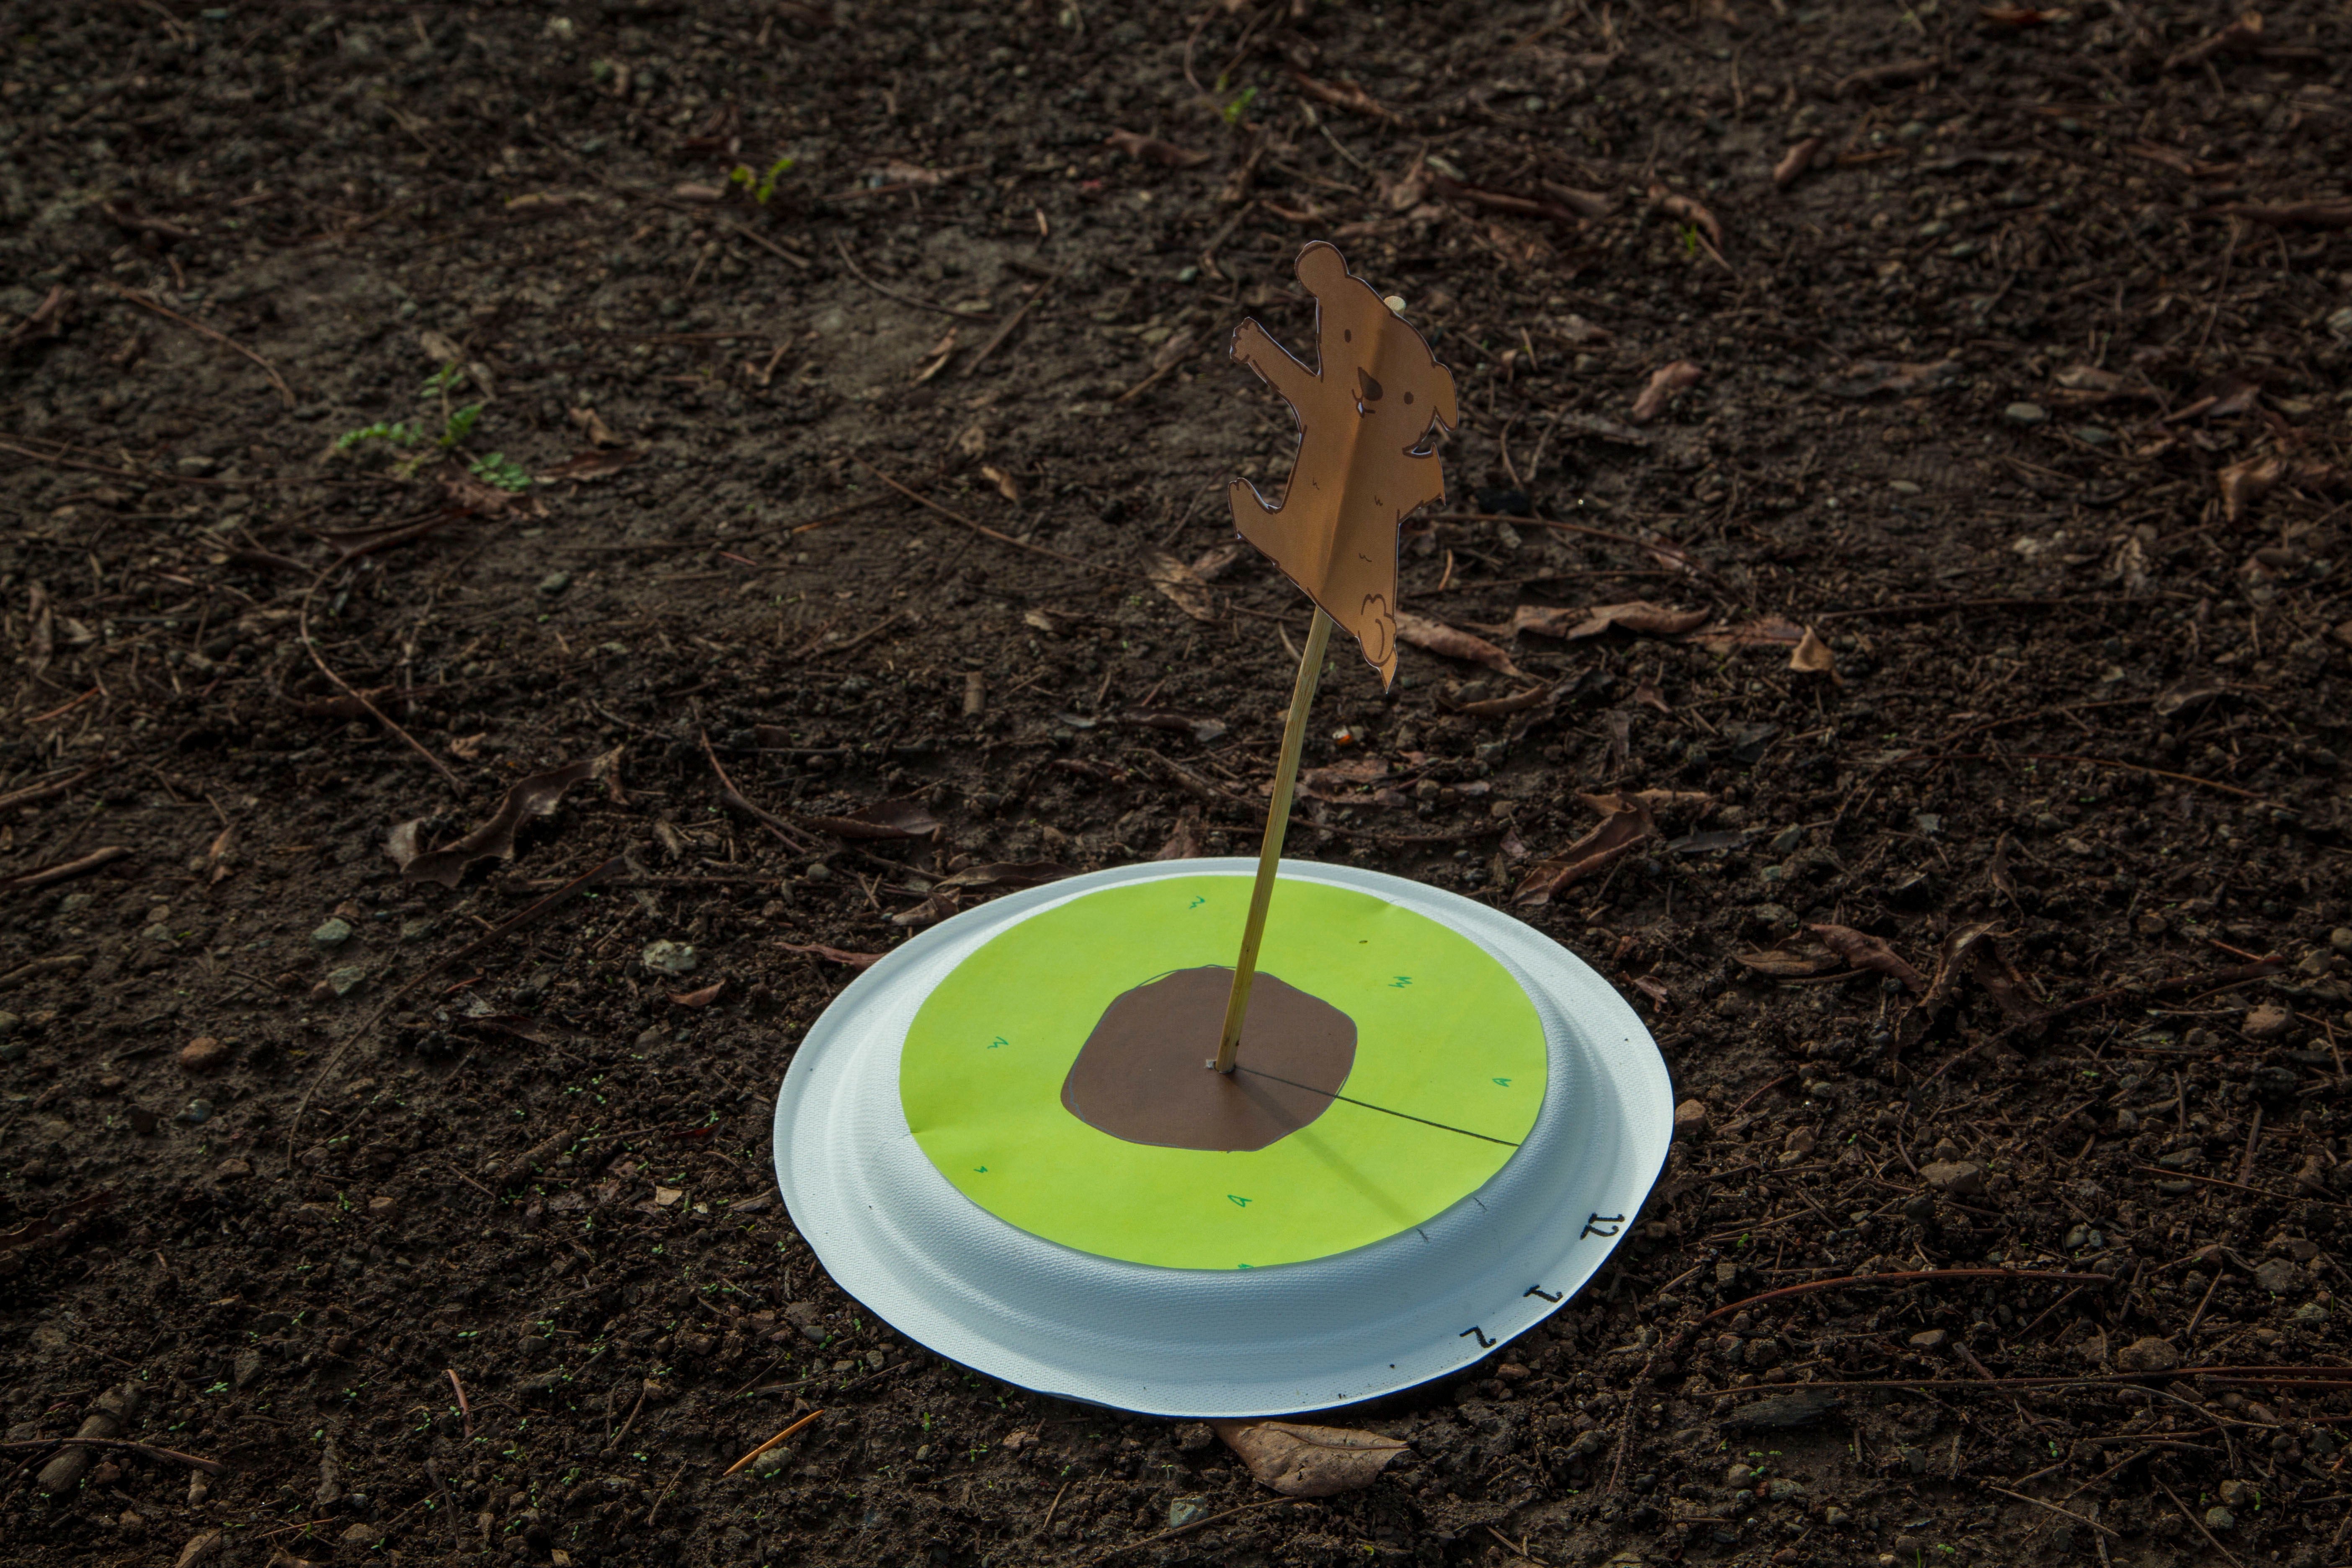
Step 9
At 1 PM, come back to your sundial. Find the shadow cast by the gnomon and mark it on the outer edge of the paper plate with the number “1”.
Step 10
Return to your sundial every hour on the hour to track time with your sundial until dusk!
Done!
At the end of the day you’ll have made a time telling device! Check back the following day and see if you can tell the time of the day based on your sundial. We made our sundial during the winter so we only can see a few hours before sunset, but if you make yours during the spring or summer, you’ll be able to see more hours!


