
Step-by-step tutorial
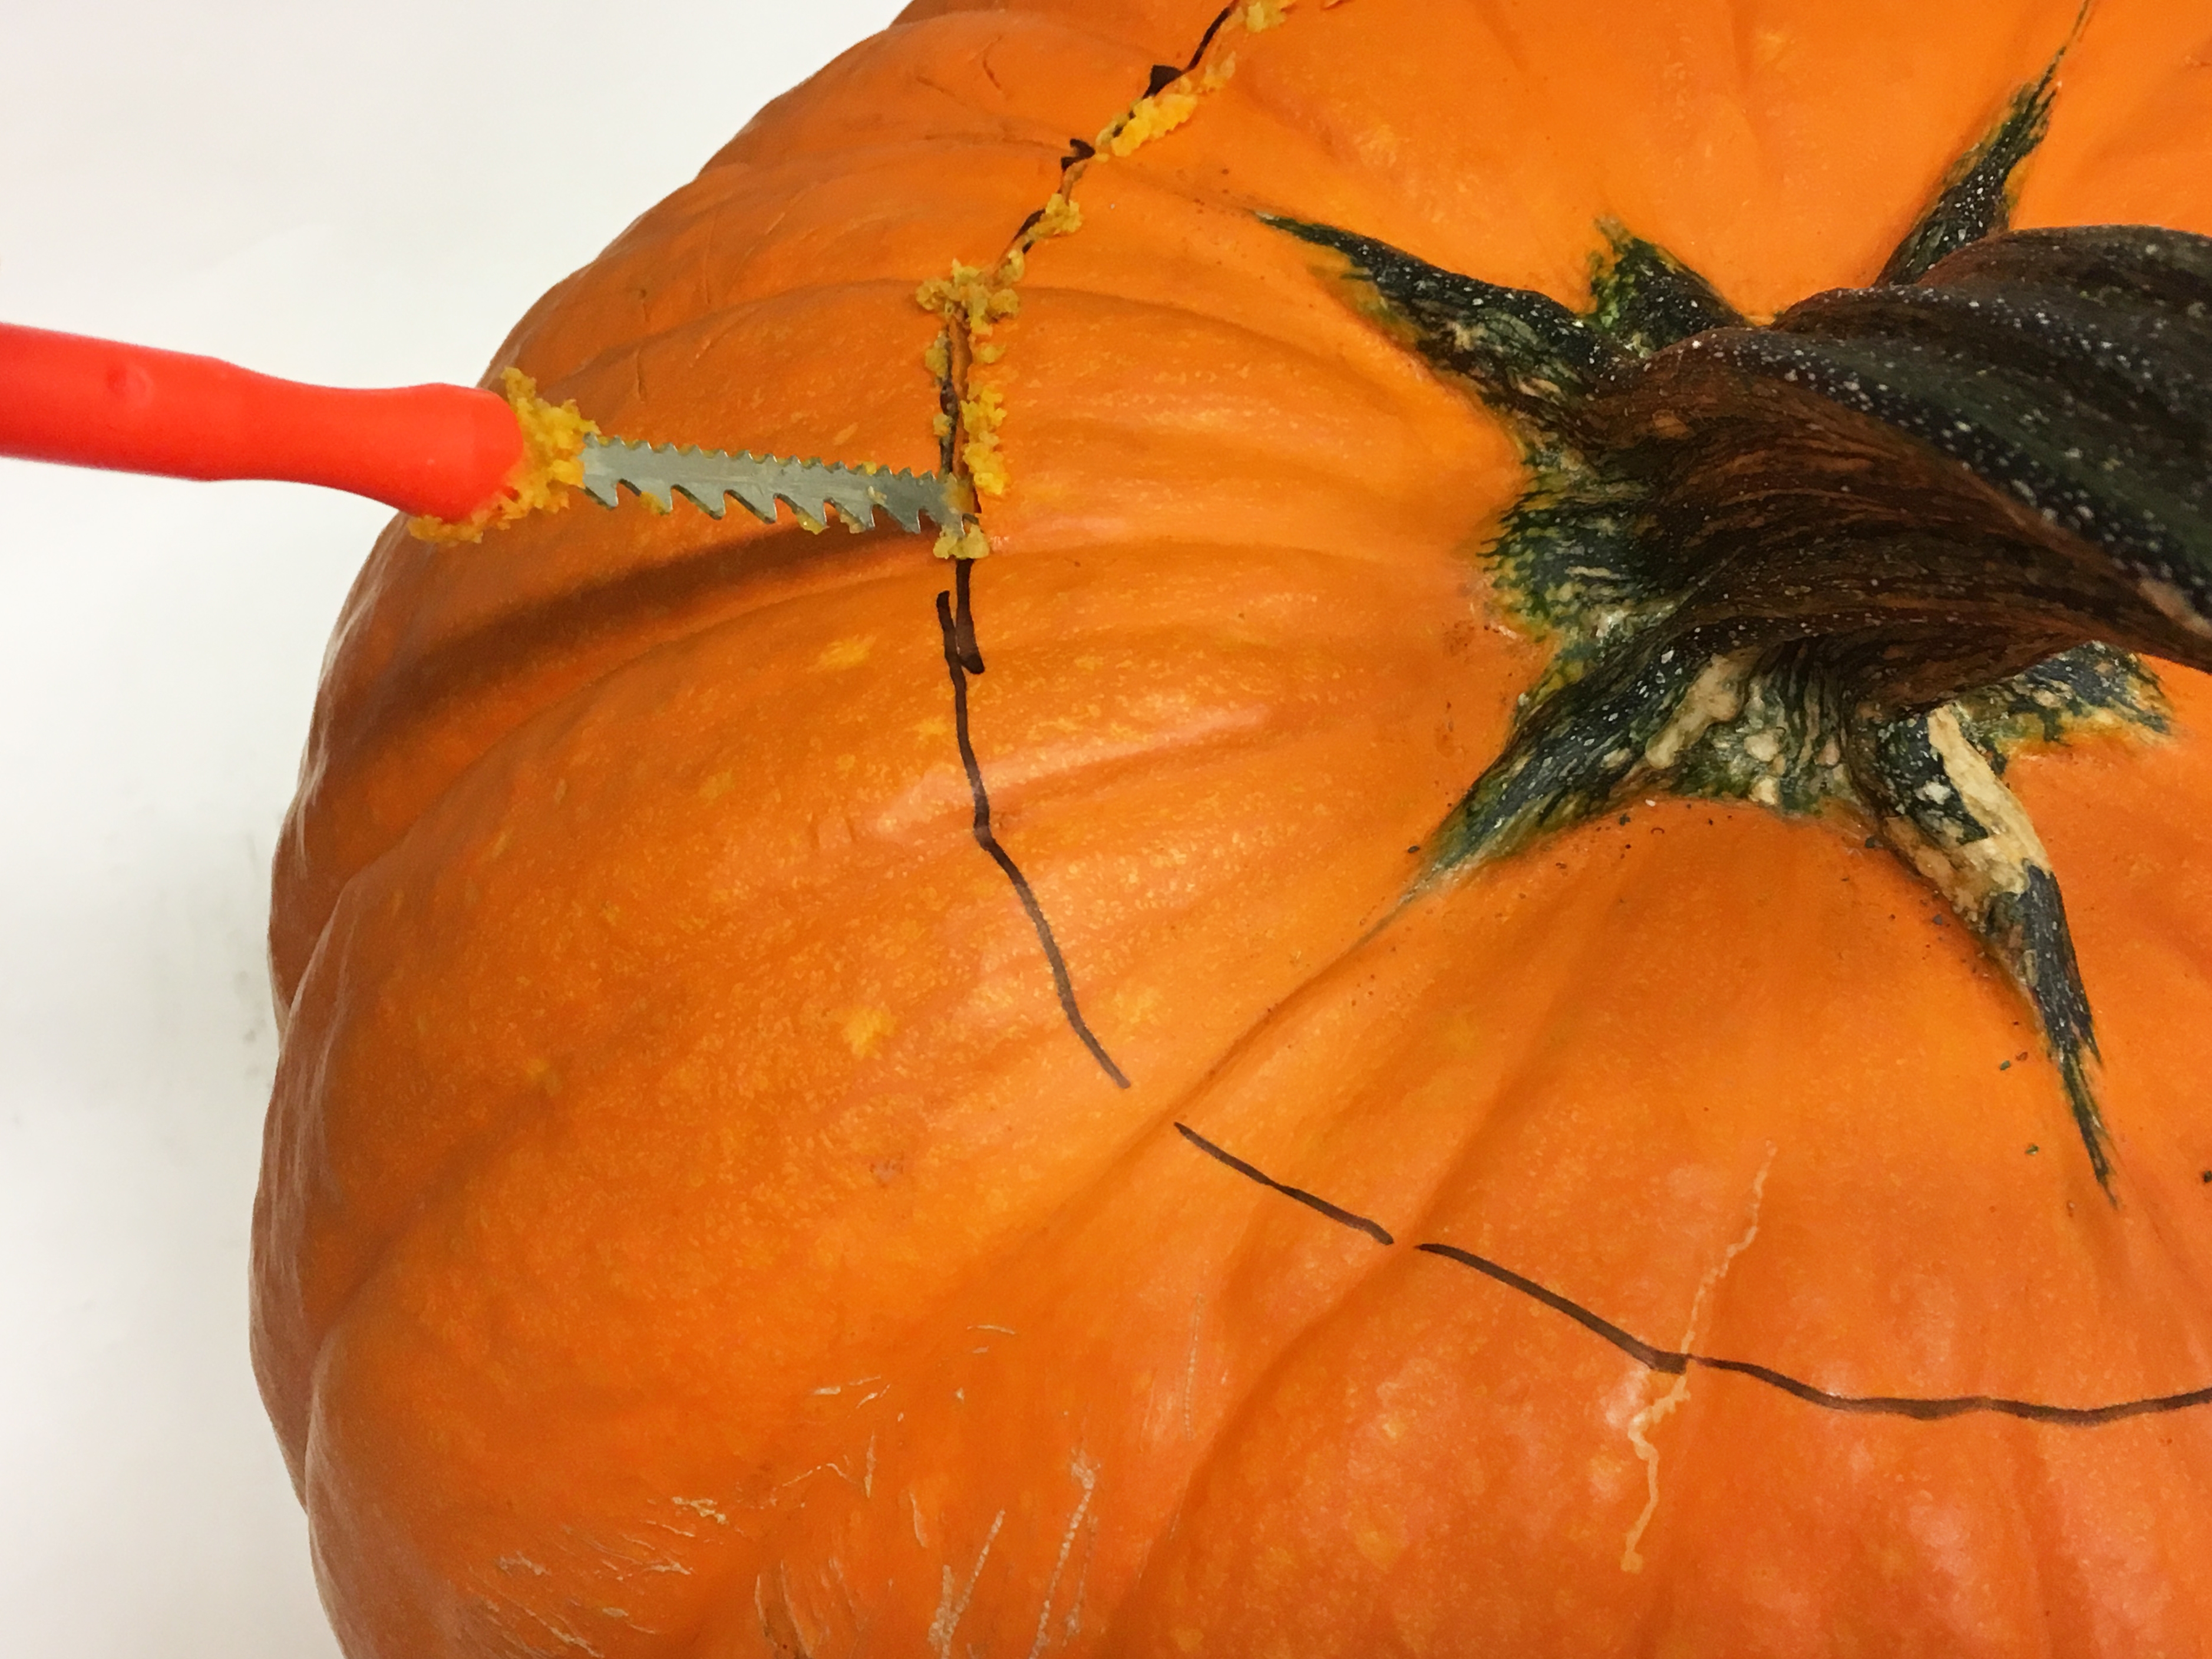
Step 1
Using a marker, draw a circle on the top of your pumpkin, around the stem. Make sure the circle would be wide enough for your arms to reach inside the pumpkin. Using your serrated carving knife, carefully cut along the line so you can open up the pumpkin.

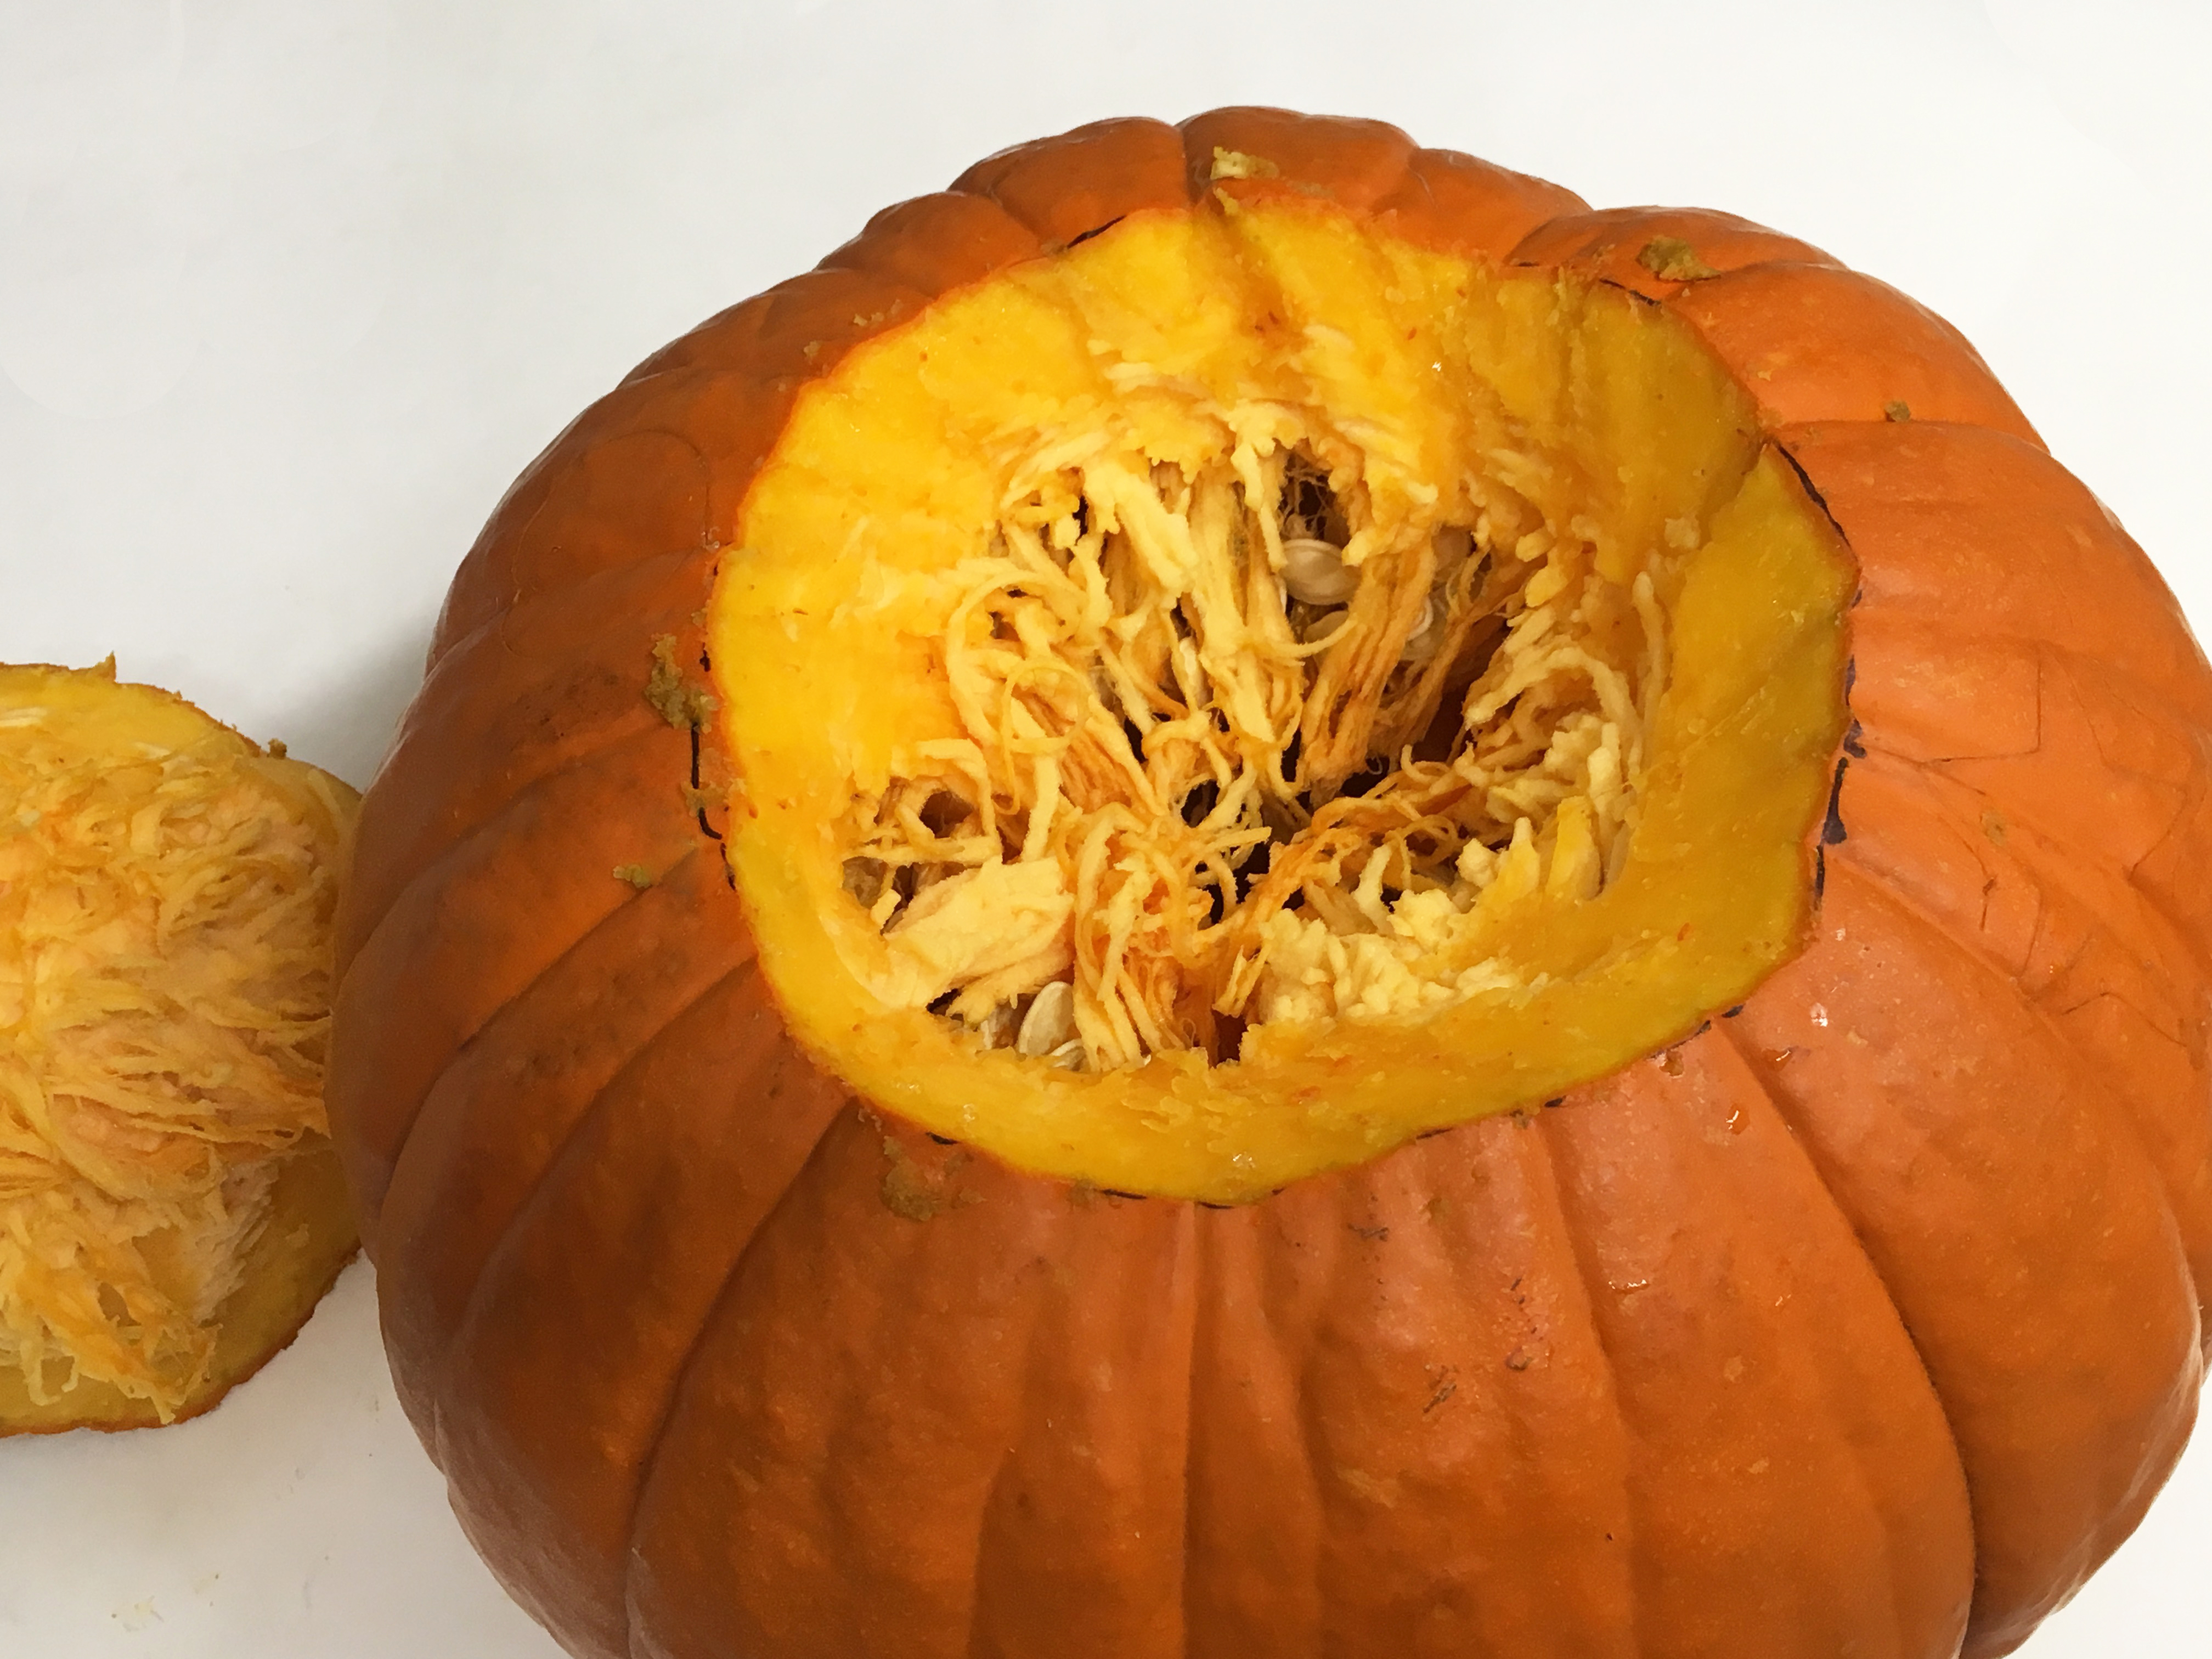
Step 2
Once you're done, grab the stem, and pull out the top part of your pumpkin. You might have to do a little bit of twisting as you pull it out.
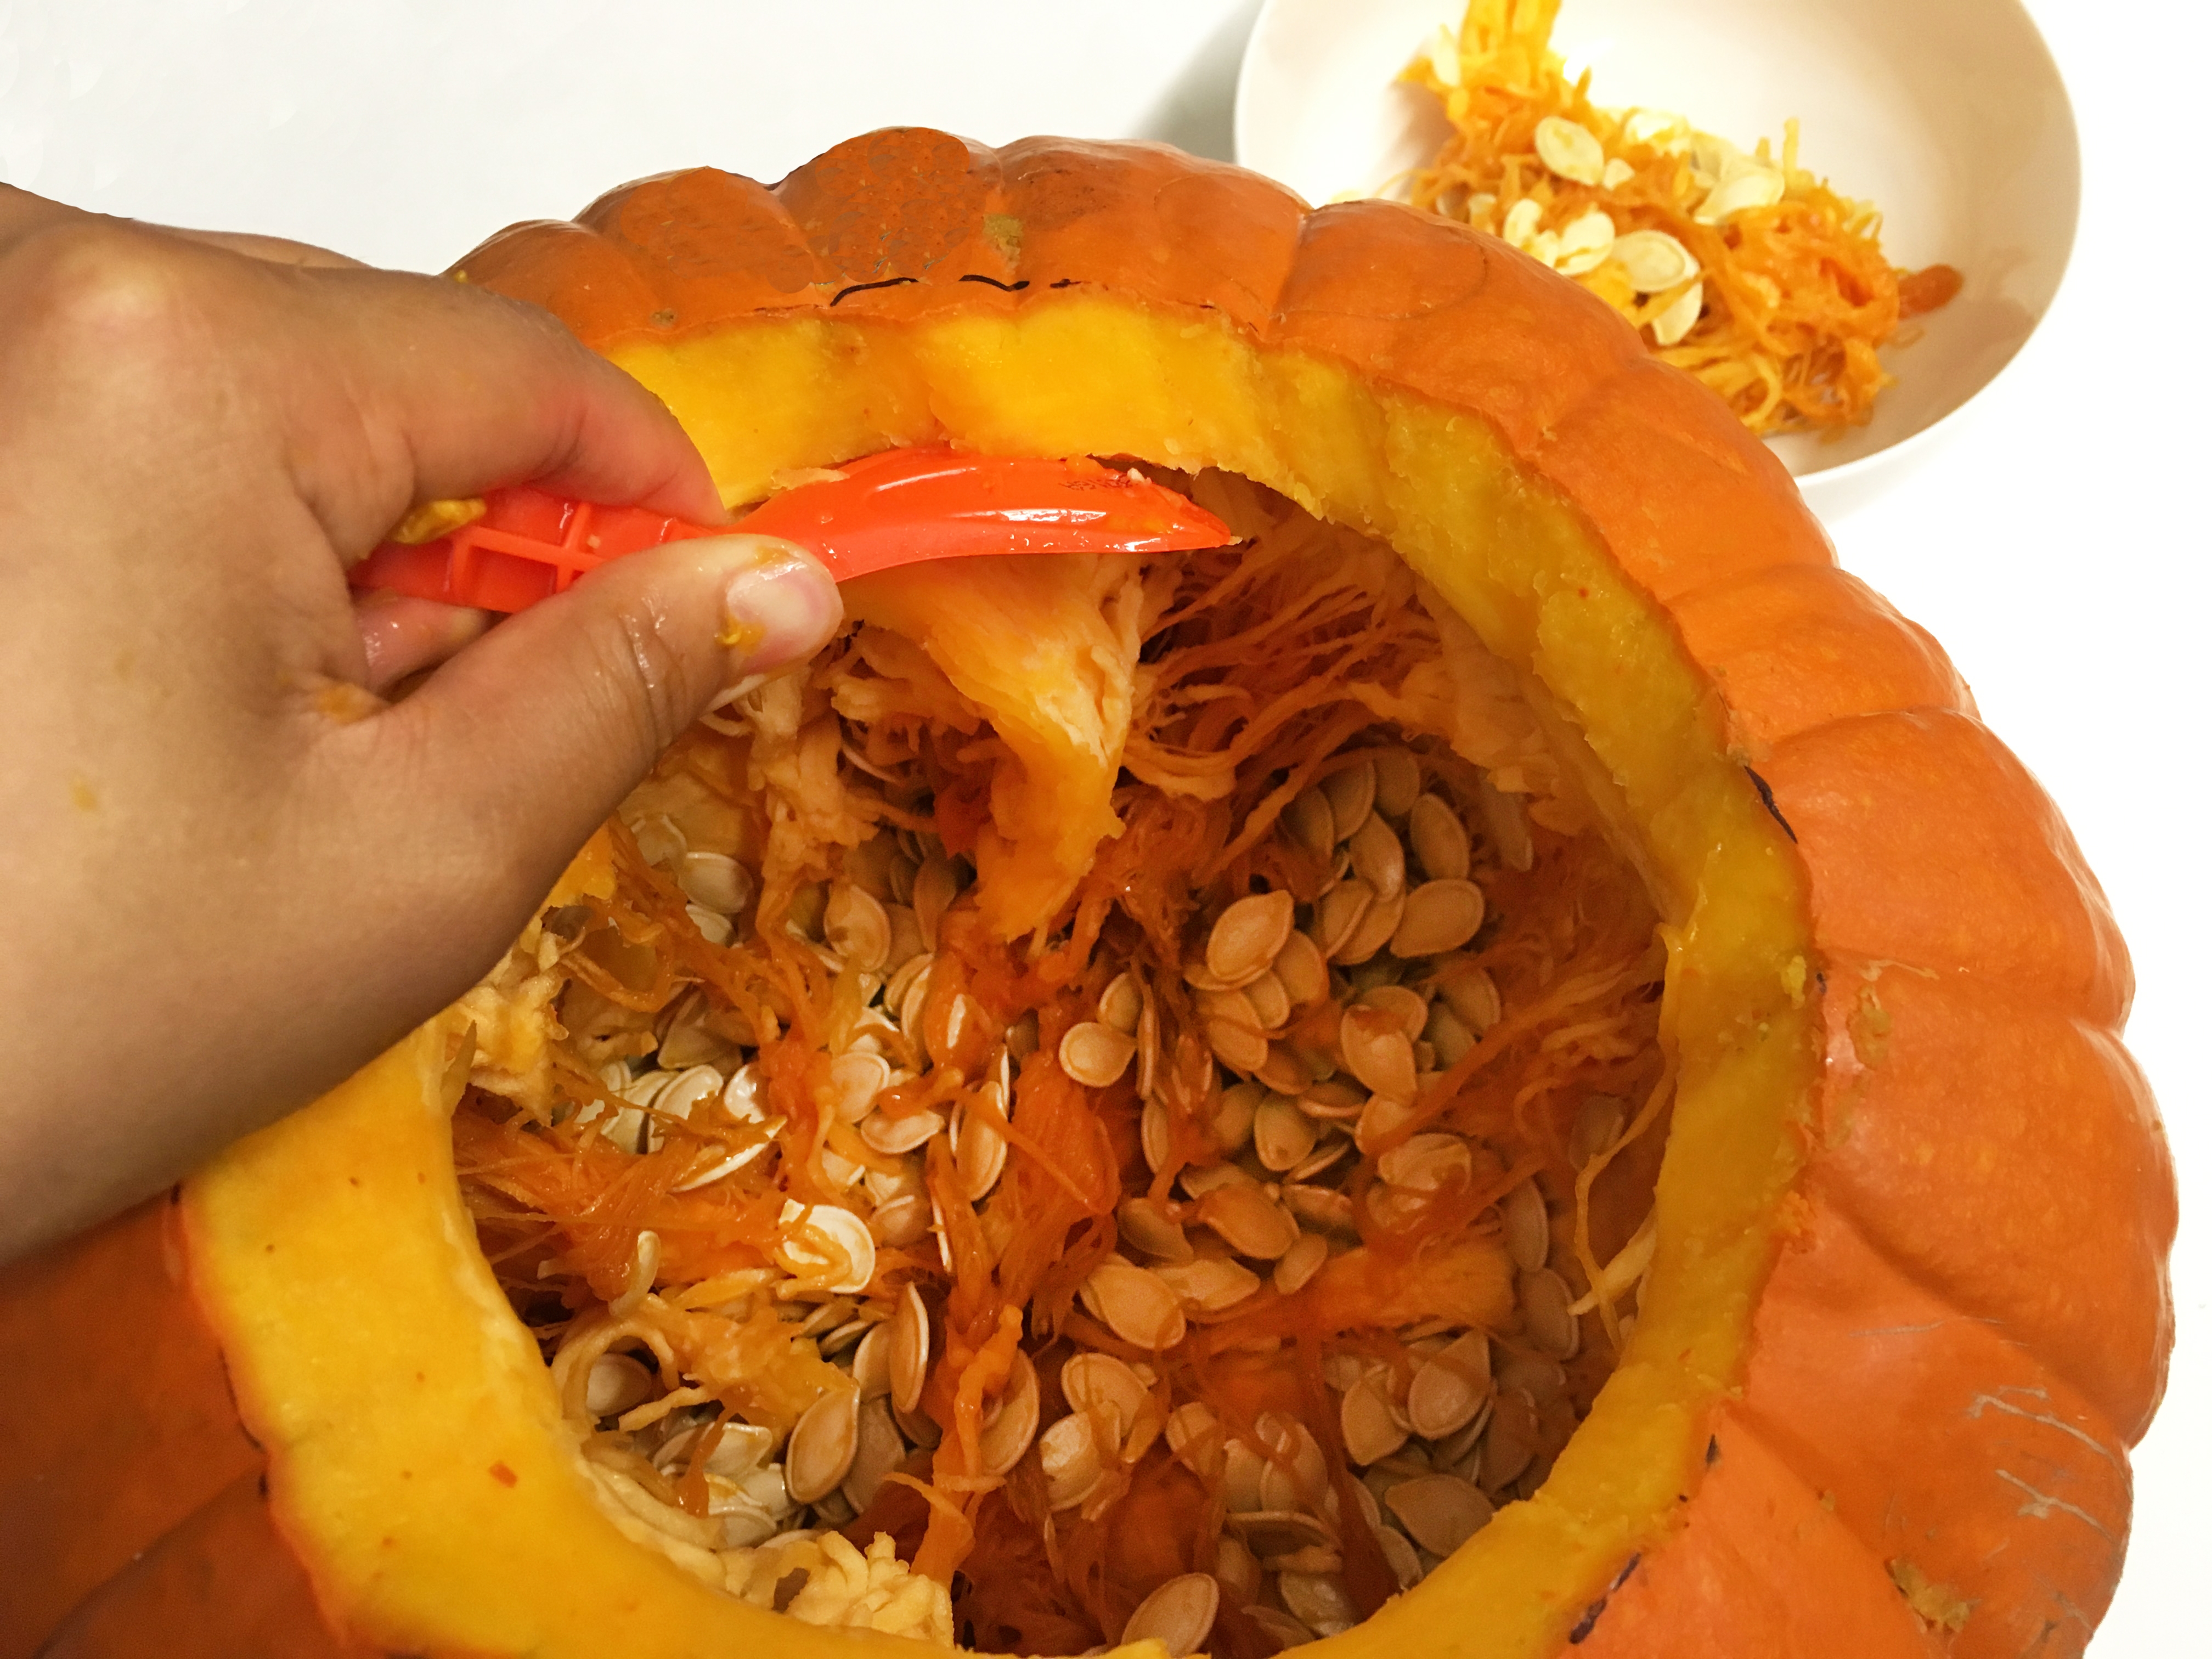
Step 3
Use your pumpkin scraper or an ice cream scoop to dig out the fibrous strands and seeds. We also scraped the interior of the cavity to make the pumpkin walls thinner.
Step 4
Place a cookie cutter against the outer wall of the pumpkin. Holding it in one hand, gently hammer your cookie cutter into your pumpkin with a rubber mallet. When you have hammered it flush against the pumpkin, use your smaller mallet to tap your cut shape out.
Use other cookie cutter shapes to finish your pumpkin!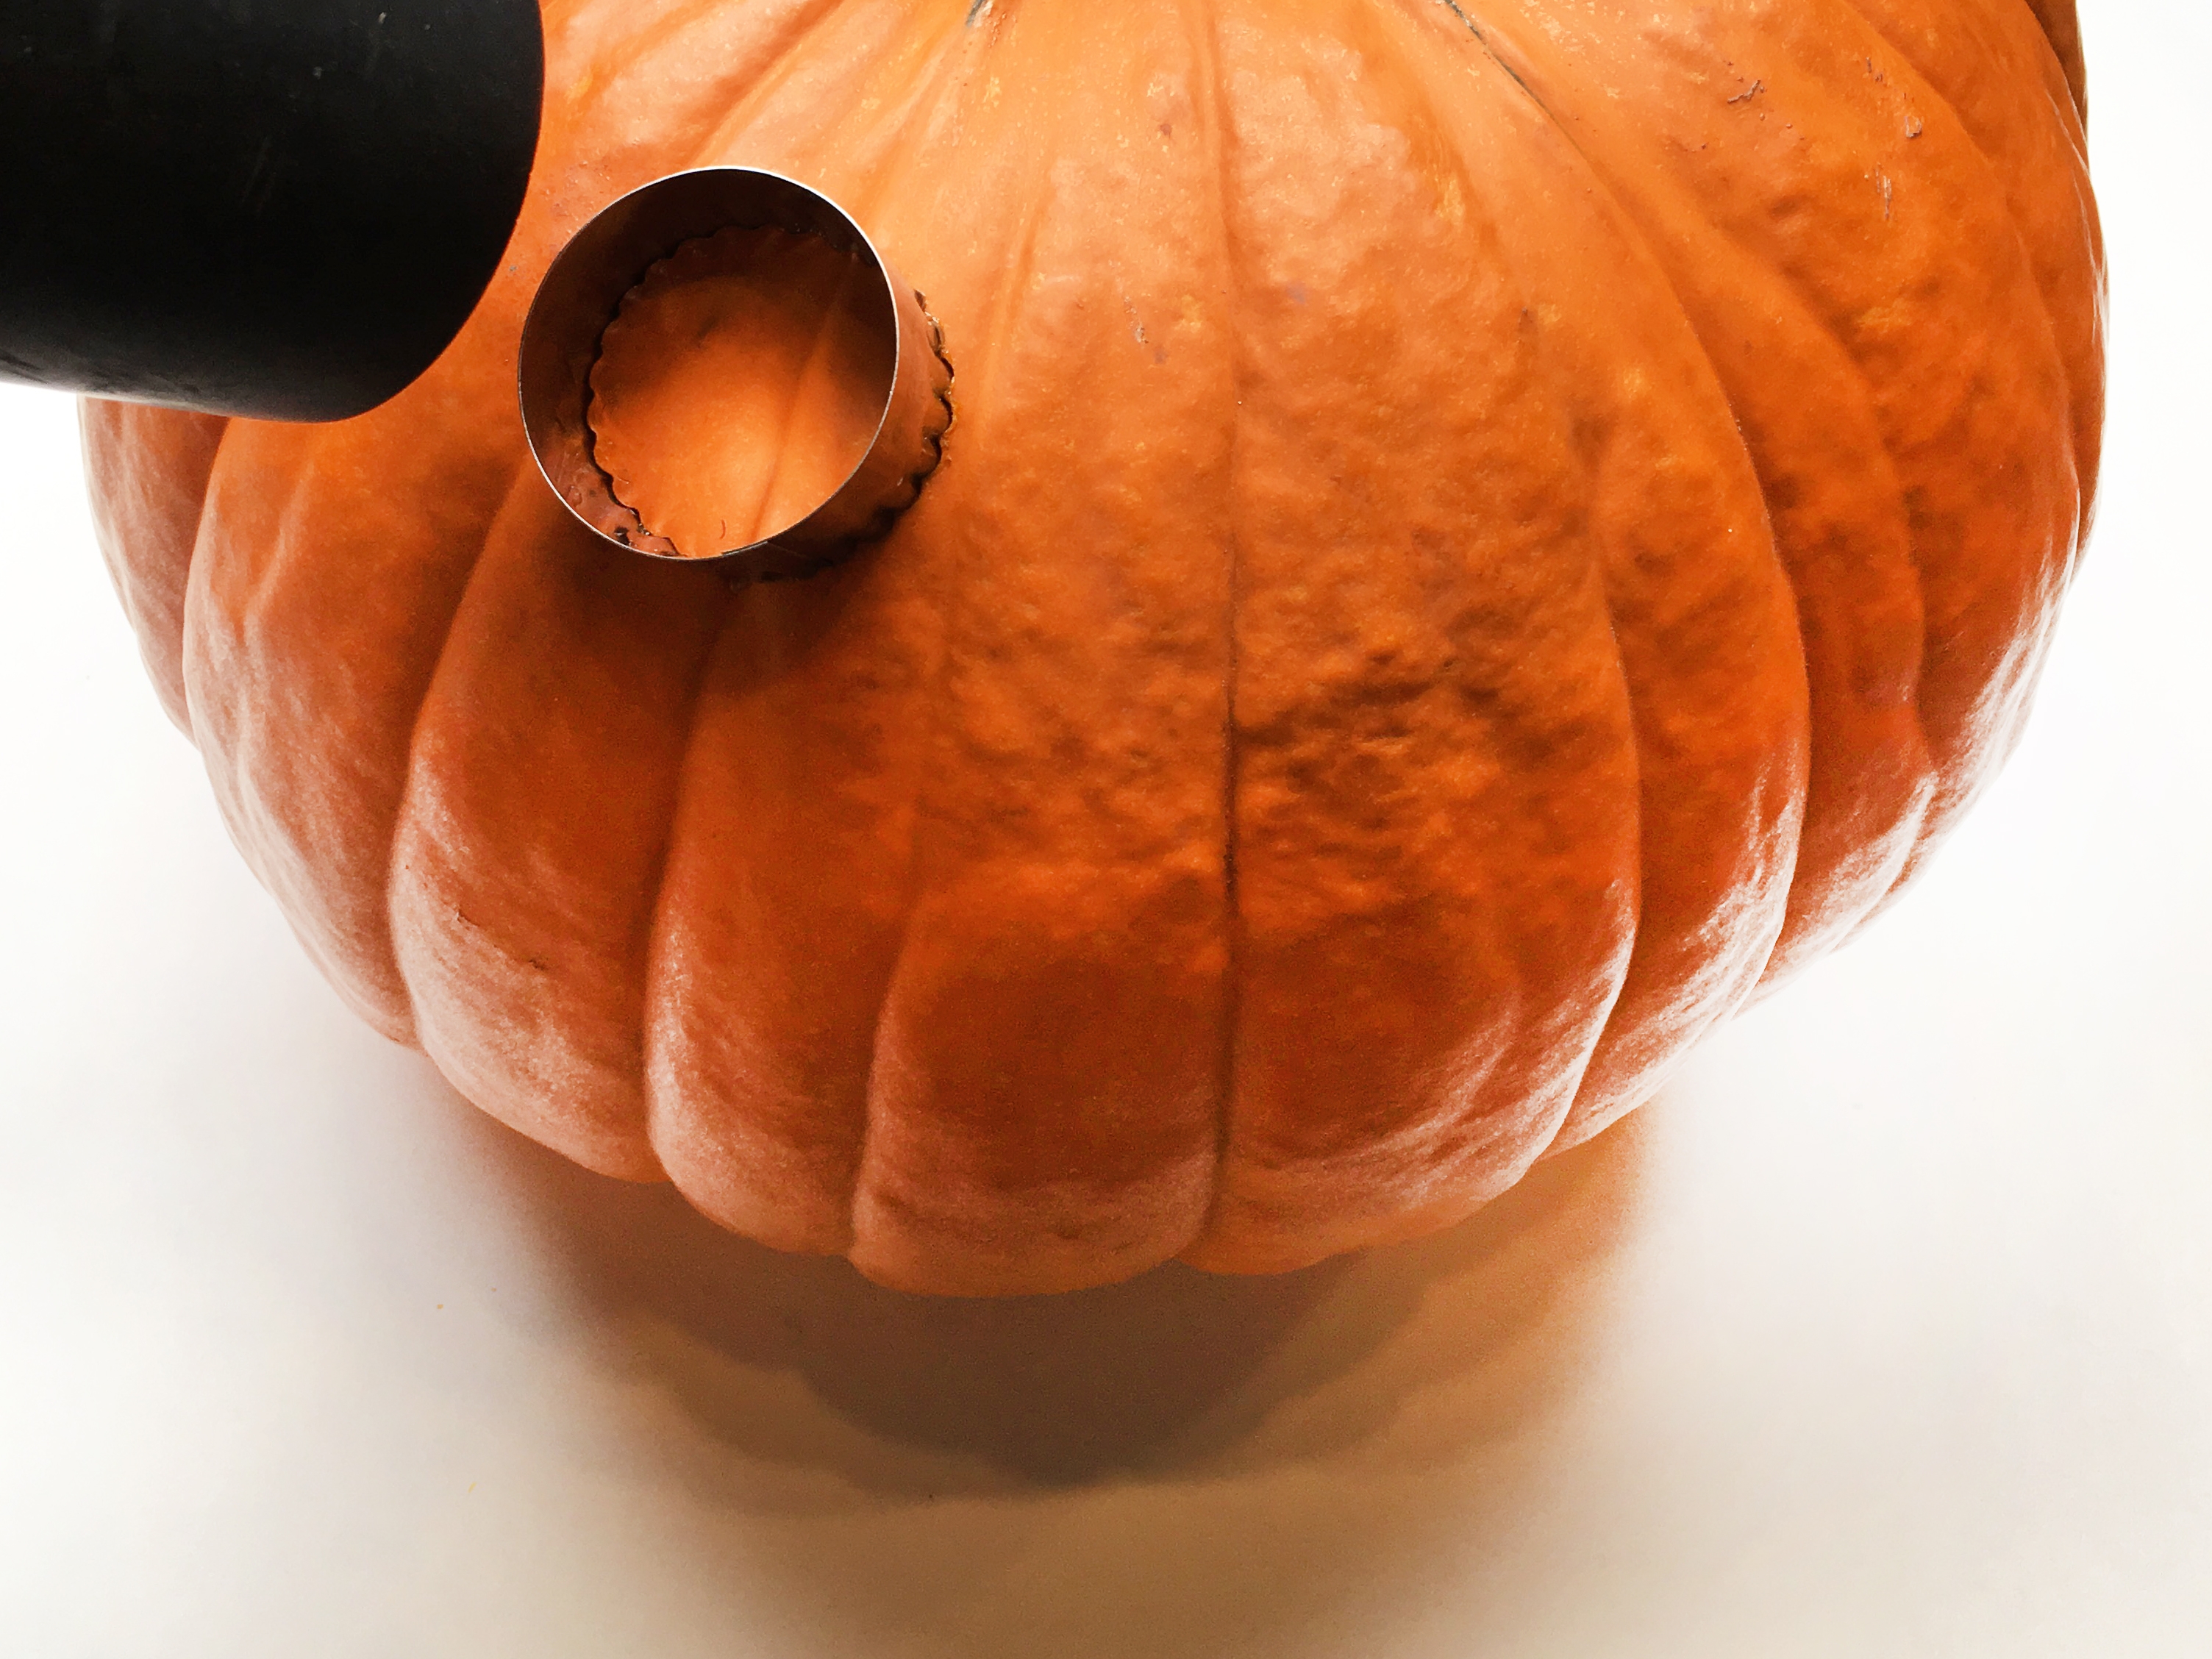
Step 5
Boo! Check out our finished jack-o-lantern with googly eyes and a crazy mouth! We created the googly eyes by using two different sized cookie cutters and love the final effect.
What kind of designs can you come up with?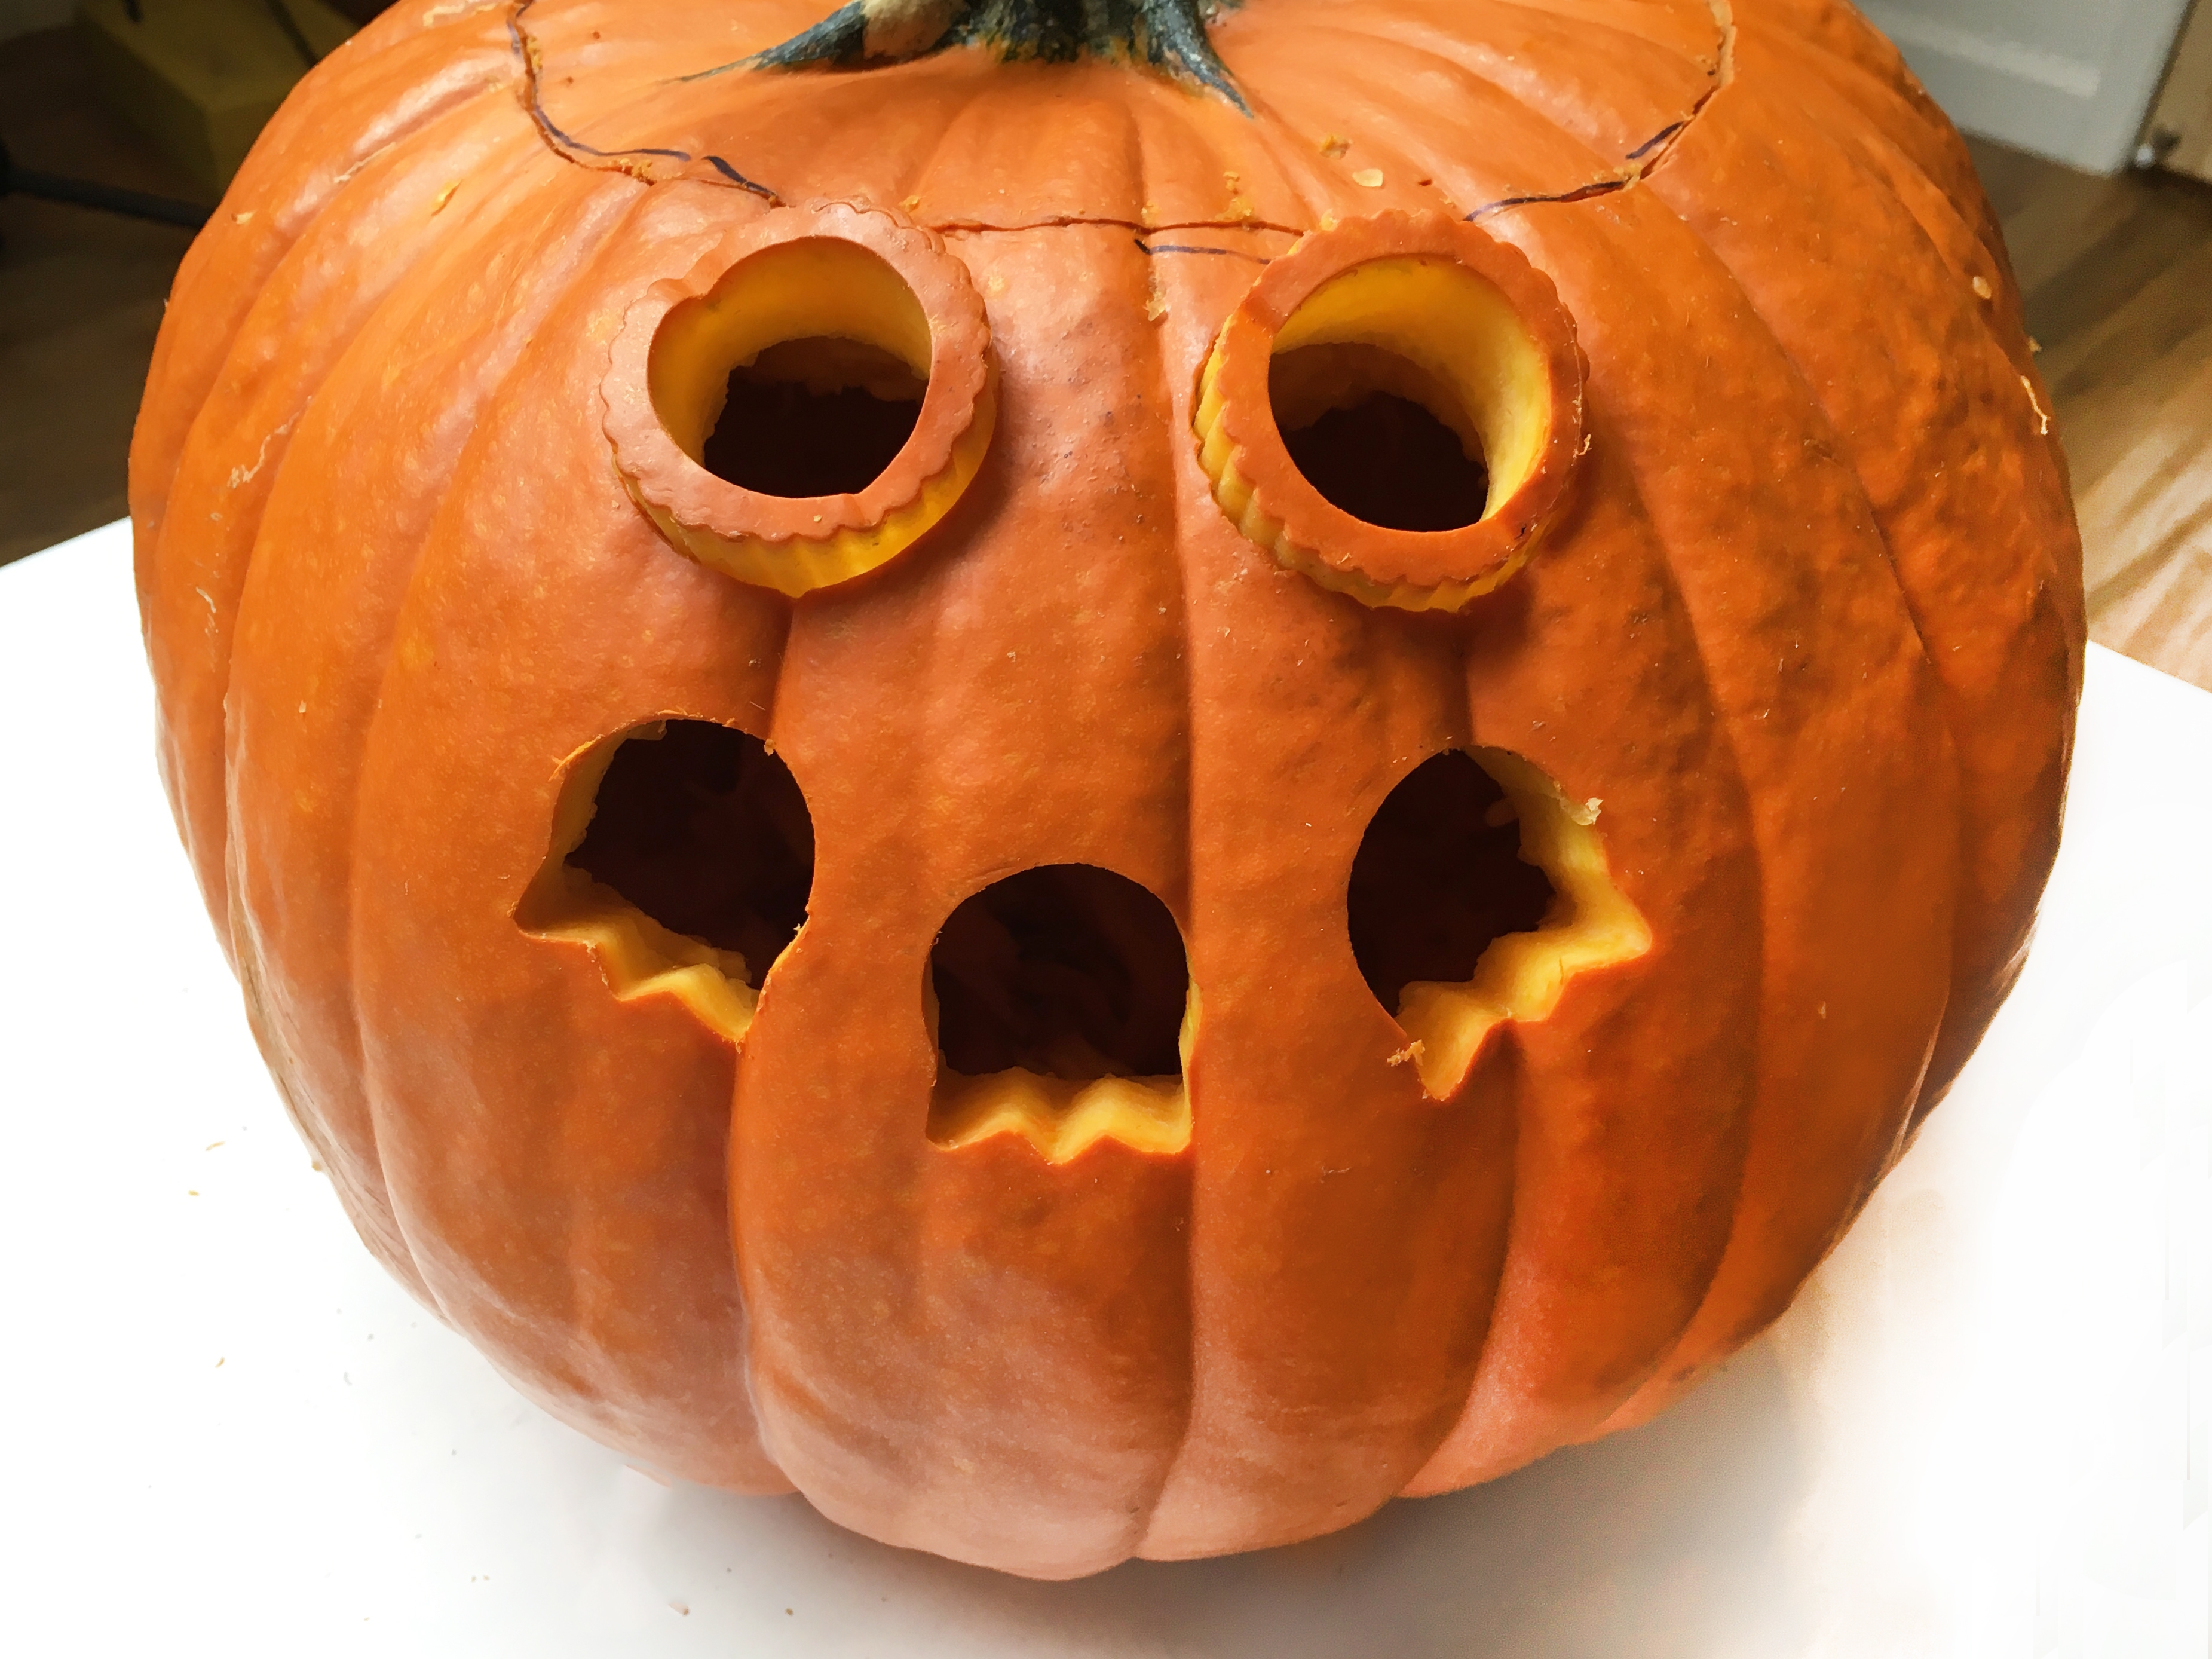
Step 6
Got more pumpkins to decorate? Another hack we decided to try was to drill holes into our pumpkin. Take out your drill and let's get started! As with the case when using any power tool, an adult should perform or help with this step.
With a marker, sketch out a design or jack-o-lantern face you want to create. Use the drill to punch out the holes for your design. Use different drill bit sizes for different size holes.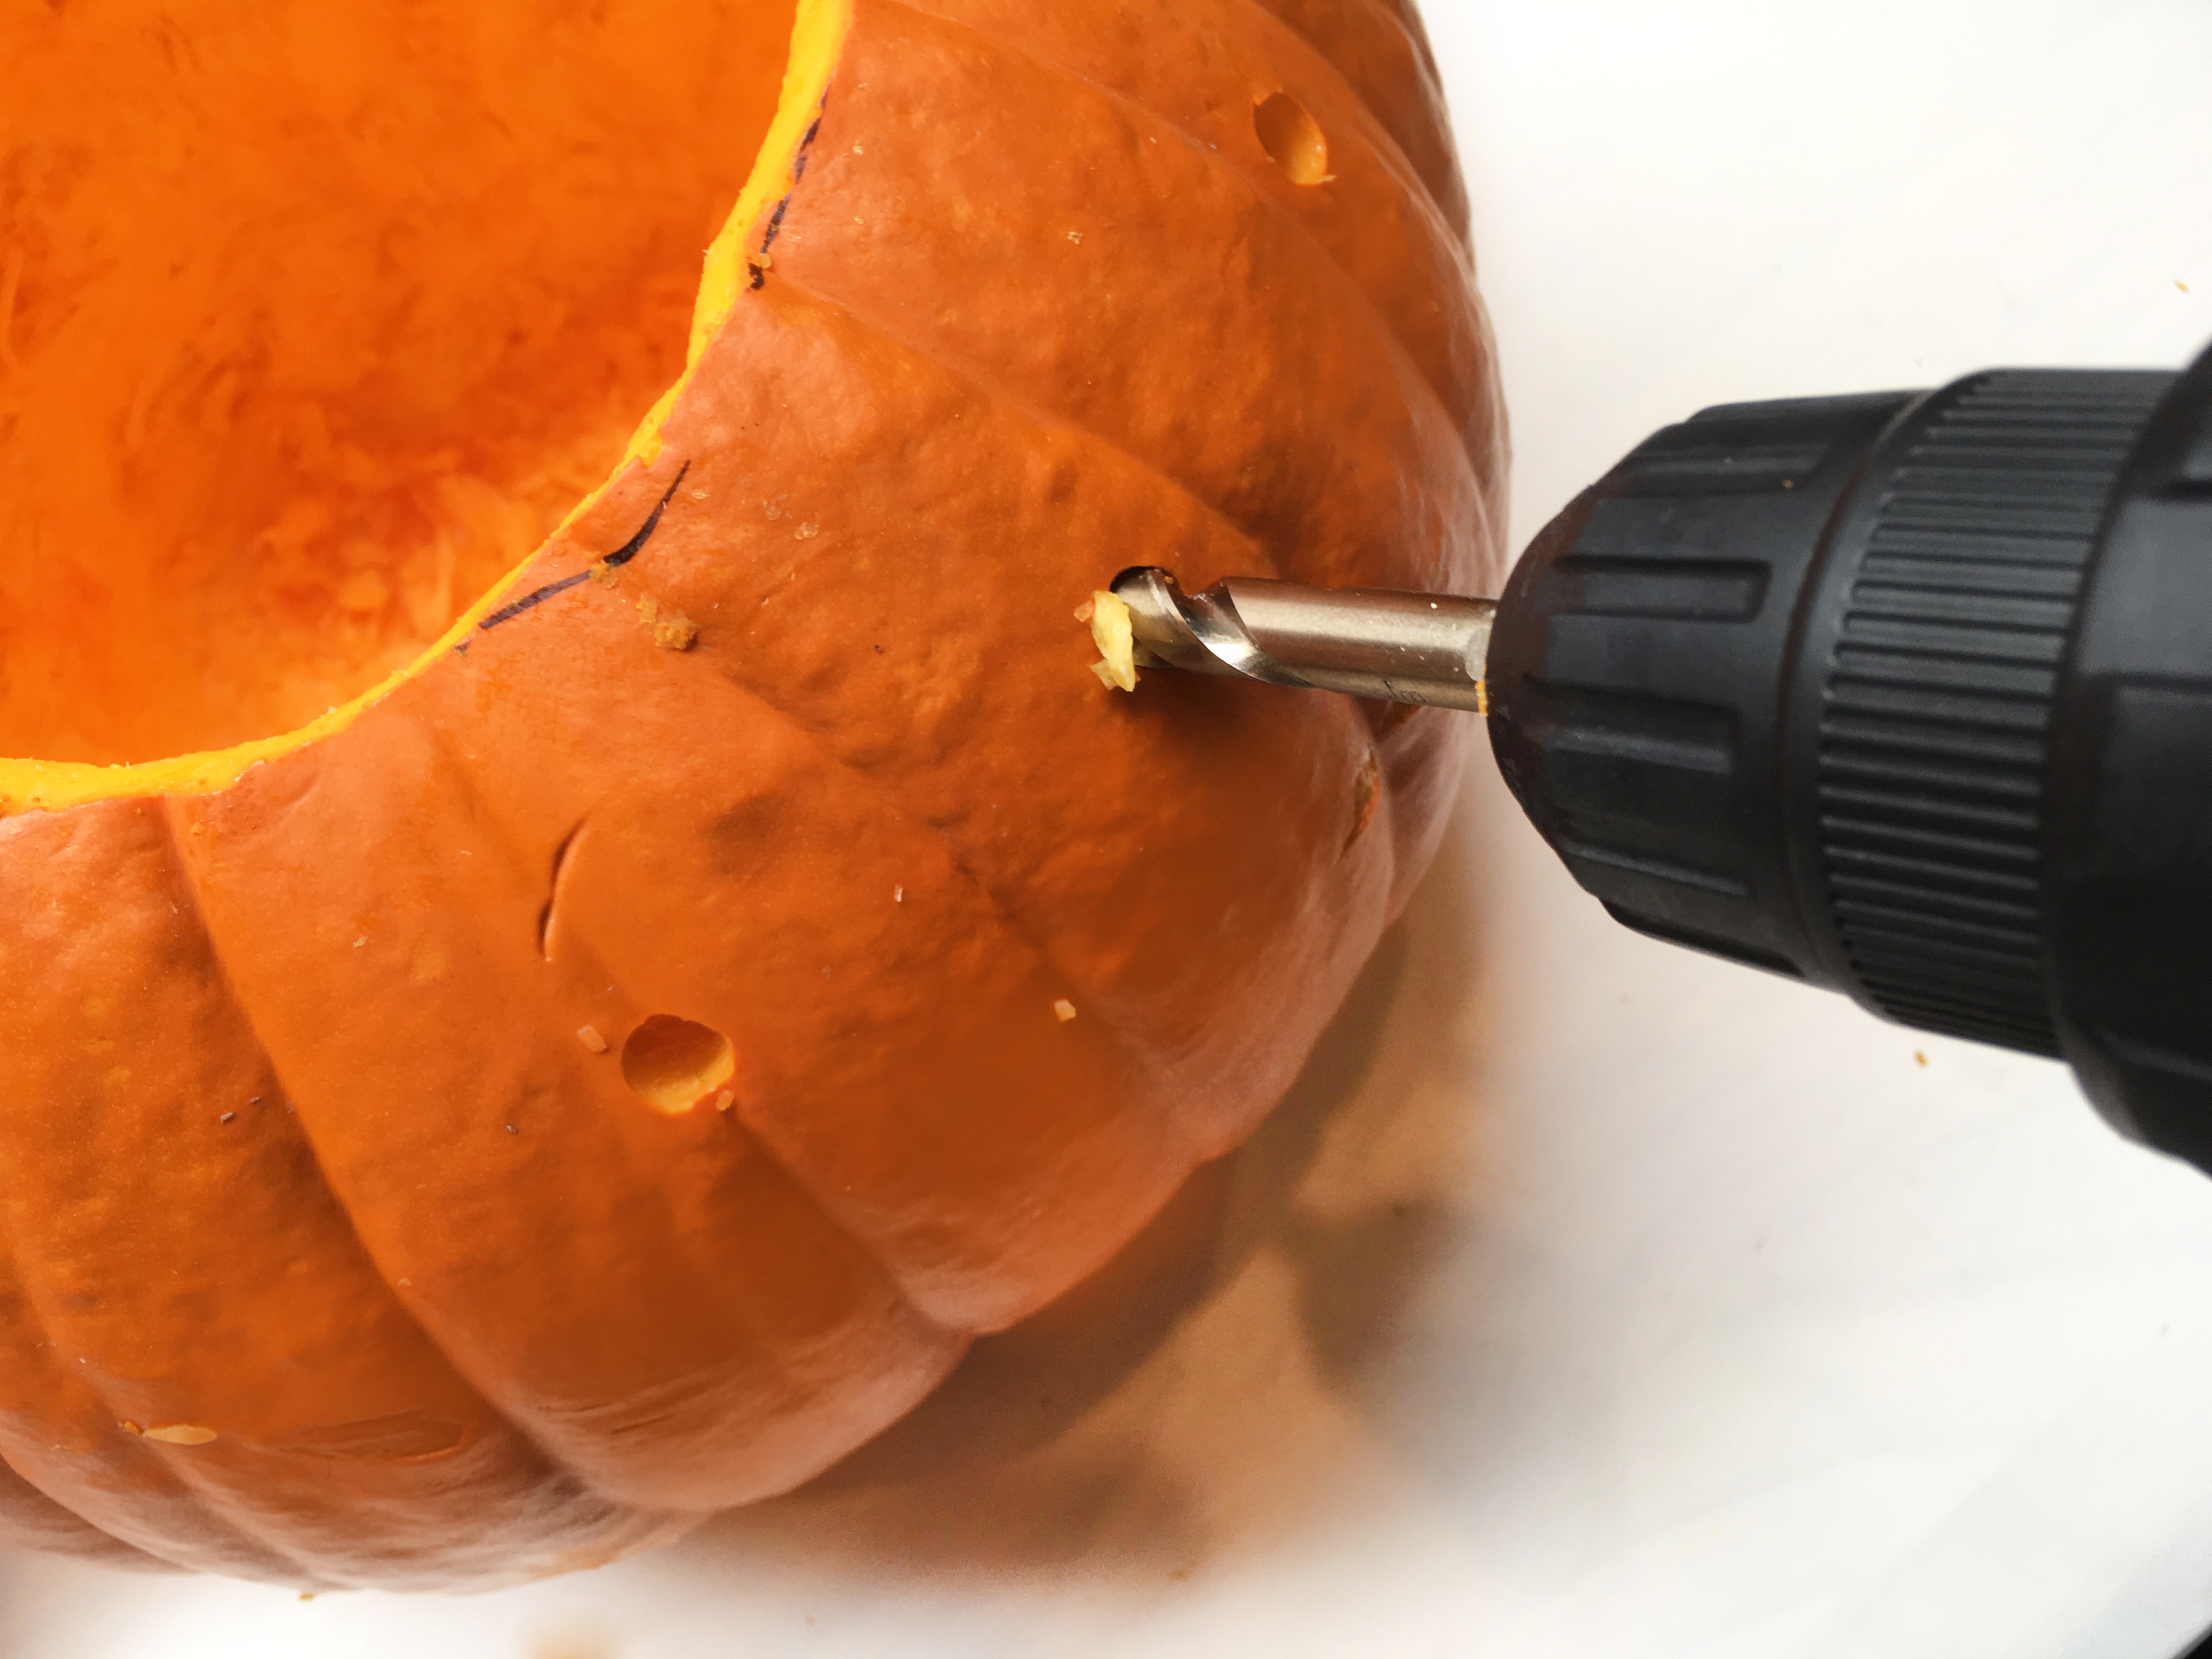
Done!
Create a friendly jack-o-lantern face or create abstract geometric designs!
We love the idea of using unconventional pumpkin carving tools. What other hacks can you think of? Enjoy your pumpkin carving!