Step-by-step tutorial
Step 1
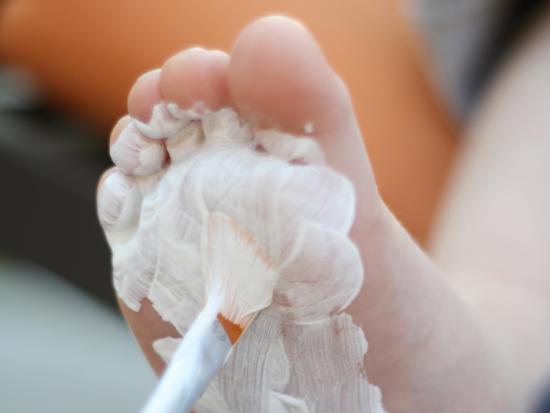
My son's feet are pretty ticklish so his smiles began the moment my wet paintbrush touched his first toe. Stroke-by-stroke (and giggle-by-giggle) I covered his entire foot in white paint.

Step 2
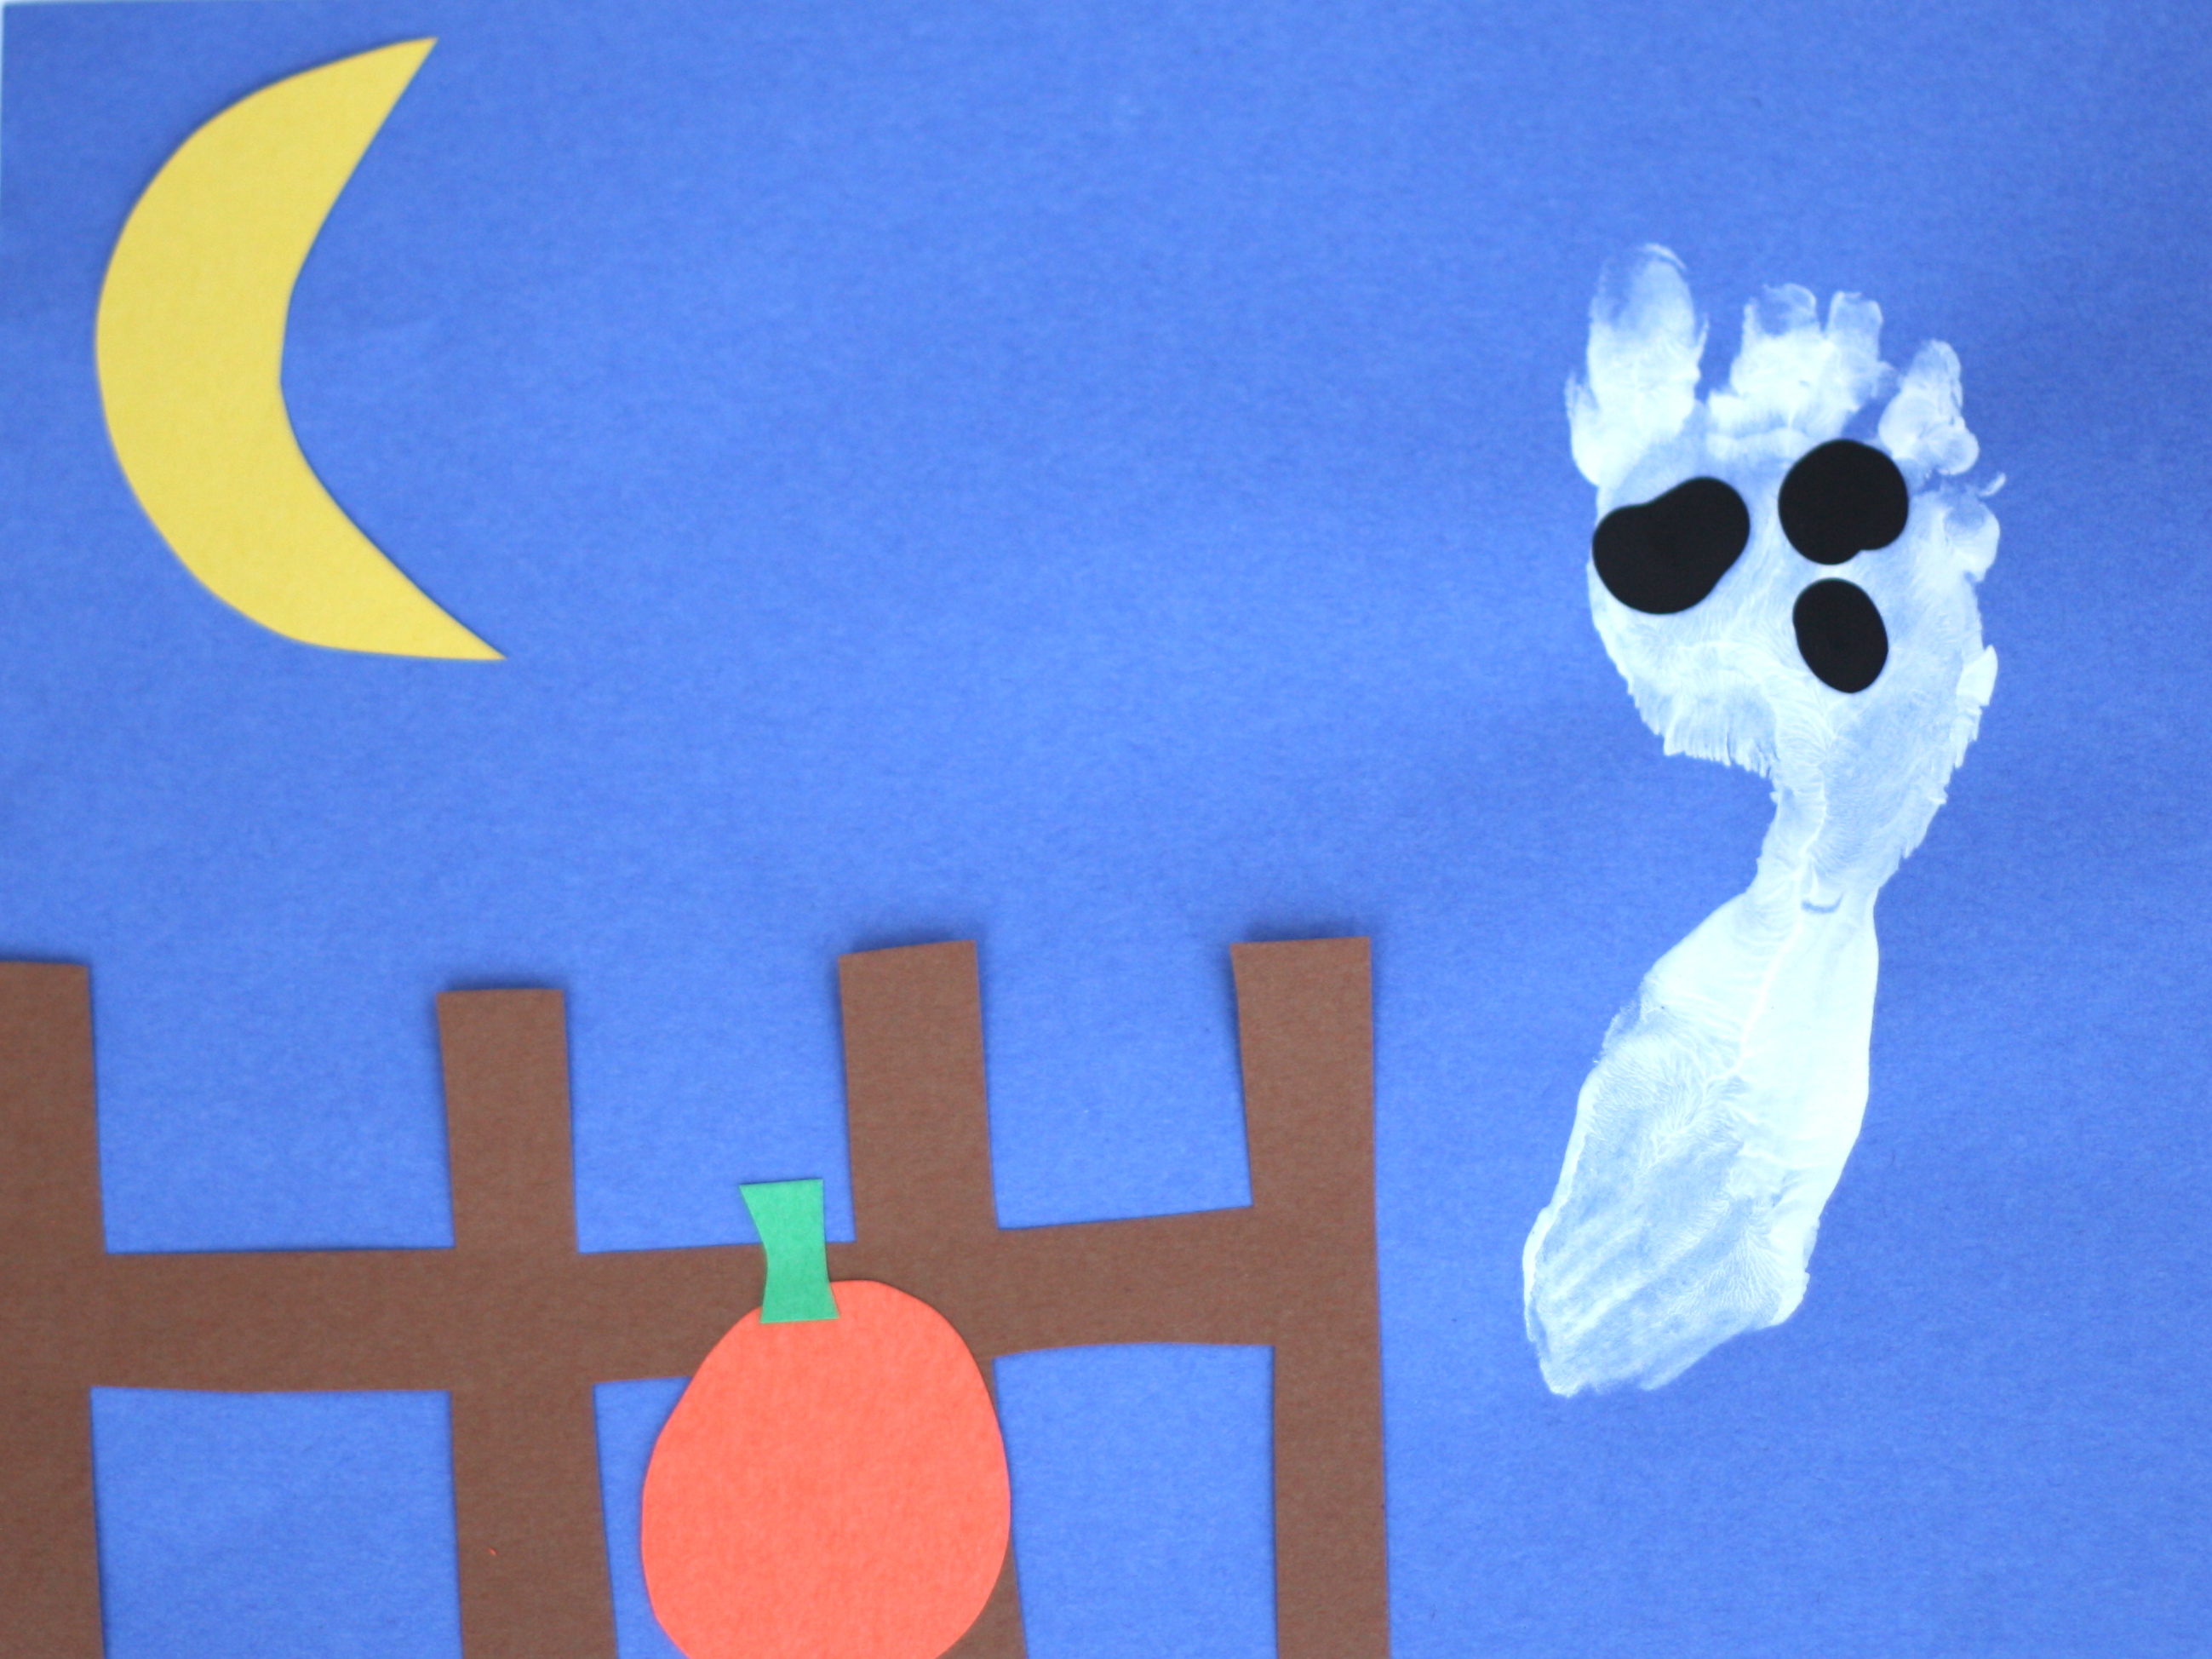
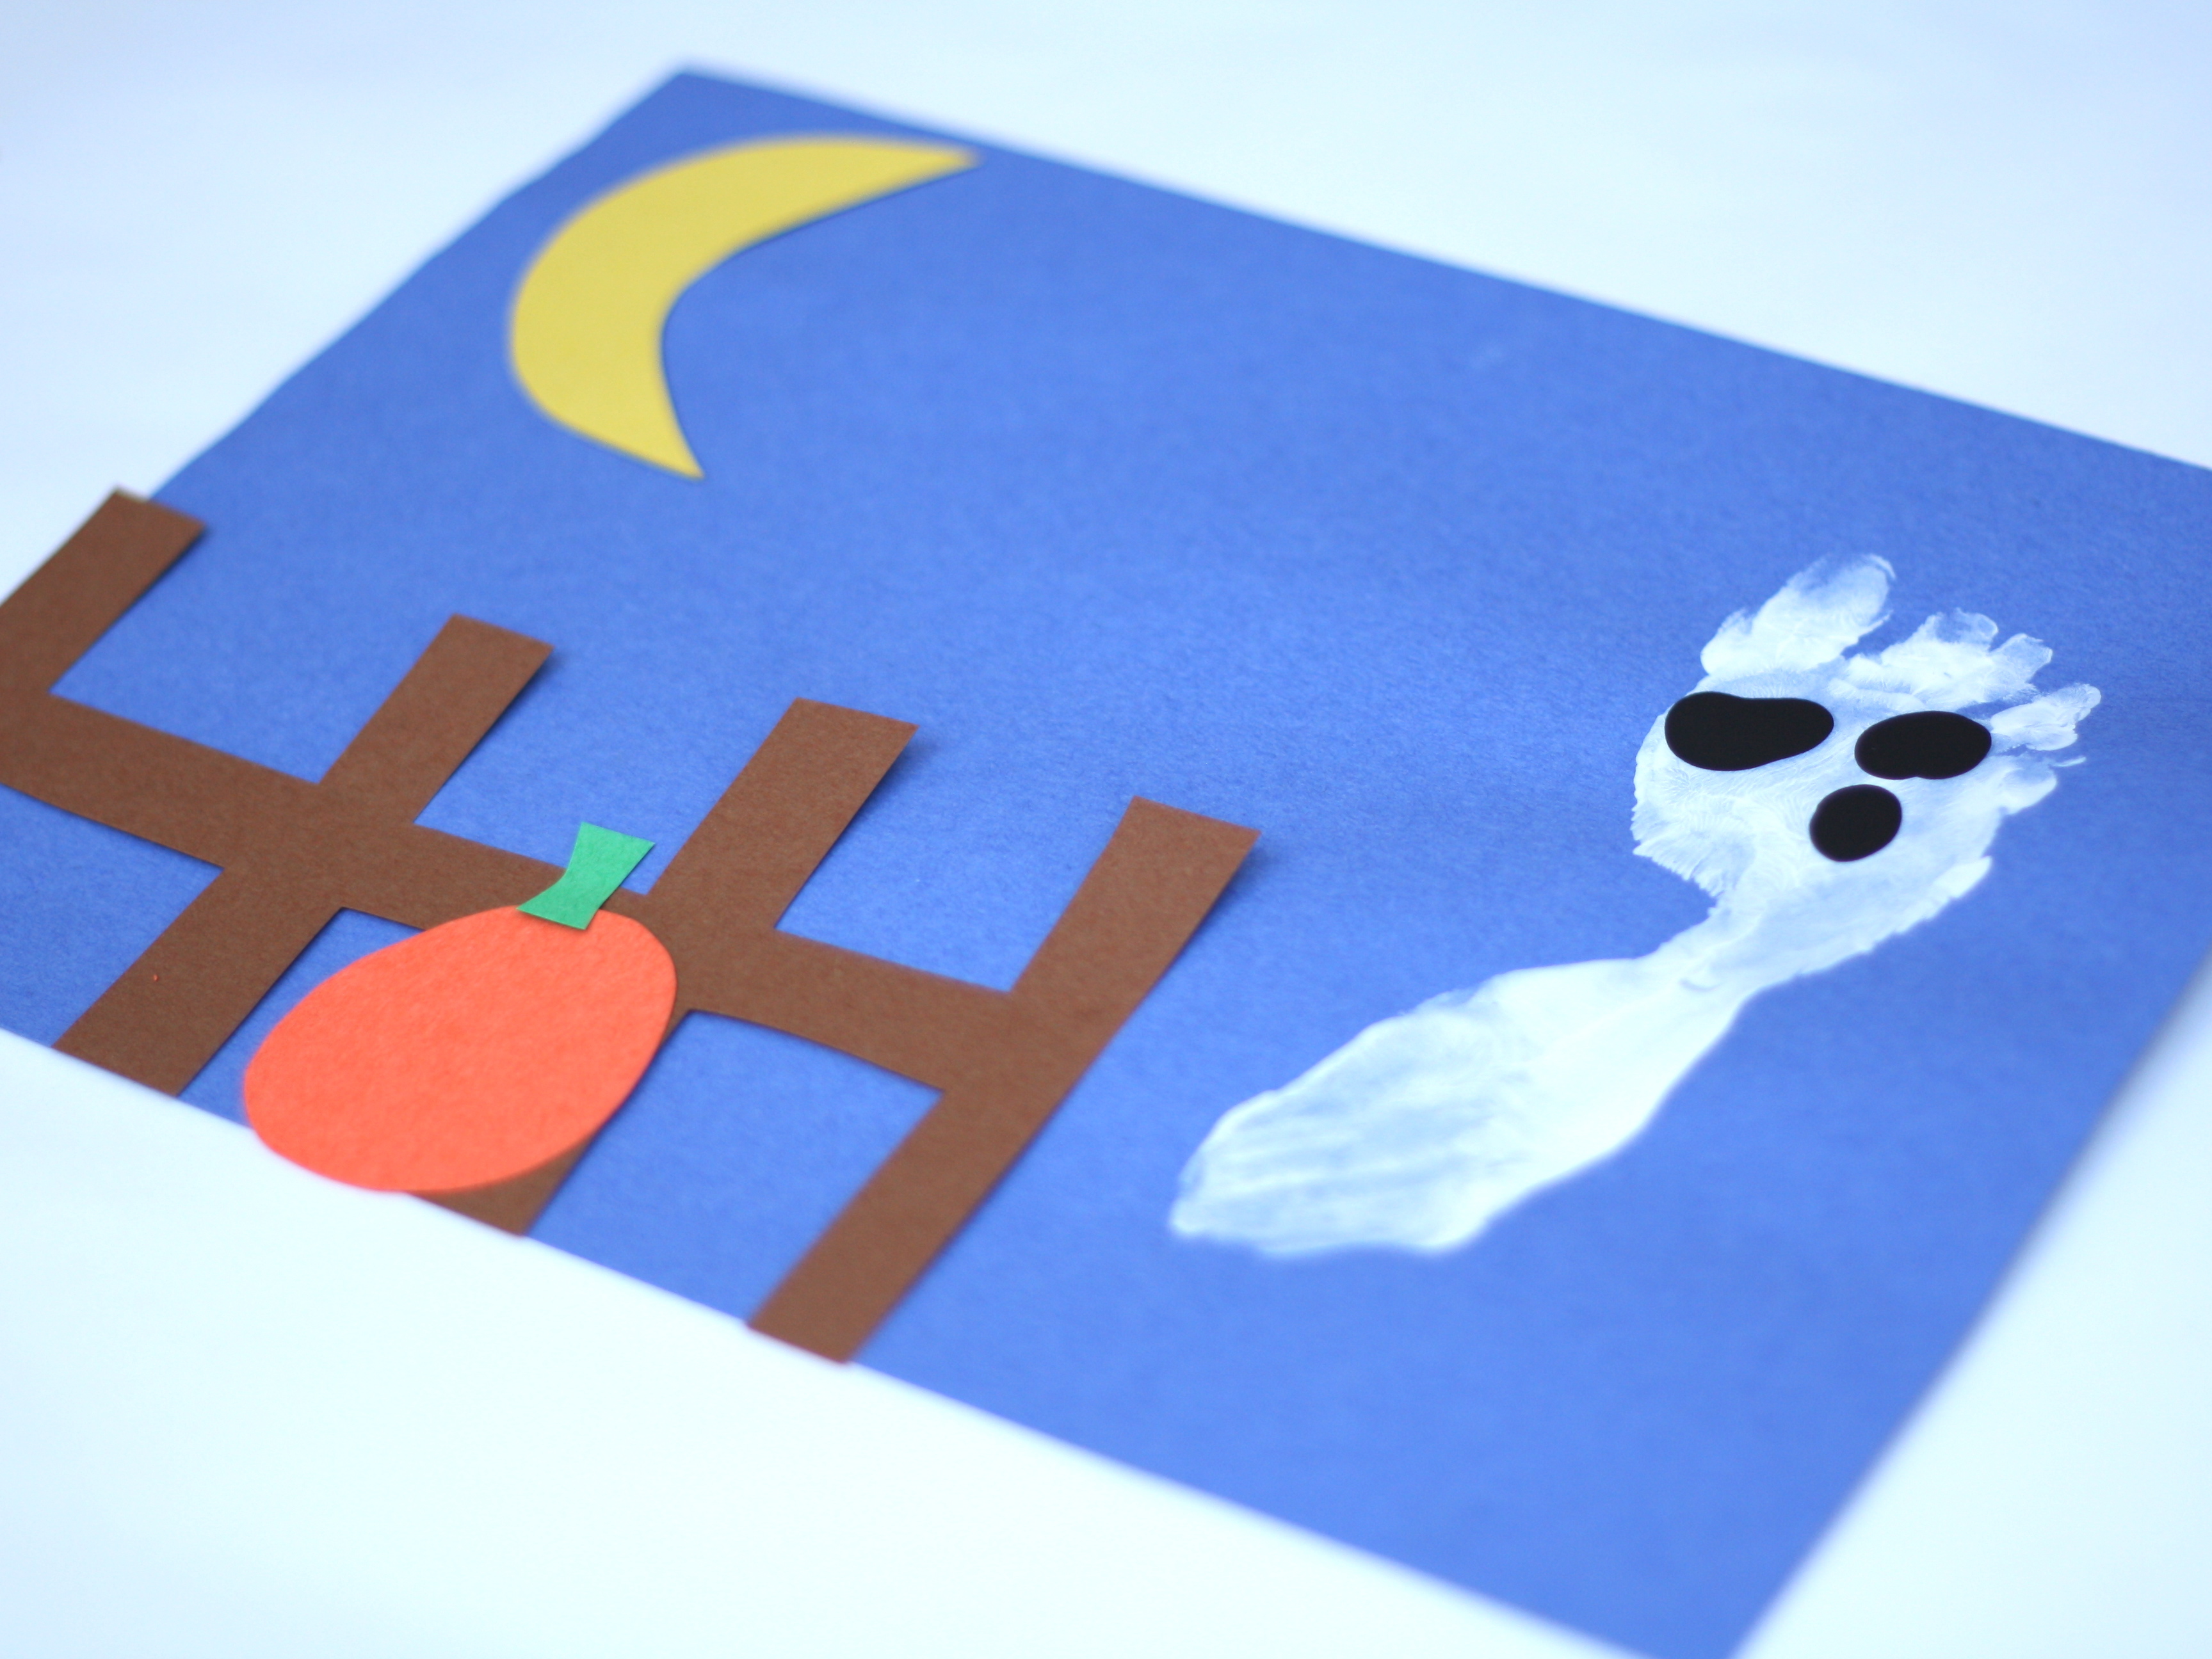
Then, with an excited grin on his face, he carefully pressed his foot down on one side of the blue construction paper to form the body of the ghost. Print complete, I immediately wiped off the leftover paint from his foot. (After all, there's no need to risk a bigger mess than necessary.)

Step 3
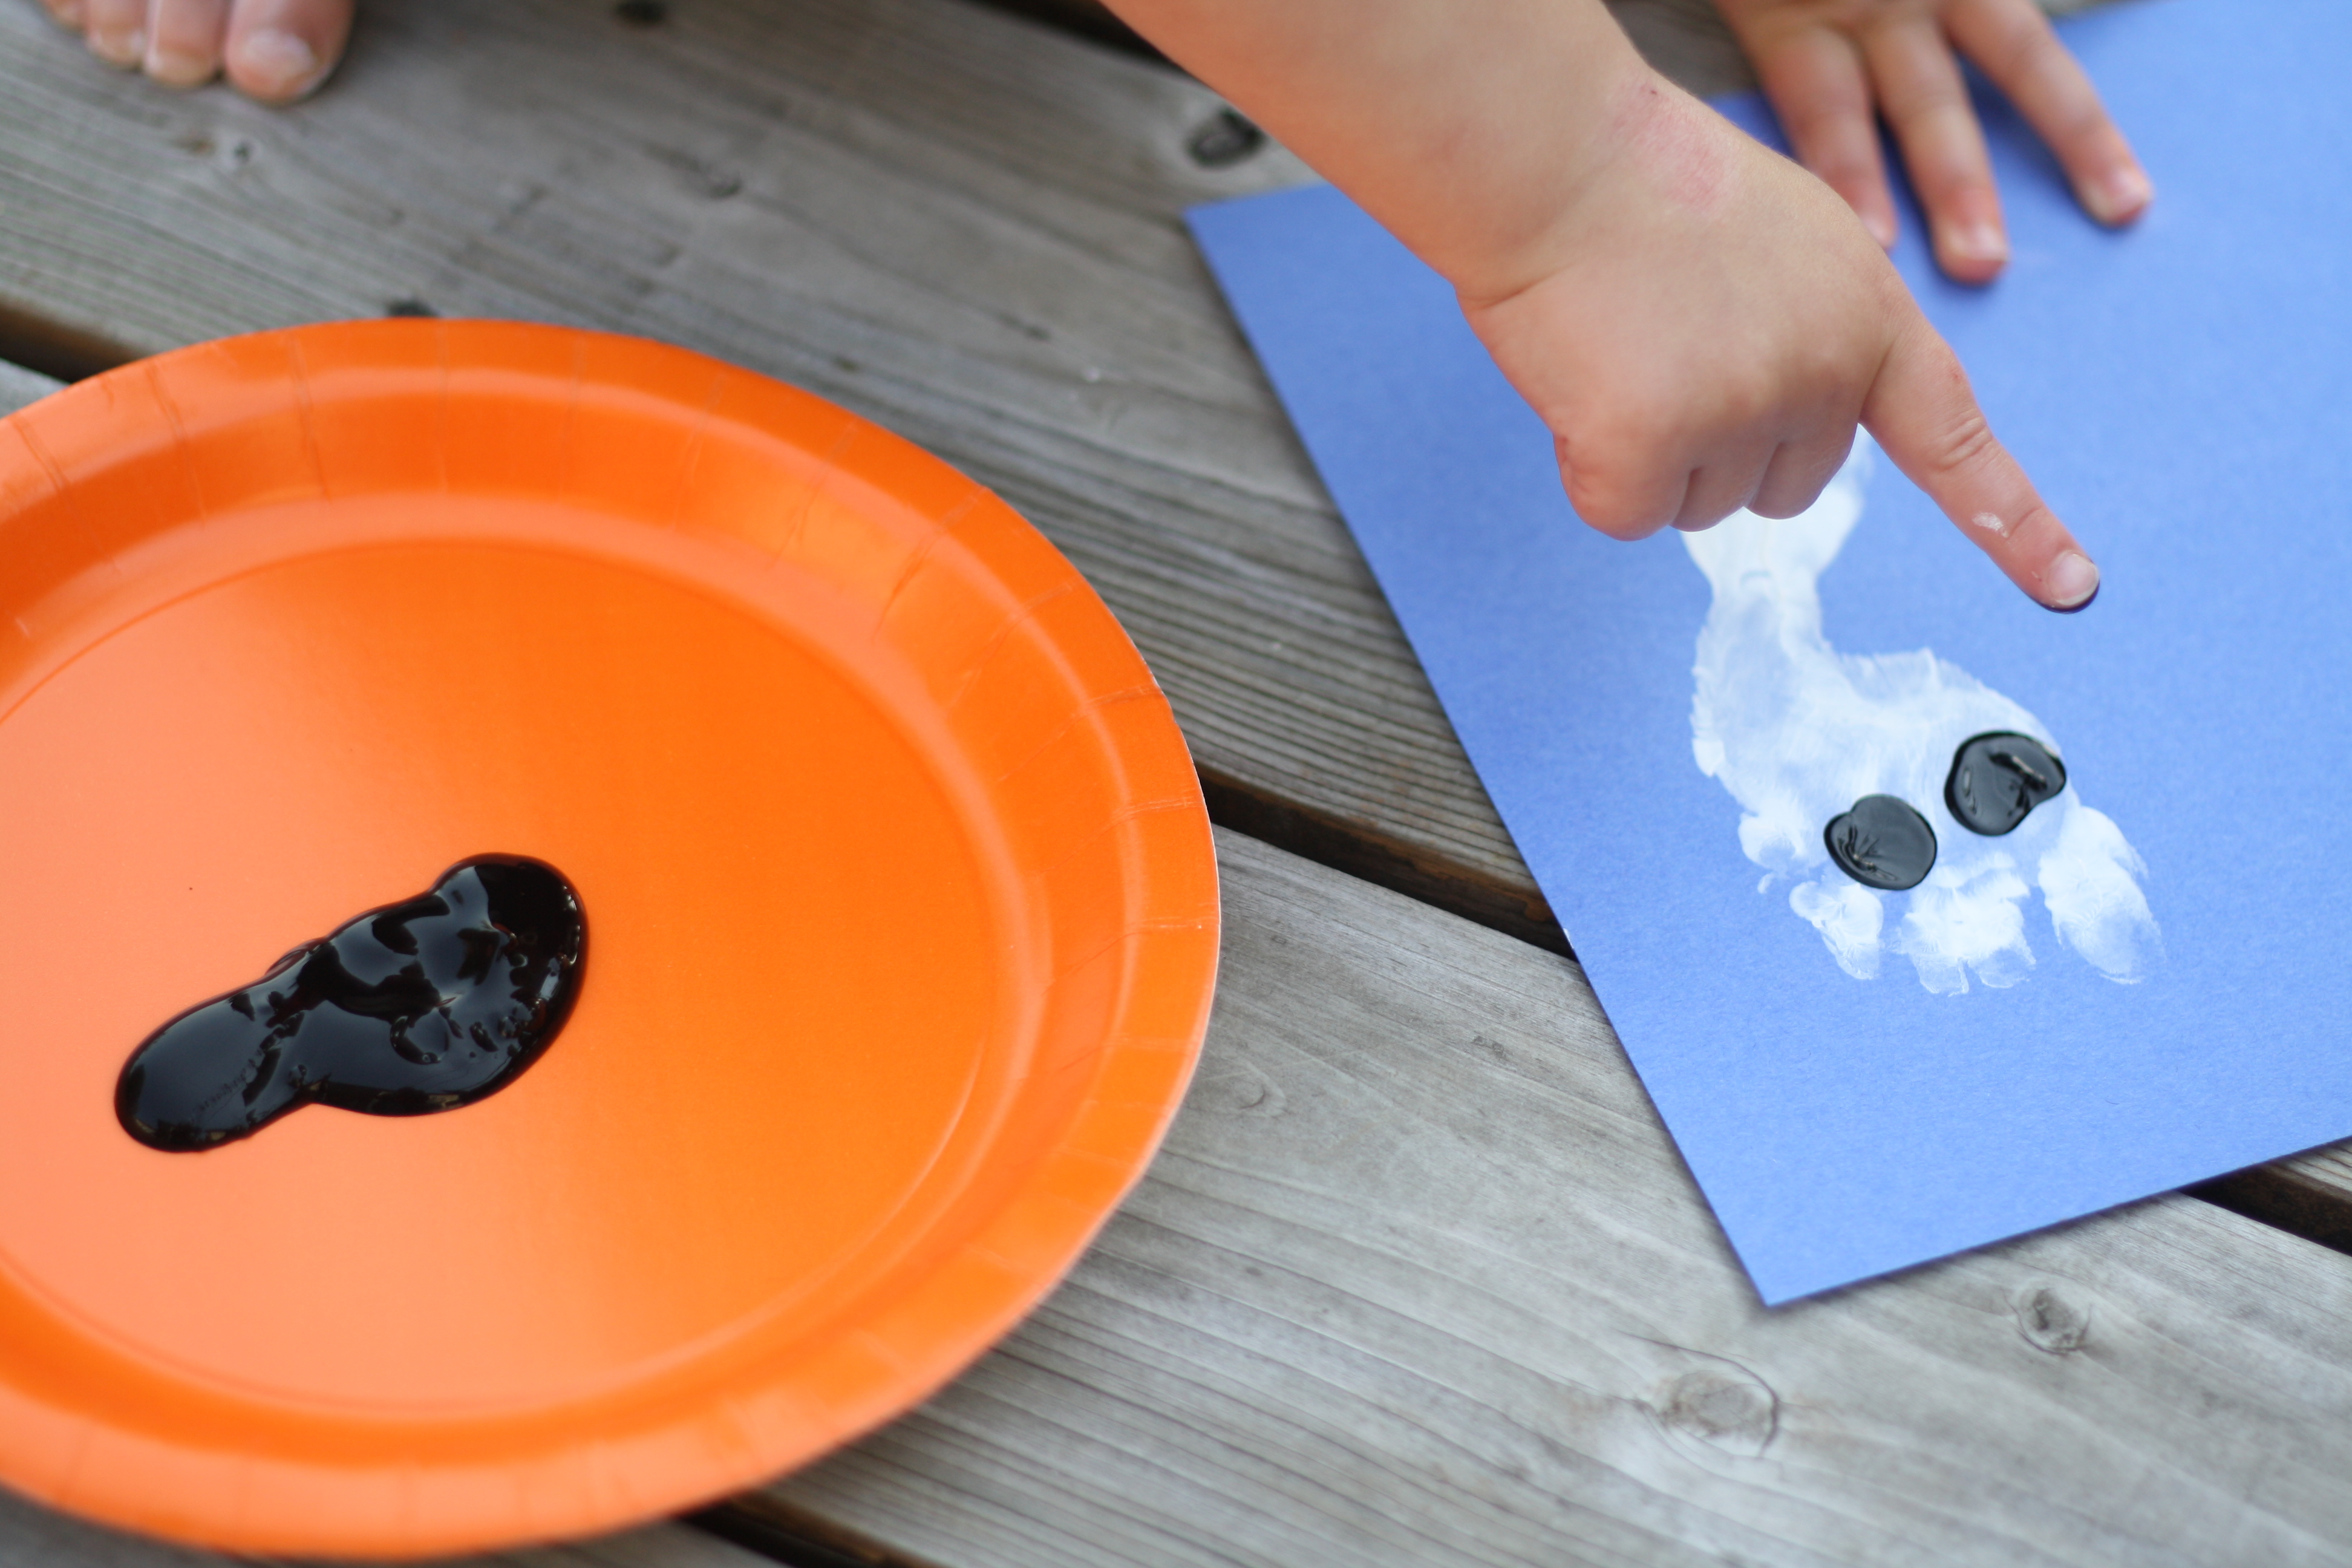
My son then dipped his finger in a puddle of black paint three times--twice to make eyes and once for a mouth. This was by far his favorite step of the project because he could finally see his ghost come to life.
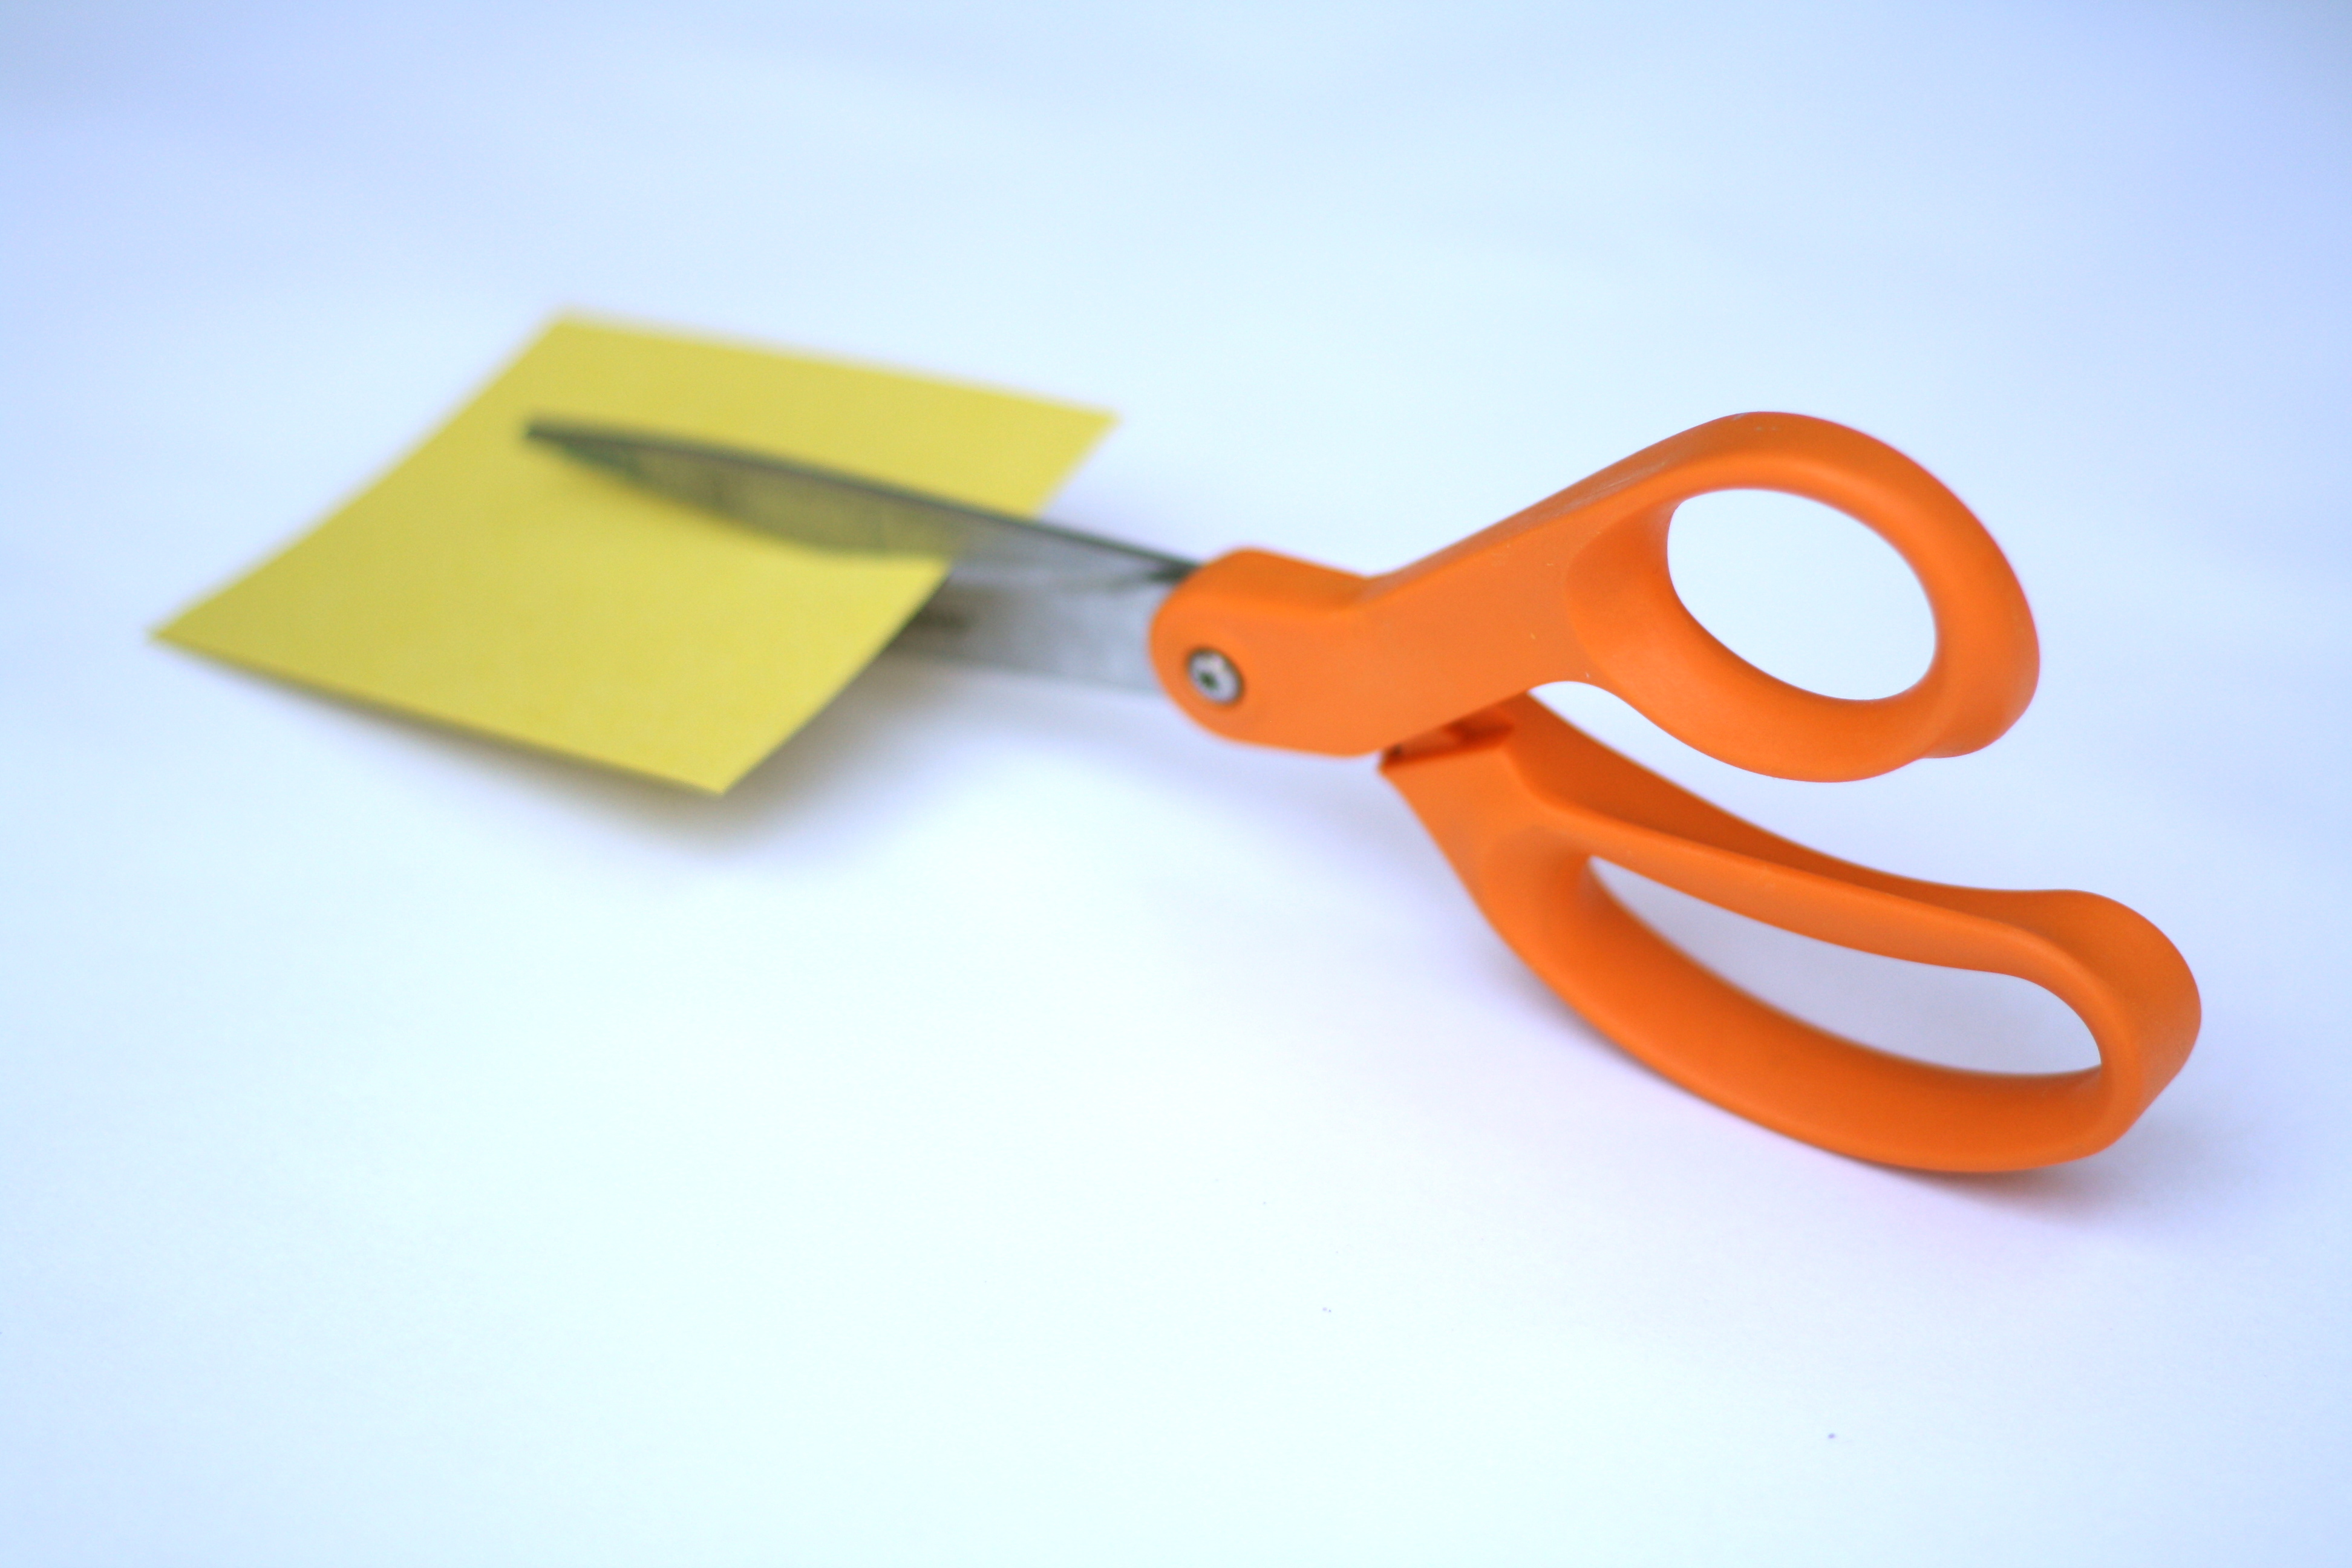
Step 4
Since my son is only three, I cut out the moon, pumpkin, and fence on my own. For older children, however, this would be a great chance to work on paper cutting. Use a pencil to draw outlines of the shapes and ask your children to cut along your lines.
Done!
Finally, my son used a glue stick to attach the cut-outs to our picture. It took us a few tries to make sure that all of the edges were coated enough but we eventually succeeded. We took a step back and proudly admired our adorable creation. It was the perfect start to our Halloween season!