Step-by-step tutorial
Step 1
I absolutely love making crafts that are made from trash--it's a great way to show the kids that there is beauty in everything and also to be more environmentally conscious. These lanterns are made from plastic milk jugs and are a snap to assemble.

Step 2
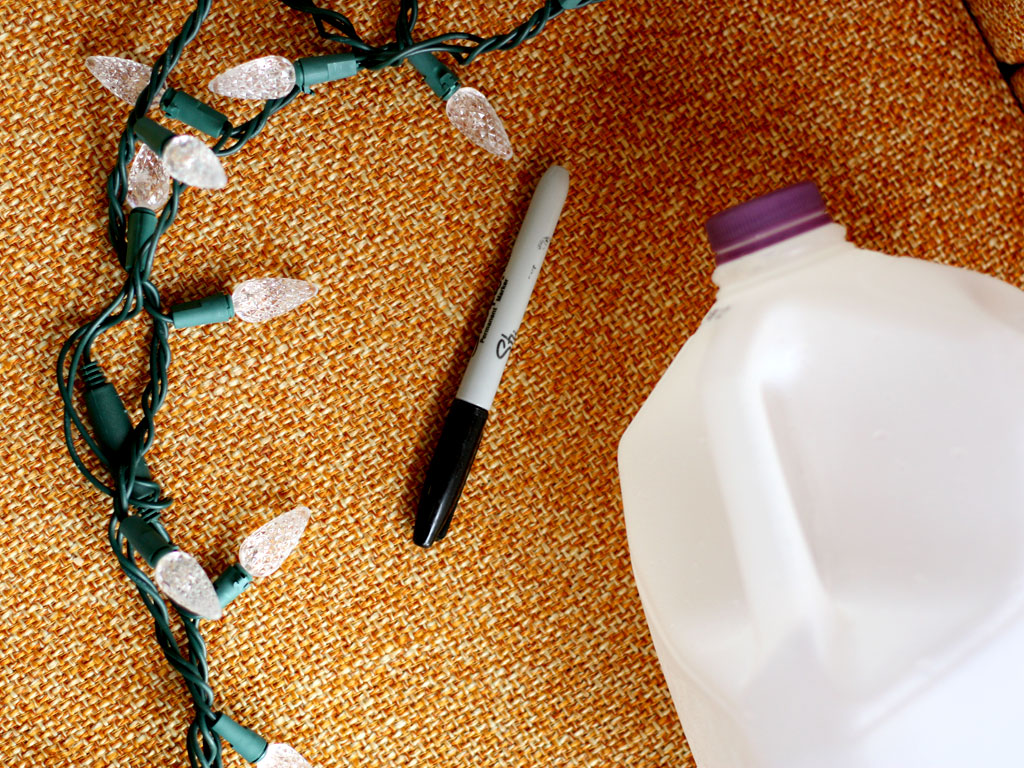
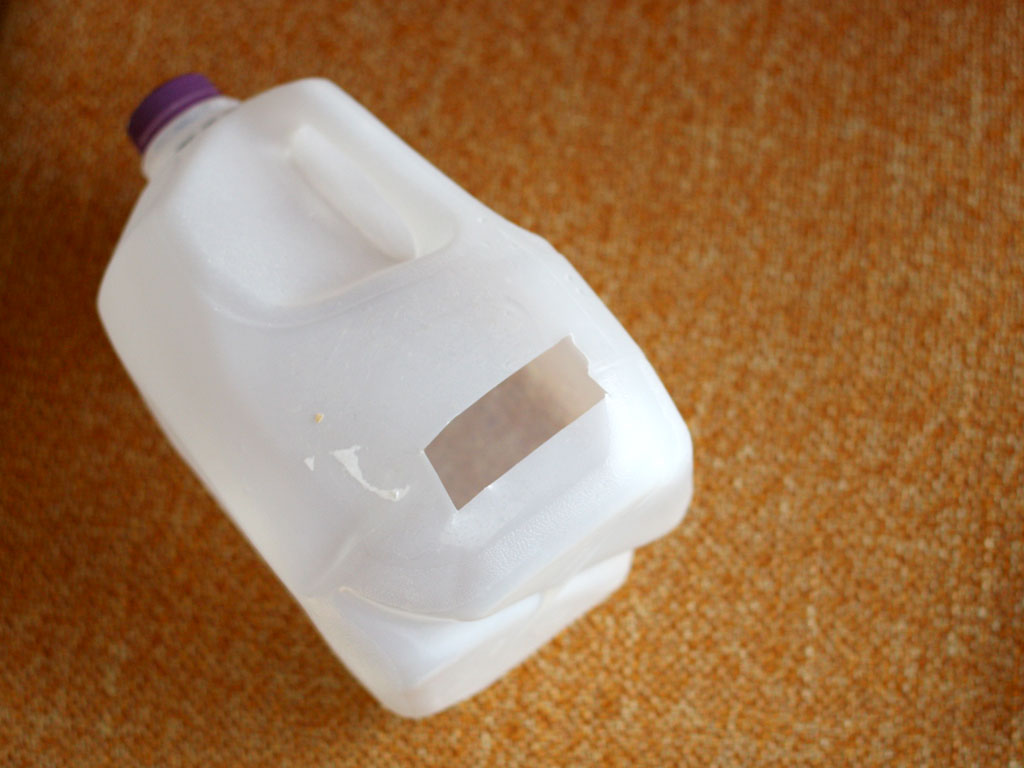
After we rinsed out the jugs out and let them dry, I cut a hole in the back with scissors. The hole can be whatever shape you want--it really just depends what sort of light you are going to put inside. We used Christmas lights that we had in storage, but I just saw some mini battery operated tea lights that would work really well if you aren't in the mood to get out your Christmas boxes yet.
Step 3
We rarely let our kids use permanent markers (which I am sure is the same for most parents!), so this craft was a special treat. We let the kids know before we handed them the marker that this was a special occasion and that they could use it since we were watching. And I definitely had my hawk-eye on my three-year-old, who tends to stamp her face when I am not looking.
The kids had a blast drawing faces on the milk jugs. As much as I want to give them suggestions (it's my personality), we let them go to town and be as creative as they wanted. My four-year-old added hair to his and my three-year-old just did what she does best--scribbles and circles.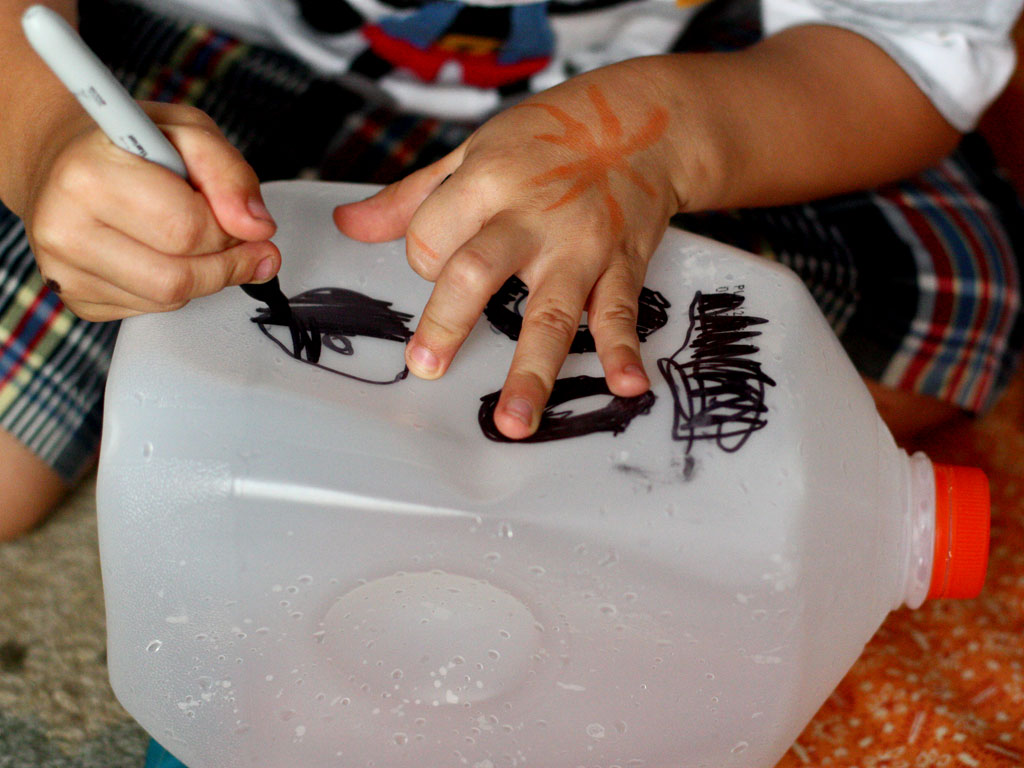
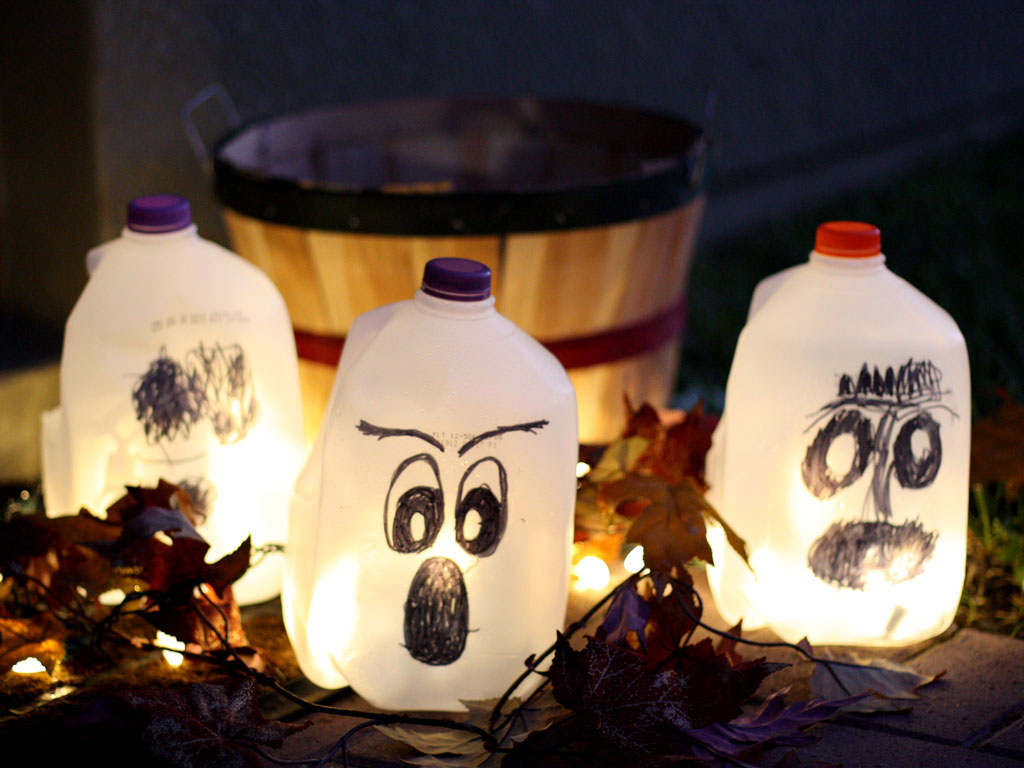
Done!
After we admired our creations, we went outside and strung the lights through the back of the jugs. I even brought out some pretend fall leaves to help set the mood. Once we plugged in the lights, the kids were elated--their creations turned magical in an instant. They danced around and had so much fun welcoming fall to our tropical home in Florida!


