Step-by-step tutorial
Step 1
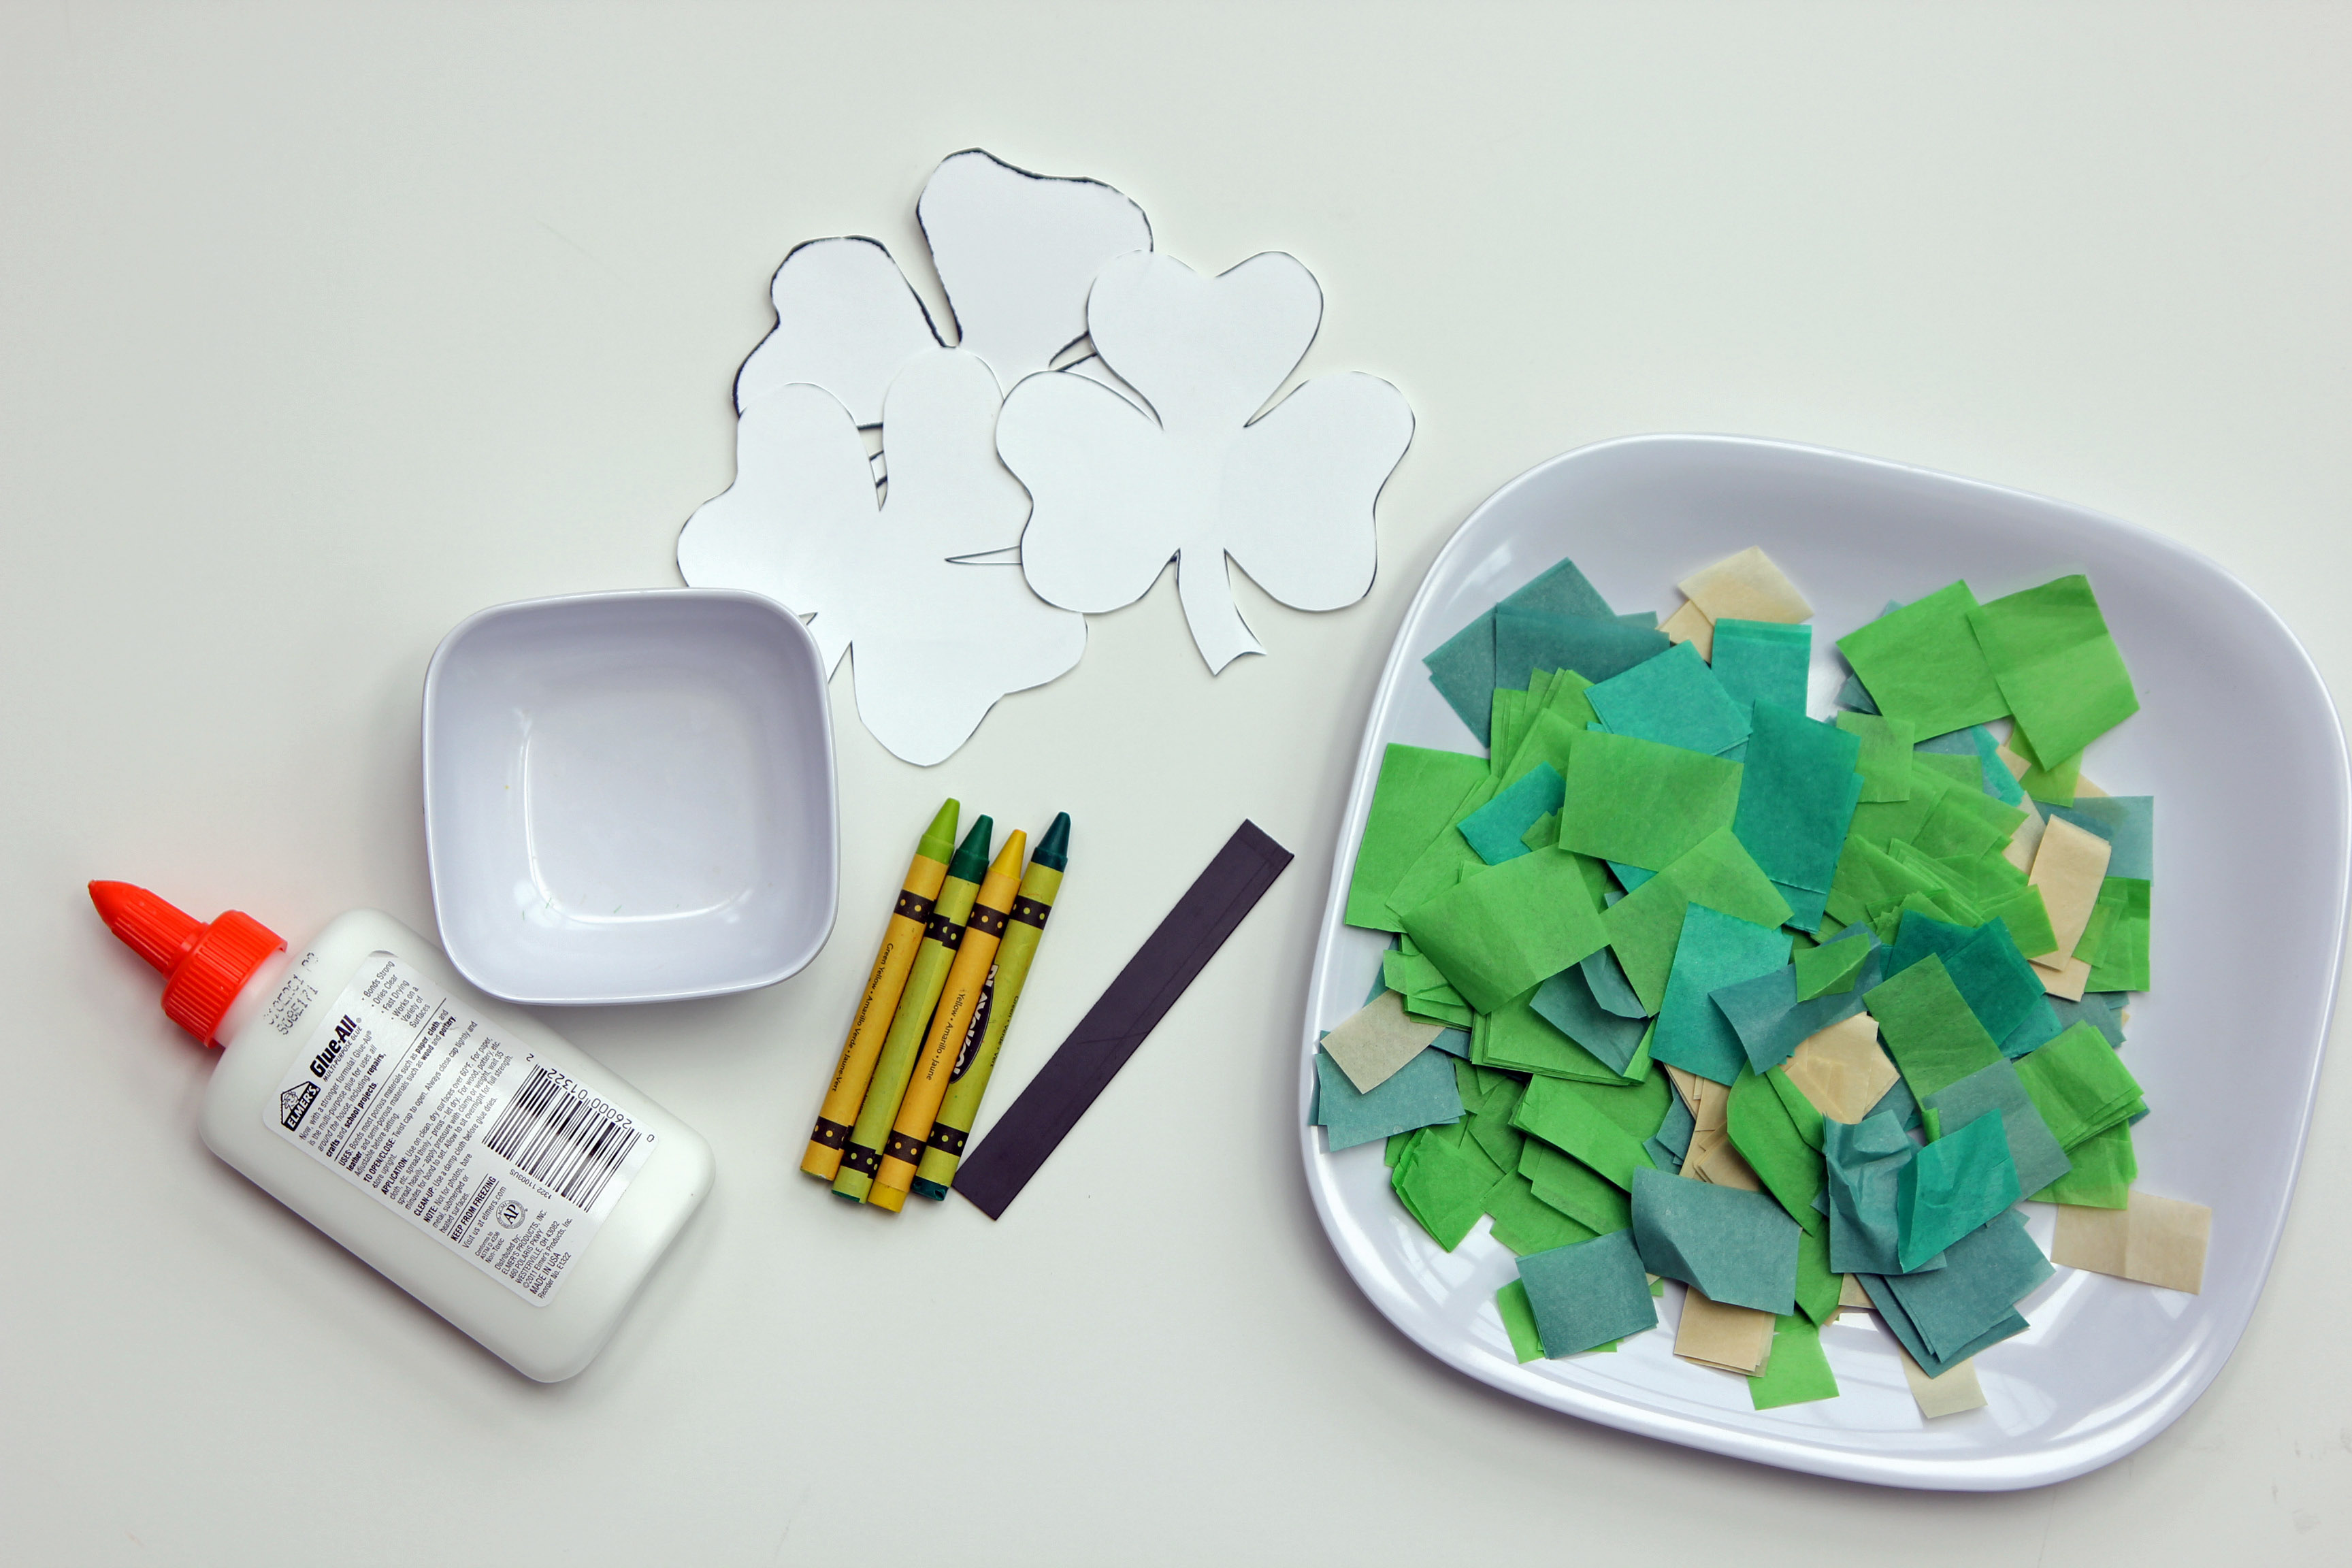
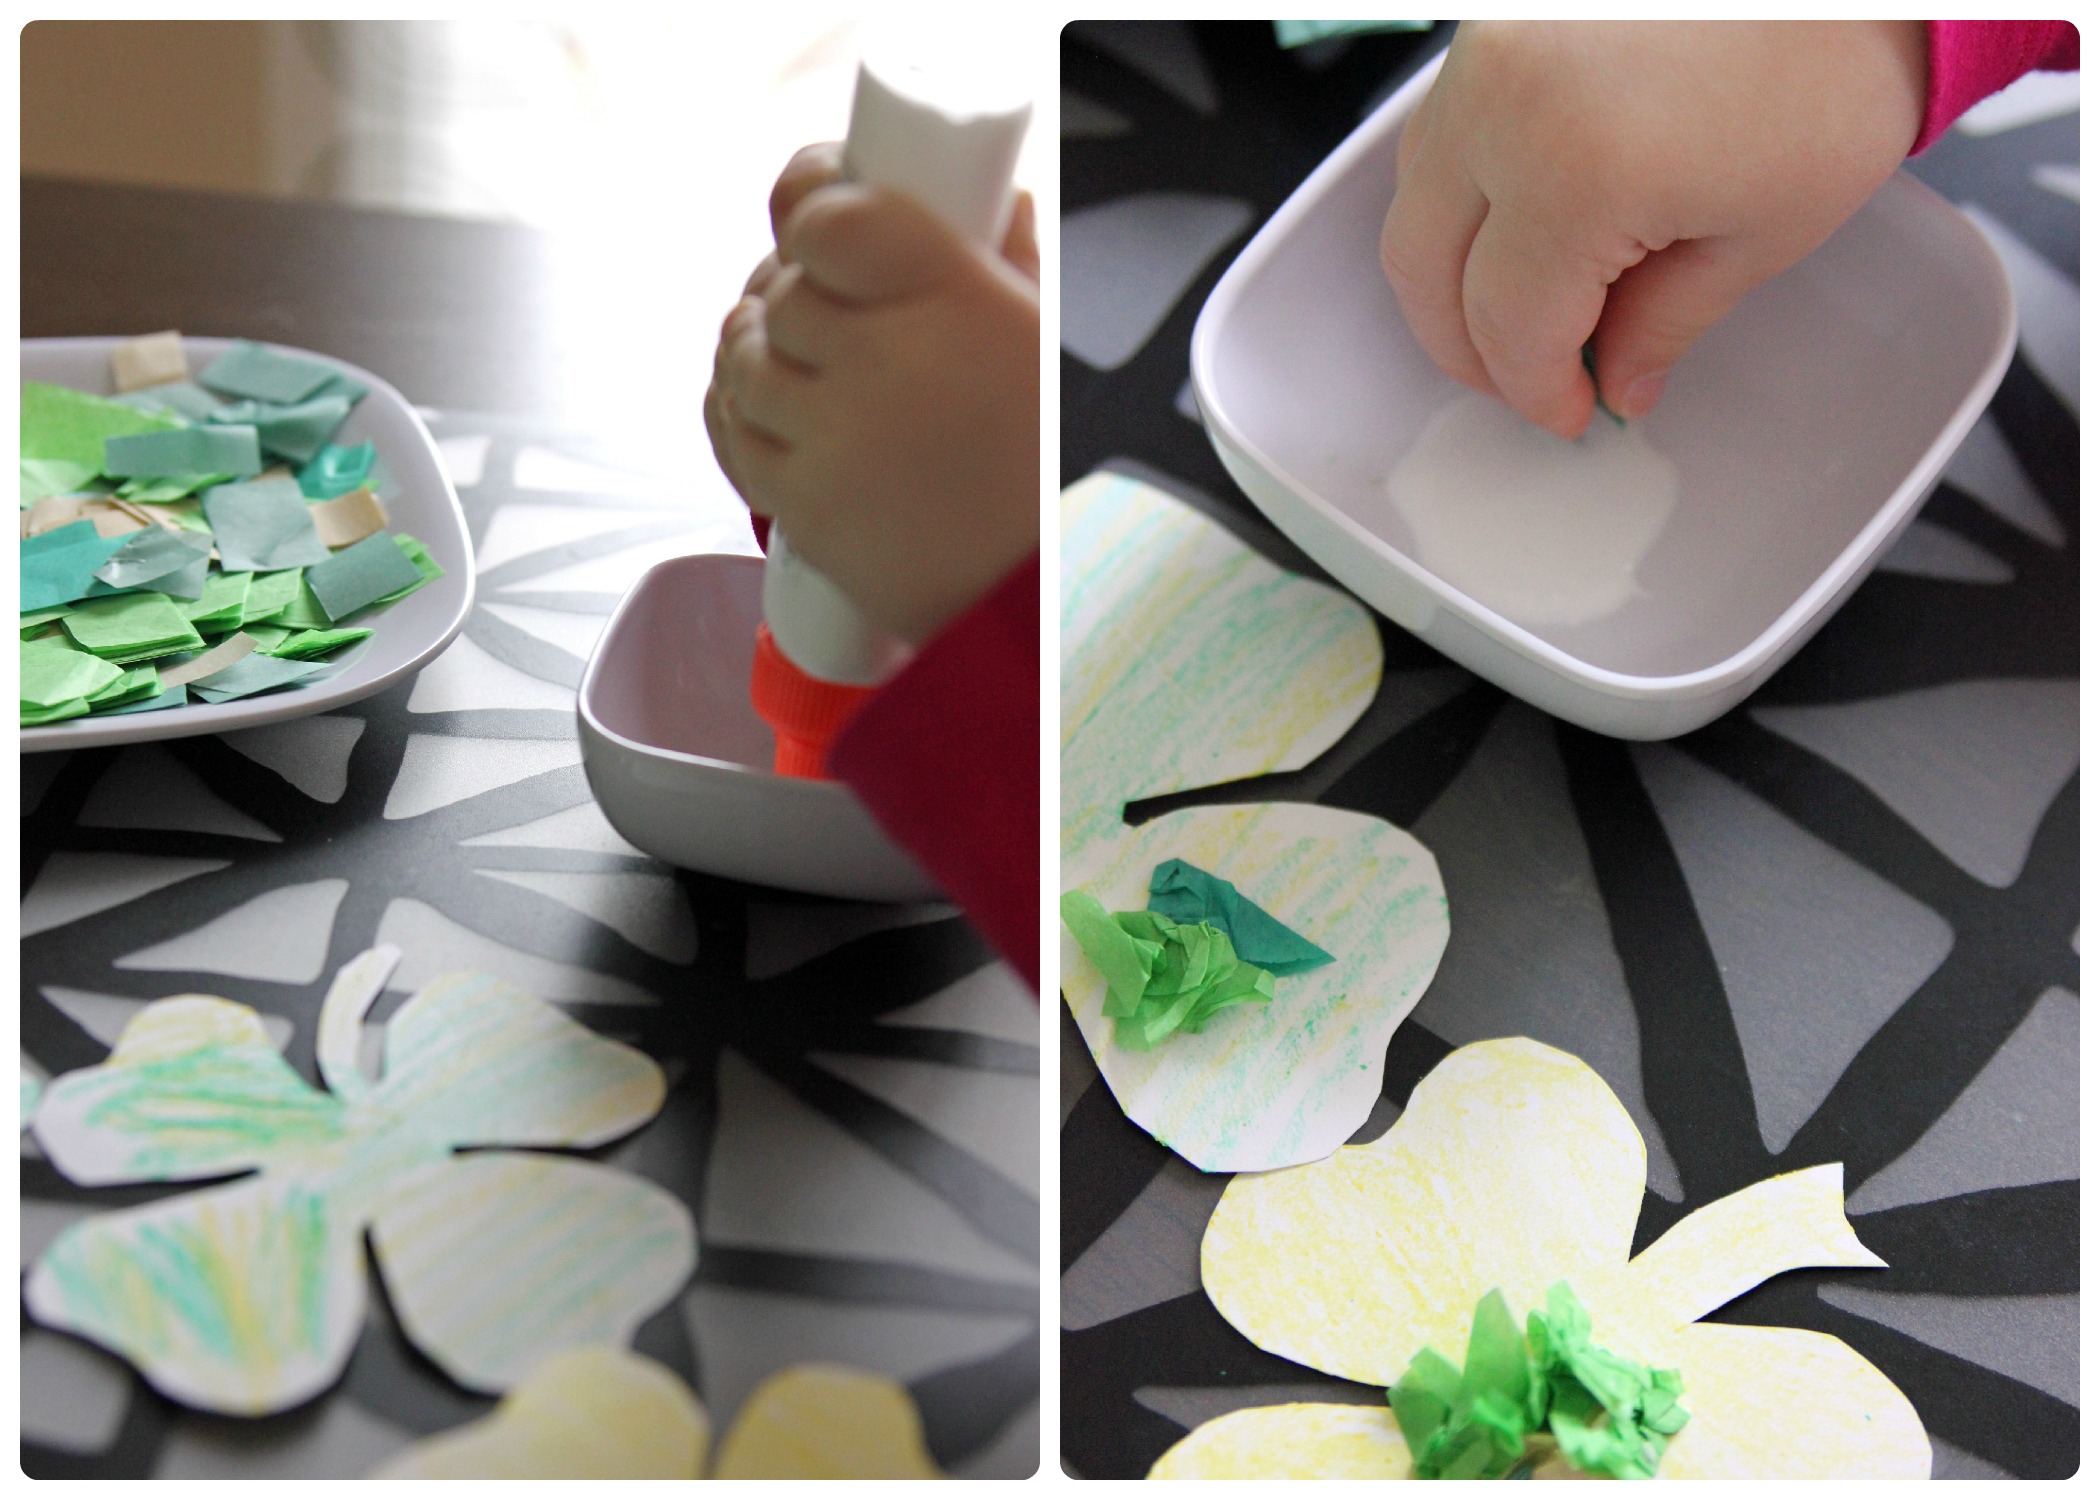
Gather the materials shown.

Step 2
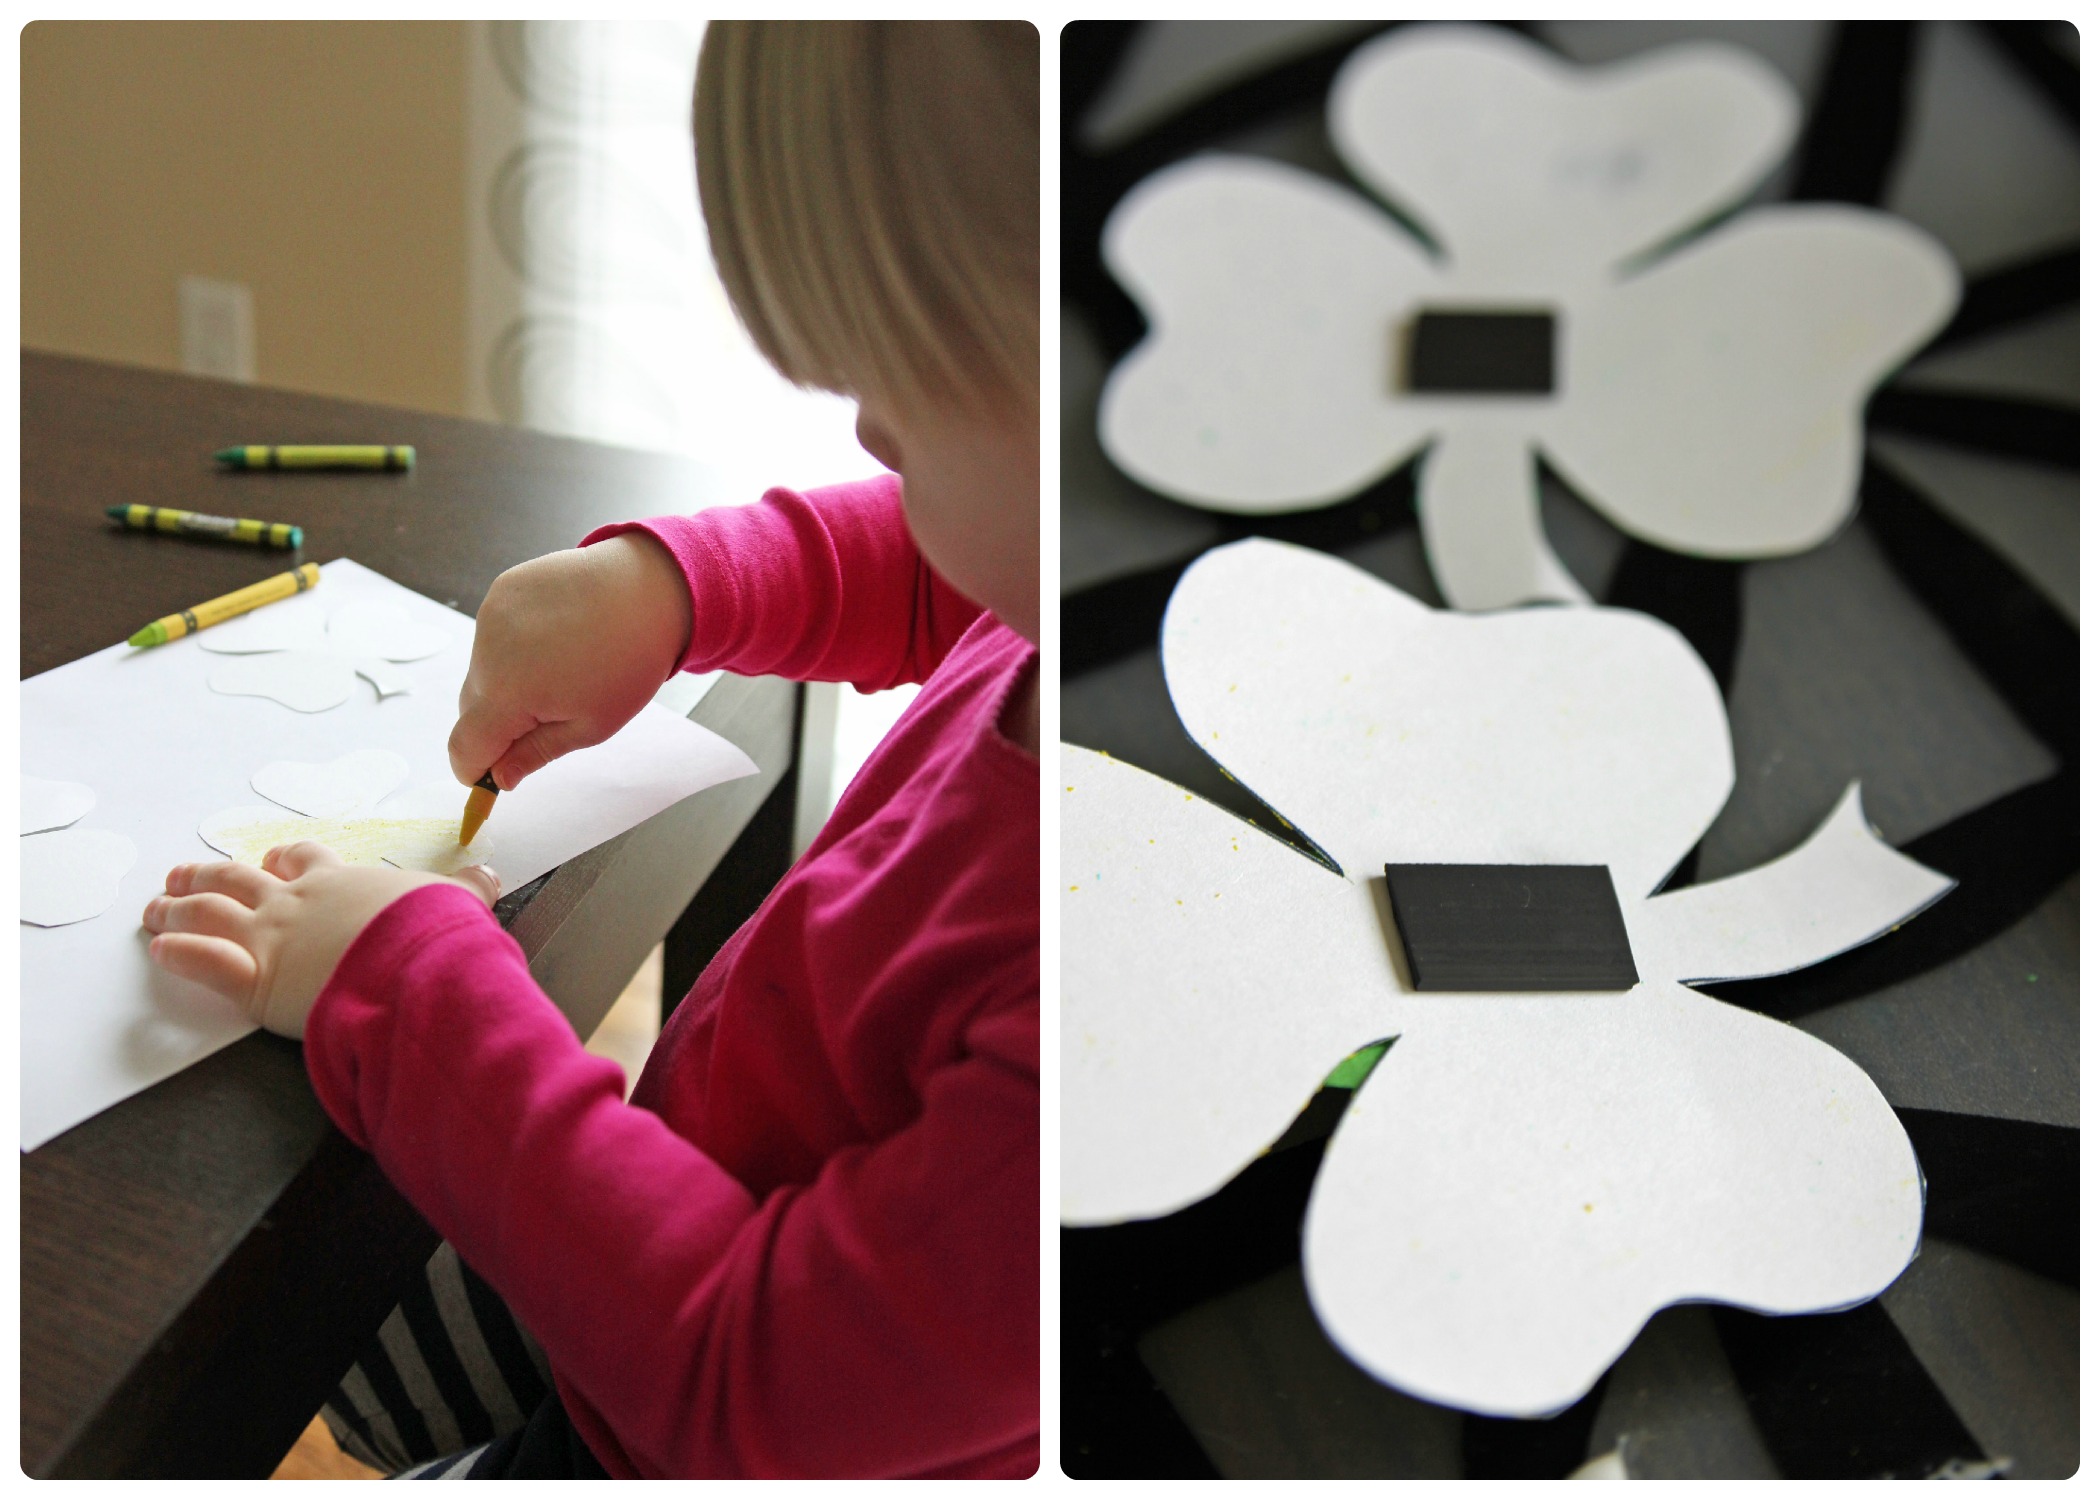
Start by coloring your shamrocks. We used a group of green and yellow hues to coordinate with the shamrocks. Next, cut your magnet strips. Remove the backing and adhere to the backs of your shamrocks.
Step 3
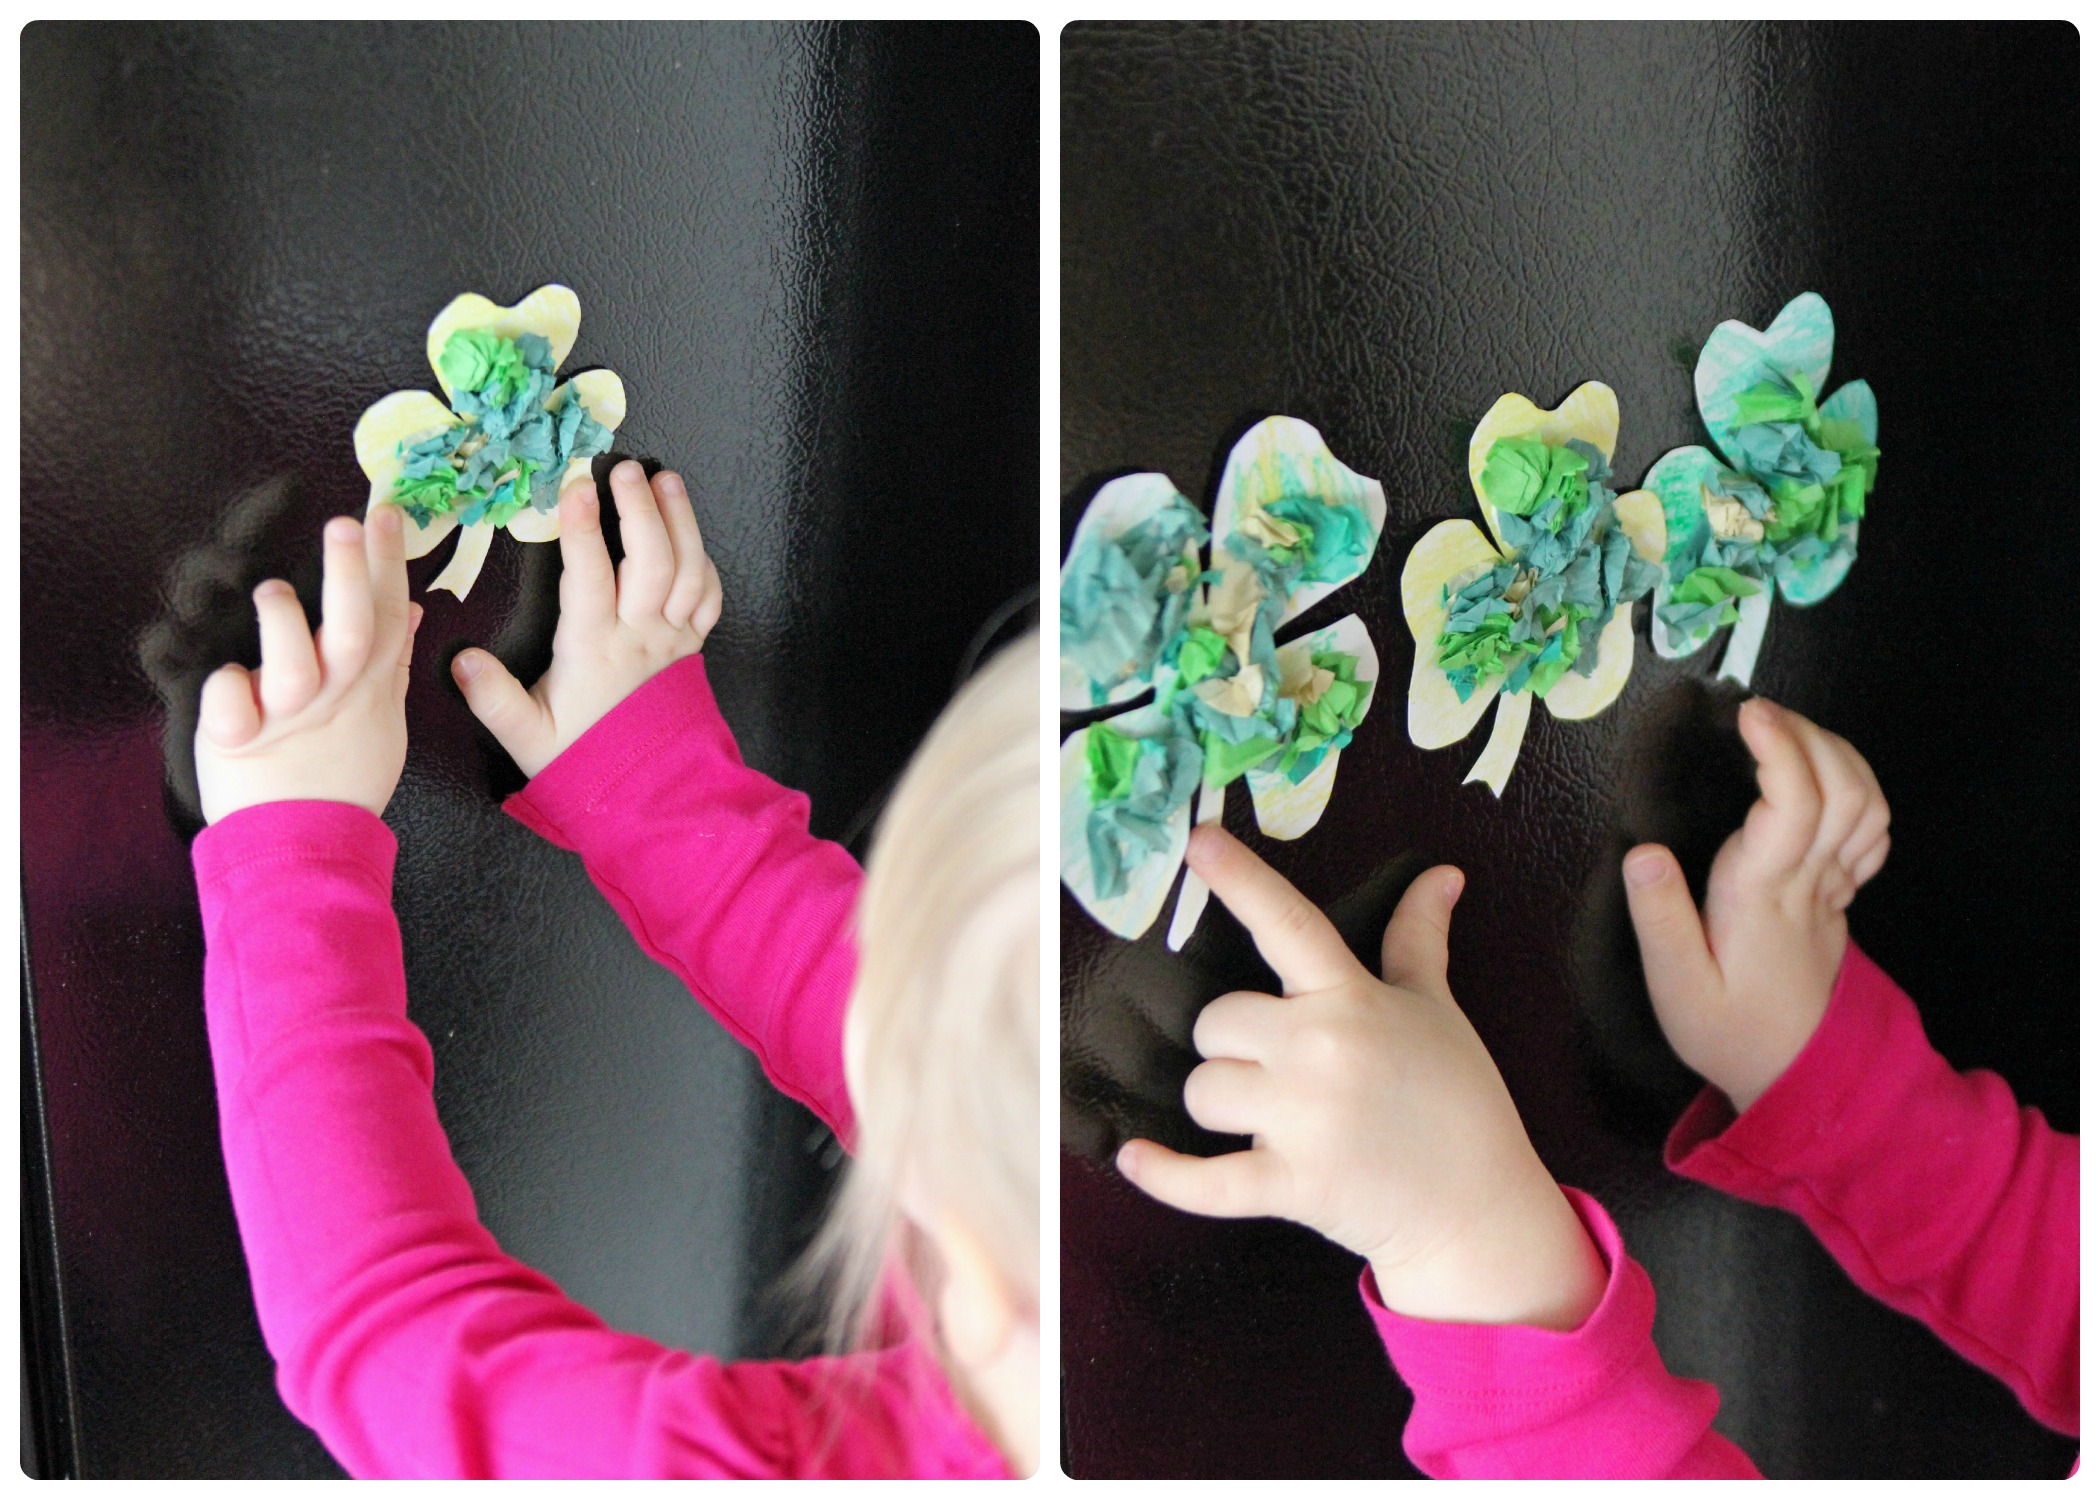
Next, squeeze a small amount of white glue into your bowl. ( This is V's absolute favorite part, I might add -- squeezing any tube she can get her hands on!) Next, start by crumbling up the tissue paper scraps, dipping them in the glue, placing them on your shamrock shape, and then smooshing it down. As you are doing this, fill in any extra glue spots with tissue paper crumbles.
Step 4
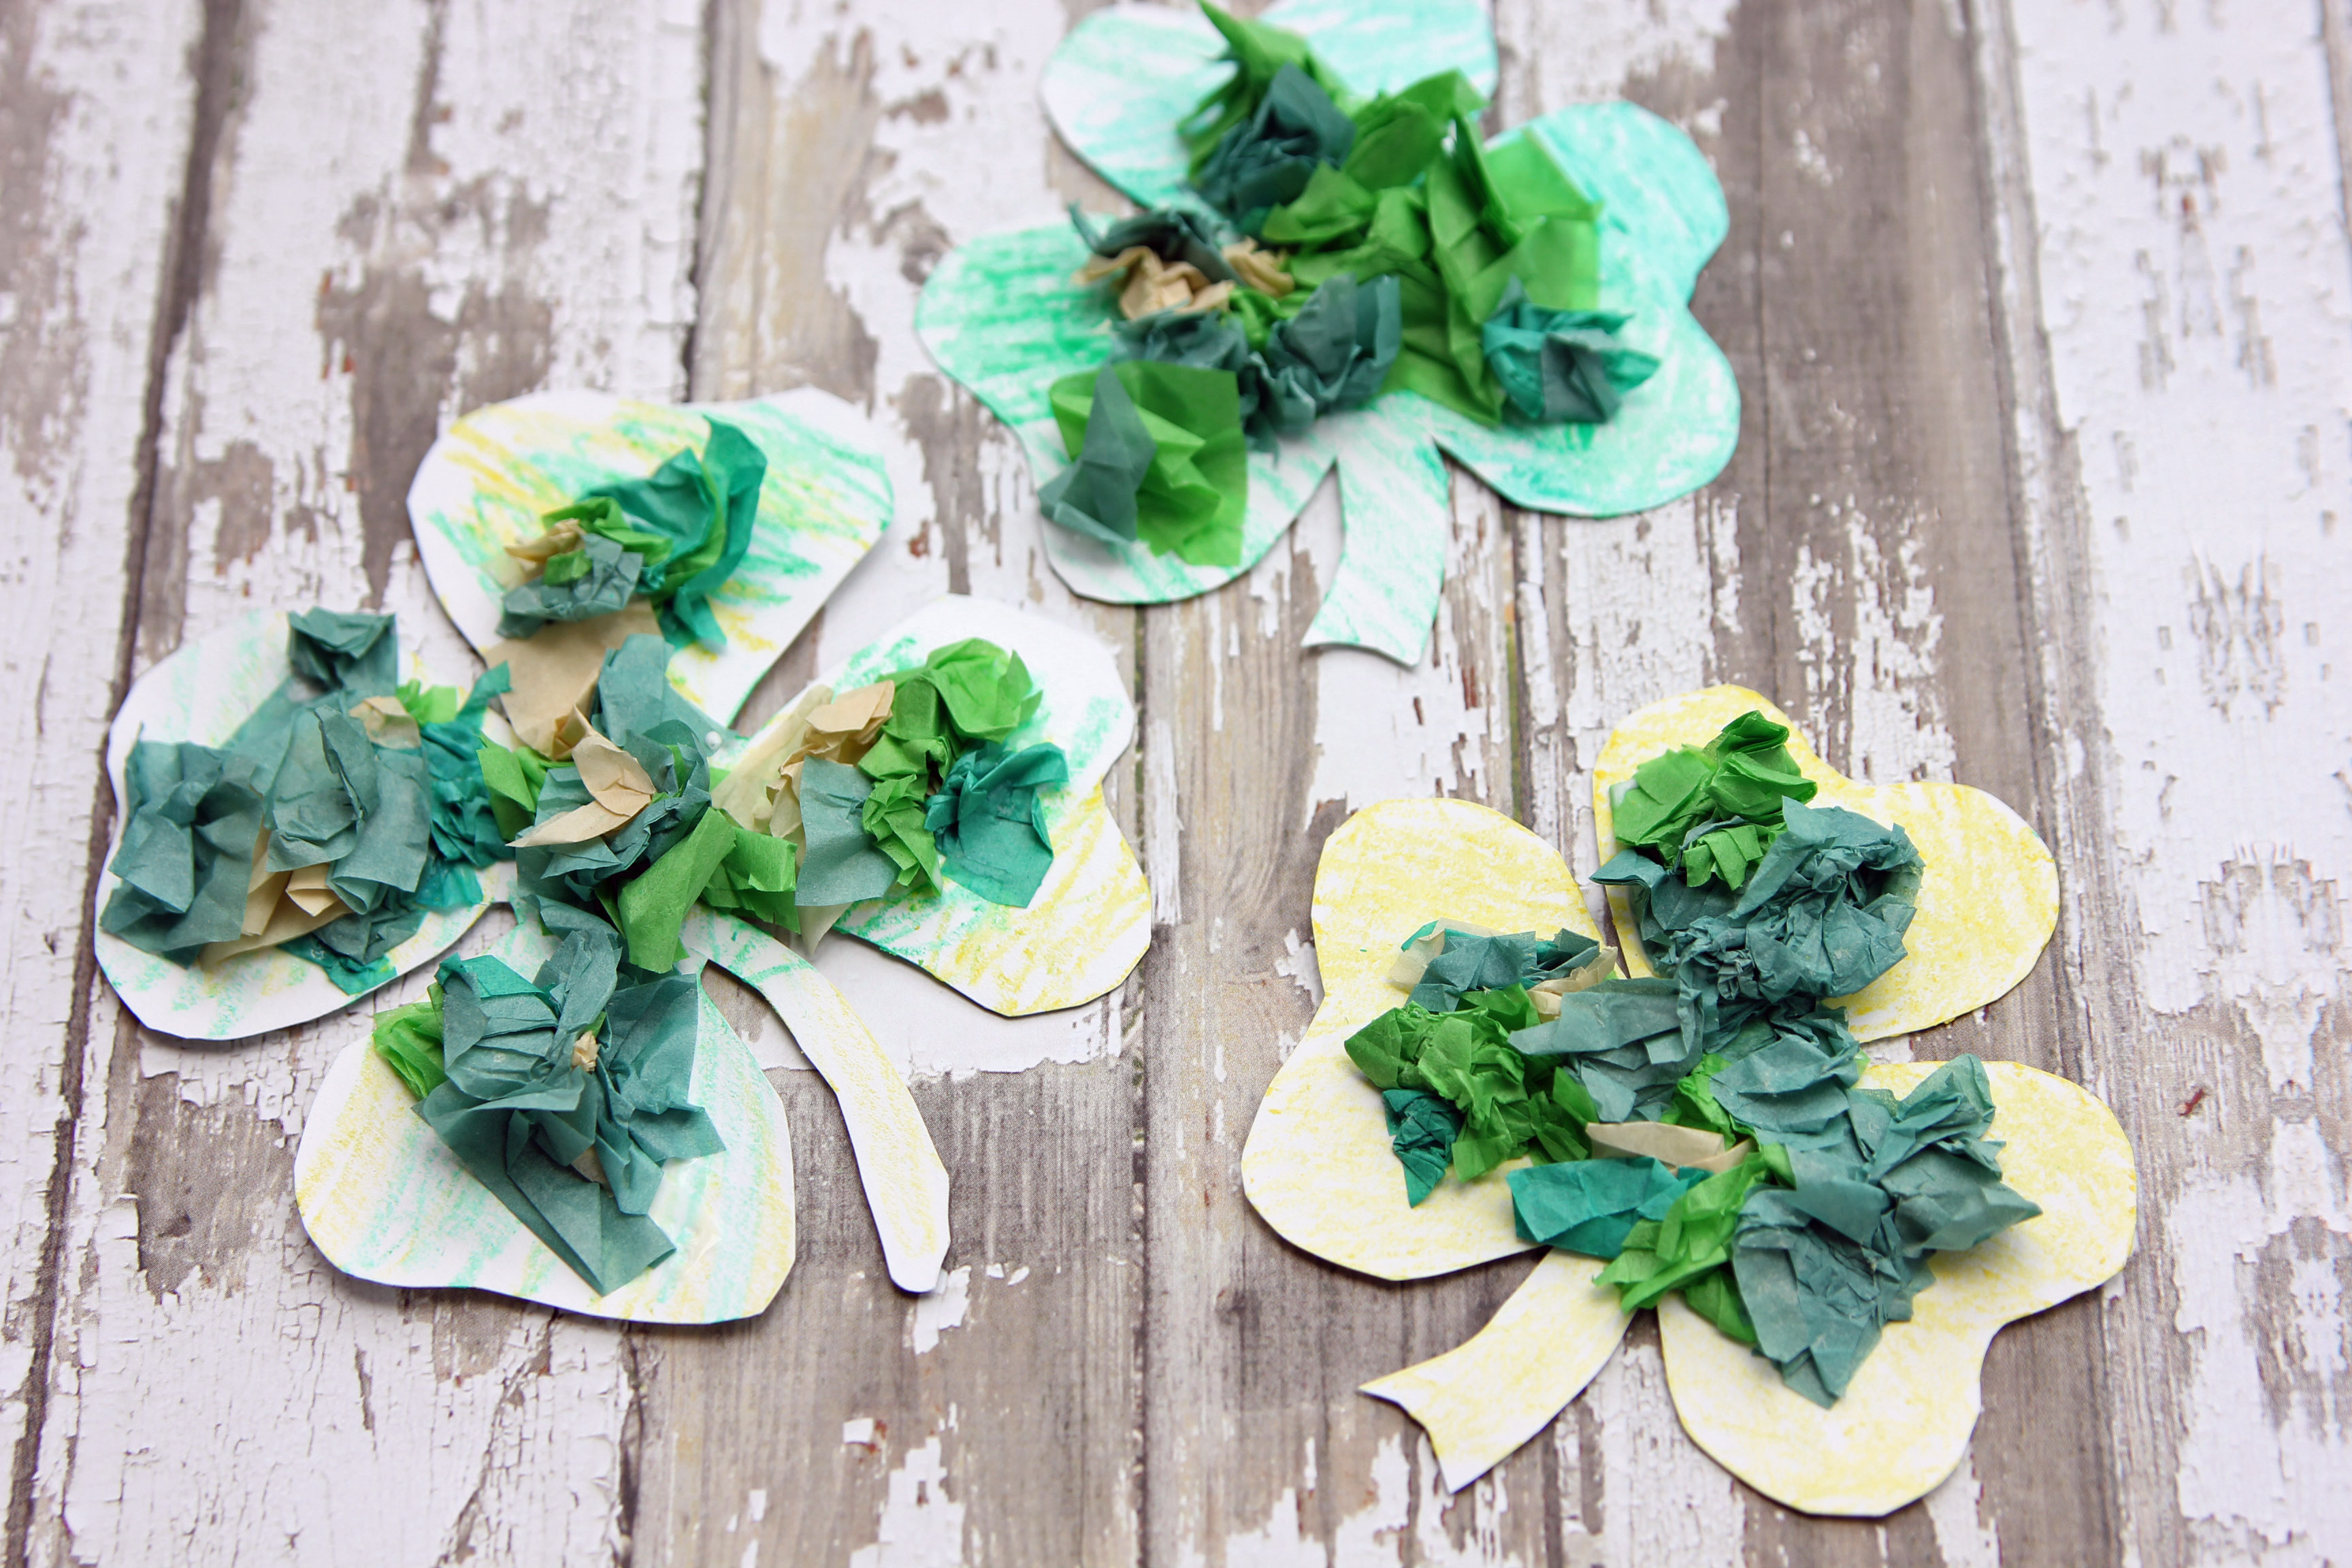
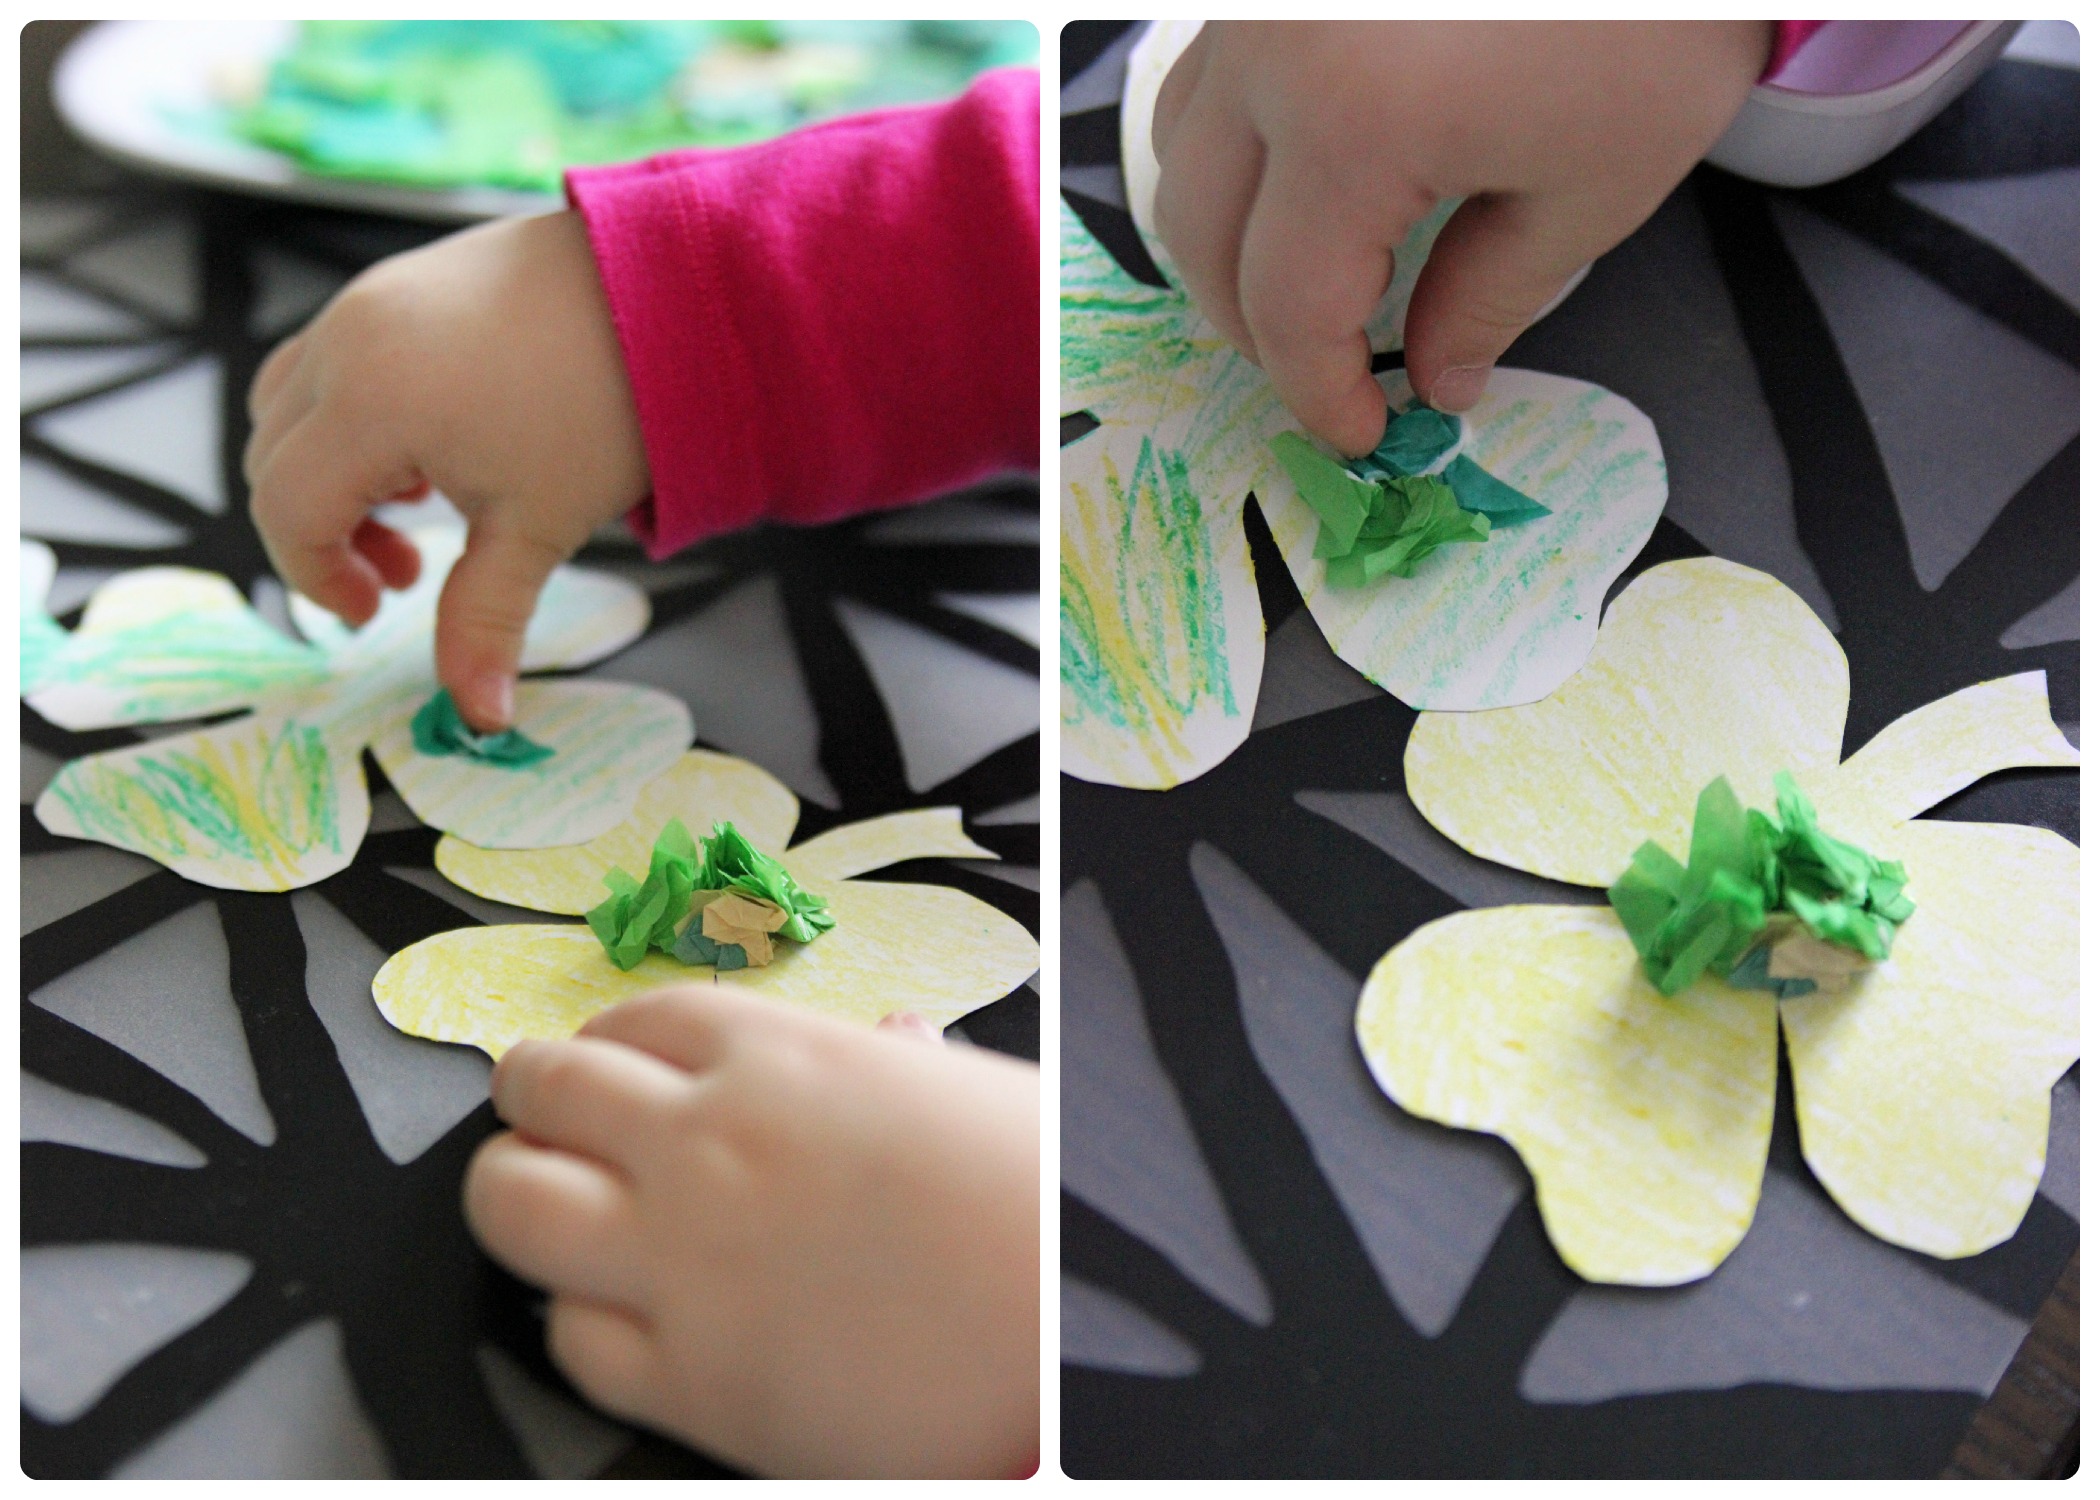
Next, crumble, dip, place, smoosh and repeat, until the shamrock is covered enough to your liking. We only partially covered it with tissue paper because we wanted a portion of the crayon coloring exposed to offer a combination of both.
Final result!
Finally, let sit and dry for about 15 minutes, then attach them to any magnetic surface. Ours got placed on our fridge, and then we counted them!