Step-by-step tutorial
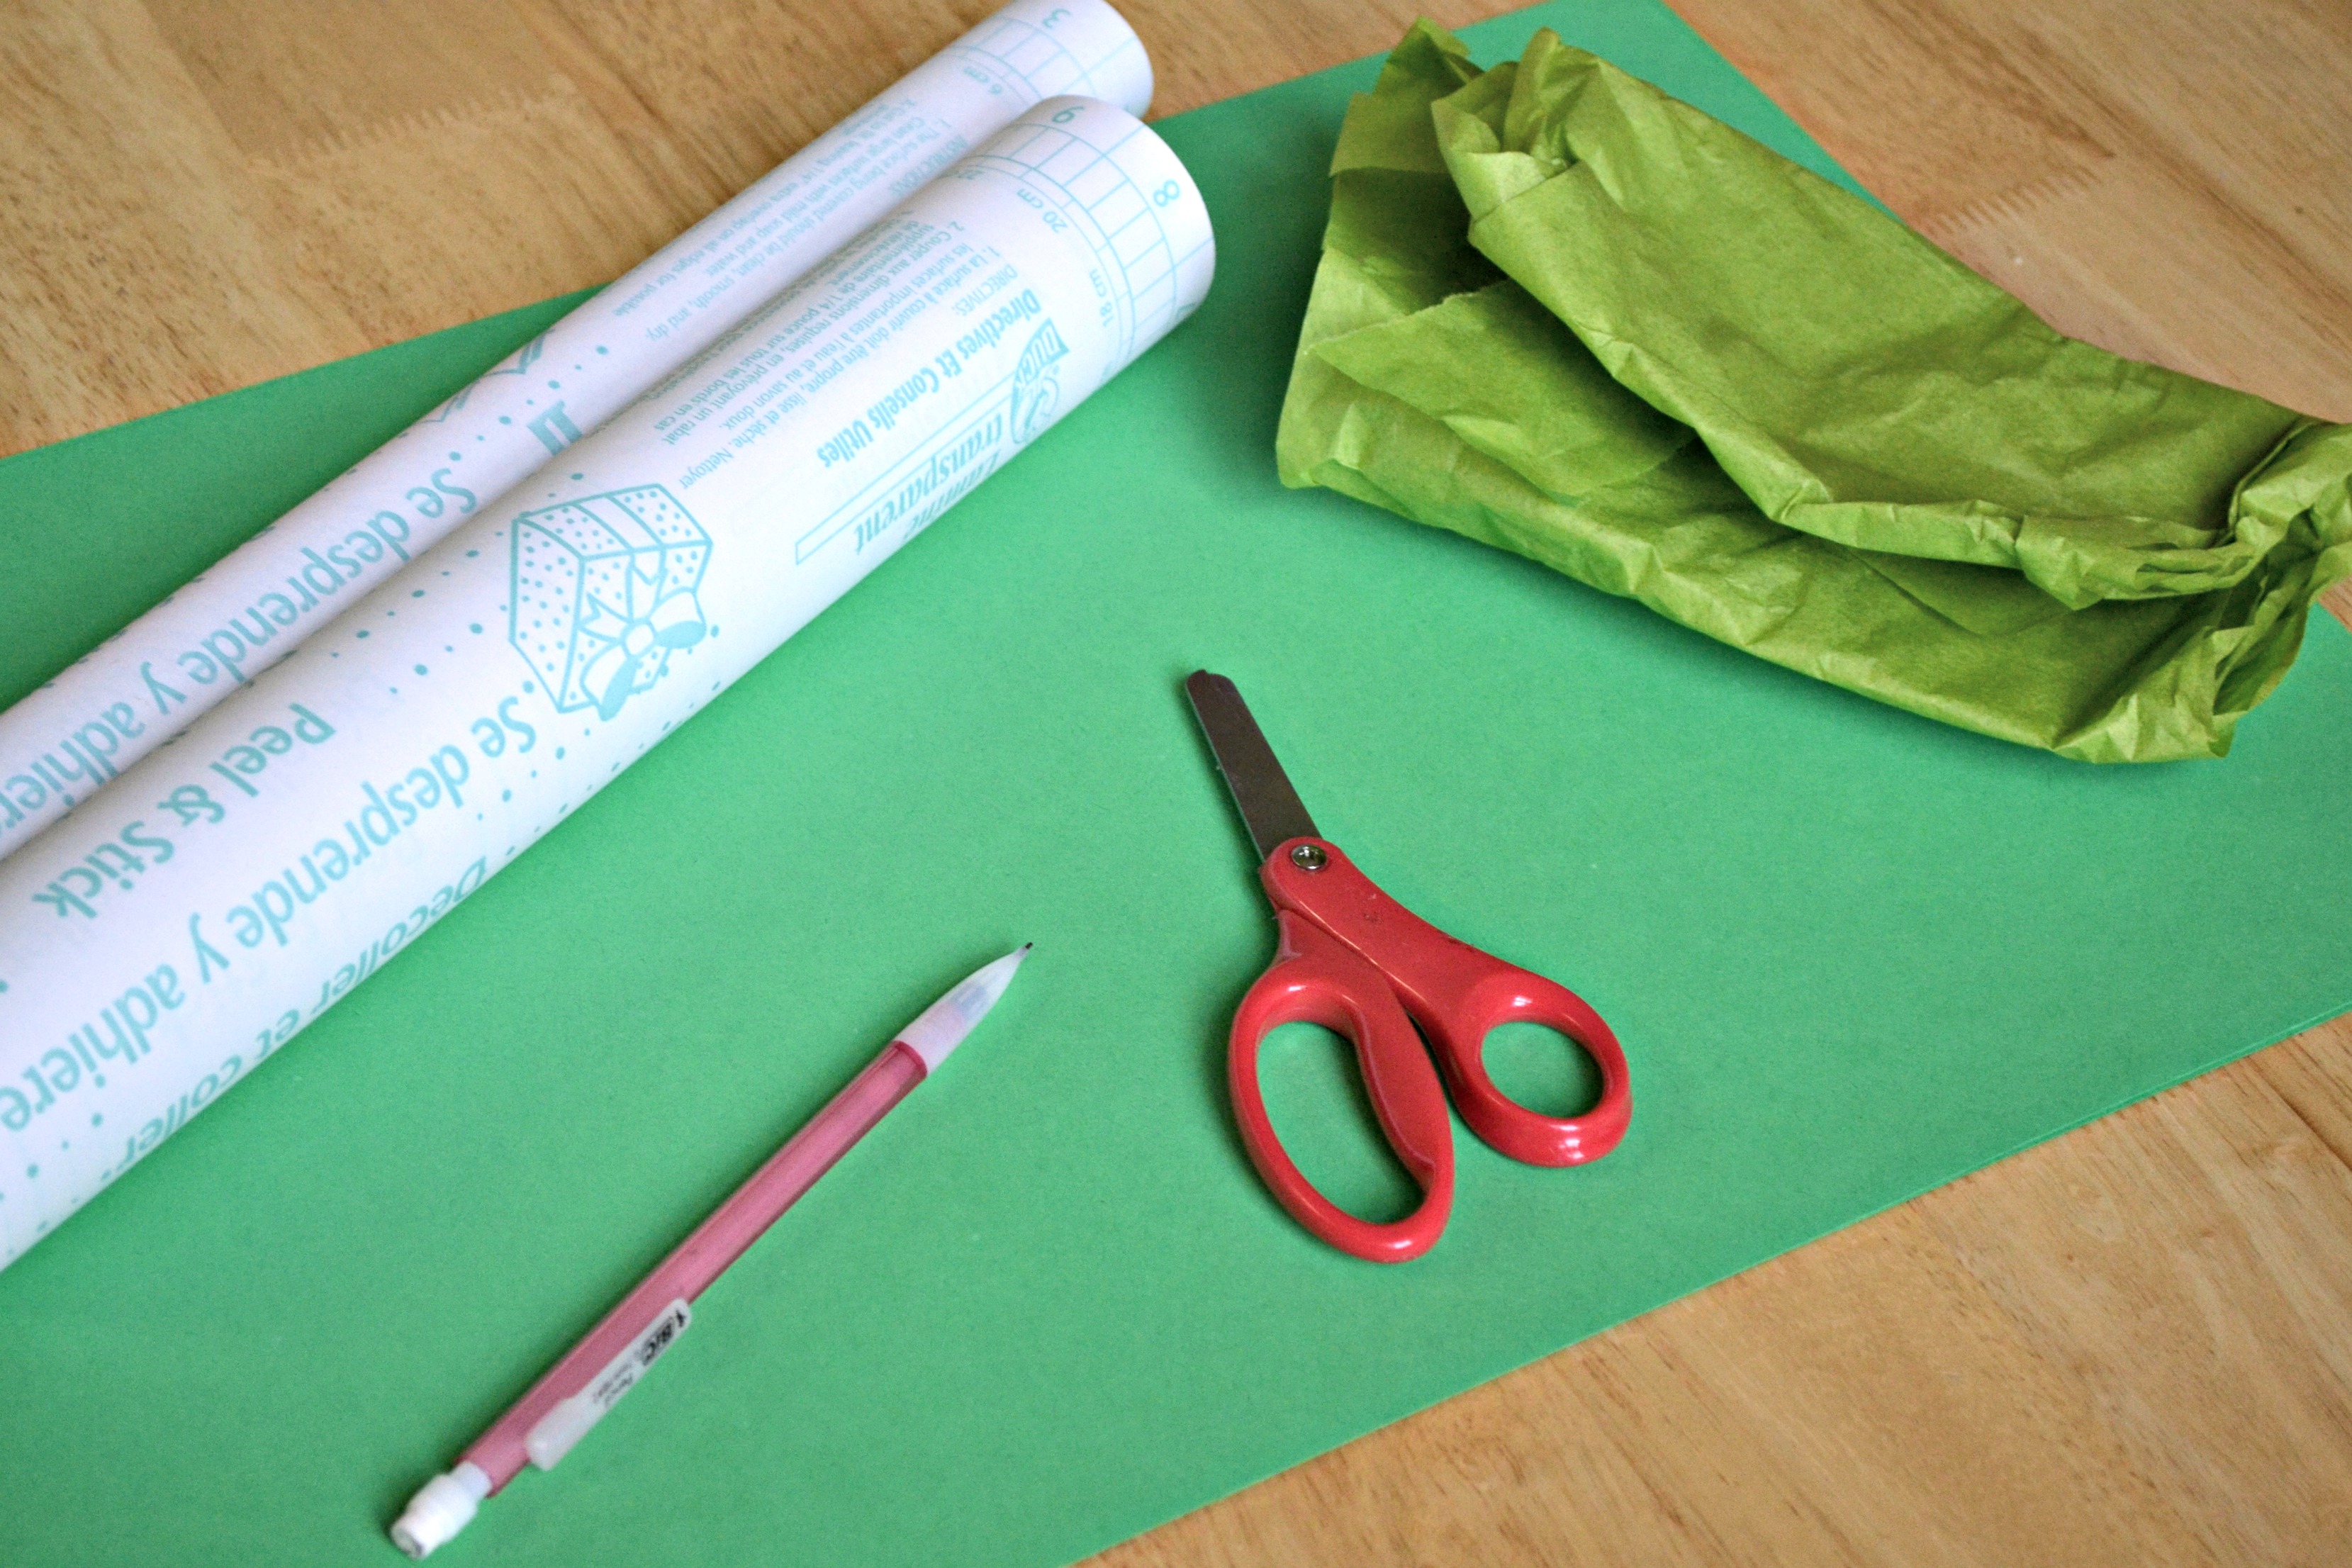
Step 1
Gather all your materials. We used some green and yellow tissue paper that I had leftover from another project, but any shades of green or yellow would look great with this.

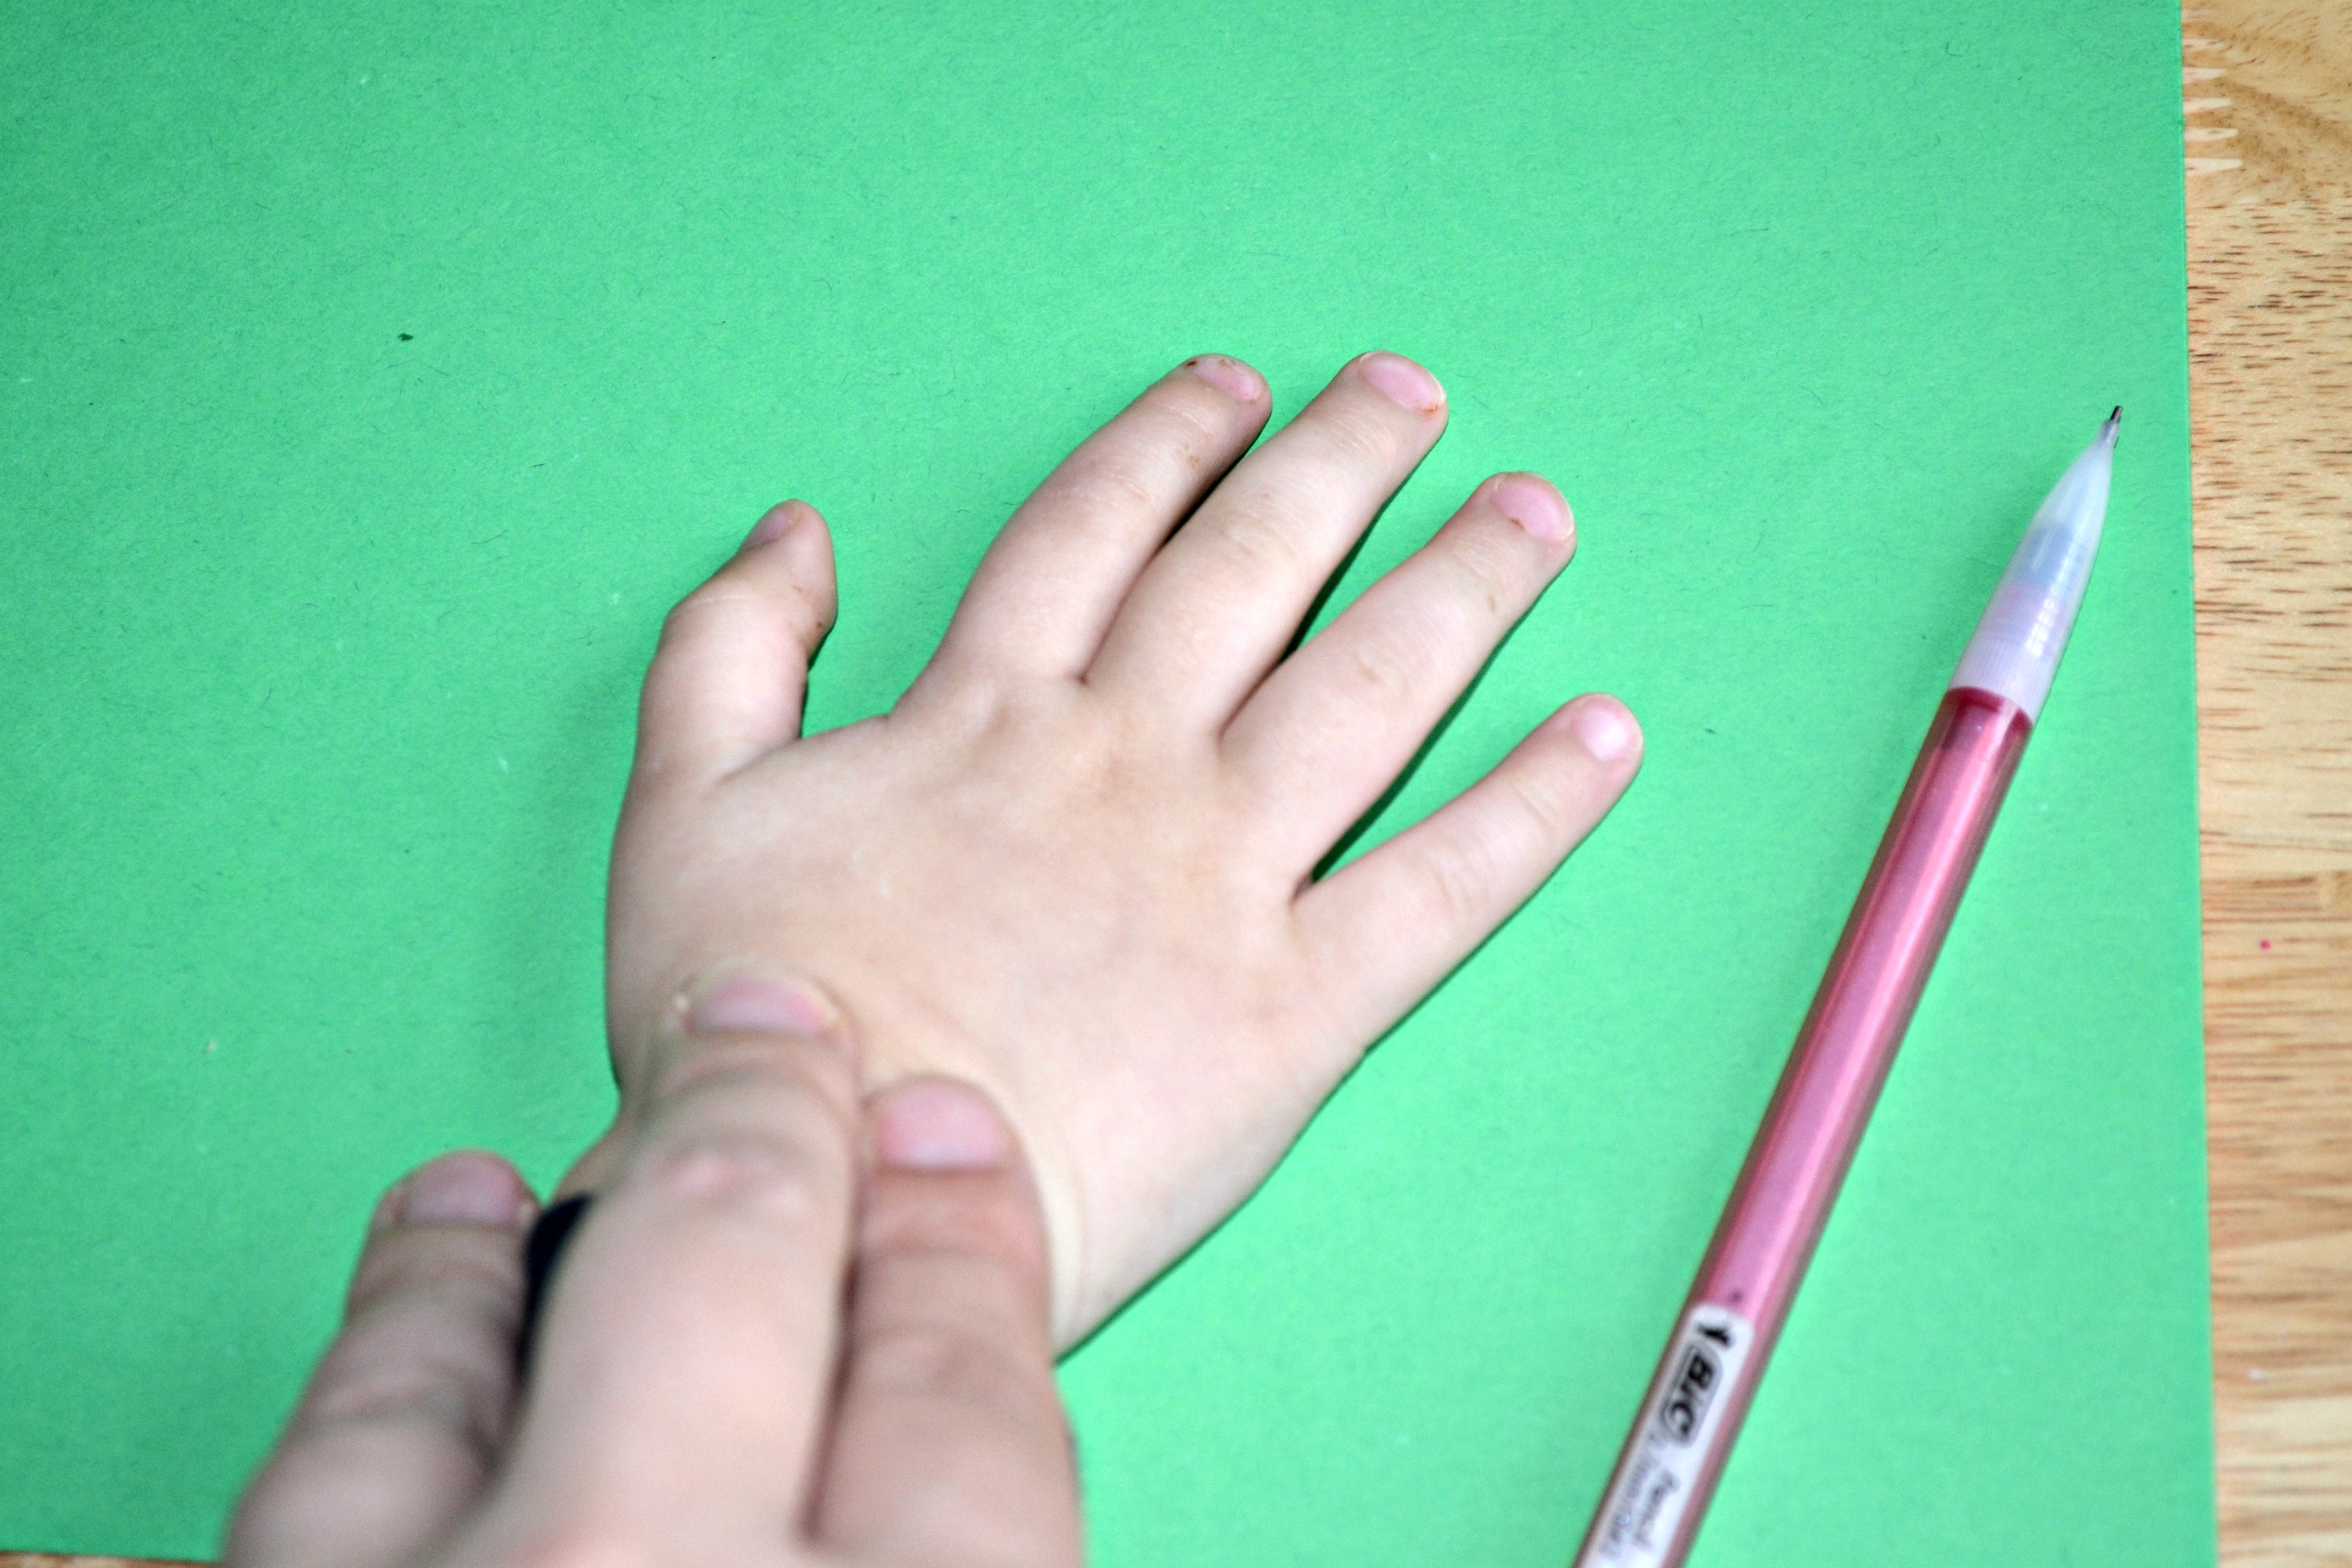
Step 2
I really love including my children's handprints in their projects whenever possible. It's a really neat way to personalize the project and capture how little they are. For this project, I decided to trace the kids' hands for the centers of their shamrocks. We used four hands for each shamrock, but I found it easiest to trace each child's hand once and then cut it out and use it as a template for the other three.
Step 3
Once the hands were traced and cut, I used them as a guide to let me know how large to draw the shamrock. I wanted to leave plenty of room for the kids to add tissue paper. I folded a large piece of construction paper in half and drew half a shamrock.

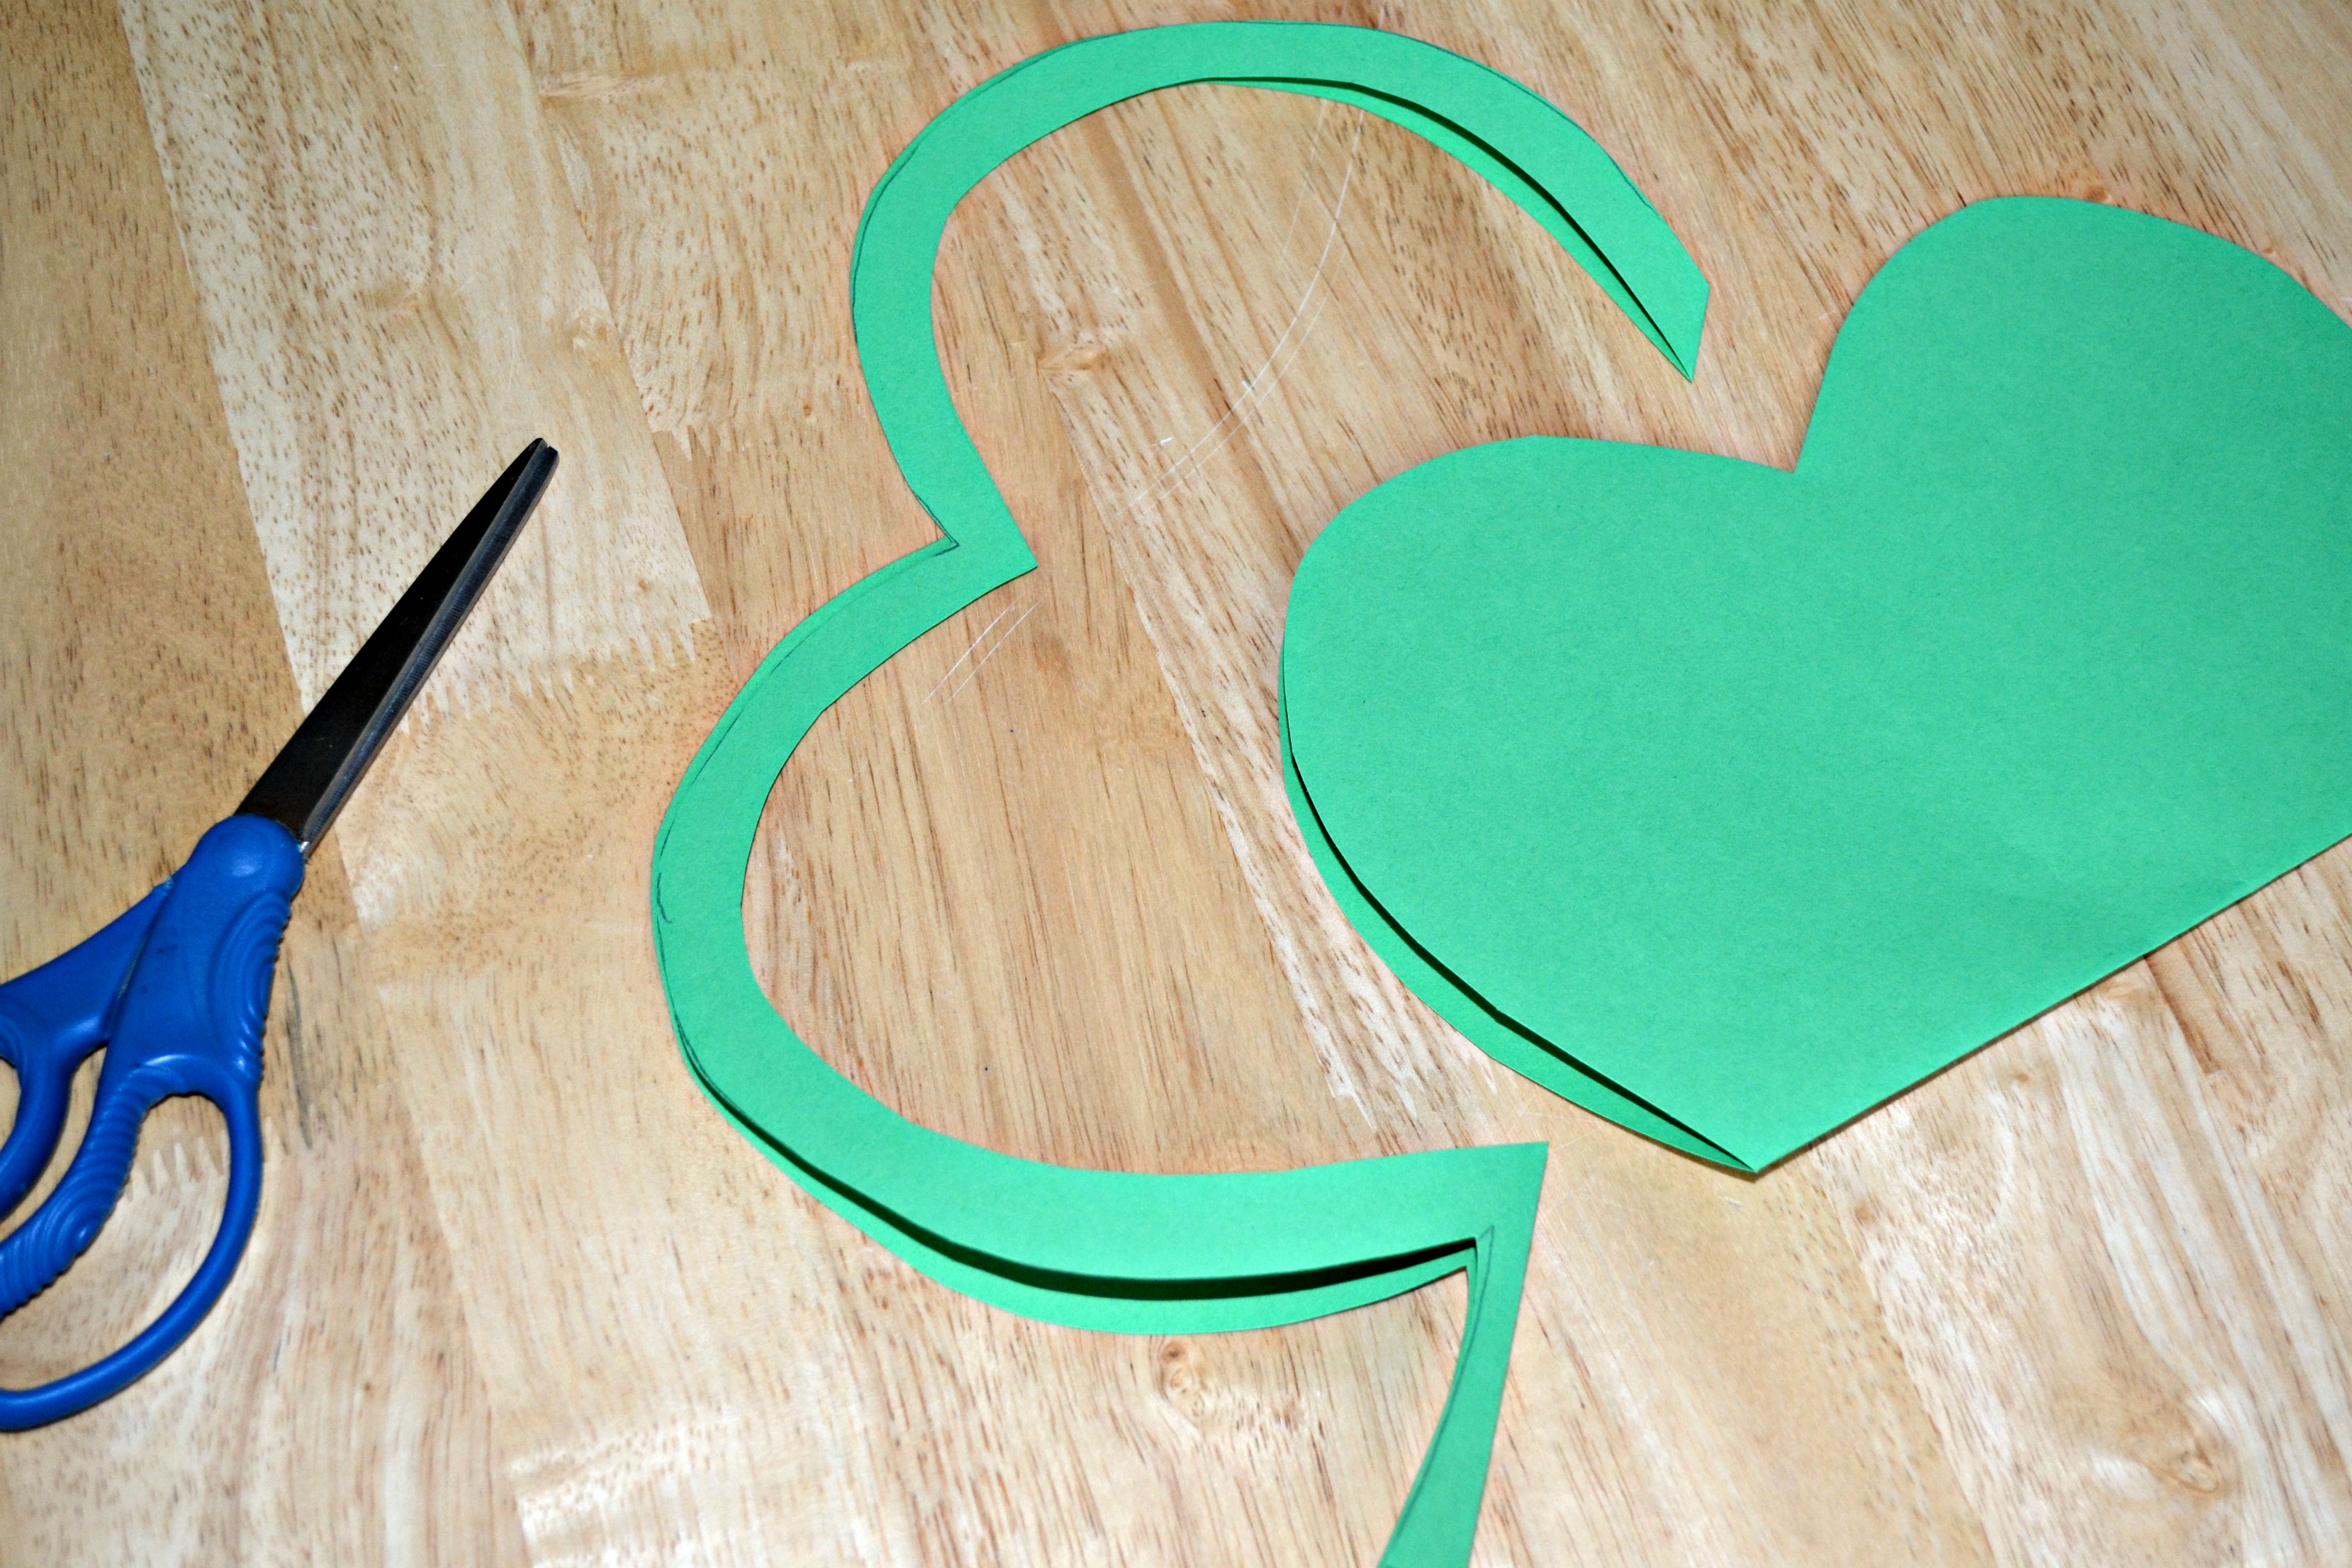
Step 4
Then, I cut out the large shamrock and a smaller one inside of that one leaving an outline about one-inch thick.
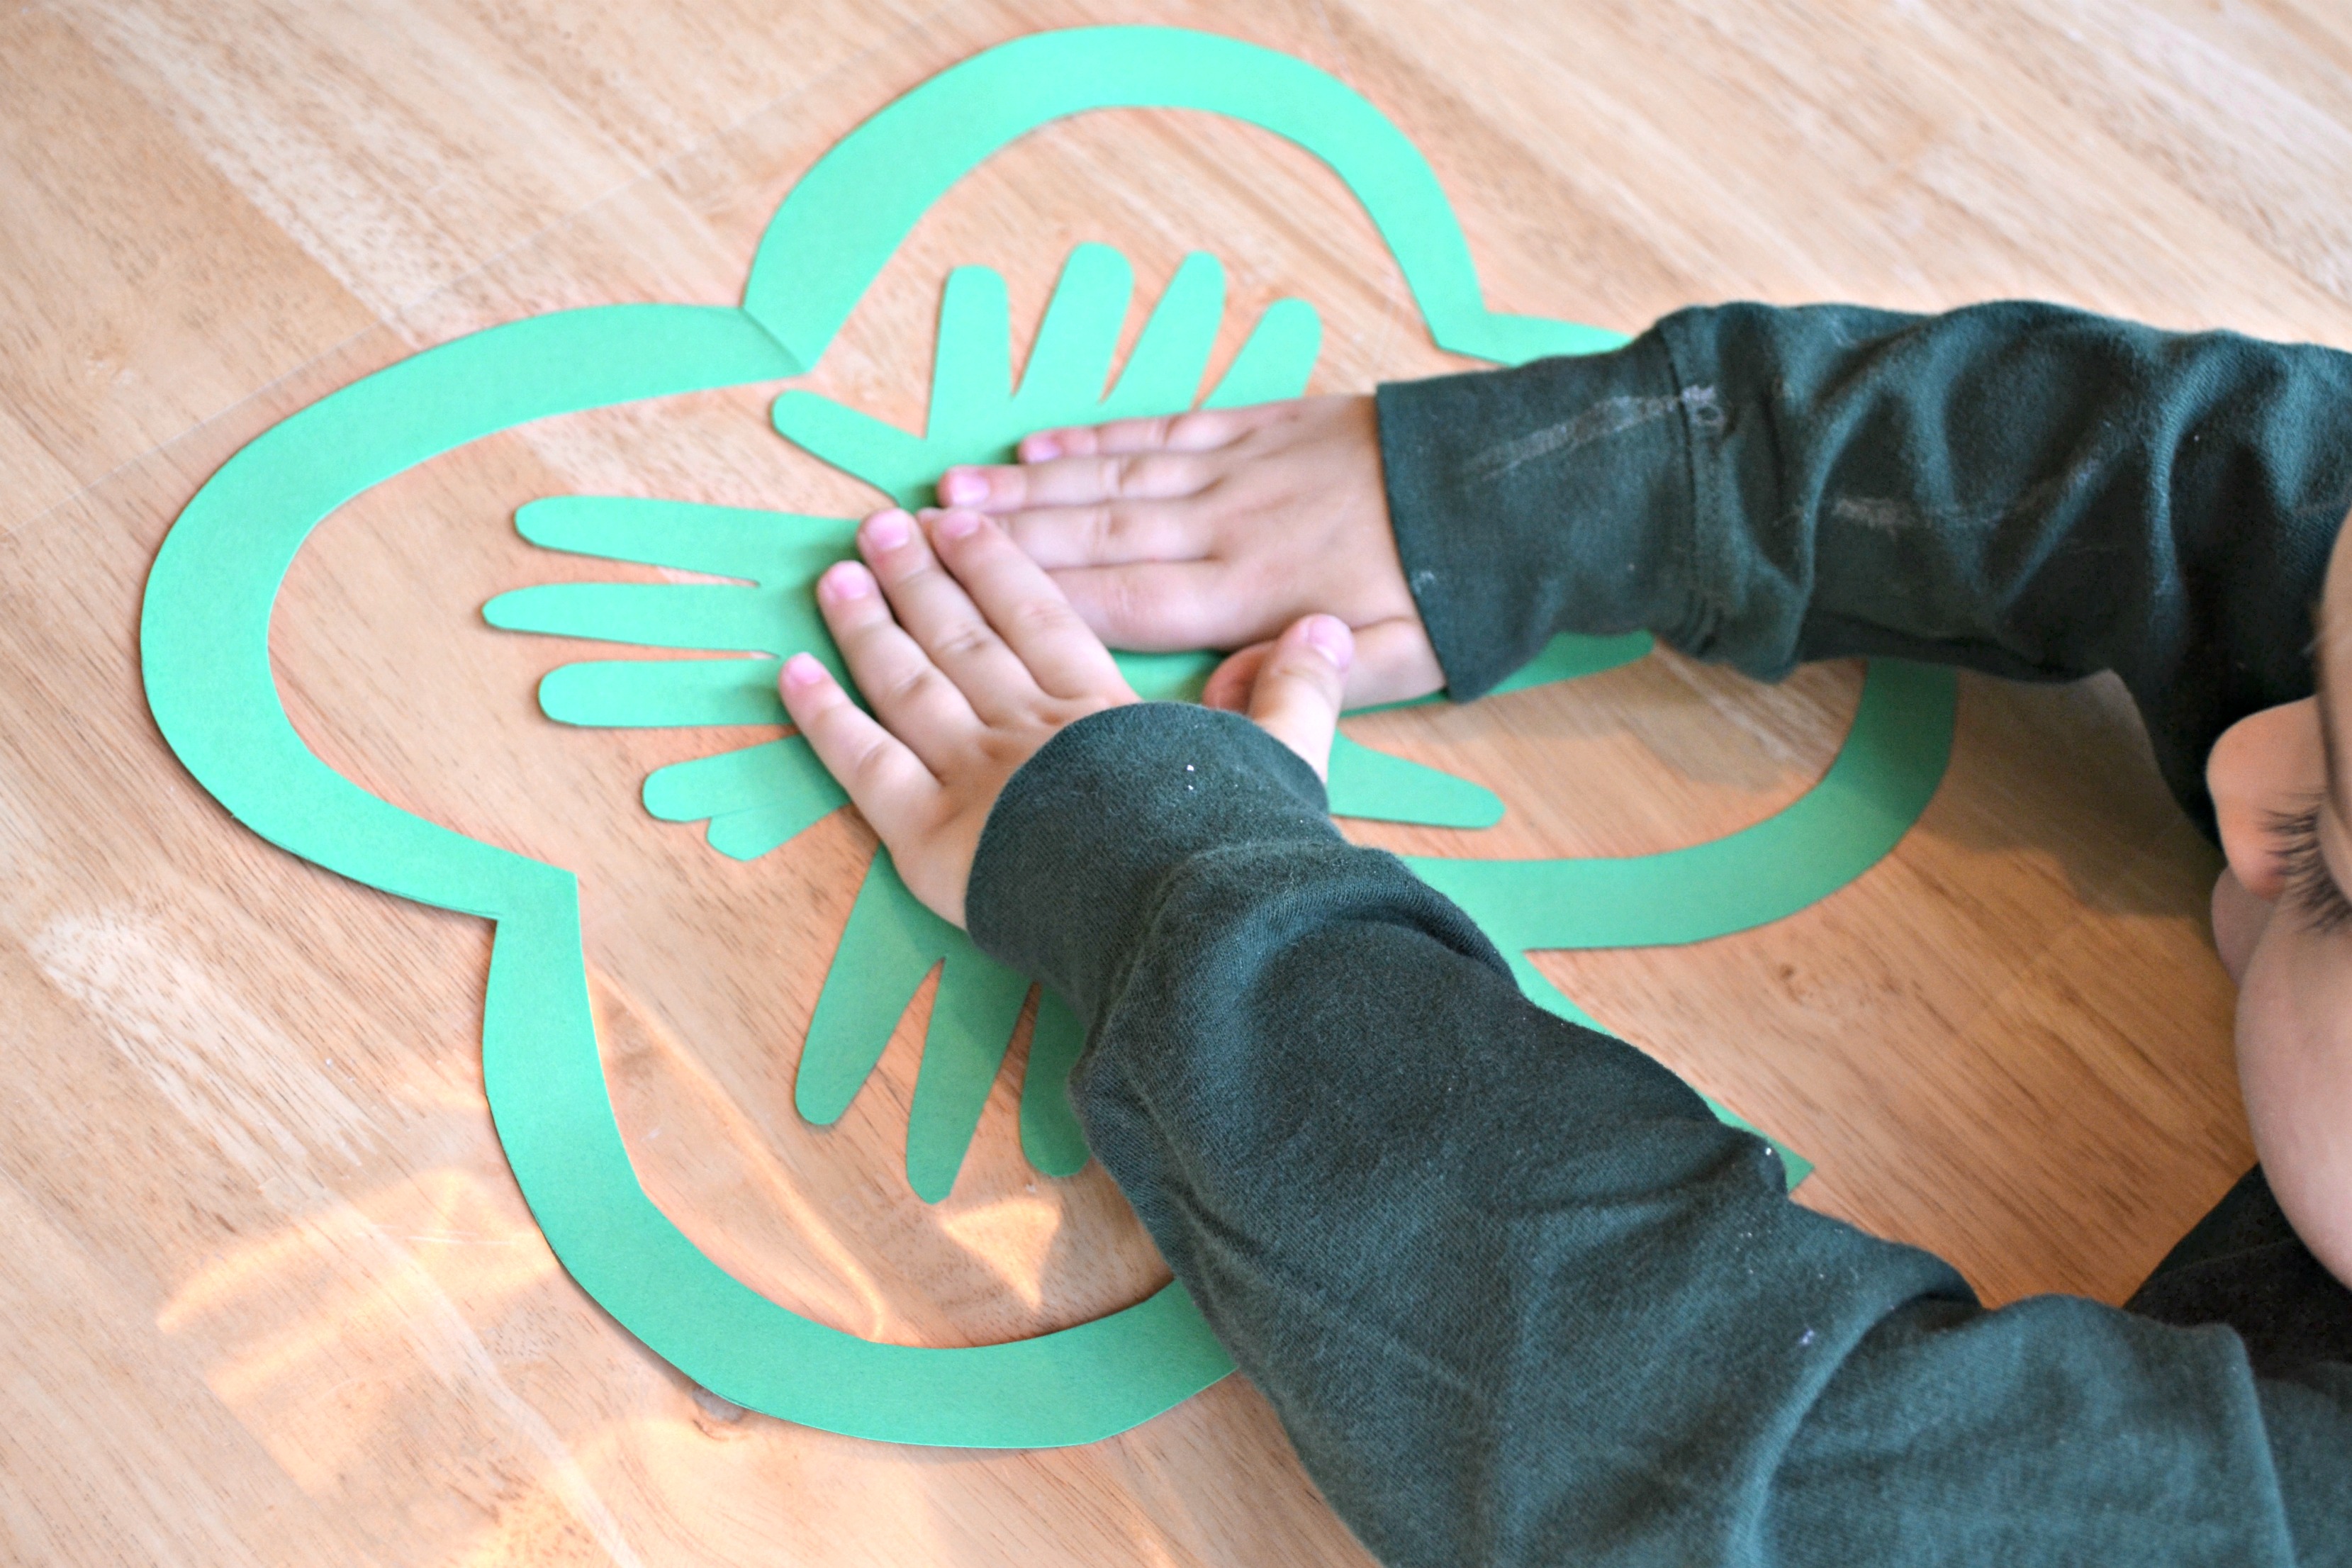
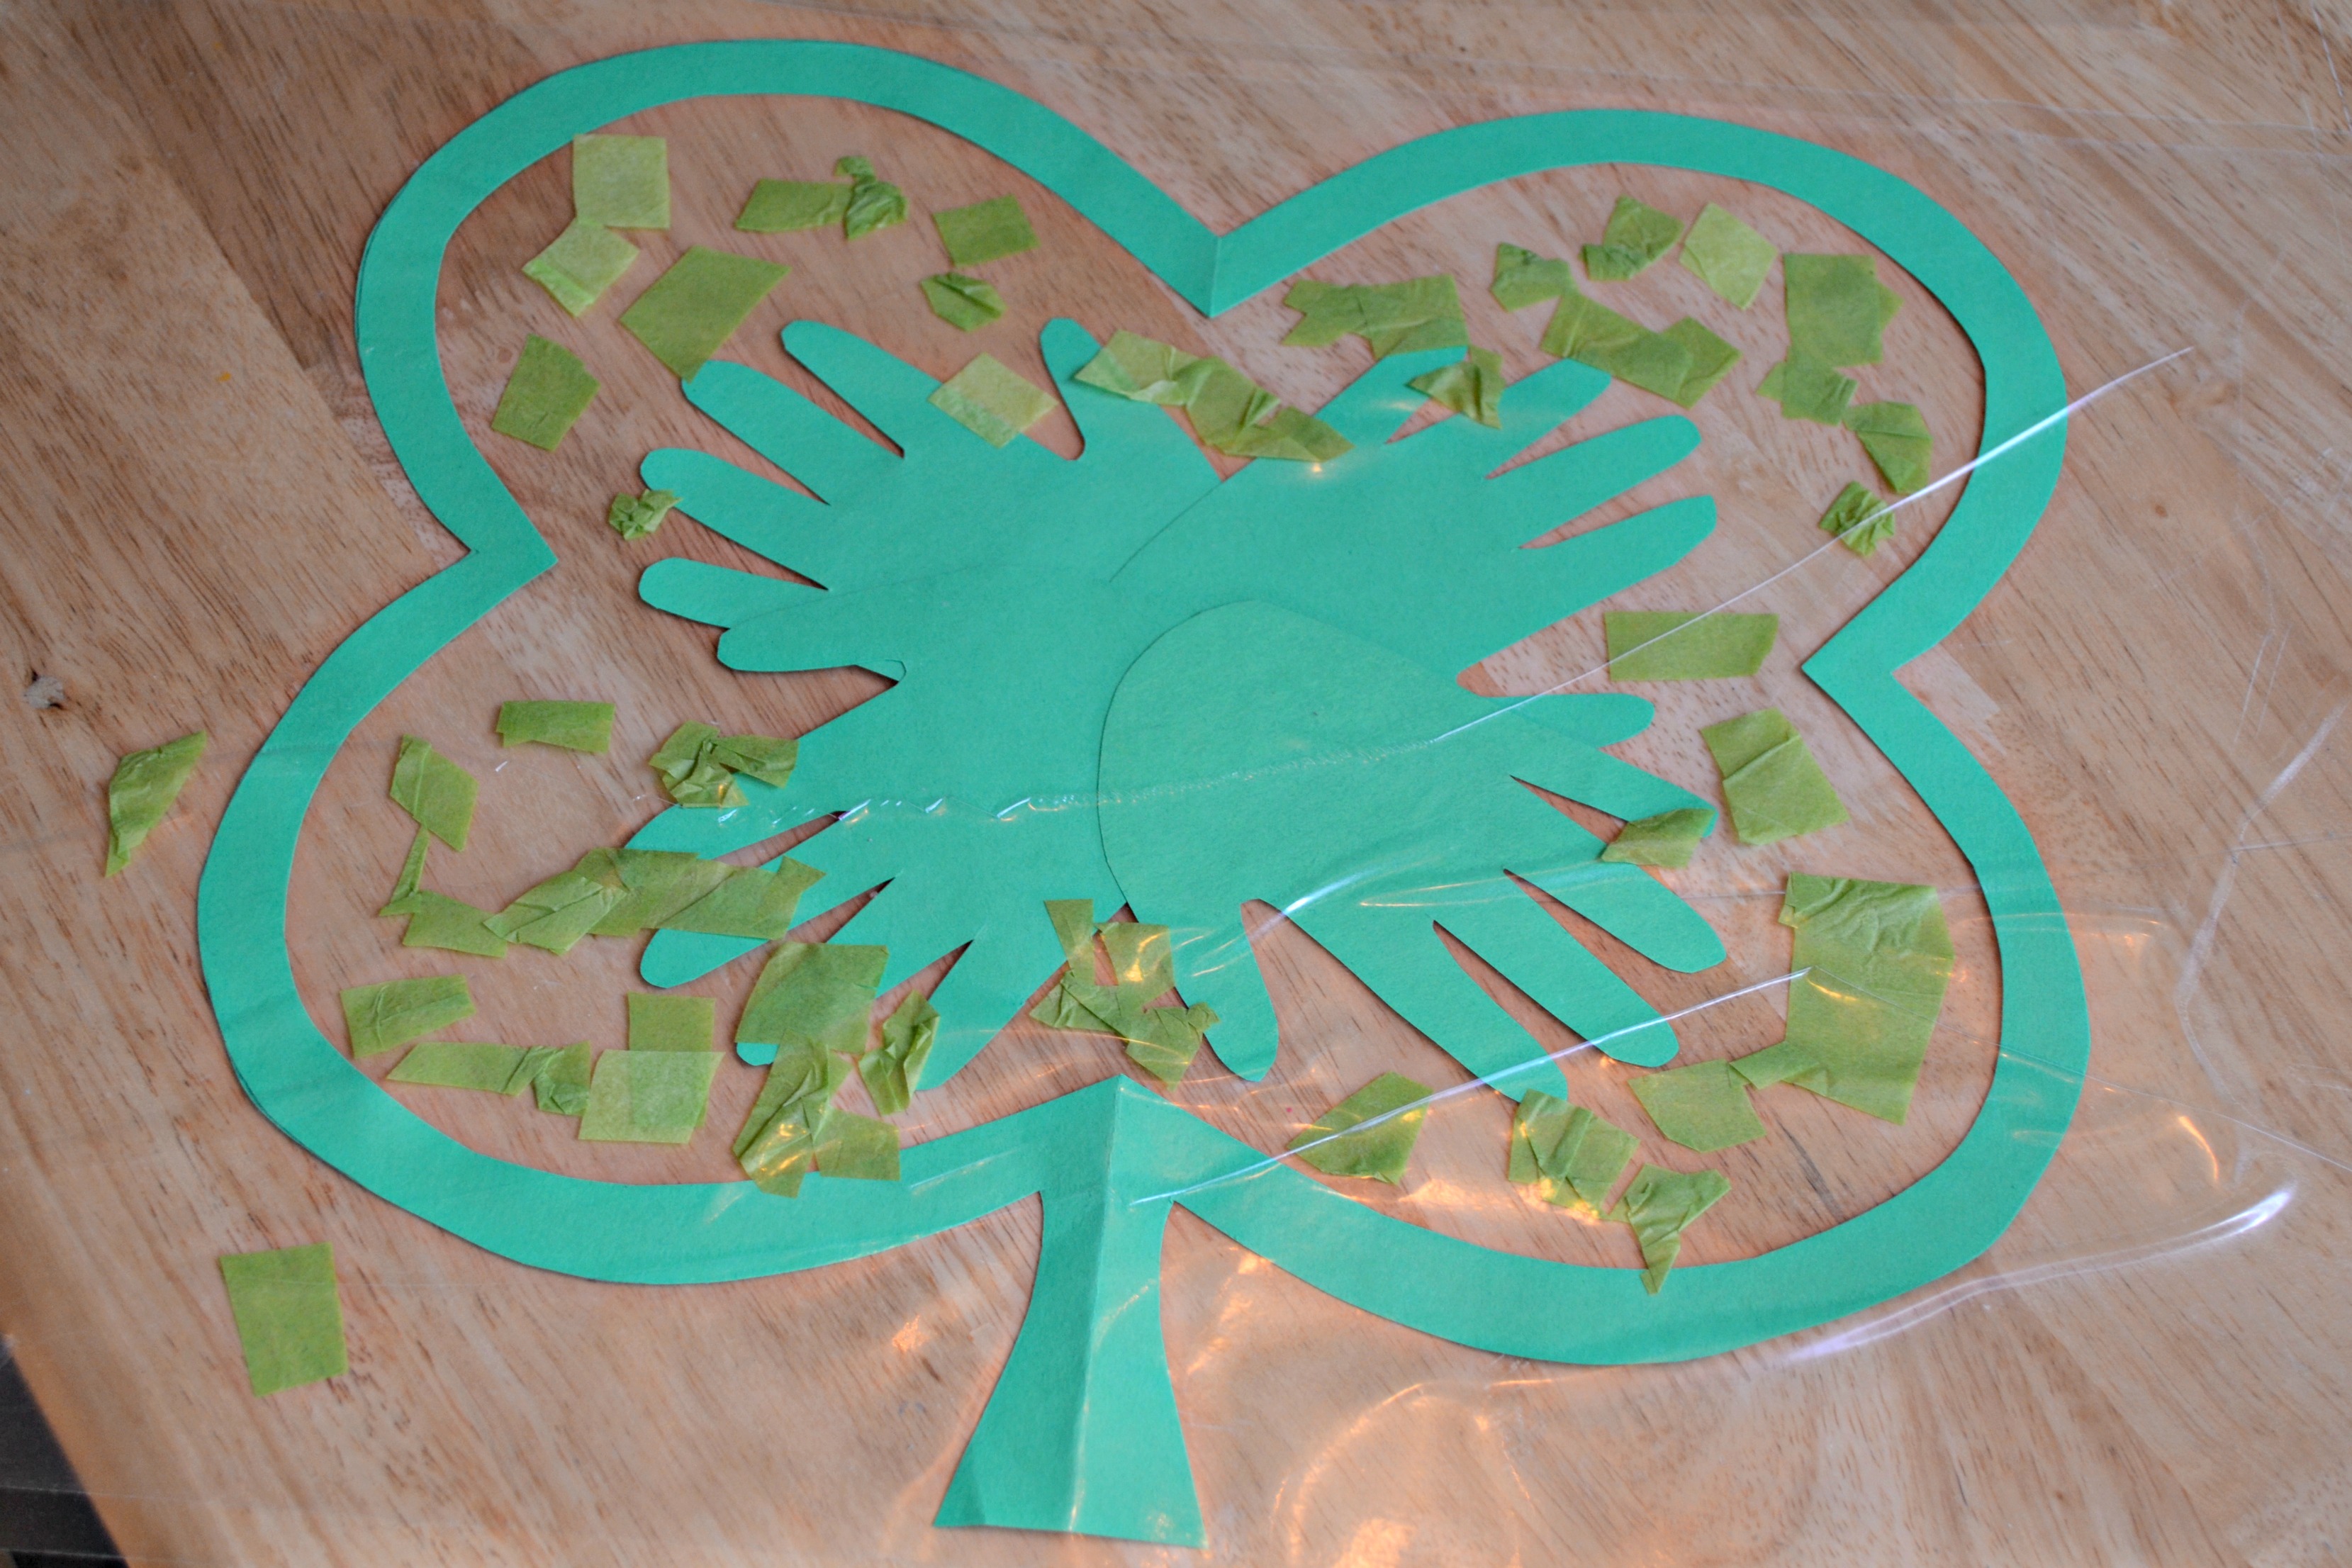
Step 5
We cut out a piece of contact paper and laid the outline of the shamrock on top. The contact paper laid surprisingly flat without any help and was fairly easy to use with the little ones. We placed the four handprints inside the shamrock, creating a mini-shamrock out of handprints.
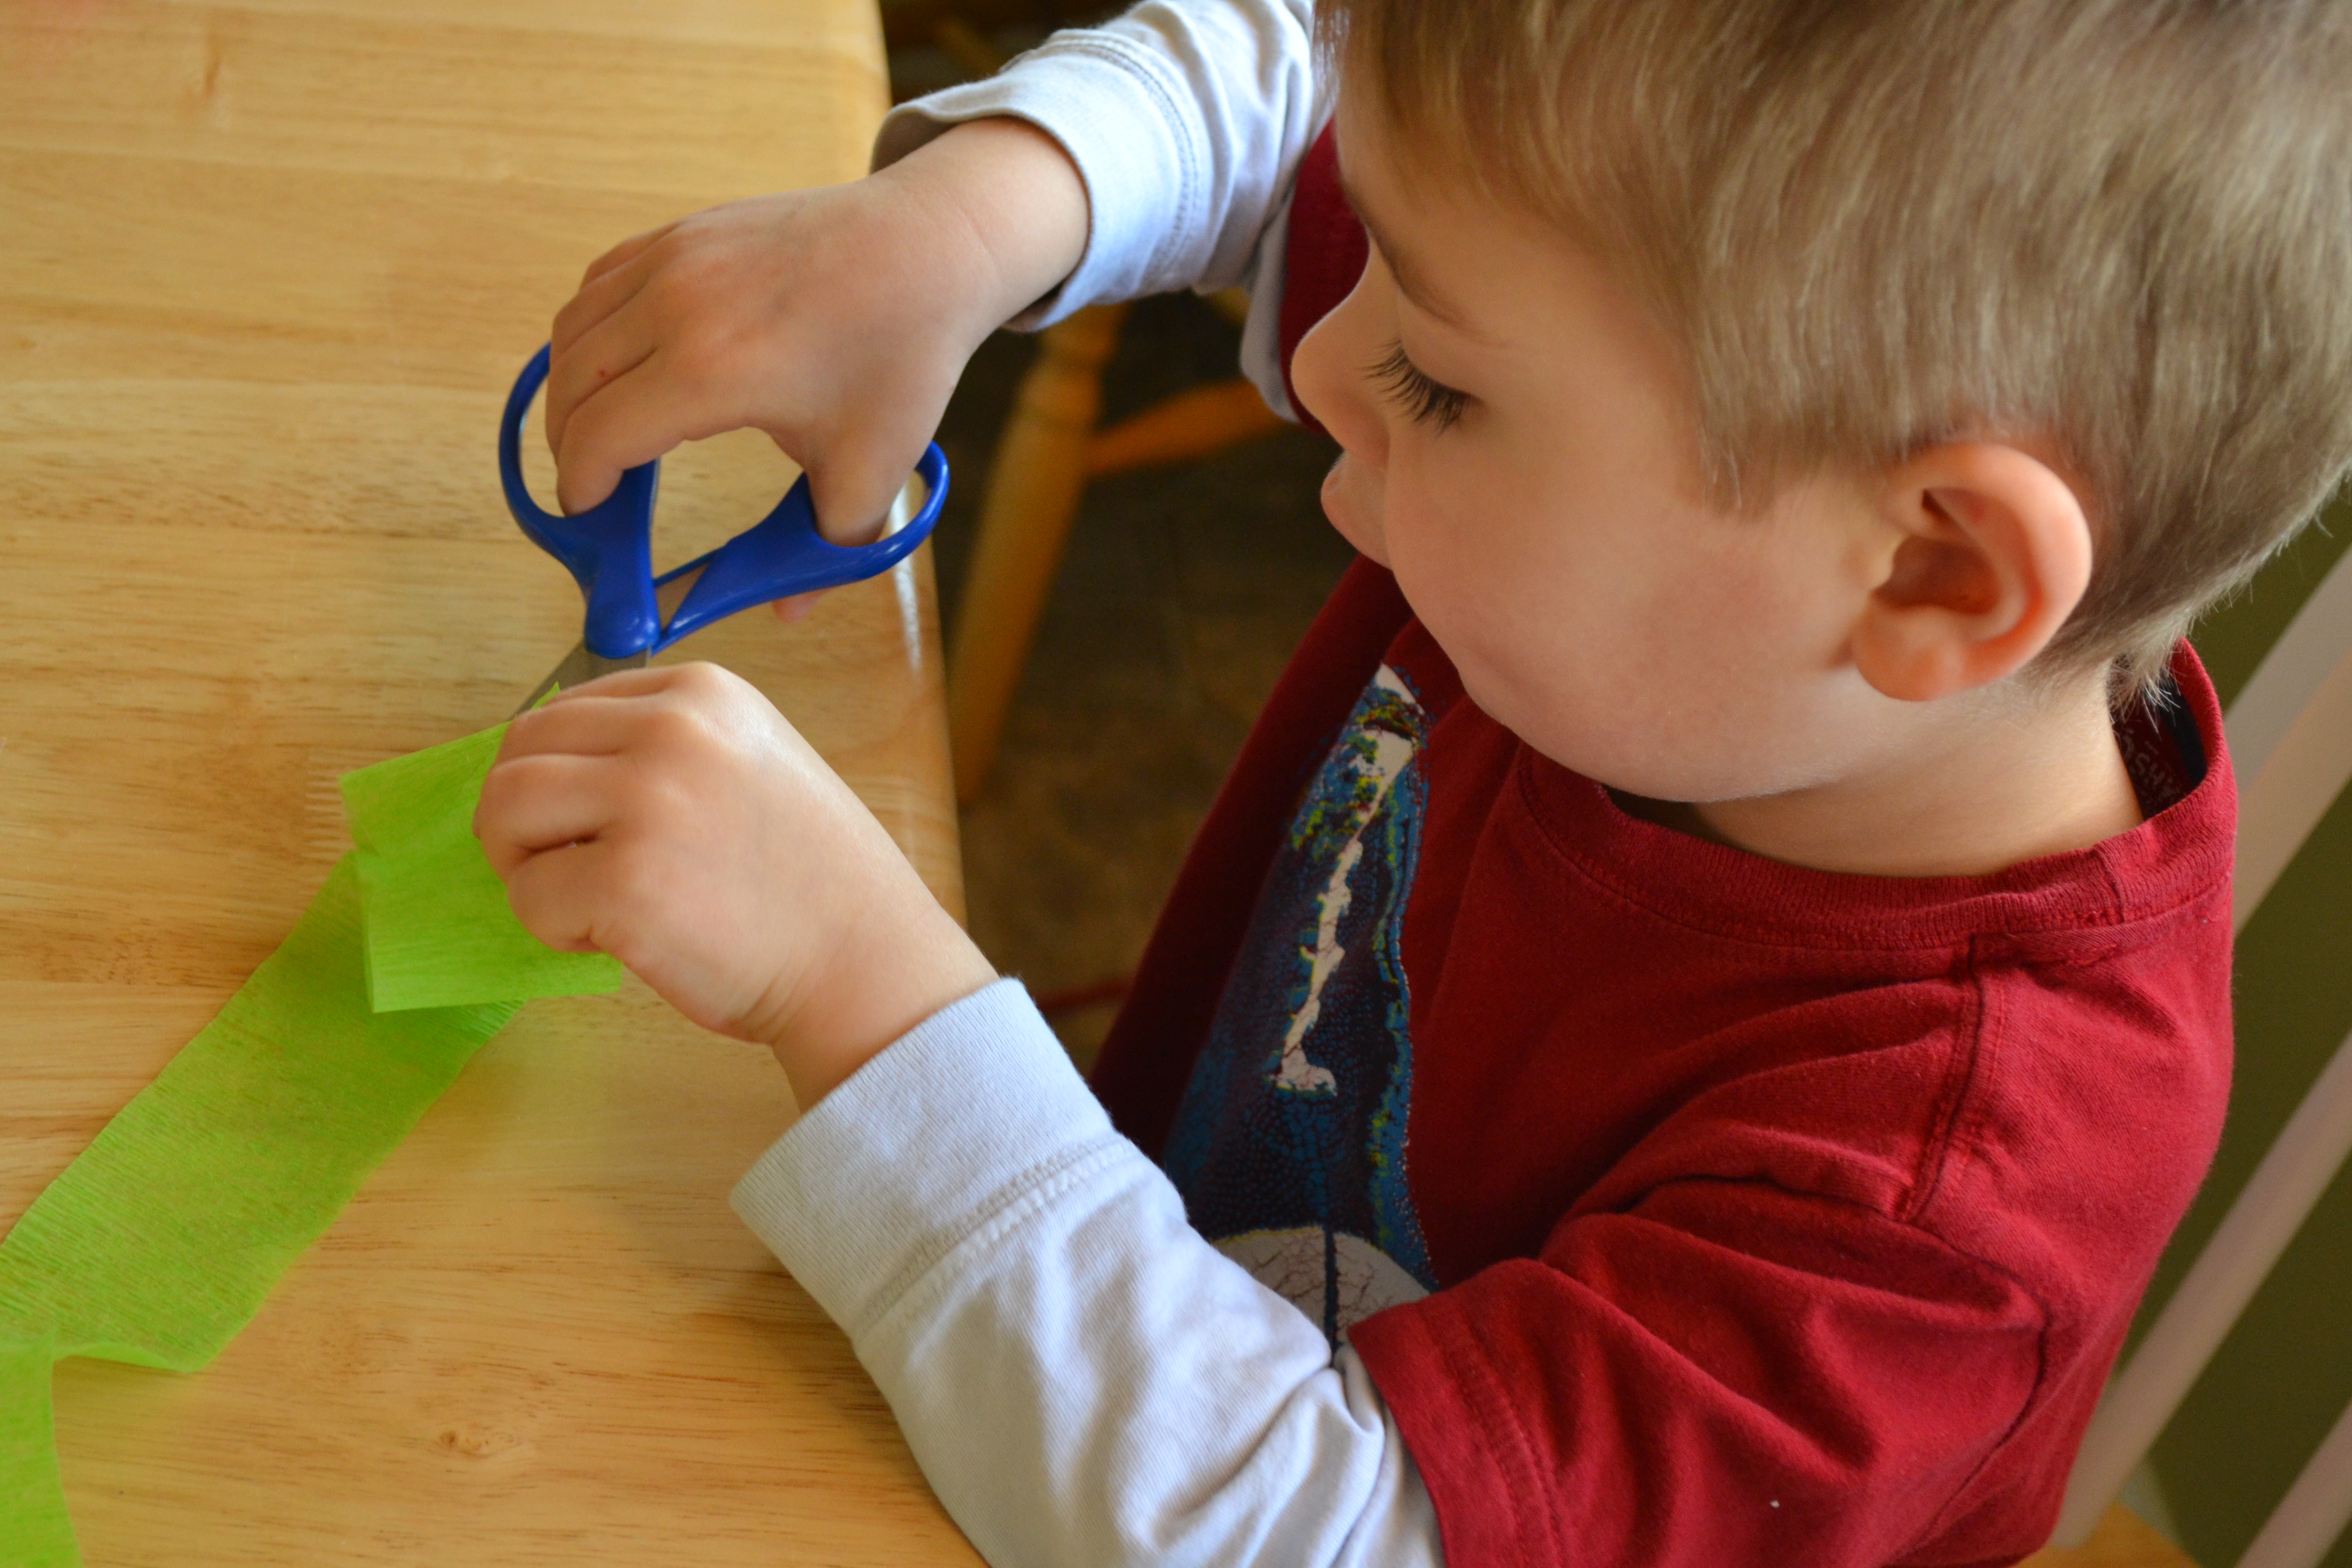
Step 6
The kids got some scissor practice cutting the tissue paper into small pieces for their suncatchers. I cut some for my two-year-old and gave him a small piece of tissue paper to rip that kept him occupied while the older kids cut.
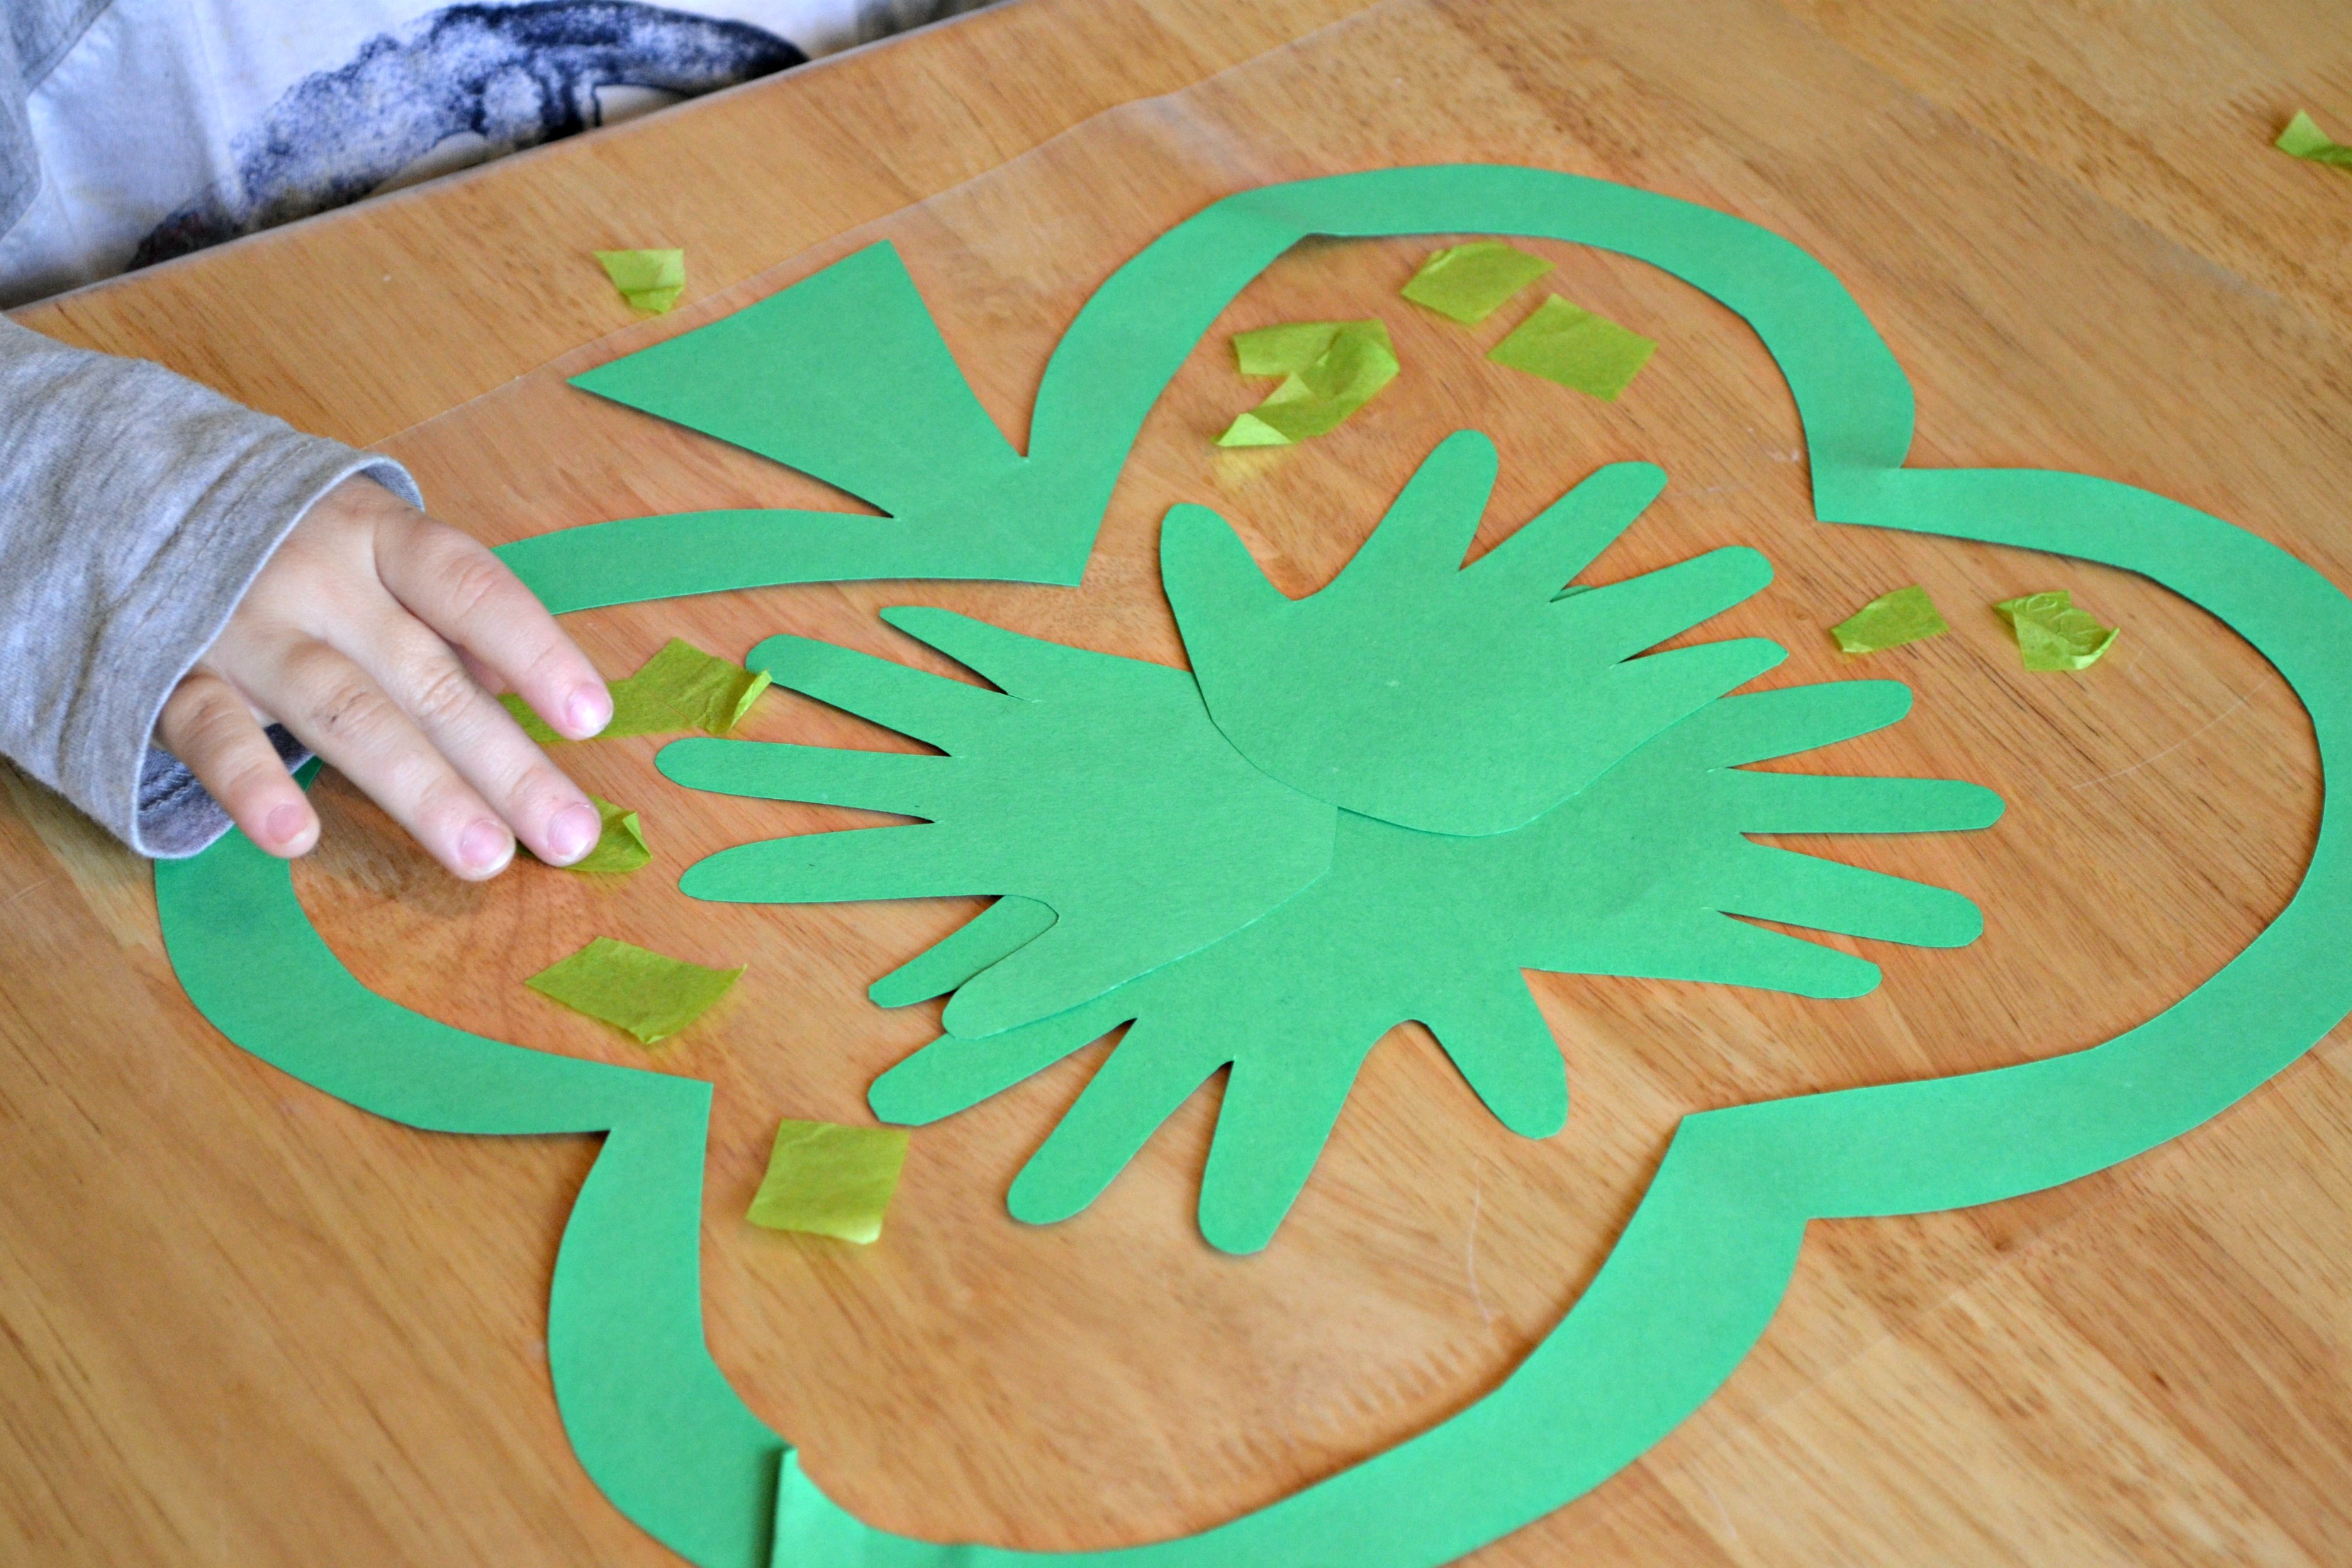
Step 7
My two-year-old was very meticulous about placing each piece of tissue paper around his handprints. I showed him how to overlap the paper. The kids had to be careful not to touch the contact paper while they were placing their tissue paper.
Step 8
Once they had decorated their suncatchers with tissue paper, I carefully placed another piece of contact paper on top of their shamrocks. I found that if it was easiest to do if I started in the middle of the shamrock and smoothed the contact paper outwards.
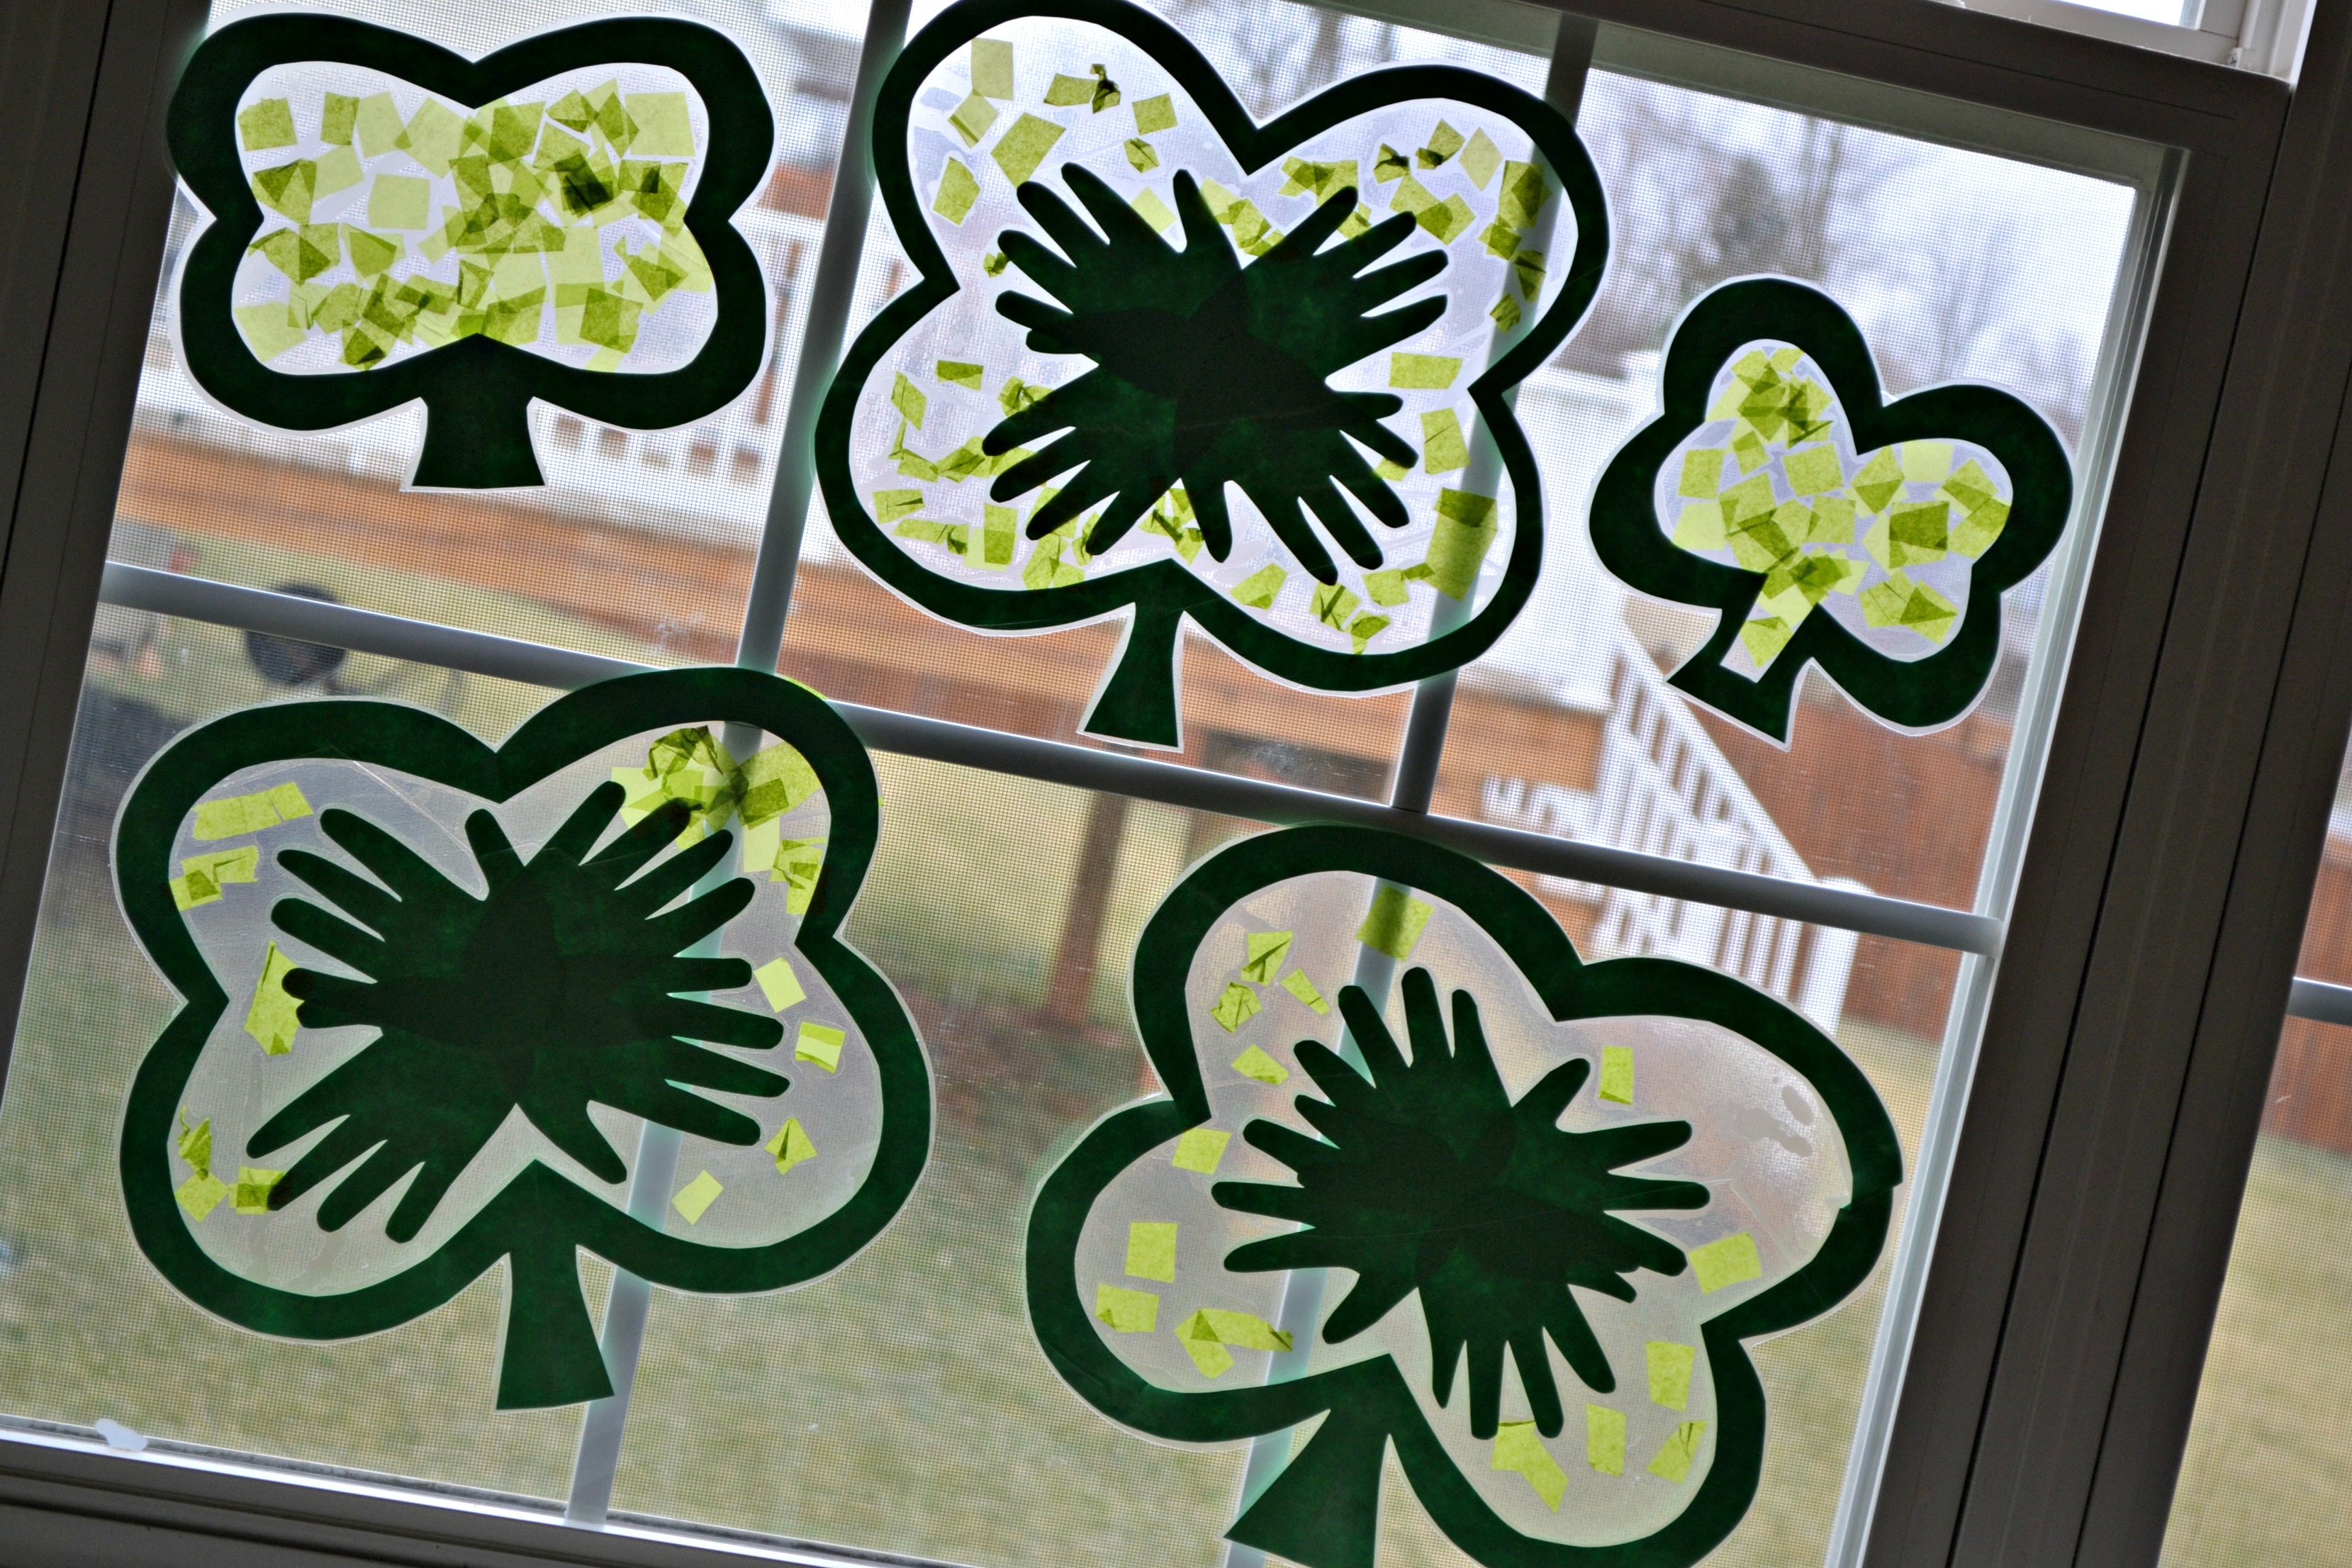
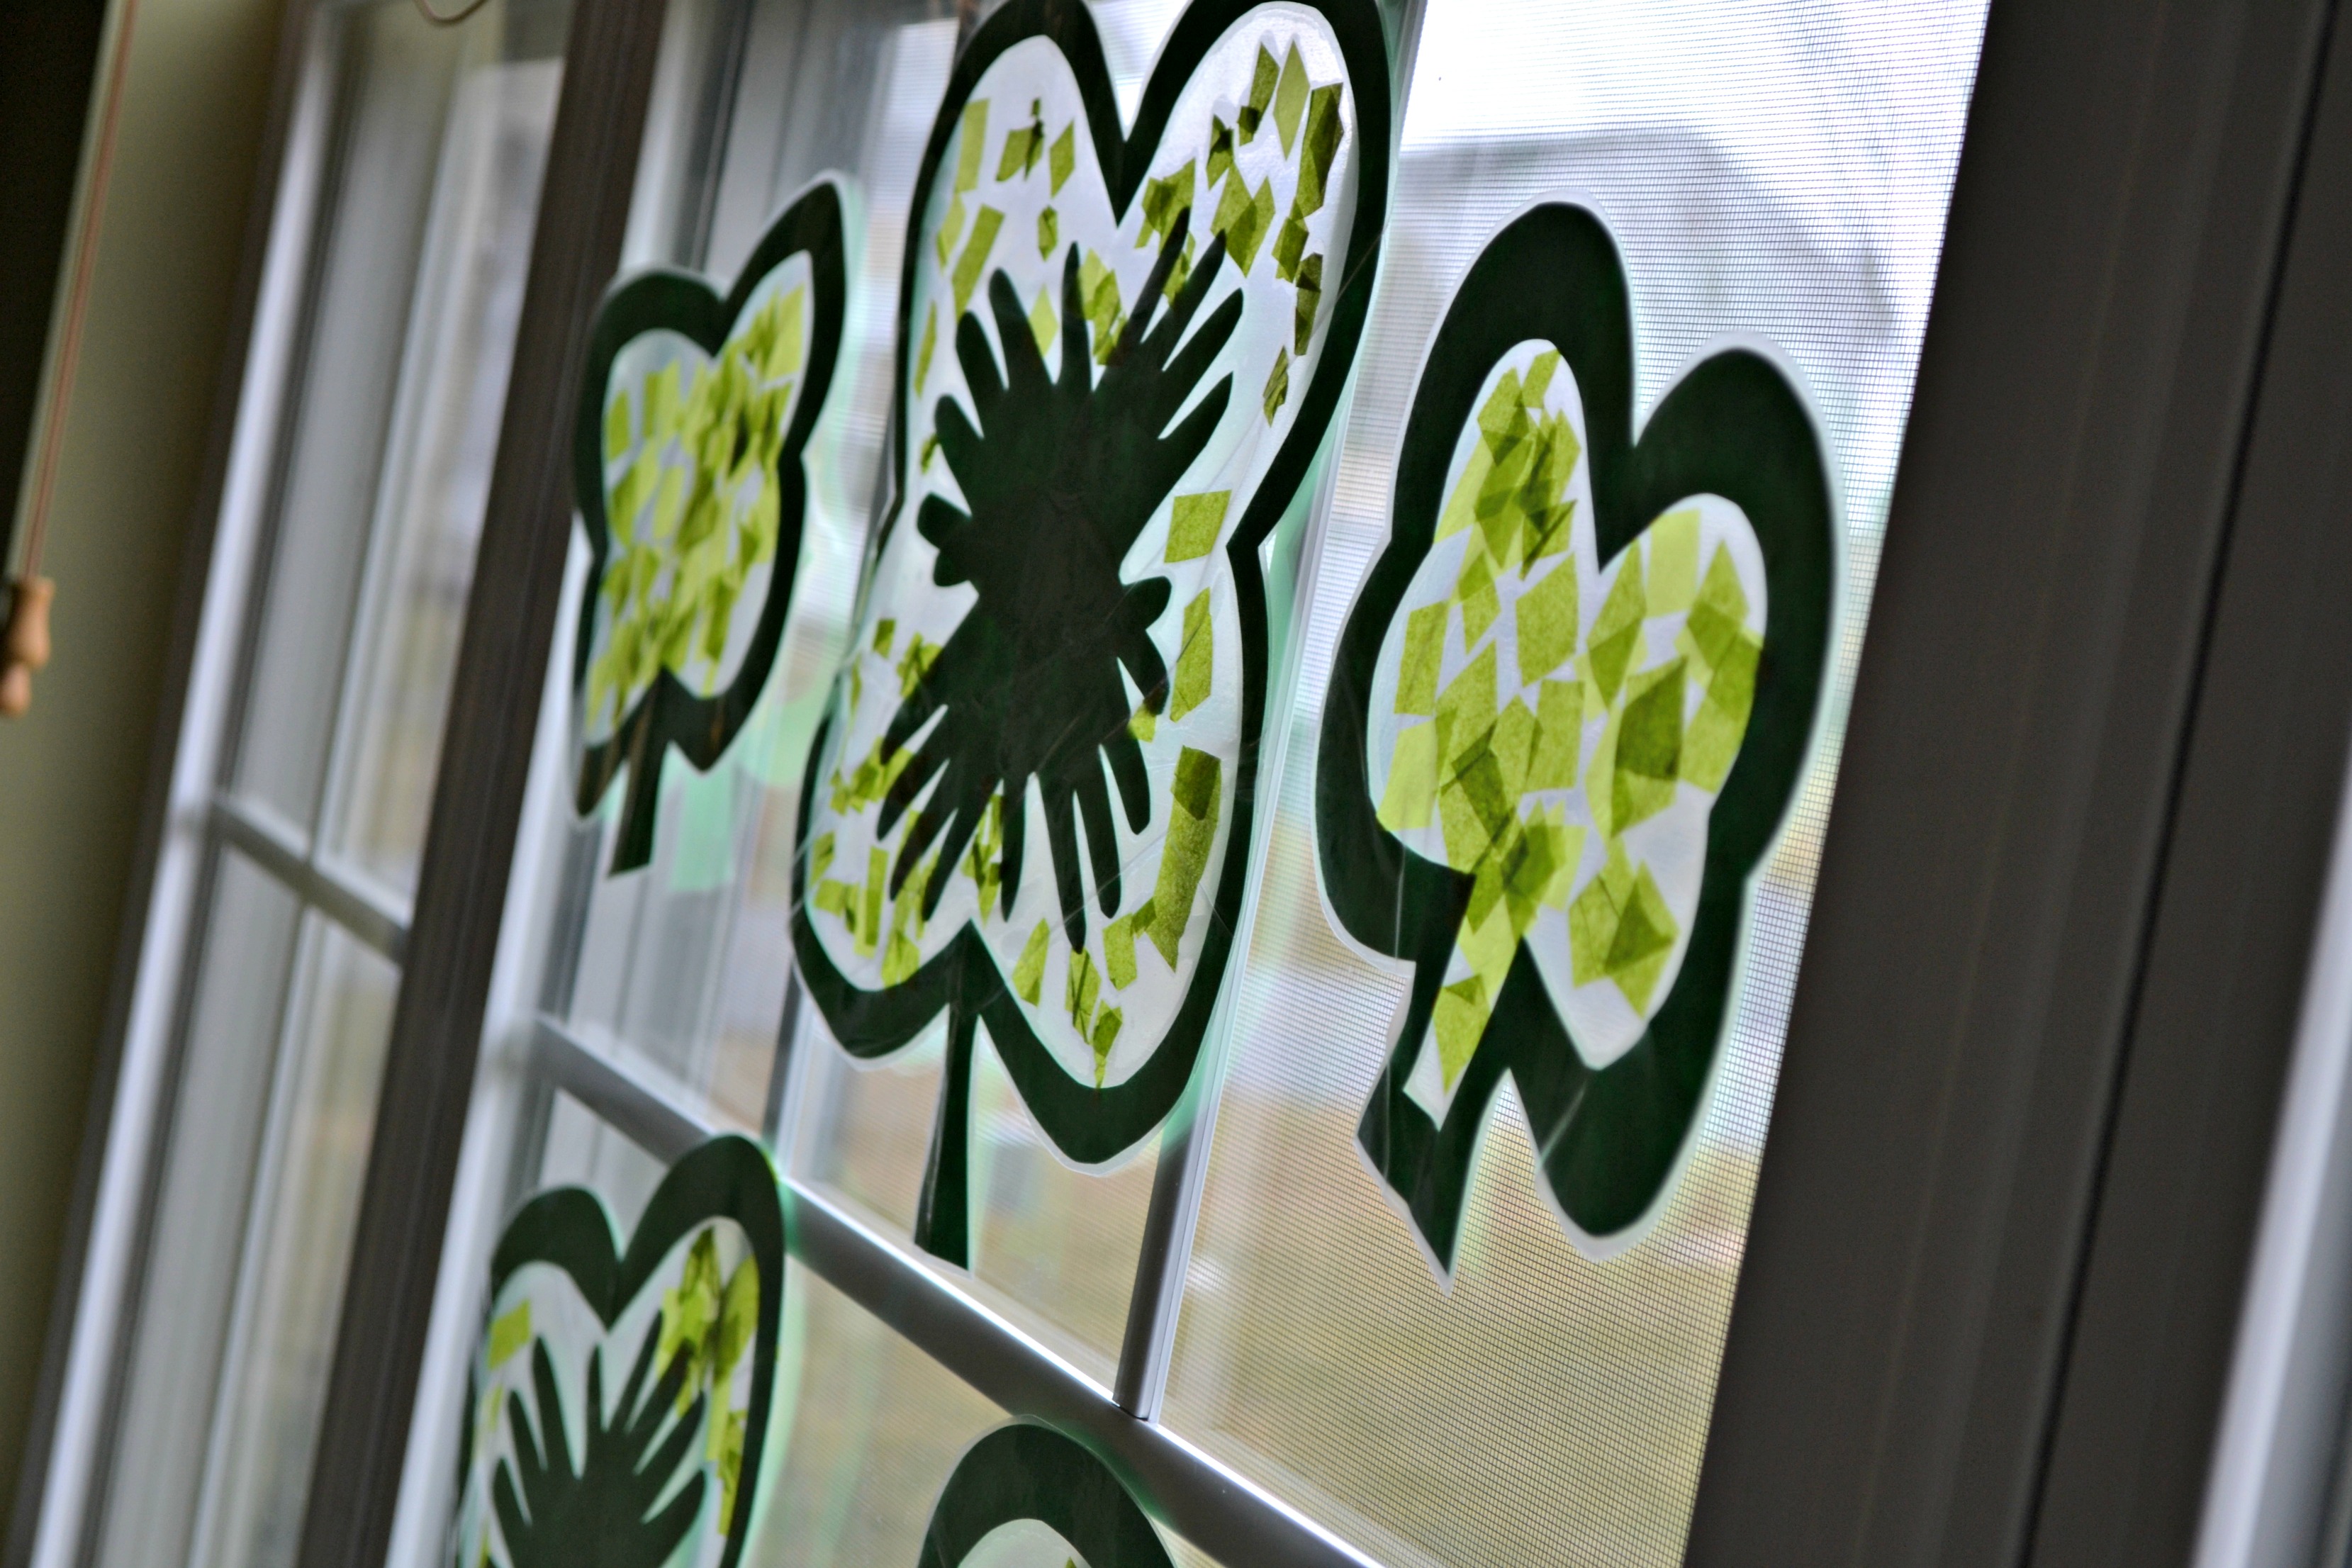
Done!
We cut around the shamrock outlines and hung our shamrocks in the kitchen window. We added a few smaller shamrocks without handprints and created a festive window display. This would also make an adorable garland for a deck or patio.